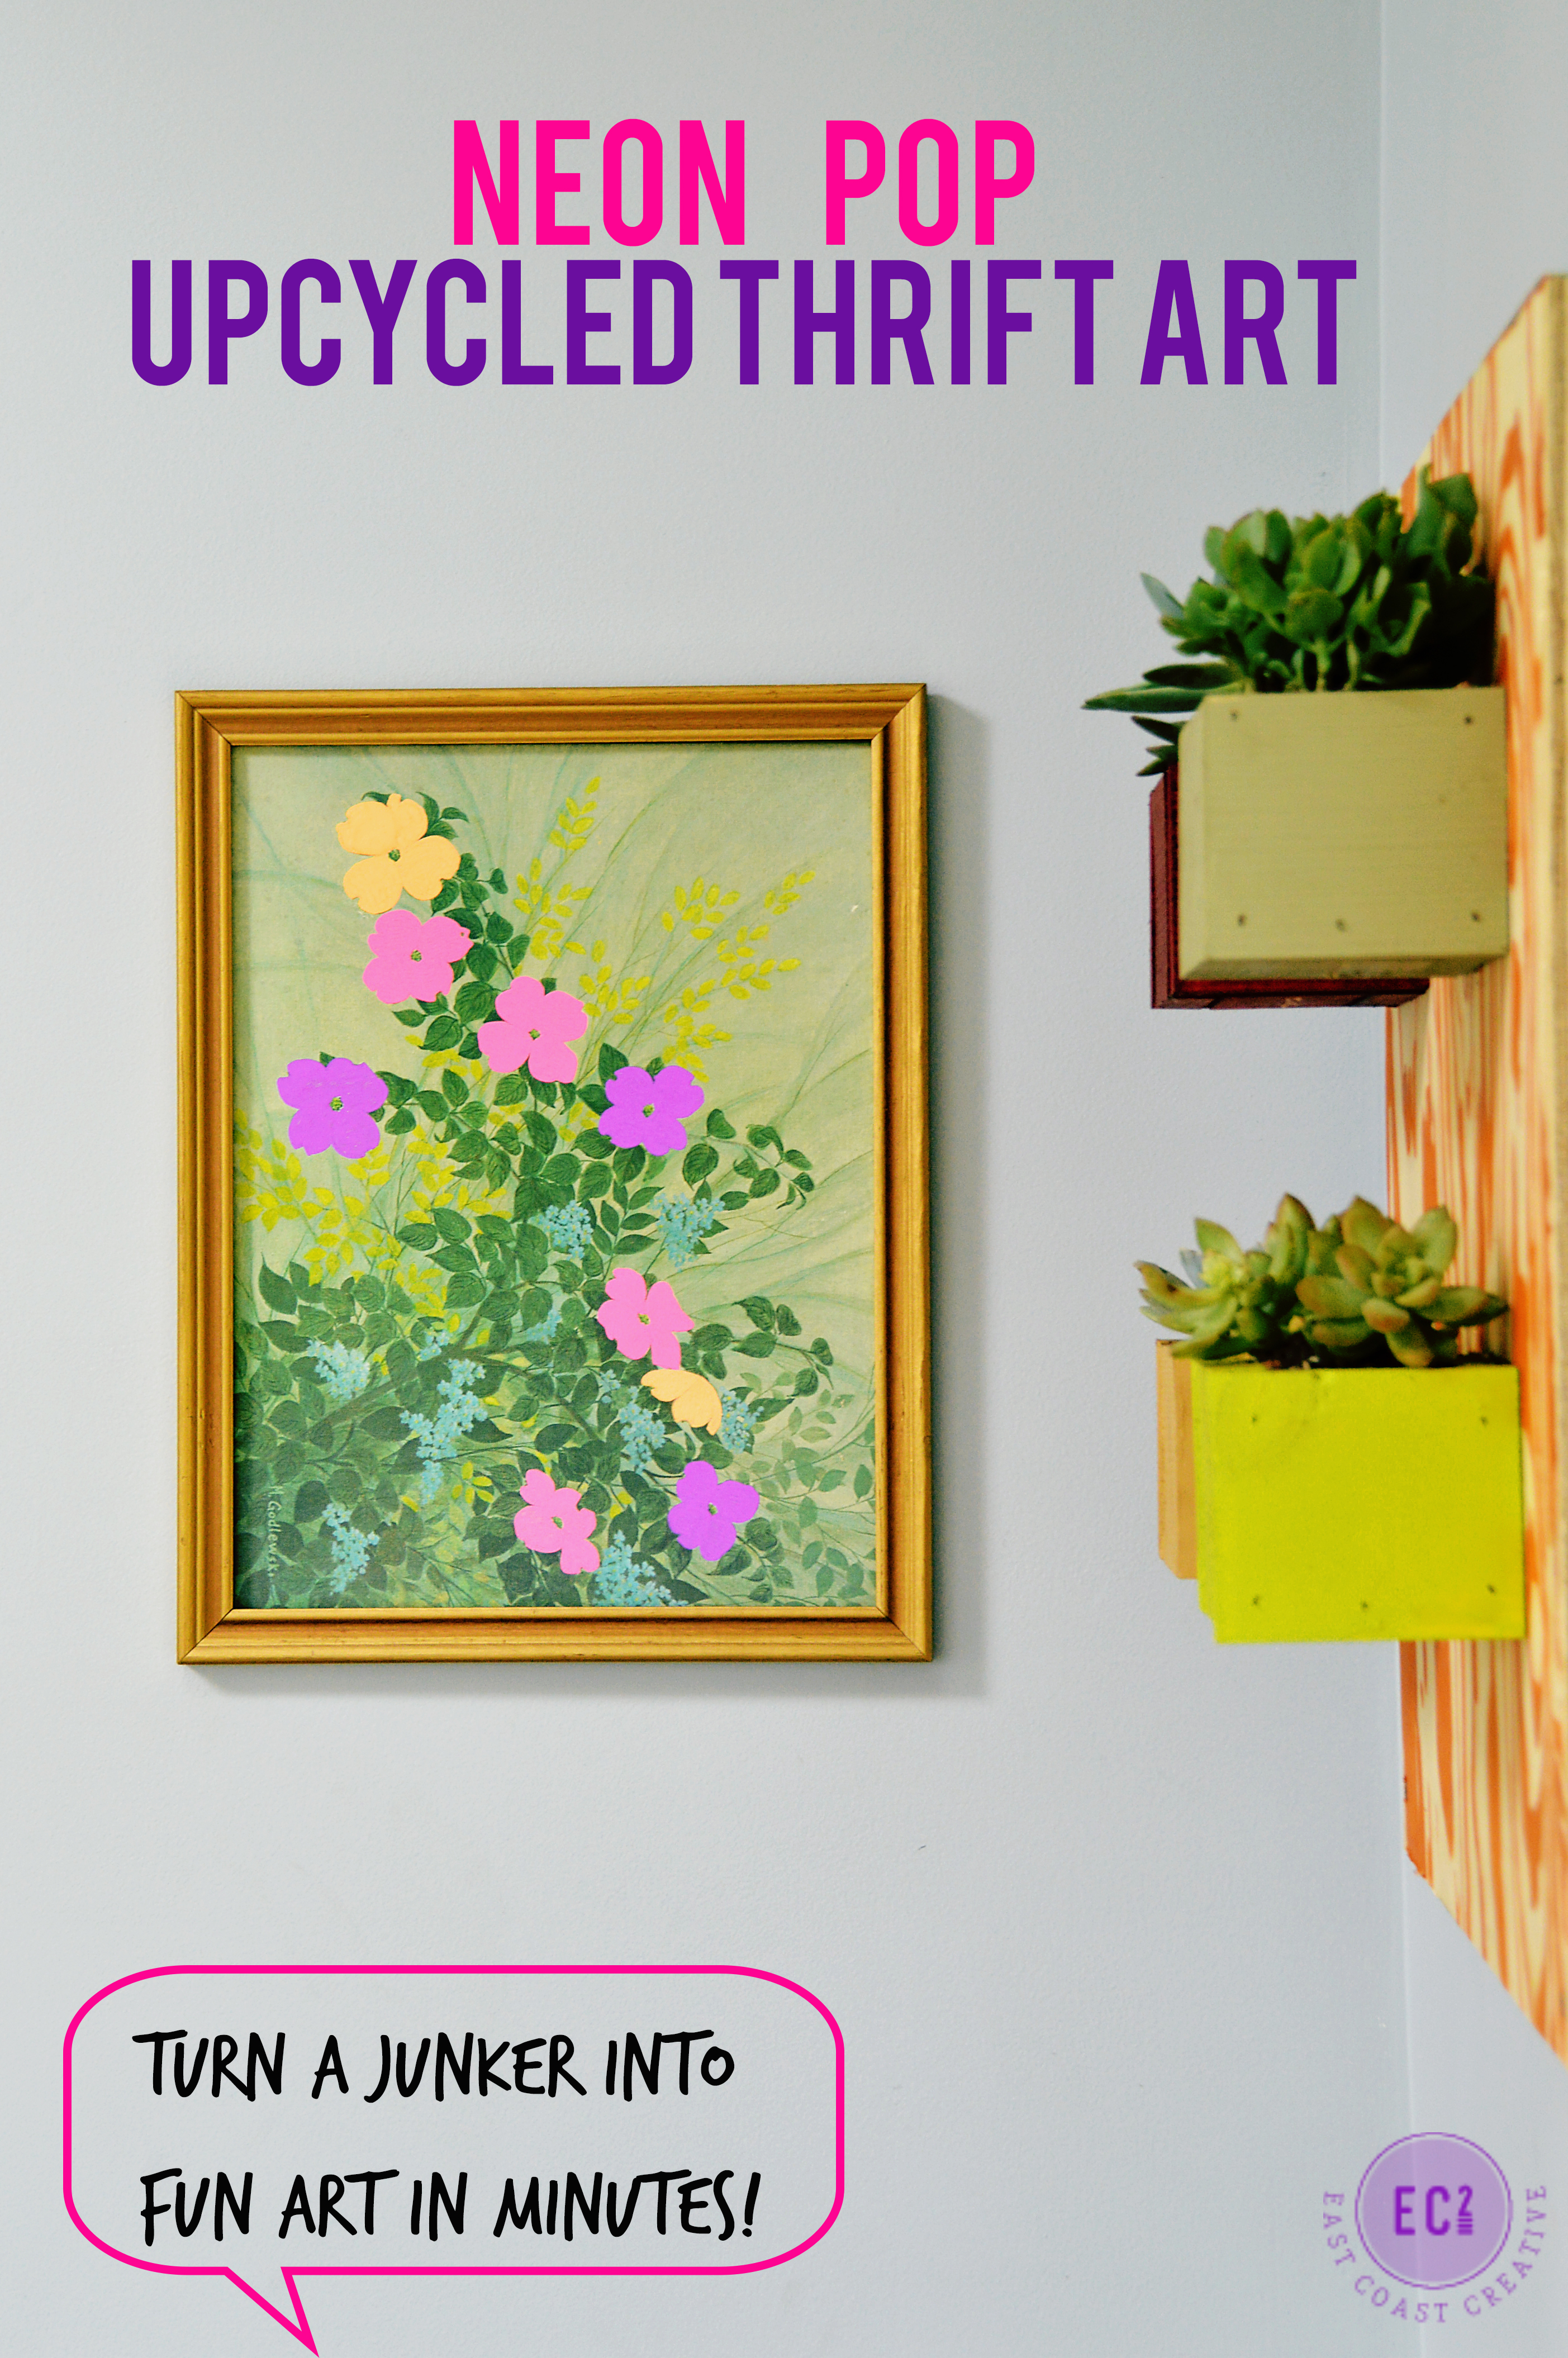
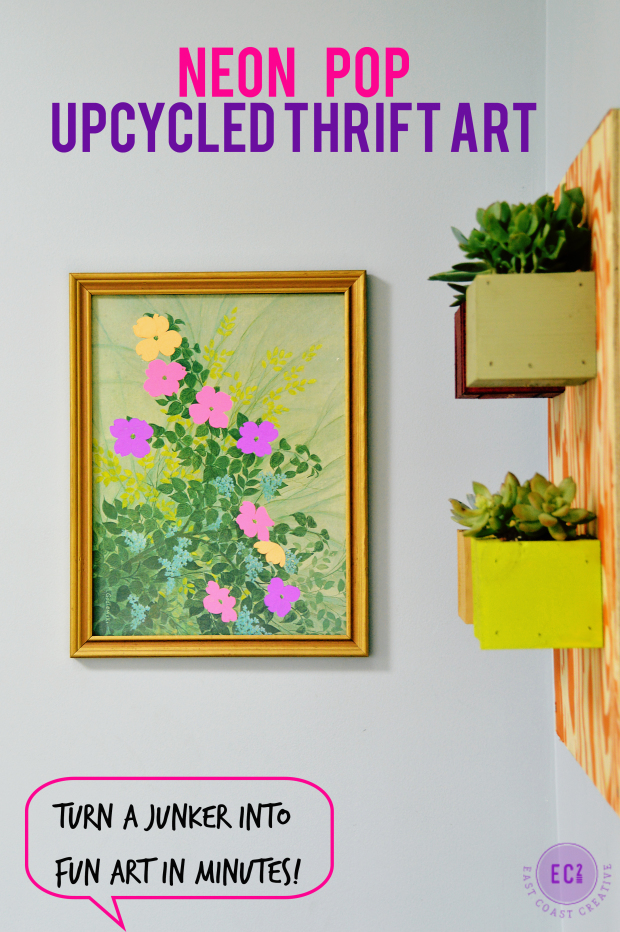
I love cool DIY art ideas and I love it even more if all I have to do is a minor tweak to upcycle a piece of thrift store art! Jess and I were hitting up Liberty Thrift store on one of our “Knock It Off” shopping trips and I hit the gold mine of thrifting! I left with a mid-century furniture piece, a clock, and 3 pieces of art all for less than $35! As soon as I saw one of the floral pieces, I immediately knew I wanted to bring some neon into its rather boring life! Check it out…
(and if you’re super observant- you might’ve noticed my latest succulent project- check back tomorrow for the tutorial and all the details!)
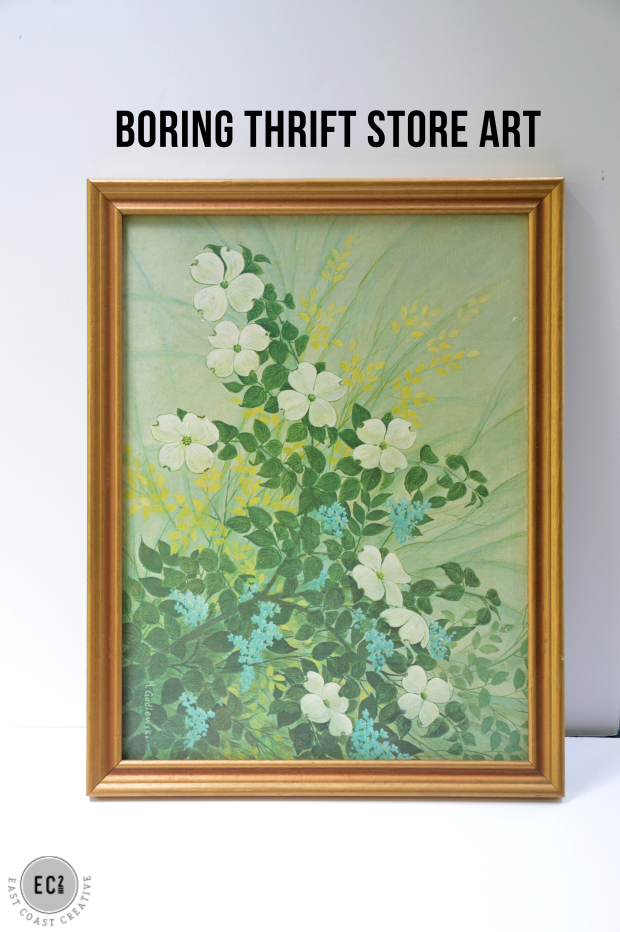
Here’s the floral goddess that caught my eye. It’s “fine,” but definitely nothing to write home about… as is…
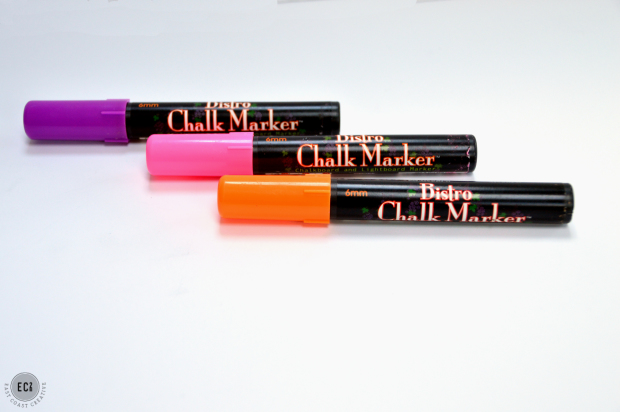
The floral art was a whopping $2.50. I already had these neon chalk markers that we use on my chalkboard backsplash all the time, and I thought they’d work well to add the neon POP I was envisioning. If you have anything chalkboard in your house and don’t own chalk markers, you’re totally missing out! You can write so crisply and have a ton of fun with all the color options! I love them!
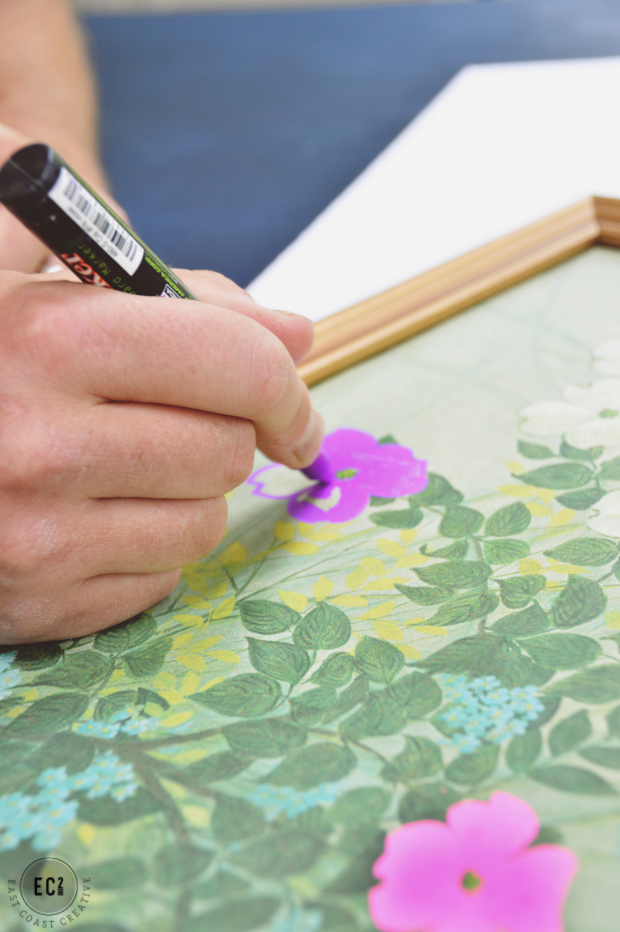
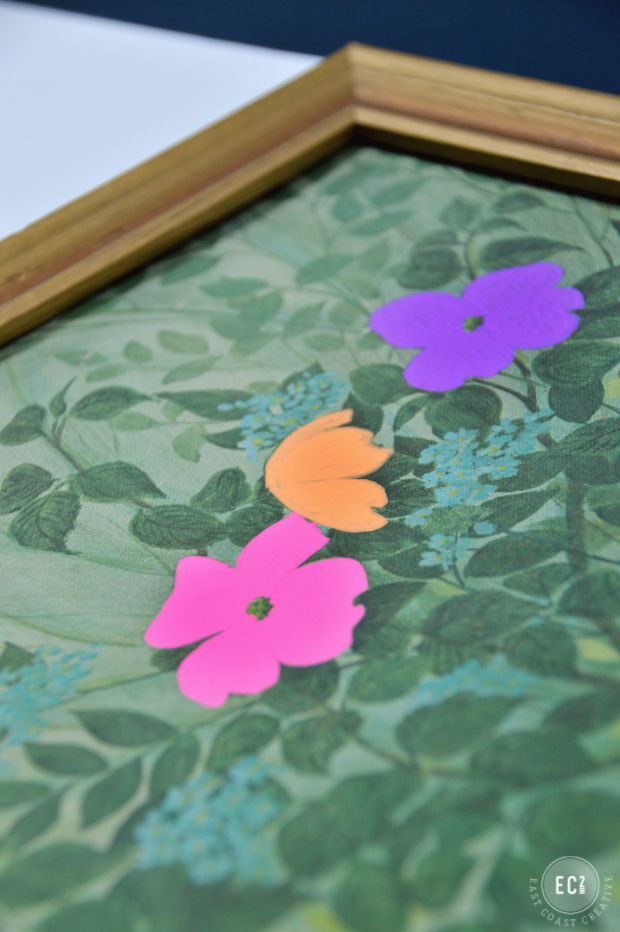
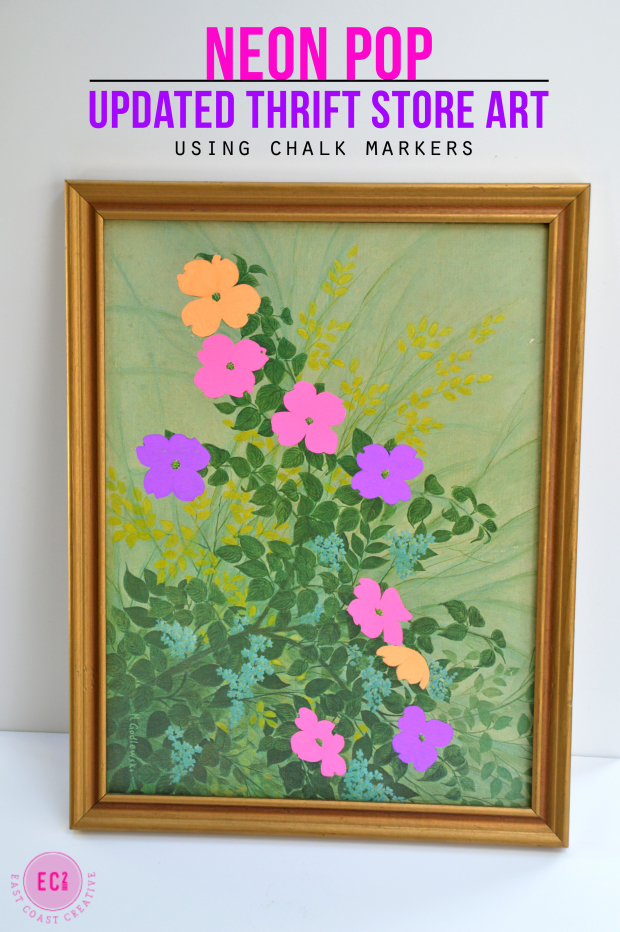
I wanted to accent the flowers, so I used all three colors on them. Actually… I was only going to use pink and orange, but Eric walked up, said he wanted to help (kinda weird and unexpected) and insisted on purple being included. I accepted his help and his baseless color recommendation, and in the end the purple was a good move. (Those are his man hands- just FYI. My hands are huge and kind of man-ish, but not that bad!)
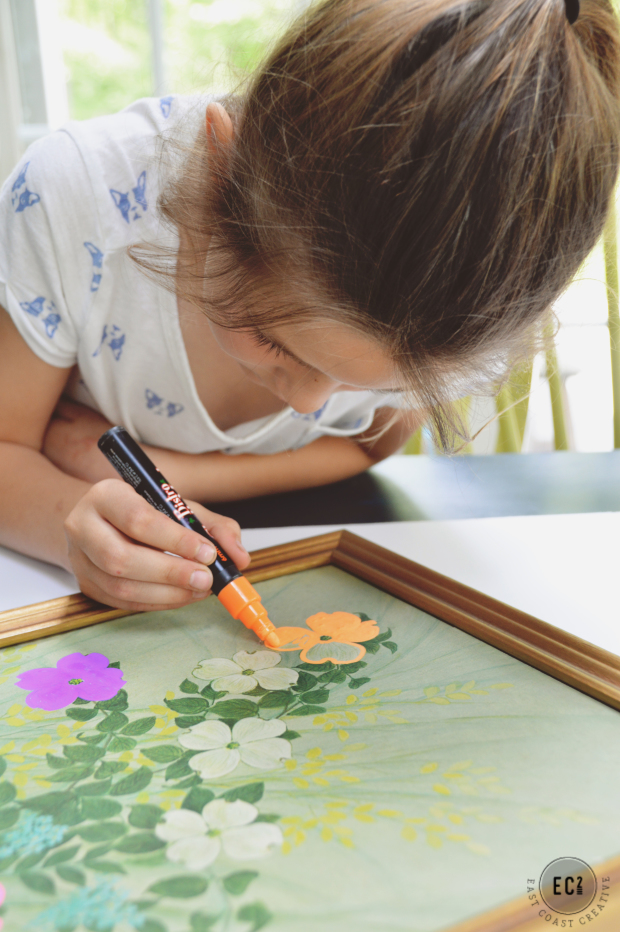
Next thing I know Kira sits down and wants to help too! Yeah, I definitely didn’t know this was going to turn into a family affair, but it was kinda awesome.
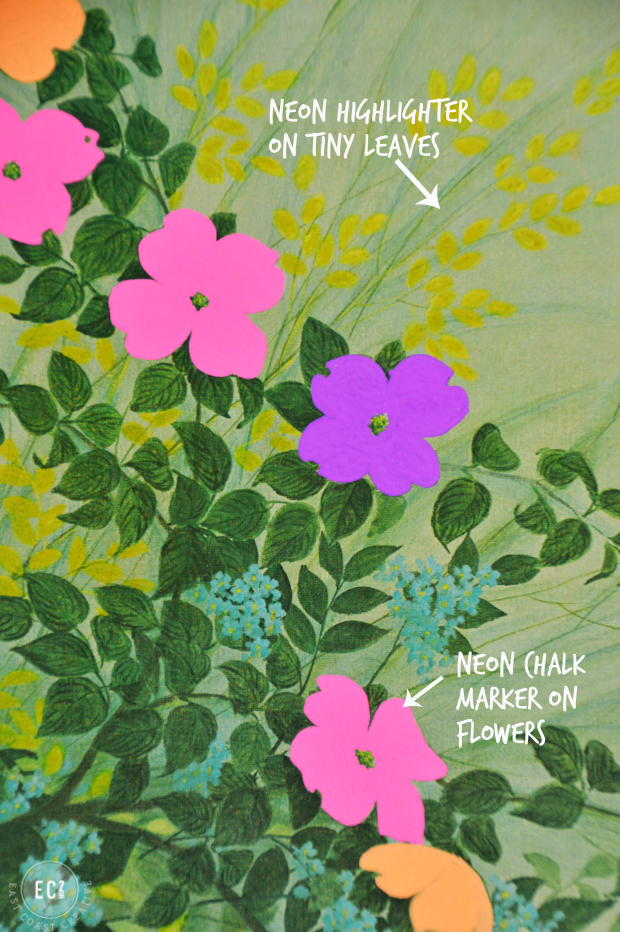
I used the chalk markers on the flowers and just a plain neon yellow highlighter on the tiny leaves. They helped balance out the vivid flowers with the muted background. I was careful to leave the centers of the flowers alone, so they didn’t become one chalky, neon, blob! Little details like that will help make any thrifted piece look detailed and intentional.
Really, that’s all there is to it! To be honest, now whenever I’m thrifting I’m looking at the dated artwork in a whole new way… a neon way. I think I have a mild neon obsession. I thought it was just succulents, but now the neon is creeping in and I have to fight the urge to add little pops of it all over my house. I phase things in and out really fast with my tastes, so I have to use some self-control or in 6 months we’d be sitting in a neon house, preparing to repaint for my next great obsession- I wonder what it will be next?!?
So, what say you? Are you feelin’ this DIY Art Upcycle? If you give it a try or have a thrift art upcycle of your own, I’d love to see a pic!
Tag me on Instagram- @EastCoastCreative

[…] had planned to put these in our breakfast nook near my Neon Thrift Store Art and Scrap Wood Wall Planter, but I thought they might look good in my kids’ playroom, so […]
[…] Neon Pops: You don’t have to paint over the whole painting to bring life back to a thrifted find. Add some […]
Very clever and attractive. Thanks for the idea–something new for crafters!