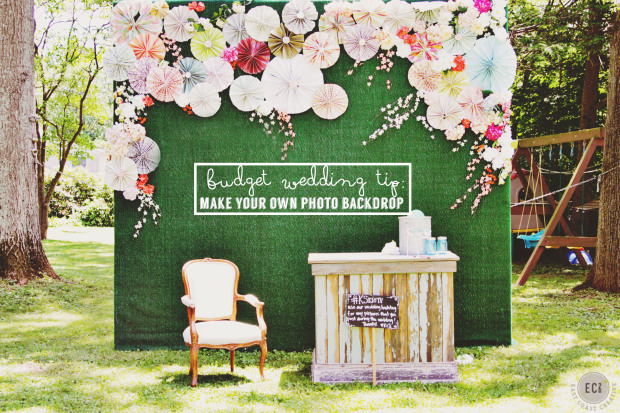
Pictures are one of the most important parts of a wedding! You want to have incredible pictures of the bride & groom, but you also want to capture moments with your guests- your family and friends! A DIY Wedding Photo Backdrop is the perfect way to encourage your guests to get in front of the camera and have a little fun! We made an incredible photo backdrop for the “Knock It Off!” wedding out of fake turf, scrapbook paper, and artificial flowers…
And it looked AMAZING!
I was lucky enough to have my blog assistant (Diana) on set with us for this wedding, so I’m going to let her share the tutorial for this budget friendly wedding photo backdrop!
—————————–
You guys, I don’t know how Monica does it all! She has been running around all week going back and forth to NYC, helped finish up a few big DIY projects at The Well with Worthwhile Wear, is working on the EC2 Apartment, and planned a Fall Nights Party all the while taking care of a household of four kids, two dogs, ducks, and a few other farm animals! So, since she has had quite the busy week (and life really!) and is in the middle of packing for her vacation with Jess, I’m here tonight to share with you the tutorial on the DIY Photo Booth Backdrop and explain how she used the Cricut Explore for the floral pinwheels.
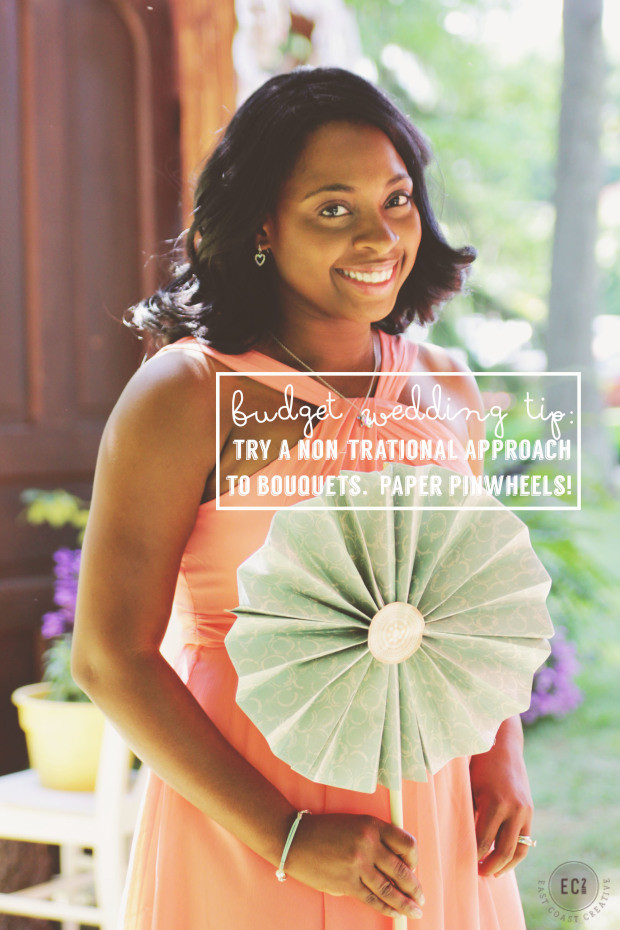
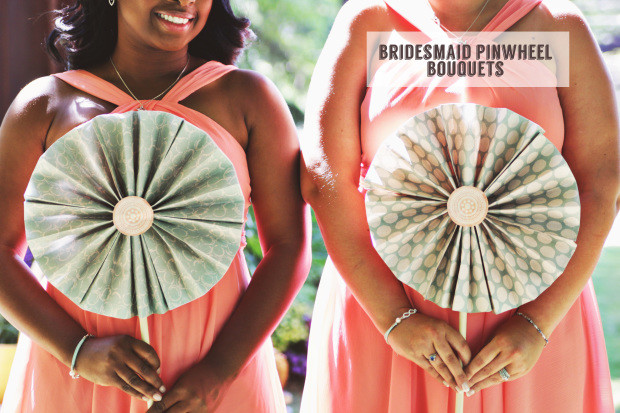
Last month we shared the tutorial from Monica and Jess for the Paper Pinwheel Bridesmaids Bouquets, but first came the DIY photo booth backdrop, which the bouquet idea emerged from.
Here are the materials you’ll need for your photo backdrop:
two (2) 4×8 plywood sheets
six (6) 2×4’s at 8 feet
nail gun
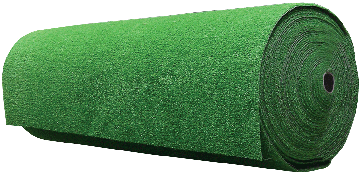
turf (aka fake grass)
staple gun
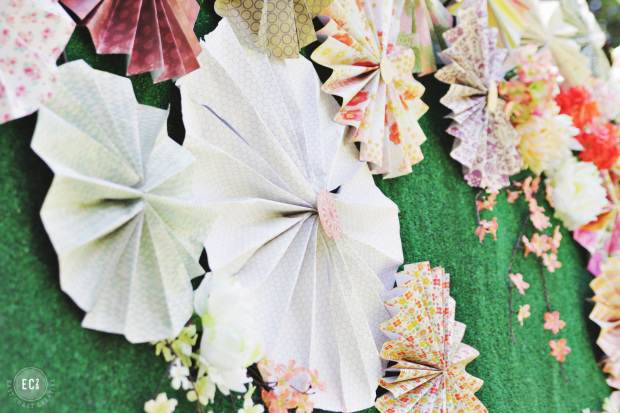
pinwheels and fake flowers
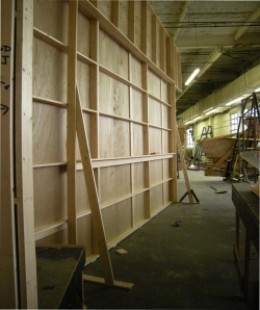
The booth backdrop is actually more like a theatre set style “wall” as you will see in the tutorial images below. So, when the wedding or party is over and you no longer need to use it as a photo booth you could donate it to your local high school drama program!
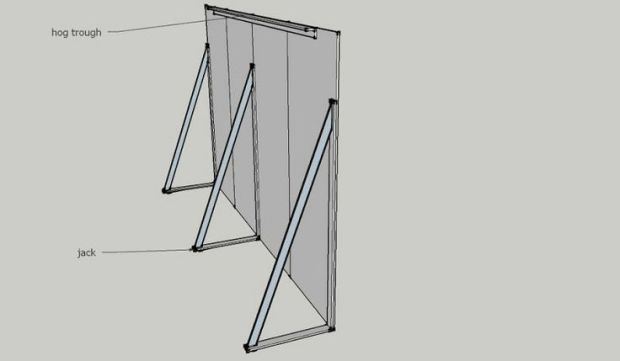
To put together the backdrop begin by framing out a “wall” with the 2×4’s. Nail the 2×4’s together to create a large box, which should measure 8 feet x 8 feet. Place support beams or “studs” approximately 16-20 inches apart and nail into the top and bottom of the frame. Place a cross beam or stud in that runs horizontally at the midpoint between the bottom and top 2×4’s and nail into place. It might sound complicated, but it’s really simple. Just use the picture as a guide.
Lay the frame flat on the ground and attach the plywood to the frame with a nail gun. Trim any overlap with a circular saw. Next, roll the turf out over the surface of the plywood, and just like with upholstery, wrap the turf around the frame, pull tight, and staple into place. Continue all the way around the frame until the entire surface of the plywood is covered.
To get the “wall” to stand upright, place a 2×4 inside the backside of the frame at the bottom and nail into the upright 2×4. The 2×4 should go straight out the back and rest on the ground. Place another 2×4 at an angle coming off the back of the wall. Screw into the upright 2×4 and then into the 2×4 coming out the bottom of the wall. Repeat this same process for the other side. Throw a few sand bags onto the 2x4s you just attached for extra weight.
Now it’s time to decorate! Monica & Jess attached a lot of the handmade pinwheels in various sizes around the top of the wall with a staple gun. Then they added artificial flowers so that it looked like they were cascading down the backdrop. For a fun touch, Monica and Jess attached the bride and groom’s wedding hashtag to the wall so the guests would know how to tag their photos on Instagram or Facebook!
Learn how to make the pinwheels here
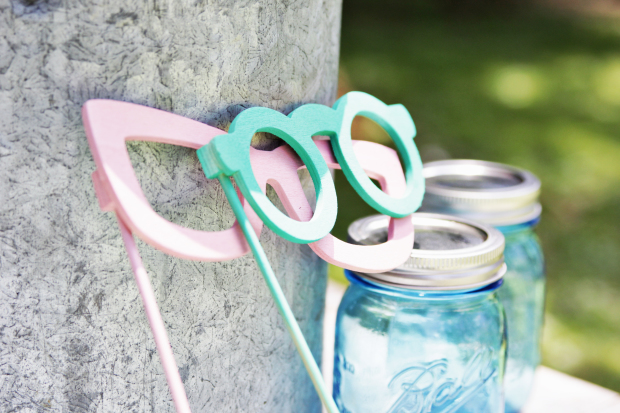
Don’t forget to include fun props for your guests to pose with in front of your awesome photo backdrop!
This wedding was incredible, and the working with such a great family made it even better!
Check out the other projects and tips from this wedding below
Paper Pinwheel Bridesmaid “Bouquets
Are you a bride to be or helping plan a wedding? We have the BEST wedding gift EVER!
The Game of Love is the perfect surprise to use on your honeymoon, makes a super fun bachelorette party gift, and also is so much cooler than giving a wedding gift off a registry.
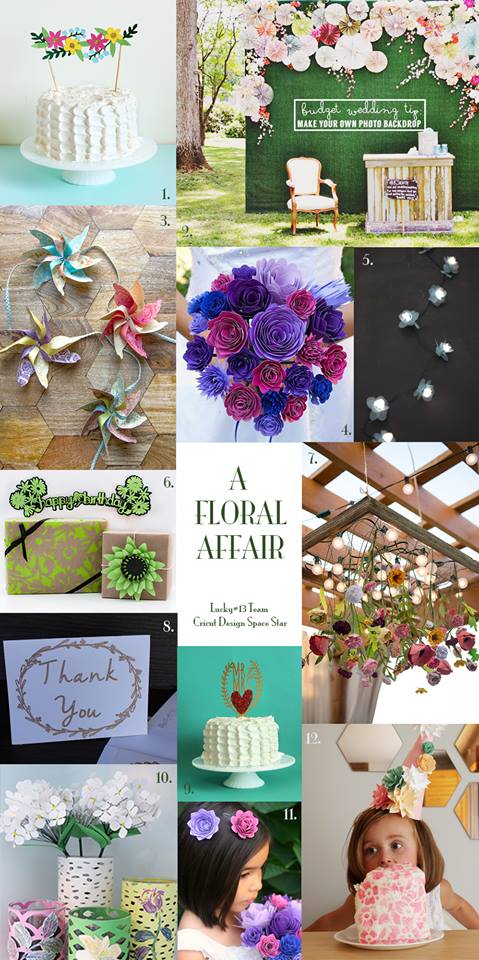
A Group of talented bloggers are also sharing floral related projects. There are so many creative ideas here- check them out!
- The Sweet Escape’s Floral Cake Topper
- East Coast Creative’s Photo Backdrop
- Andrea’s Notebook Floral Pinwheel
- Sew Creative’s Paper Bridal Bouquet
- Pars Caeli’s Flower Lights
- Petit a Petit and Family’s Birthday Kit
- Suburban Bitches’ Floral Chandelier
- Pretty Providence’s Simple Elegant Thank You Cards
- The Sweet Escape’s Wedding Cake Topper
- That Girl Katie’s Floral Vases + Candle Koozies
- Sew Creative’s Flower Girl Barrettes
- Simply Sadie Jane’s Flower Stamped Cake and Flower Party Hats



This is just stunning!! Well done ladies!! I always wonder what happens to these amazing photo backgrounds after the event? And wow, how DOES Monica do it all?!?!?
Gorgeous!! One of the prettiest back drops ever!! I shared it with my sister who is getting married soon and I’m sharing with my readers this weekend with a direct link back here. Have a lovely weekend!
[…] 4. The perfect DIY project for any party or wedding. A photo booth backdrop from East Coast Creative. […]
[…] I love the green backdrop and those handmade pinwheels! Great idea — and you can get the full diy details here. […]
This is awesome!!! Where did you find the turf rug if i may ask?? I found some that are 6′ by 8’s but that wouldn’t be enough to cover the two 4 x 8′ panels.
[…] East Coast Creative’s Photo Backdrop […]
[…] East Coast Creative’s Photo Backdrop […]
[…] East Coast Creative’s Photo Backdrop […]
This is gorgeous, but how do you transport it????
Not a problem because we made the backdrop at the wedding and then disassembled it at the end. Thanks for reading! -Monica
Where did you find the turf for this?! That is the million dollar question!
We got the turf at Lowes:) It’s in the carpet section.
[…] East Coast Creative’s Photo Backdrop […]
[…] East Coast Creative’s Photo Backdrop […]