

So, by now, most of you know that we’re in the middle of filming for our brand new TV show, where we’re doing big, fabulous room makeovers. But every once in a while it’s really nice to do a simple DIY project that doesn’t take a lot of time or effort. This wood crate centerpiece is beautiful, easy to do, and only requires the use of a couple of tools. Not bad. 🙂
Here’s how to make your own:
1. Gather the materials. I used a couple of 1×5’s that I had lying around, but you’ll need to purchase one 8 foot 1×5 from your local hardware store.

2. Measure and cut the wood using a chop, circular or hack saw to the appropriate lengths. Cut three identical pieces at 24 inches long, and two end pieces at 6 inches.

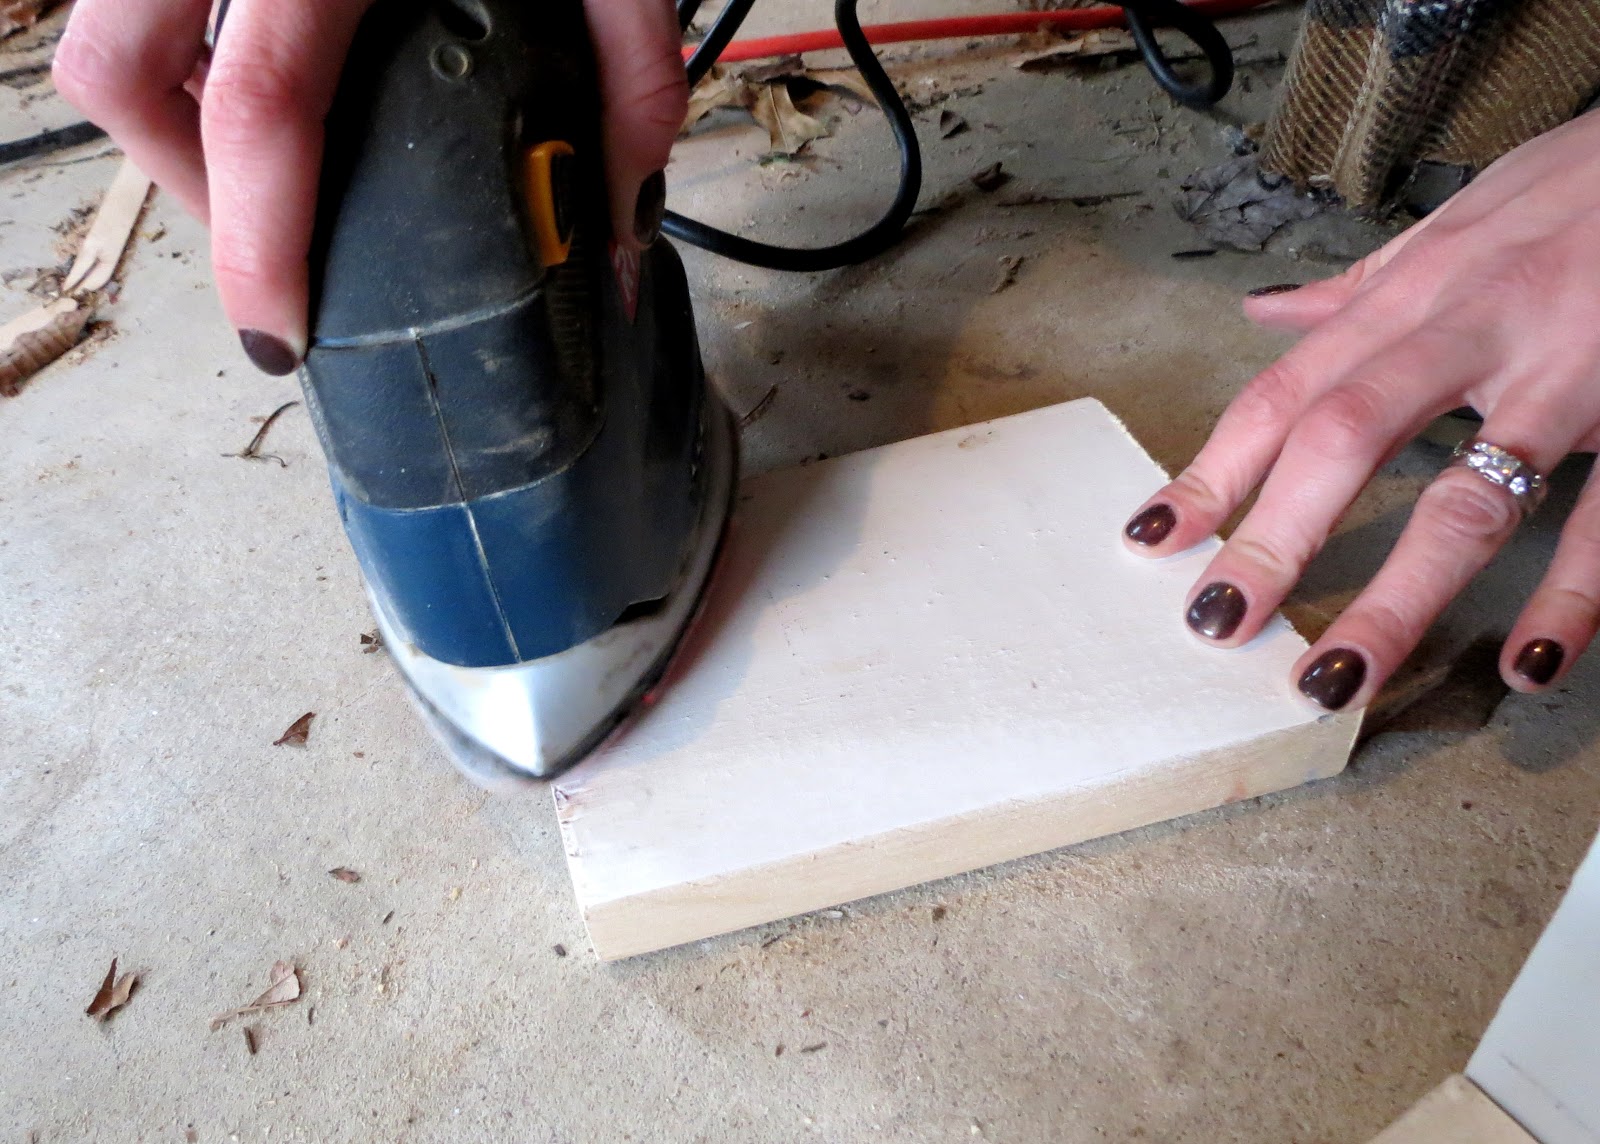
3. Sand the rough edges with 120 grit paper. At this time, also sand the boards so that they receive the paint well.
4. Roughly assemble your crate to see which pieces fit best together. Run wood glue or liquid nails along the length of one side and adhere it to the outside edge of the board that will be the bottom of your crate. Be sure to make sure the edges are flush. Let dry. Do the same with the other side and the end caps.
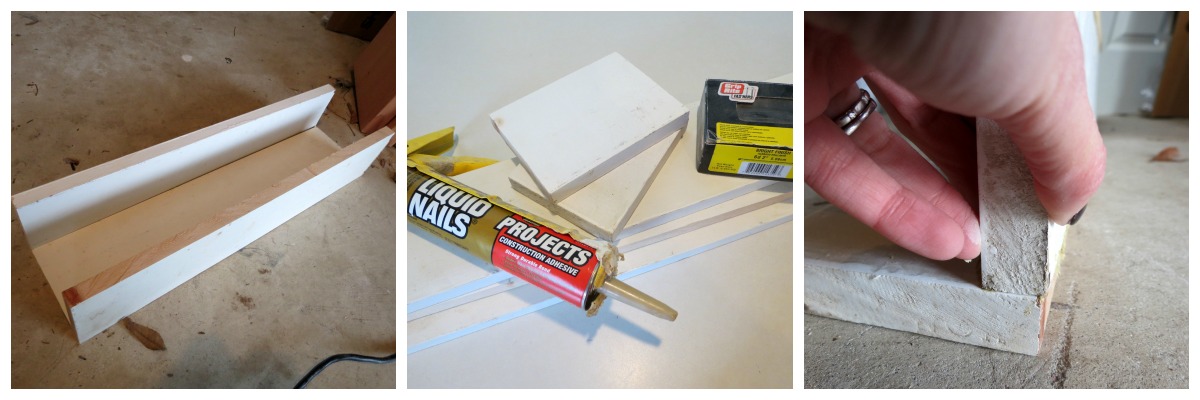
5. Using a hammer, add finish nails along the base of the crate on both sides and the ends for additional support.

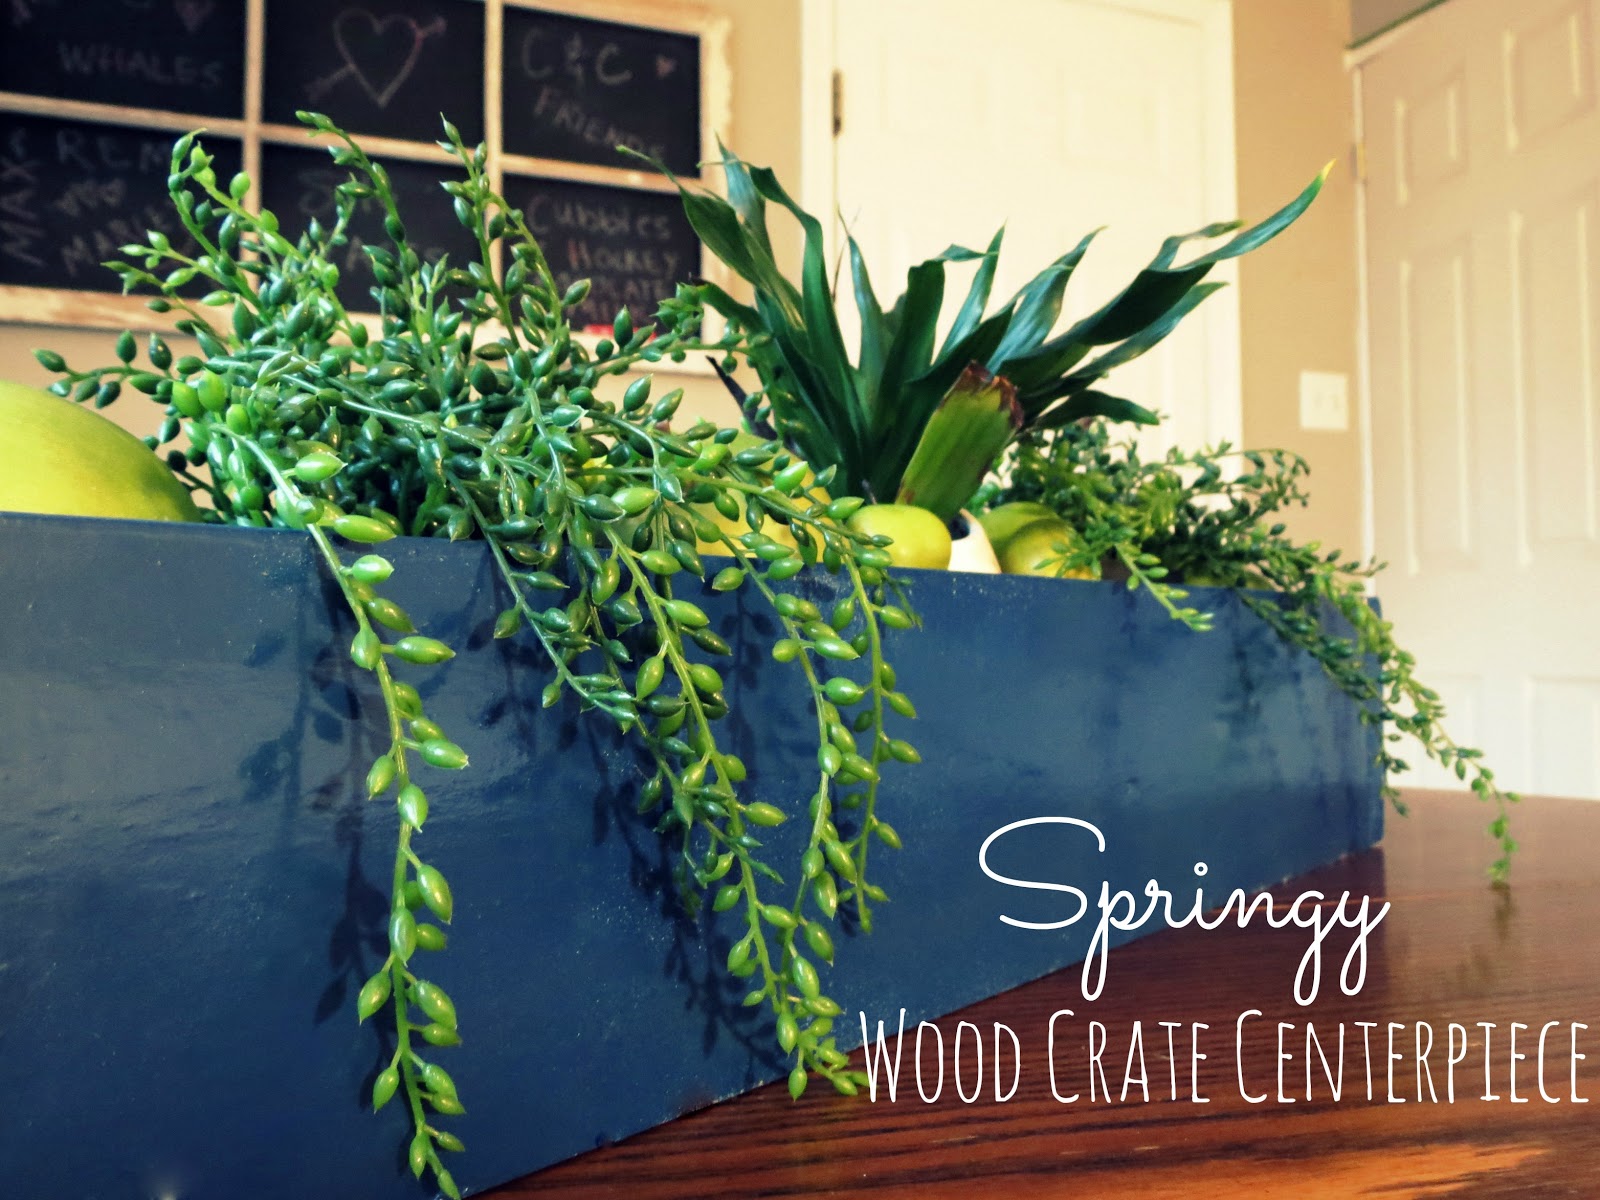
6. Paint the crate your desired color. I went with navy to tie in with the colors in my kitchen, but white would be pretty and really versatile. You could also use your favorite stain instead of paint.
7. Fill with plants and fruit for a colorful and pretty centerpiece!

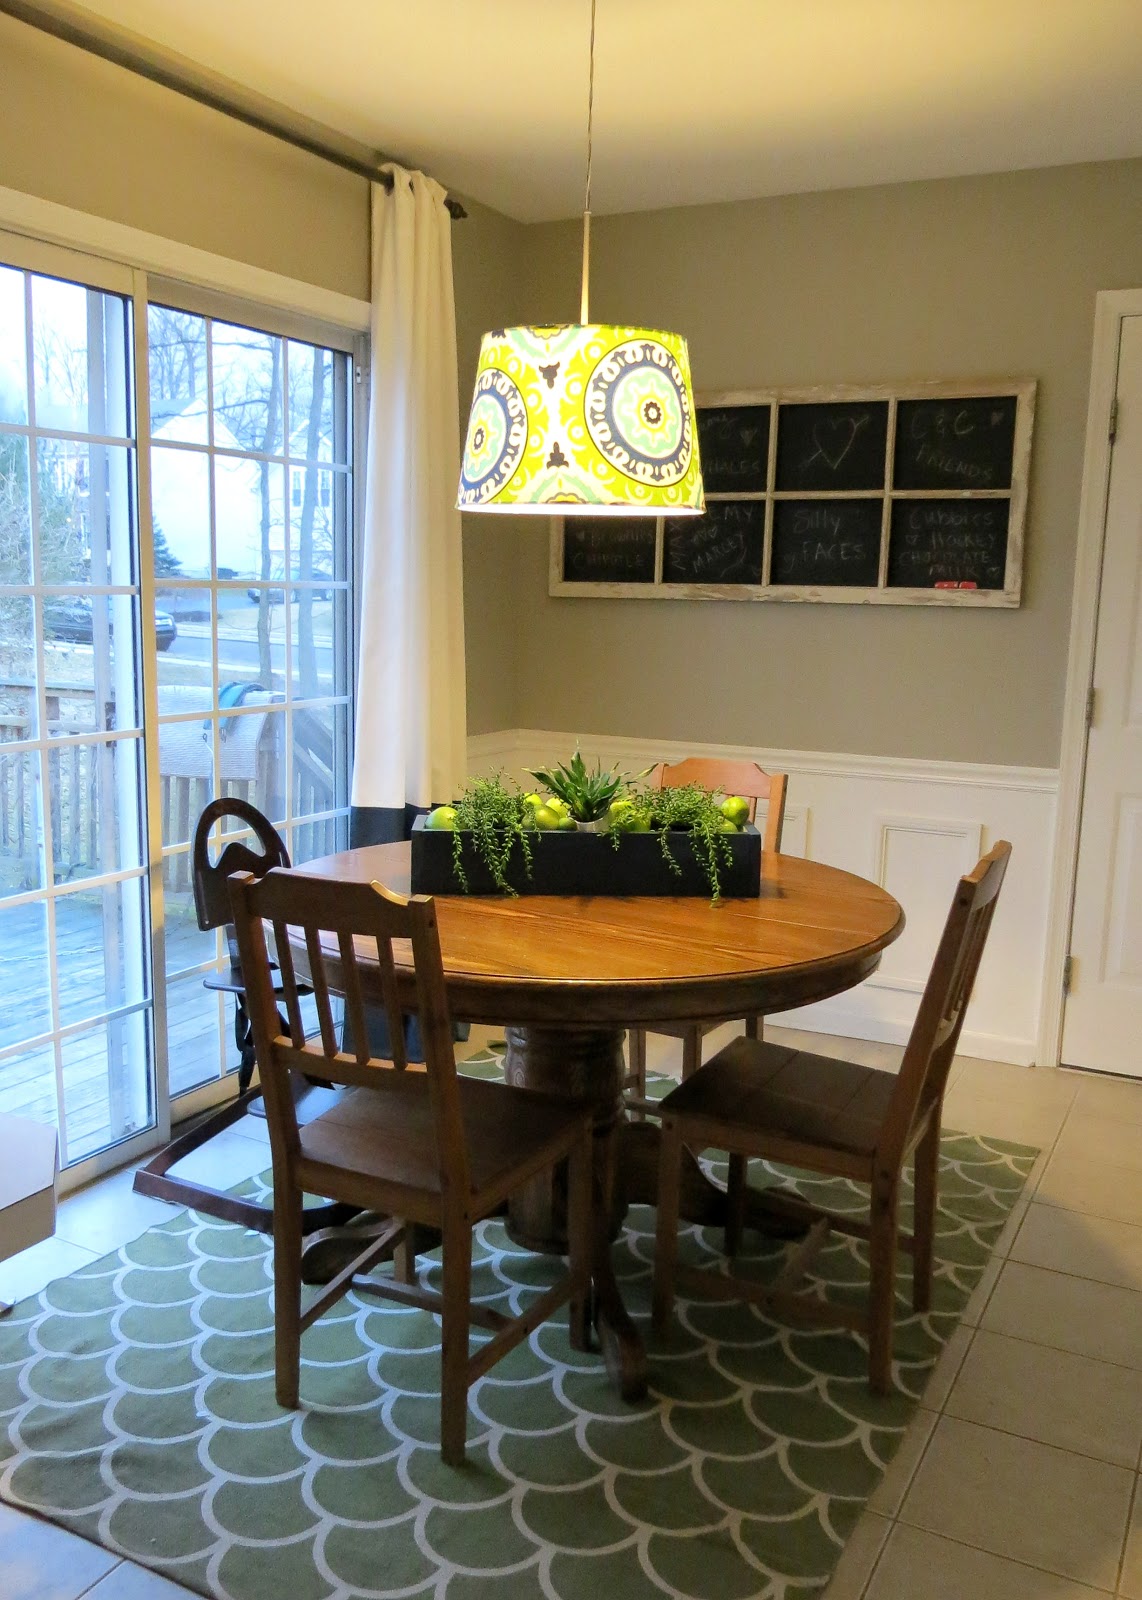
Doesn’t it look great in my kitchen? By the way, I finally scored a pedestal table- a hand-me-down from my parents and have yet to decide what color to paint it. Any ideas?? It’s no surprise that I’m drawn to white, but haven’t made the leap yet.
Yay for easy projects that make you feel accomplished! 🙂


Love it! What a great simple DIY!
Leslie
House on the Way
I love it! Another fabulous tutorial to add to my long, long list of project I want to make. 🙂