Garage Makeover Tutorial # 1- Custom Painted Rugs!
 Hopefully you got to see my Garage Mudroom Makeover. If you missed the reveal, you can check out the full post here.
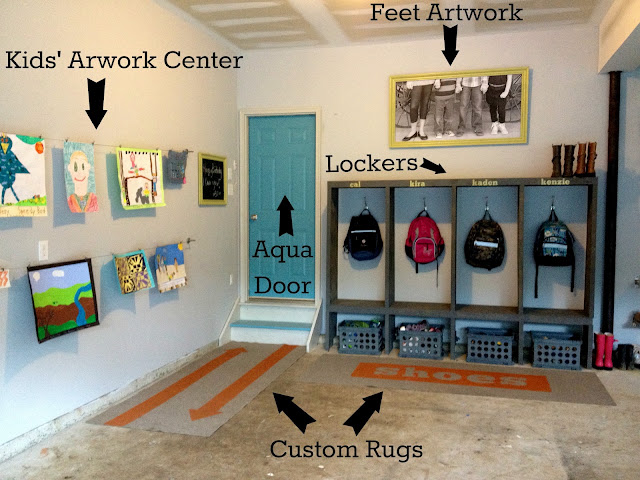
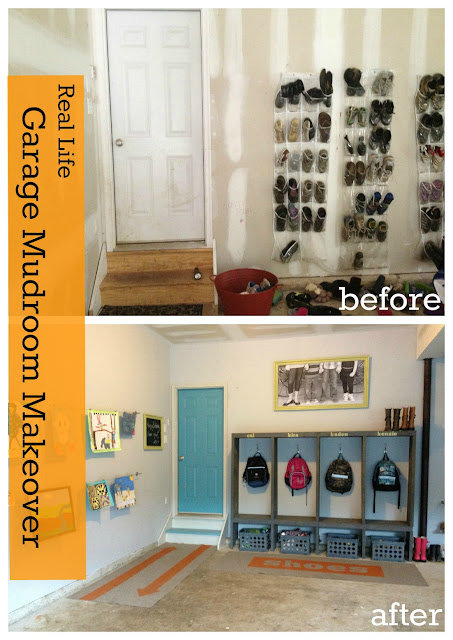 Today I’m giving you the inside scoop on the fun rugs I made. I’ll be sharing the other tutorials over the next few days.
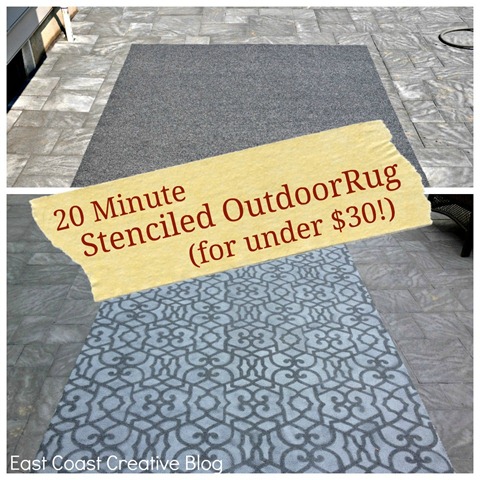
 I used the same Home Depot rugs that I used for my stenciled outdoor rug. Check out that post for all the details on where to buy them. They were under $20 each!
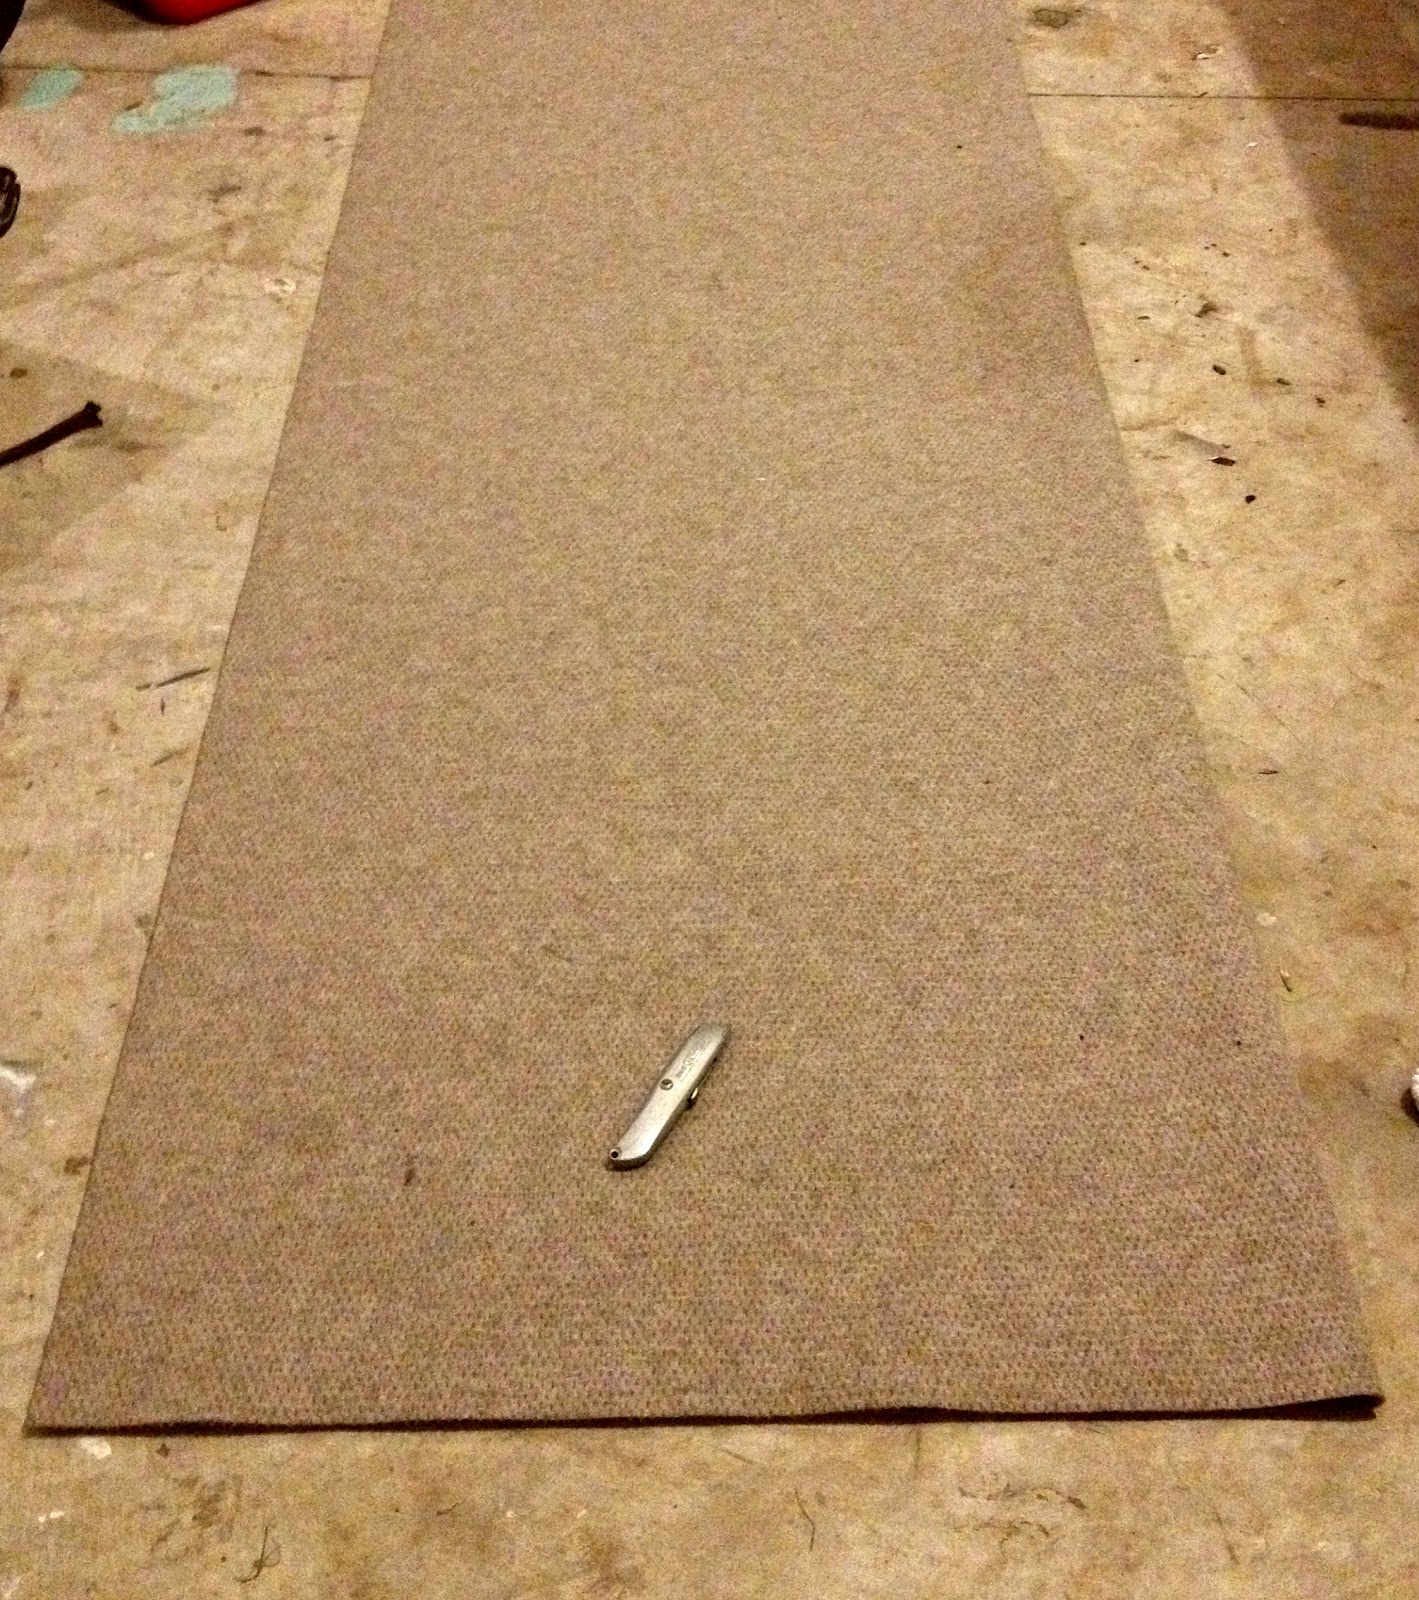
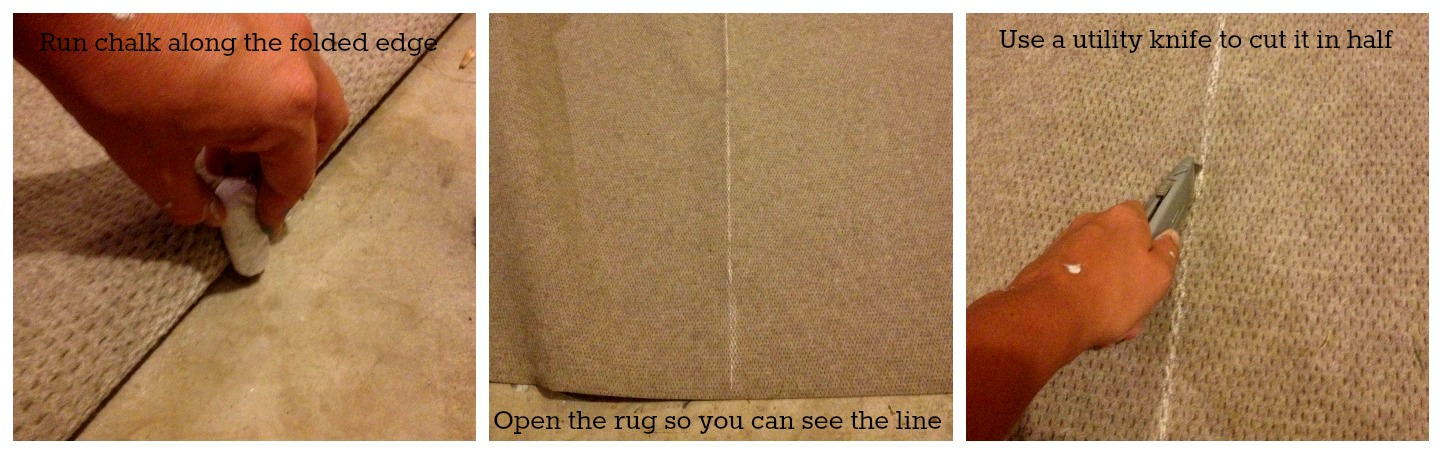
 Instead of one big rug, I wanted two runners, so I folded it in half and cut it.
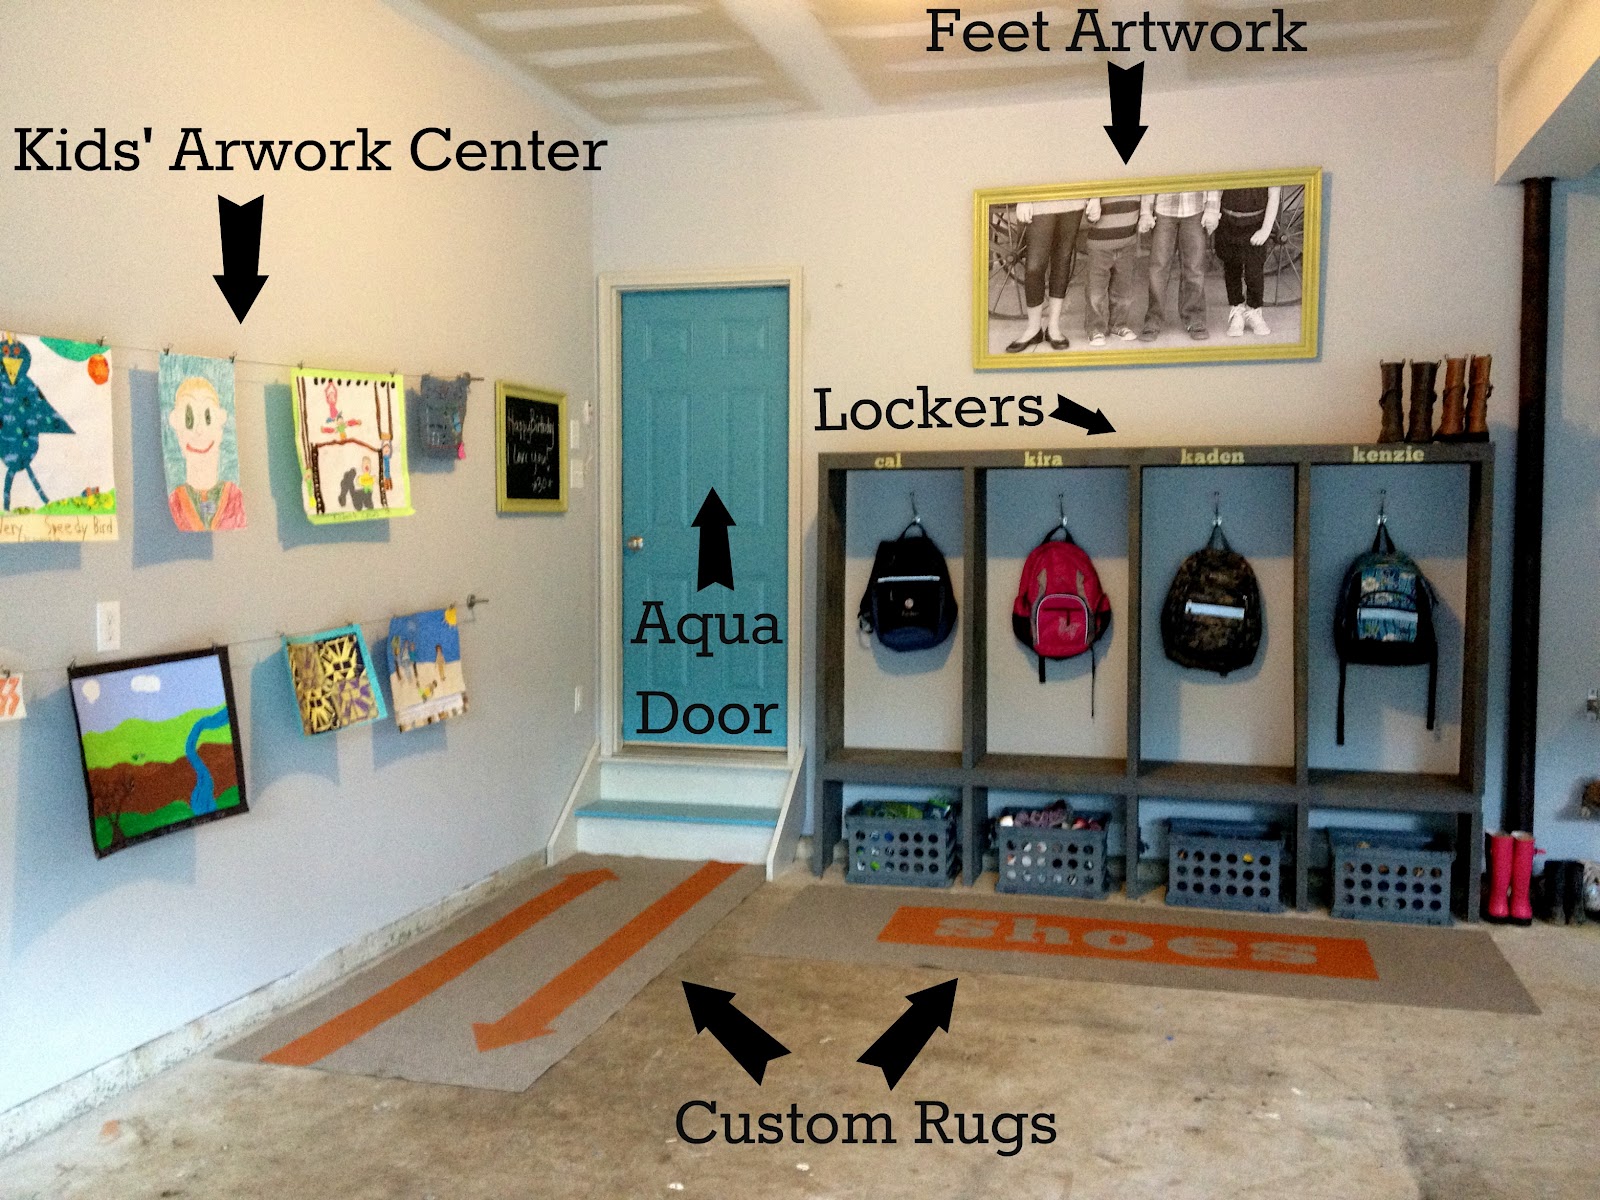
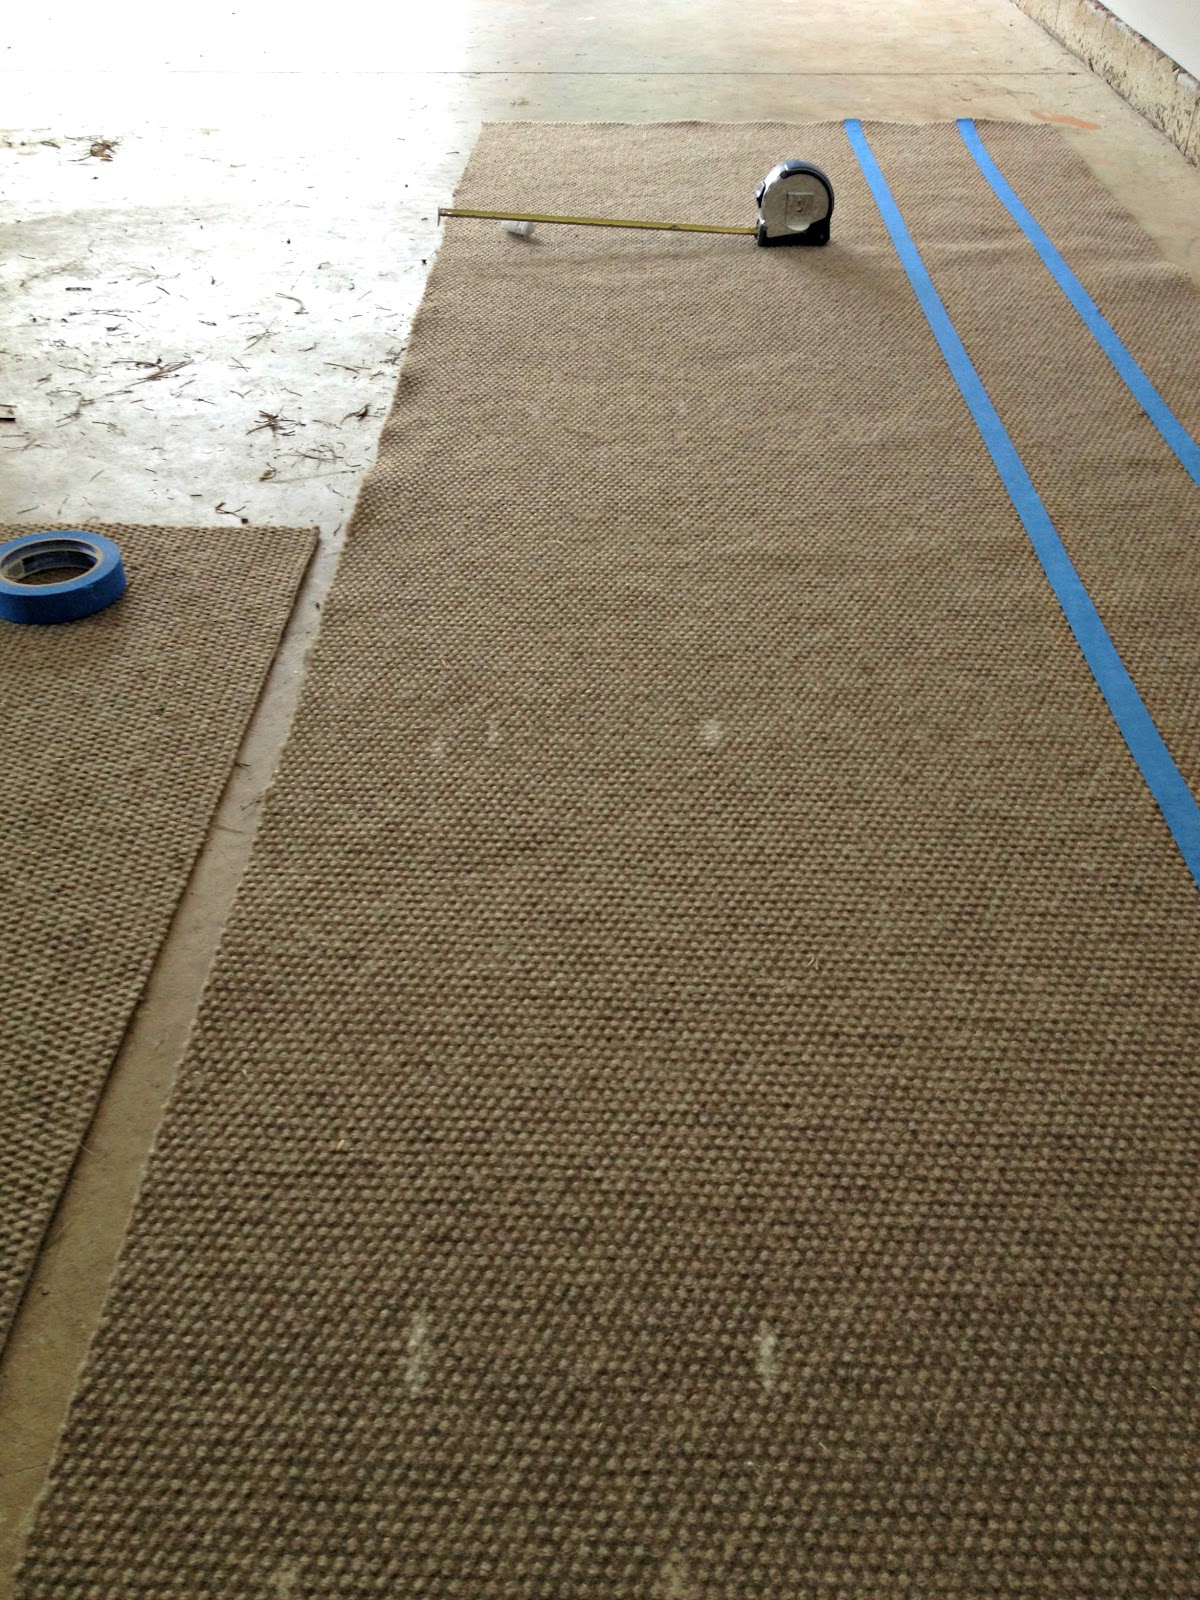
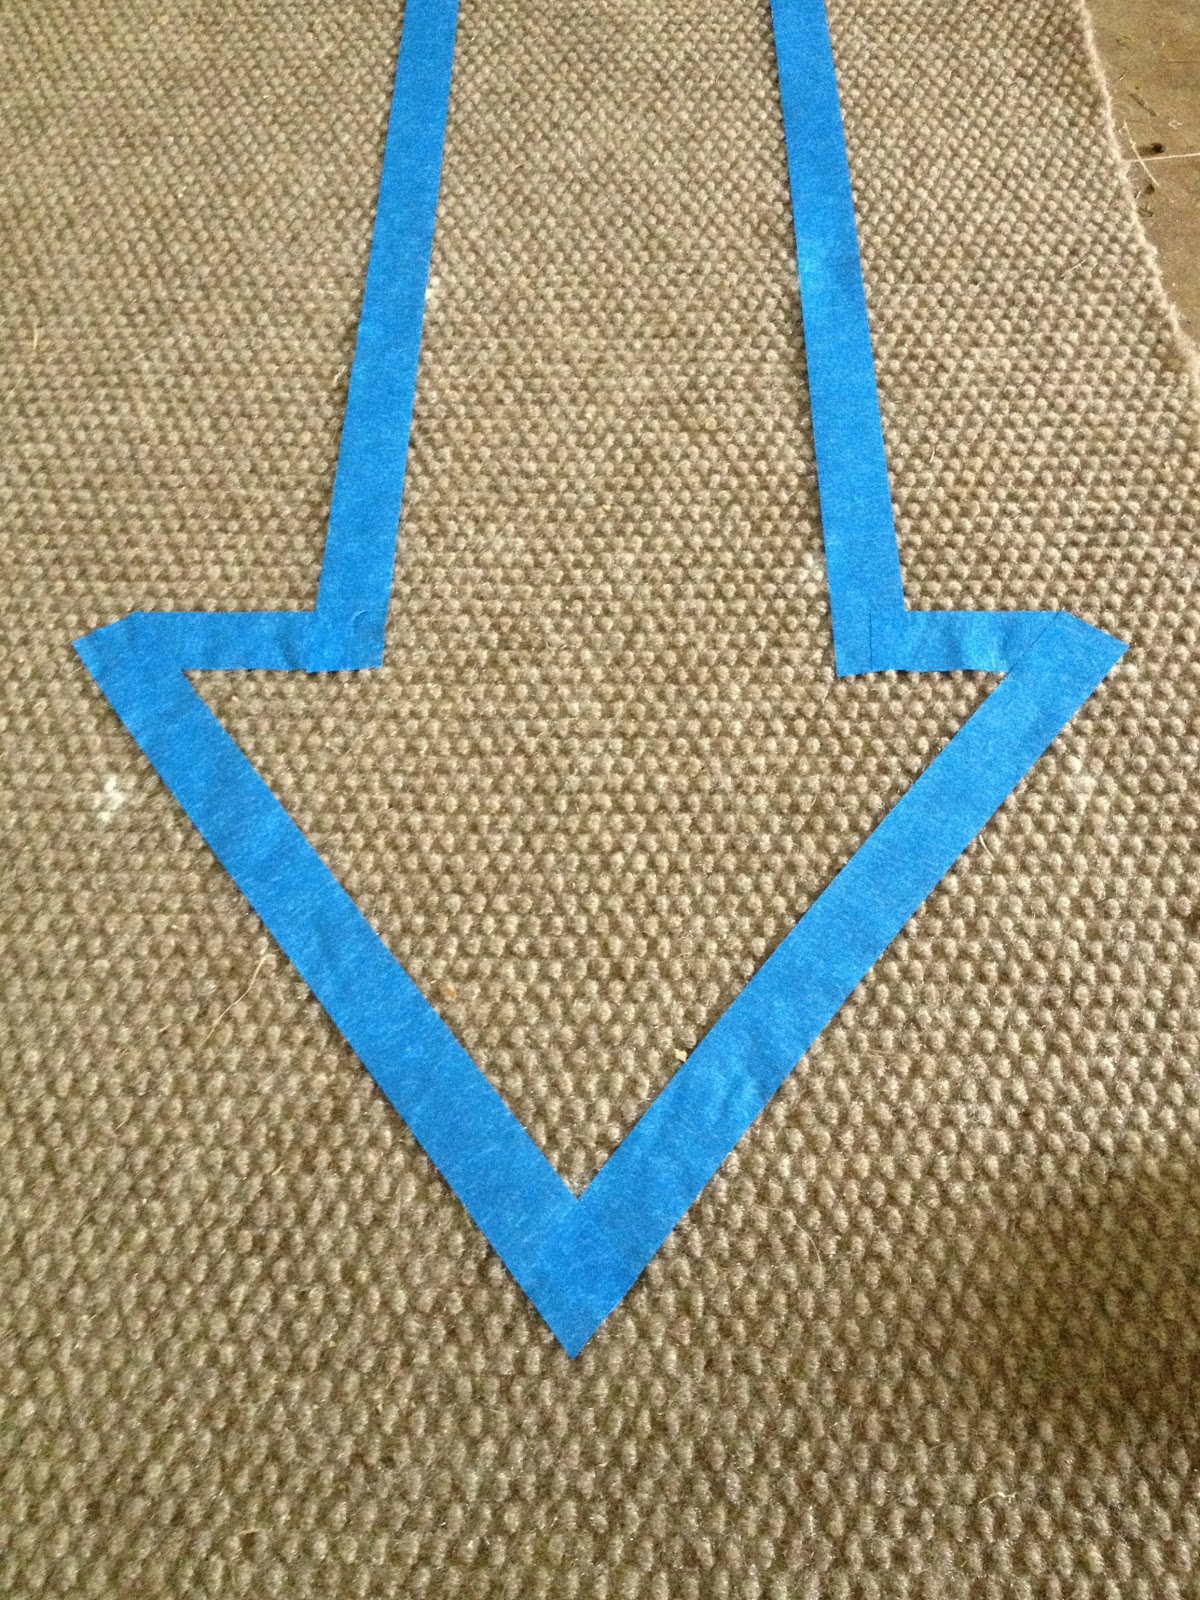
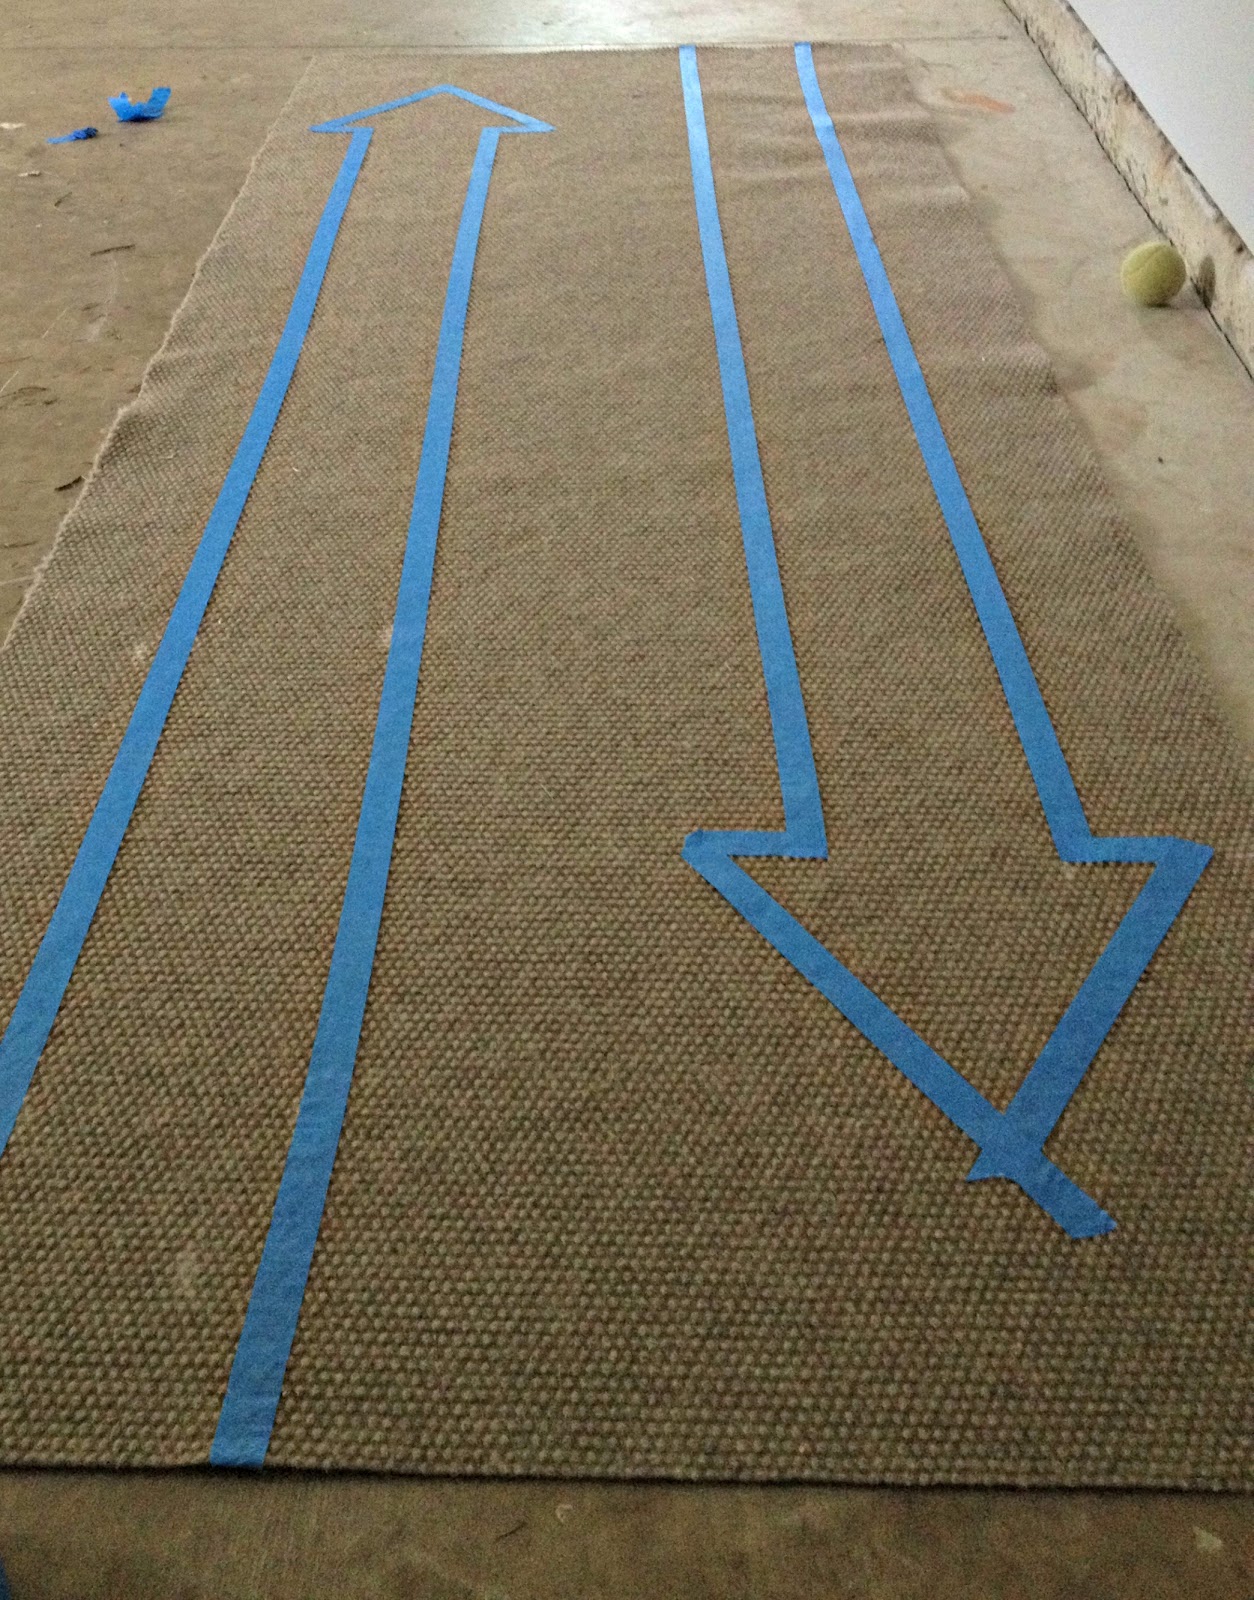
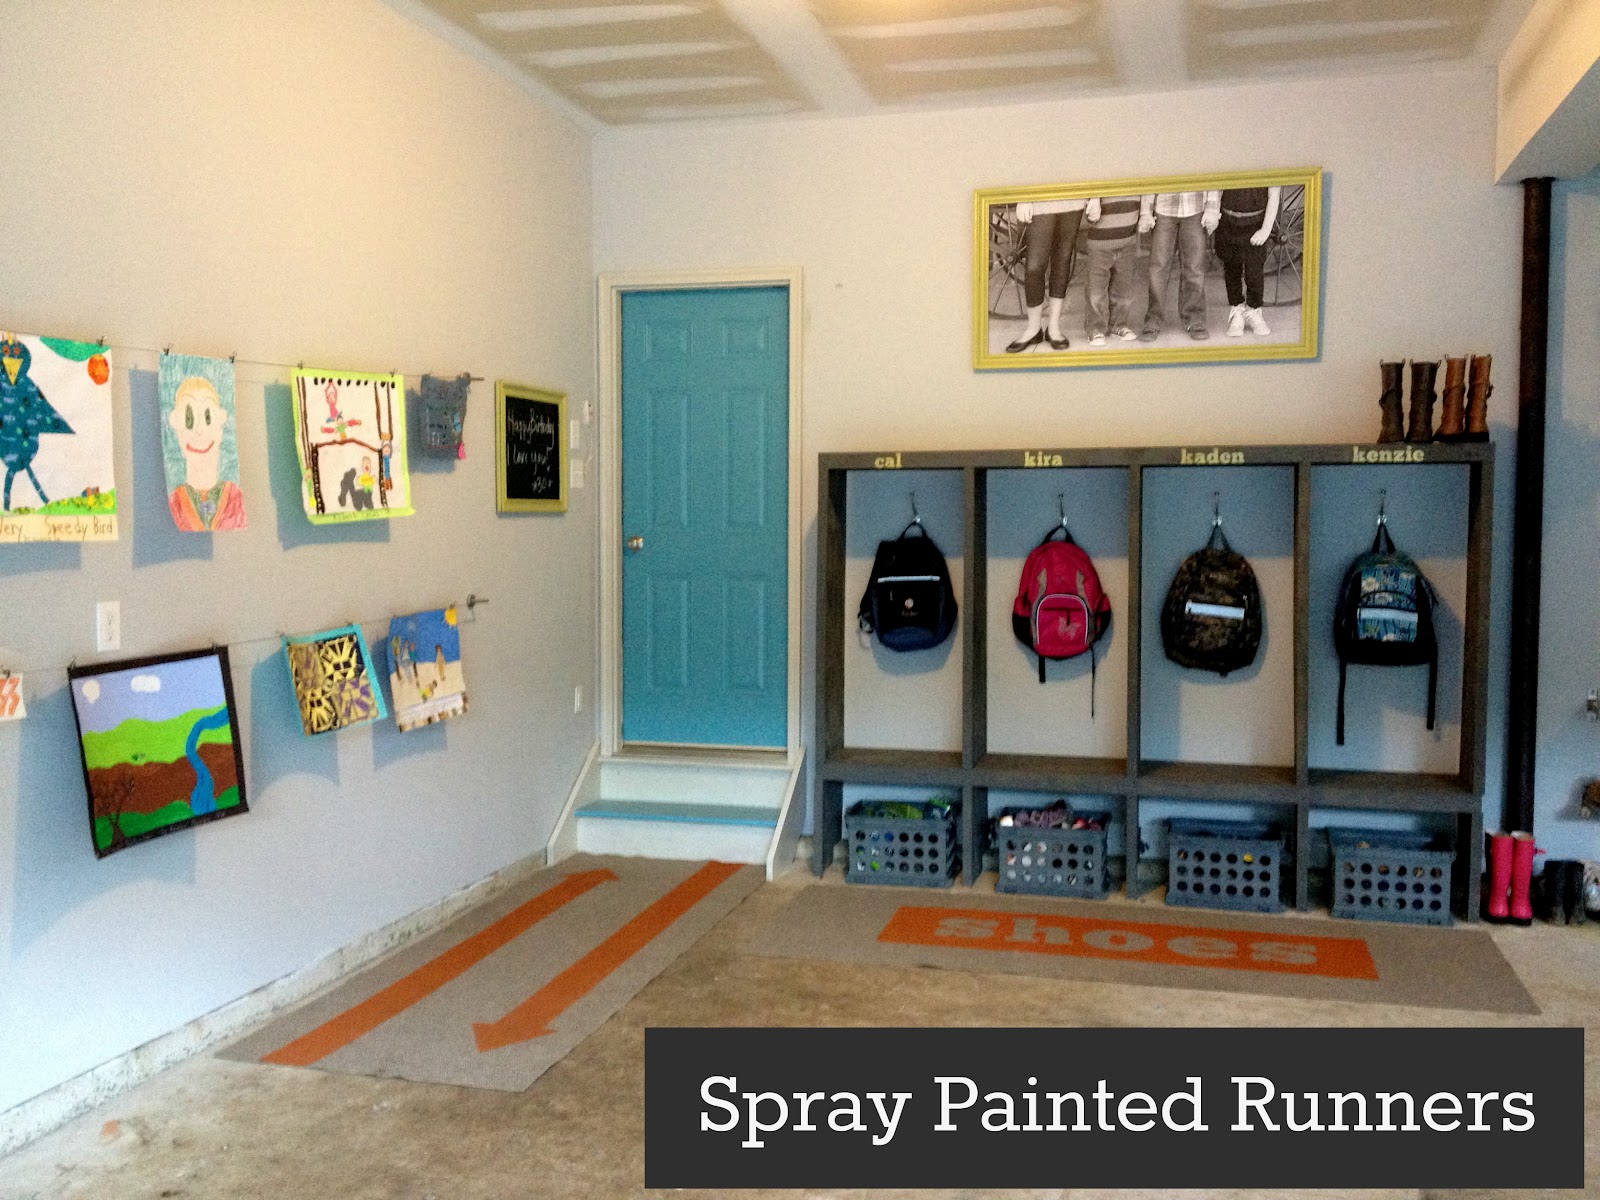
For the first runner, I decided I wanted some graphic arrows going in and out. I measured from the side, and used chalk marks to keep my lines straight.
Scotch Blue tape worked like a charm for really well sealed lines.
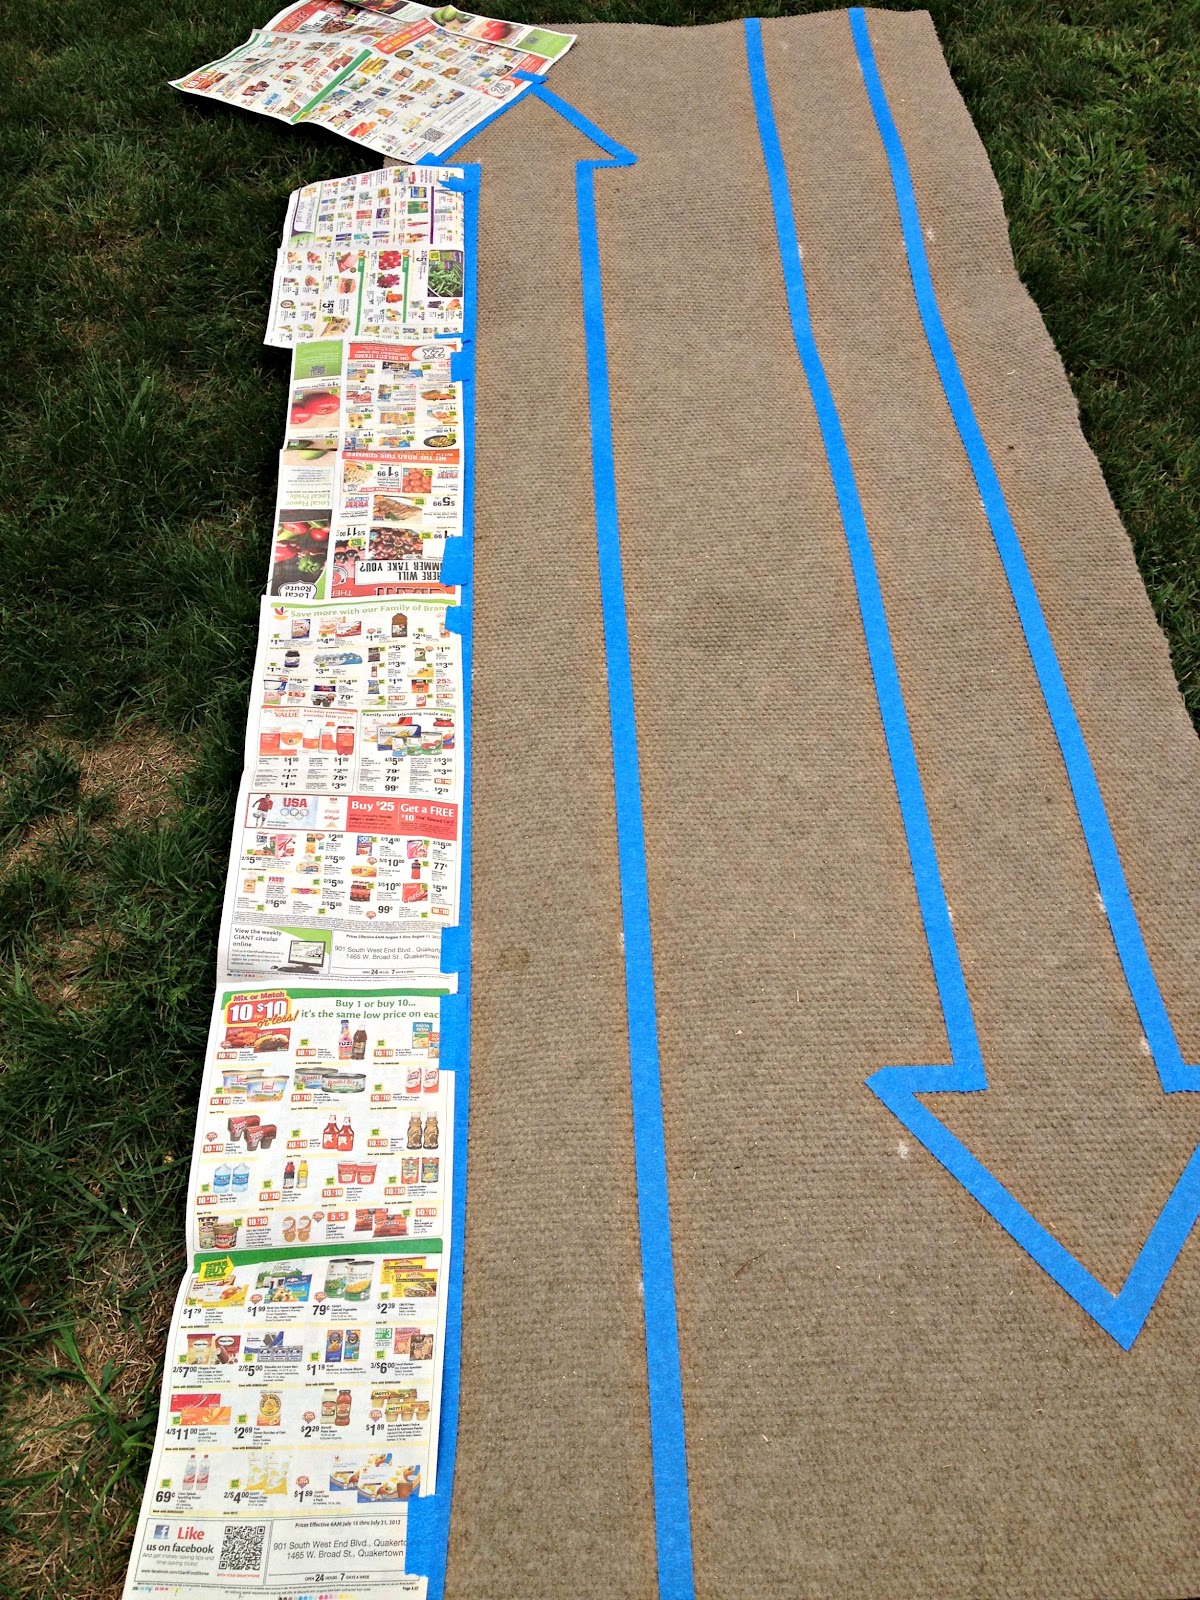
Once it was all taped off, I had to cover the rest of the rug. I had a pile of old circulars around, and they did the trick!
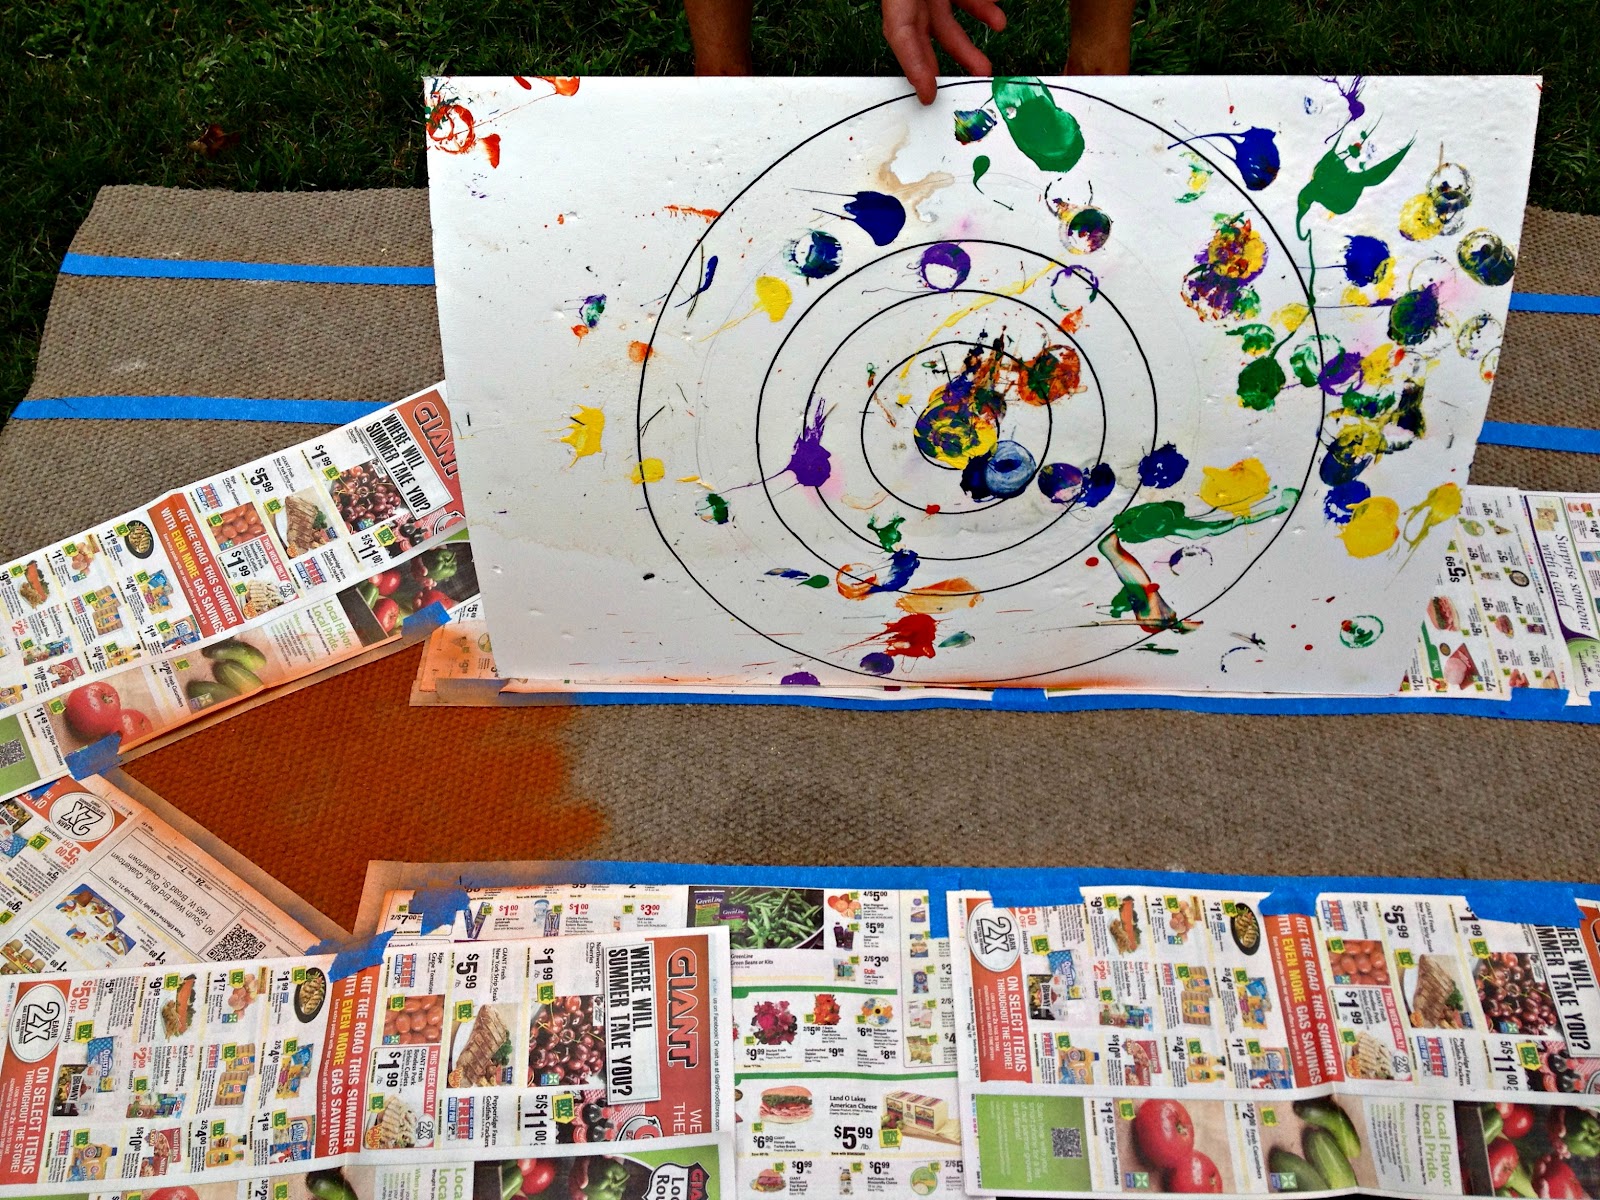
It was a tad windy, so the hubs helped by holding up a piece of foam core (we had used it as a target at Kira’s Brave Party) so the spray paint wouldn’t get all over the rug.
Because of the wind, some of the paper lifted and I had some bleeding. Thankfully, soap and water removed it all and I was left with crisp lines.
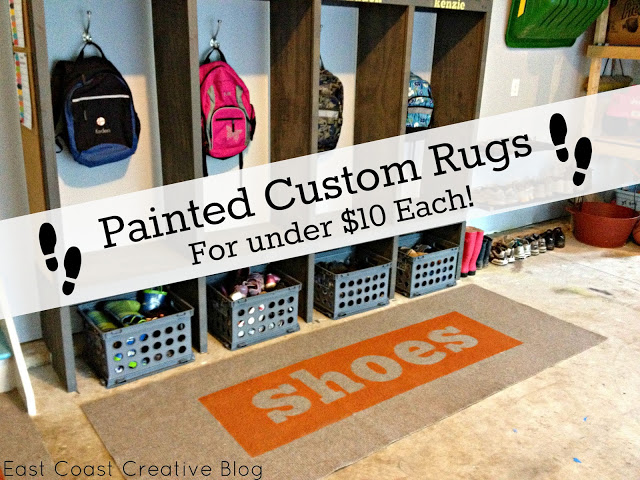
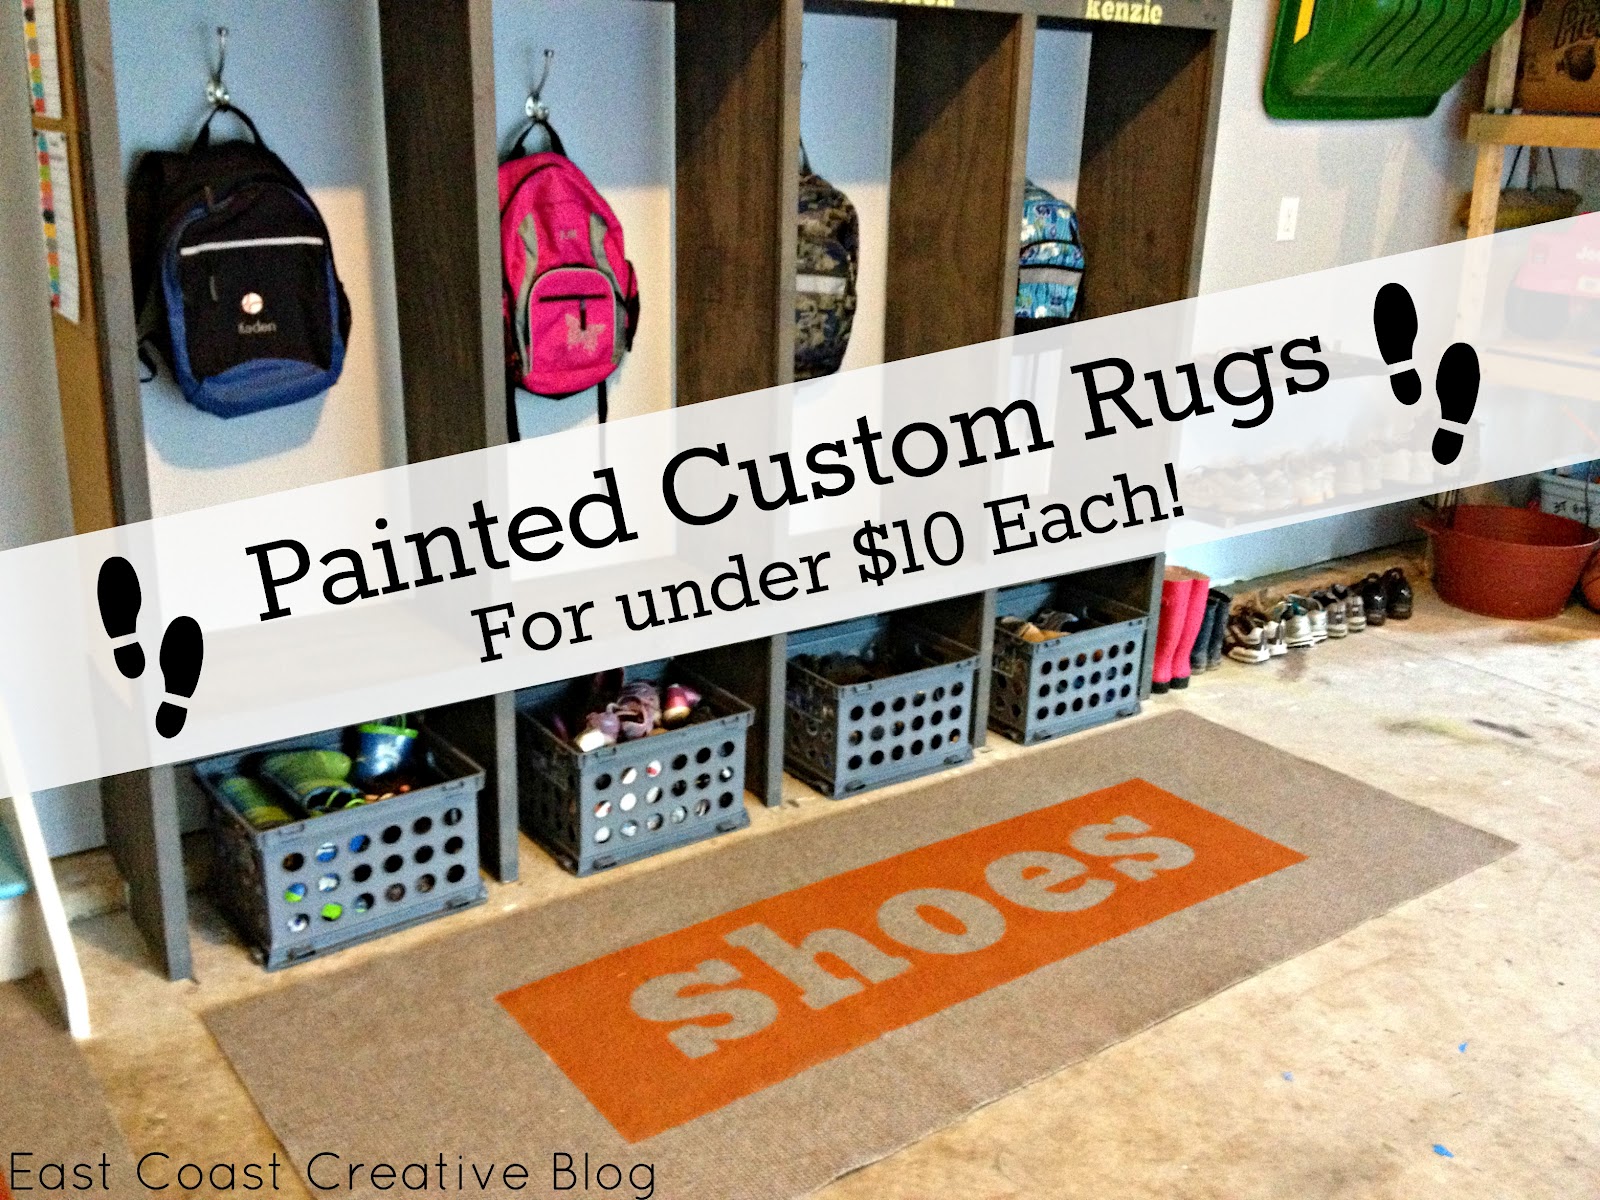
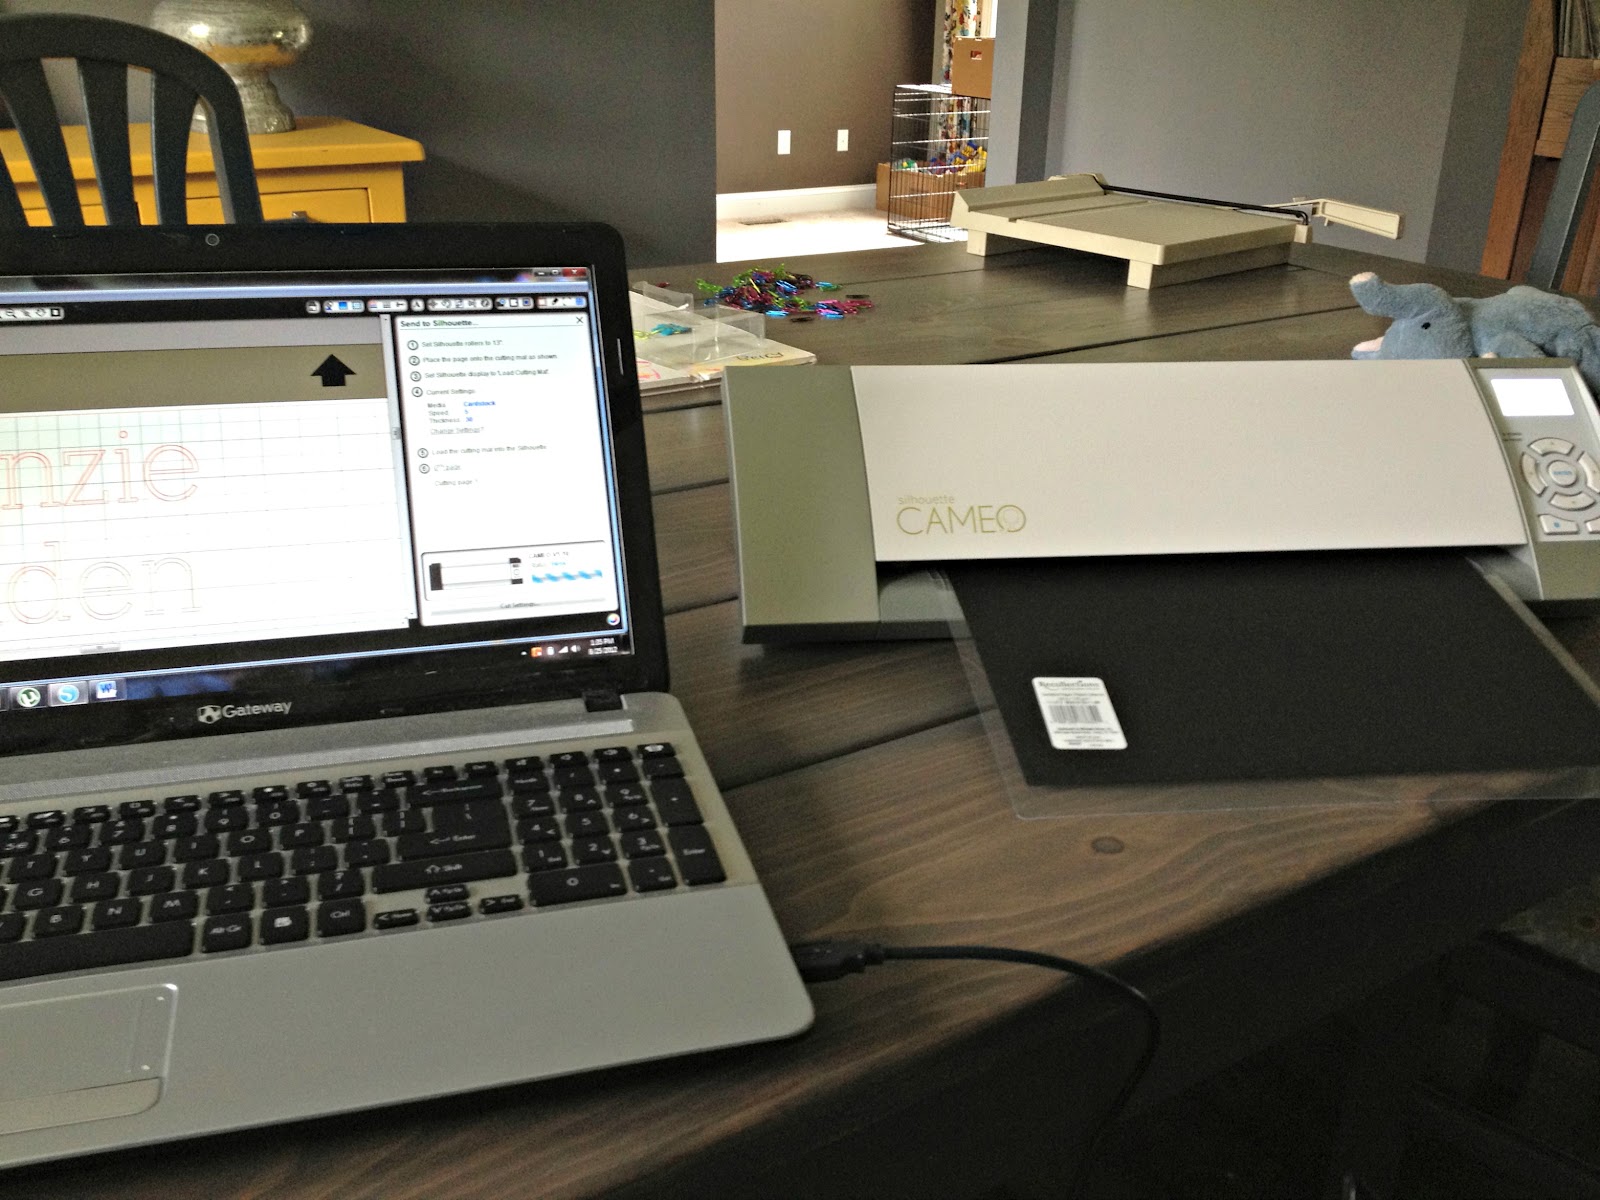
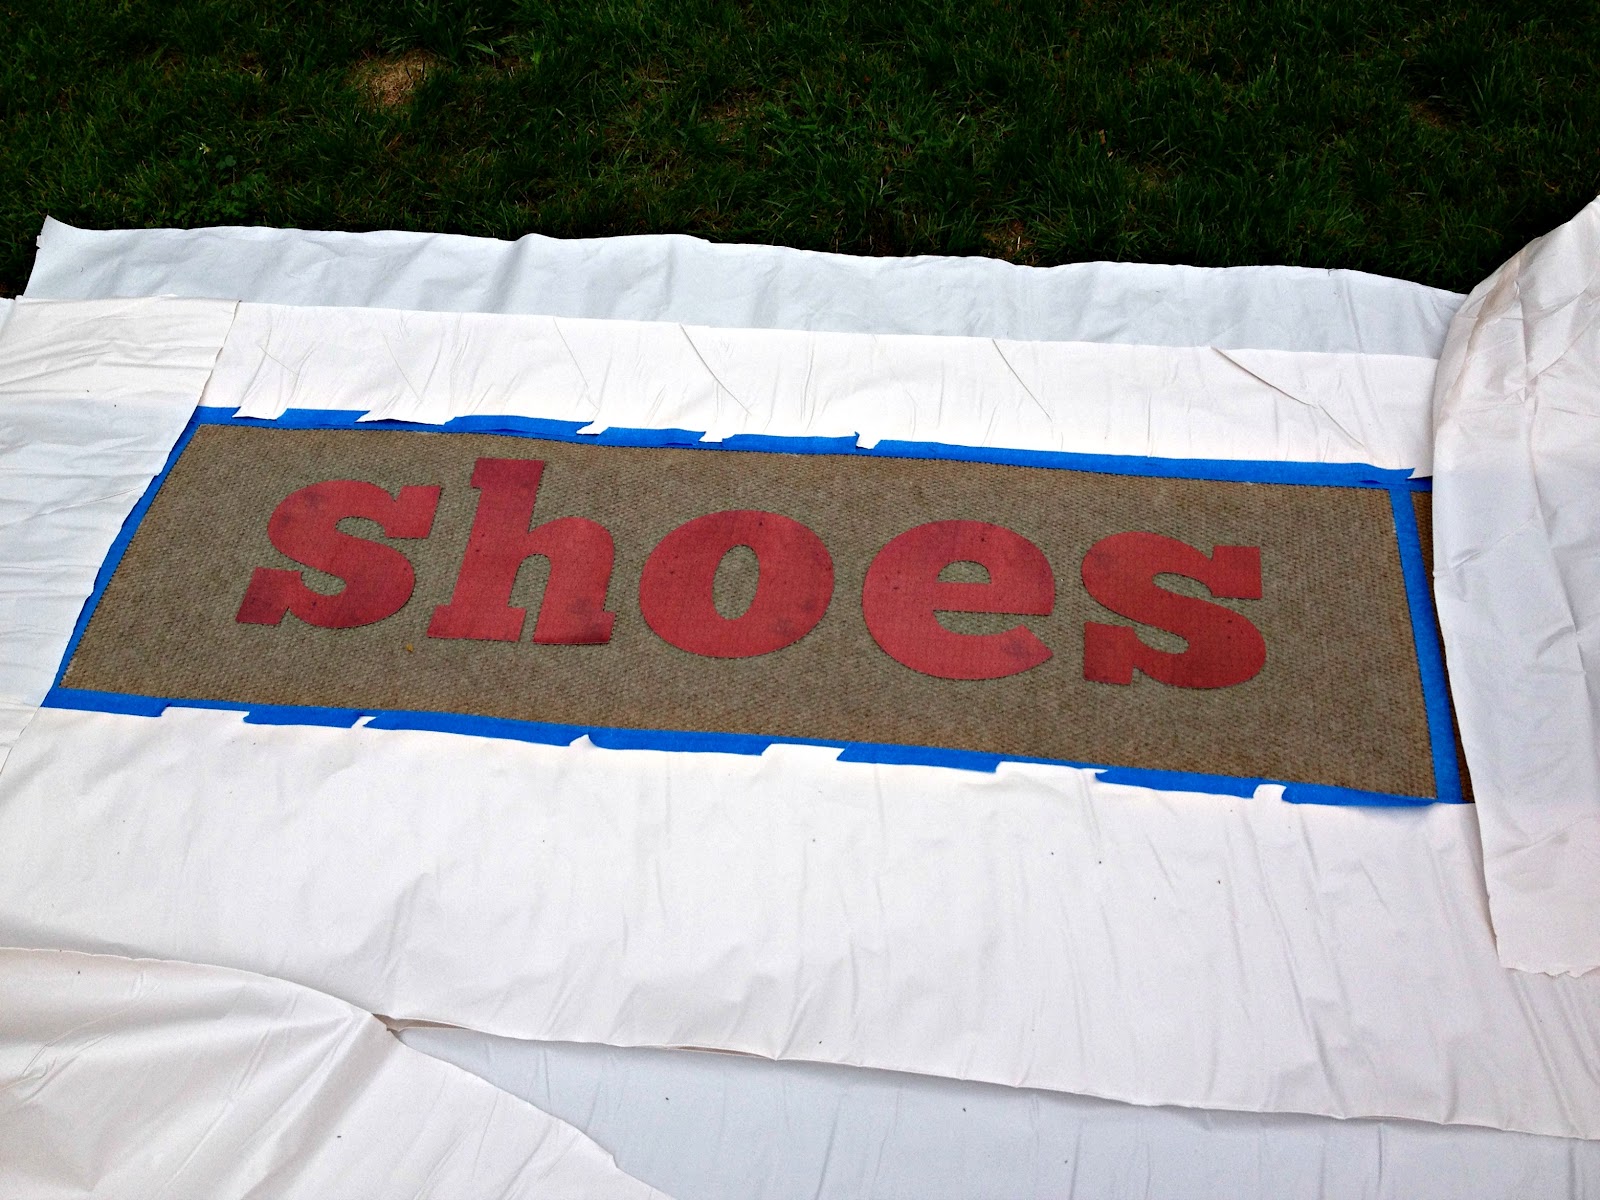
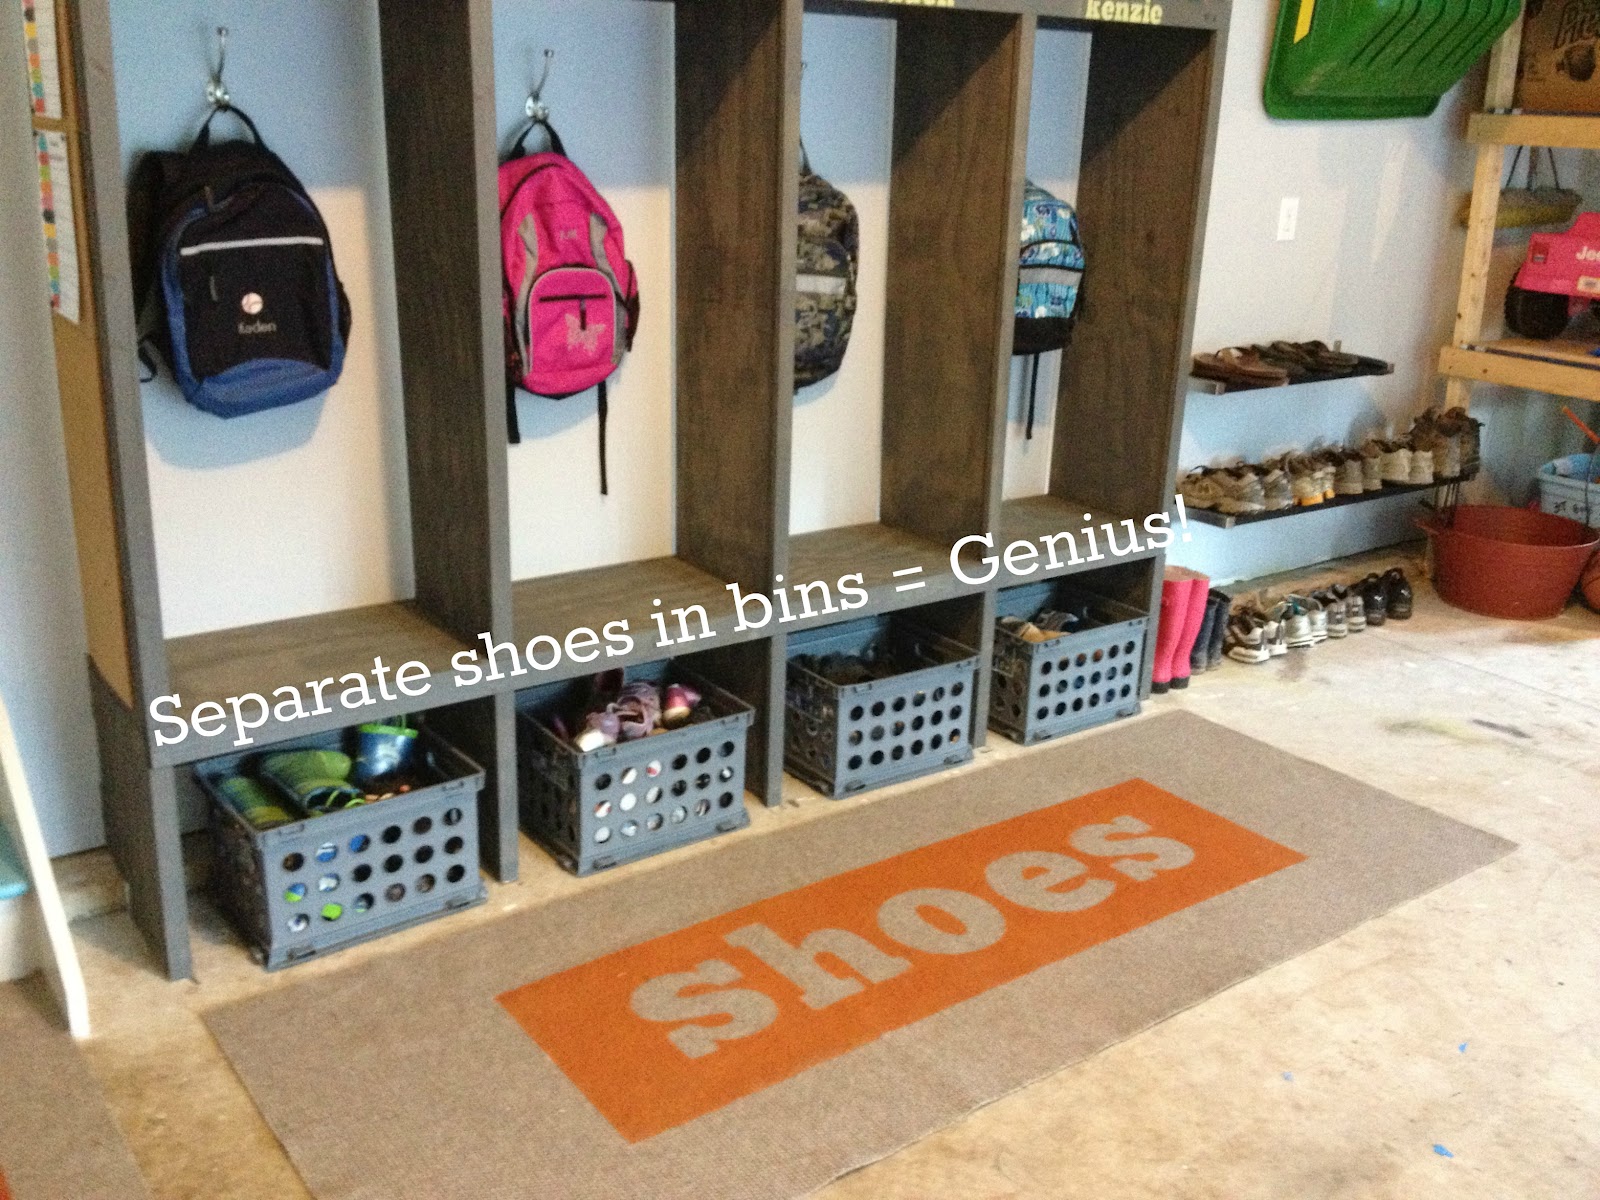
For the second rug, I was excited to use our new Silhouette Cameo. I wanted to write the word shoes nice and large so that my crazy kids just might happen to remember to put them away! So far it’s working!
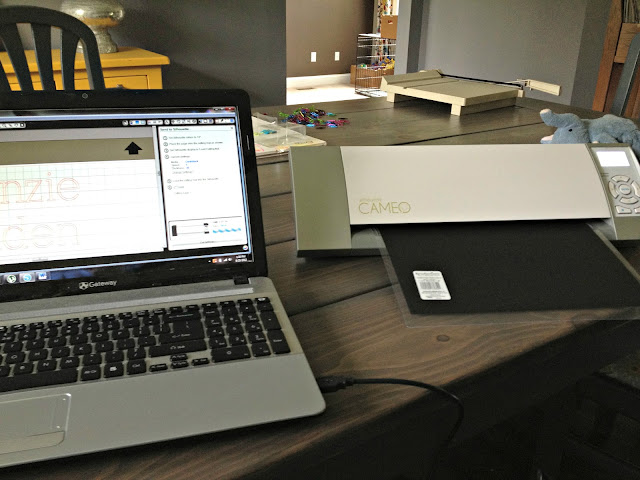
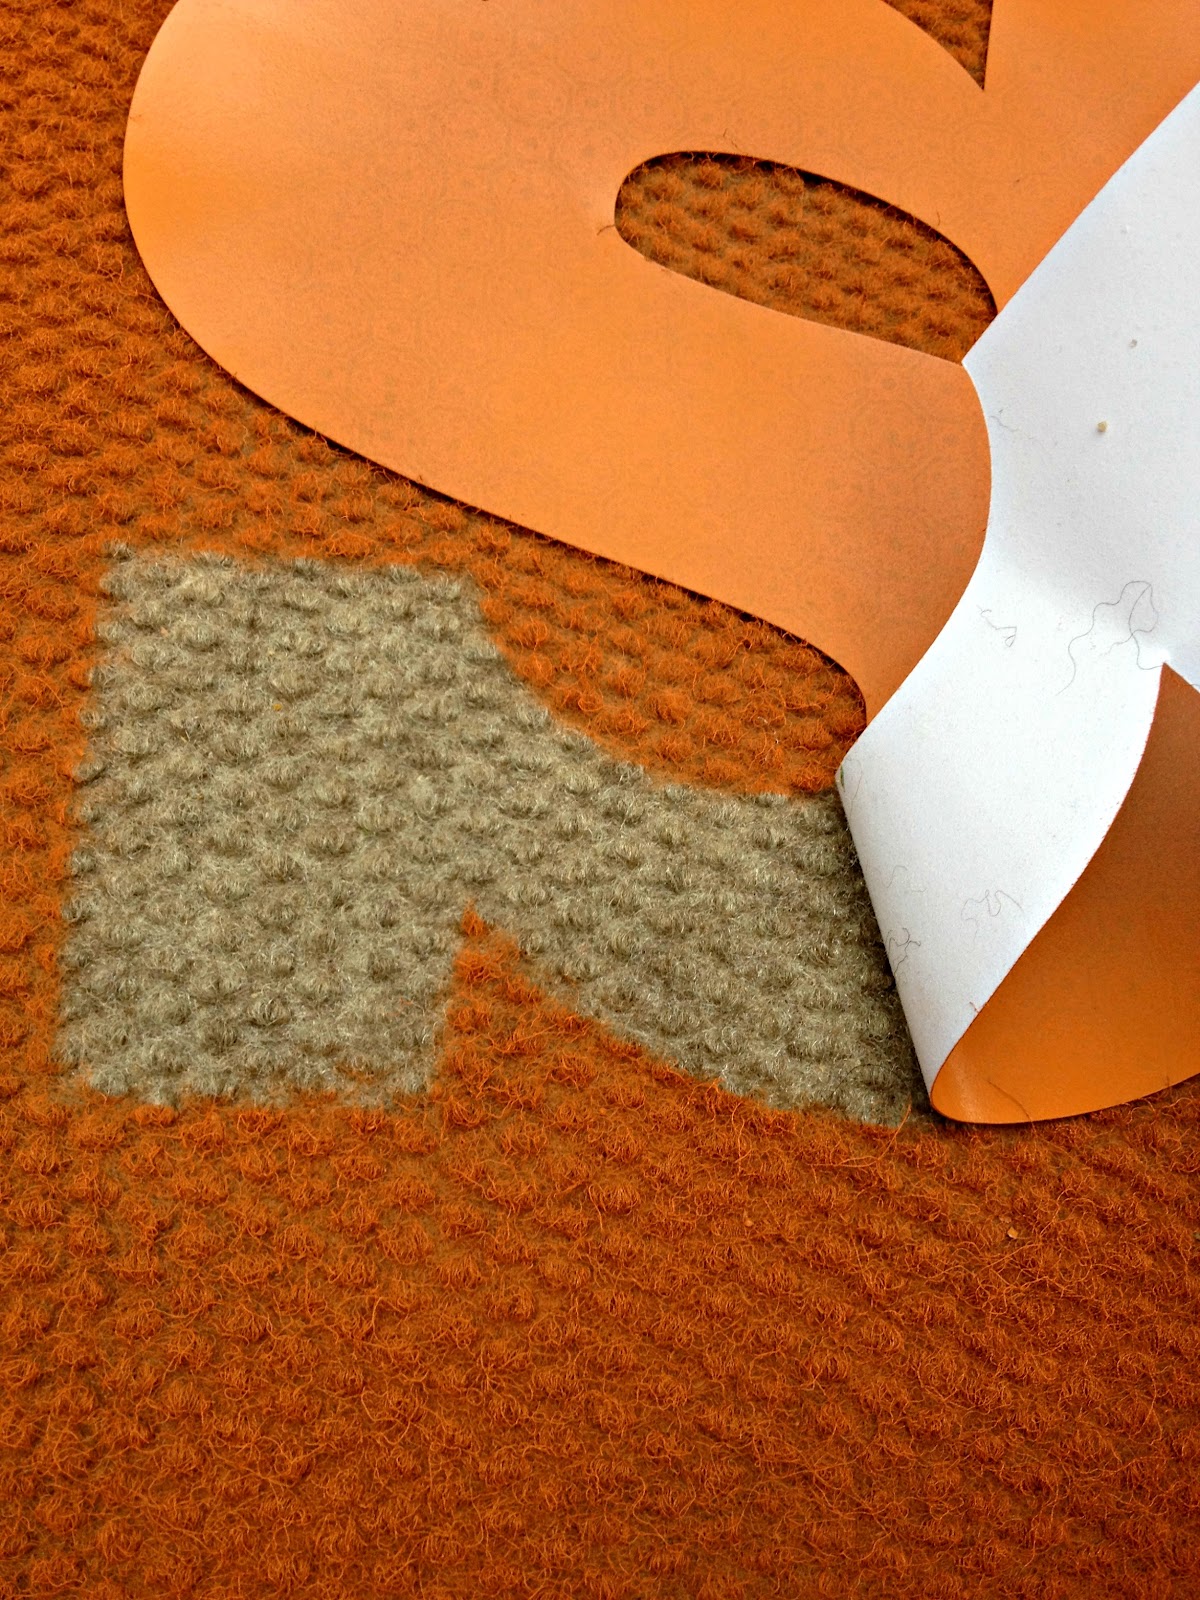
For this rug, I wanted to have the letters be negative space, so I taped off the area to be painted and then used spray adhesive to attach the letters to the rug.
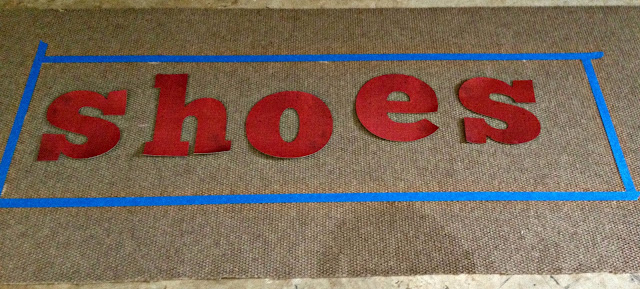
I used the same method of covering up the rest of the rug so that I could spray paint it.

I was so excited to see how crisp the letters turned out!
I’m such a fan of graphic word art and these rugs make me excited every time I walk in the door.
What do you think?
Will you be trying out some DIY Rugs anytime soon?















Do you have a suggestion foir someone who does not own a silhouette cameo for printing the letters.
Thank You
I love these rugs! They are pretty sharp. Giving me some ideas for a welcome mat 🙂 Great job!
What do u you use to keep the paint from rubbing off on your shoes or sox when you use it? In particular for the livingroom stencil?
LOVE LOVE LOVE THEM!!! I think I will stop by home depot on my way home for some rug material and a new can of spray paint! What would you suggest for making letters without a Cameo? I was also wondering how the rugs have worn so far (i.e. wiping your shoes off on them?)
Thanks for inspiring me!!
Dani
Hey Dani!
Glad that I could inspire you to get your rug on! 🙂 I’ll just give you a heads up that I think those discount rugs are an on-line only thing, but the shipping was super quick. As far as letters without a cameo, I would just print them out on card stock on your computer and then cut them with an X-acto. That’s what I always did before getting the Cameo a few weeks ago. It should still work well.
As far as wear goes… so far so good. I’ve been vacuuming them because my kids track in all kinds of things. I think the grey or tan colors work best because they hide a good bit of dirt.
Let me know how you make out!
Monica (and Jess)
I am dying for the locker tutorial!!! Tell me it’s coming soon!!!!
ditto on the locker tut can’t wait
yes found it! should have scrolled longer before my other comment! thanks!
I love this idea! I really need a custom rug for business and this is perfect 🙂
What type/kind/brand of paint did you use? Do you have paint recommendation for high volume/traffic use?
Thank you
[…] the room. To check out the Locker’s Tutorial click HERE For the Painted Rugs post click HERE For the Foot Artwork post click HERE In the meantime, I have one final detail to […]
[…] For the Painted Rugs post click HERE […]