As we’re getting ready to head back to school, there’s still lots of unknowns, but in our area it seems like our kids are going to be doing some kind of school-at-home/school-at-school hybrid. Back in the spring, we kind of just threw together workspaces and to be honest, it was a lot of kids doing work on couches and beds – sometimes okay, but not the best from an educational standpoint. I’m going to show you how any wall in your home can become a super functional school workspace with just a few simple steps and spoiler alert… it’s going to look amazing!
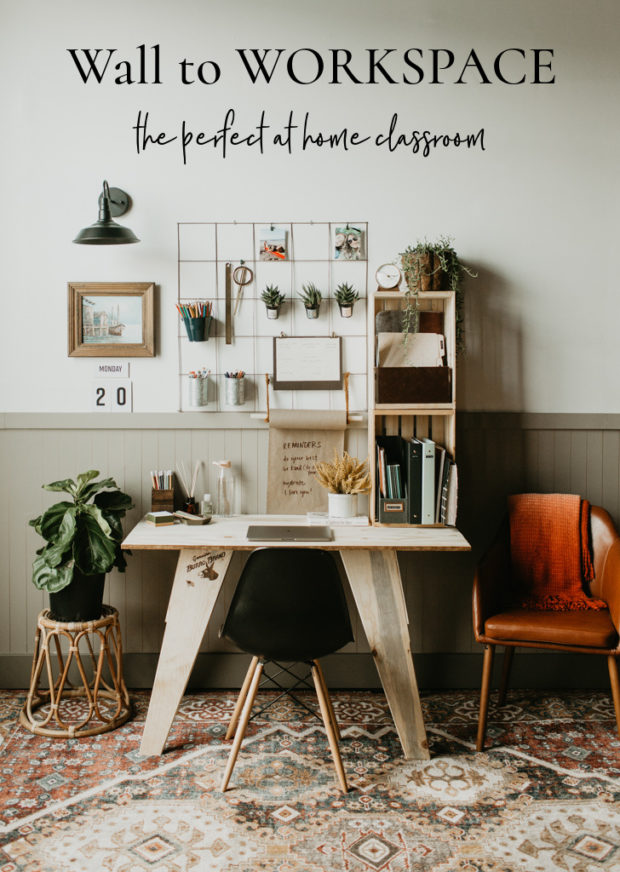
One quick reminder… These ideas aren’t just all about the pretty (though they are pretty!) I worked in education for a decade and 5 years of that was spent teaching for a virtual charter school, so I understand virtual learning- many of these ideas are tried and tested!!
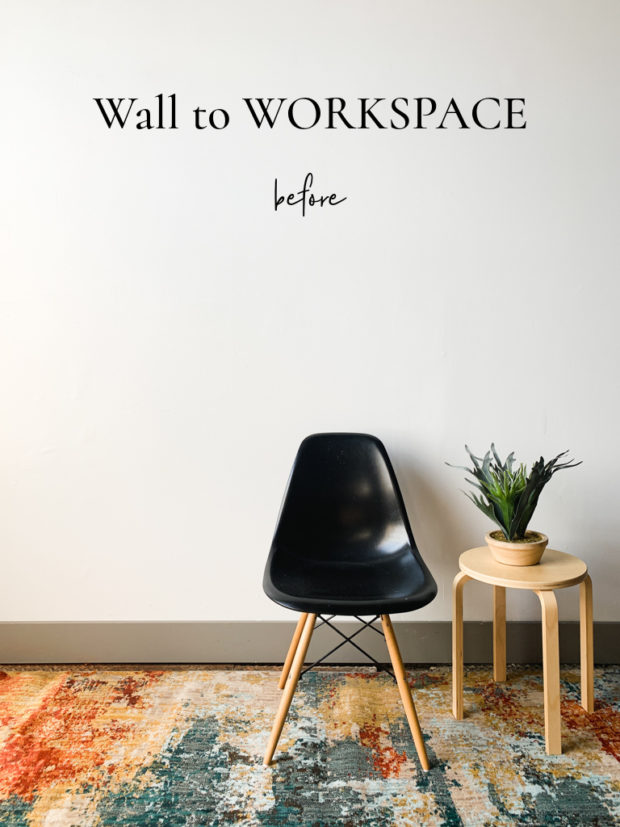
Step 1 – Find a wall! You don’t need to take over an entire room – just 4-5 feet of a wall will do!
Some tips:
-
- It’s important to have a specific space to do school. It helps students separate “hanging out at home” vs “going to school”
- Look for a space with natural light if possible
- Facing a wall might seems less than ideal in theory, but it helps your student focus on their school and be less distracted by everything else going on in the home
- If you don’t have an outlet on the wall – no worries – run an extension cord and surge strip!
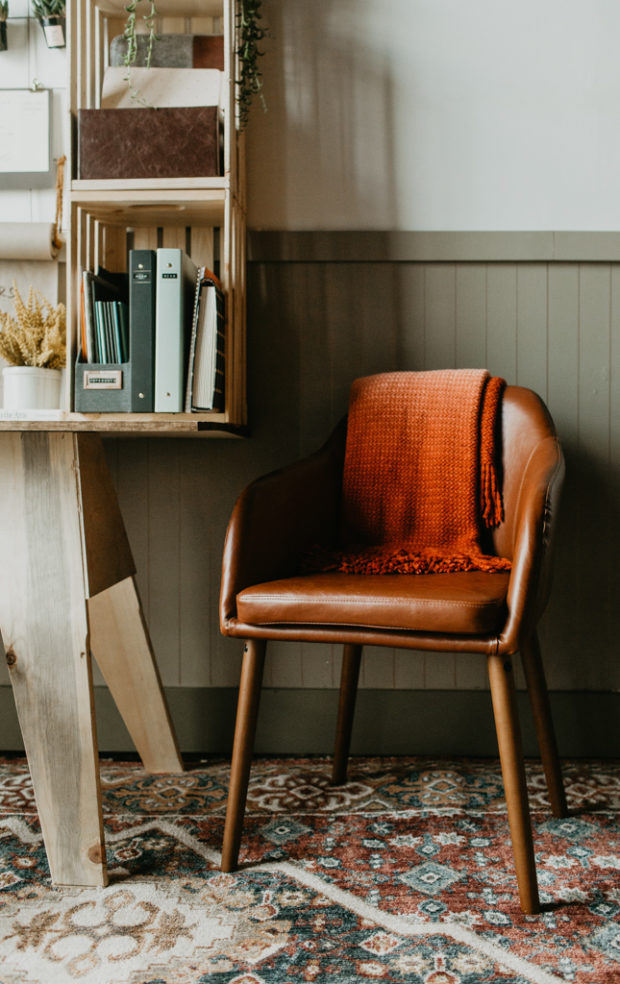
Step 2 – Change the Backdrop – This step is optional, but recommended! It helps make the workspace seem more intentional and gives it a sense of permanence. With everything in life changing so much right now – providing this permanence (in a non-permanent way) is helpful for student learning! We went with a DIY faux wainscoting for our backdrop – simple + sophisticated. We might be schooling from home, but it doesn’t have to look like a traditional classroom with crazy primary colors!
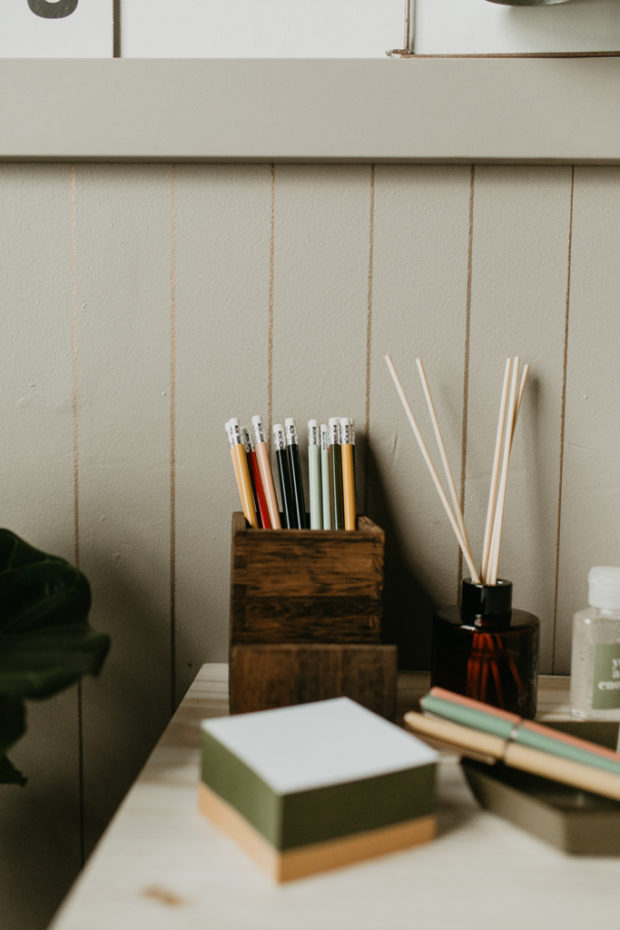
Here’s how we did it:
-
- Painted the wall using Into the Gloaming paint color – HGSW2455
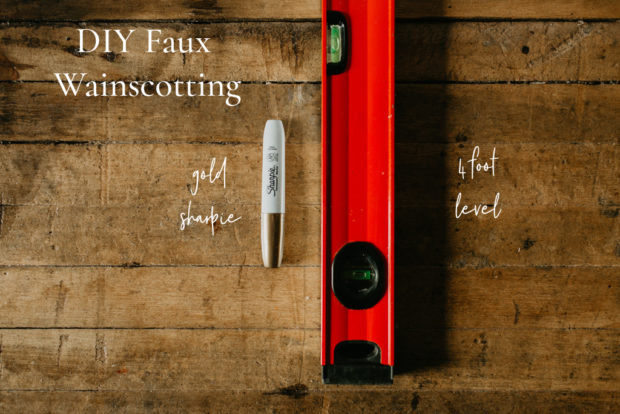
- Used a 4 foot level and gold sharpie marker to draw vertical lines (used the width of the level as our spacing – no measuring required!)
- Added a painted piece of 1x wood at the top
- It took 2 of us 20 minutes to do our lines and add the top molding once the base coat was dry!
Step 3 – Build a DIY Desk – Remember that desks at school are simple – so you don’t have to over do it! Virtual learning requires a lot less physical papers and materials, so simple works well!
Here’s how we did it:
-
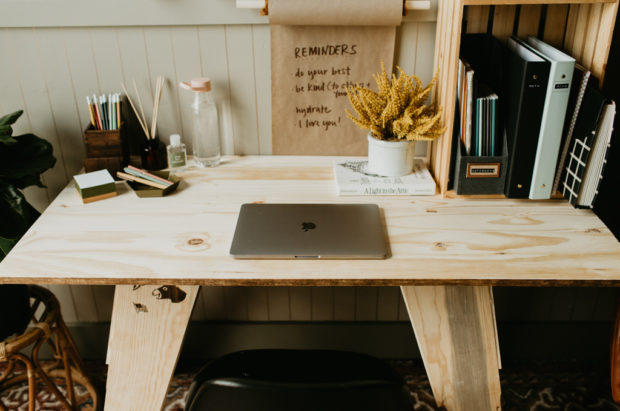
- Our desk is made from a wooden sawhorse and a Project Panel
- We used nails to attach the top to the horse for stability. You could also add a simple ledger board if you’re adding a lot of weight.
- We used a stain touch up pen (Provincial) on the edge of the project panel to give it more of a two tone look
- You could seal the wood with a coat of clear poly
- For Size – Keep in mind you want enough space to write/work on assignments while allowing enough room for your laptop or even a second monitor!
- Total cost for our DIY sawhorse desk $50
- Desk Chair – I look for comfort + style! Avoid spinning chairs – they can be really distracting to your student and can actually make virtual teachers motion sick watching your kiddo spinning and rotating all the time. True Story!
- Black Chair | Leather Chair |Rug
- Our desk is made from a wooden sawhorse and a Project Panel
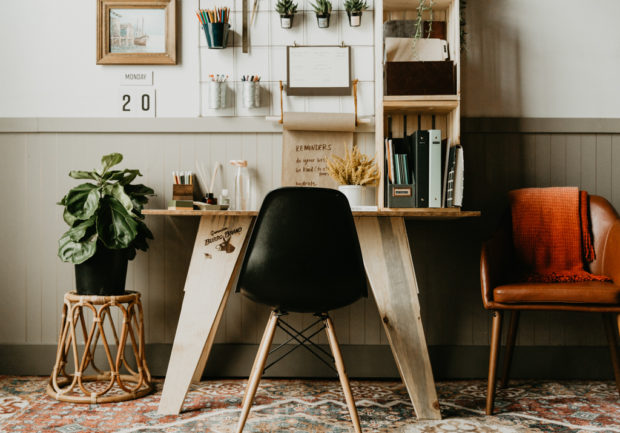
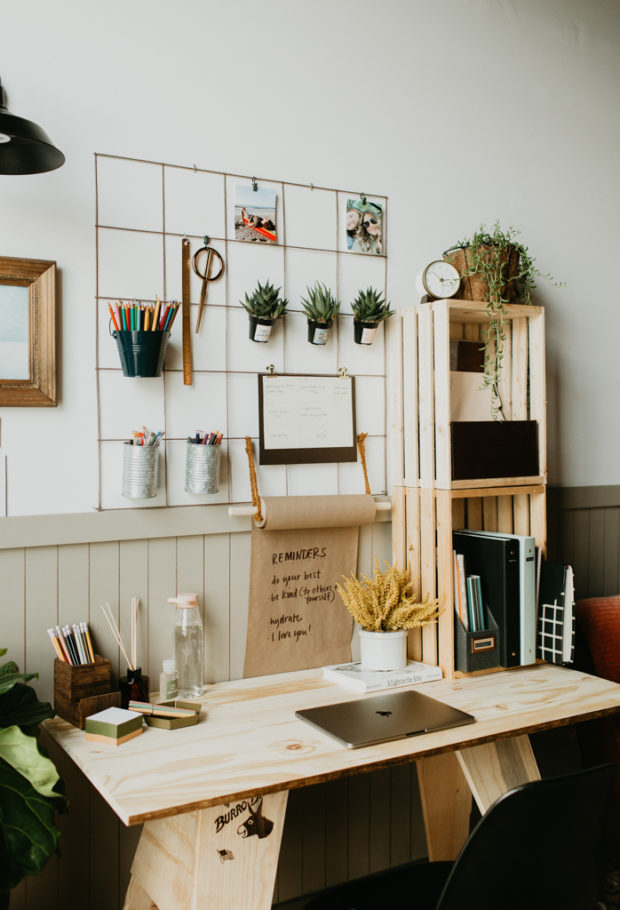
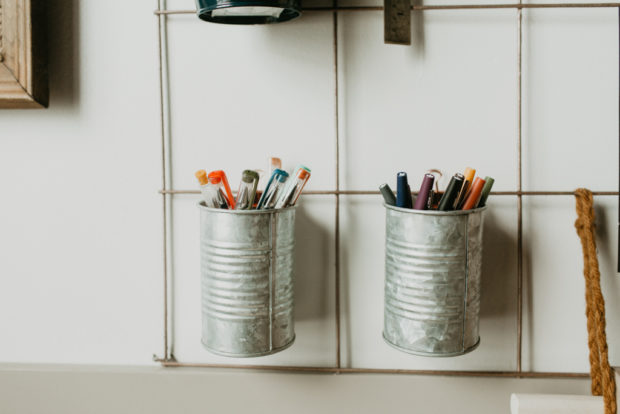
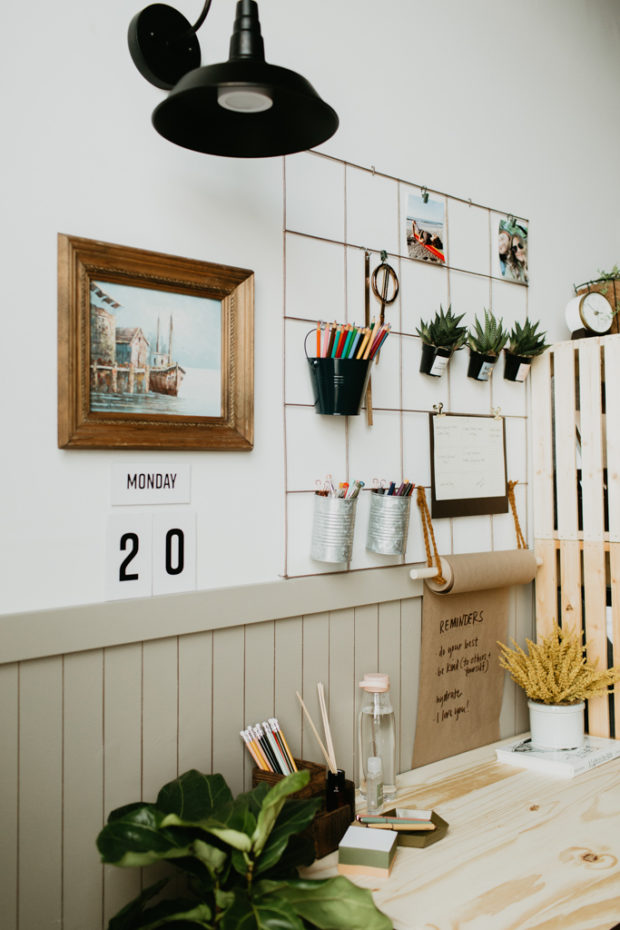
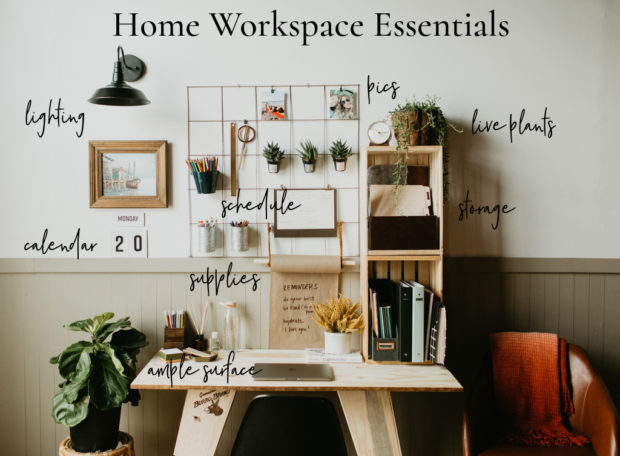
Step 4– Add a Memo/Storage board – Utilize the wall as a HUB for all the things. Schedules, Supplies, Photos, Motivation etc… We made our own DIY modern, grid memo board!
Here’s how we did it:
- Our grid is made from Remesh (found in the cement section)
- Cut down to size with wire cutters – it comes 4×6 feet, so if you want a jumbo one you’re in luck!
- Spray painted it with Krylon Rose Gold
- Attached it to the wall with electrical staples
- We used S hooks and binder clips to attach everything
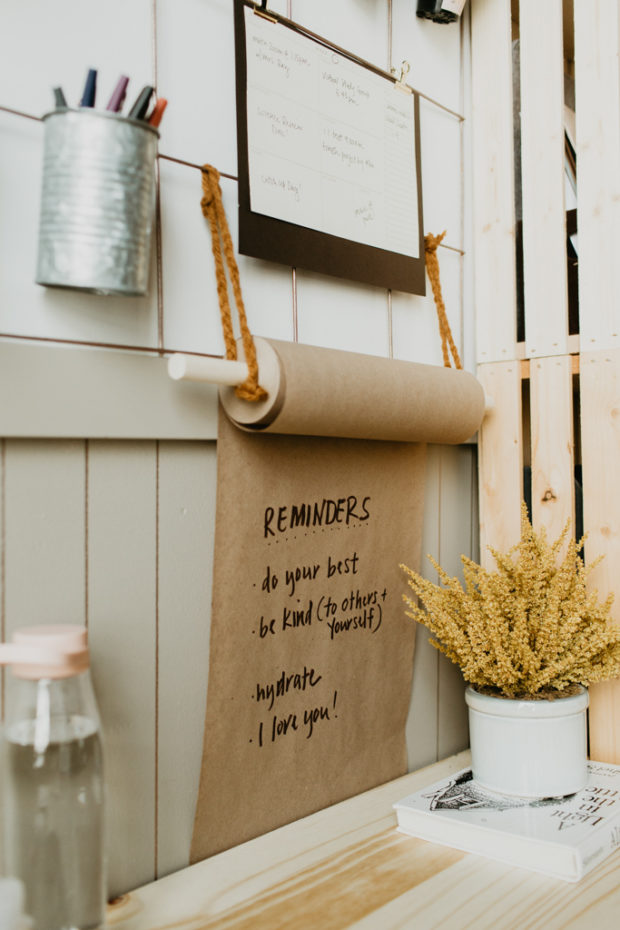
- Our DIY Paper roll is made from masking paper + a wooden dowel + yarn
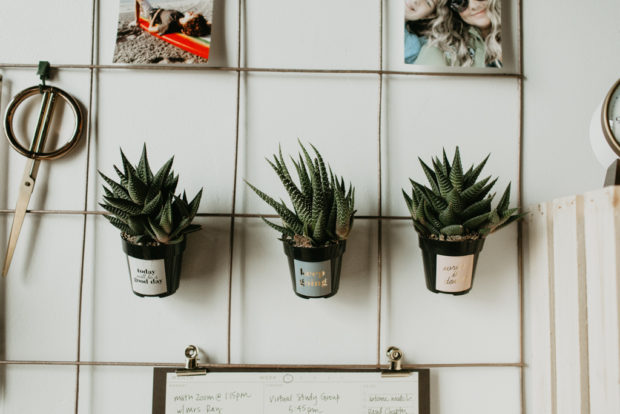
- Mini Plants are held on with binder clips
A quick word about motivation… Classrooms are filled with motivational phrases and posters for a reason! Visual reminders and encouragement are important at home too! Write your kiddo notes, add stickers, and get creative with encouraging them through these challenging times!
Step 5 – Add a Perpetual Calendar – A calendar that you have to physically change each day is super helpful during this time when no one actually knows what day it is! The process of changing out the date builds routine and helps students keep on track with assignments/projects!
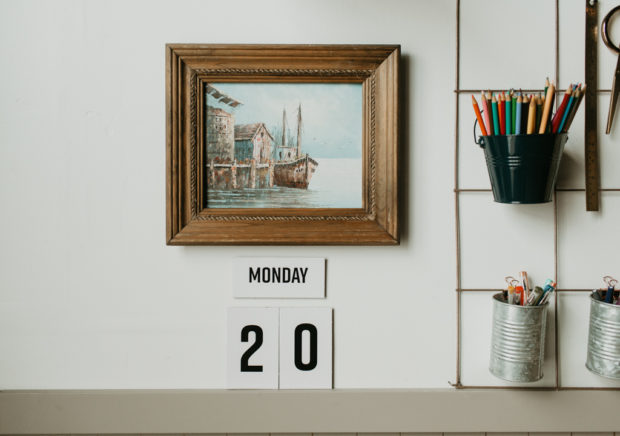
Here’s how we did it:
- Purchase or Print Days/Numbers on cardstock or cardboard
- Use Command Picture Hanging Strips to swap out each day without damaging your walls – the grid on the back clings to the strip on the wall and makes changing it out daily super simple
- Looks modern and awesome too!
Step 6 – Wall Sconce Hack- If you have a light – great! If not, this hack for adding one can transform the look of your space, give you light, and make the space feel more grounded design-wise.
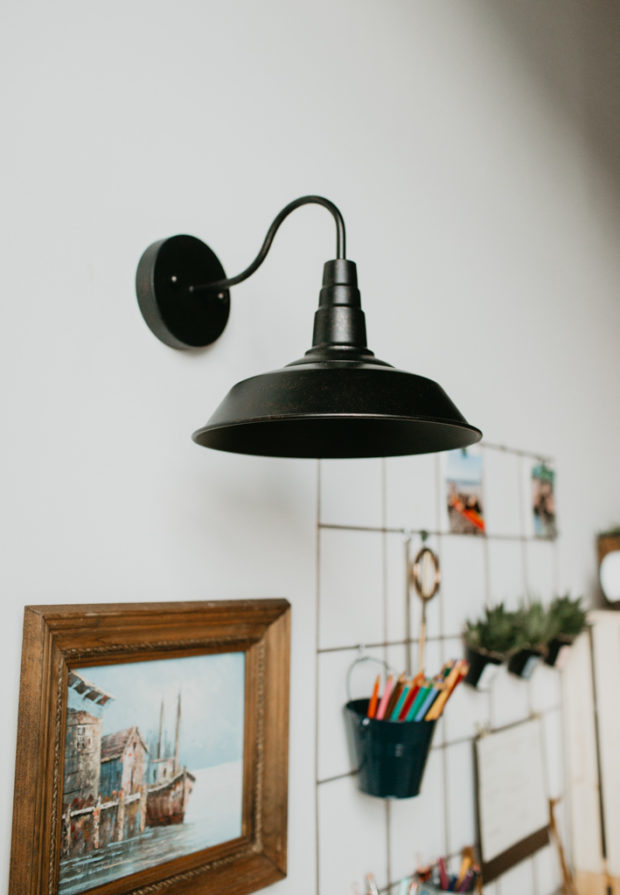
Here’s how we did it:
- Just attach the light onto the wall anywhere you want using the provided metal bracket – tuck the wires inside- you won’t be wiring it
- Add a puck light instead of a lightbulb – they have touch and remote on/off options
- It’s that simple and makes a BIG impact on the style! Educationally this isn’t essential, but many puck lights can change color and my kids think they’re the coolest thing ever!
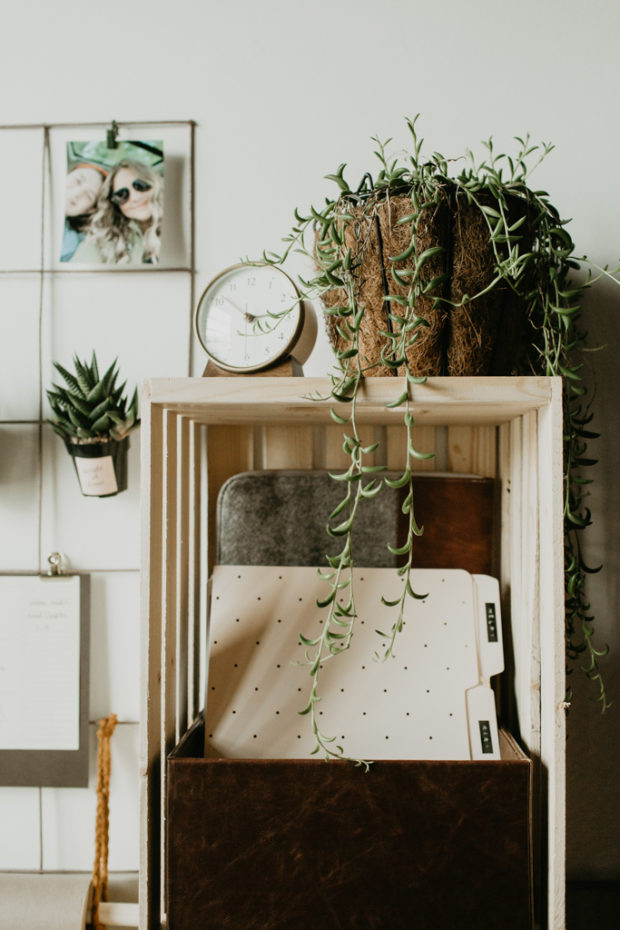
Step 7– Add Storage – Our crate storage acts kind of like your at home “locker” – to store binders, paper, folders, textbooks, tech cords/accessories, etc…
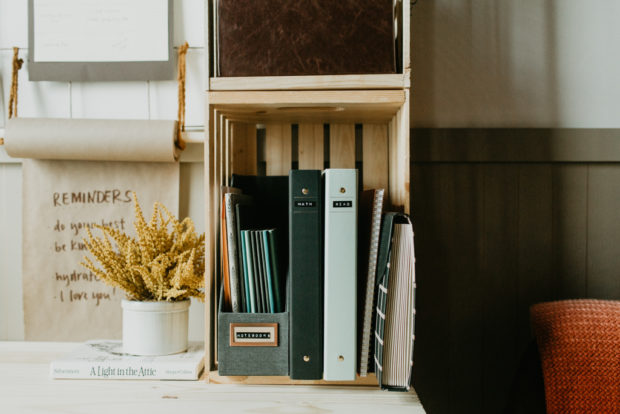
Here’s how we did it:
- Attach 2 wooden crates together using small screws or nails for added stability
- Can also stack some below the desk for added storage if needed
- Use a Dymo label maker to keep everything organized the more organized the better when it comes to virtual learning (added bonus – vintage type labels look awesome!)
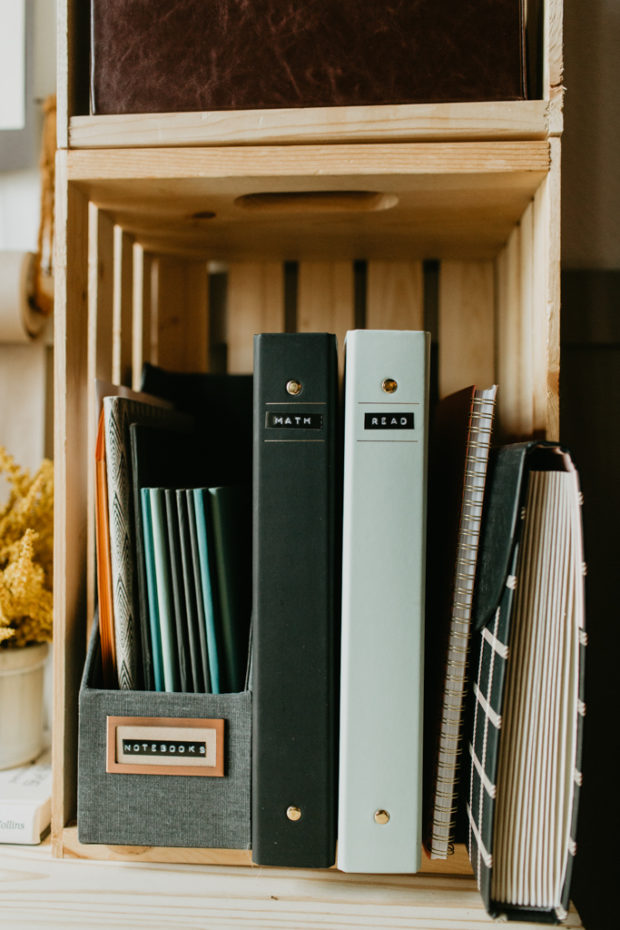
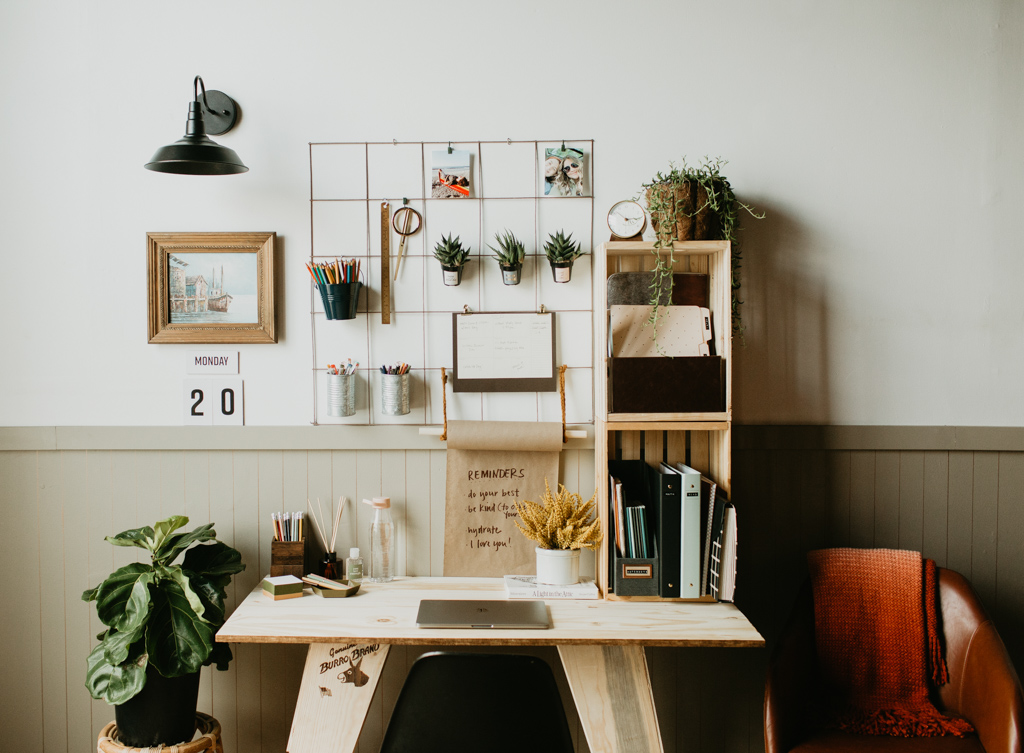
This space went from wall to workspace in about 3 hours total. I made one trip out to Lowe’s and to get school supplies, but the entire shopping and transformation happened in one afternoon and I honestly couldn’t love this space any more than I do. I think it’s functional, motivational, and fits anywhere in a home because it has great style! As a mom of 4 and former educator, I know the challenges we’re facing are hard and that a new workspace won’t fix everything, but I hope this makeover inspires you to embrace this crazy season of life and find a way to make school-at-home work for your family!
If you turn a Wall to Workspace I’d love to see it! Use #walltoworkspace and tag me on IG @MonicaMangin!
Good Luck friends- We’ve got this!!
**This project is in collaboration with Lowe’s Home Improvement- I am compensated for my partnership with them. All ideas and opinions are my own. I’m thankful for Lowe’s supporting East Coast Creative and helping me share my ideas!**
Love your work station! But love the dress you were wearing on Live this morning. Where is that from?
Thank you!!
Aww thanks Sharon! The dress was from Anthro – I looked and it’s not available online anymore, but they have a bunch of similar ones!
Absolutely beautiful, such great ideas,
Thanks so much!!