
Handmade gifts are awesome and heartfelt, but you know what’s even better… a handmade gift that someone will actually use and enjoy! Today on Live with Kelly & Ryan I shared some awesome crafty + classy DIY Holiday gift ideas and I’ve got all the details you need to make your own!
Gemstone Soaps
These soaps are awesome for the person in your life that’s really into self-care… or for your great aunt that loves putting out fancy soap that you know better than to use! lol
| Materials Clear Soap |
| Opaque Soap |
| Soap Colorants |
| Soap Scents (optional) |
| Plastic cups |
| Pyrex bowls |
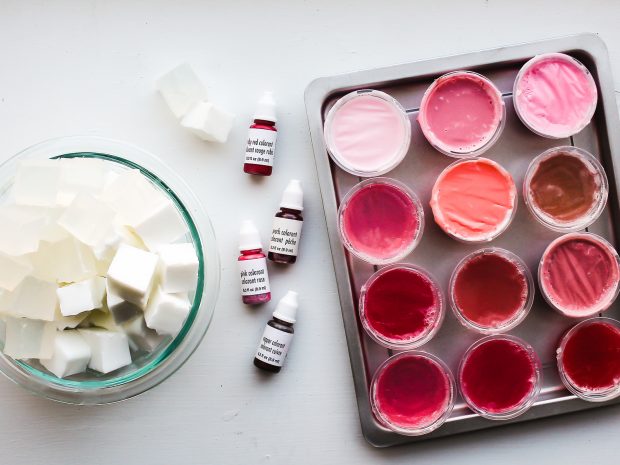
| Small plastic mini containers Large kitchen knife Microwave First you need to create a rainbow of colors with your solid soap base. Cut the soap into cubes and melt it down in the microwave in a glass bowl (should take under a minute or so). Make sure you don’t try and microwave in any of the disposable plastic containers- they’ll melt and it won’t end well 🙂 Using small disposable plastic containers, divide your soap and add soap colorant. You can get it at any craft store. This is the fun, creative part because you can make a huge variety of colors! We did some all in the pinks and some full-on rainbow. It’s totally up to you! Allow your new mini soaps to completely harden. |
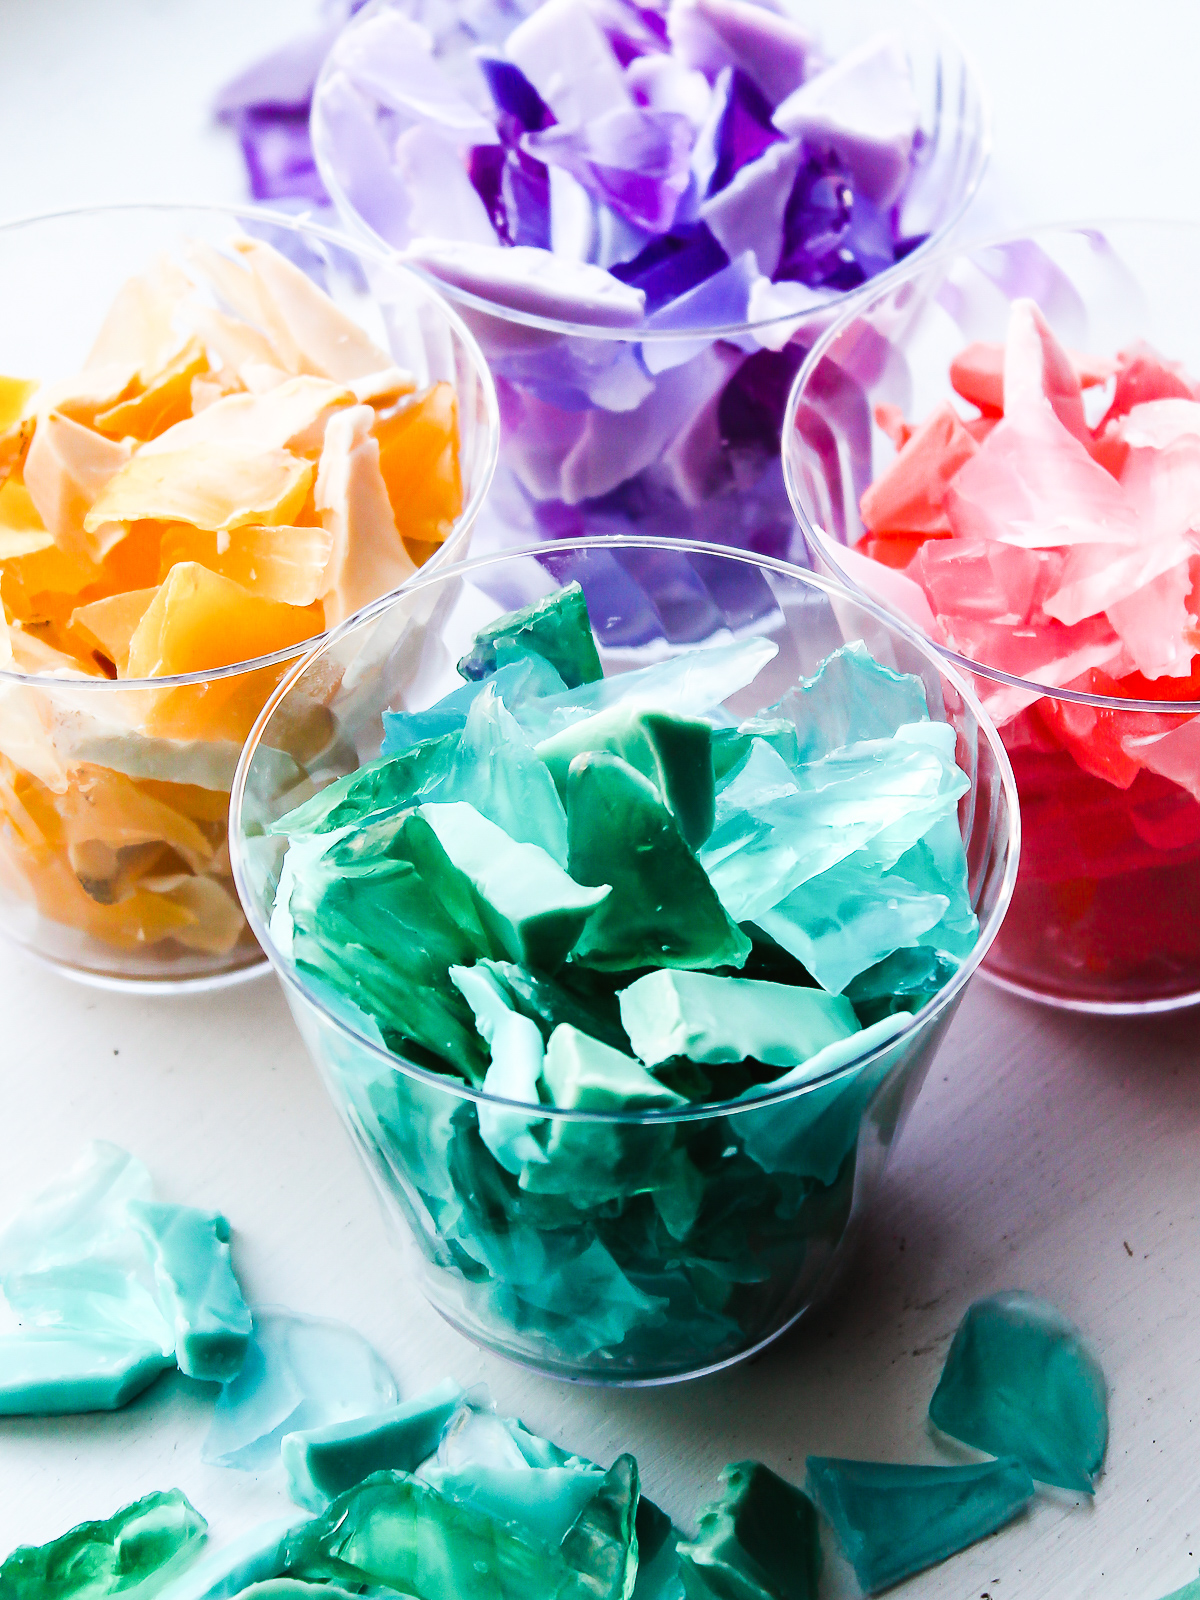
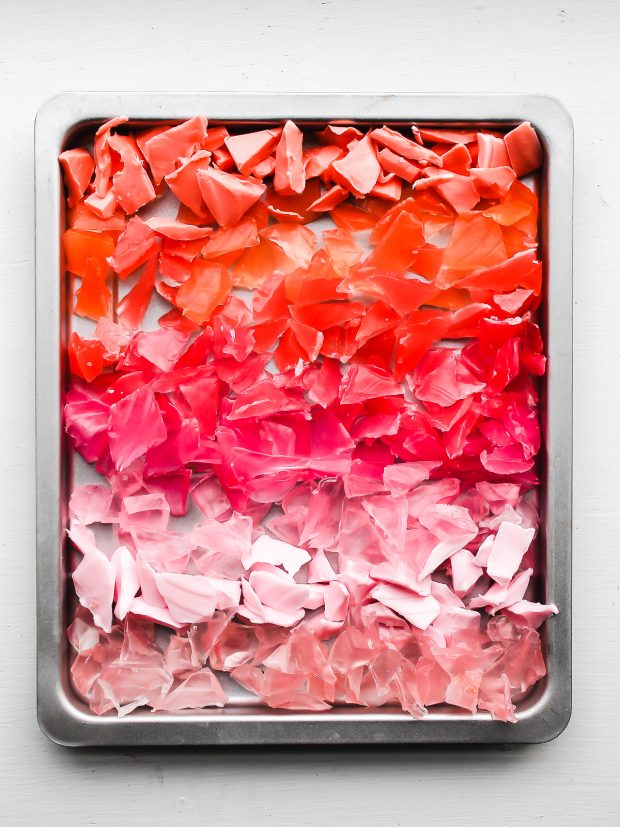
Once the soap is hard, use a large knife and cut each color into small shards. Keep them separated in cups or on a tray.
Why is this ombre soap is so crazy satisfying!?!
Fill a small plastic cup 3/4 of the way full with your colored soap pieces. You can mix and match colors, try some tone on tone – have fun with it! Once filled, use another glass bowl to melt down cubes of your opaque soap base and pour over top of your colored soap pieces. Allow these to Harden right in the disposable plastic cups. If you’re impatient like me, you can put them in the fridge to speed up the process a bit.

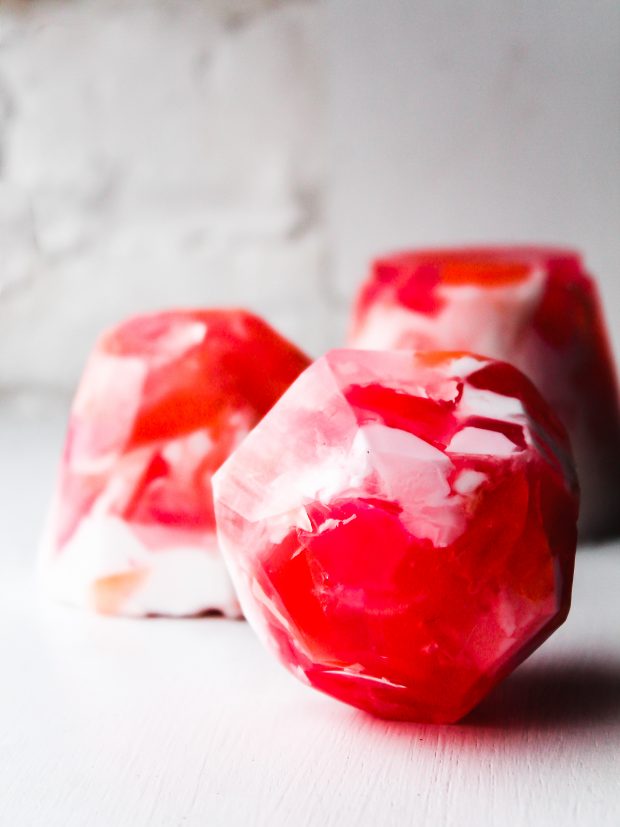
Once fully cooled, pop your soaps out of the plastic cups. You might need to break the cups a bit – that’s okay! You’ll end up with a soap in the shape of your cup and we want to change that up a bit, so use your kitchen knife to cut at an angle all around the soap until you create a gemstone shape you love!
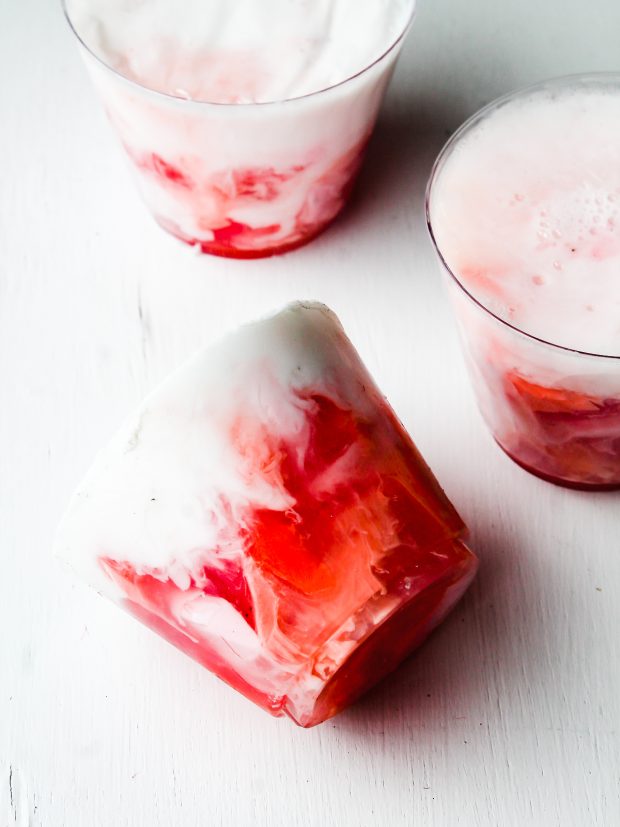
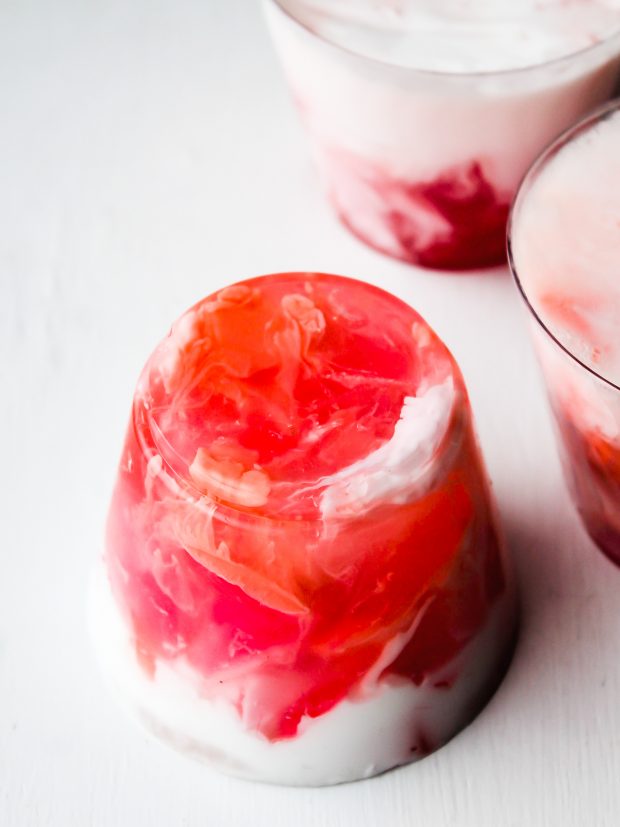
Don’t they look awesome?!? I love these because not only do they look good, but they’re also really fun to make – it’s a great DIY to get your kids involved with!

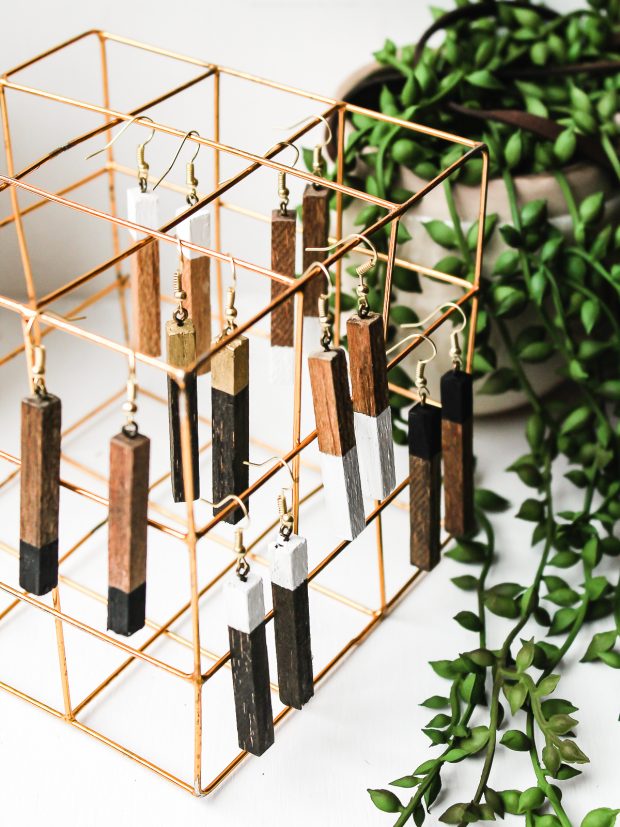
Stained wooden dowels from the craft store are the base of these adorable wooden earings that look like they came from a high-end boutique!
| Materials Wood Craft Dowels |
| Eyelet screws |
| Earring Hooks |
| Clear varnish |
| Stain |
| Pliers |
| Gold Gilding Paint Black and White Paint |
These earrings look awesome (I wore mine on the show!) but are insanely easy to make.
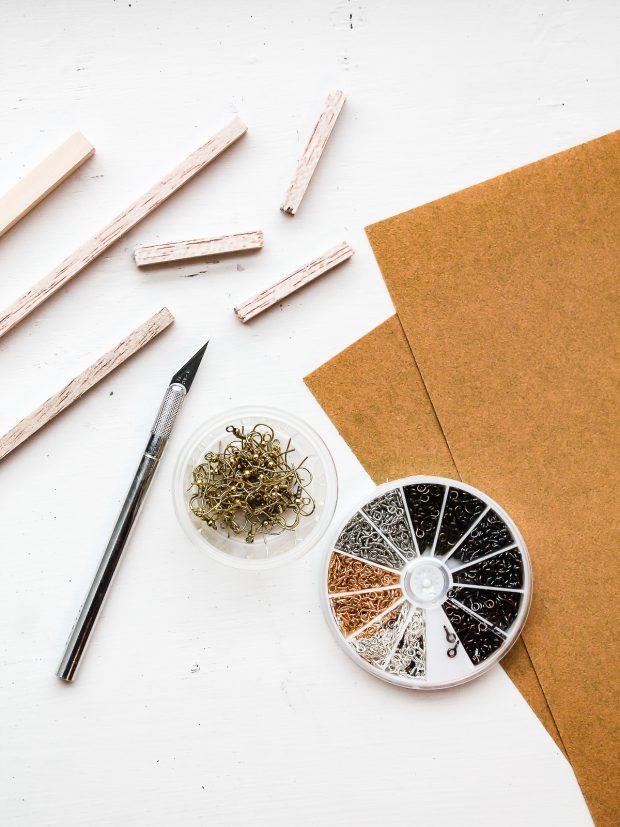
First, choose the length you want to make your earrings (we did about 2.5 inches) and cut the wooden dowel with a utility knife. Next, stain the wooden dowels making sure to get all 4 sides and the top and bottom – we used a walnut color, but you can do whatever you’d like. I think a light almost neutral stain would look awesome or a grey too! Allow the wood to fully dry.
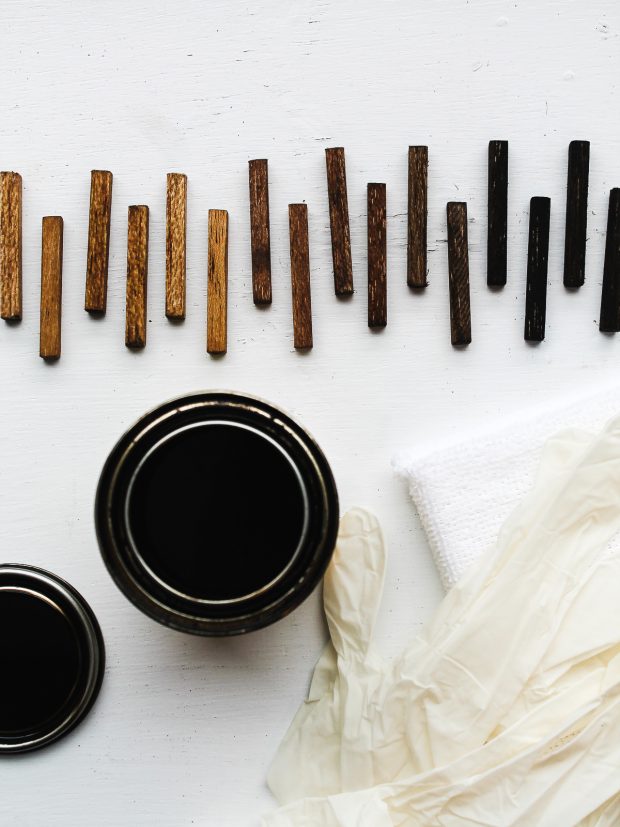

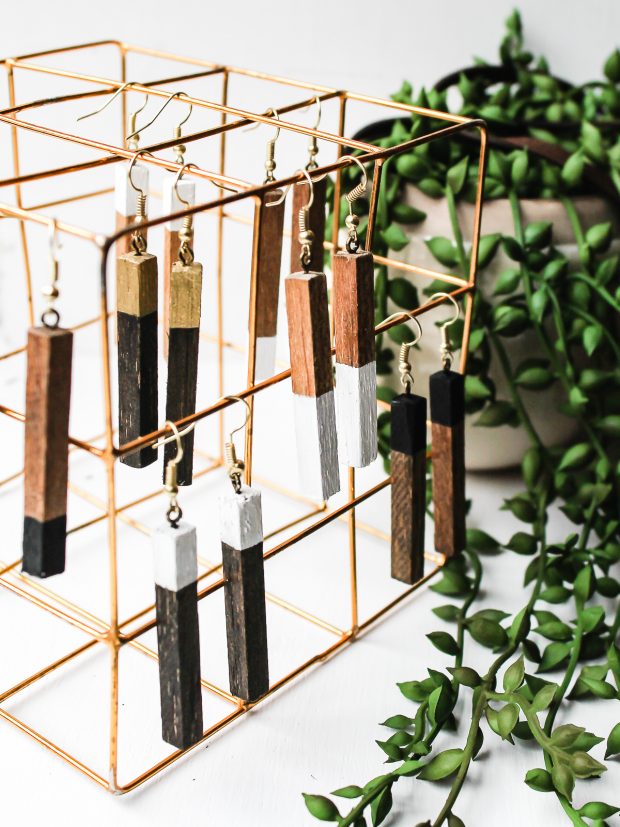
Once dry, use a little painter’s tape to mask off a section at the top or bottom of your earrings to add your paint accent. We used white and black paint and did some with gold gilding paint which I really loved too!
To turn the dowels into earrings all you need to do is add an eyelet screw to one end and attach an earring hook. It’s actually that simple!! We made about 20 pairs of these awesome earrings for under $10! A crafty and classy win in my book!
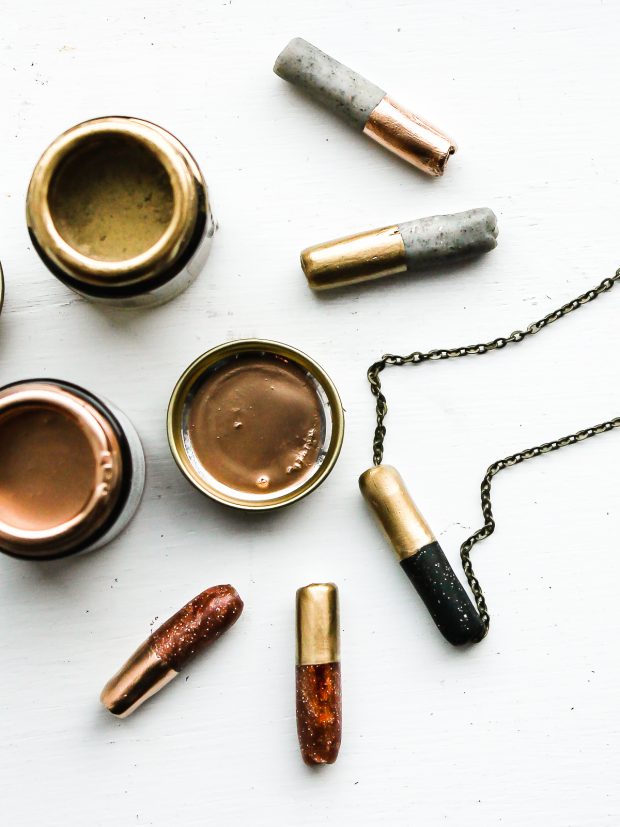
No one will believe you made these handmade beaded necklaces – the clay and gold combo are gorgeous, but so easy to make that anyone can do it!
| Materials Clay |
| Chain |
| Xacto knife |
| Skewer |
| Tape |
| Gilding Paint |
This is another easy jewelry project this time using clay. I love the look of this black granite clay that I found at Michael’s. To make beads, just roll the clay into a “snake” shape and cut to the size you want. Using a wooden kitchen skewer, create a hole within the bead where the jewelry chain will go.
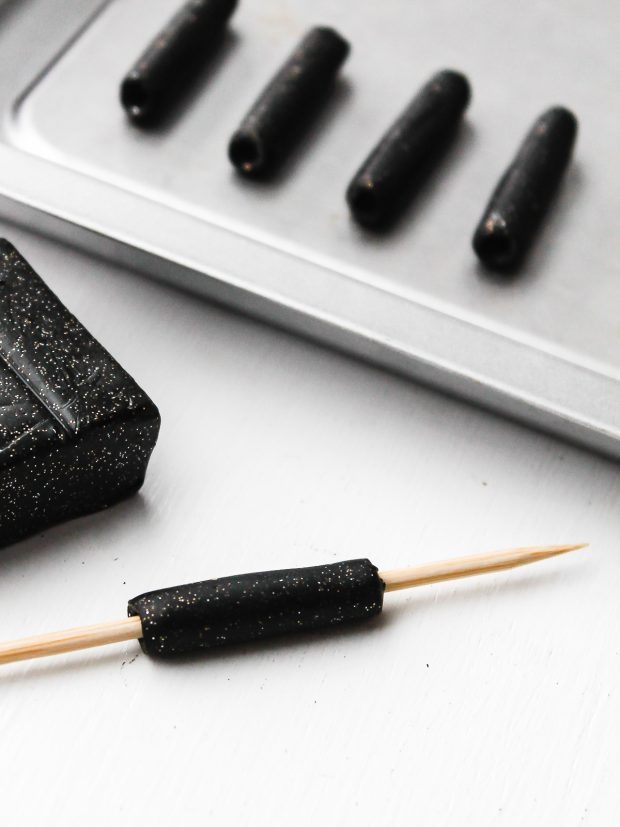
After your beads are ready pop them in the toaster or over according to package directions to firm up your clay. Use painter’s tape to mask off half the bead and paint it with gold gilding paint.
Pop it on your chain and you’re good to go!
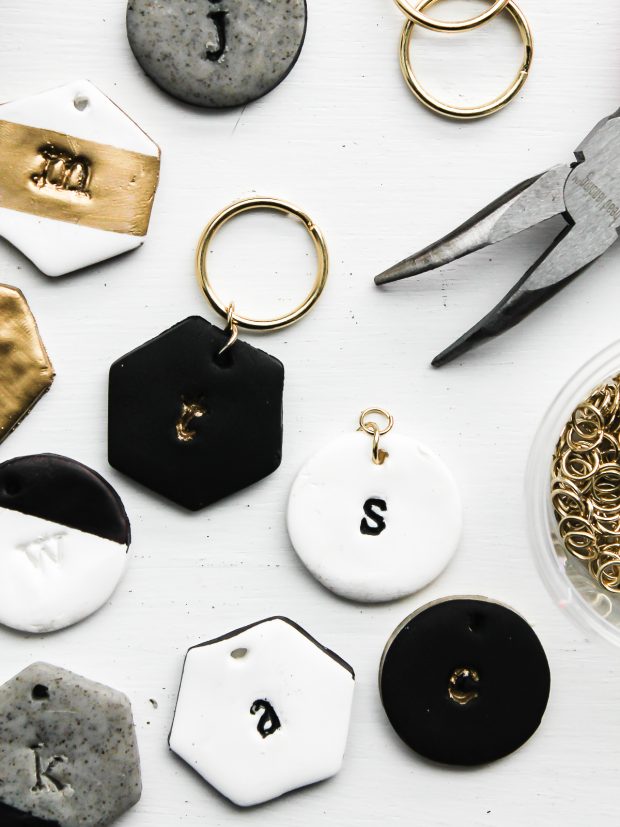
These monogram keychains are the perfect little gift for the travelers in your life!
| Materials Polymer Clay – black |
| Polymer Clay – white |
| Polymer Clay – Granite |
| Clay Cutters |
| Clay Embossing Kit |
| Jump Rings |
| Rolling Pin |
| Keychain Rings |
| Pliers |
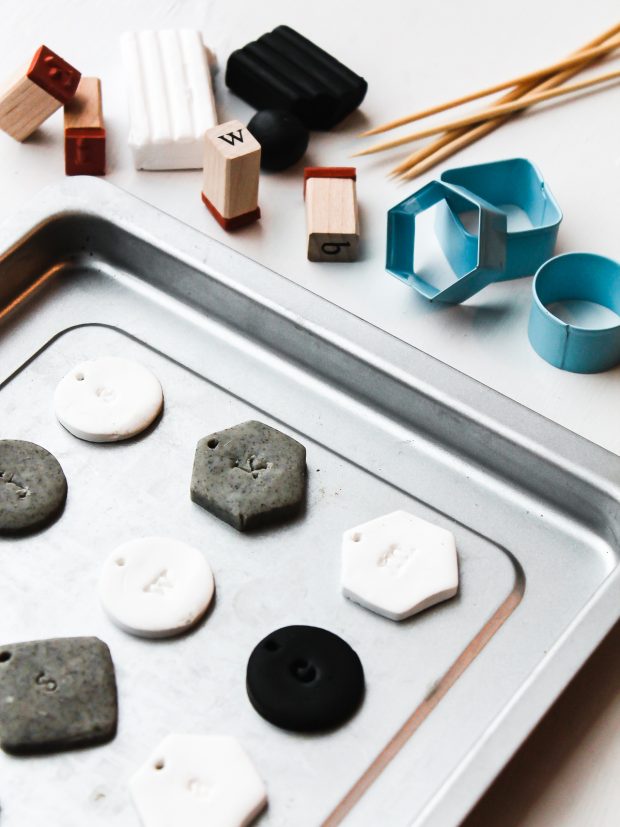
Roll out your clay to about 1/4 inch thick (if you go too thin your tags will be less durable) Use rubber stamps to personalize with a monogram and use a pen, nail, or wooden skewer to poke a hole large enough for your jump ring to go through.
Bake according to package directions and once cool you can accent your monogram with paint or gold gilding. Use pliers to attach a jump ring onto the tag and then attach that to the keychain. Don’t try and put the keychain directly through the clay tag or it will crack. The jump ring is the best option!
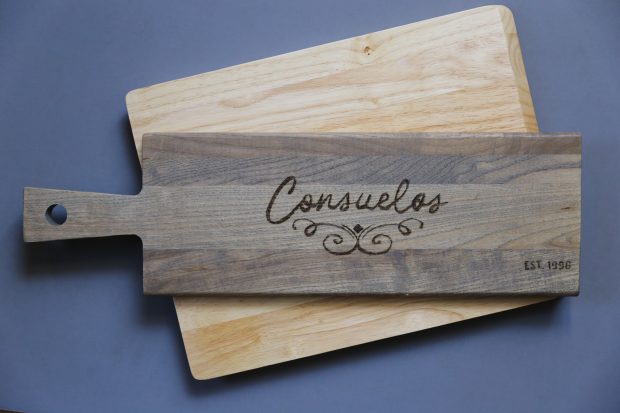
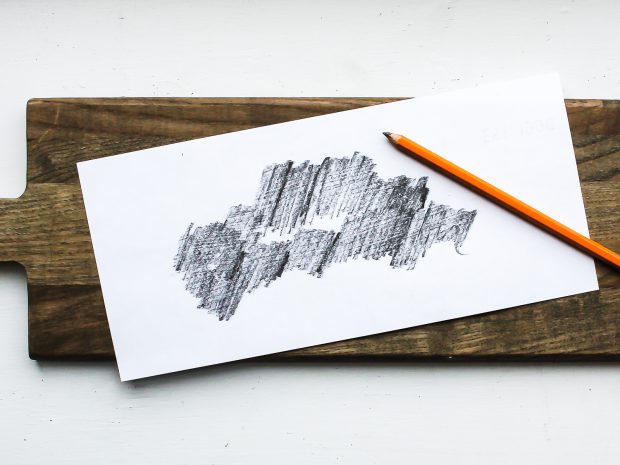
A Personalized wood burnt cutting board is the perfect gift for the chef or entertainer in your life. This personalization is an easy way to level up a store bought gift!
| Materials Cutting Board |
| Wood Burning Tool |
| Paper template – print out from your computer! |
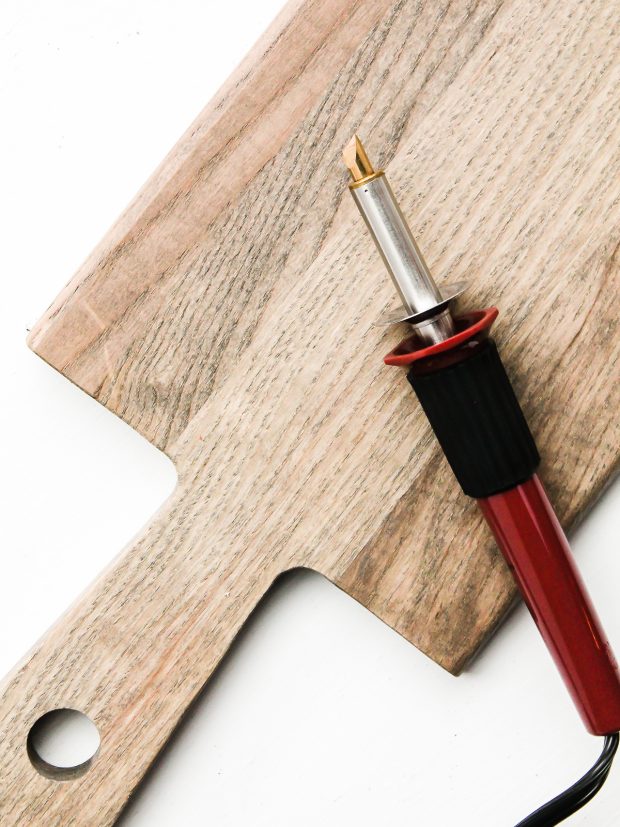
The trick to making this project look classy is using your home printer to create a template. If you’re super artsy you can freehand it, but that wouldn’t work for me! Print out your template, trace the back of it with pencil – completely cover the surface. Then, flip it over onto the cutting board and trace the letters – the pencil from the back will give you an outline to trace with the wood burning tool! Easy peasy!
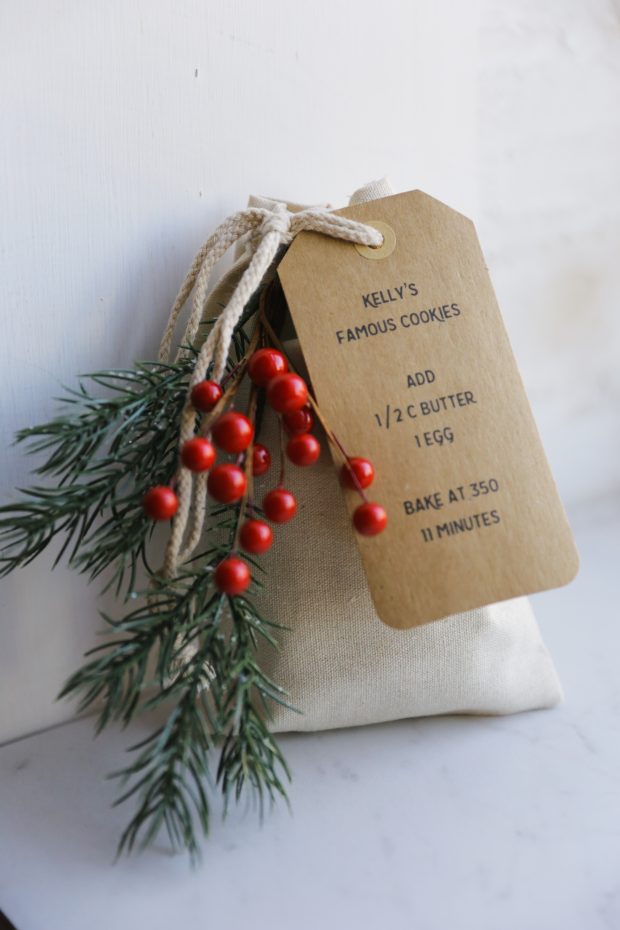
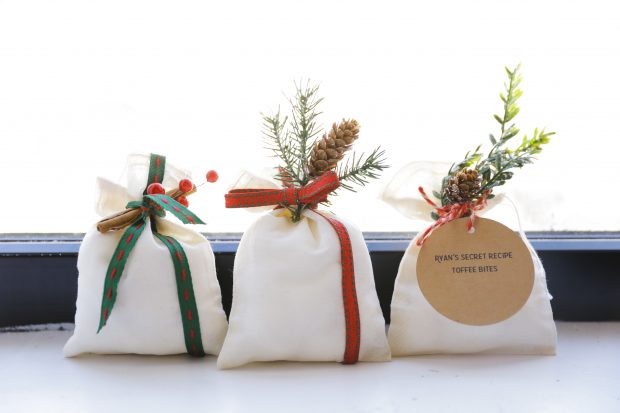
Baked goods or recipe kits are always a handmade hit, but this year elevate the style with a cloth sack, faux garnish and customized tag that will give your DIY a high end vibe!
| Materials Mini Satchels |
| Faux Berries + Greenery |
| Mini Tags |
| Twine |
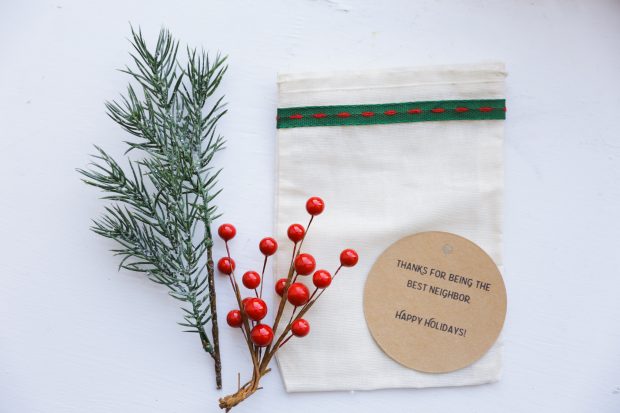
Just add a little extra something to your home baked gifts – ribbon, faux greens and a tag. Done and done!
The gardener or chef in your life will love these custom, clay garden markers that are perfect for an indoor herb garden!
| Materials Polymer Baking Clay |
| Rolling Pin |
| Plastic knife |
| Embossing letter stamps |
| Terra Cotta Planters (optional) |
| Herb Plants (optional) |
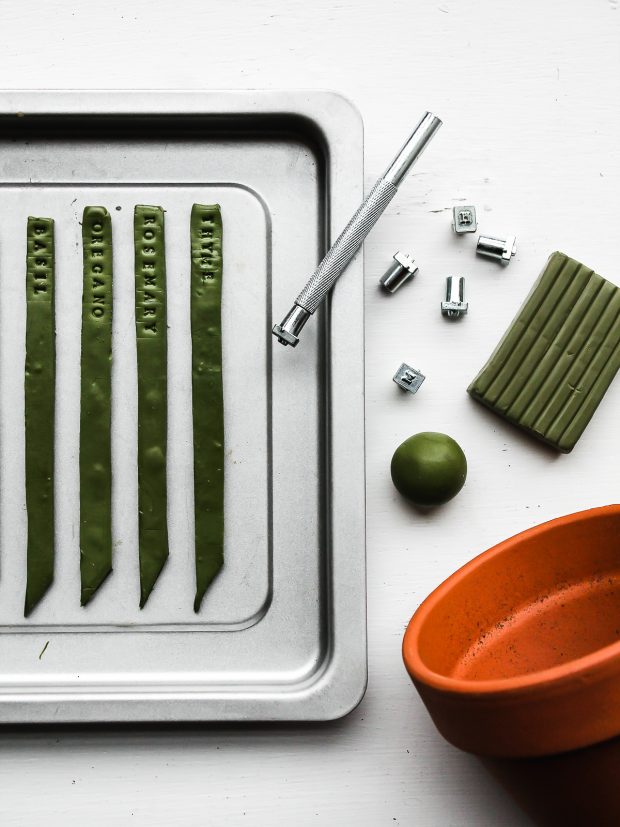
Roll your clay into “snakes” and then flatten to a rectangle shape. These work best if they’re at least 1/4 inch thick so they’re nice and durable. Once you have rectangles, use a plastic knife to trim it to size – about 6 inches. Use your knife to taper the bottom end into a point, so it goes into dirt easier.
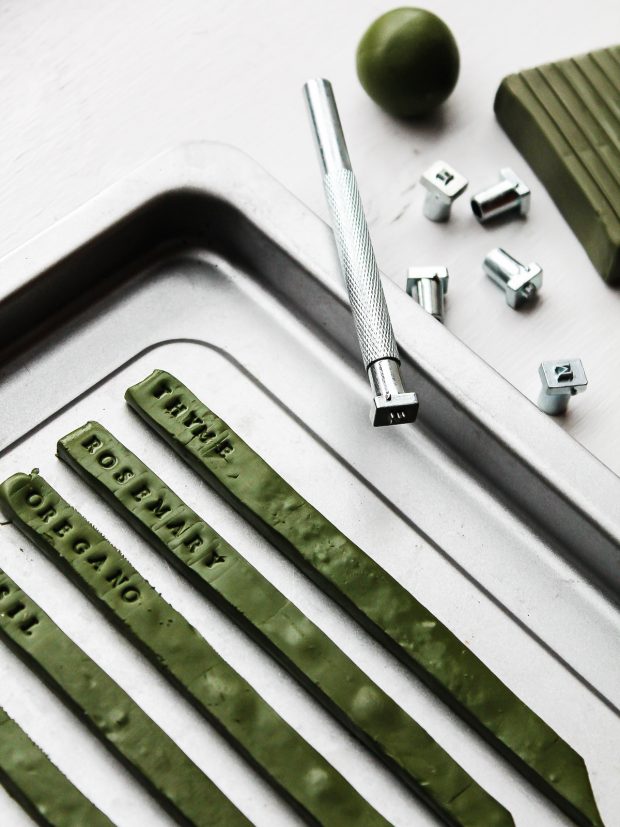
Once shaped, use metal embossing stamps to add your herb varieties. We went with the main ones – cilantro, rosemary, thyme, parsley etc… but a fun idea is to include plants or seeds with your gift. If you do that just make sure your markers and plant types are coordinated. Once stamped bake your clay according to package directions.
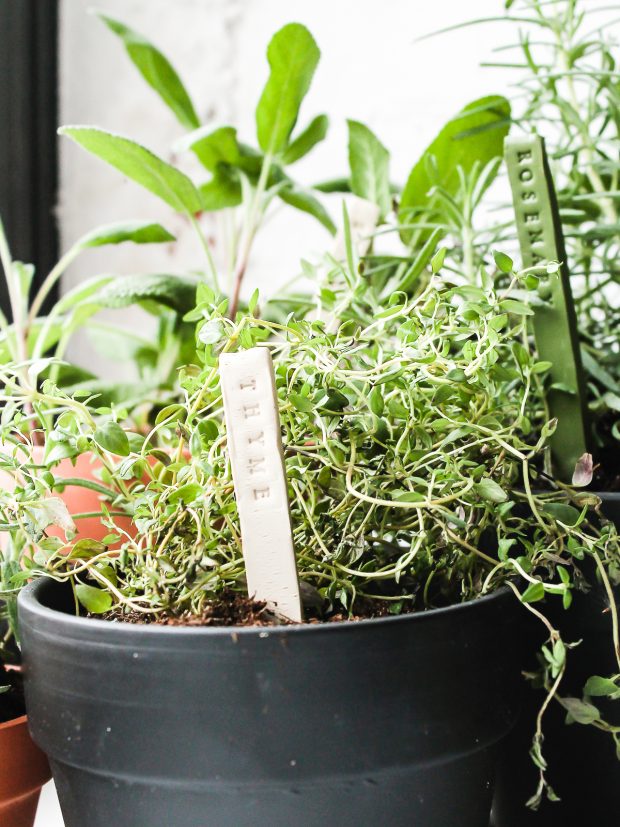
Package them up cute and you’ve got the perfect gift for the gardener in your life!

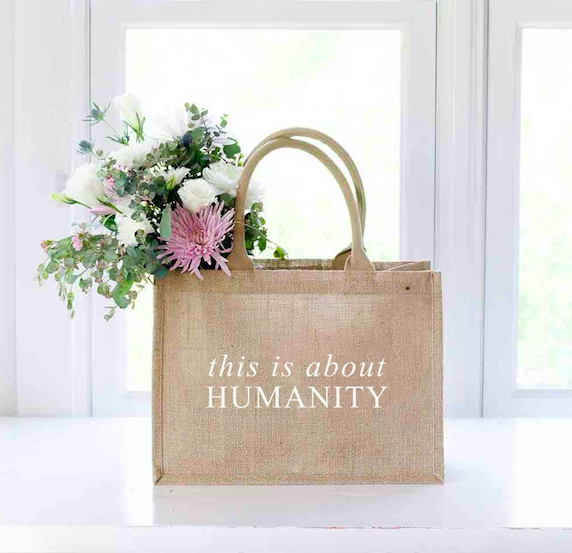
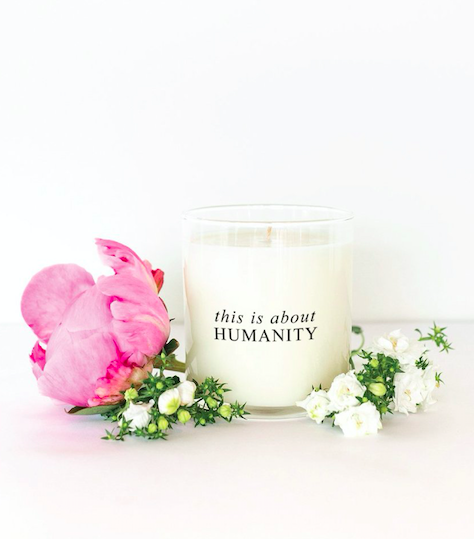
This is About Humanity Tote + Candle
Want to give a meaningful gift, but don’t have a ton of time to get crafty? Kelly shared a really meaningful gift idea with me that gives back to those in need. I also love these totes as an idea to deliver all my gifts in this year!
To learn more about this organization and how you can get involved – click here!


Great ideas.