
*I AM PROUD TO BE A 3M-SPONSORED BLOGGER, AND AS PART OF MY RESPONSIBILITIES, I GET THE OPPORTUNITY TO EVALUATE 3M PRODUCTS. OPINIONS ARE MY OWN AND ADDITIONAL PRODUCTS USED IN THE PROJECT WERE SELECTED BY ME. THANKS FOR SUPPORTING THE BRANDS THAT MAKE EC2 POSSIBLE! *
Hey guys! I’ve teamed up with Command™ Brand to bring you some fun DIY projects featuring their line of decorative products- we’re focusing on those hard-to-tackle small spaces, and how to bring some serious style even when space is at a premium. Today we’re talking party planning, and how it’s super easy to whip up some killer DIY photobooth backdrops for your guests!
![]()
Holiday party season is just around the corner, and I’ve got some quick and easy photo backdrops for you to create before you guests arrive. The best part? They’re all installed with only Command™ Brand products!
1. Wrapping Paper Banner
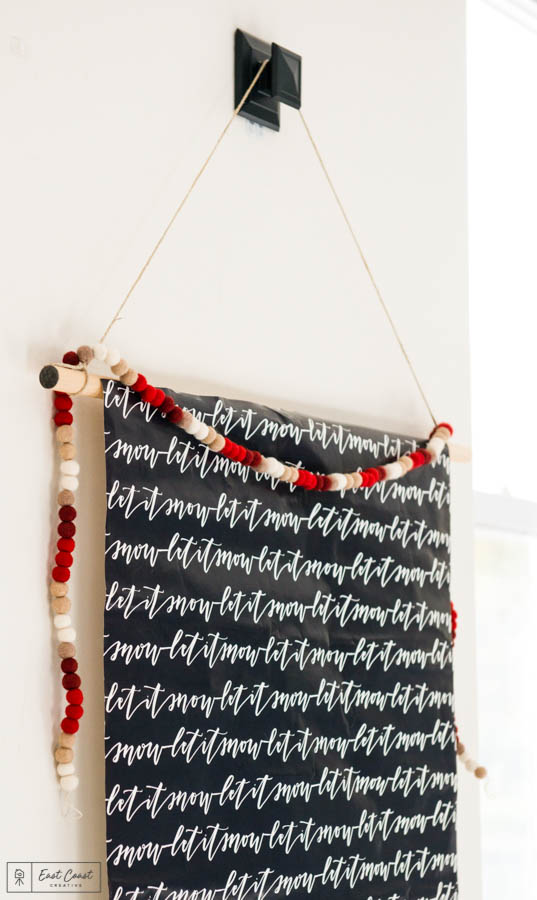
First up, this adorable wrapping paper banner backdrop. Here’s what you’ll need to make it…
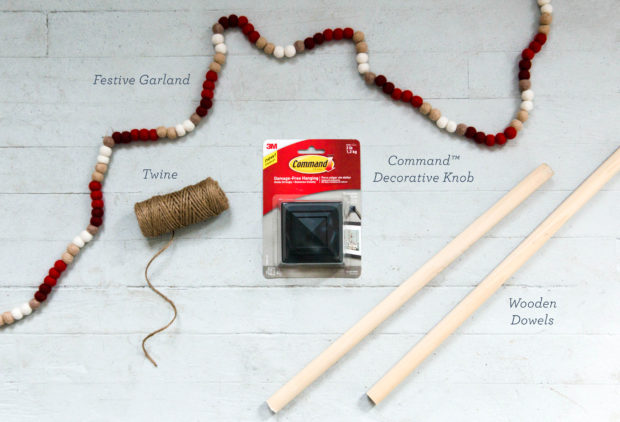
Materials: Command™ Decorative Knob | Wooden dowels | Twine | Festive garland | Other Holiday decor items
Step 1: Starting with two wooden dowels, wrap either end of your wrapping paper sheet around each, securing with some tape or glue so you basically end up with an unrolled scroll.
Step 2: Add some string or twine to either end of the top dowel so you can hang it on your Command™ Decorative Knob.
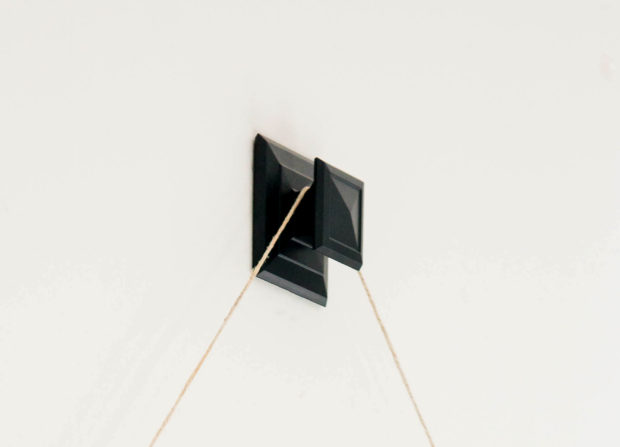
Step 3: Apply your Command™ Decorative Knob by following all package instructions. Wait 1 hour for adhesive to strengthen before you hang up your banner.
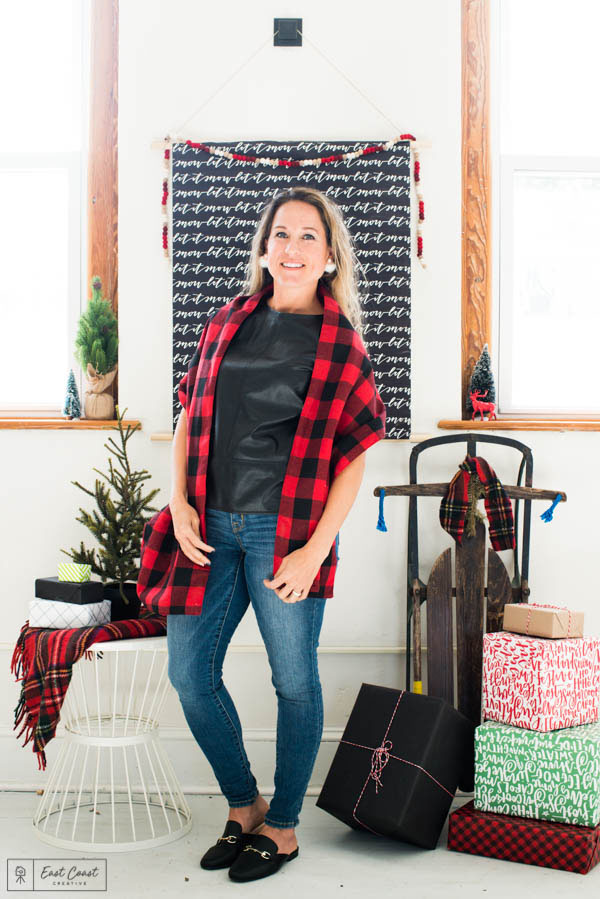
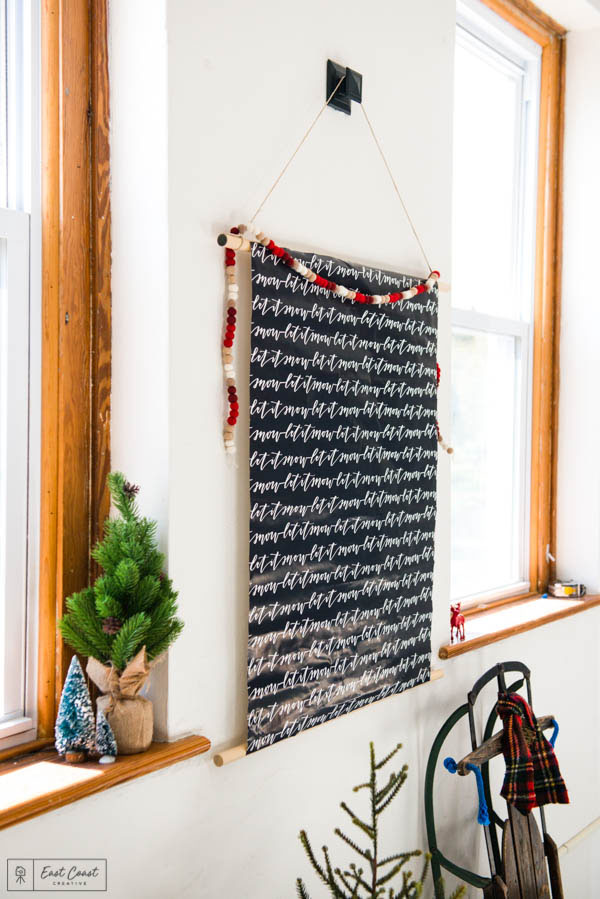
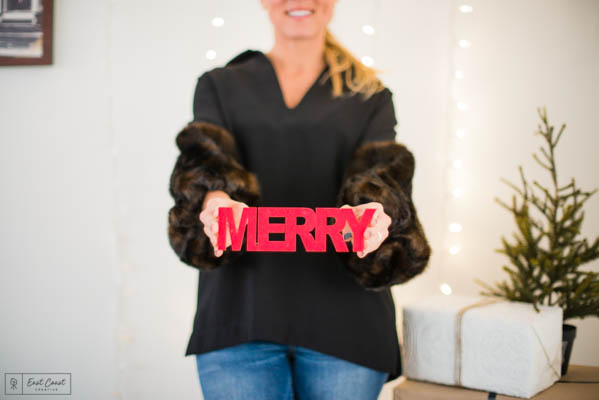
Now you’re ready for some photo booth shots!
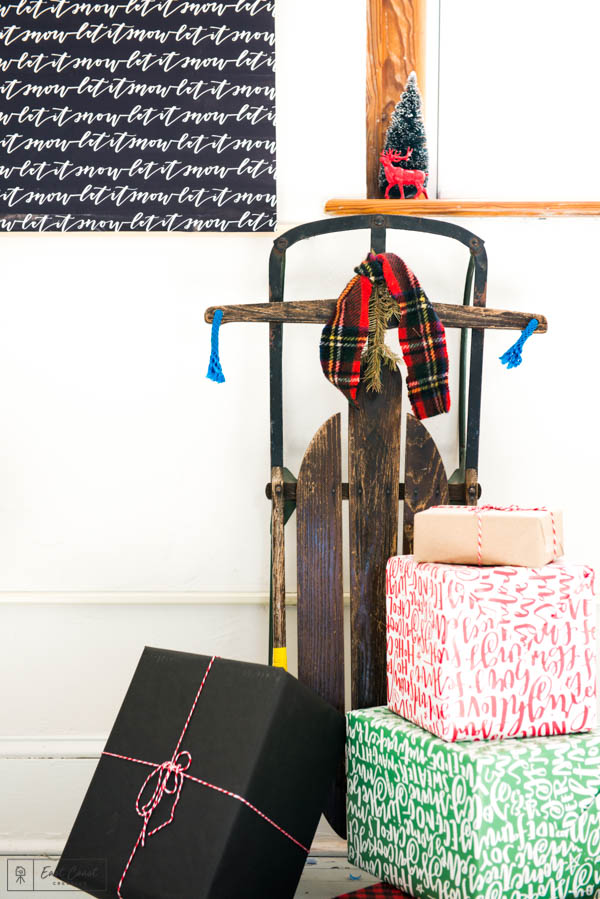
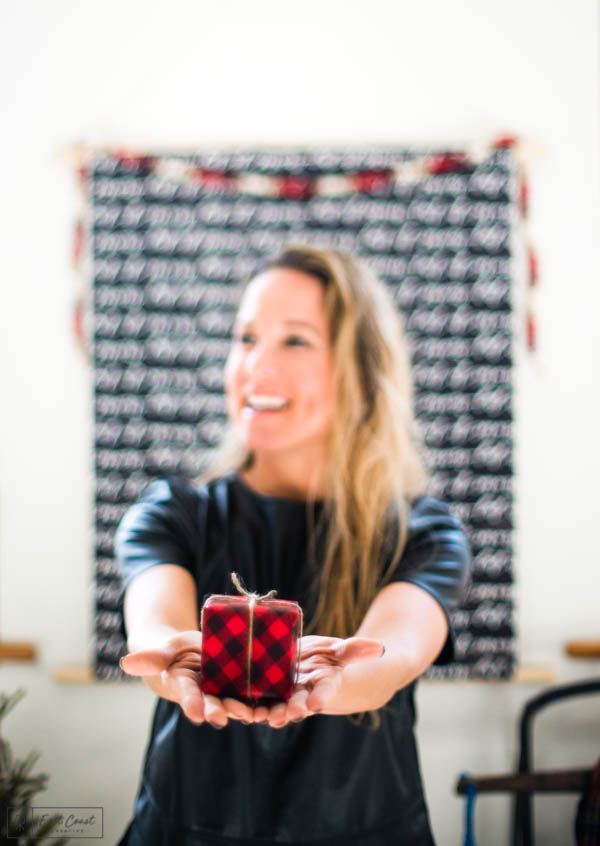
Combining your photo booth backdrop with some wrapped gifts and other holiday decor can really add some extra holiday cheer to your photos– the more the merrier!

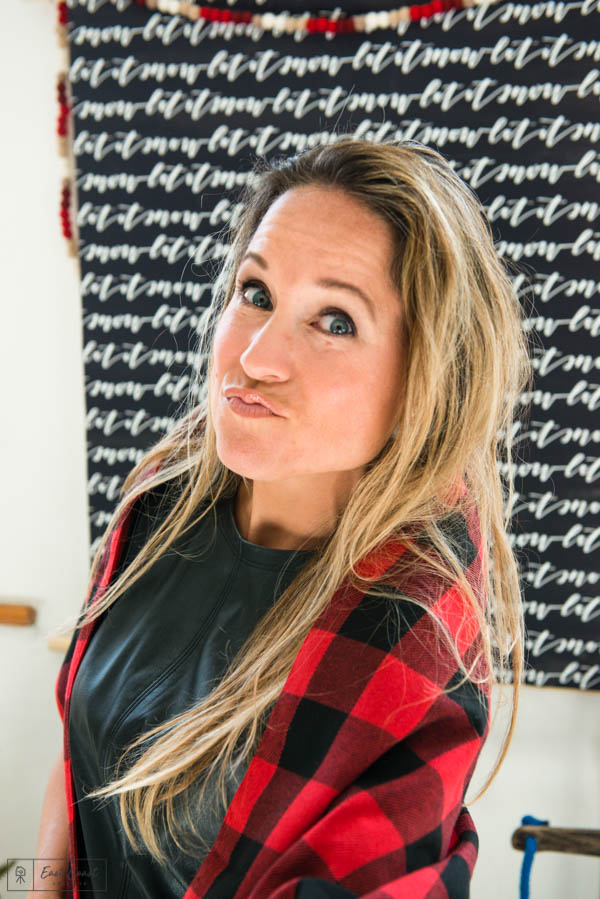
Don’t forget the selfies!
02. String Lights Backdrop
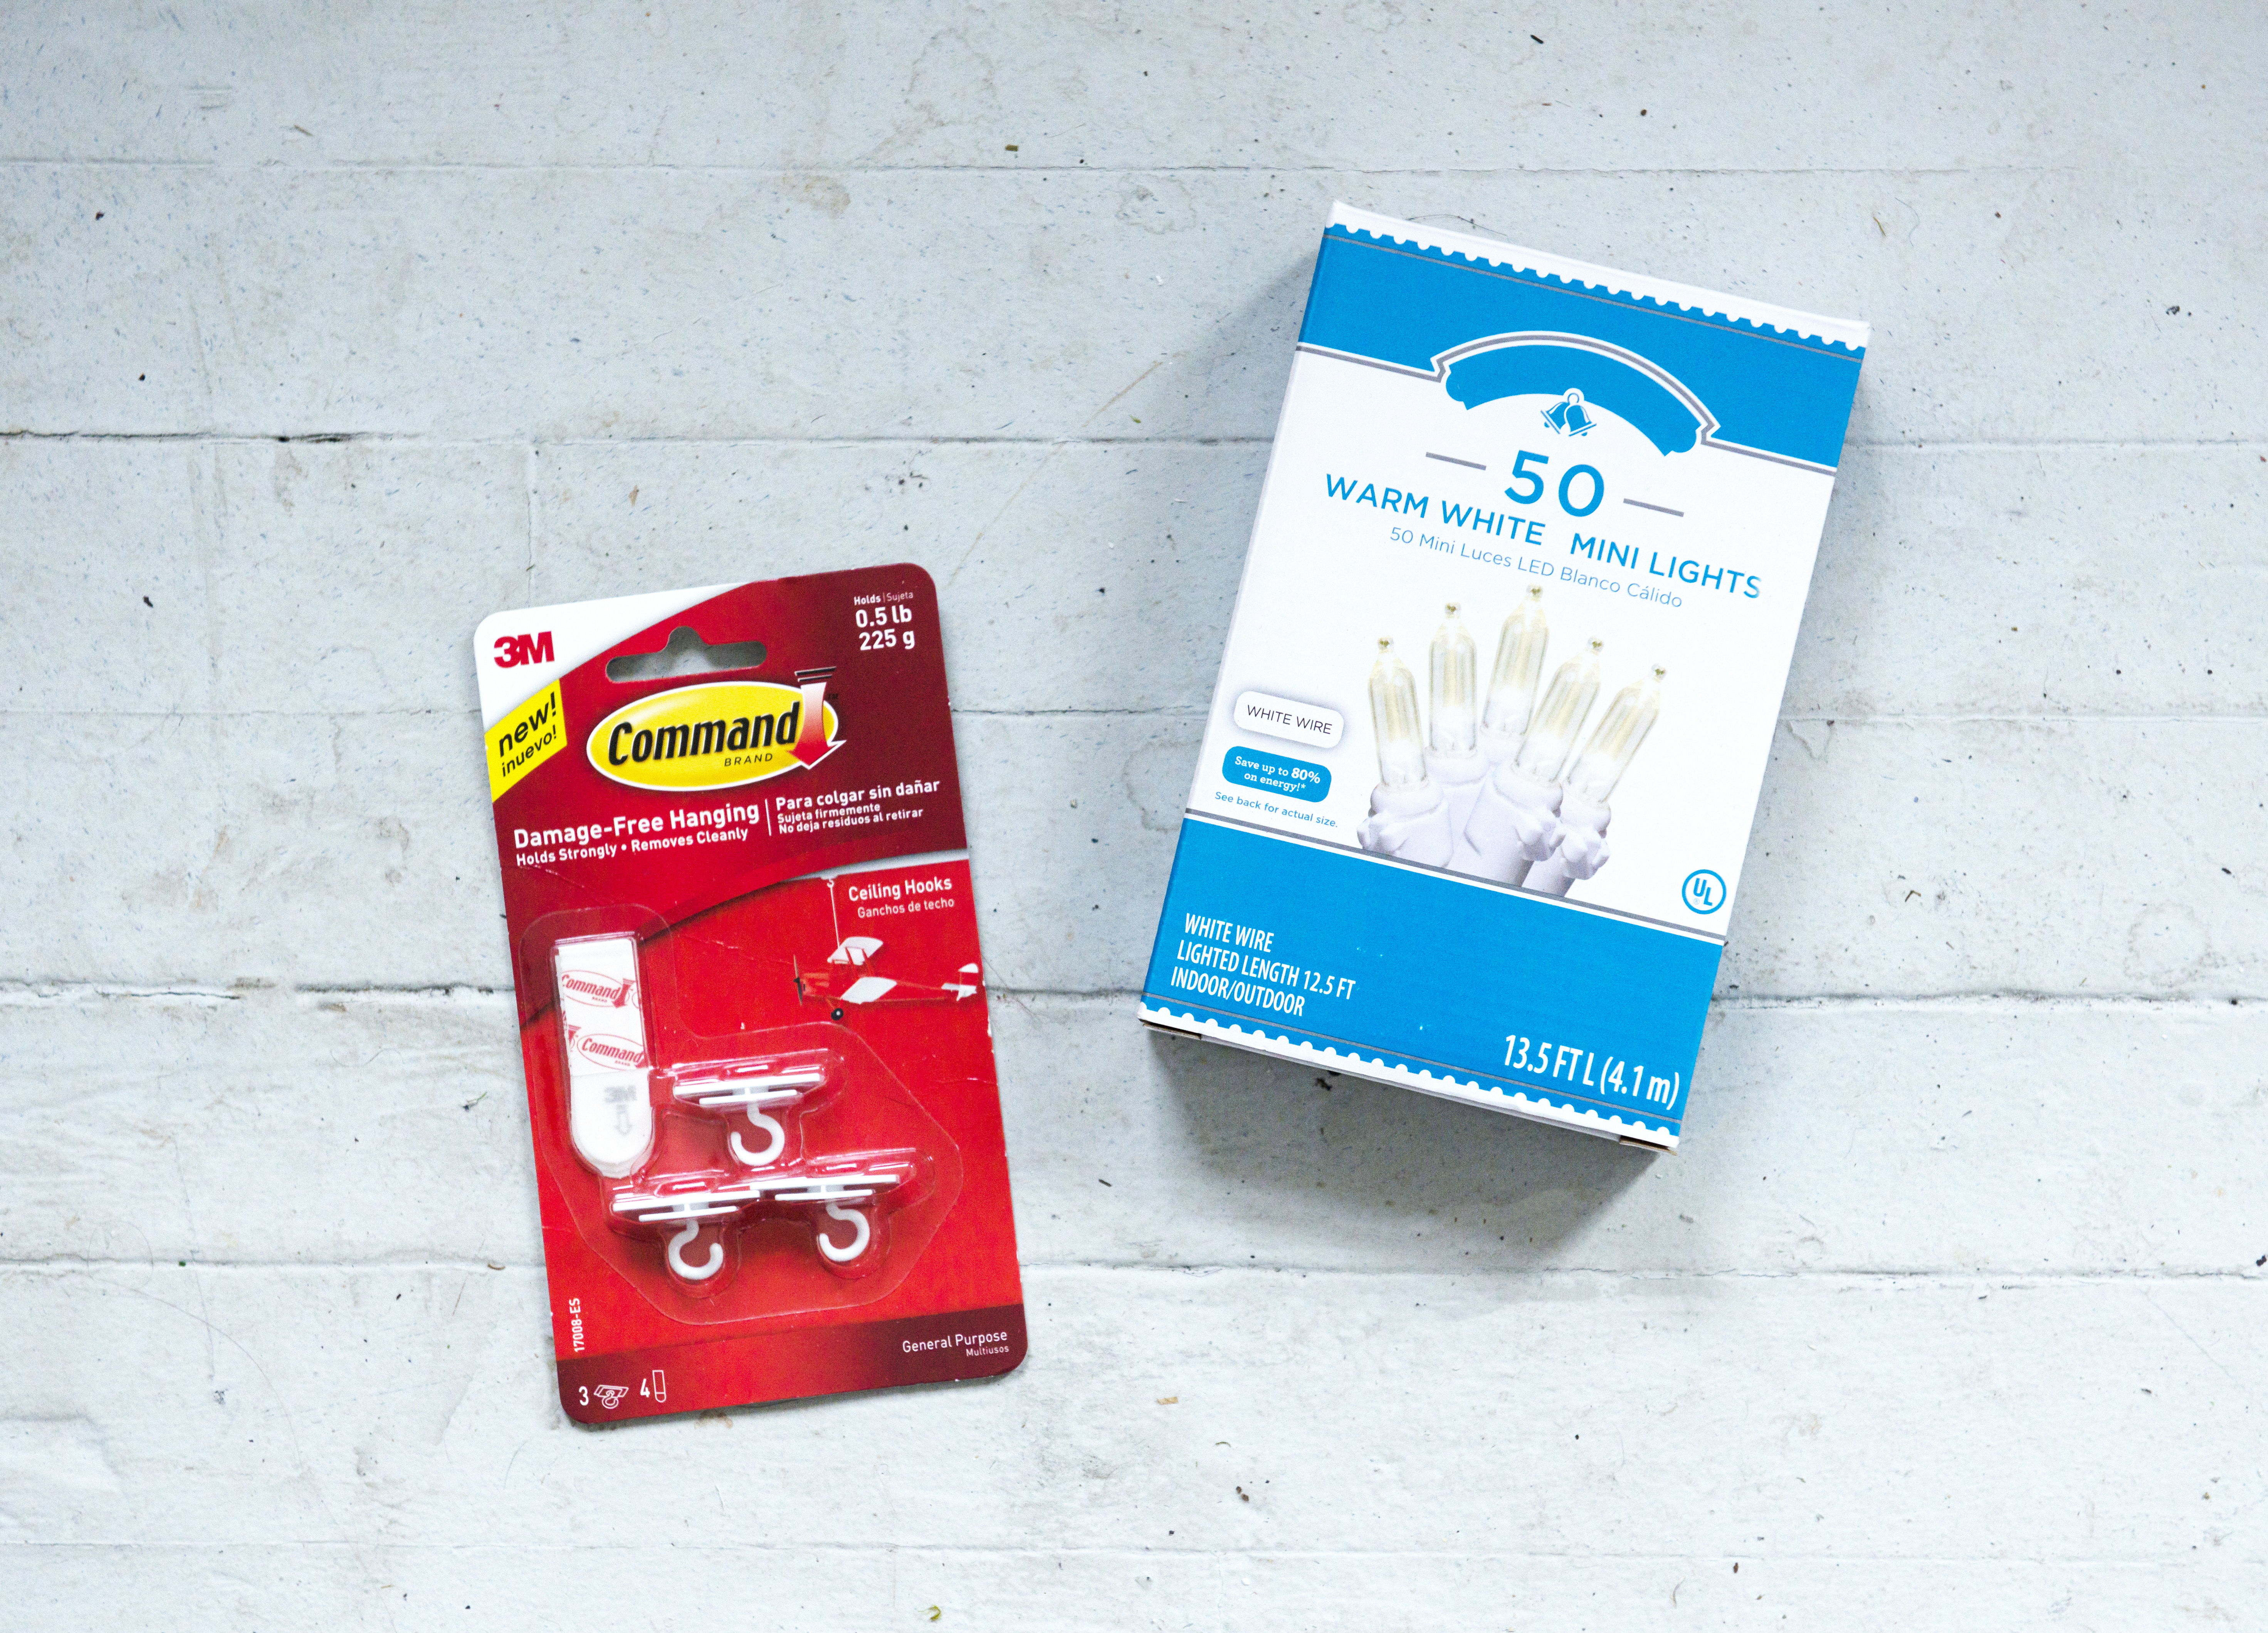
Materials: Command™ Ceiling Hooks | Mini white string lights | Festive holiday props & decor
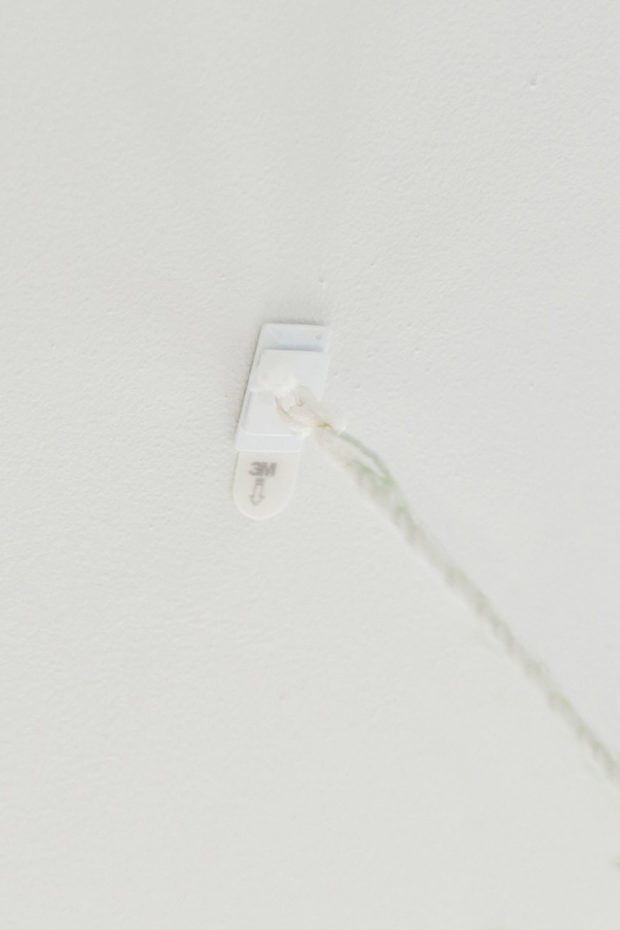
Step 1: Following all package instructions, prep each Command™ Ceiling Hook and adhere to the ceiling where you want your backdrop and press firmly for 30 seconds. You can also hide the tab by tucking it into the slot at the base of the hook.
Step 2: Wait 1 hour for adhesive to strengthen, then hang each strand of string lights vertically from the ceiling to the floor, leaving a bit to lay on the floor.
Make sure the end of the plug is on the floor, so you can easily plug in as low-profile as possible. You can also use more Command™ Hooks– like a Command™ Clear Mini Hook– to to keep the cord as close to the wall as possible. No one likes ugly cords in their photos!


Stay tuned for more Command™ Brand DIY projects coming soon, and in the meantime be sure to check them out on Instagram for the latest products and projects!
-Mon
Photos: Teri Klinger Photography


The comments +