
HEY GUYS! THIS POST IS PART OF THE WEEKENDER MAKEOVER SERIES. A DIY MAKEOVER WEB SERIES IN PAID PARTNERSHIP WITH LOWE’S HOME IMPROVEMENT. YOU CAN WATCH SEASON 1 , 2 & 3 ON YOUR STREAMING DEVICES OR BY SUBSCRIBING TO LOWE’S YOUTUBE CHANNEL.

We had our work cut out for us this weekend– luckily we got a long weekend to work on this one! Kaley and Wes are definitely family and friends-oriented people, and are always hosting get-togethers, meals and church meetings in their home, but they have a small, outdated kitchen which makes it a little hard to entertain with ease.
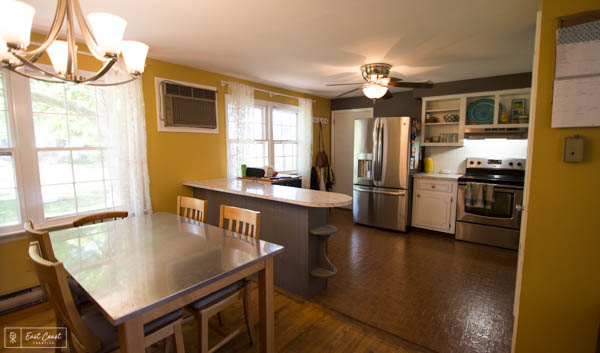
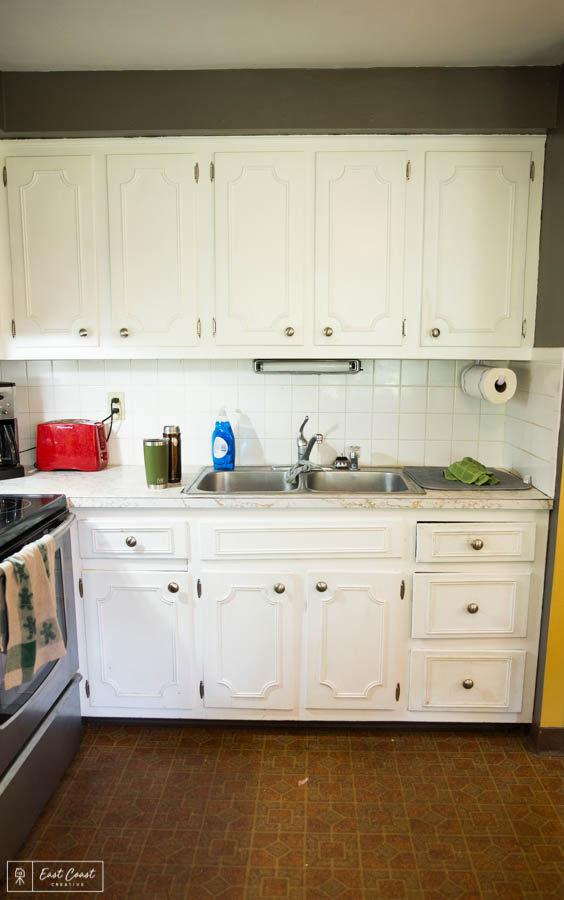
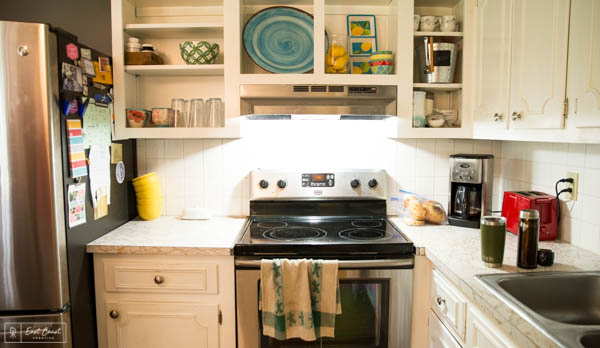
They have lived in their rancher for a few years and haven’t really had the time or money to renovate their kitchen which was still stuck in the 60’s… old cabinetry, linoleum flooring, and might I add… a standalone, rolling dishwasher that they have to move next to the sink every time they do dishes! My number one goal this weekend was to put an end to that, and definitely address the other issues too.

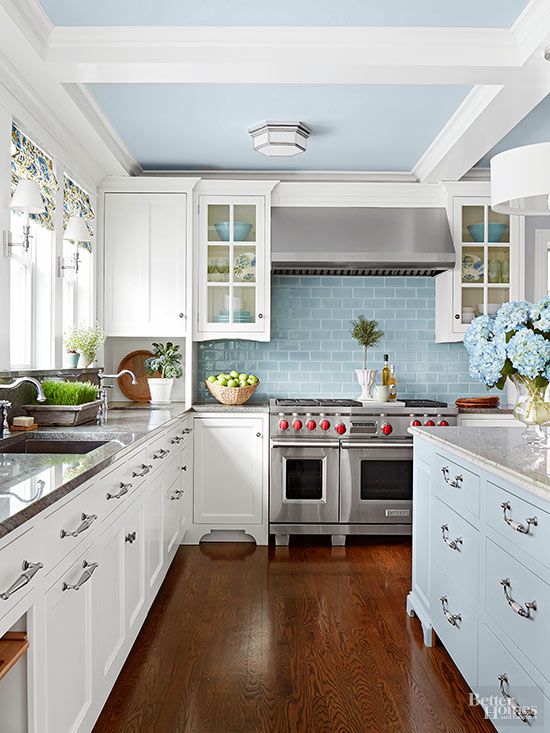
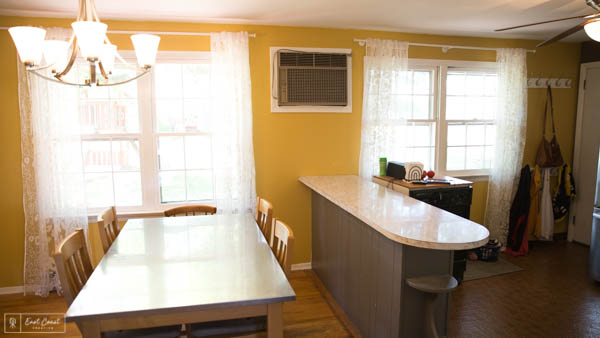
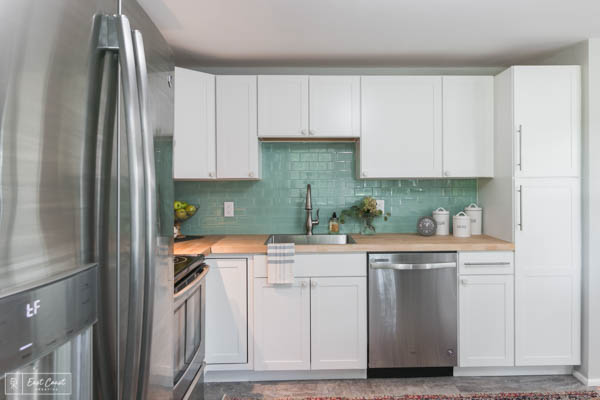
This kitchen was pretty small, especially with the island and dishwasher that lived smack in the middle of the room! My plan was to lighten and brighten the space with lots of neutrals and a slight pop of color (I went the blue-ish route!)

Before
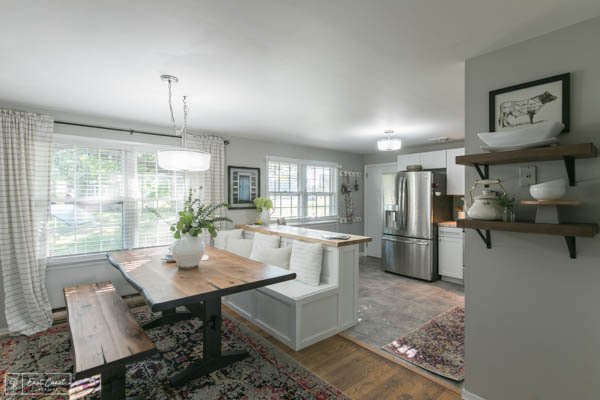
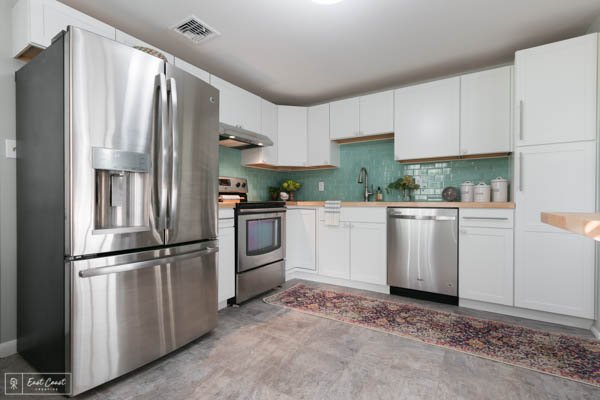
After
Before
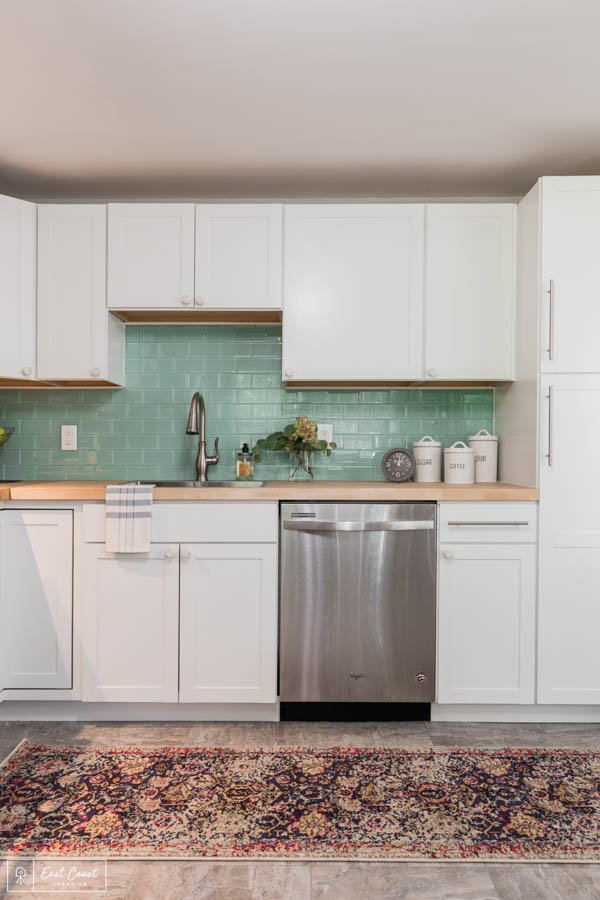
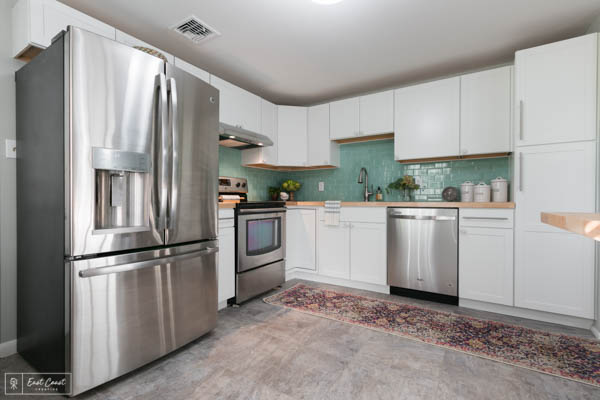
After
Before

After
Before
After

Holy moly, did this room change with just 5 projects! Get all the details on all of them below…

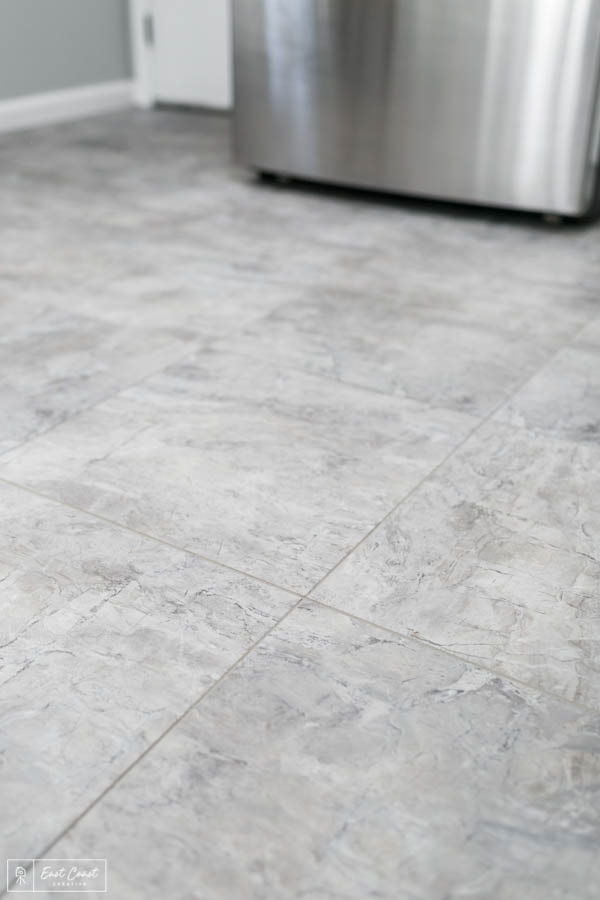
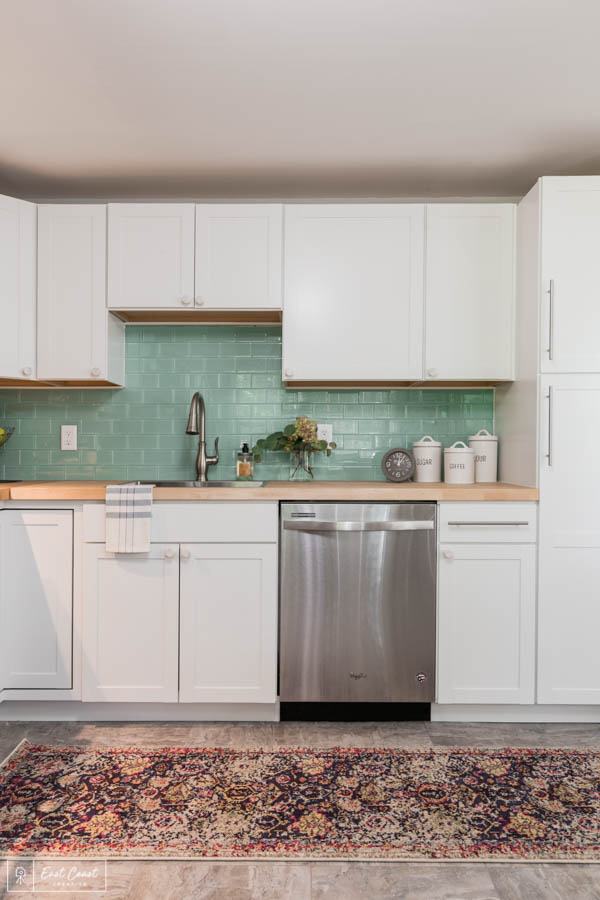
Goodbye 60’s lineleoum and helloooo new flooring! Check out this STAINMASTER Groutable Peel-and-Stick Vinyl Tile! It looks just like granite or something wayyy more expensive than what this actually cost us! You can grout this vinyl tile just like you would regular tile, but it’s super durable, won’t crack and break, and it’s not going to be freezing when you’re walking around with bare feet (I wouldn’t know what that’s like because I wear shoes 24/7).
These tiles are peel-and-stick, so you literally just peel off the back sheet, stick them down, grout, and voila! You’ve got yourself a brand spankin’ new floor, and the gravity will basically weigh them down the more you walk on it. No messy adhesives needed! The warm gray was a great color choice for this space since we went really neutral and white everywhere else, and you won’t see the dirt!

So I did say this was a long weekend Weekender project, right? I gave Kaley & Wes the gift (and work!) of new cabinets, so that meant complete demo of the old, and in with the new! We already had a plan for how we wanted to move some cabinets around to make room for a NEW dishwasher and say bye bye to their old rolling one, but if you’re stuck on cabinet layout, Lowe’s Cabinet department can work with you to sketch something up that works for you own space!
We went with a pre-primed and painted line of Diamond Arcadia White Shaker Cabinets from Lowe’s. The best part is that all of these cabinets were in-store stock items from our local Lowe’s, so no special ordering involved– saving time and the headache of waiting!
To hang the upper cabinets, we made ledger boards to screw through the interior backs of each cabinet to ensure they wouldn’t move– find those wall studs, they’re definitely your best friends for any kind of secure wall fastening!
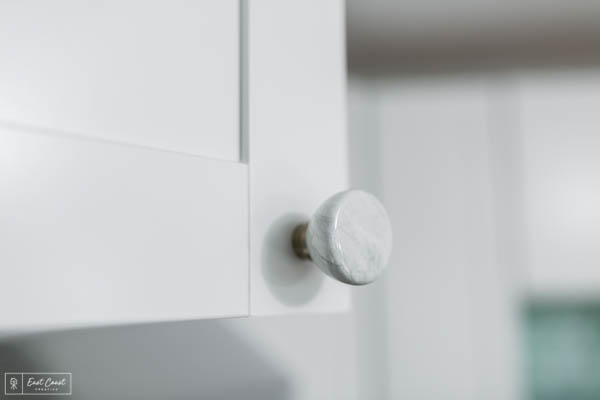
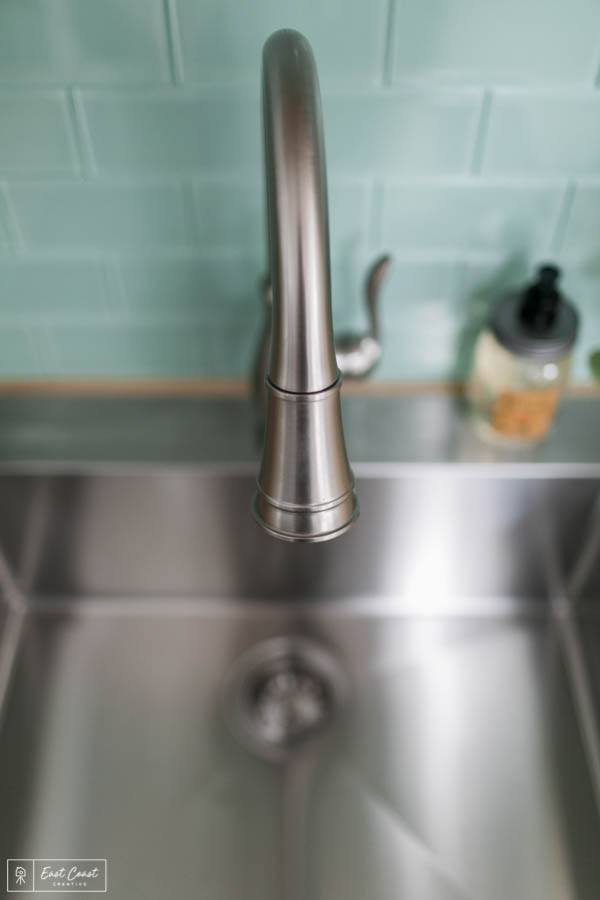
Don’t forget about the hardware! I didn’t want anything too flashy for this space, so I went with a faux marble pull for the smaller cabinet doors and these Brushed Satin Nickel Bar Pulls from Lowe’s.


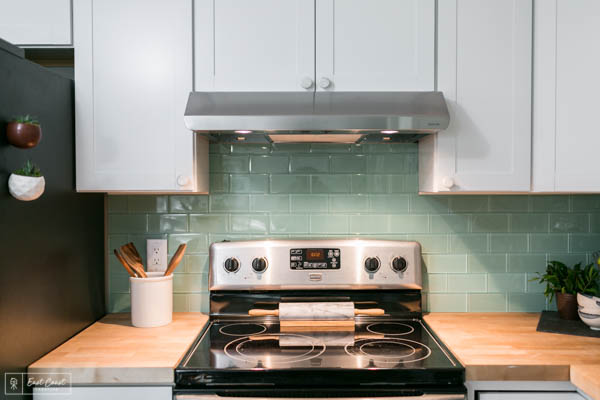
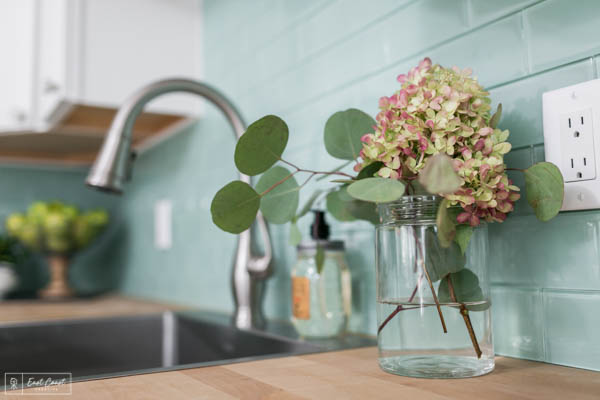
We love subway tile here on The Weekender, and we’ve done it so many different ways– stacked, staggered, matte, gloss, but we hadn’t used glass tile until this ep! I found this mint green American Olean Vintage Glass Tile and it was exactly the subtle color pop this kitchen needed!
The only difference in installing this tile was that we didn’t grout it– glass tile is unique in that it’s semi-transparent, so you can see the grout through the tile, and the grout almost changes the color of the tile when it’s all up on the wall. We decided to install the tile with no gaps, and butt each piece up against another for a clean, polished look. Plus the shadow in between each tile gives it a visual separation anyway!

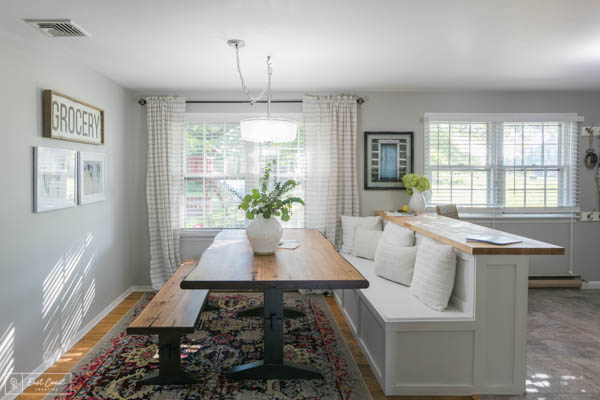
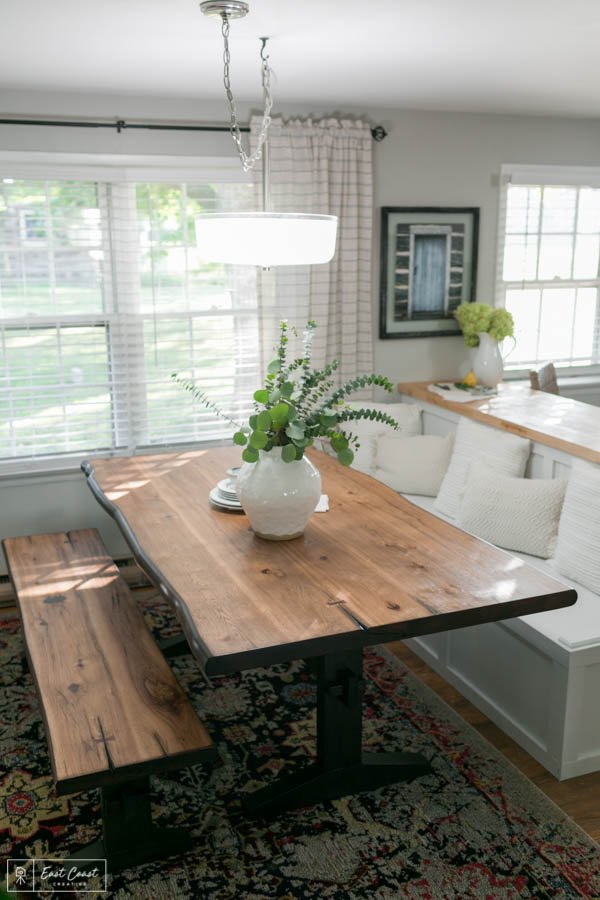
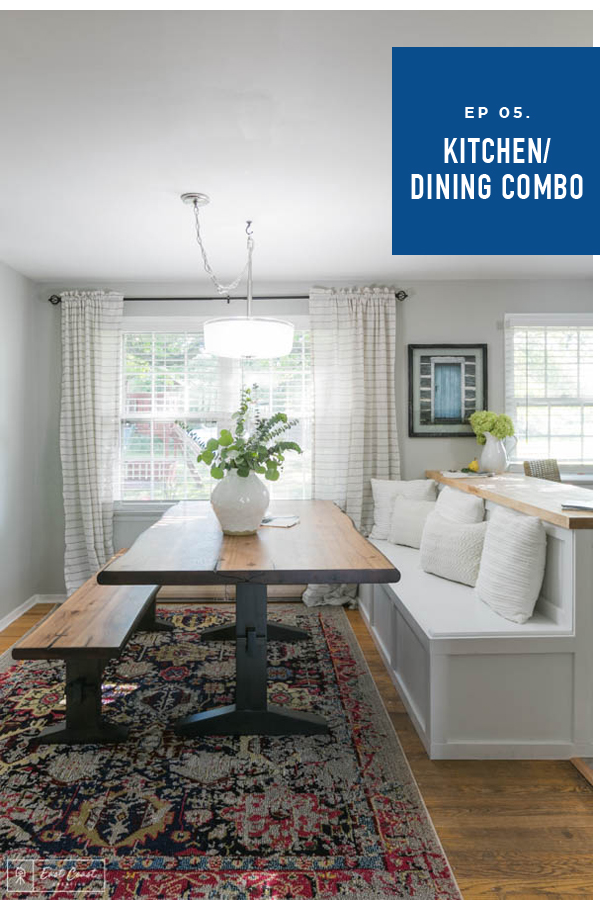
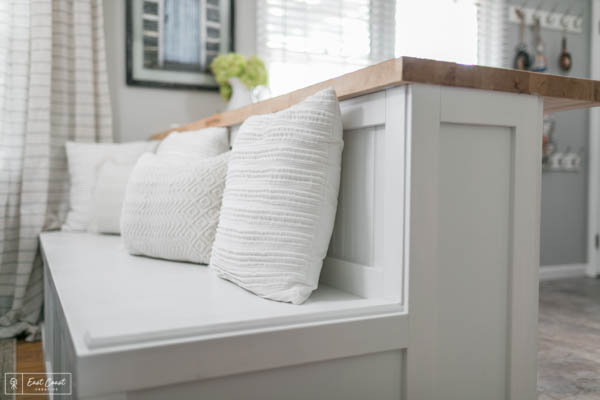
Since Kaley & Wes love to entertain and spend time with family and friends, I wanted this kitchen to also be a place where they can all sit down together and have a great time. I took their pre-existing kitchen island and turned it into a dual purpose eating bar and bench seat that connects with the dining room table!
To make the bench, Matty V and I built out a frame extending from the island into the dining room where we then attached three pieces of plywood onto the frame to flesh out the top and sides of the bench. Matty worked his magic and added some trim details to match the bench to the island, and this project was looking great and super custom!

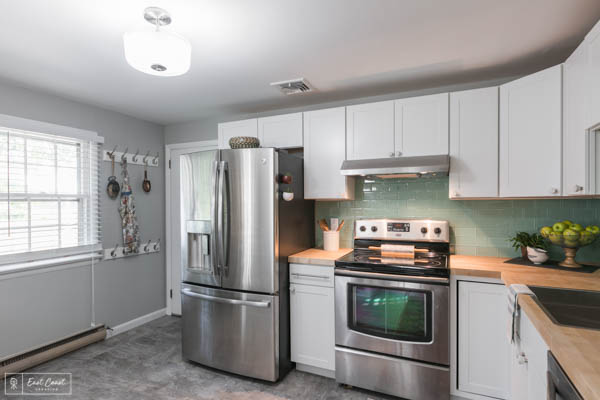
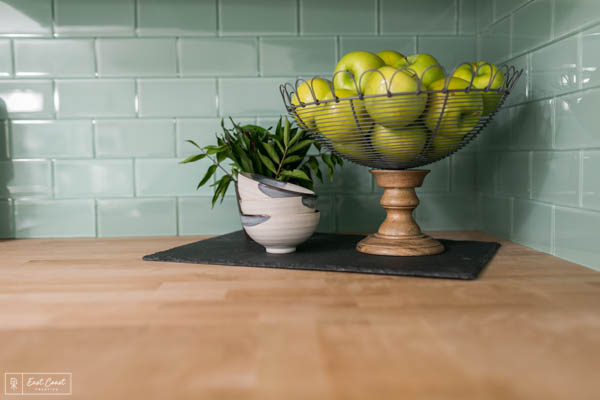
Since we had new cabinets, new floor, new tile, why not new countertops? This kitchen was pretty inspired by the modern farmhouse look everyone is in love with these days, and with all the cool, neutral colors in this space, I wanted to bring in a warm tone, so we replaced the counters with these Baltic Birch wood Butcher Block panels!
To secure these to the cabinets, we drilled up through the top of each base cabinet, and through the bottom of the butcher block so it was nice and tight. With butcher block, you want to make sure to take care of the surface to prevent any nicks, spills and general ware-and-tare that comes with a kitchen. We used this Watco Butcher Block Oil to seal and protect the wood surface of these counters. You can reapply this oil every few months to ensure a strong seal on your counters.
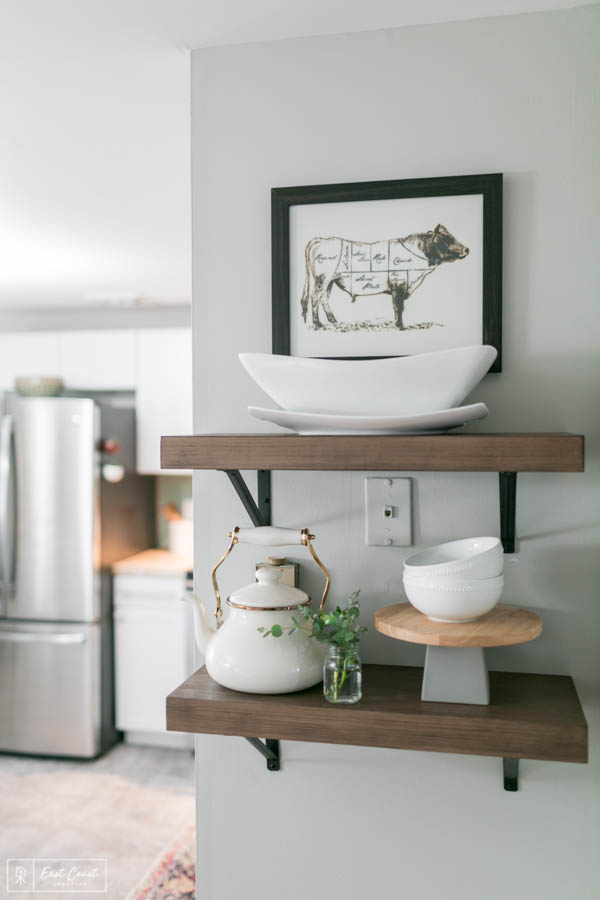
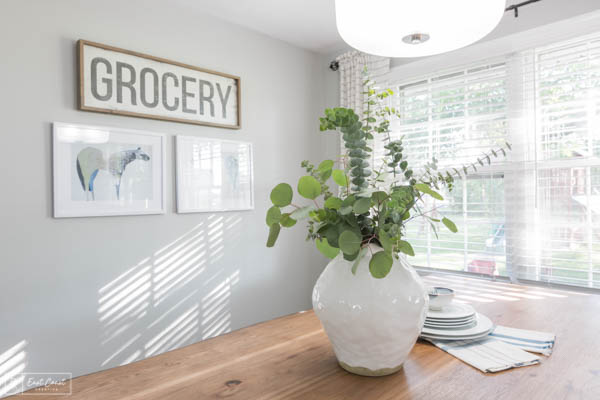
Also, half walls– they’re weird spaces to style and utilize, am I right? Lucky for us, we found these Whalen Wood Decorative Shelves that fit perfectly stacked on the wall where we took out the pantry to store some oversized serving dishes and of course some cute decor pieces!
A new kitchen calls for some new appliances (and a non-rolling dishwasher)! Stainless steel is a great look for any space, and pairs really well with all different styles.

Check out some of our favorite products from this makeover…
[print_responsive_thumbnail_slider id=”37″]
Whew! That was quite the long weekend– we definitely had our work cut out for us, but we got it all done, and it looks amazing; a completely changed space! I hope this has inspired those of you with kitchen reno dreams to make them a reality!
-Mon
Don’t miss a single Weekender Episode of Season 3! You can watch all Season 1, 2 & 3 Episodes right HERE!
Photography: Max Grudzinski Photography


The comments +