
HEY GUYS! THIS POST IS PART OF THE WEEKENDER MAKEOVER SERIES. A DIY MAKEOVER WEB SERIES IN PAID PARTNERSHIP WITH LOWE’S HOME IMPROVEMENT. YOU CAN WATCH SEASON 1 , 2 & 3 ON YOUR STREAMING DEVICES OR BY SUBSCRIBING TO LOWE’S YOUTUBE CHANNEL.
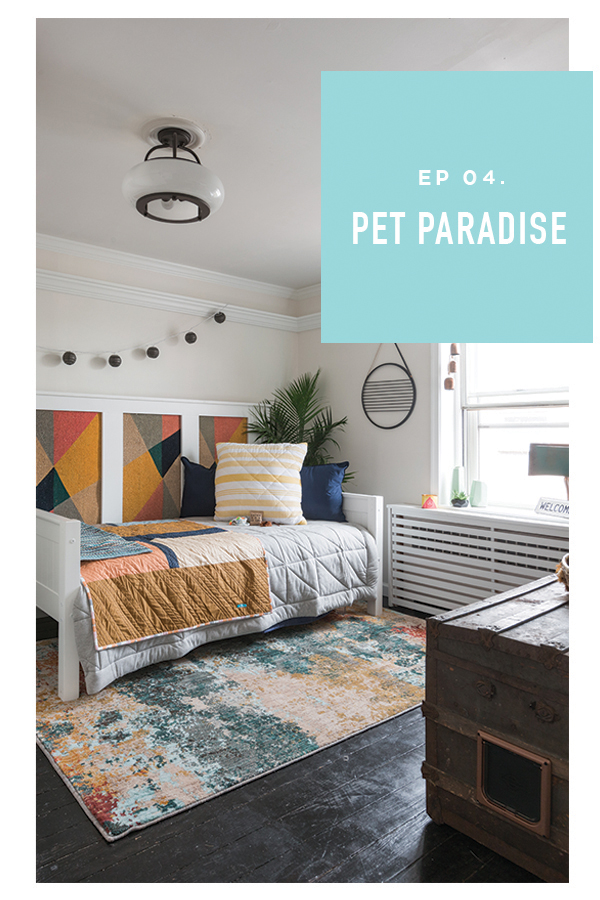
This Weekender makeover was a little different from what you’re probably used to seeing– I got to work with a self-proclaimed cat lady and transform an unused space into a cat’s paradise.
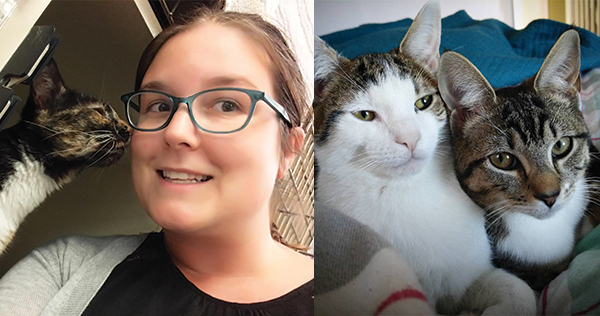
Natalie has lived in Philadelphia for a few years now, but she just purchased her first house where she could finally bring home the fur babies she’d always wanted to have, but couldn’t with renting for so many years. When she first moved into this house, she needed a room to keep the cats and adjust them to the new space, and they quickly took over the 2nd floor spare room. As much as she loves the cats, Natalie wanted to turn this space into a place where she could entertain and have guests stay, but also keep it a place where the cats could lounge, play and hang out in too.


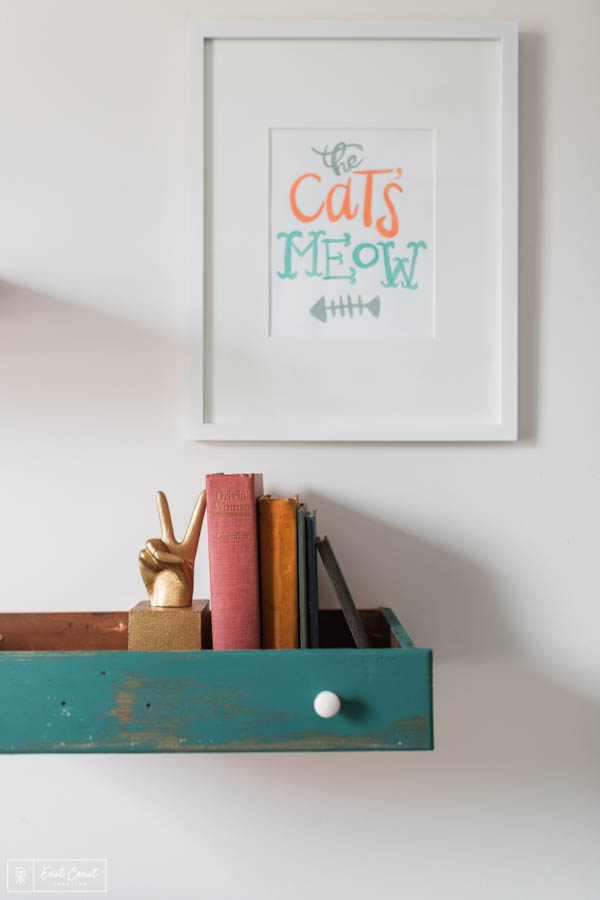
I’ve gotta say, this was my first cat room makeover, but I had some great ideas to make this the purrrfect cat guest room. Adding some crown molding that doubles as a walking platform for the cats and mounting some drawers on the wall where they can climb were just a few ideas I had to cat-ify this space.

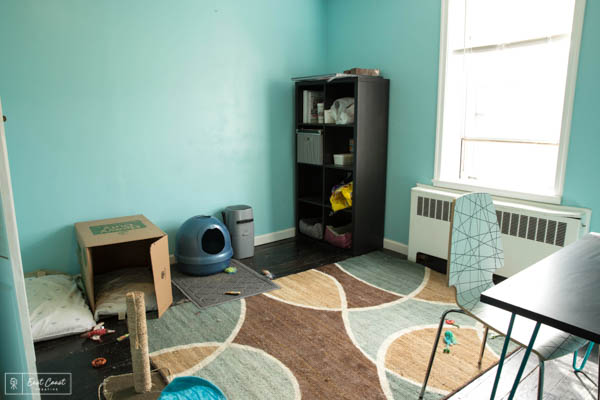
Before
After
Before

After
Before
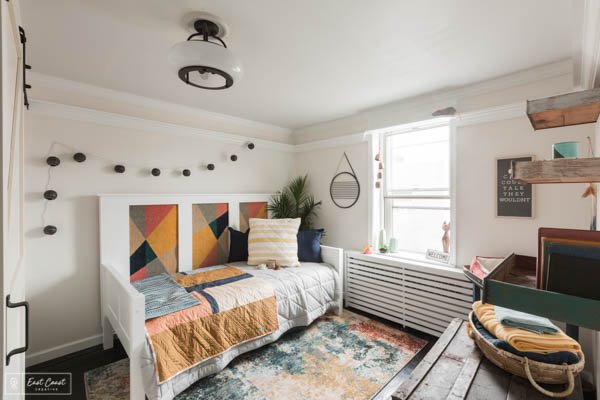
After
Before

The Weekender is all about a complete transformation with just 5 projects. It’s a great way to break down a space into a more manageable scale of work.

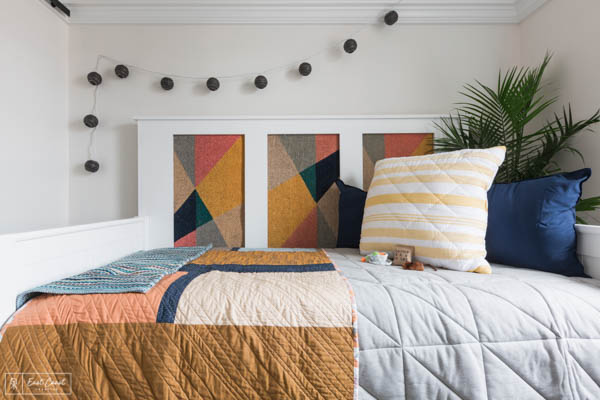
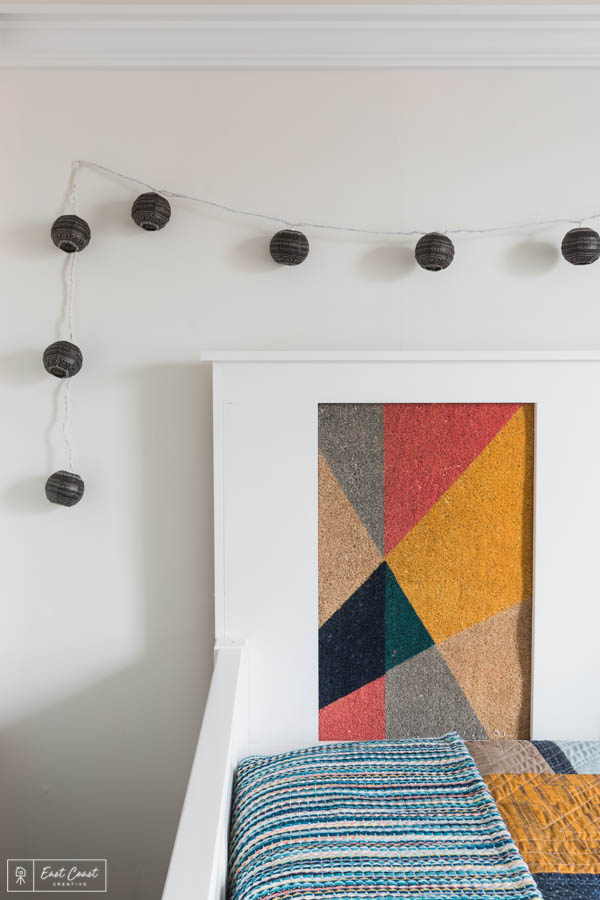
Designing a space for humans can sometimes be challenging enough, but when you’re also designing with cats in mind, you need to be a little creative. Since Natalie wanted to have an extra space to keep guests when they visit, I wanted to give her a really cool, custom headboard to accent this Camaflexi Day Bed, but I also didn’t want it to be something that could get scratched or clawed up from the cats without an easy repair.
I grabbed 3 colorful door mats which slide into a plywood frame that houses the mats in separate compartments so that they can easily be slid in and out. This design is functional and stylish so the cats can scratch away without ruining an expensive fabric or tapestry headboard. We used a piece of pine board to cap off the top of the headboard and cut 3 slits in so you can remove the mats when needed.

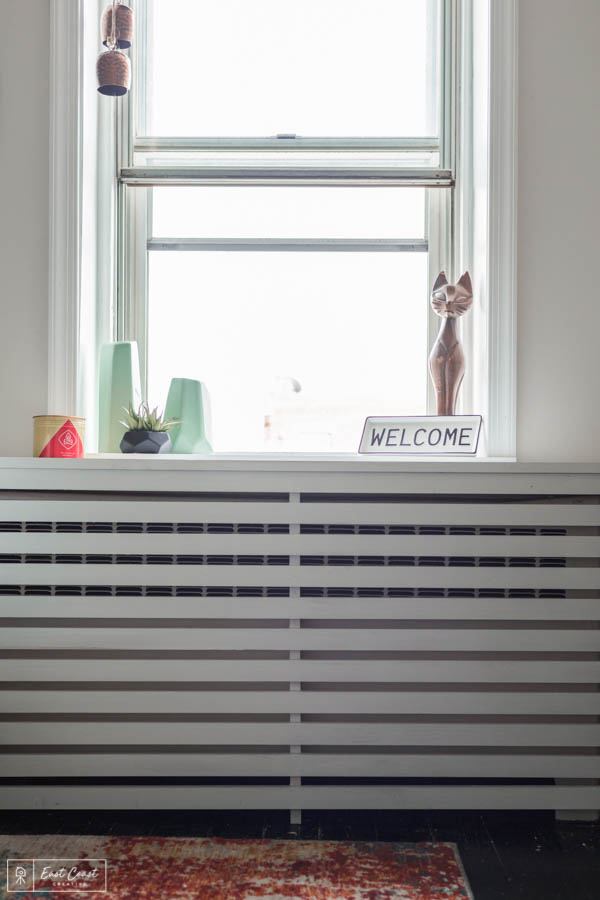
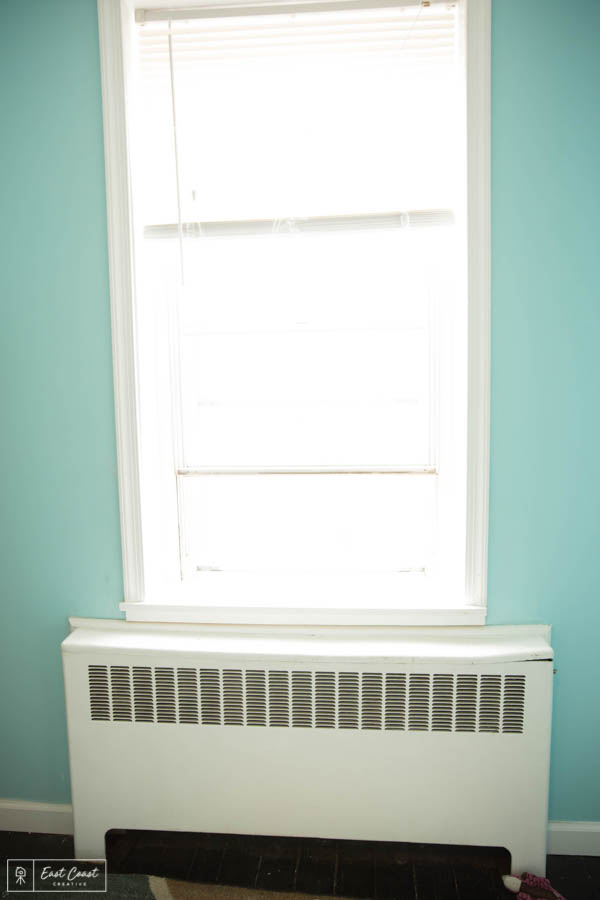
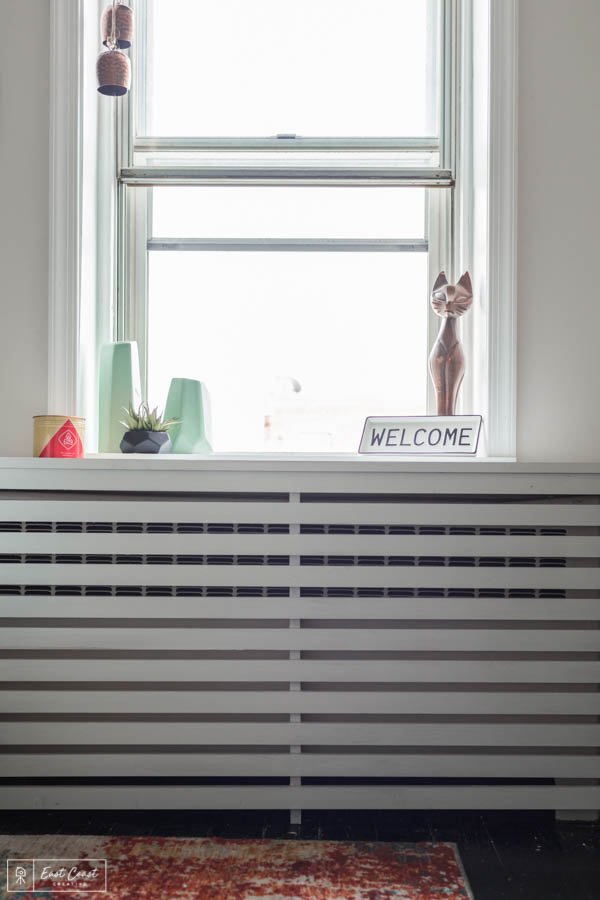
Radiators– they ain’t pretty, but this project totally added some modern style to this space and a sitting area for Natalie’s cats. Using some 1×2 pine boards, we created a frame to fit over the radiator and cased it out with some 2×4 boards, then painted it the same white as the trim and molding to keep it low profile.
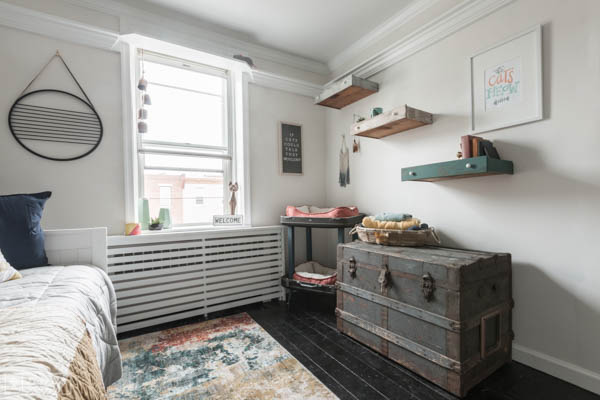
Because this radiator was right under the window, it’s basically an extension of the windowsill, and gives the cats ample room to hang out and nap.


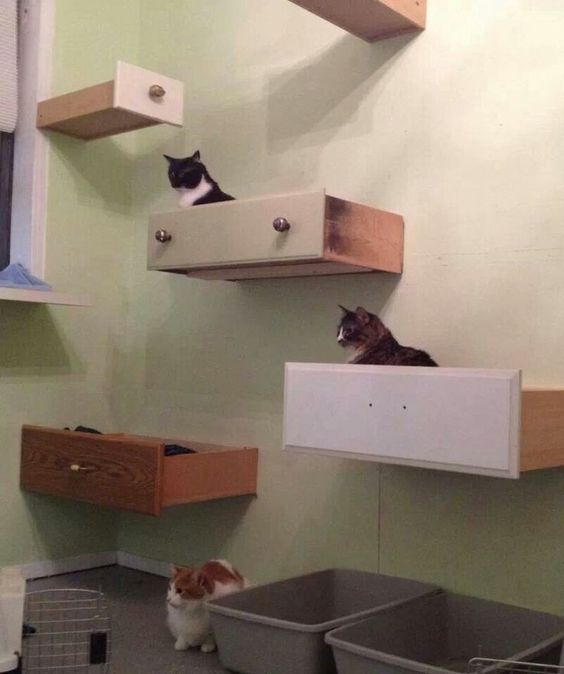
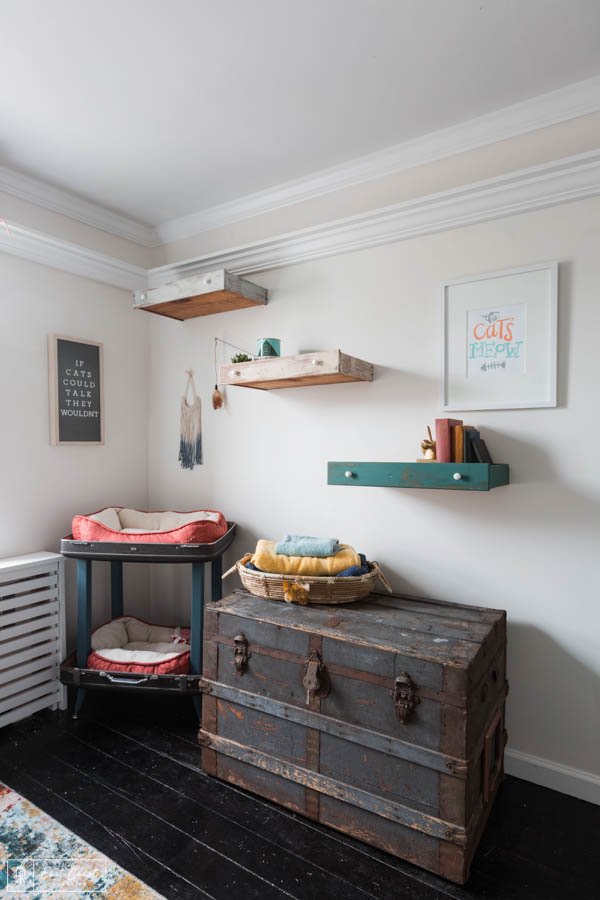
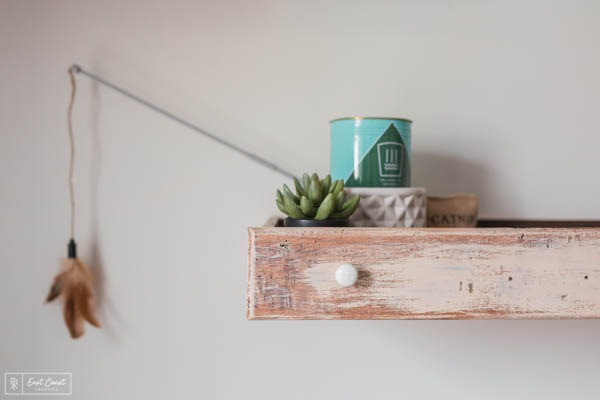
Cats are notorious for climbing and jumping on things, well, everything, so I wanted to create a unique way for them to get to their skywalk. Using some old dresser drawers I found at a local thrift store, we sanded them down, added some paint and popped the hardware back on. Placing the drawers onto the wall going up, we screwed them into the wall with some heavy-duty screws.
The catwalk is the ultimate cat’s perch– they can see the entire room from that point of view! Using some crown molding and 2×4 pine boards to trim off the top, we created a little walkway that wrapped around the whole room so the cats could run around up there. Keeping with the crown molding allowed it to be pretty low profile while still maintaining its purpose.

We wanted to keep with the repurposed, modern vintage look for this space, so I chose some paint colors for the drawers and repurposed furniture.
Downy HGSW4075 (walls)
Play it Cool HGSW3277 (gray drawer)
Fresh Peach HGSW2117 (drawer)
Cloverfields HGSW2302 (green drawer)
Restorative HGSW3312 (blue drawer)
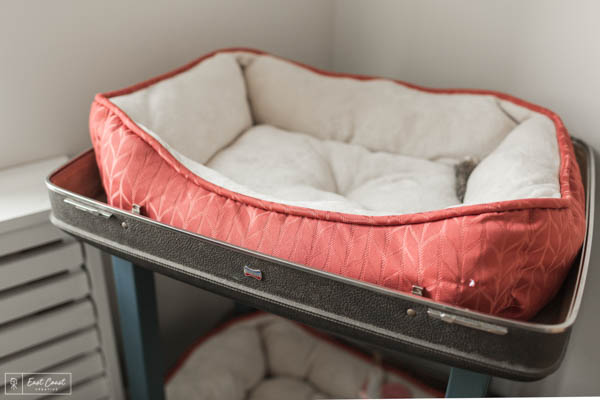
This little double-decker cat bed is actually an old suitcase and some pre-fab Waddell Ash table legs. Cutting the suitcase in half allowed us for two beds for our two furry friends. By simply screwing four holes through the bottom of each suitcase half, we then screwed in the ends of each table leg into each Waddell Straight Top Plate to secure. Stick a cat bed in each half, and your new little pet hotel is open for business!
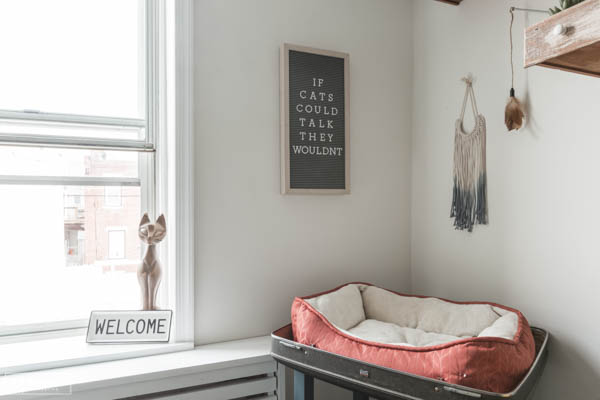
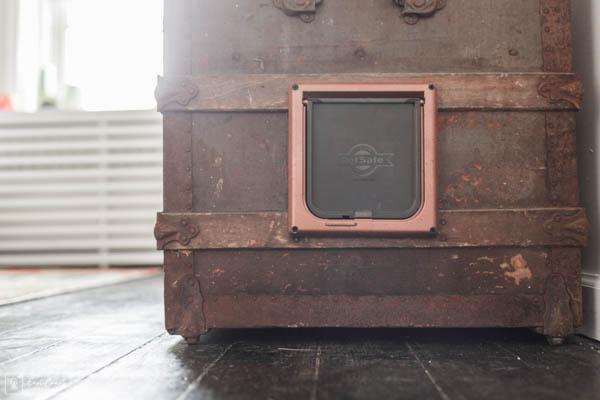
The other cat-ified piece we made this weekend was a hidden litter box and storage area. We found this awesome old trunk at a local thrift shop, and since it was all wood, we used a jigsaw to cut a hole the size of the PetSafe Pet Door, where the cats could enter in and out to use the litter box. Open litter boxes are anything less than glamorous, and especially since this space was doubling as a guest room, we needed to keep it contained and hidden. We created a small divider with a scrap piece of plywood in the middle of the trunk to separate the litter box from a storage section where Natalie could put extra litter, scoopers, bags– basically anything she doesn’t want out in the open, but it’s still conveniently located!

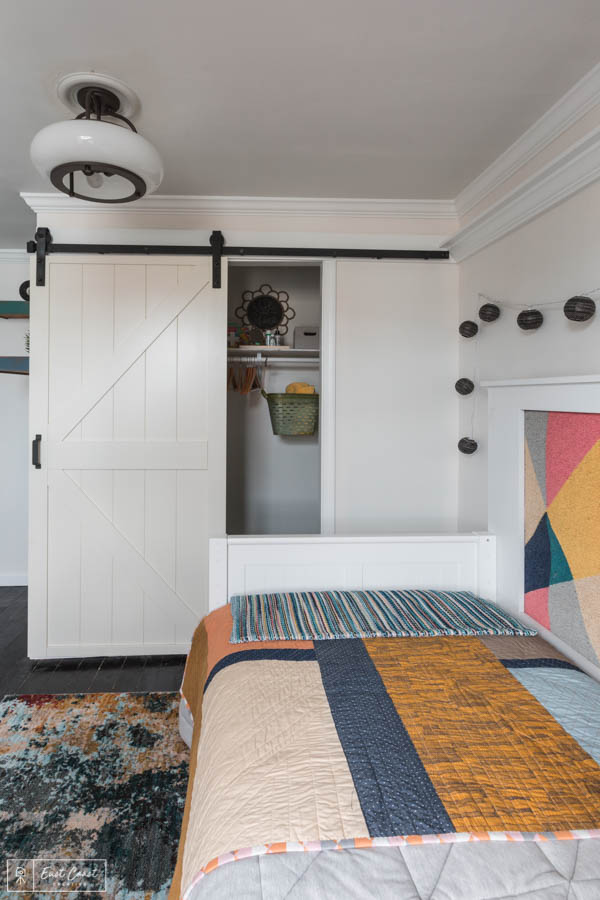
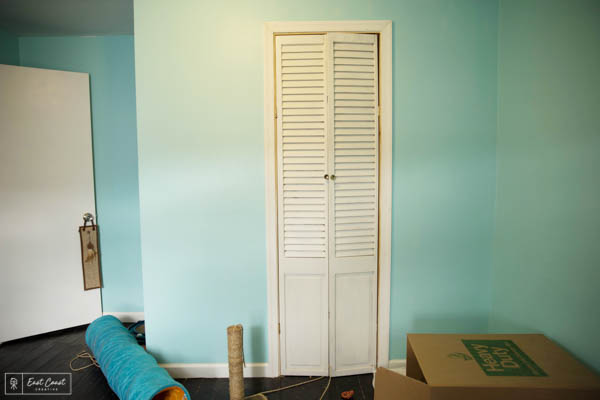
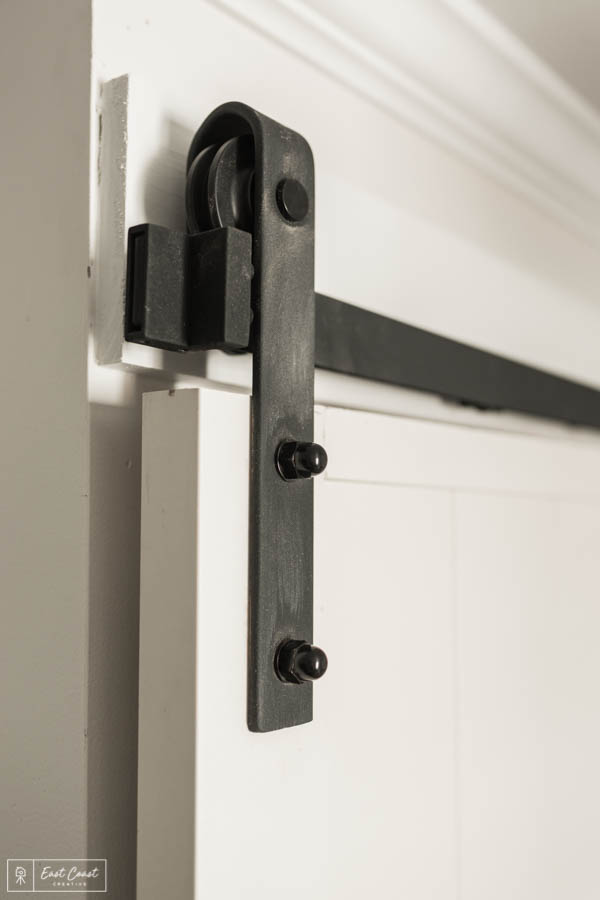
So Natalie had these weird little slatted doors that opened into a pretty spacious closet, and they really weren’t cutting it, so I decided to replace them with a wide Reliabilt Barn Door. It’s a simple track door install, and slides smoothly to open and close. This door had a nice white finish, so there was no need to paint it! The kit for this door comes with everything you’ll need to install, minus the drill of course, but it really couldn’t be easier!
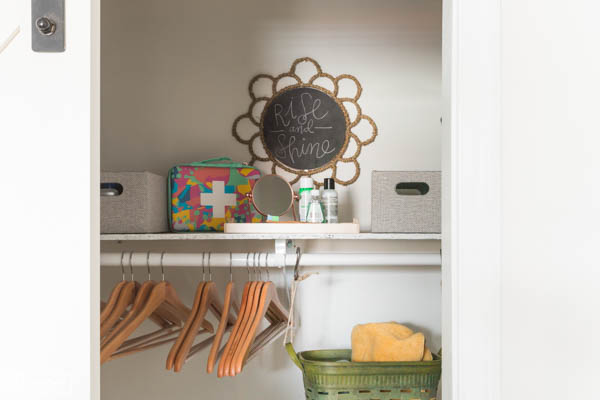
Since Natalie’s closet was pretty spacious, I thought it would be the perfect spot for a little supplies area where her guests could grab their towels and toiletries when they stay over to visit. Utilizing closet space is one of the most underrated design and organization tips I find among most homeowners, but this is a great way to give some function to a typically non-functional space!
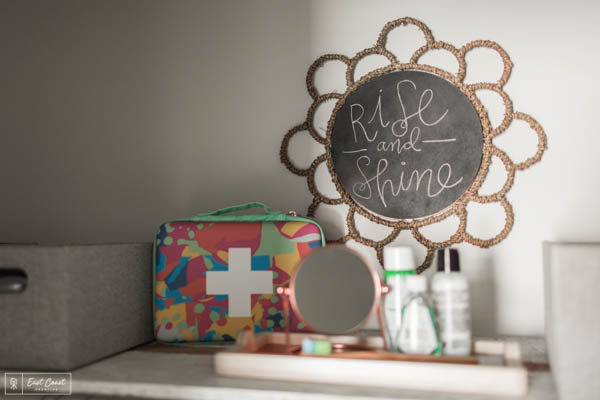
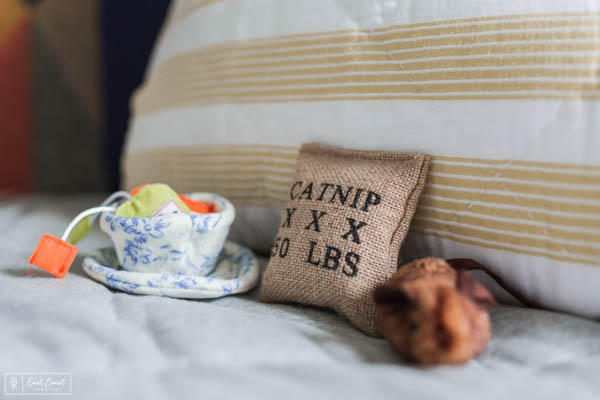
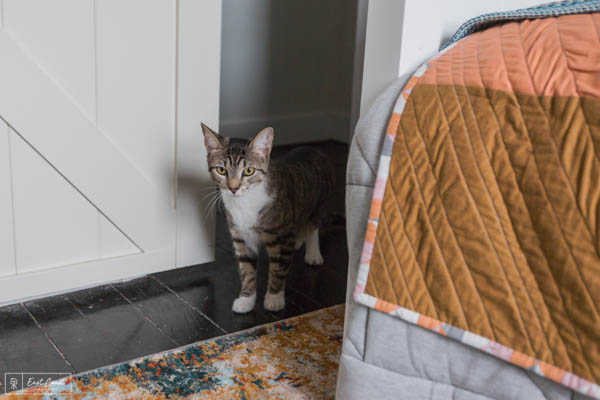
Even this little guy was ready to freshen up in his new guest room!

Check out some of our favorite products from this makeover…
[print_responsive_thumbnail_slider id=”33″]
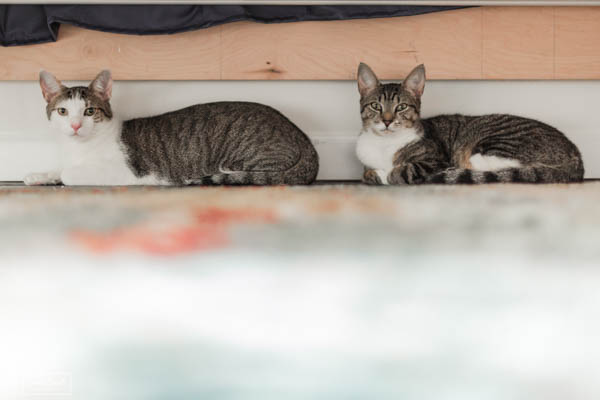
Look how happy these lil’ guys were as we were shooting afters!
Cat guest bedroom makeover? CHECK. Definitely my first, but maybe not the last? I hope all you pet lovers out there got some great tips and inspiration from this makeover! CATch you all later, hah.
-Mon
Don’t miss a single Weekender Episode of Season 3! You can watch all Season 1, 2 & 3 Episodes right HERE!
Photography: Max Grudzinski Photography


I almost want to get a cat so I can create a room like this! Seriously, so many creative solutions here. And rarely does anyone give us solutions for how to make our pet spaces pretty and functional too.