

*I AM PROUD TO BE A 3M-SPONSORED BLOGGER, AND AS PART OF MY RESPONSIBILITIES, I GET THE OPPORTUNITY TO EVALUATE 3M PRODUCTS. OPINIONS ARE MY OWN AND ADDITIONAL PRODUCTS USED IN THE PROJECT WERE SELECTED BY ME. THANKS FOR SUPPORTING THE BRANDS THAT MAKE EC2 POSSIBLE! *
Hey guys! I’ve teamed up with Command™ Brand to bring you some fun DIY projects featuring their line of home and organization products- We’ve got some awesome ones headed your way over the next few months as a part of our Small Space Series, where we’re focusing on those hard-to-tackle small spaces, and bring some serious style to them.
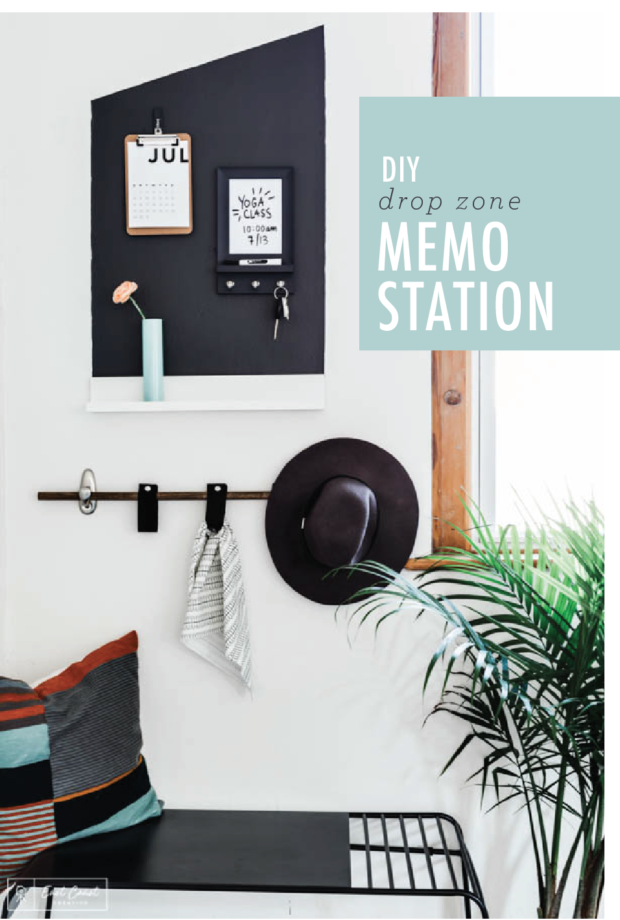
Using some of Command™ Brand’s newest home and organization products, I created the ultimate entryway drop zone fit for any small space in your home, and I’m showing you how to make one too.

Before – you don’t need a massive entryway or foyer – just a bit of open wall.
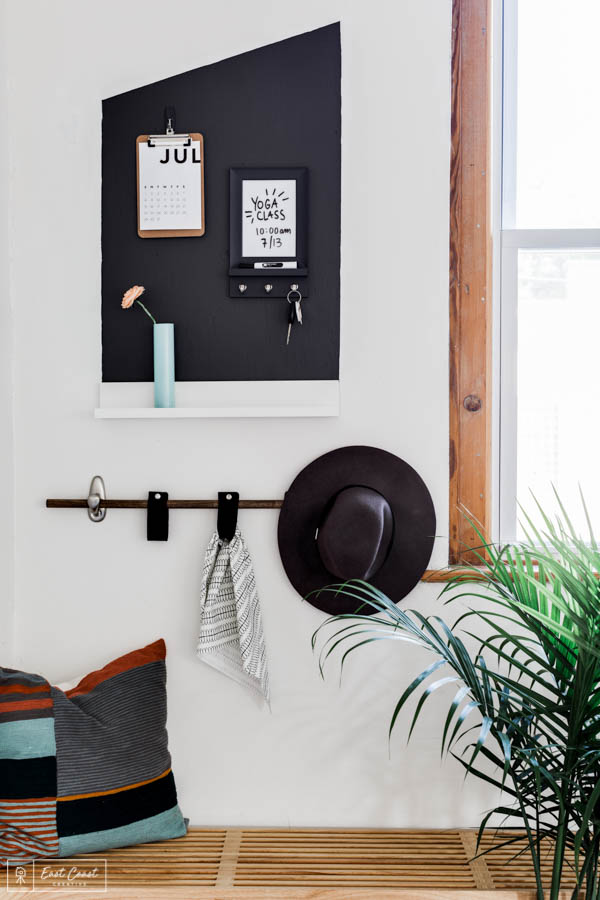
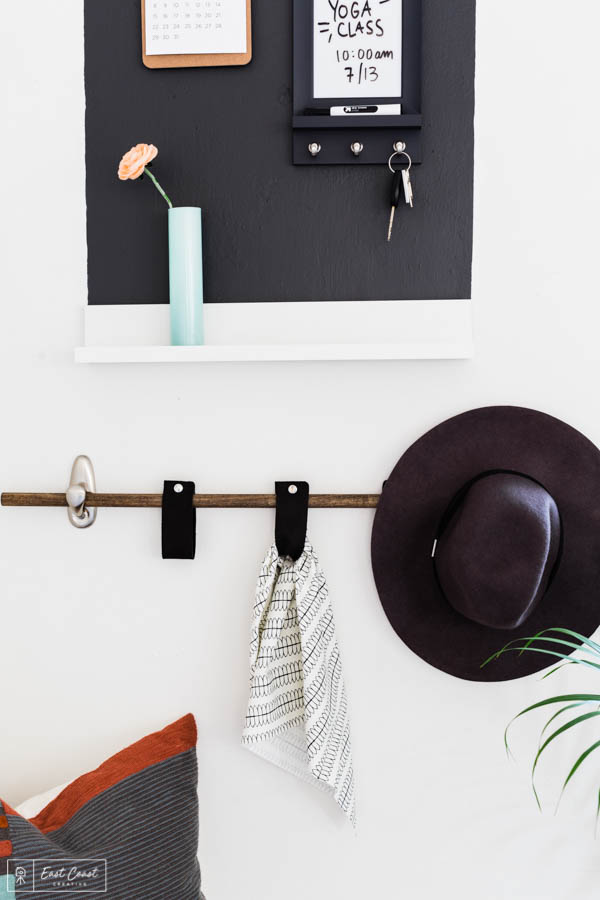
After!
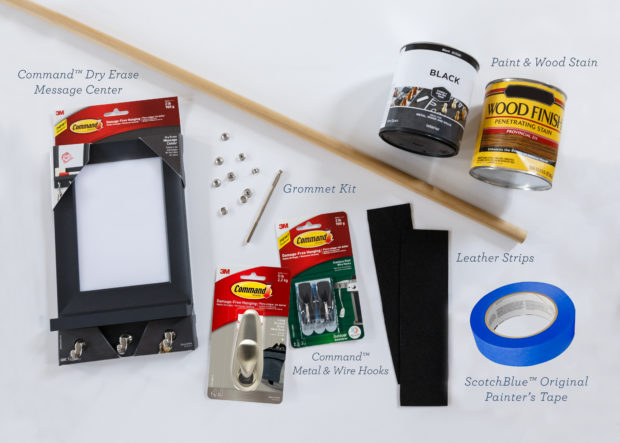
Materials: Command™ Picture Ledge | Command™ Dry Erase Message Center | Command™ Forever Classic Brushed Nickel Large Metal Hook | Command™ Outdoor Stainless Steel Wire Hook | ScotchBlue™ Original Painter’s Tape | Wooden Dowel | Wood Stain | Wall Paint | Paint Roller | Leather | Grommet Kit | Mini Clipboard or Other Wall Art (optional)
Step 1: Follow the instructions on the back of each Command™ product to ensure proper installation every time.
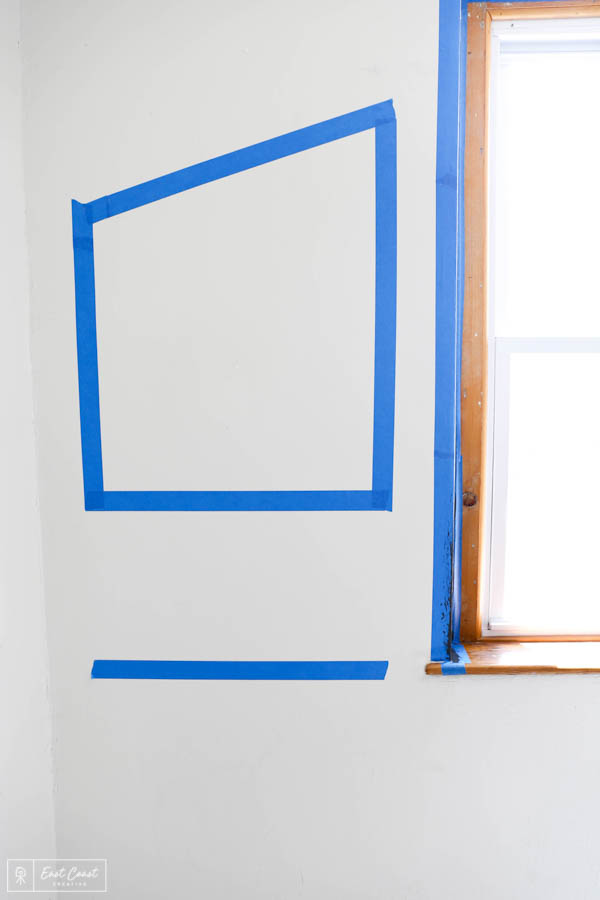
Using ScotchBlue™ Original Painter’s Tape, we outlined where on the wall we wanted our little message center- this is the area we planned to paint. Painter’s tape is also a great way to lay out design plans on your walls without drawing on them, so I also used the tape to help me figure out my overall layout.
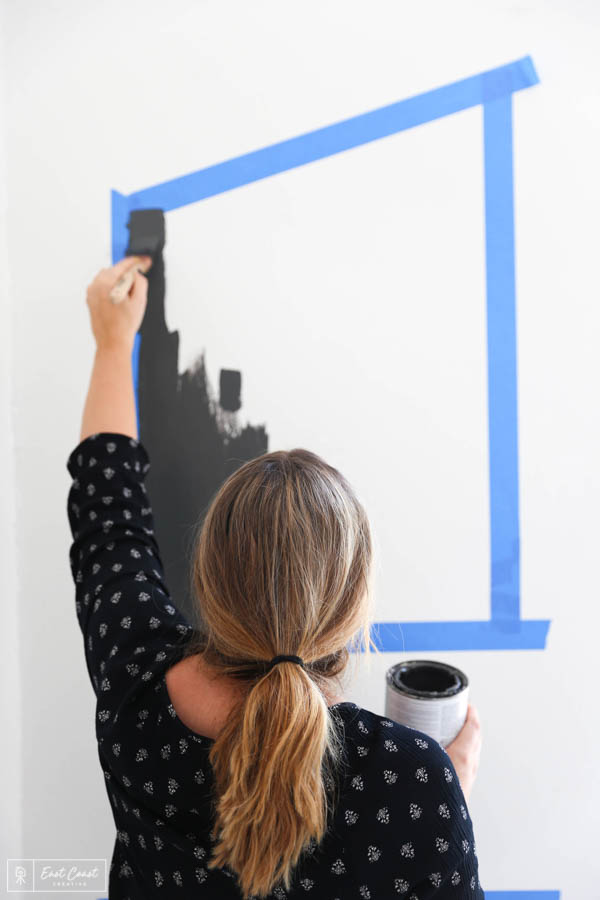
We went with a classic black & white color scheme for this project to let the decor we put up pop, and to allow this space to be multi-seasonal and to match every trend we might want to try out!
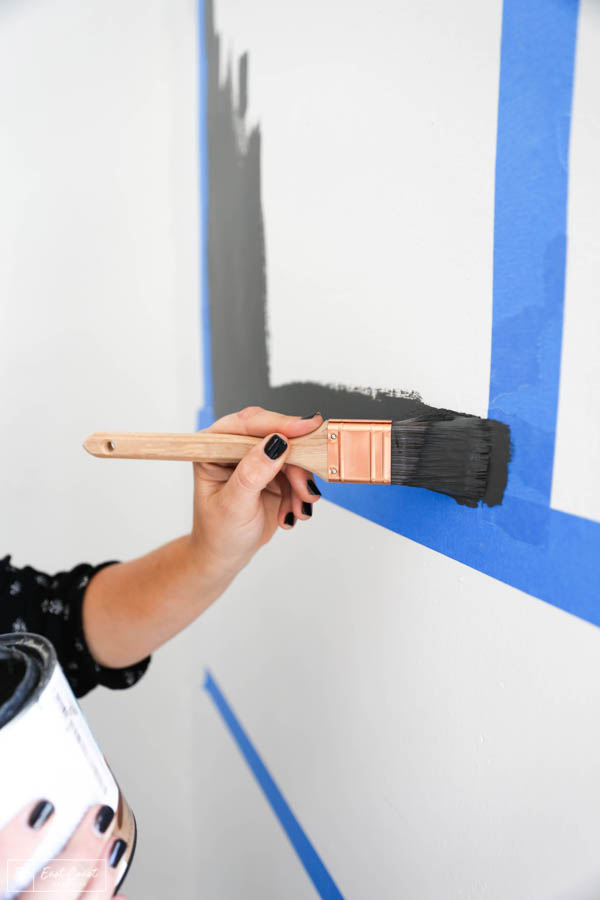
I painted two coats of the black paint, allowing sufficient dry time in between.

Step 2: Be sure to let the paint dry completely before you peel off the tape back onto itself– slow and steady is the way to go. Love those crisp lines!
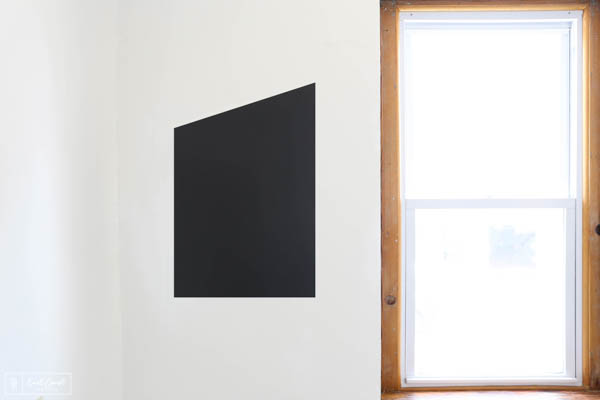
An asymmetrical painted block is a fun way to add some visual interest to your space, and it’s a great way to define your message center area. Be sure to let the paint cure before you start decorating with Command™ Products – we waited a week which gave us also gave us some time to really plan out our design!
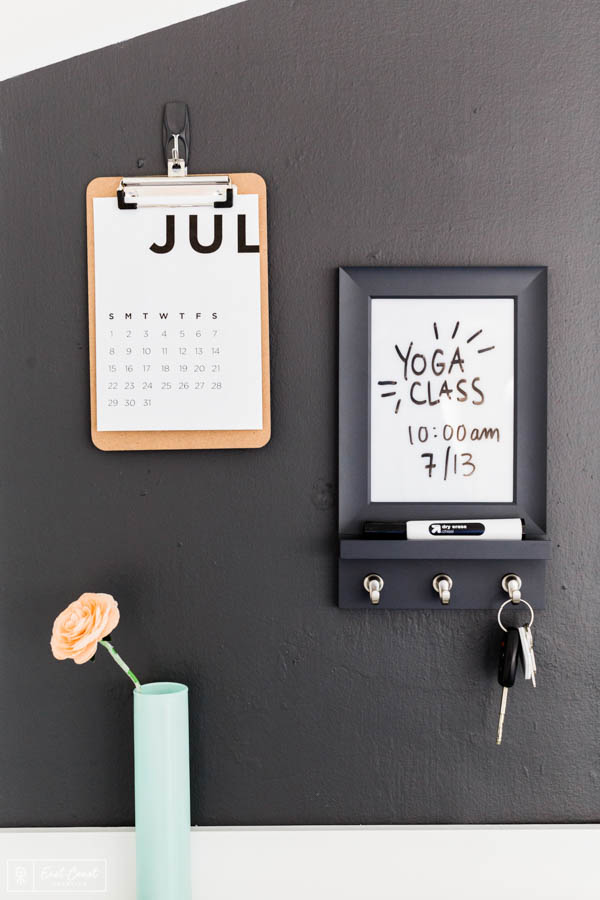
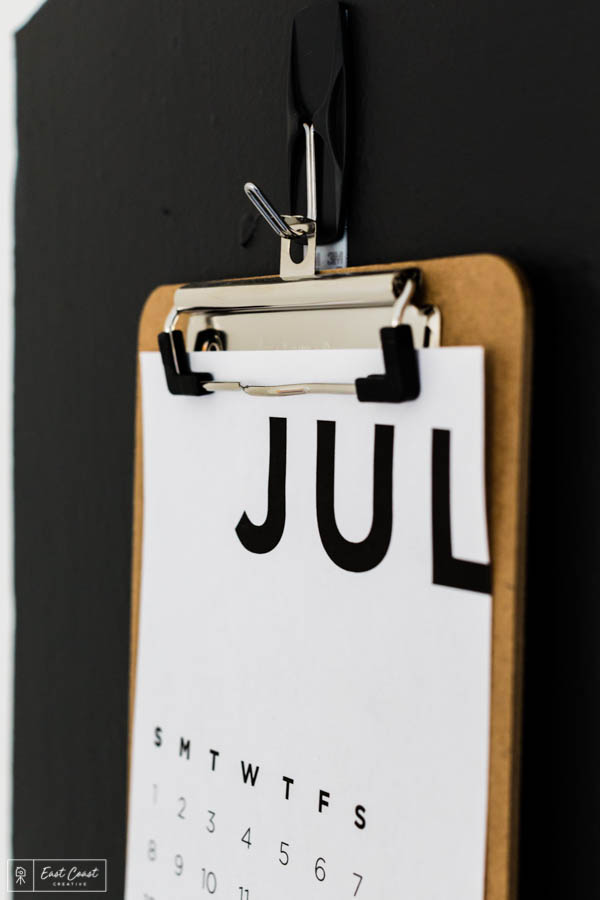
Step 3: The entryway is a great place to put a calendar to keep yourself in check with your busy schedule. You can actually download this exact calendar template here for your own drop zone. We used a mini clipboard to hang the calendar pages on, and they’re light enough for a Command™ Stainless Steel Wire Hook!
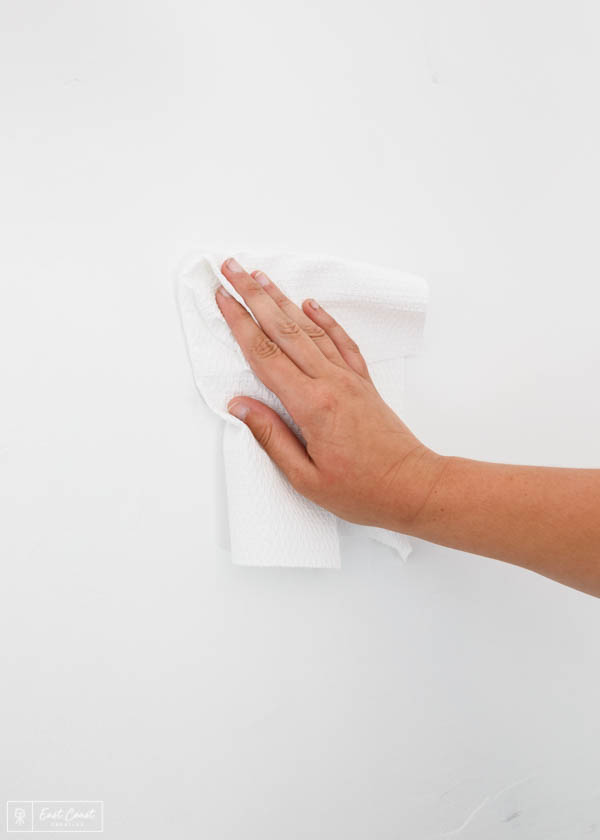
To apply the hooks, be sure to follow all installation instructions found on the back of the product packaging – starting with cleaning the wall with rubbing alcohol.

A modern and simple calendar design to match the chic black and white drop zone!
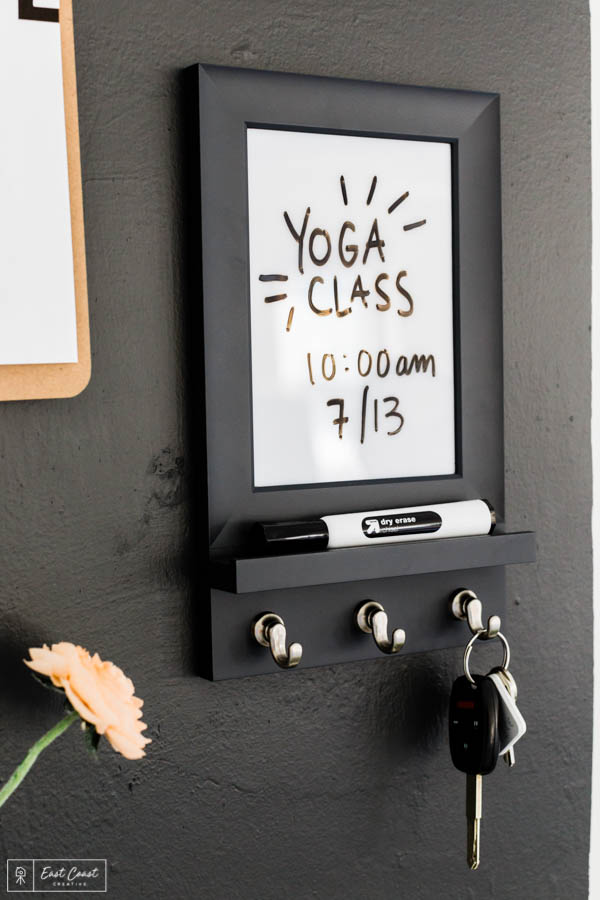
The Command™ Dry Erase Message Center is the perfect product for this entryway drop zone project. We chose to use the slate message center on black paint to keep the modern, clean look, and it’s pretty low-profile too. There’s a 5×7″ dry erase board with a ledge to store your marker and three key rings– enough for the whole fam, and each Dry Erase Message Center holds up to 2lbs.
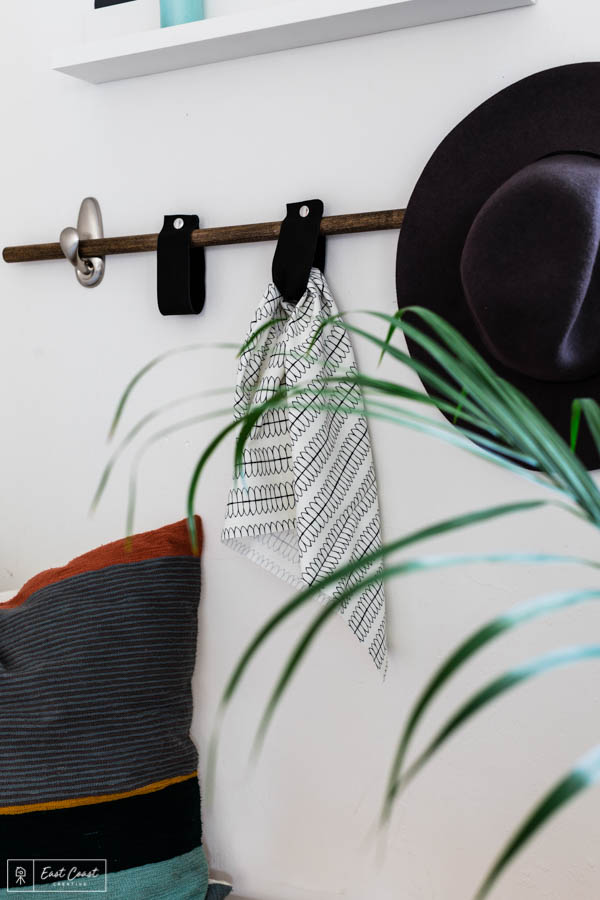
This wooden dowel hanging rack is such a simple and trendy DIY, and it takes less than 30 minutes to make! Start with a wooden dowel, and make sure it fits within the curve of the Command™ Forever Classic Brushed Nickel Large Metal Hooks. This will be the base from which the leather straps hang.

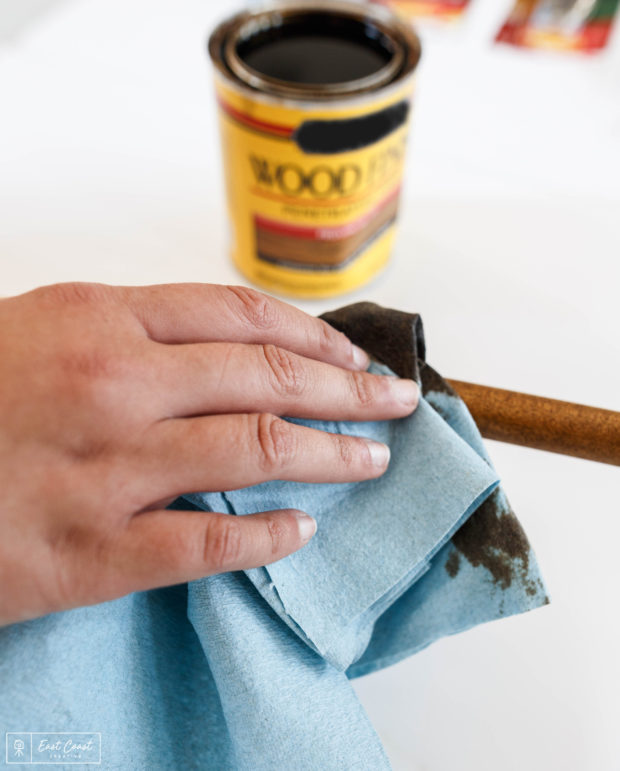
We started this little project by staining a dowel that fit right into the Command™ Forever Classic Brushed Nickel Large Metal Hooks. Stain is a great way to add some serious style to wood, and to match up wood tones for any given project.
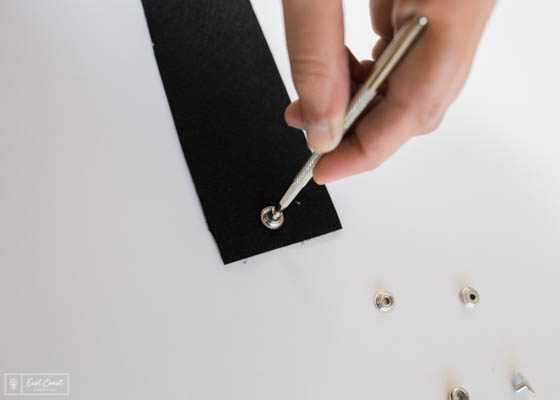
Next, you’ll want to cut down your leather strips into the size you want for your hangers. Using a grommet kit, and following the instructions on the kit package, punch a hole in both ends of the leather piece, using a flat piece on one side and the raised piece on the other. The bigger the grommet, the larger the item you can hang from it. The Command™ Forever Classic Brushed Nickel Large Metal Hook holds up to 5lbs.
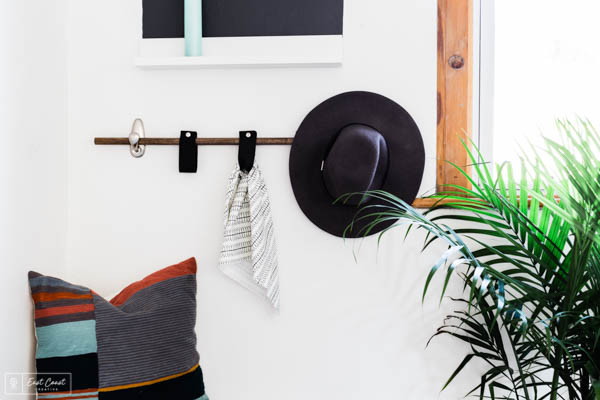
These hooks are great for hanging hats and other things that won’t fit into the leather strap.
Finally, finish off the project by adhering a Command™ Picture Ledge at the bottom of your painted shape to round out your display.
This project is actually one that I will be using on the daily, because it’s just so darn convenient and handy to have right by the entryway! With just a little bit of Command™ Brand and some serious creative organization, you too can have a tidy, stylish space just like this one!
Stay tuned for more organizational projects like this one on the blog, and on IG, and of course check out Command™ Brand‘s social pages and website for more info on all these products and more.
Thanks guys!
-Mon


[…] eastcoastcreativeblog.com […]
Where can I get the calendar?