*I AM PROUD TO BE A 3M-SPONSORED BLOGGER, AND AS PART OF MY RESPONSIBILITIES, I GET THE OPPORTUNITY TO EVALUATE 3M PRODUCTS. OPINIONS ARE MY OWN AND ADDITIONAL PRODUCTS USED IN THE PROJECT WERE SELECTED BY ME. THANKS FOR SUPPORTING THE BRANDS THAT MAKE EC2 POSSIBLE! *
Hey guys! I’ve teamed up with Command™ Brand to bring you some fun DIY projects featuring their line of home and organization products- We’ve got some awesome ones headed your way over the next few months as a part of our Small Space Summer Series, where we’re focusing on those hard-to-tackle small spaces, and bring some serious style to them. This week we’re kicking it off with a super simple DIY for your kitchen, and most specifically coffee headquarters!
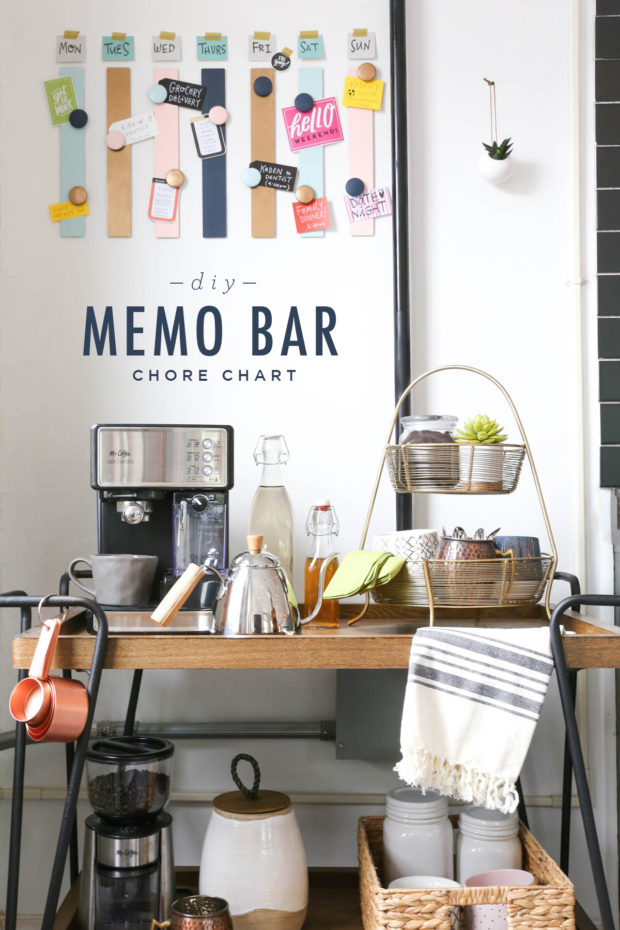
Let’s face it, not everyone has a spacious kitchen with a massive island and lost of counter space. I find that a lot of people struggle with utilizing the smaller, trickiest spaces in their home, like small half walls next to your kitchen sink for example… Not to fear– this DIY is totally for you!
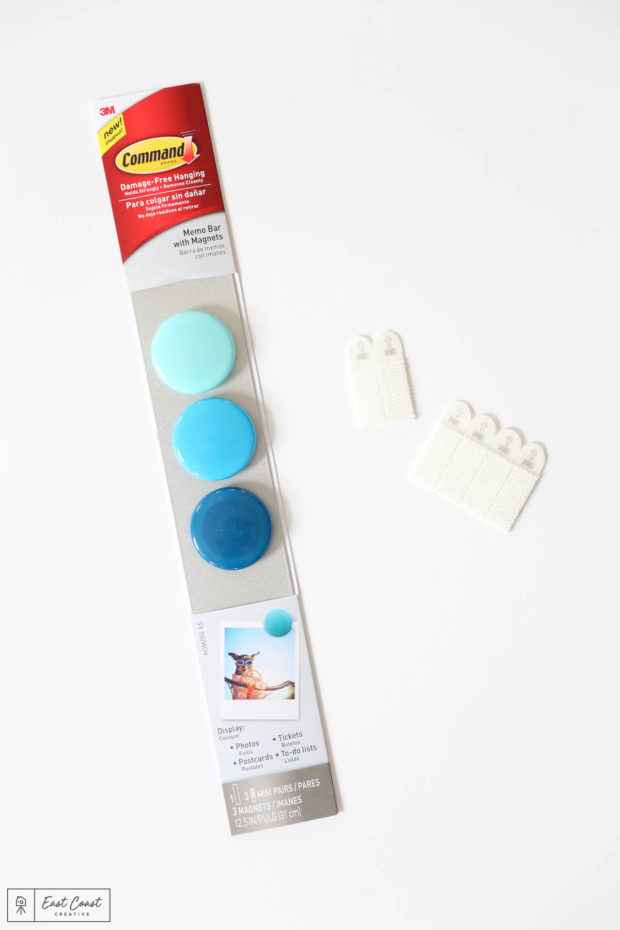
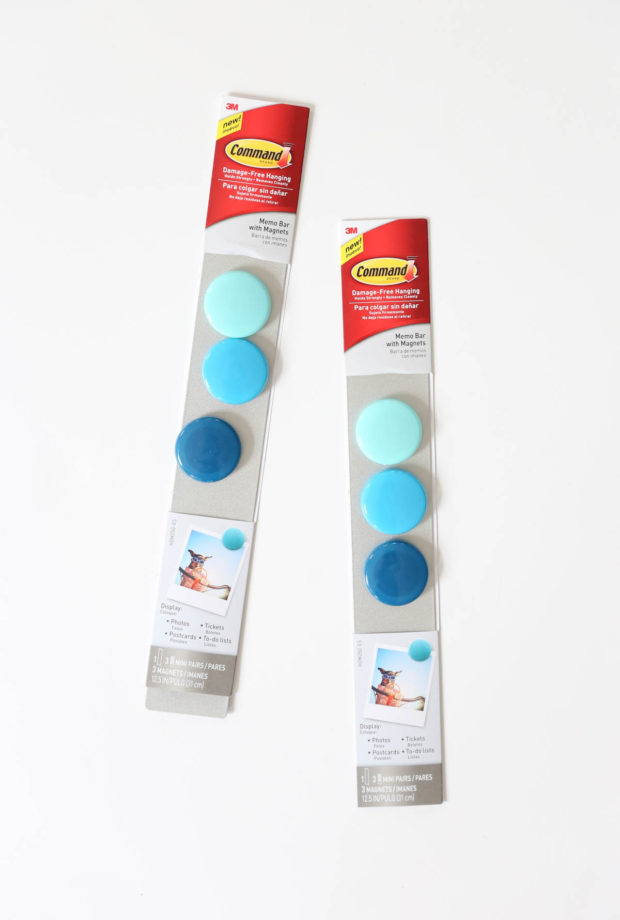
Say hello to one of Command™ Brand’s newest products, the Command™ Memo Bar. These Memo Bars are great for small spaces and super customizable for any project you have in mind. Each Memo Bar comes with 3 hefty magnets and plenty of Command™ Strips to hang them up.
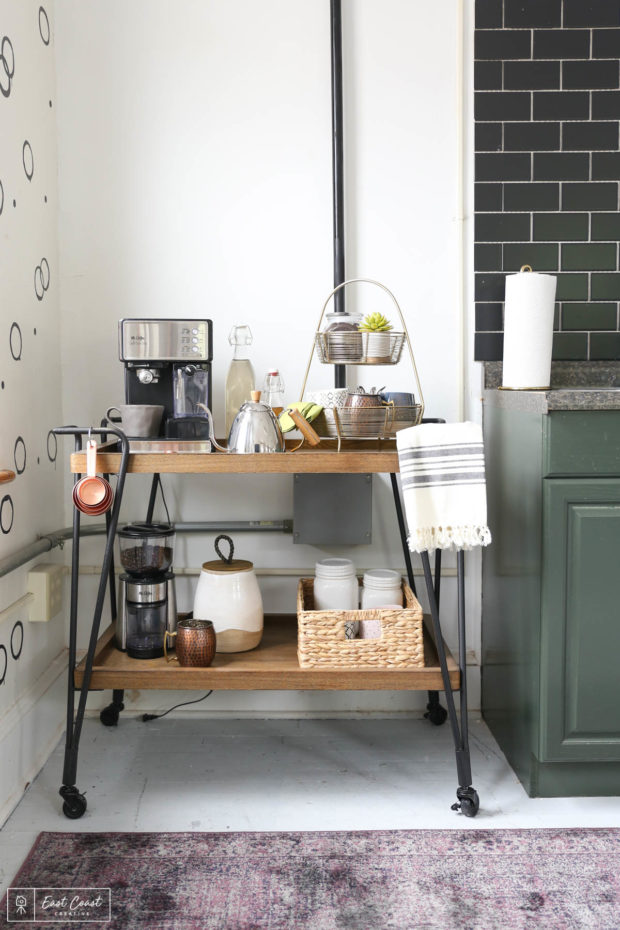
Before
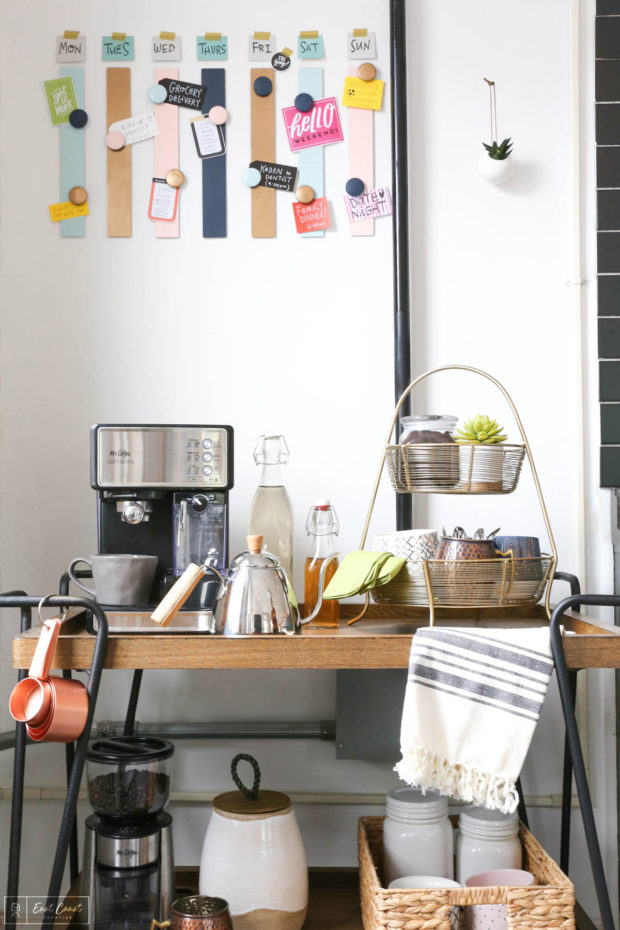
After
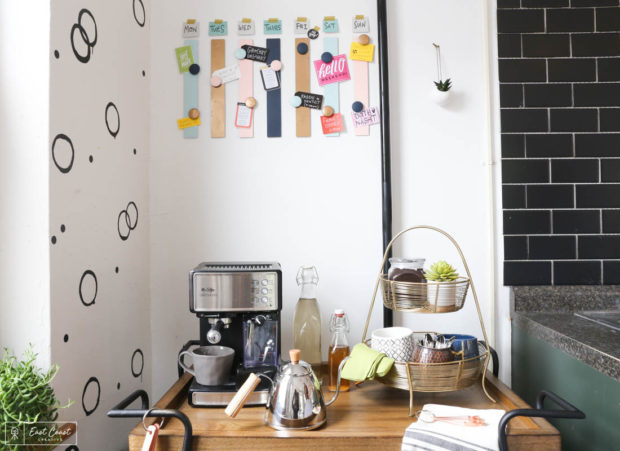
We chose to place our Memo Bar Chore Chart above the coffee cart area of the kitchen. Not everyone has a giant kitchen space, so bar carts are great ways to create an extension of your countertop when you don’t have that much to begin with. Placing it near your “morning ritual” coffee spot is a great daily reminder of your to-do’s for that week.
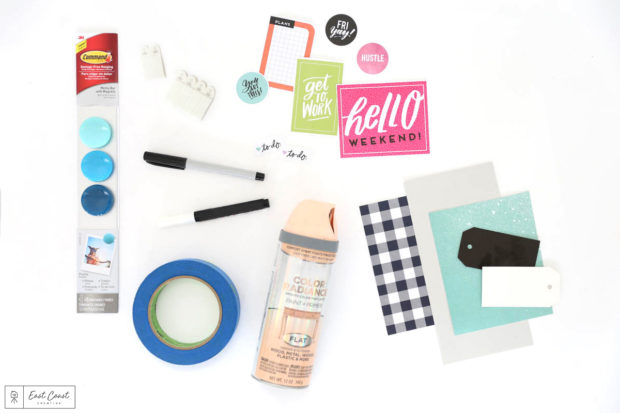
Materials: Command™ Memo Bar (7 total) | Spray Paint (optional) | ScotchBlue™ Painter’s Tape | Various Papers/Reminders/Post-it® Notes | Pencil | Tape Measure
Note: Follow all Command™ Brand package instructions for proper surface cleaning and prep, adhesion and removal.

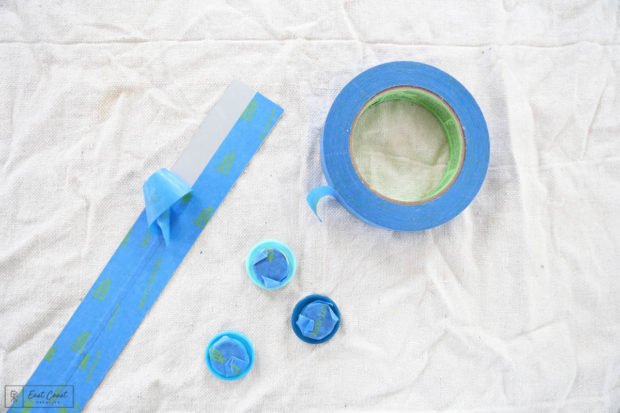
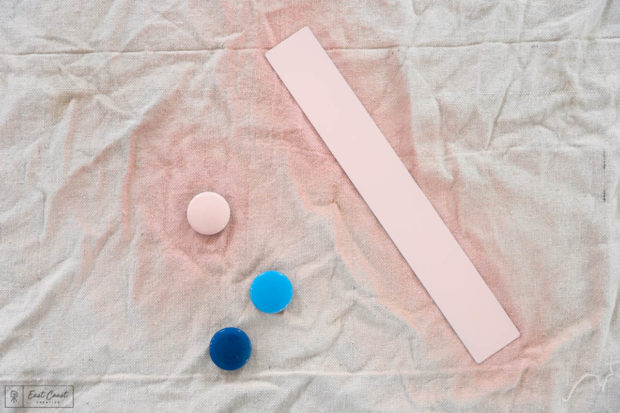
Step 1: This is not a necessary step, but if you’re going to paint the Memo Bars, first cover the back of each Memo Bar and also the backs of the magnets with ScotchBlue™ Painter’s Tape, then spray the front of each Memo Bar and magnet with various colors of spray paint. Be sure you don’t spray the back of the Memo Bar or magnets to ensure proper adhesion. Again this isn’t a required step, as these Memo Bars are just as sleek and cute on their own!
Step 2: Measure the section of wall you’re going to put your Memo Bars on, and using a tape measure and a pencil, mark where each bar will go. Make sure you clean your wall space with rubbing alcohol before applying the Memo Bar to the wall.
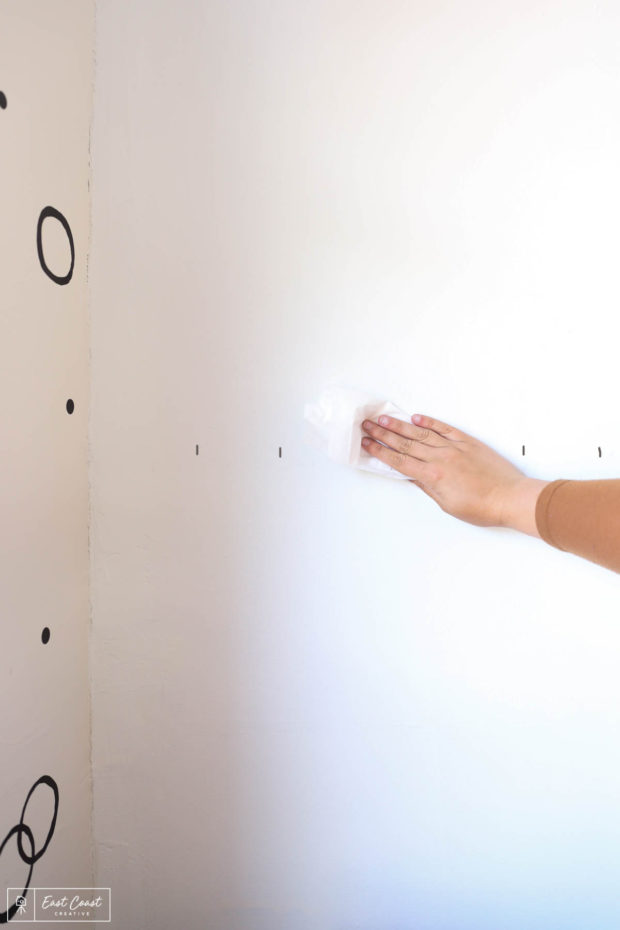
We spaced our Memo Bars at 2”, but it’s up to you to decide the spacing depending on the wall you choose! With multiple Memo Bars, it’s easier to find your middle mark and then your end marks, then measure everything else in between.


7 marks for 7 Memo Bars!
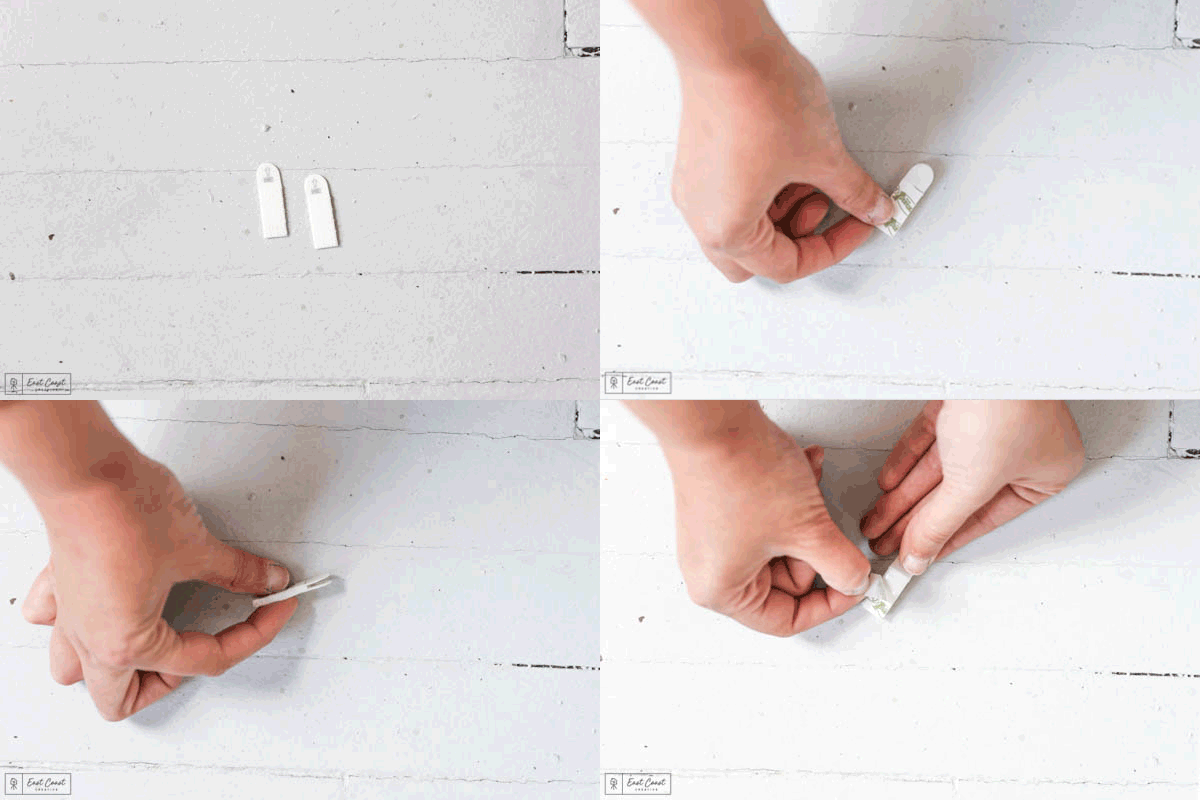
Step 3: Separate the Command™ Strips that come with each Command™ Memo Bar and press two strips together until they click, leaving you with three pairs of strips. Remove one side of the liners from the strips and place one at each end of the Memo Bar and one in the middle. Remove the remaining liners and press the bar on the wall, holding firmly for 30 seconds.
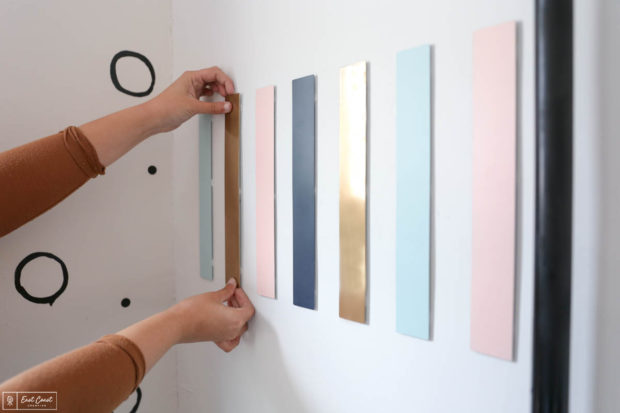
Step 4: Once all 7 of your Command™ Memo Bars are on the wall, it’s time to add some days of the week labels and your weekly to-do notes!
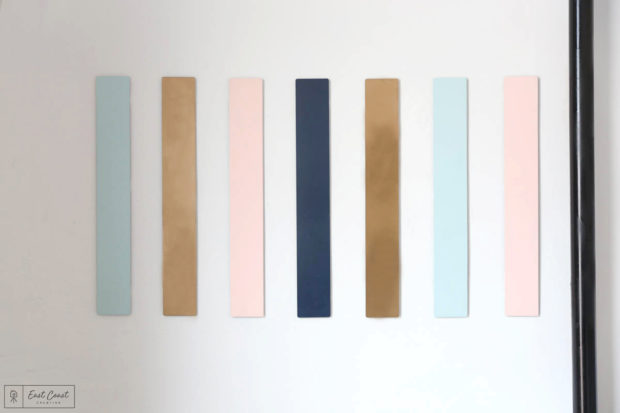
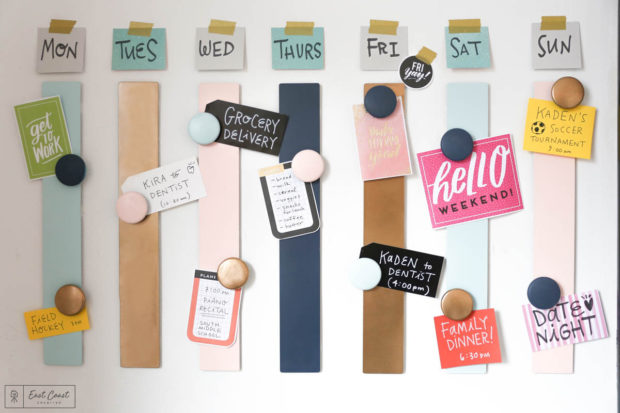
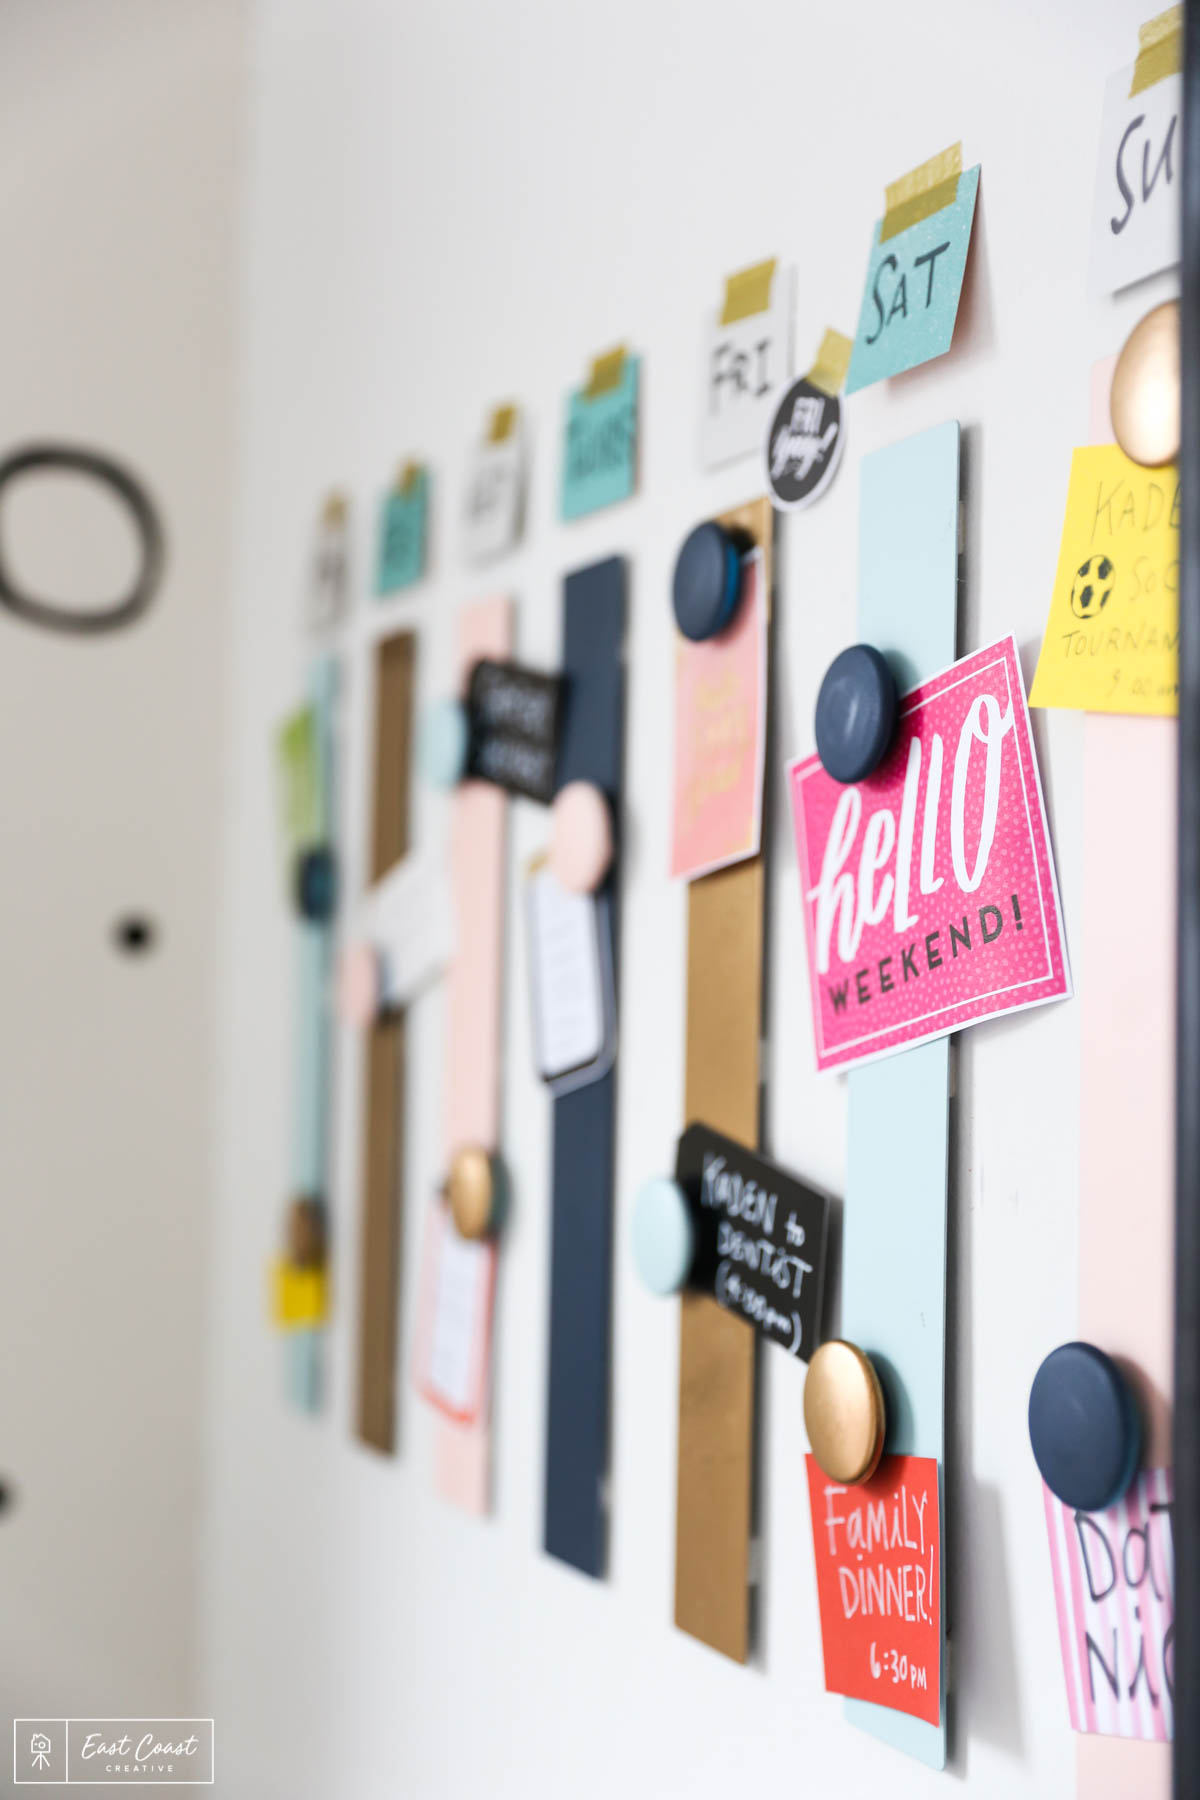
We used some washi tape and scrap paper to add the days of the week above each Memo Bar, and our spray painted magnets hold the memos in place.
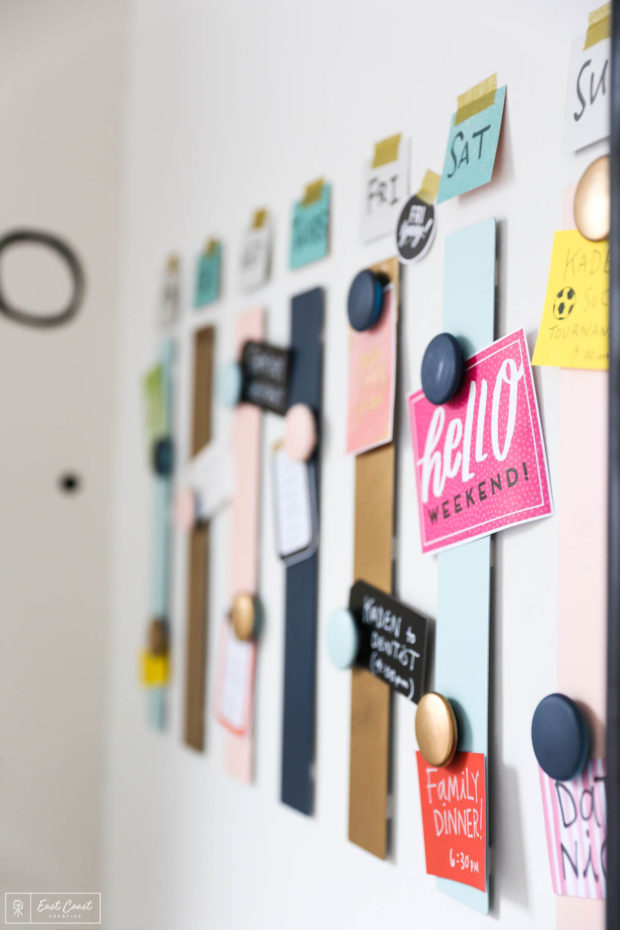
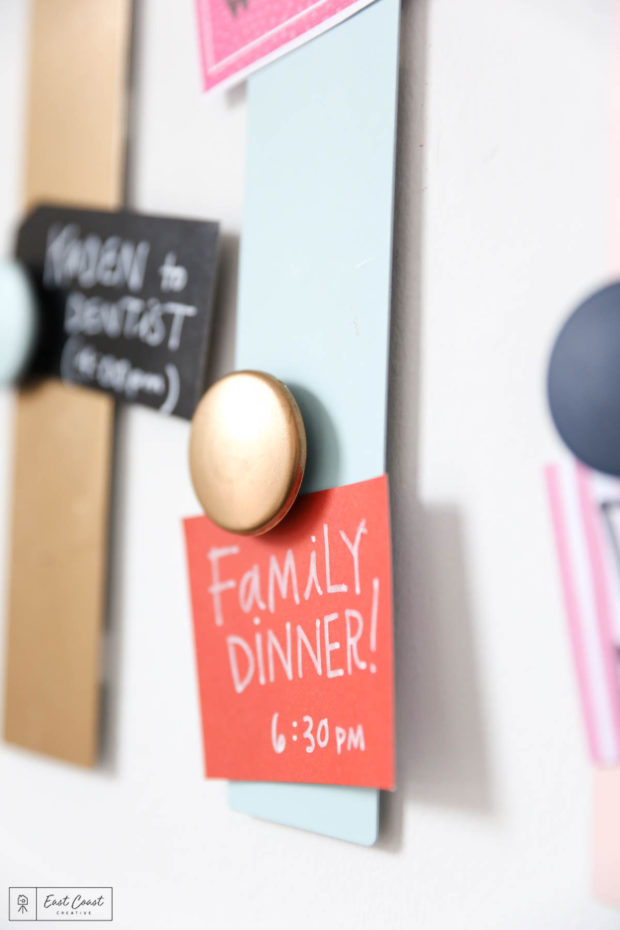
If you want to get really organized, you can color coordinate your scheduled events, like family events in red, sports activities in blue, etc. The crazier your schedule, the easier it is to stay organized with this method! The best part about these Memo Bars is that they can be easily removed and relocated to another spot in your home. Be sure to pull straight down on the Command™ Strips for a clean, easy removal.
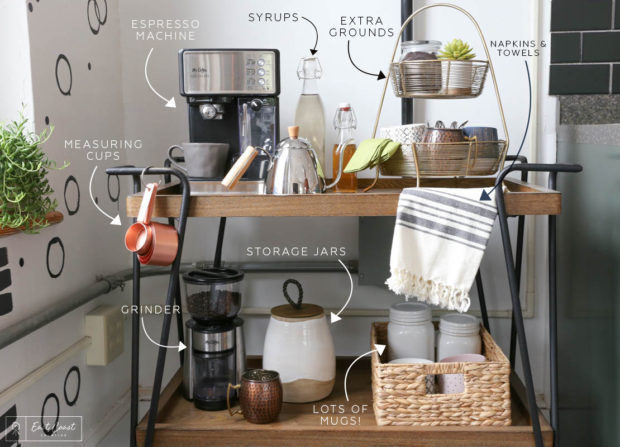
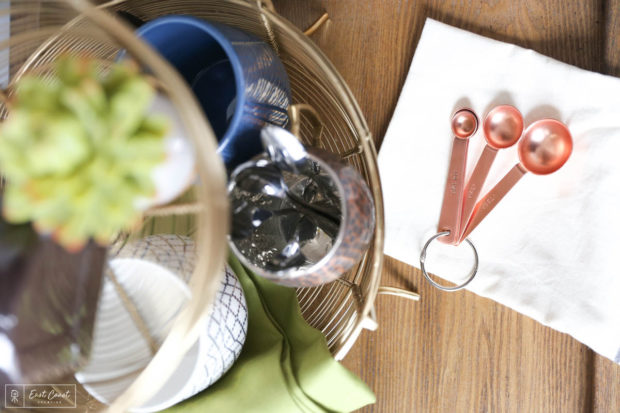
Want to make your own coffee station? Whether you’ve got a bar cart you want to use or some spare counter space, this is a cute way to display and utilize your coffee supplies! Leave your cute mugs and silverware out on display, throw in some napkins and stylist towels as well as some more decorative items like plants and storage jars. Not only will this be visually appealing, but it’s another way to help you stay organized!
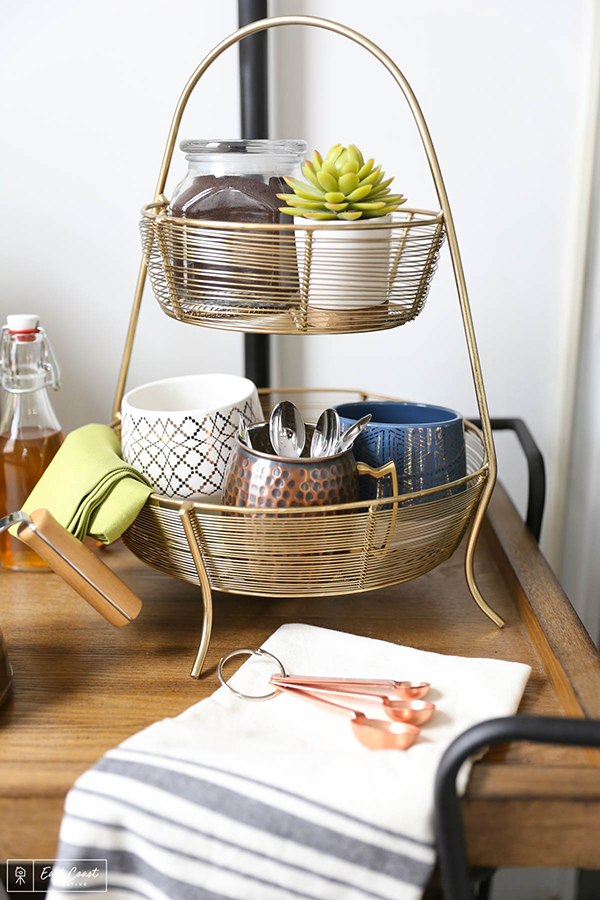
I love these tiered storage caddies – it’s a chic way to display your everyday kitchen items!
I hope this easy DIY helps you to stay organized and inspires you to get crafty with 3M! Stay tuned for more Command™ Brand DIY projects coming soon, and in the meantime be sure to check out Command™ Brand on Instagram for the latest products and projects!
-Mon
I love the chore chart! It looks very joyful and fun. Thank you so much for the tutorial, I’m definitely going to make one at my place!
Thanks Diana, it’s great you’re inspired to make one of your own!
I love the 2 tier basket. Where is it from? I also love the cart!
That basket is from World Market!
I have a good experience on memo bar. I have done it for my kids. I’m so happy to customize this chart with a different design. Thanks