
Hey Guys! This post is part of The Weekender Makeover Series. A DIY Makeover web series in partnership with Lowe’s Home Improvement. You can watch Season 1 + 2 on your streaming devices or by subscribing to Lowe’s YouTube channel.
This weekend I headed back down to Nashville, TN to pay a visit to Morgan, a country music singer-songwriter who also rents her home. Despite her crazy schedule, Morgan set aside this weekend to work with me and makeover her bedroom, but in a way that when she decides to move out she gets to keep the full security deposit, no snags!

Rental spaces are tricky but one of my favorites! Since every space and landlord is different, I always tend to err on the side of more cautious, meaning no paint, and no major builds or alterations to the walls or floor. It’s always easier to bring in pieces than it is to update a rental space, so that was the plan this weekend!

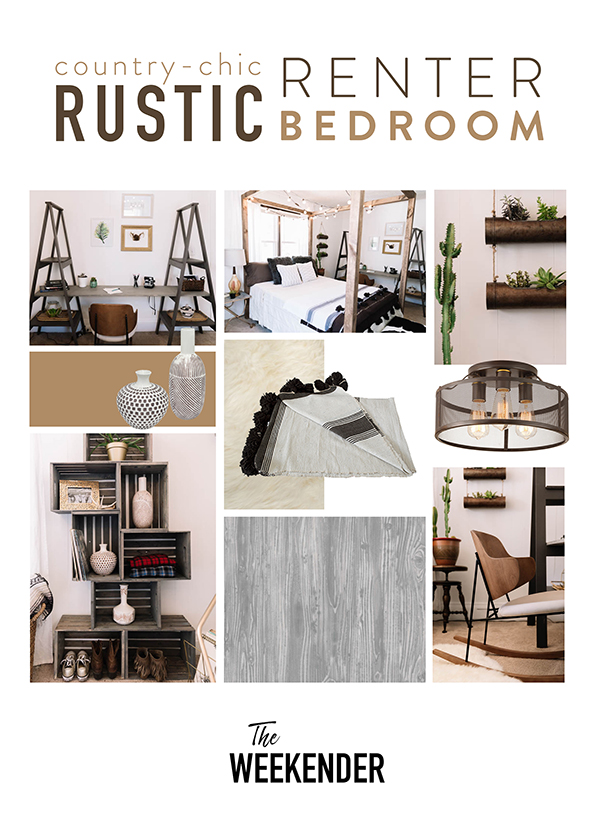
Morgan is your all-American country girl, and she loves anything textured, rustic and cowhide– so fun! For her room we used a lot of layering of textures and material, natural wood grain and stains, and even brought in some fun thrifted elements.

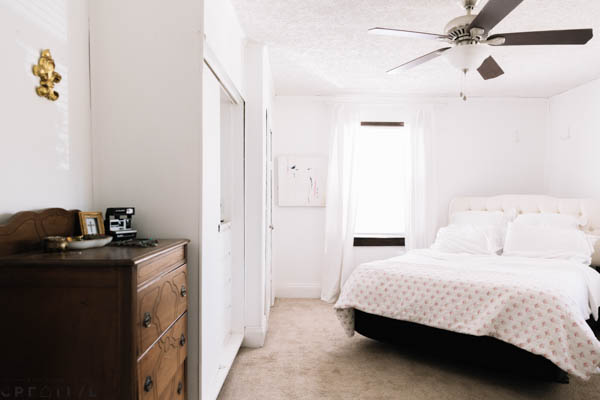
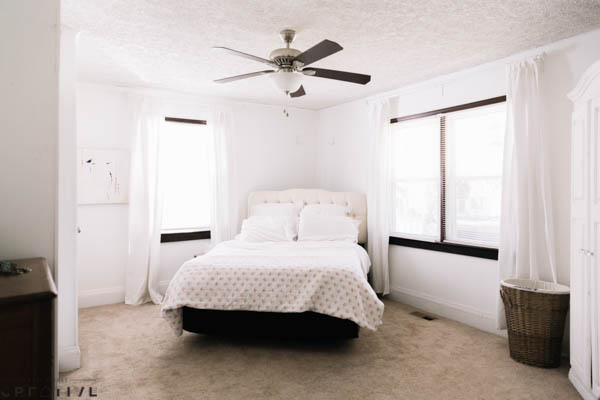
Before
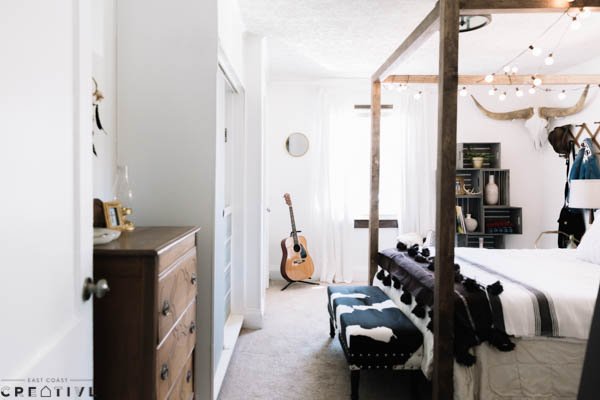
After

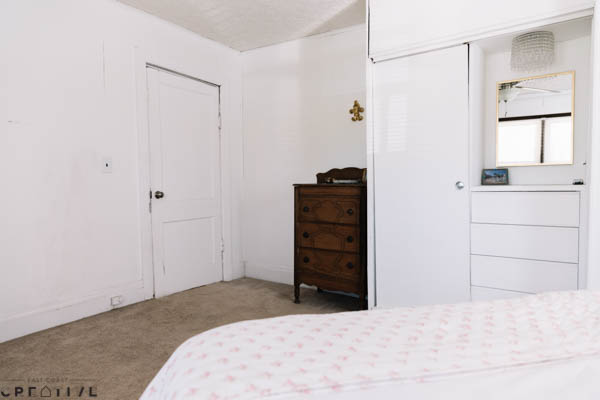
Before
After
Before
After
Before
After


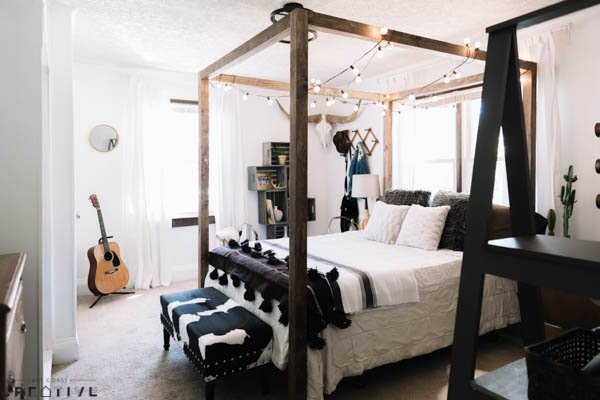
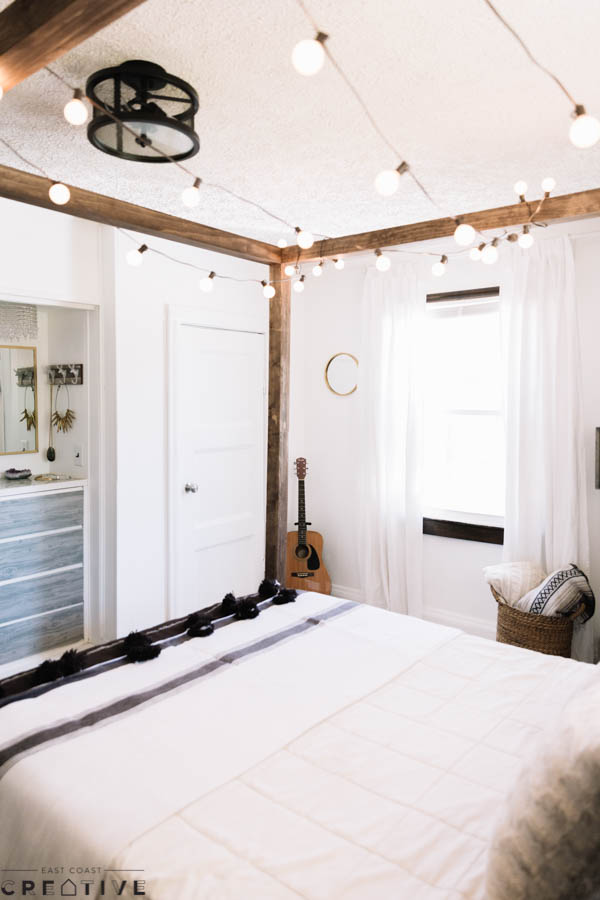
Talk about drama! This four-poster bed was a pretty simple build, and it definitely added some impact to this space. Using some 1×3 boards, we pieced 4 together to create a hollow post. These still look heavy duty, but they’re a heck of a lot lighter than a regular bed post! We built a open cube frame around the bed, connecting the vertical posts with horizontal connectors at the top. We then attached these posts to the metal bed frame under the bed with some 1×6 pieces of wood and stacked a few more on the headboard side for visual interest. We then used Minwax Special Walnut Interior Stain to give the frame a nice, rich color that we carried out through the rest of the room. And of course, anything is instantly cute when you add market lights!

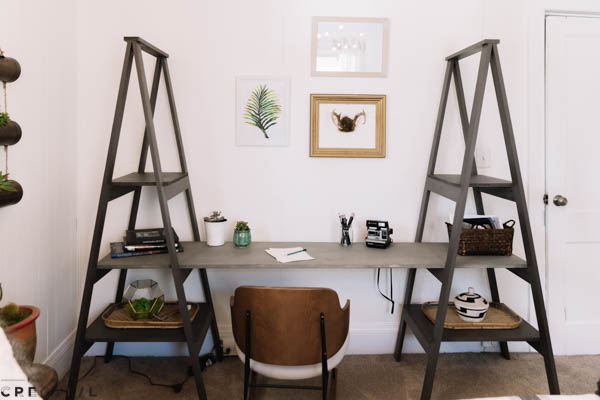
Rentals are all about utilizing every inch of space, and this A-frame desk is double purpose storage and functionality. We created two 3-tiered A-frames and laid a 6-ft piece of plywood across the second level for the desk surface. We used some 1×4 boards to create the shape of the ‘A’ then attached a piece of lumber at the top to hold that connection in place. For the cross sections of the frame, we used a Kreg jig with heavy duty screws to secure each level in place. The Kreg jig is an awesome way to hide the screw on any piece of furniture! After all the cross pieces are in, we cut some plywood shelves to size for each level and secured them to the frame with a nail gun.
We painted the frame of this desk with Valspar’s Labrador Interior Paint and topped the desk board off with Minwax’s Classic Grey Stain, and I gotta say, it’s looking super cute!
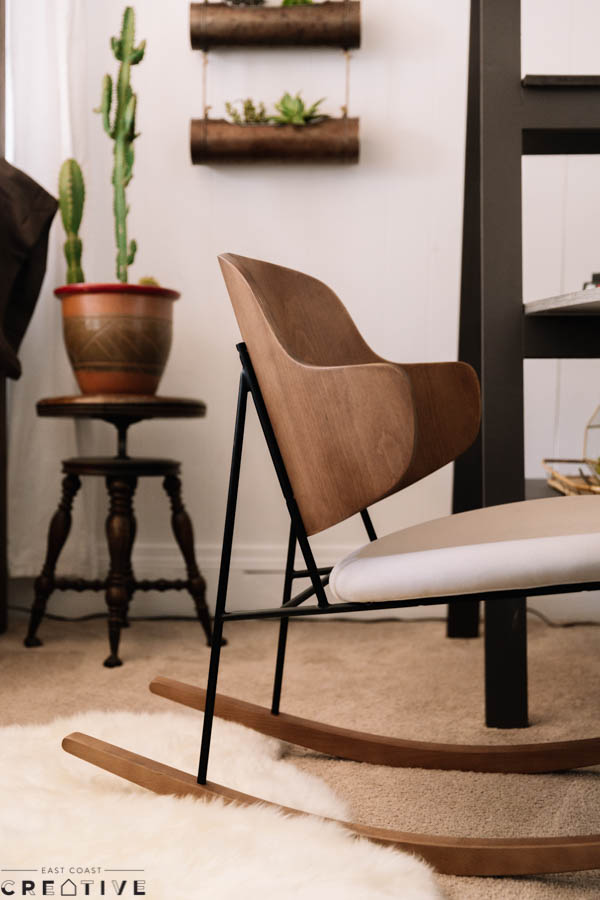
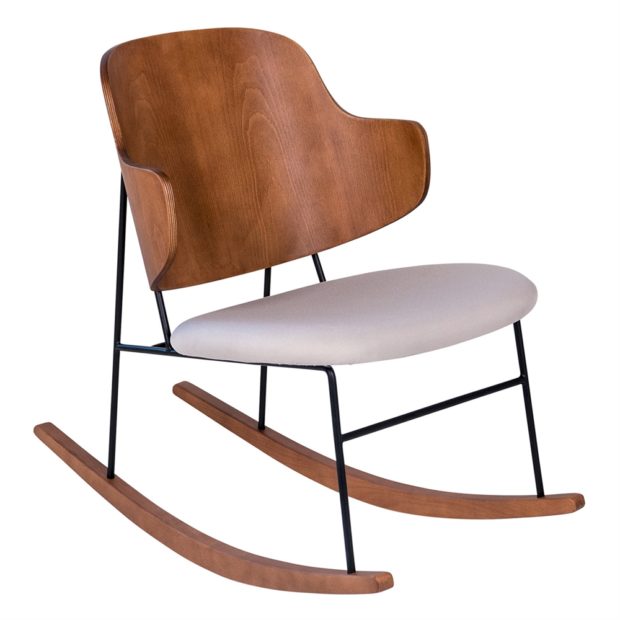
Oh, and how freaking adorable is this Koford Larsen Rocking Desk Chair?! It’s the perfect spot for Morgan to sit down, relax and write some awesome stuff!

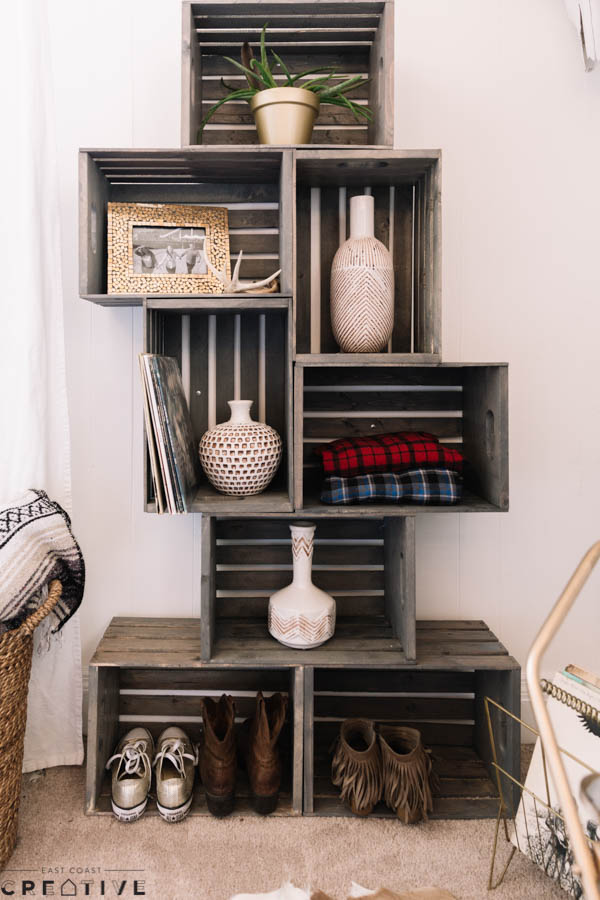
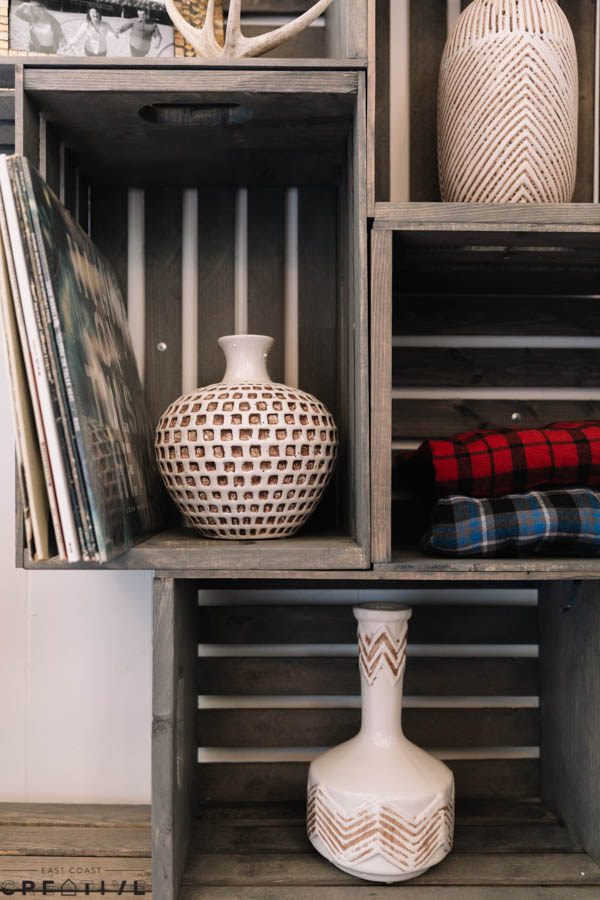
Storage can be a challenge in any space, but for a renter it’s crucial! To go along with Morgan’s love of eclectic and rustic style, I used these Wooden STOR Crates to build a stacked crate storage unit unique enough for her! Using the thicker sides of the crates to stack vertically, we secured each crate to the other with a nail gun and finished the whole piece off with a coat of Minwax’s Classic Grey Stain. The best part about this project? It probably cost under $50 when a piece like this at any high-end store would start at about $150! Renter approved.

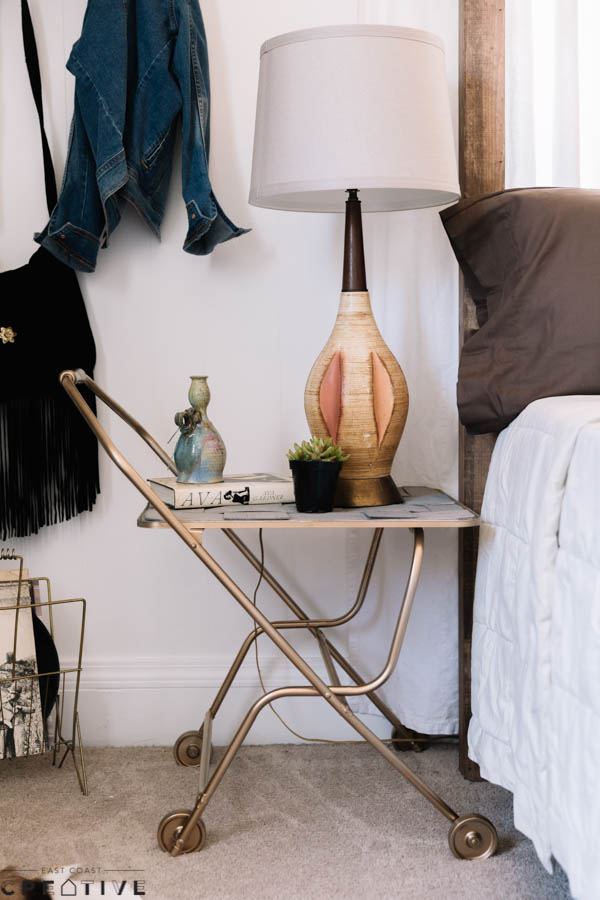
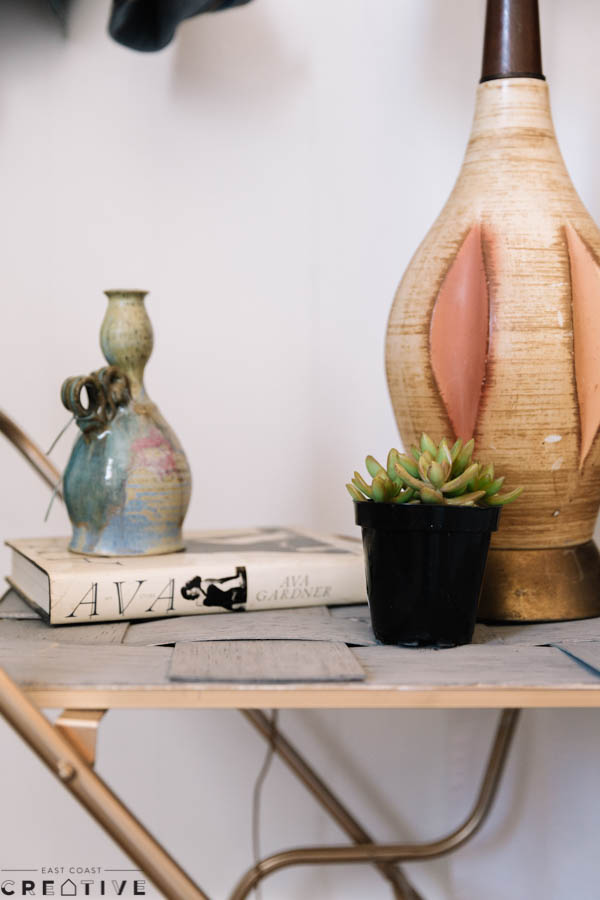
I was pretty jazzed when Morgan said she grew up thrifting and up-cycling pieces with her mom, so I definitely had to throw in some thrifted pieces! Thrifting is such a great way to bring in new pieces very inexpensively to any space, but especially rental spaces because let’s face it, renting is pricy and living with a budget doesn’t have to mean you can’t have cool things! I found this old cart that had some potential, so I brought it back and gave it a little facelift.
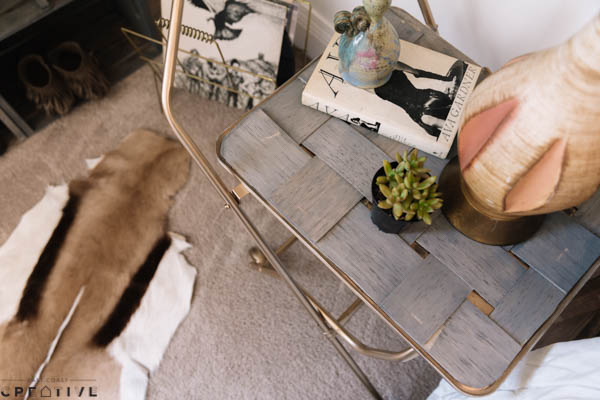
I started with a coat of Valspar’s Gold Metallic Spray Paint for the frame, then took off the faux wood surface of the cart top and replaced that with woven balsa wood. Balsa wood is great to work with because you can cut it with scissors and gently bend it like we did for the woven top. After we got that fit into place on the top of the cart, we hit it with a coat of Minwax’s Classic Grey Stain to tie in all of the wood-tone elements in this space.

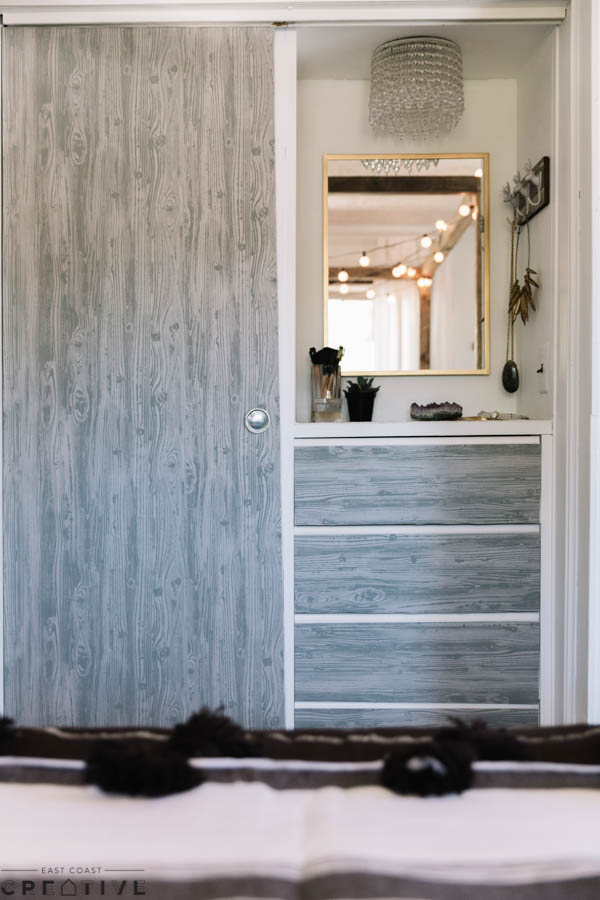
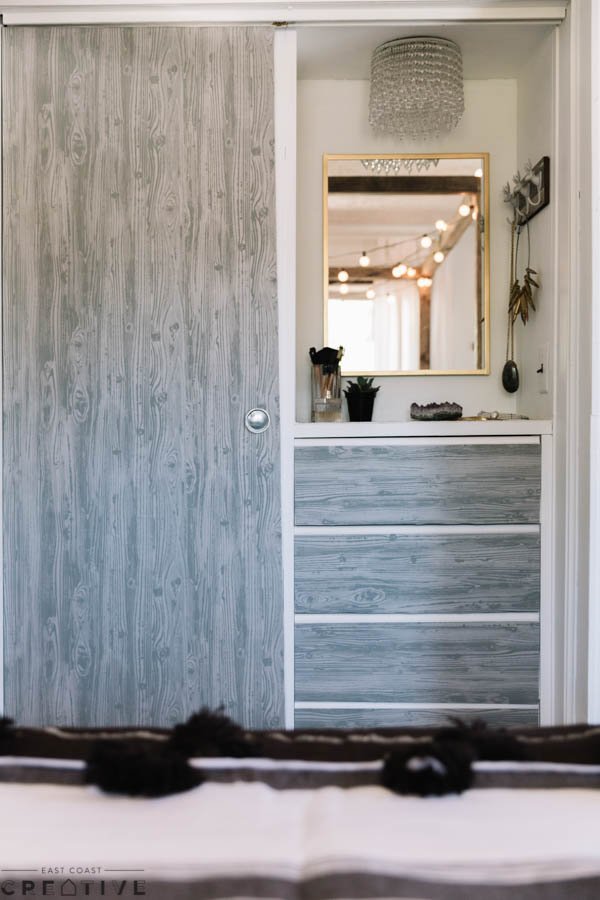
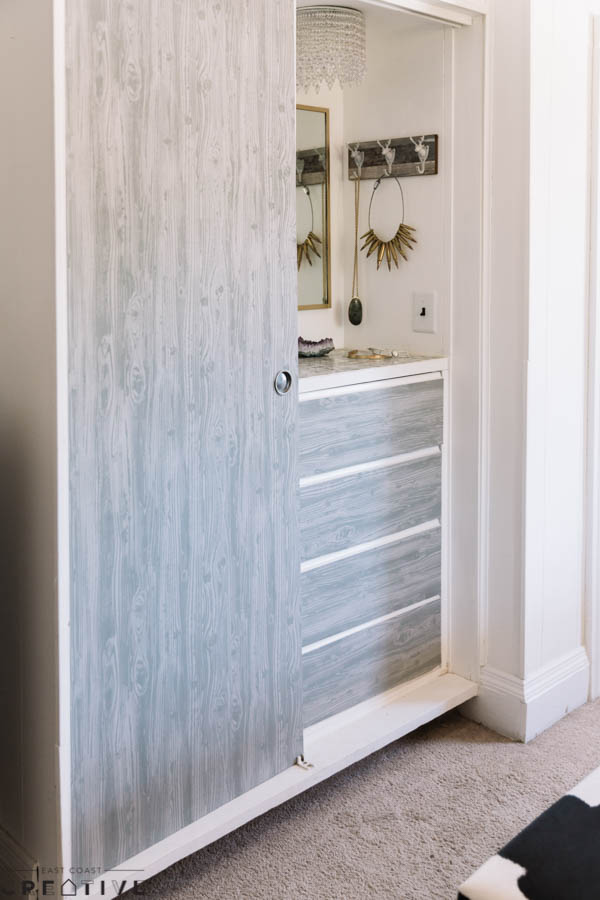
Let me tell you, wallpaper has come a far way from what it used to be, and trust me I’ve been DIY-ing for a while and I’ve tried it all! We used this Textured Wood Wallpaper to cover the door and drawers of Morgan’s built-in cabinet and vanity, but you can use it for basically anything in your home!
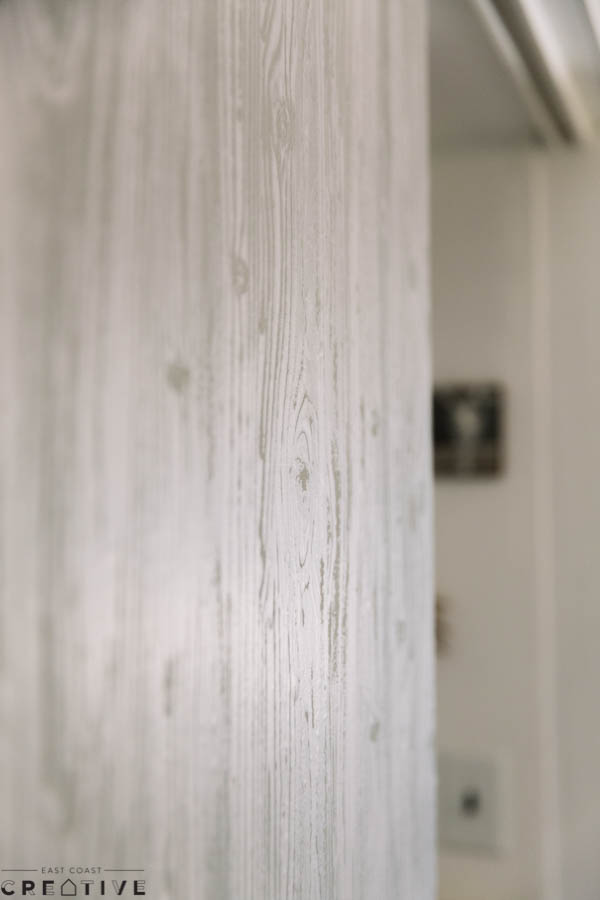
This wallpaper is awesome because it looks like real wood and it has texture to it too. It’s as easy as measure (twice!), cut, peel and stick!

Check out some of our favorite products from this makeover…
[print_responsive_thumbnail_slider id=”30″]
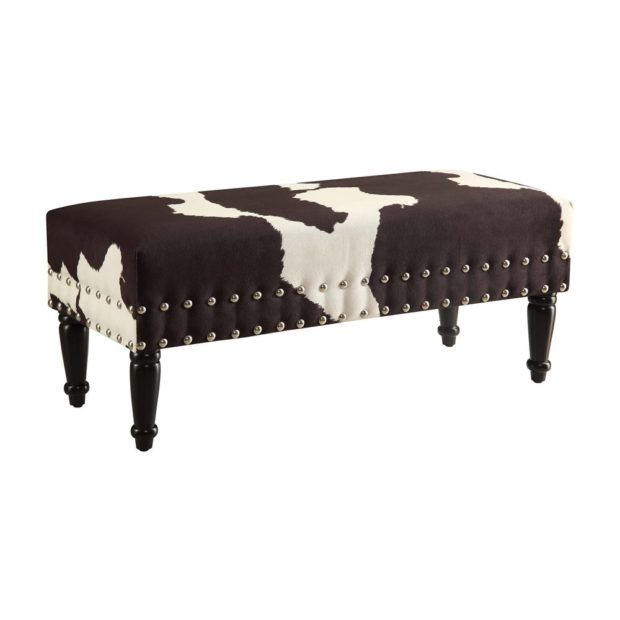
1. Convenience Concepts Faux Cowhide Bench
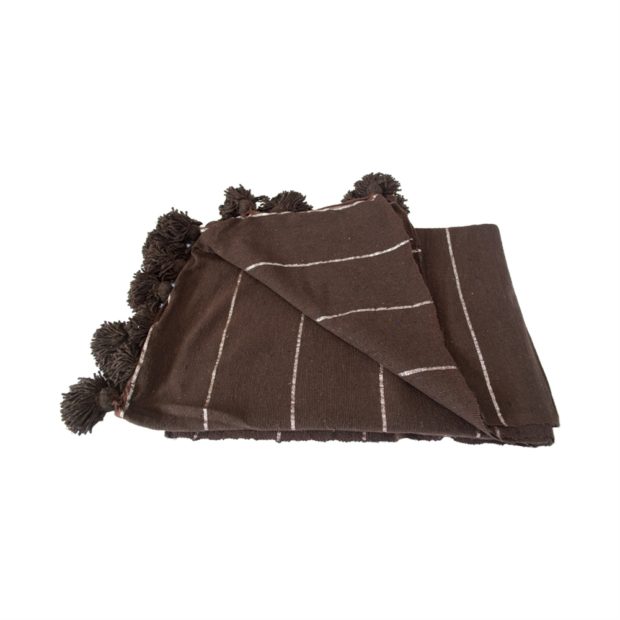
2. Casablanca Market Striped Moroccan Blanket
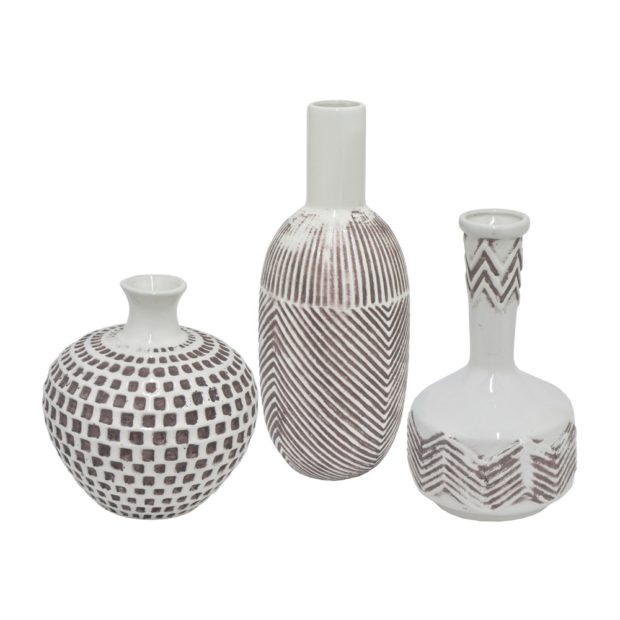
3. Three Hands Tribal Geometry Vases
4. Koford Larsen Beige Rocking Chair
-Mon
Don’t miss a single Weekender Episode of Season 2- You can watch all Season 1 + 2 Episodes right HERE!


The comments +