

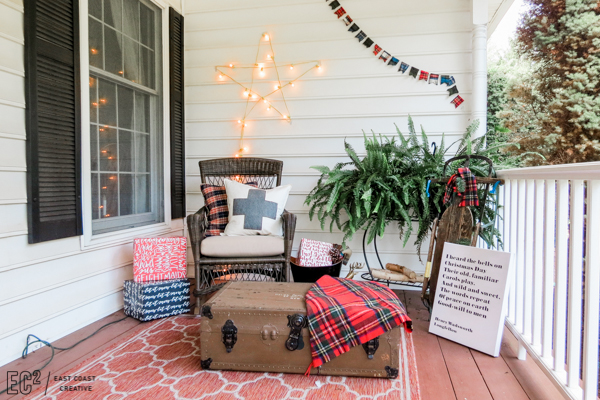
You might be done decking your halls and trimming your trees, but don’t forget about the outside of your home! I’ve got a super simple, very festive DIY that will have your house screaming holiday inside and out, will be perfect throughout the month of January, and it’s an easy way to kick up your plain Jane string of lights in a whole new way!
Materials Needed:
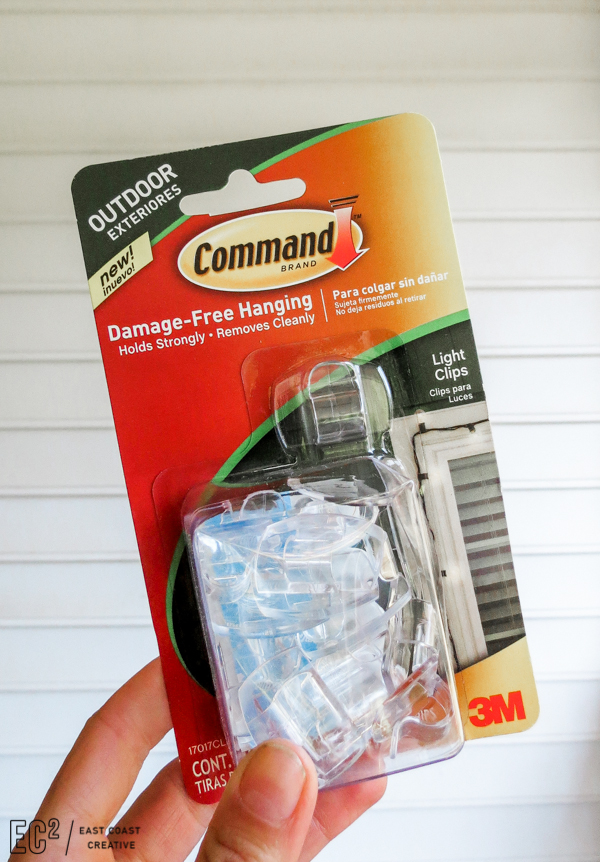
Large Bulb Outdoor String Lights | Command™ Outdoor Light Clips | Decorative Accessories (optional, but strongly encouraged!)
Note: Follow all Command™ Brand package instructions for proper surface cleaning and prep, adhesive strip placement and recommended weight claims.
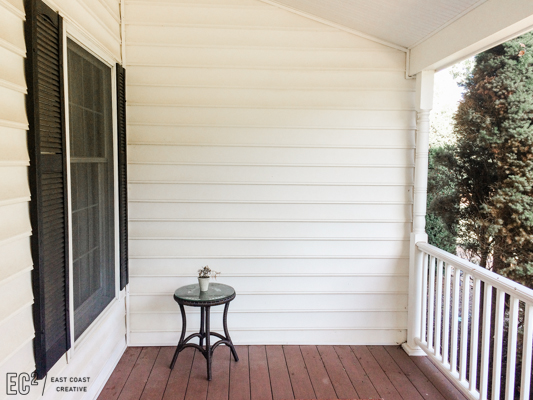
Step 1: Your designated outdoor space should be in an area with an overhang to avoid direct rainfall. This project is perfect for under a porch! The secret to this project– Command™ Outdoor Light Clips!
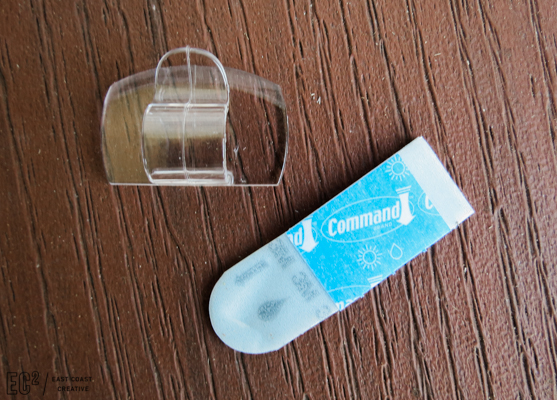
Step 2: Prepare your Command™ Outdoor Light Clips by peeling back the blue side and attaching onto the clip. Repeat for all 5 clips.
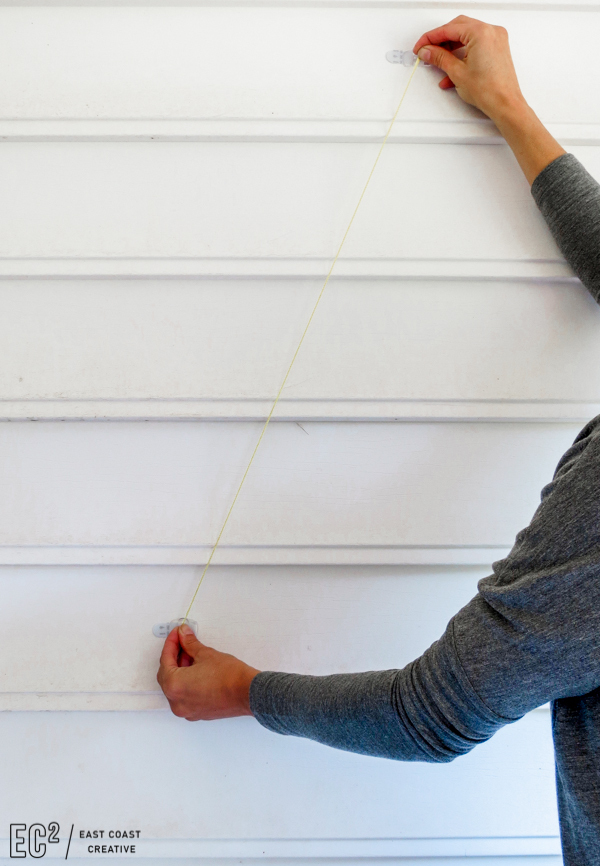
Step 3: Peel back the white/black side and begin attaching the light clips to the siding. Begin at what would be the bottom point of the star and attach clips where the 5 points will be for the outline of a star. Clips should be 2.5 ft apart.
Step 4: Allow 30 minutes for the clips to fully adhere before adding lights.
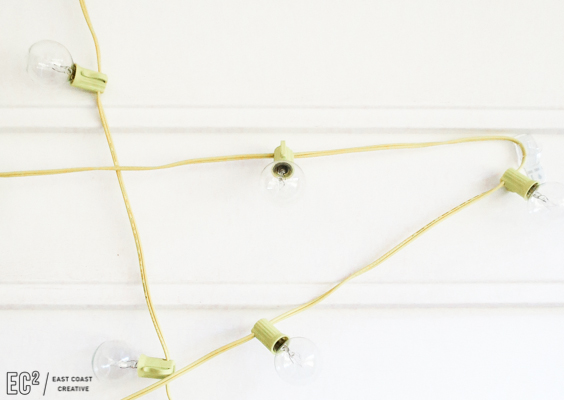
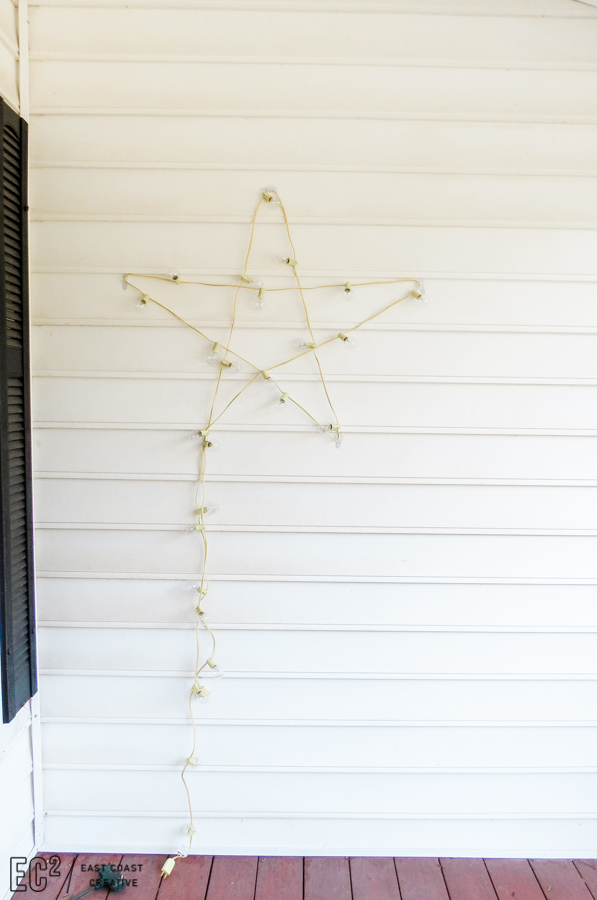
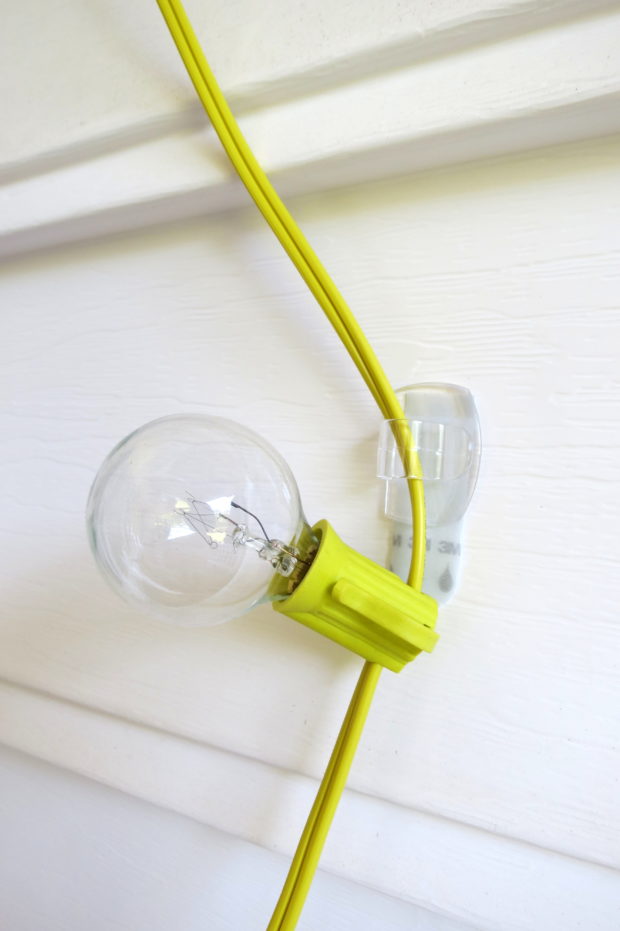
Step 5: Begin at the bottom of the star with the non-plug end and string your lights onto the siding, attaching with the Command Light Clips. I used these fun Large Bulb Outdoor String Lights from Target (in a punchy bright yellow) for a modern look, and they’re made specifically for outdoor use, so added bonus!
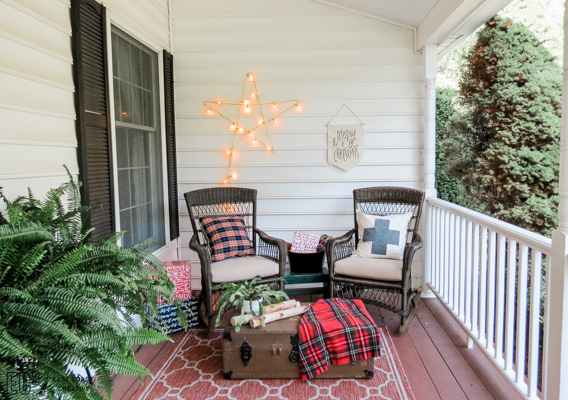
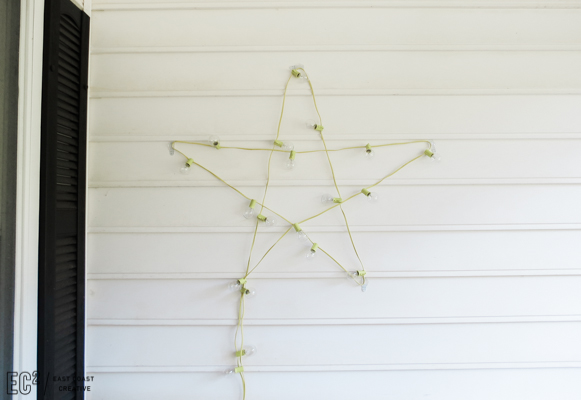
Step 6: Plug in your lights, grab a few blankets, and snuggle up with a steaming cup of hot cocoa– you’re totally ready for some holiday fun!
Huge shout out to my BFF Jess for helping me with this project. We might not be on tv together anymore, but you better believe that the dynamic duo still DIYs together!
-Mon


The outdoor star light work worked so great in our porch that it’s still there and I have no plans to take them out. Thanks to you and the people who help you with such great ideas.