

Here’s the thing… I LOVE to entertain and have family and friends fill our house, but I’m not much of a planner. Last easter I came up with a last minute way to turn a store-bought Costco chocolate cake into a super cute Easter cake and it took me less than 30 minutes! I promise, it will earn you major cool points with kids and adults alike!
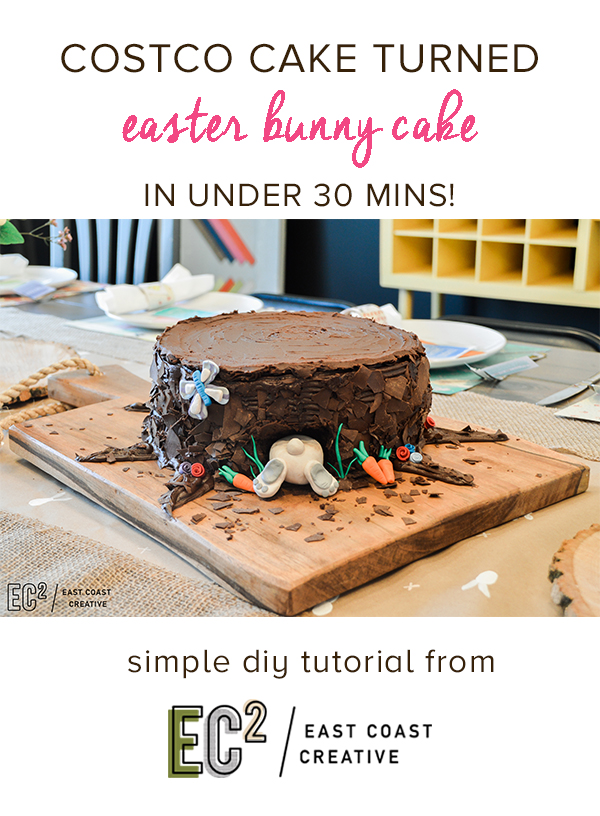
You don’t need crazy cake decorating skills, because the Costco cake does most of the work for you! Here’s what you’ll need to transform your cake:
Materials:
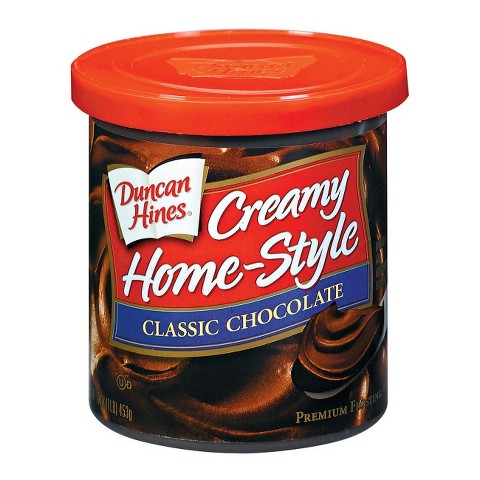
Costco Chocolate Cake | Tub Chocolate Icing | Ziplock Baggie | Fondant OR Clay | Butter Knife |
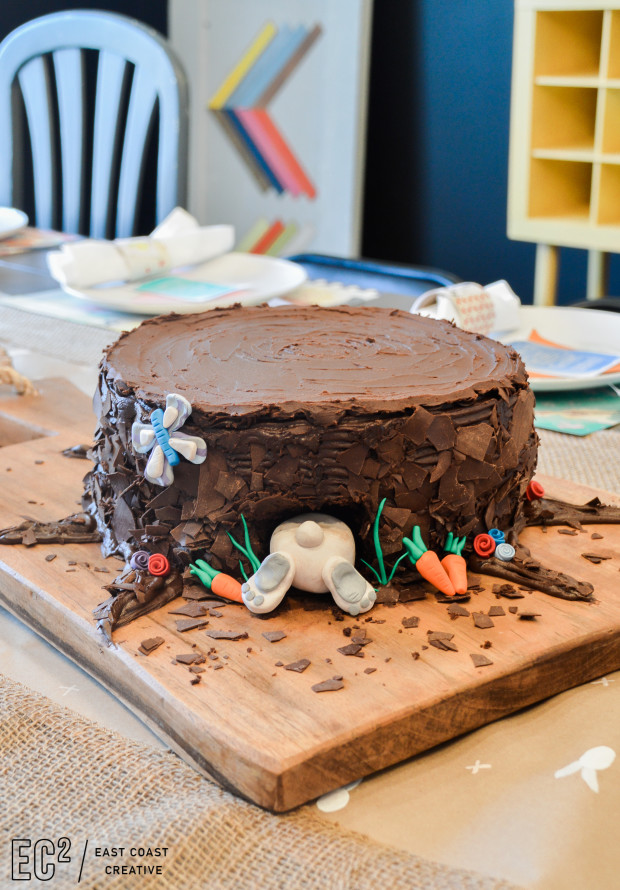
Step 1: Remove the cake from the packaging and hide it deep in your outdoor trash can… gotta destroy all the store bought evidence! lol Place the cake on your serving tray- I used a chunky wood cutting board because I thought it worked well with the whole tree stump idea.
Step 2: Put a big glob of icing on the top of the cake and use your butter knife to spread it. We’re going for a tree stump look, so work in a big, circular motion. It will start looking like rings on a tree.
Step 3: Use your butter knife to notch out a small hole where your bunny will go. Just cut into the cake about two inches or so, creating the look of a burrow.
Step 4: Put a glob of chocolate icing into your ziplock baggie and snip off one of the corners to create an icing piping bag. At the base of the cake pipe icing in triangle shapes to give the look of roots. They don’t have to be perfect- actually imperfect will make it look even more realistic. That’s clutch for someone with amateur cake decorating skills like me!

Step 5: Now for the bunny and decorations. You have a few options here… I just used clay that my kids had on hand (remember, I’m not a plan ahead girl?) and so our bunny and decorations aren’t edible. If you want them to be edible, you can buy colored fondant at Joanne’s or Michael’s pretty inexpensively.
For the bunny– Roll one large ball, and 3 small balls. For 2 of the small balls, flatten them out a bit to resemble the shape of the feet. Stick the third small ball onto the bigger one for the tail. I used some grey clay on the bottoms of the feet for some detail. Again, just make tiny balls and flatten one out for each footpad.
Stick your cute bunny butt right into the hole you carved into the cake.
For the carrots- they’re super easy. Roll a medium sized ball for each carrot. Pinch the ball to create a bit of a point at one end and roll the whole thing a bit. You’ve got your carrot shape. Take the butter knife and put a few horizontal lines on it. Add a few green pieces at the top and voila!
You can stick with just carrots or get creative with some little flowers, grass, butterflies etc… My daughter Kira made the butterfly for ours.
And just like that, you’re done. It took us under 30 minutes to totally Bunnify this store bought cake. So go hit up Costco (along with 2.4 million other people…good luck with that) and make the coolest cake this Easter!
-Mon


This is such a clever cake idea! It looks so impressive, but not intimidating. I am excited to try it!
LOVE this!!! Will definately be making this for Sunday dinner!