Today I had the awesome opportunity to be a guest on Live! with Kelly and Michael and to teach Michael and Guest Co-Host Ciara some creative uses for pumpkins. You might think pumpkins are just for halloween, but I shared ideas that take you from early fall through Thanksgiving!
You can watch the segment below, and then I’m hooking you up with more step-by-step directions and pictures so that you too can PUMP up your PUMPKINS this fall!
(Sidenote… I’m just under 5’9″ and I look about 4 feet tall next to these two! My kids watched and though that was hysterical! lol Mini Monica)
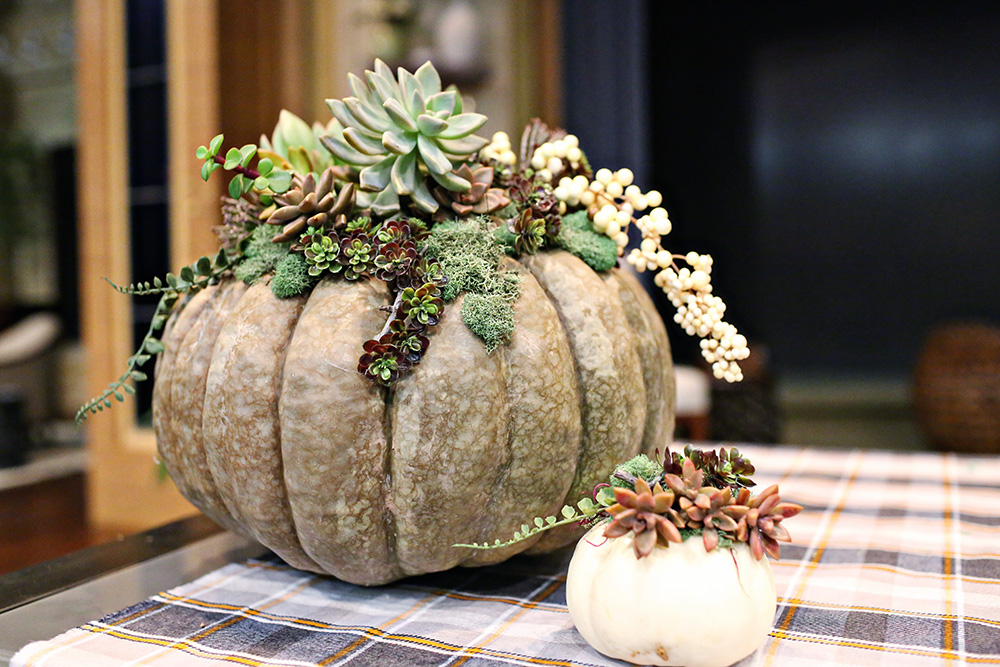
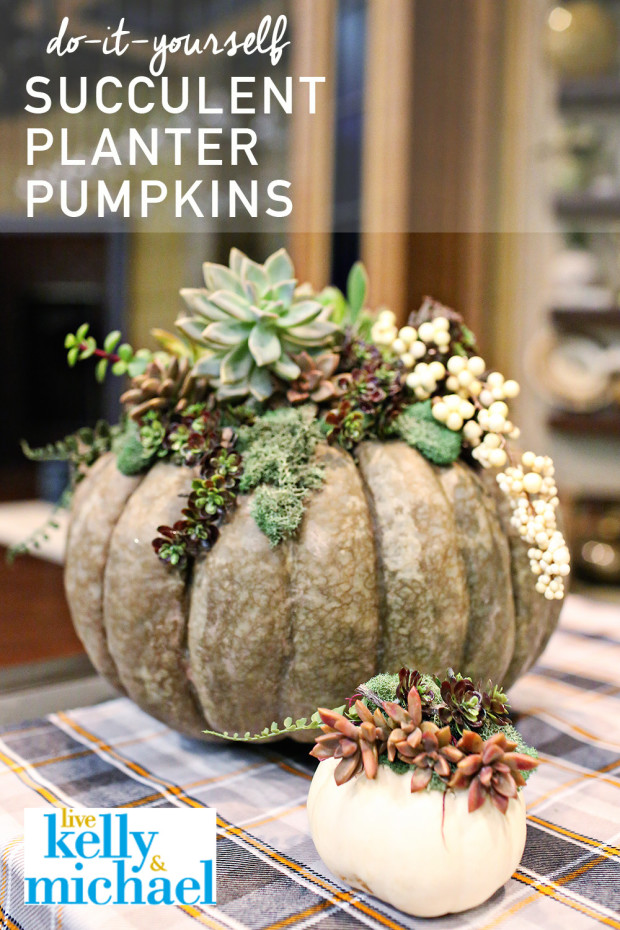
Succulent Planter Pumpkins:
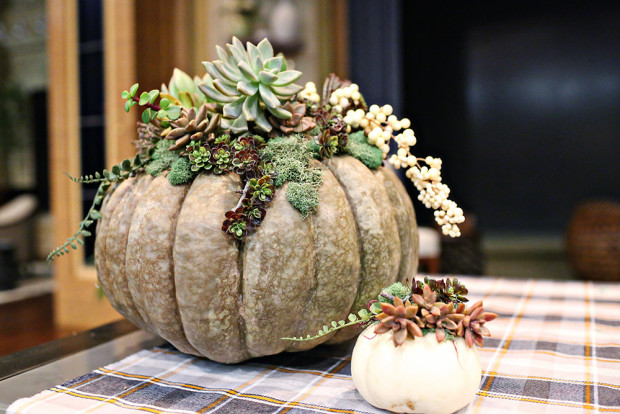
I love this project because it doesn’t take expert flower arranging skills and works perfectly as a Thanksgiving Centerpiece or a great hostess gift (the mini ones) if you’re visiting someone’s home this time of year!
Materials:
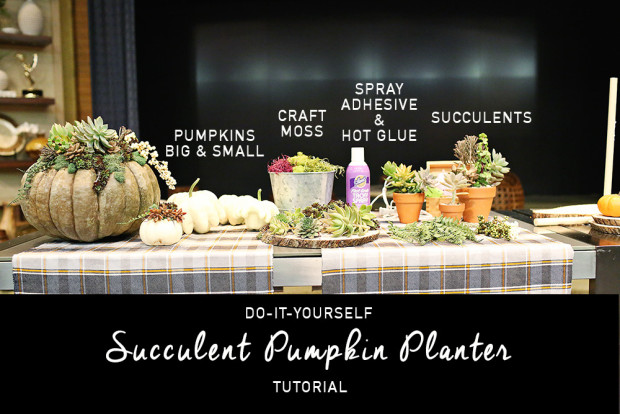
Heirloom Pumpkins (large or small)| Craft Moss | Spray Adhesive | Succulents (live or artificial) | Hot Glue Gun | Scissors or Plant Snips
Step 1: Wipe down your pumpkin with water or use my special recipe for long lasting pumpkins… 1 Tbls bleach to 1 Qt. of water- it will make your pumpkins last ALL season long! Wipe Dry.
DIY EXPERT TIP: Heirloom pumpkins have become really popular over the last few years, which is good, because you can find them at Lowe’s, most garden centers, and even many supermarkets are carrying them. They come in pretty blues, whites, reds, and lots of unique color combos!
Step 2: Channel your inner Michael Strahan strength and break off the pumpkin stem.
Step 3: Coat the top of your pumpkin with spray adhesive or any spray glue. This will help hold your moss in place.
Step 4: Place moss on the top of your pumpkin. You can use a combo of colors and textures. There’s no right or wrong way to do this. I like the look of having some of the moss trail down lower than other areas.
DIY EXPERT TIP: Succulents prefer dry, arid climates, but I can find them most of the year at Lowe’s even though I live on the East Coast. If your area doesn’t have any available, no worries! Craft stores have an awesome selection of artificial succulents, and they’ll work just fine too! The ones I made for the show were a combo of real and artificial, so you can see how legit they look!
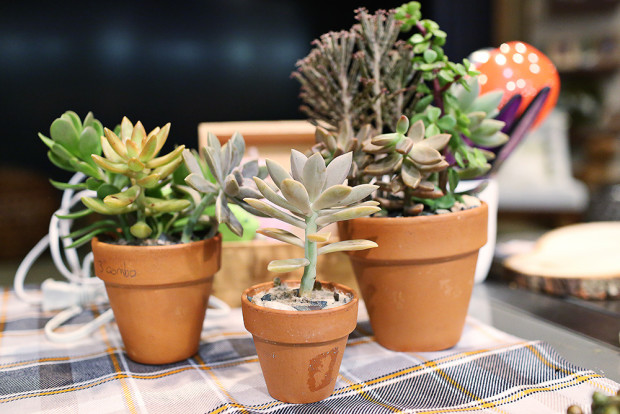
Step 5: Remove your succulents from their pots and use scissors or snips to cut away a majority of the roots. Cut them into small, little segments that will be easy to place.
Step 6: Attach the succulent pieces to the moss using hot glue. The glue won’t harm the plants- if your glue gun has a heat setting, use the lowest heat option, but it will work no matter what. Start with the larger pieces and layer on the small ones. If anything looks a bit messy, fill in gaps with extra moss- it pretty much makes everything look fancy! I also use a few artificial vines on mine, to make it look like the plants are growing right out of the pumpkin! Layer the succulents, moss, and vines until you like the look and viola- you’re done!!
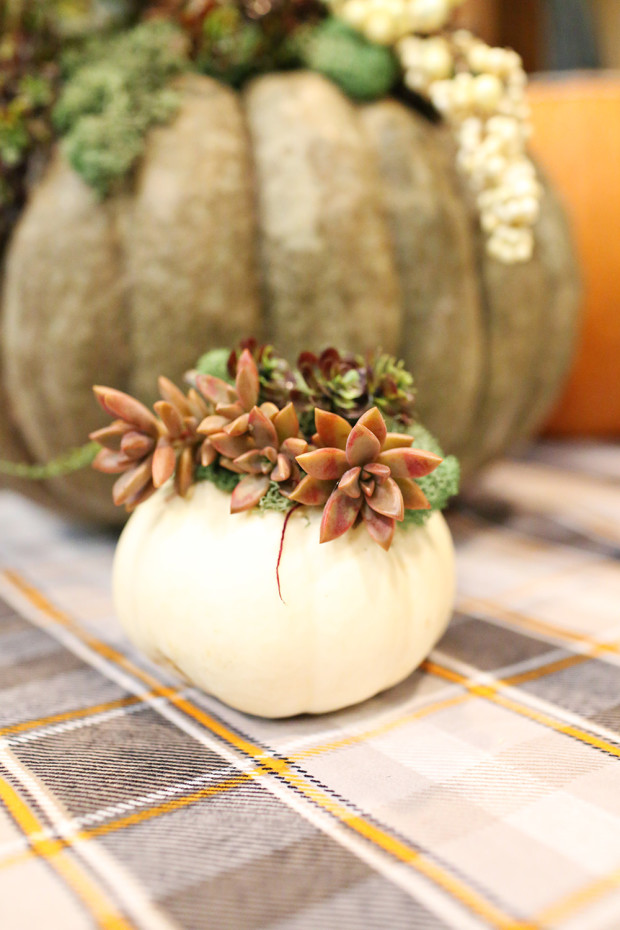
How cute are the minis? You could even add a name to each and use them as place cards for Thanksgiving!
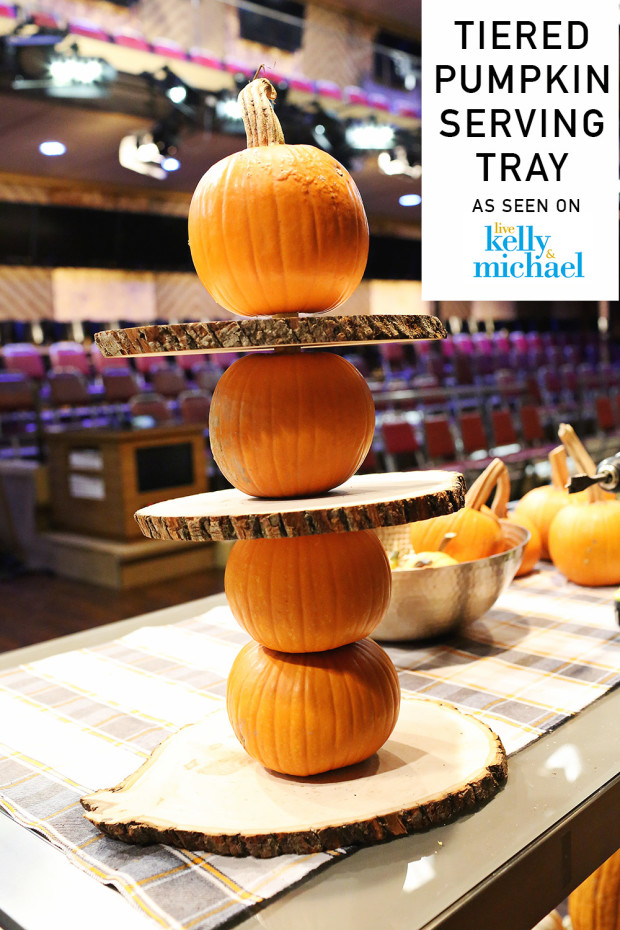
Tiered Pumpkin Serving Tray
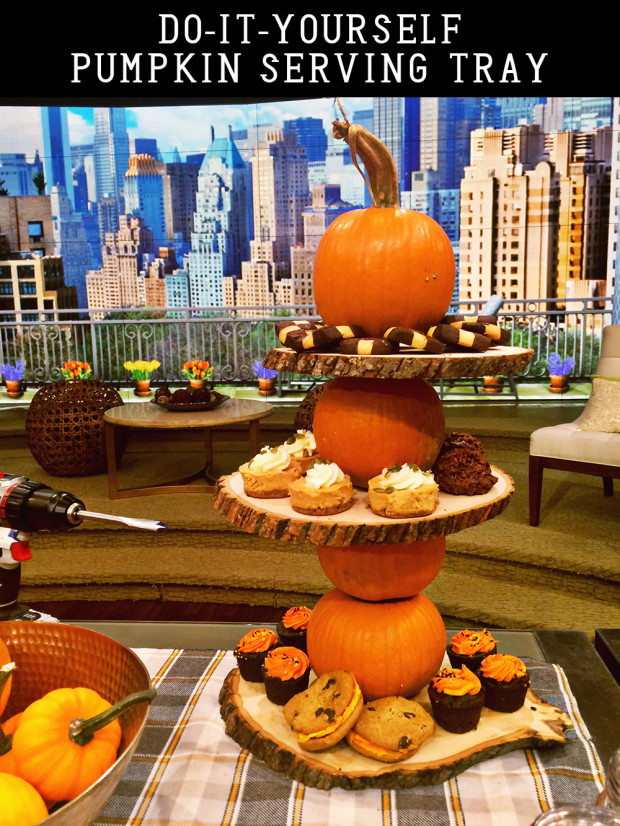
If you watched the segment, you got to see just how cute this serving tray looks with fun little desserts! Mr. Strahan ahem ate a bunch of the treats lol, so I don’t have a perfectly styled photo, just this iPhone pic, but trust me, it was adorable and you’ll want to make one of these because it’s unique and a pretty simple DIY project!
Materials
Wood Slices-3 | Small, Round Pumpkins-4 | Wooden Dowel (3/4 inch) | Drill | 3/4 inch paddle drill bit | Screw | Food Safe Polyurethane
Step 1: Purchase 3 wood slices at your local craft store (or, if you live in the woods, you can use the real deal!). Ideally, your 3 slices should each be a bit smaller than the one below it. Coat each wood slice with food safe polyurethane, so that you can put your food right on it and not have to worry! I get mine at Lowe’s, but any home improvement store will carry it!
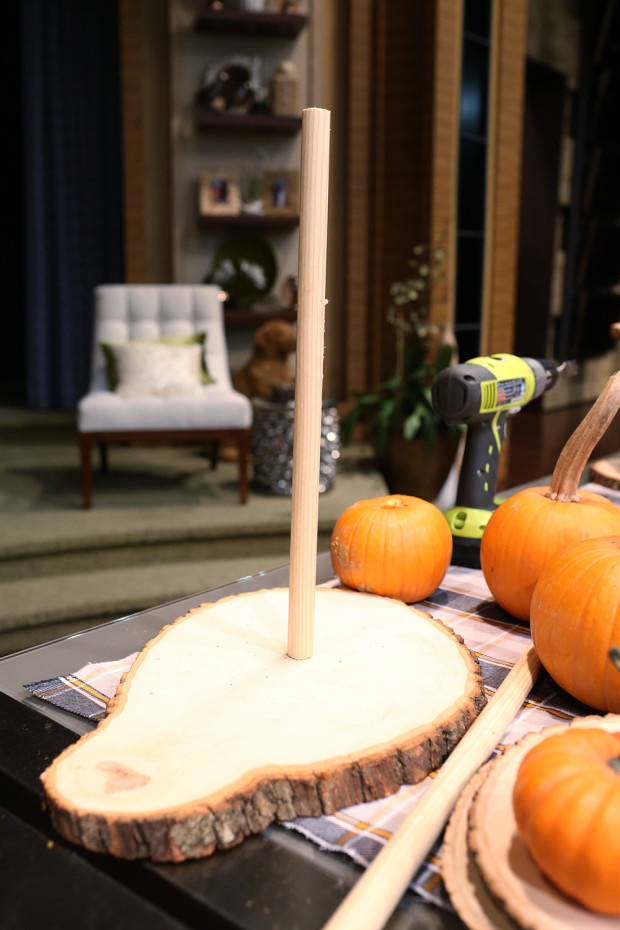
Step 2: Center your wood dowel on the largest wood slice and attach from the bottom with a screw. I used a 2 inch wood screw, but any size should work as long as it’s not too thick- you don’t want to split the dowel.
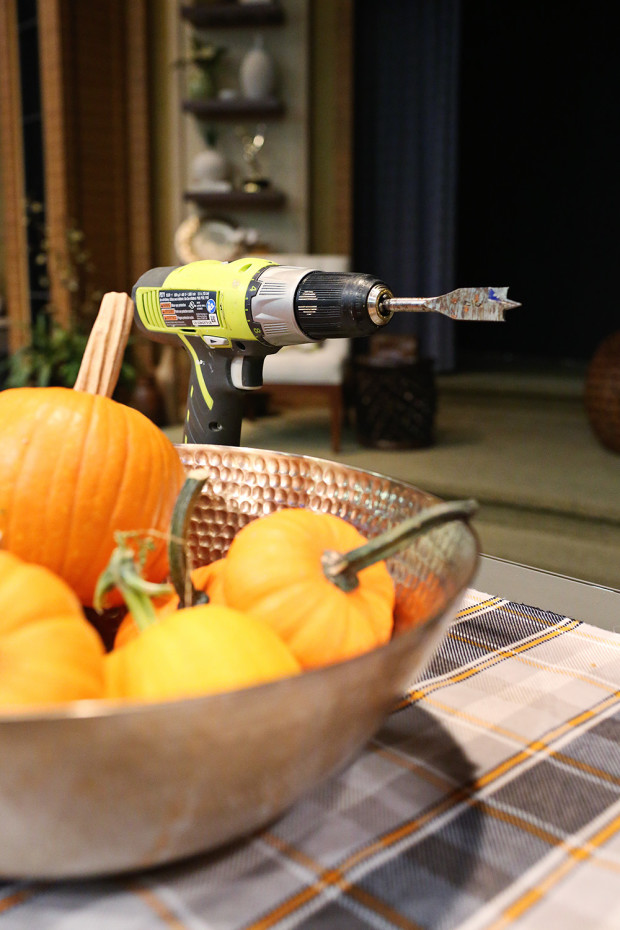
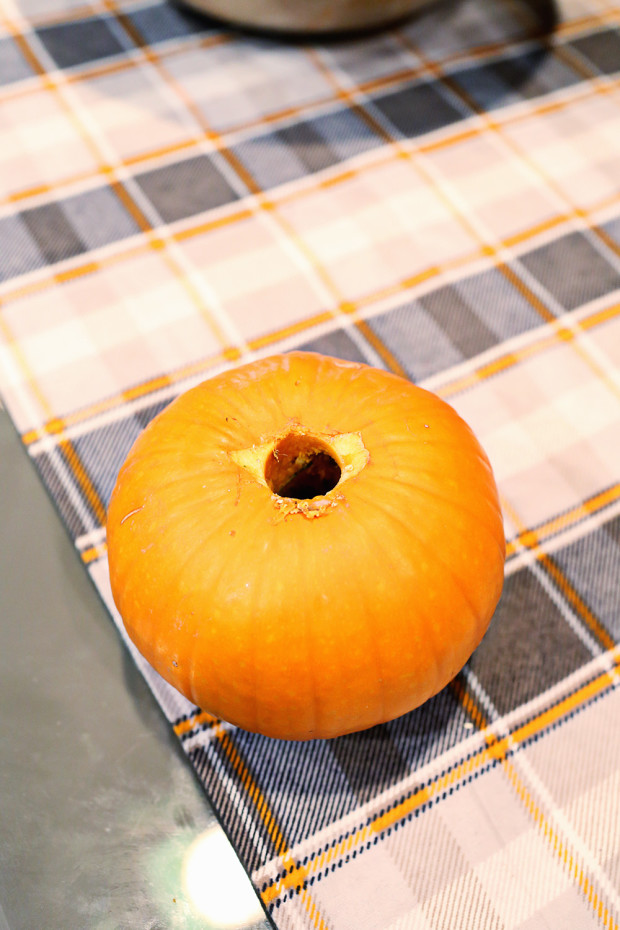
Step 3: Use the 3/4 inch paddle bit (shown below) and drill into the center of 3 pumpkins and the remaining 2 wood slices. You’ll need to remove the stems from your 3 pumpkins, but be sure the final topper keeps its stem.
Step 4: Thread the pumpkins and wood down onto the dowel in the following order: pumpkin, pumpkin, wood, pumpkin, wood. For the final topper pumpkin, drill into the bottom of the pumpkin, but don’t go all the way through the top. Slide it down over the dowel and you’ve got yourself the cutest little fall serving tray ever!
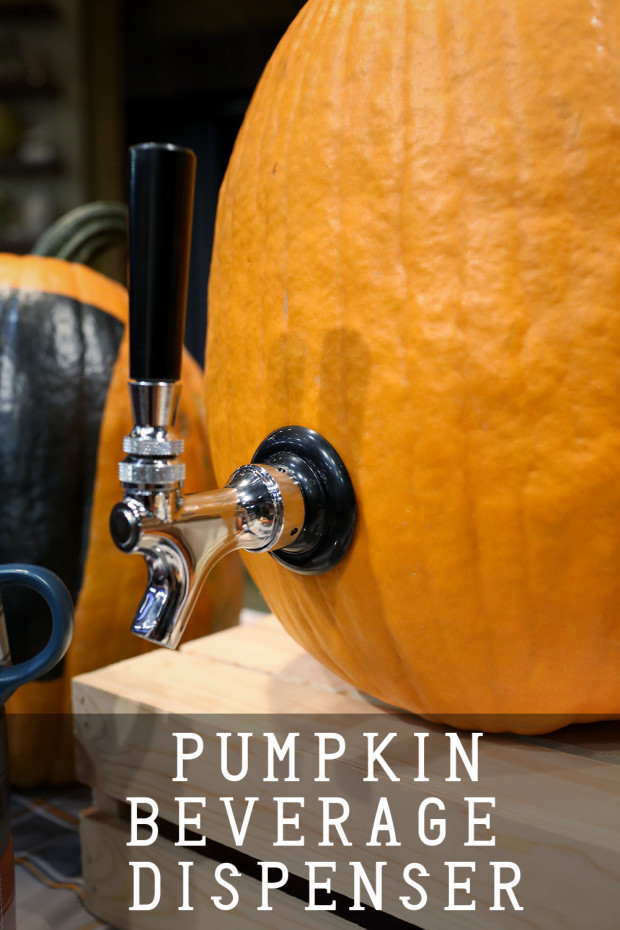
Pumpkin Beverage Dispenser
This was the crew’s favorite project by far! I think I shared the link for the XXXX Drink Dispenser Tap with almost all the guys on set! I love that this project works for Halloween parties & Thanksgiving and is a super simple way to really WOW your friends and family!
Materials:
Pumpkin | Drink Dispenser Tap | Carving Tool | Pumpkin Scraper or Large Spoon | Drink of your Choice | Drill with Paddle Bit
Step 1: Cut a circle around the stem of your pumpkin- save the top for later!
Step 2: Use a pumpkin scraper or large spoon to scrape all the “pumpkin guts” out of your pumpkin.
Step 3: Use your drill and paddle bit to make a hole where you want your tap to go. Be sure it’s low on the pumpkin, so that the liquid will flow through easily. The size of your hole will depend on the size of your tap. I recommend this Drink Dispenser Tap because I have first hand experience with it and I know that it works well and doesn’t leak. If you use the one I recommend, you’ll need a 3/4 inch paddle bit to get the perfect sized hole.
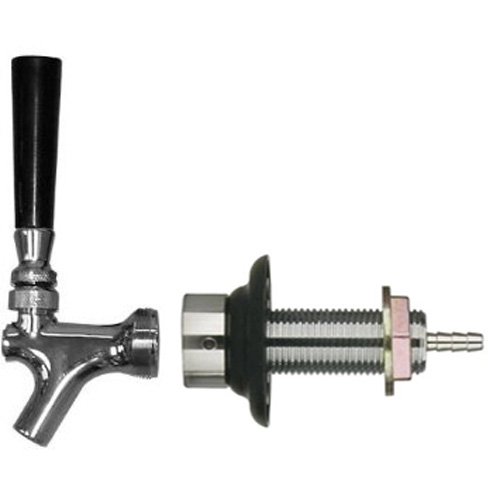 Step 4: Fill your pumpkin with the beverage of your choice- cider, pumpkin ale, or my very own “Pumped Up Pumpkin Punch” Recipe!
Pumped Up Pumpkin Punch – Michael’s Fav!
1 bottle Sprite + 1 large can pineapple juice + 1 bottle orange juice + 1/4 c. pumpkin puree
Mix all ingredients together and pour into your pumpkin. Allow to sit in pumpkin for approx. 1 hour before serving to allow the pumpkin flavor to infuse into the punch! Yum!
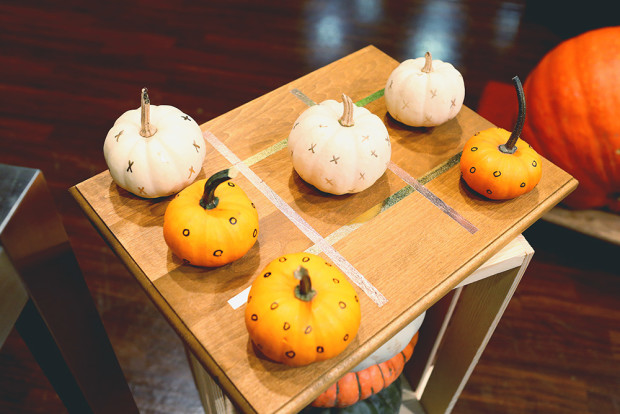
Pumpkin Tic Tac Toe
We didn’t get a chance to talk about this project on the show, but it’s too cute not to mention! This is a perfect project to let the kids help with and it’ll also keep them occupied once it’s done!
Materials
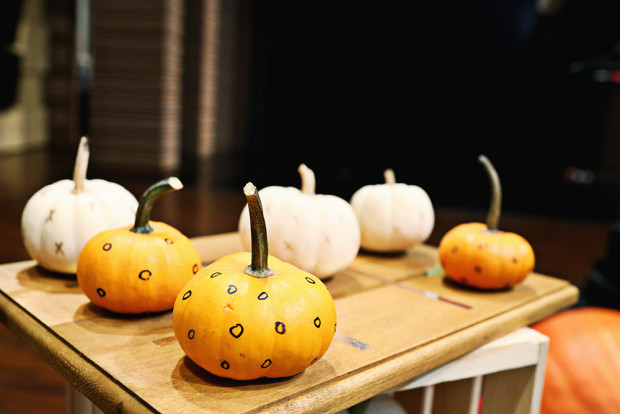
Wooden Board (cutting board would work too) | Washi Tape or any decorative tape | White Mini Pumpkins-5 | Orange Mini Pumpkins-5 | Paint Pens |
Step 1: If you’re using an unfinished piece of wood you can paint or stain it any color you’d like. I used Rust-Oleum’s Stain – Wheat Color.
Step 2: Use washi or decorative tape to create your tic tac toe grid. Washi tape is removable, paper tape that comes in so many cute patterns and colors. I used mixed metals on mine.
Step 3: Mark your mini pumpkins with X’s and O’s using Paint Pens – you can order them online or get them at any craft store or even Target or Walmart.
Set your new DIY game board out on a coffee or end table and let your kiddos and guests have some fun! And darn that my husband always uses that start in the corner tic-tac-toe-trick and beats me every.single.time!
I had so much fun doing this segment on Live! with Kelly and Michael and who knows, you just might be seeing more of me and my DIY ideas down the road! If you’re new to do-it-yourself projects, hang out a while and check out lots of fun ideas to get you started from my DIY project gallery!
Here are a few more Halloween and Fall Posts from the past few years that you might want to check out!


I watched the Live show and saw your pumpkin ideas. You didn’t mention if we have to clean the inside of the pumpkin before putting a potted plant or flowers inside to look like a pumpkin vase. Does the pumpkin need to be lined with aluminum foil? How long will it last? I wouldn’t want to make it too much ahead of time to use for Thanksgiving if it won’t hold up.
Hi Rosemary- thanks for the kind words, and I’m glad you liked the pumpkin planter idea! Once you have scooped out most of the insides, as long as you’ve cleaned out the pumpkin pretty well, you don’t need to line it with anything. They should last for a few weeks if you make them a week or so before the holiday.
Congratulations! Starting watching the show but stopped to soon. Just love everything you do!
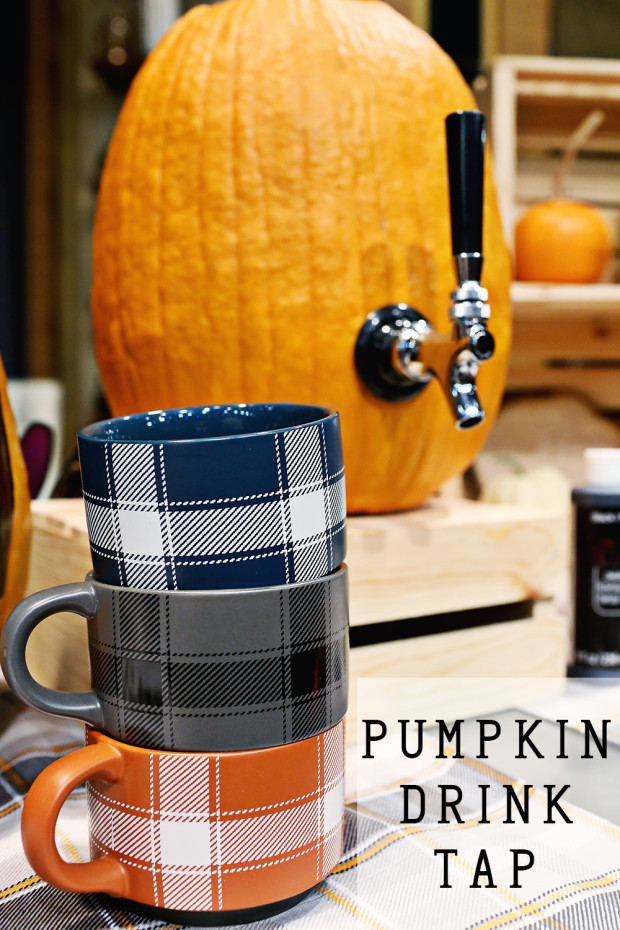
where can i get those grey, blue and orange plaid mugs???? who are they by???
Hey! They were Target last year, but they have some awesome, similar ones this year!
These were from Target a few years ago, but I’m sure they’ll have something similar next fall season!