
We’ve lived in our house for 4 years now. I can’t believe it’s been that long! The first two years were right at the beginning of East Coast Creative, so I did a good amount of projects in my home, but the second two years I was filming our TV show “Knock It Off!” which means I was doing a ton of projects in other people’s homes… i.e. Not my home. To say my house was looking shabby and so not chic would be an understatement. This past month, before the holidays, I finally convinced the hubs that it was time to start tackling some projects (he’s kinda liked that I’ve been too busy to do projects here!) and we got down to work!
One of the first items of business was updating my old chevron wall with a hand stamped accent wall. I had been eyeing up Ferm Living’s Half Moon Wallpaper, but at $103 per roll I just couldn’t pull the trigger. I started thinking that I could easily knock off the look with paint and some patience (okay, a lot of patience!) Here’s my knock off version…
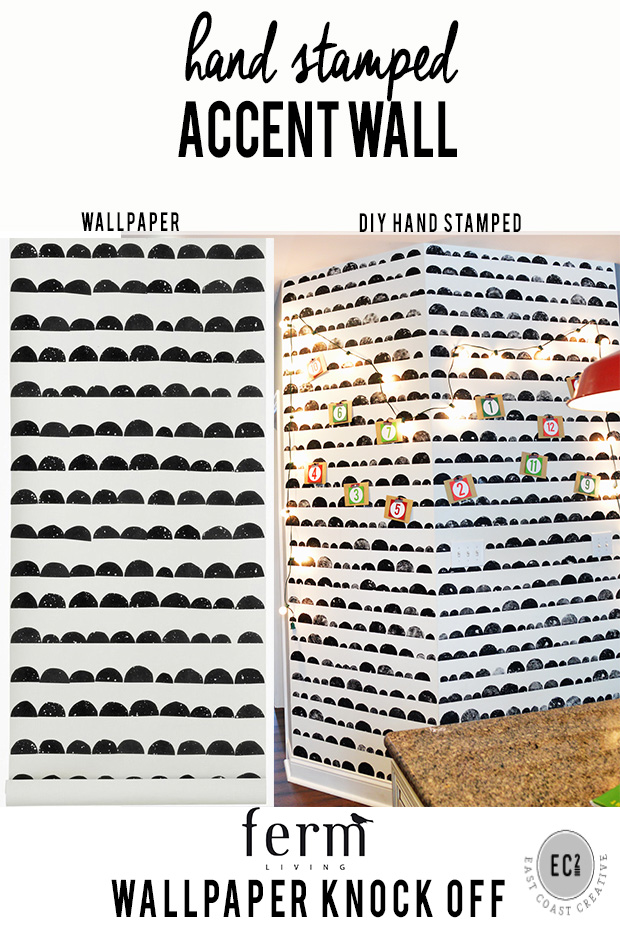
Not too shabby right? The whole thing cost me under $5.00! I’ll be completely transparent that it was a labor of love (not hard at all, just tedious), but oh so worth it!

How to create your own Hand Stamped Accent Wall
I made a little video on my iPhone for you, to see the process, so check it out and then read the full tutorial below!
If you want the sources for my fancy outfit, just lmk and I’ll email ya…
1- Prepare your wall
Saying adios to my chevron wall was a bit overdue. It was fun for a time, but it always bugged me that I’d only done it on the one wall and not the area to the left of it. This wall is kinda strange, because our first floor powder room is behind it and it’s a weird shape. Anyhow, you’ve gotta at least appreciate the crisp black lines. There’s nothing like super sharp paint lines!
![]()
Since my walls had a previous pattern, I needed to sand them down or else I would have had the chevron lines popping through. I also had approximately 6.4 million holes that needed to be patched. Ugh 4 kids. I used my go-to 3M™ SandBlaster™ Sanding Sponges to prep my surface.

2- Paint a Basecoat
Much to my husband’s disapproval, I painted my walls with Sherwin Williams® White Dove. I’ve been craving white and bright and I’m willing to use my magic eraser on a daily basis if necessary.
3- Make Foam Stamps
This whole stamp making thing was a learning process for me. I’ve never made stamps before, so I ended up trying two methods.
Method 1- Foam on Wooden Blocks
I bought a single sheet of foam and just traced a few different size drinking glasses to get my circle shapes. I used my utility knife to get more of a half circle shape.
Using Krazy Glue® I attached the foam onto little wooden disks that I picked up for 29 cents at Michaels®. Then, I thought I was being really smart by adding a wooden block to the back of each, so it would be mess free and easy to press onto the wall.
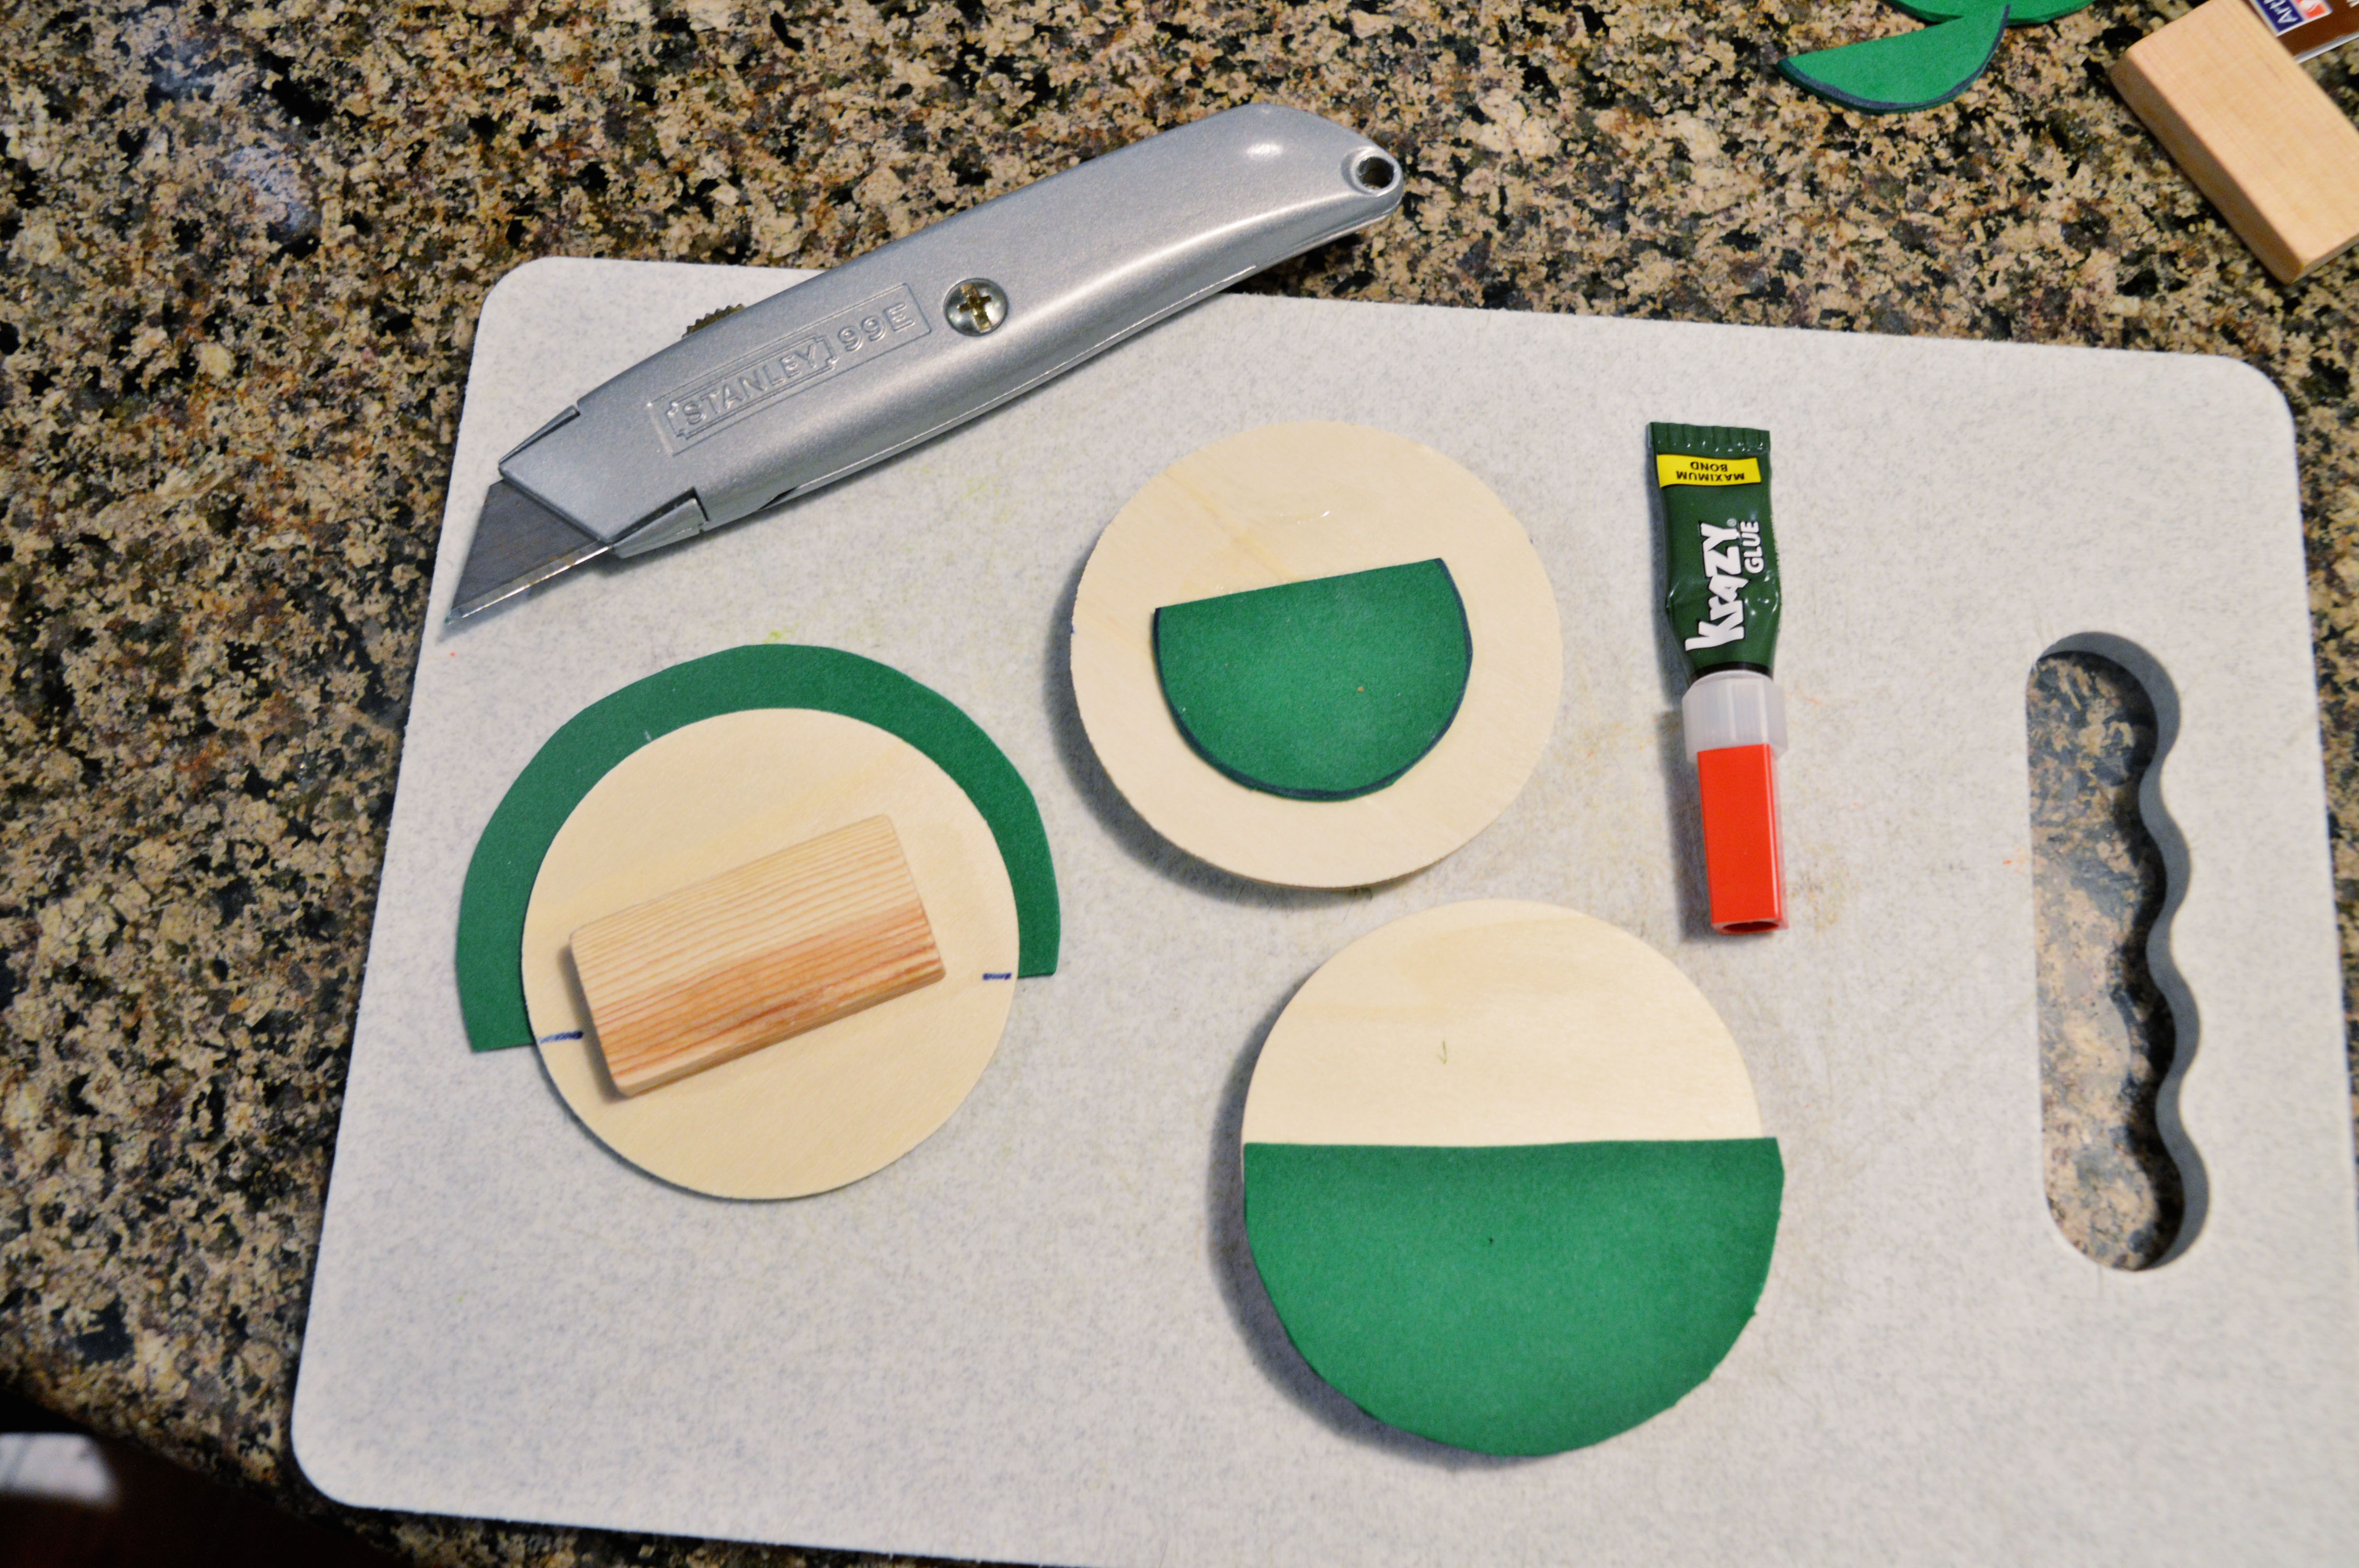
This method worked, but not awesomely. When you’re stamping you need to be able to firmly press on every part of the foam, so the “genius” block idea and wooden disks didn’t work too swell. I did do one entire wall with this method, but I don’t recommend it. Method 2 worked much better.
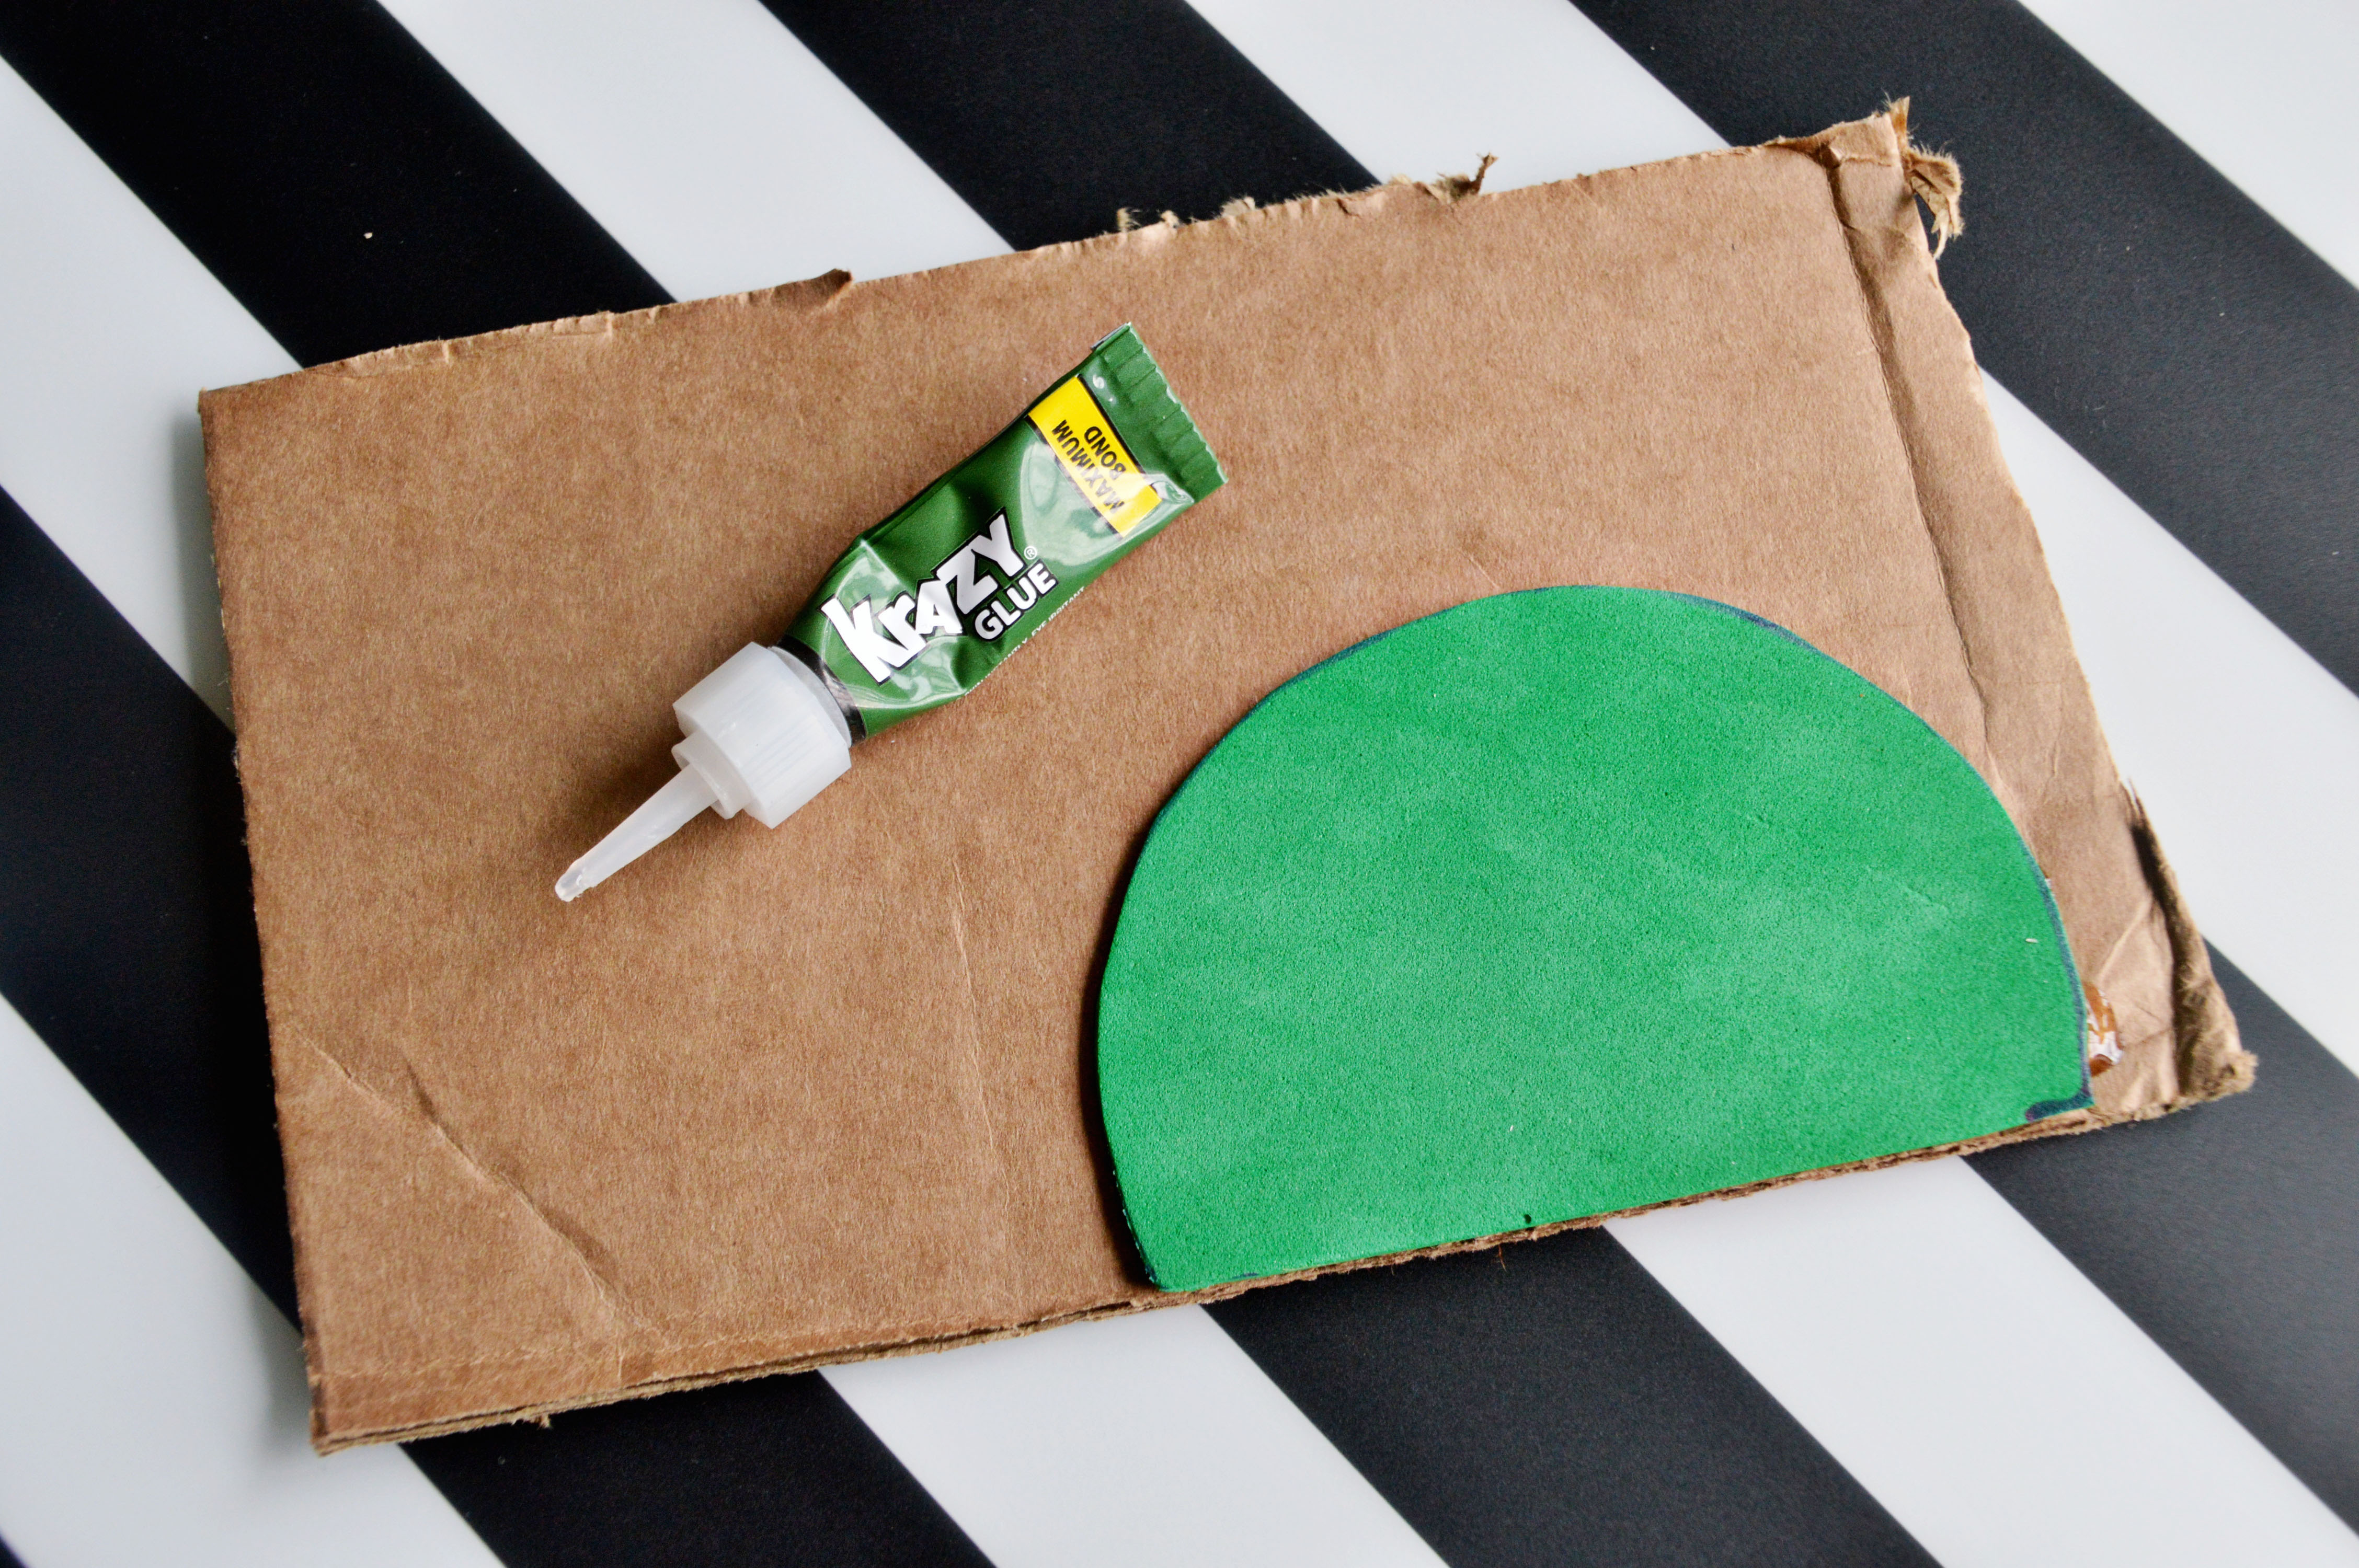
Method 2- Foam on Cardboard
Yup, nothing fancy at all. I used the same drinking cups to template my circles and just glued them onto cardboard scraps. No fancy wood blocks or anything, but it worked much better!

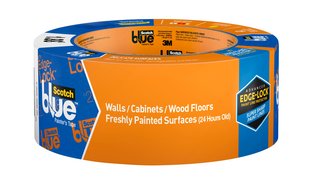
4- Tape Straight Lines using ScotchBlue™ Painter’s Tape Delicate Surfaces with Advanced Edge-Lock™ Paint Line Protector 2080EL
Since you’ll have just painted your base coat a little while before (at least 24hr), you definitely want to make sure you go with the Delicate Surfaces with Advanced Edge-Lock™. Trust me, you’ll hate yourself if you finish this accent wall and have bleeding lines and peeled paint! Remember to test tape in an inconspicuous spot before all over use.
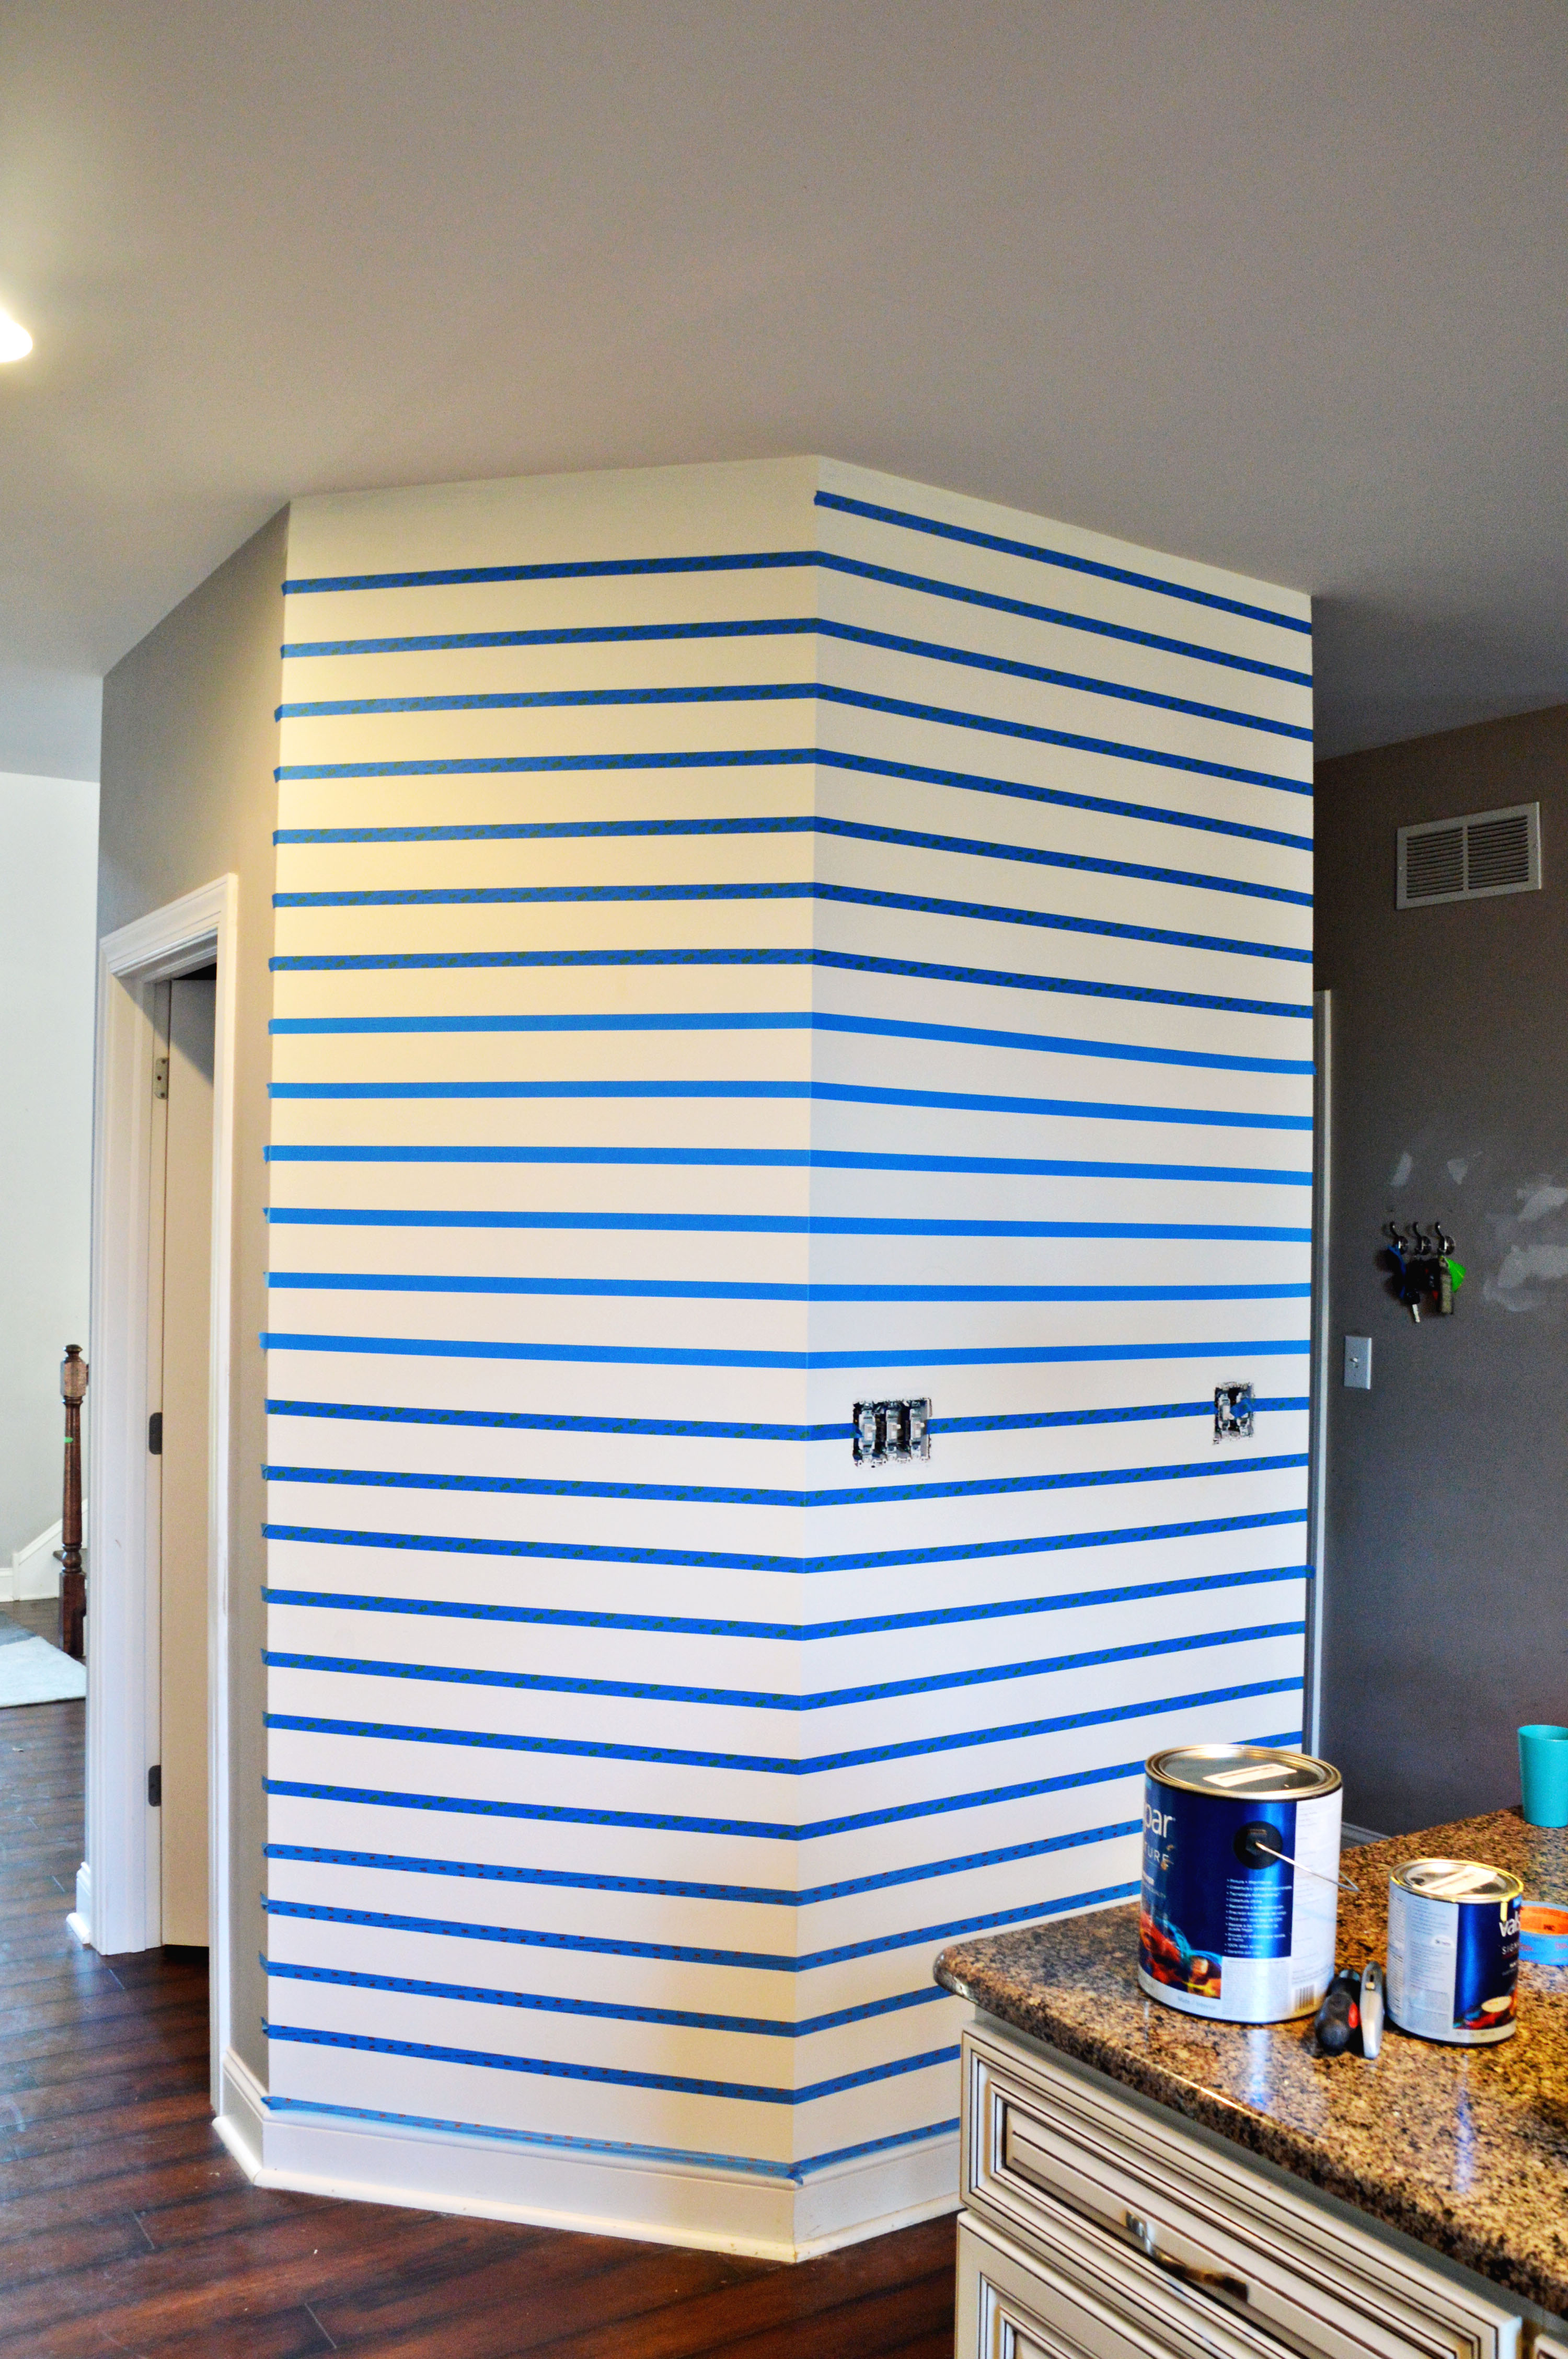
Don’t be intimidated by taping off straight lines. It’s so easy!! Assuming your ceilings are straight, measure down from your ceiling making tick marks with a pencil every 4 inches. Make your tick marks on the left side, right side, and the middle, then just run your tape across from one mark to the next. Honestly, it took me about 10 minutes total to tape these walls out.

5- Stamp Your Walls (and stamp some more, and some more…)
This is where the fun begins… if you consider fun doing the same thing over and over about a million times. I would paint my black paint on the back of all 3 stamps, stamp them each 1 or 2 times, and then repeat. I did the first wall alone, and then begged my BFF to come help! She made me make her cookie dough as payment, but having Jess there to do the “inking” with paint, so I could just stamp away made the process go so.much.faster. I highly recommend recruiting a friend and bribing them with sweet treats!
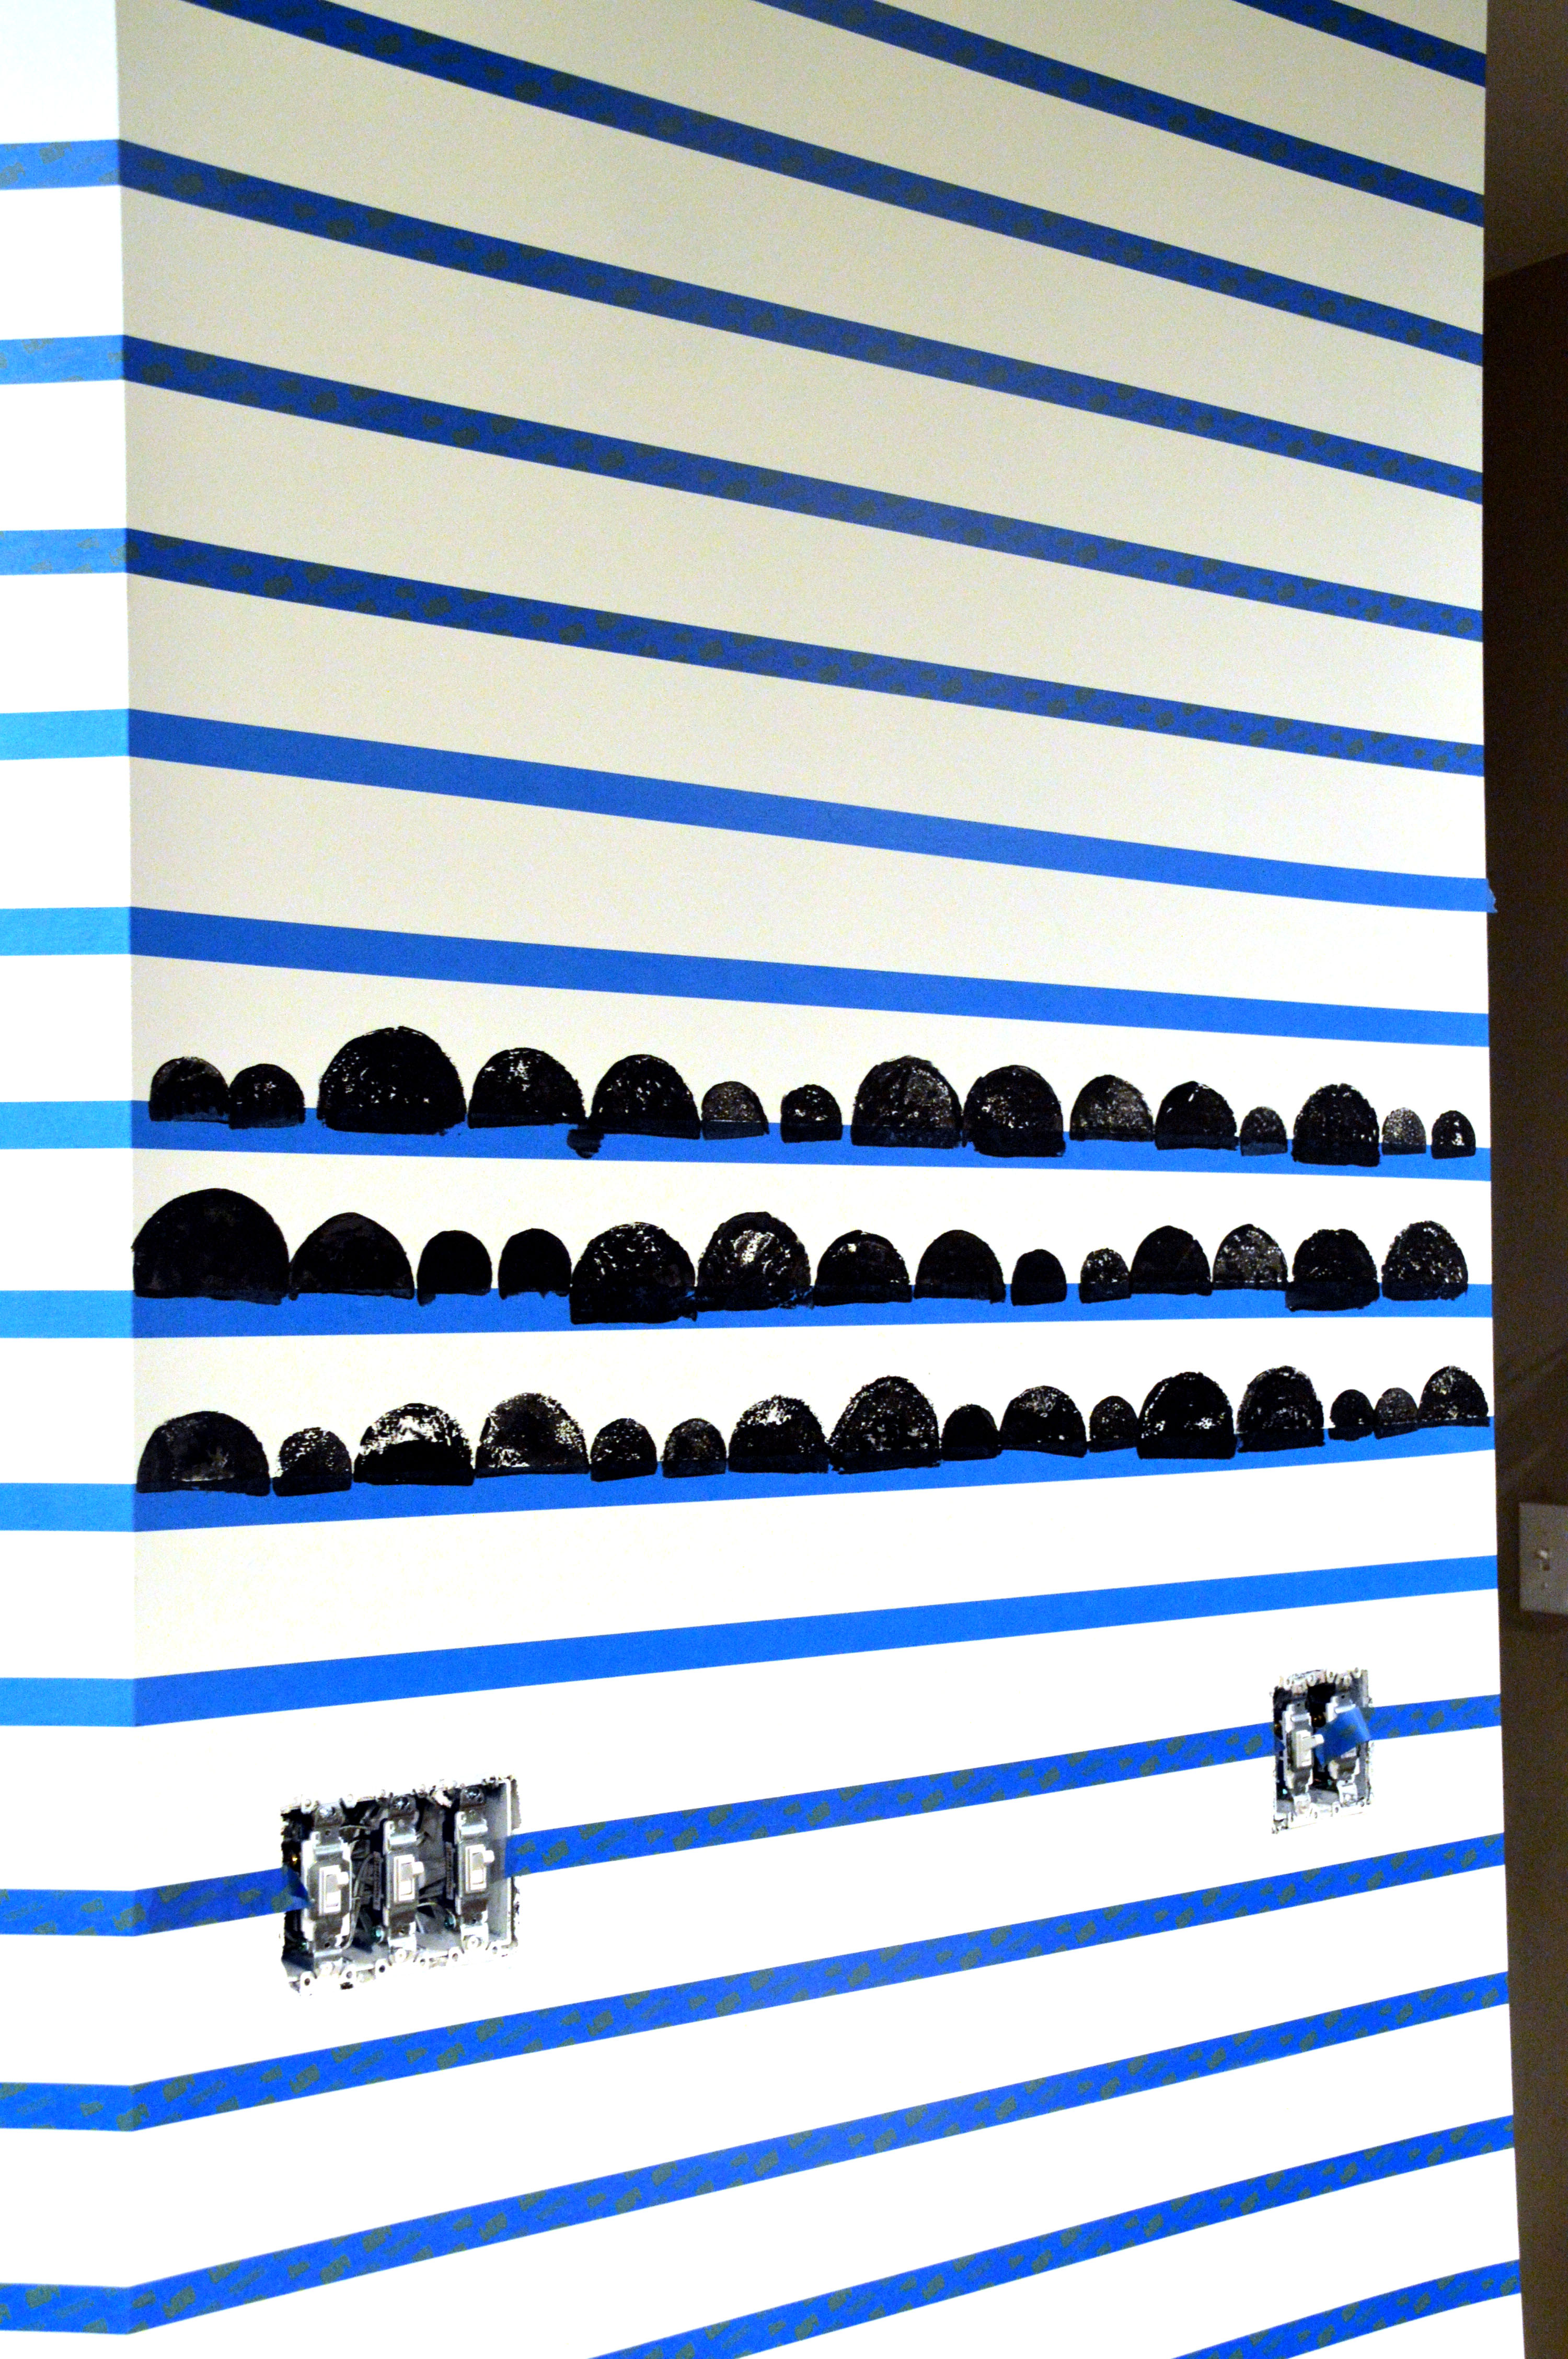
When you’re stamping, you want the circle stamp to overlap the ScotchBlue™ Painter’s Tape. This is going to give you a perfectly straight, consistent baseline for each shape when you remove your tape.
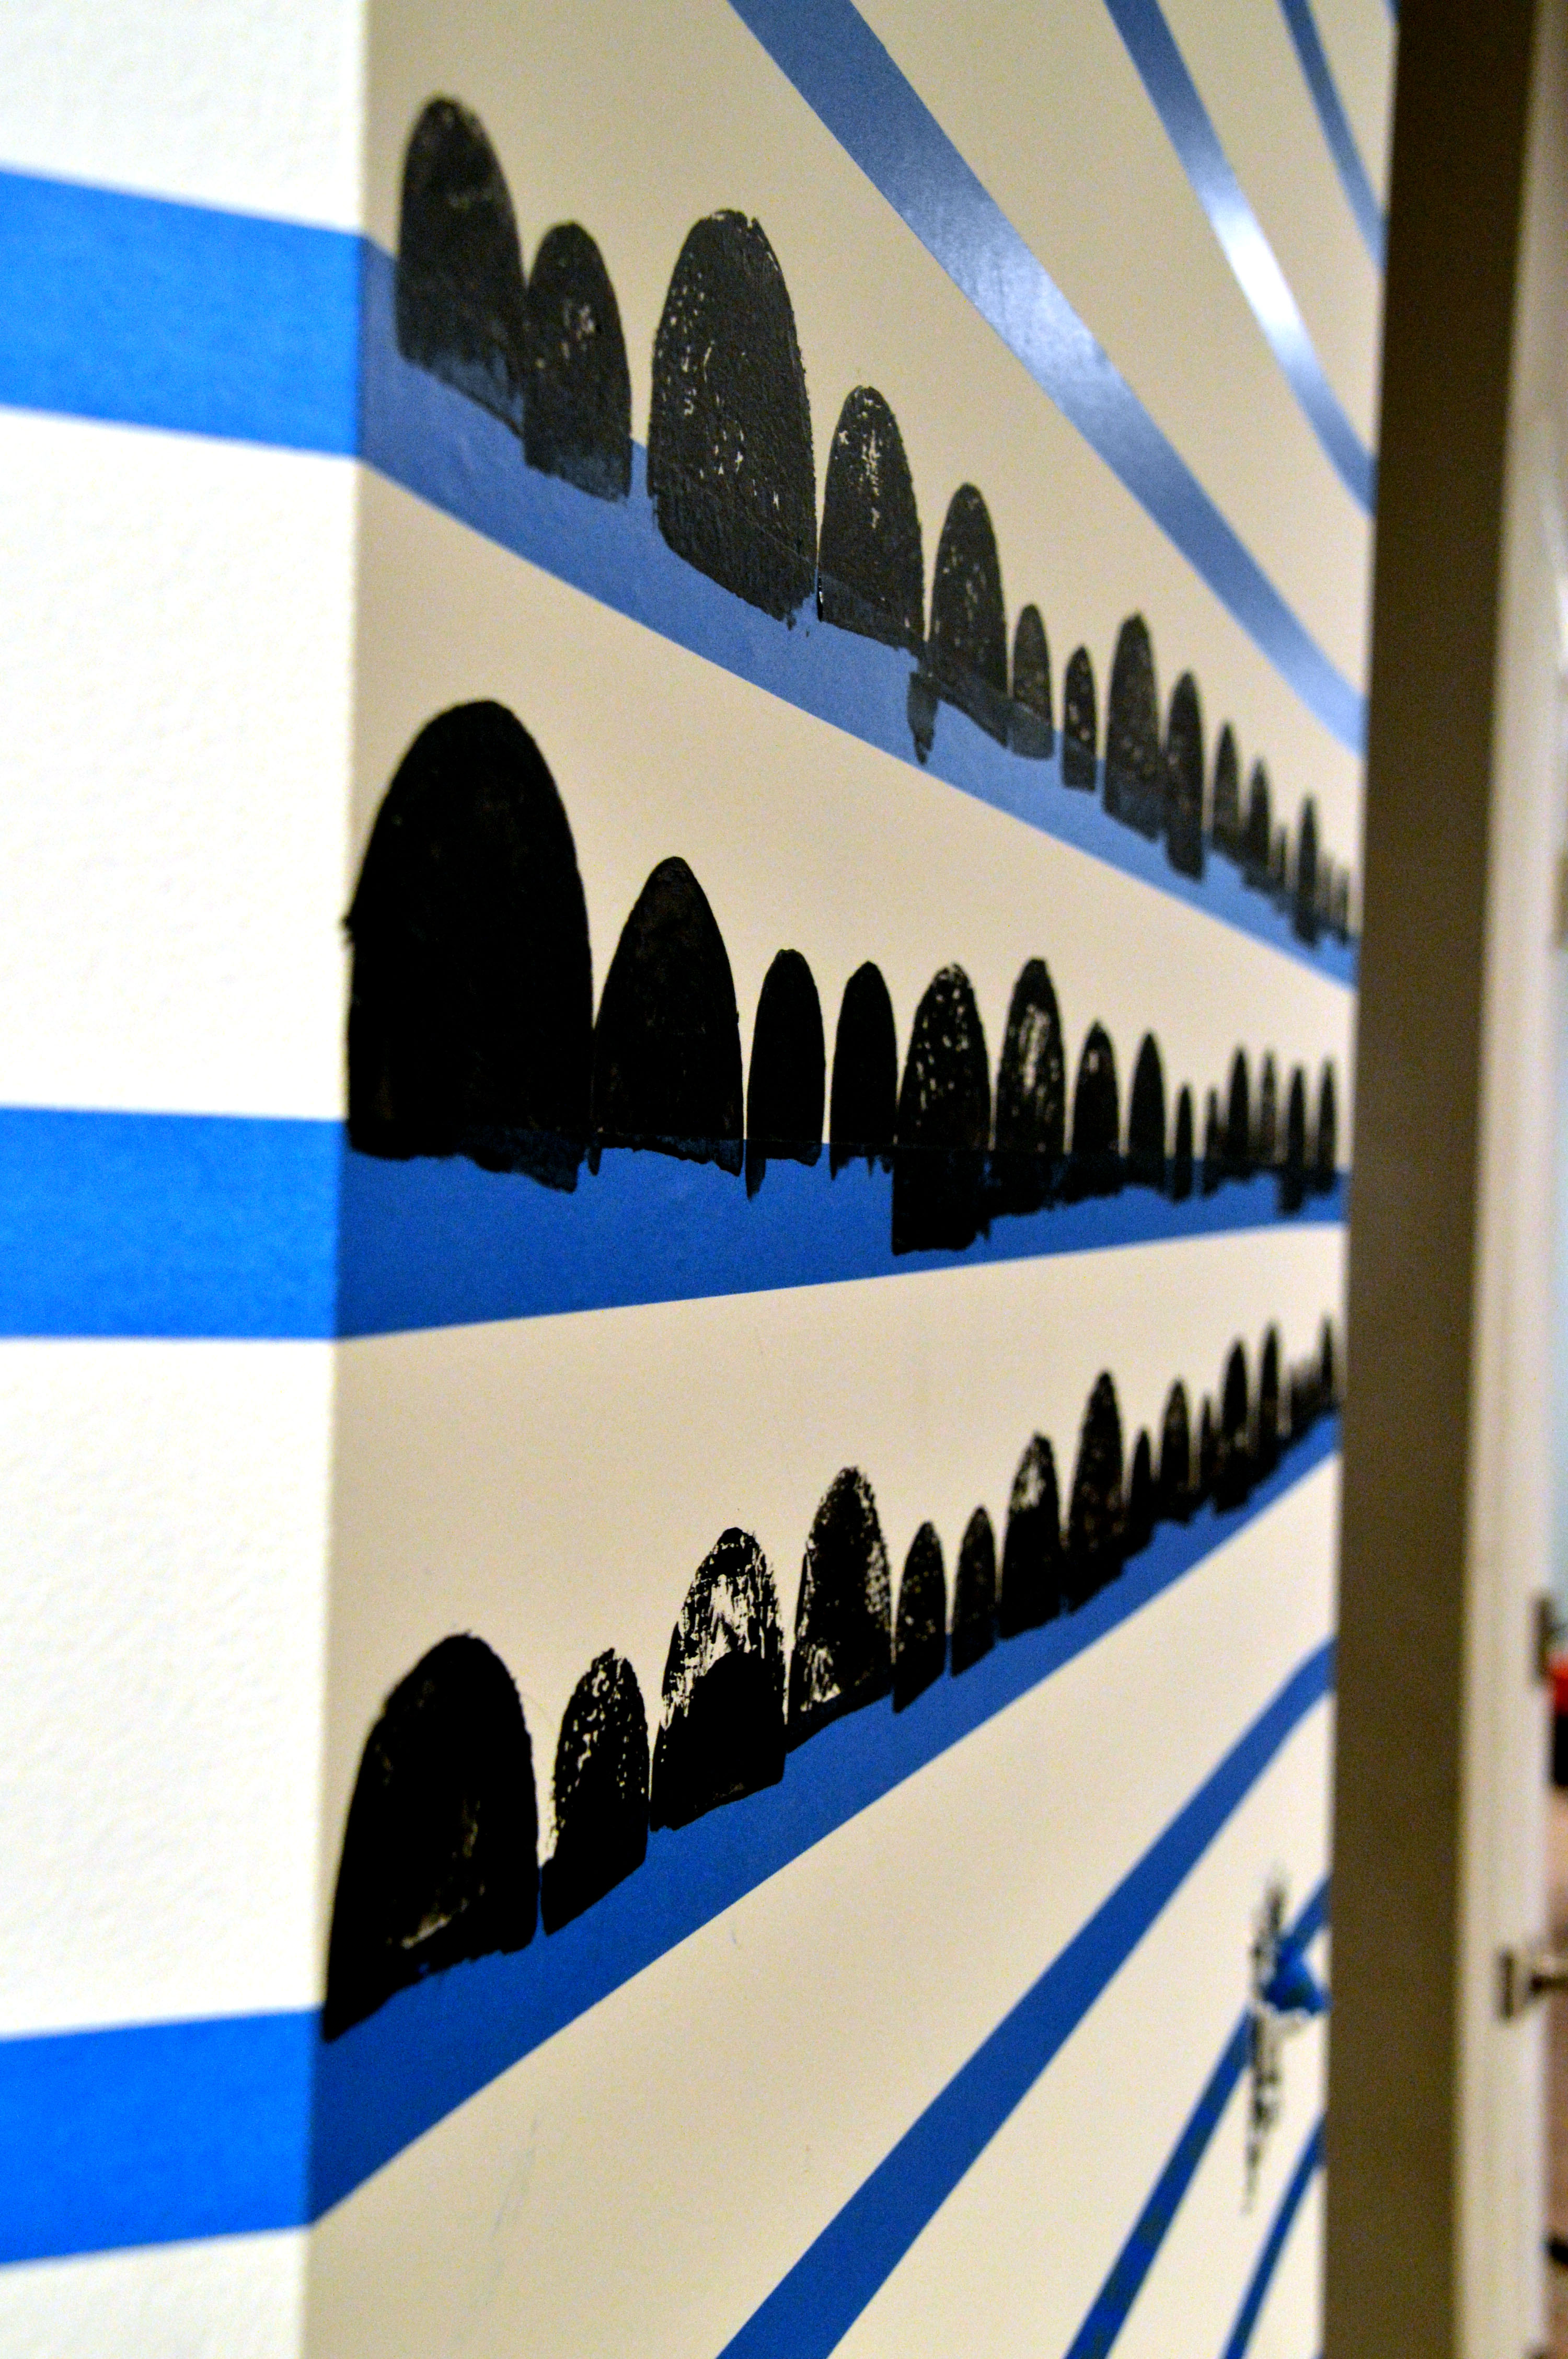
Remember that imperfections are okay! We’re going for a hand stamped look, so don’t fret about the uneven stamps- you can go back with a brush for some tiny touchups if needed. I did some, but didn’t go crazy.
6- Remove the Tape
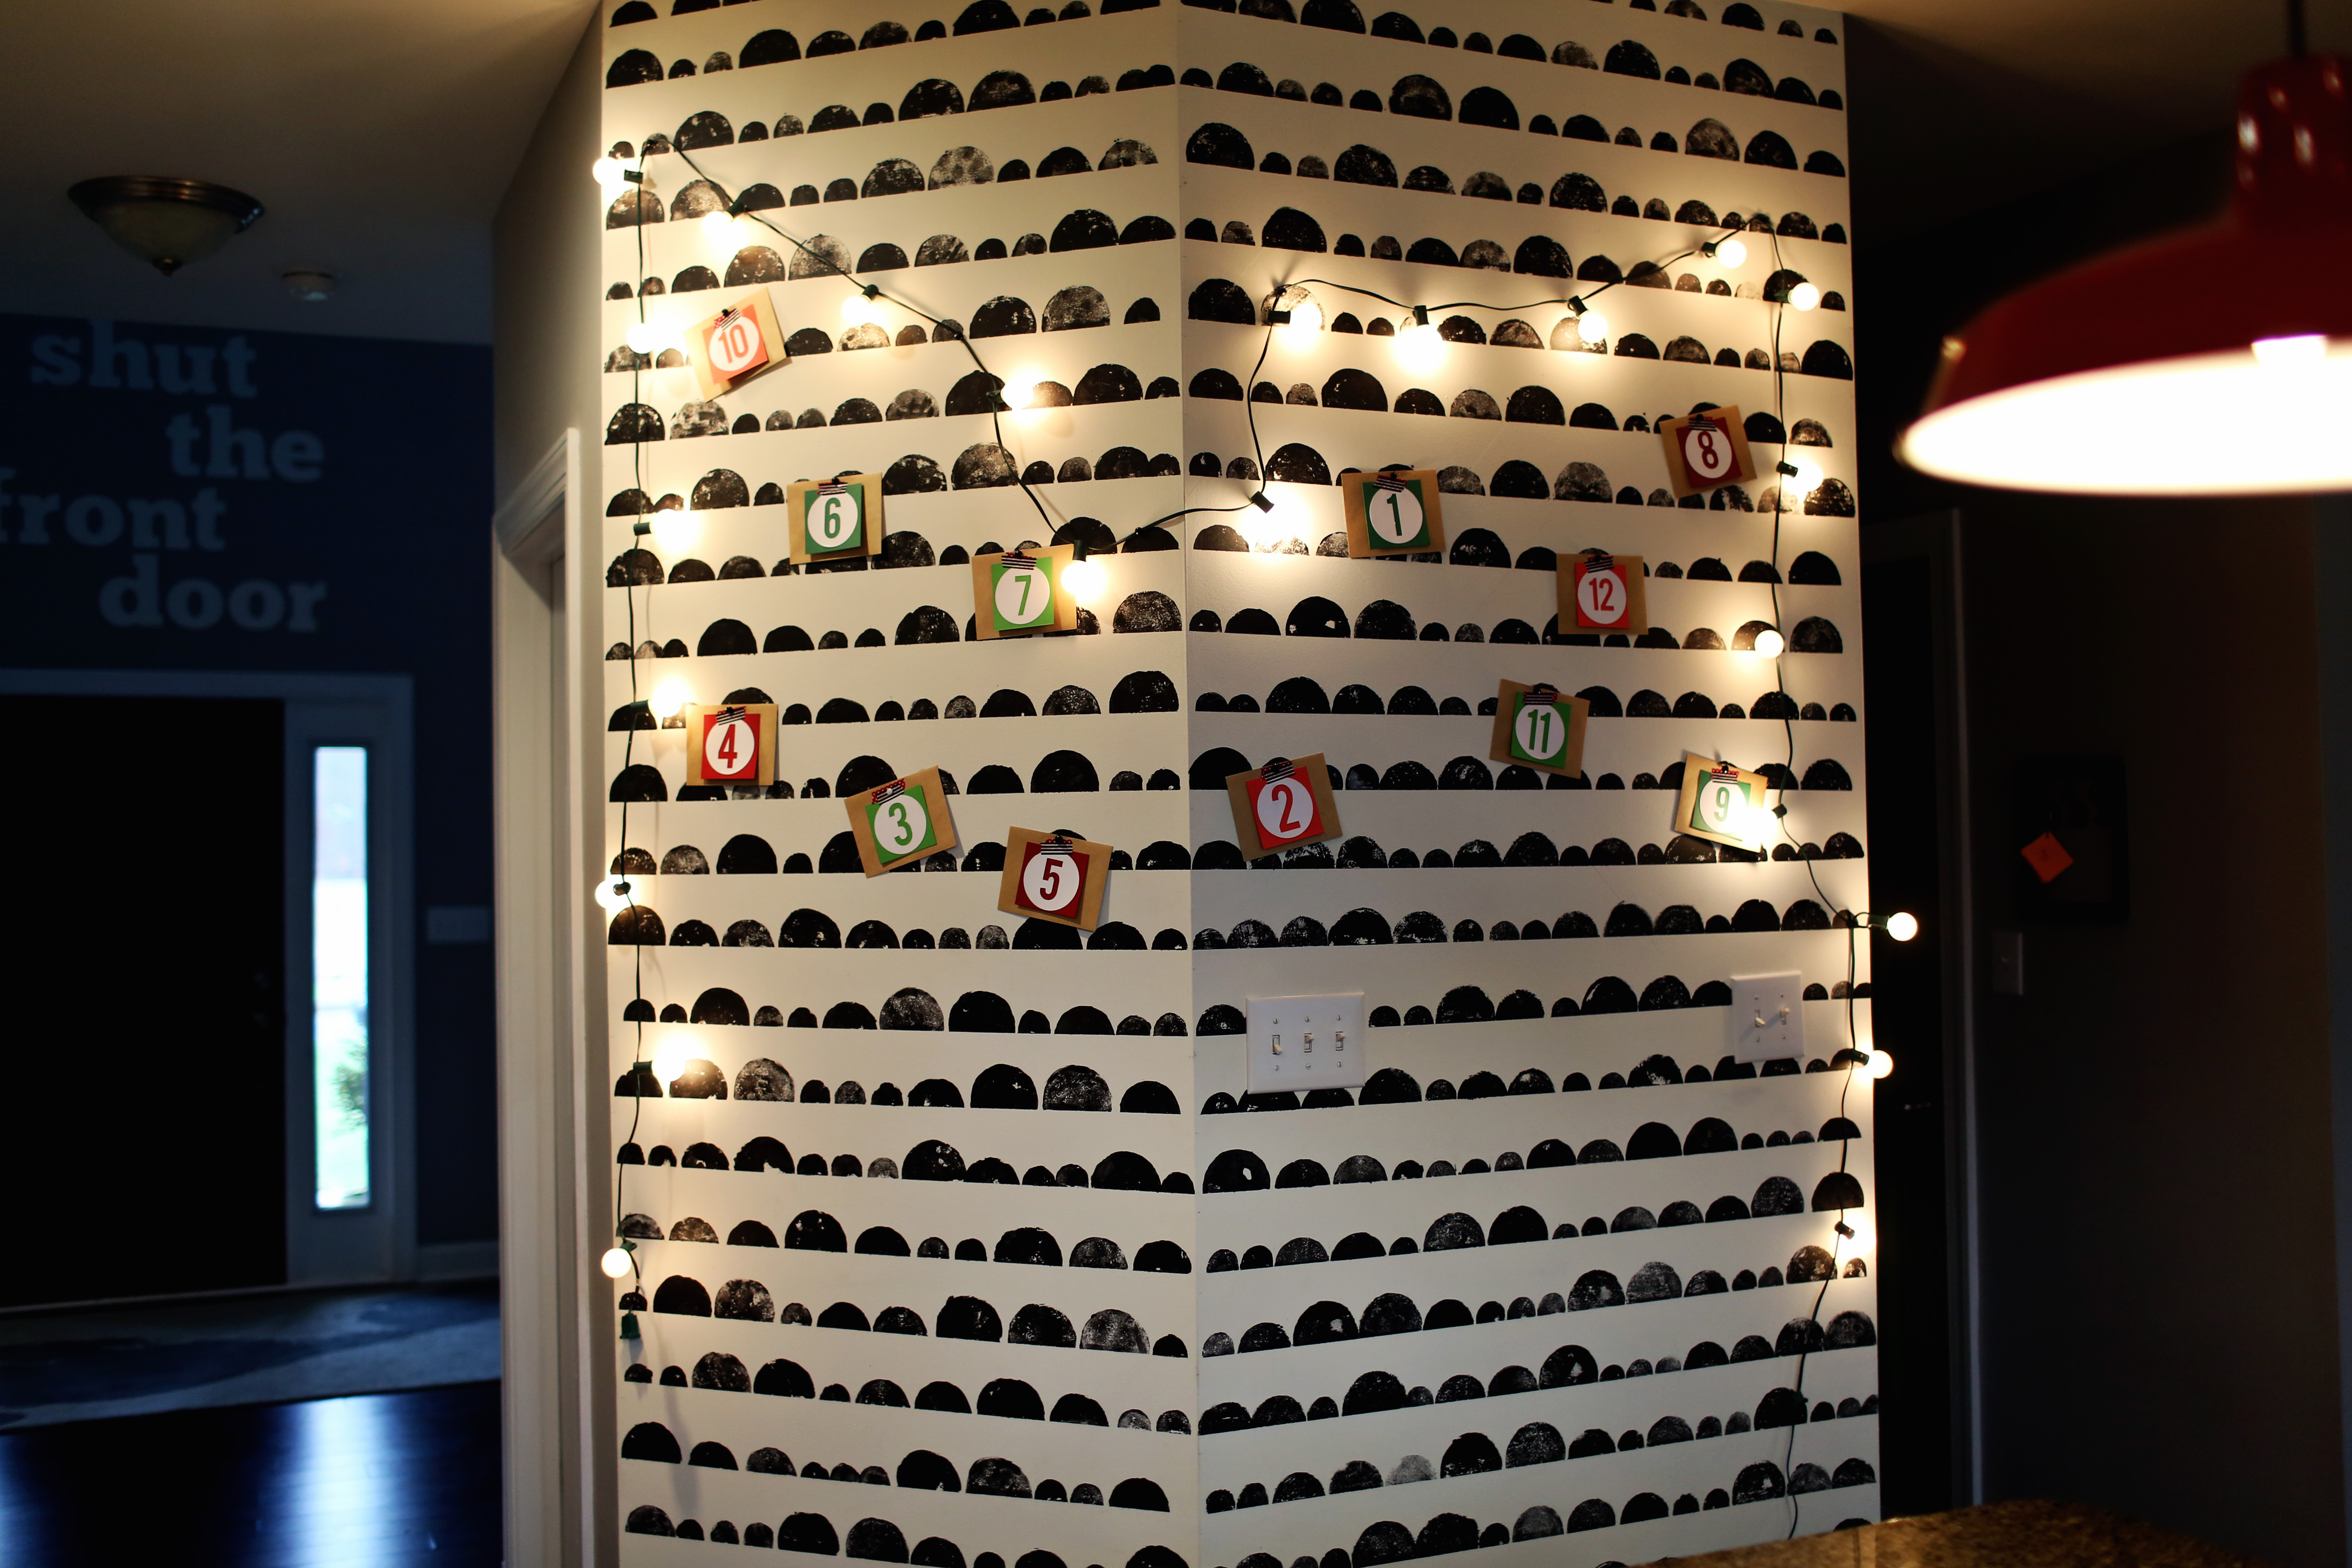
This is where the real satisfaction comes from! Peeling off the tape reveals perfectly crisp lines with no bleeding and no peeled paint. On this entire wall I didn’t touch up a single bleed! Seriously, pinky promise! I was one happy DIYer!
I am so happy with how this accent wall turned out! It’s a super fun, just my style pop right in the middle of our kitchen and family room. It really sets the tone for the rest of the spaces around it! I’ve actually been re-doing my family room this month too and the combo is turning out just smashingly!! I’m waiting for a few custom furniture pieces to arrive, but I’ll be sharing the whole space soon!
It also looks really fun at night with my imperfect Christmas lights and underachiever’s countdown to Christmas!
Well, I might not be filming our TV show “Knock It Off!” right now, but I’m gonna chalk this up as another sweet knock off in my book!
I am proud to be a 3M sponsored blogger, and, as part of my responsibilities, I get the opportunity to evaluate ScotchBlue™ Painter’s Tape. Opinions are my own and additional products used in the project were selected by me.


For more inspiring ScotchBlue™ Painter’s Tape projects check them out on Pinterest, Twitter, and Facebook.


I was wondering if this was there new website, but I see Monica’s name on this. Is this going to take the place of Knock it Off?
I loved that show, and sad that it’s being taken off the air.
So, I guess I can follow you now.
Linda B. Retired at home!!!
Monica…couldn’t believe my eyes…what an undertaking!!! I would have thrown in the towel halfway through…Good job..looks fantastic.
This is really great Monica! I’m thinking which walls would this work on in my home! Do you recommend Sherman Williams over valspar?
Turned out wonderful! Does hubby like it better? Wondering if you have any tips to protect the bottom of walls from elderly day accidents?
[…] Monica of East Coast Creative knew it was high time she updated a black and white chevron accent wall in her kitchen. She fell hard for a modern wallpaper featuring a half moon design, but at a hundred dollars a roll, it simply wasn’t happening. Monica instead decided to play with a couple of techniques for making her own stamps and recreate the graphic design for less than $5. While this was certainly a “labor of love,” the results are amazing! […]
The wall looks fantastic! I like your DIY version better than the wallpaper.