
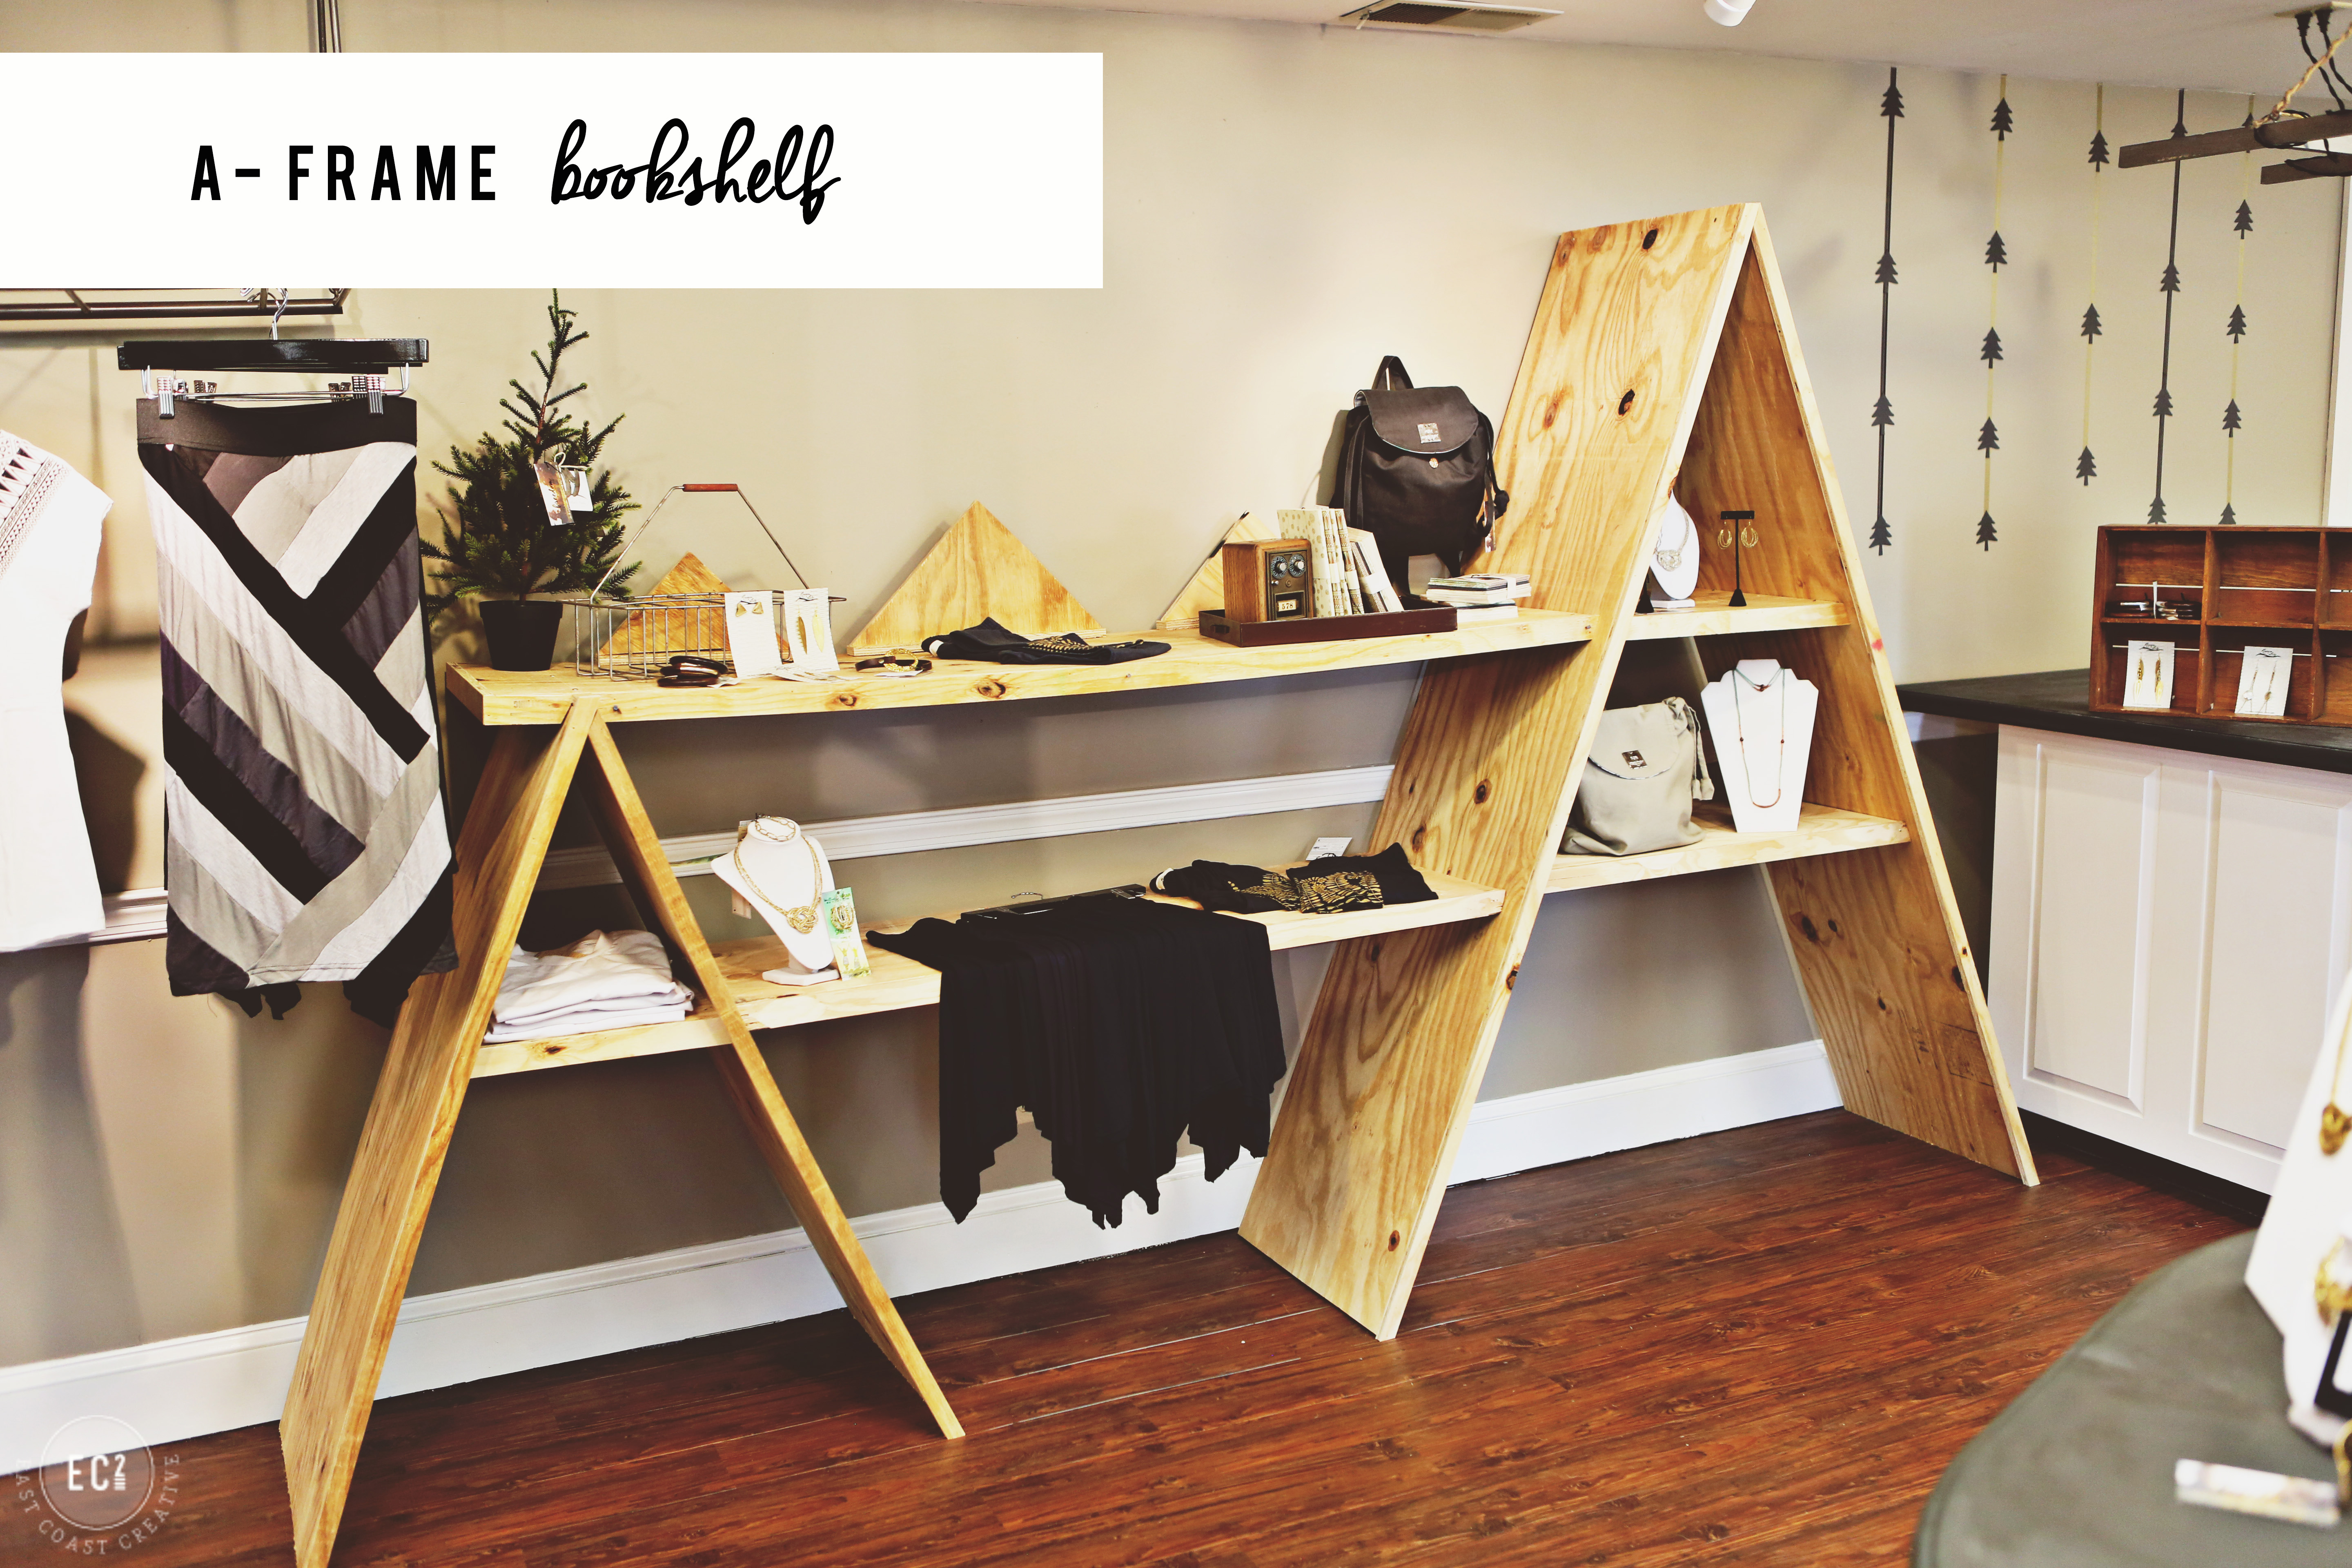
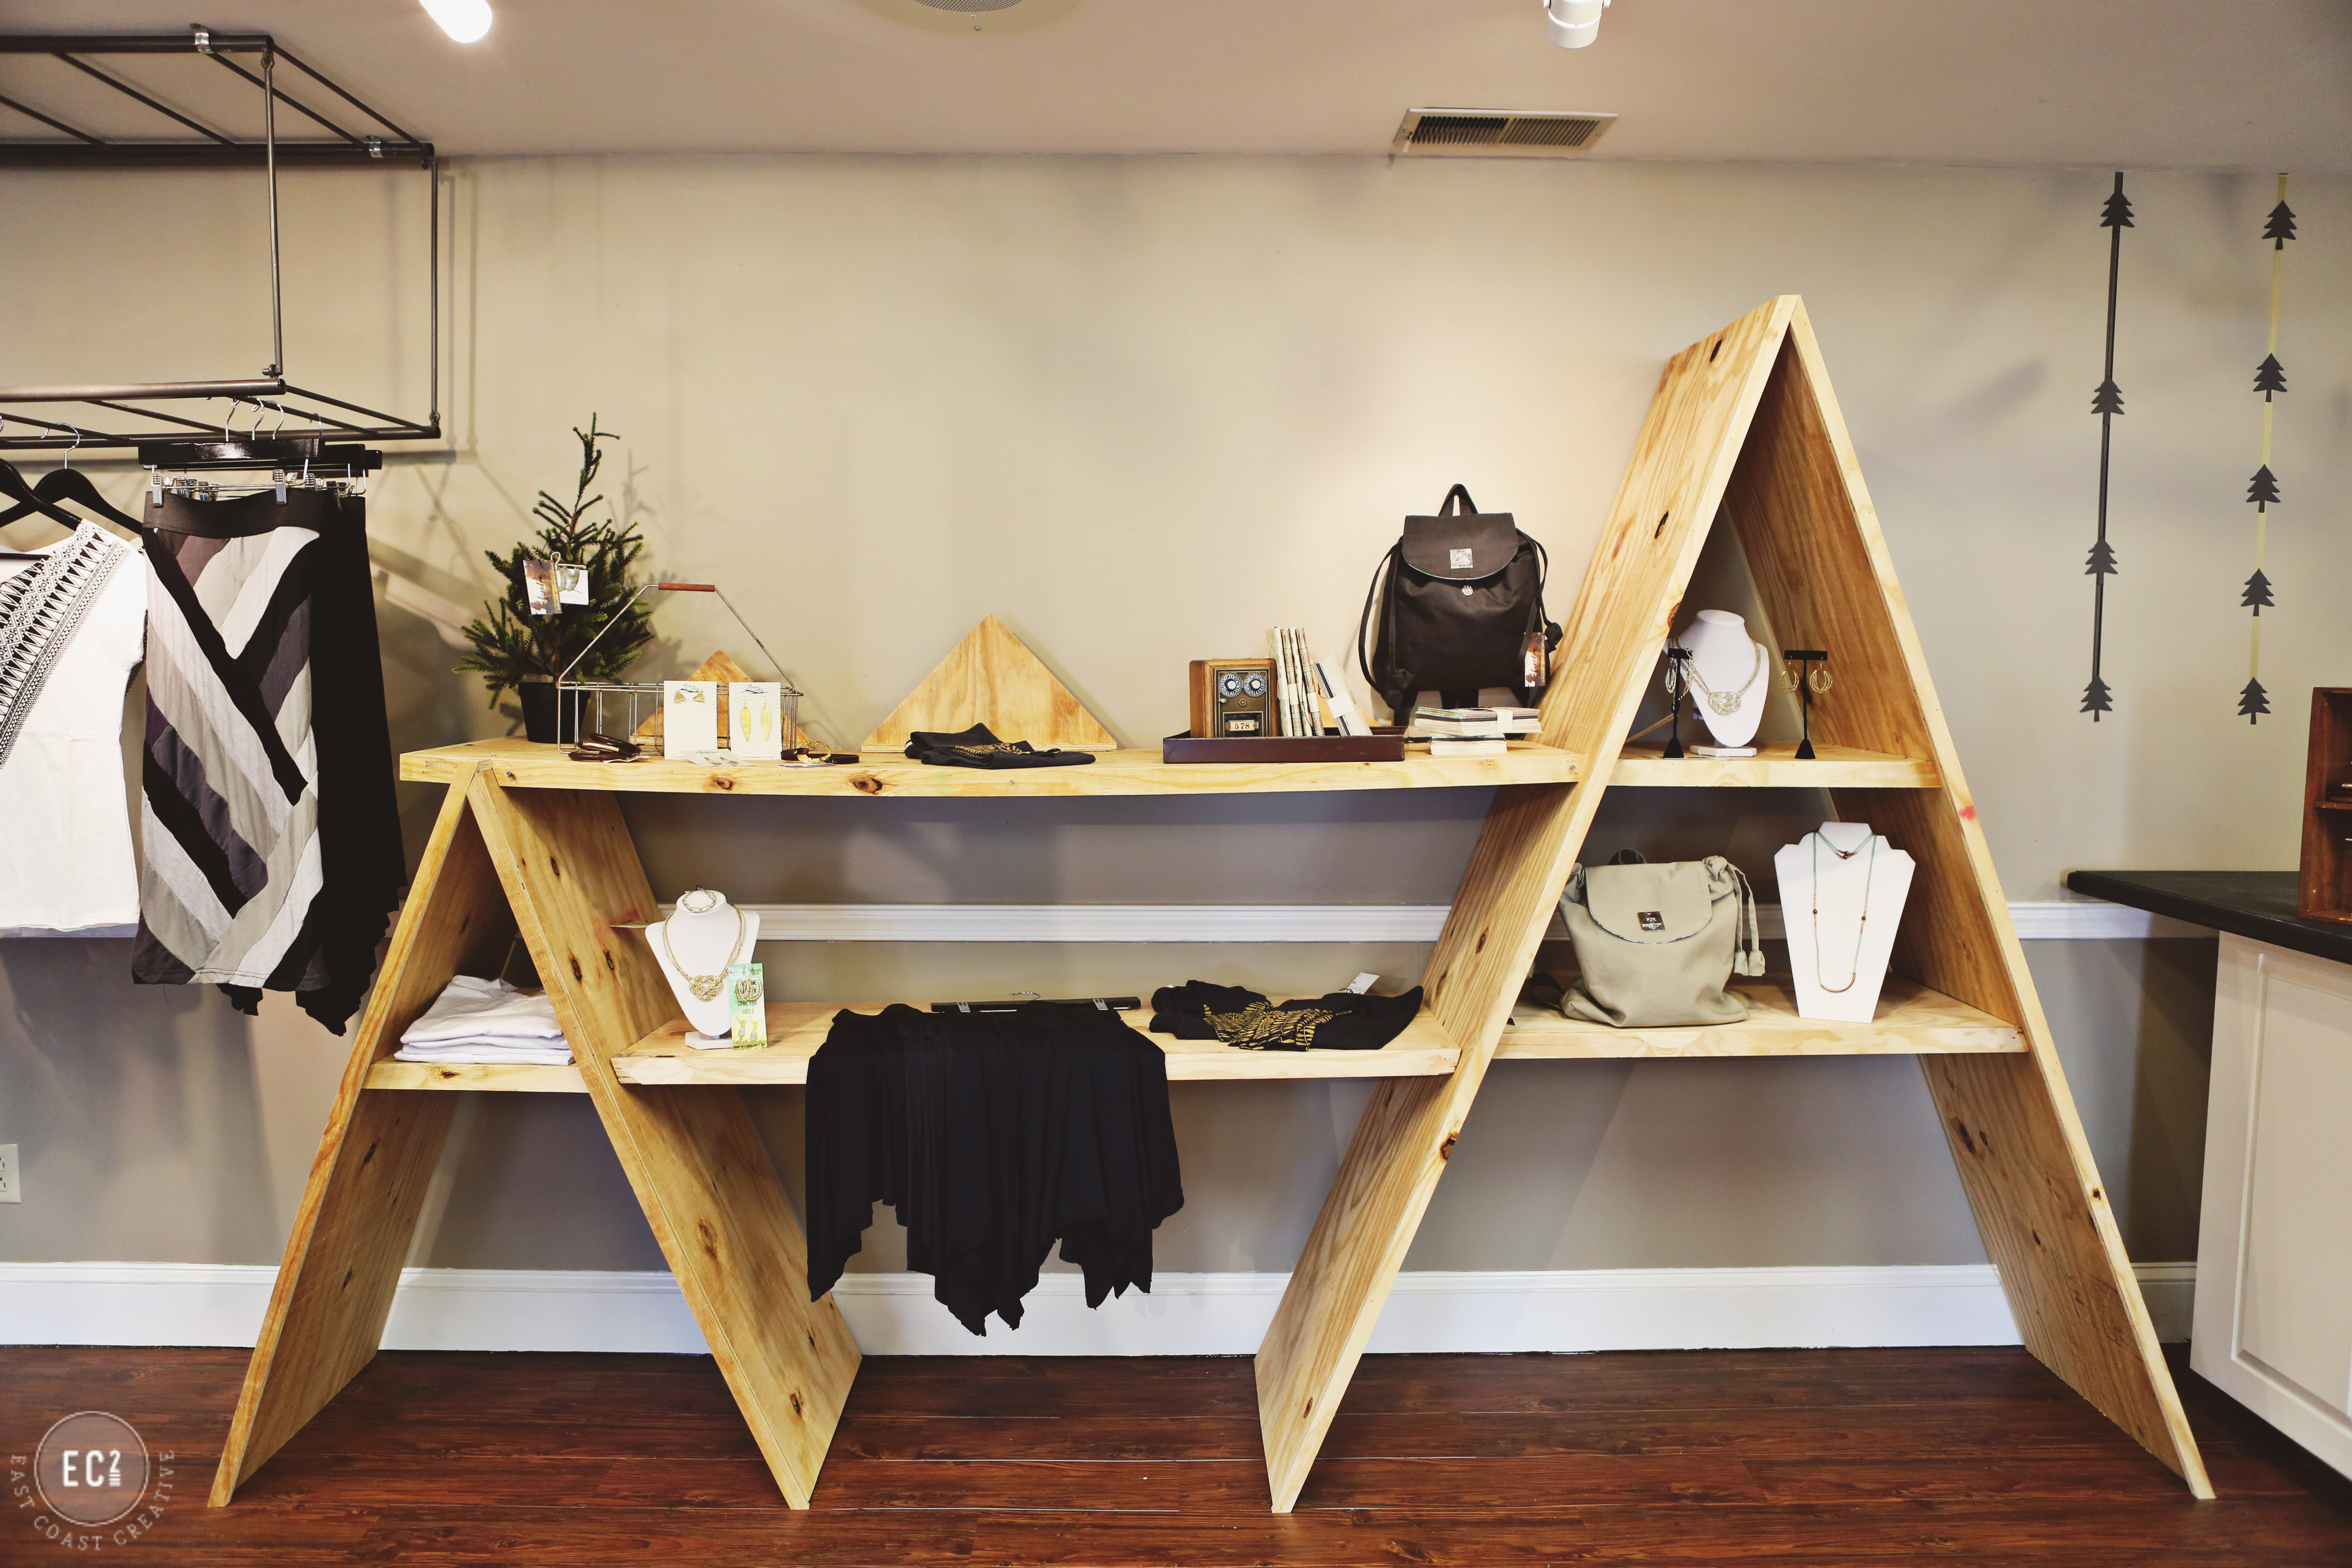
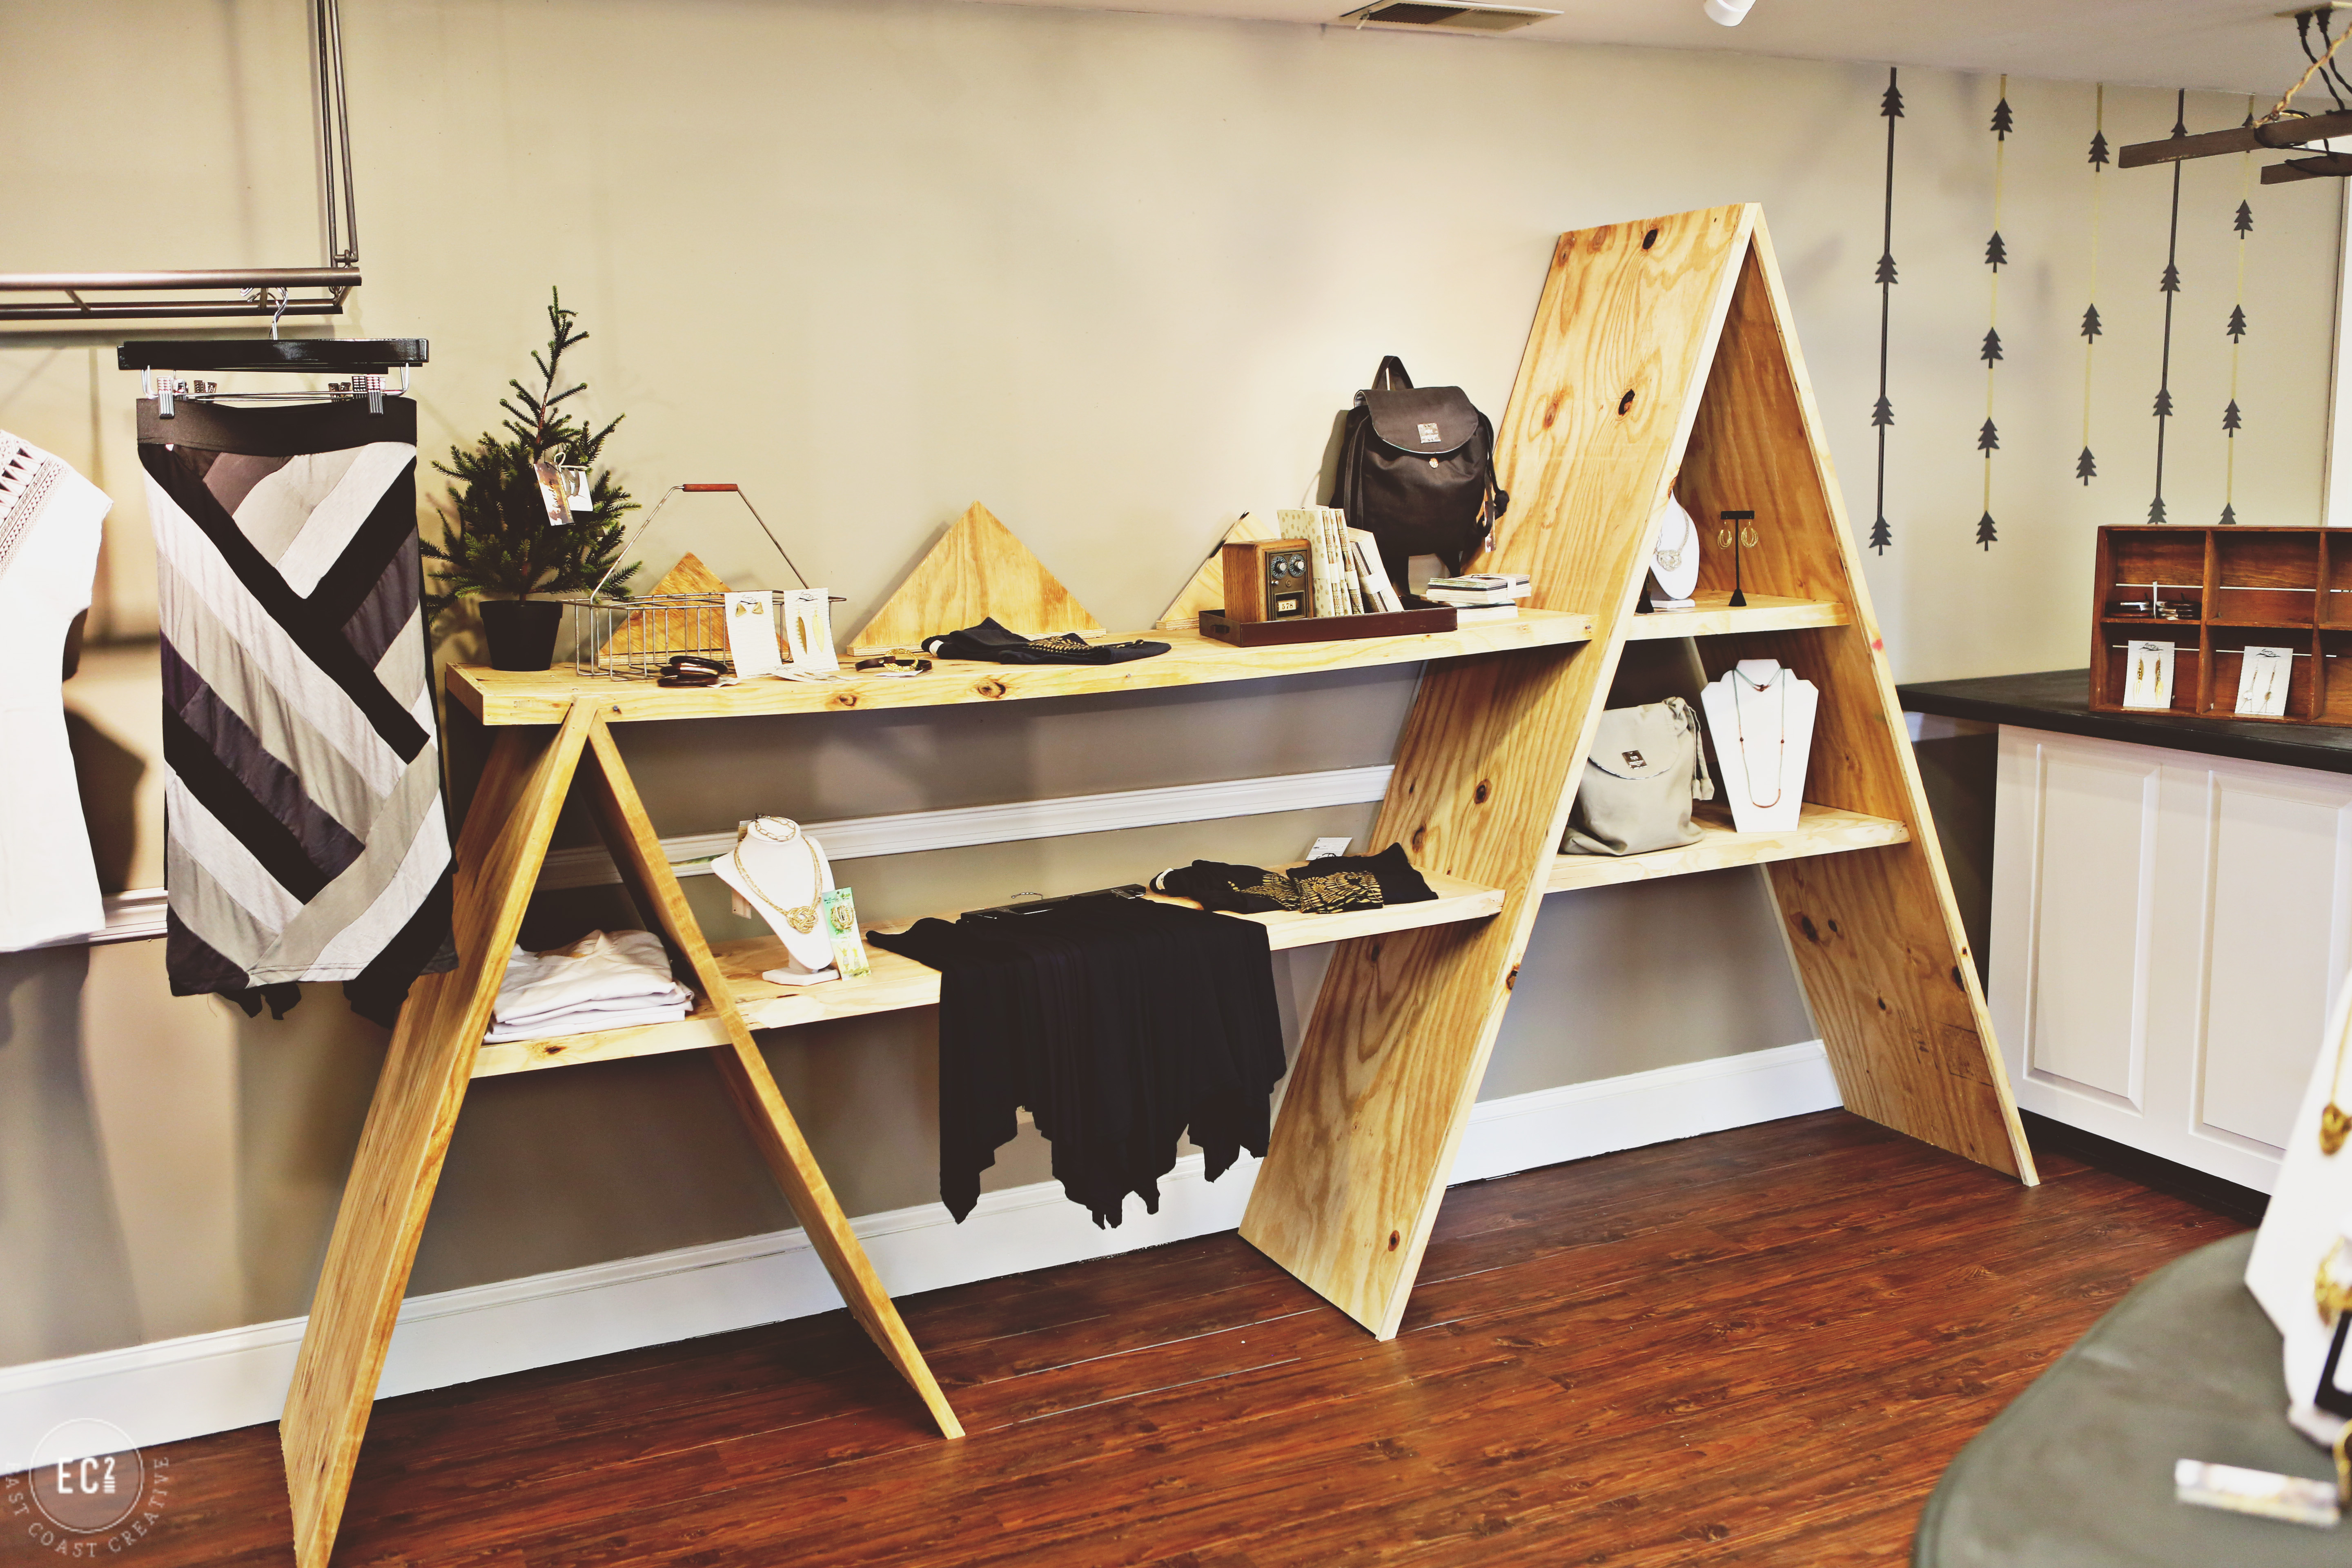
The past 8 weeks I’ve been off from filming our TV show. A brand new show is in the works and I’m pretty darn excited about it. Something you might not know about me… I don’t do super well with the whole not working thing… Work and the challenges that my job brings really invigorates me. So the idea of 8 weeks off sounded 50-50 awesome and torture. Weird, I know. It took me no time to find about a million opportunities and things to fill my time with. One of the main things I’ve focused my creative energies on was renovating and designing two stores for the anti-human trafficking organization Worthwhile Wear. One of the projects I made for The Freedom Boutique was an DIY A-Frame Bookshelf and I liked it enough that I made a console table version for my own house!
Here it is at the boutique
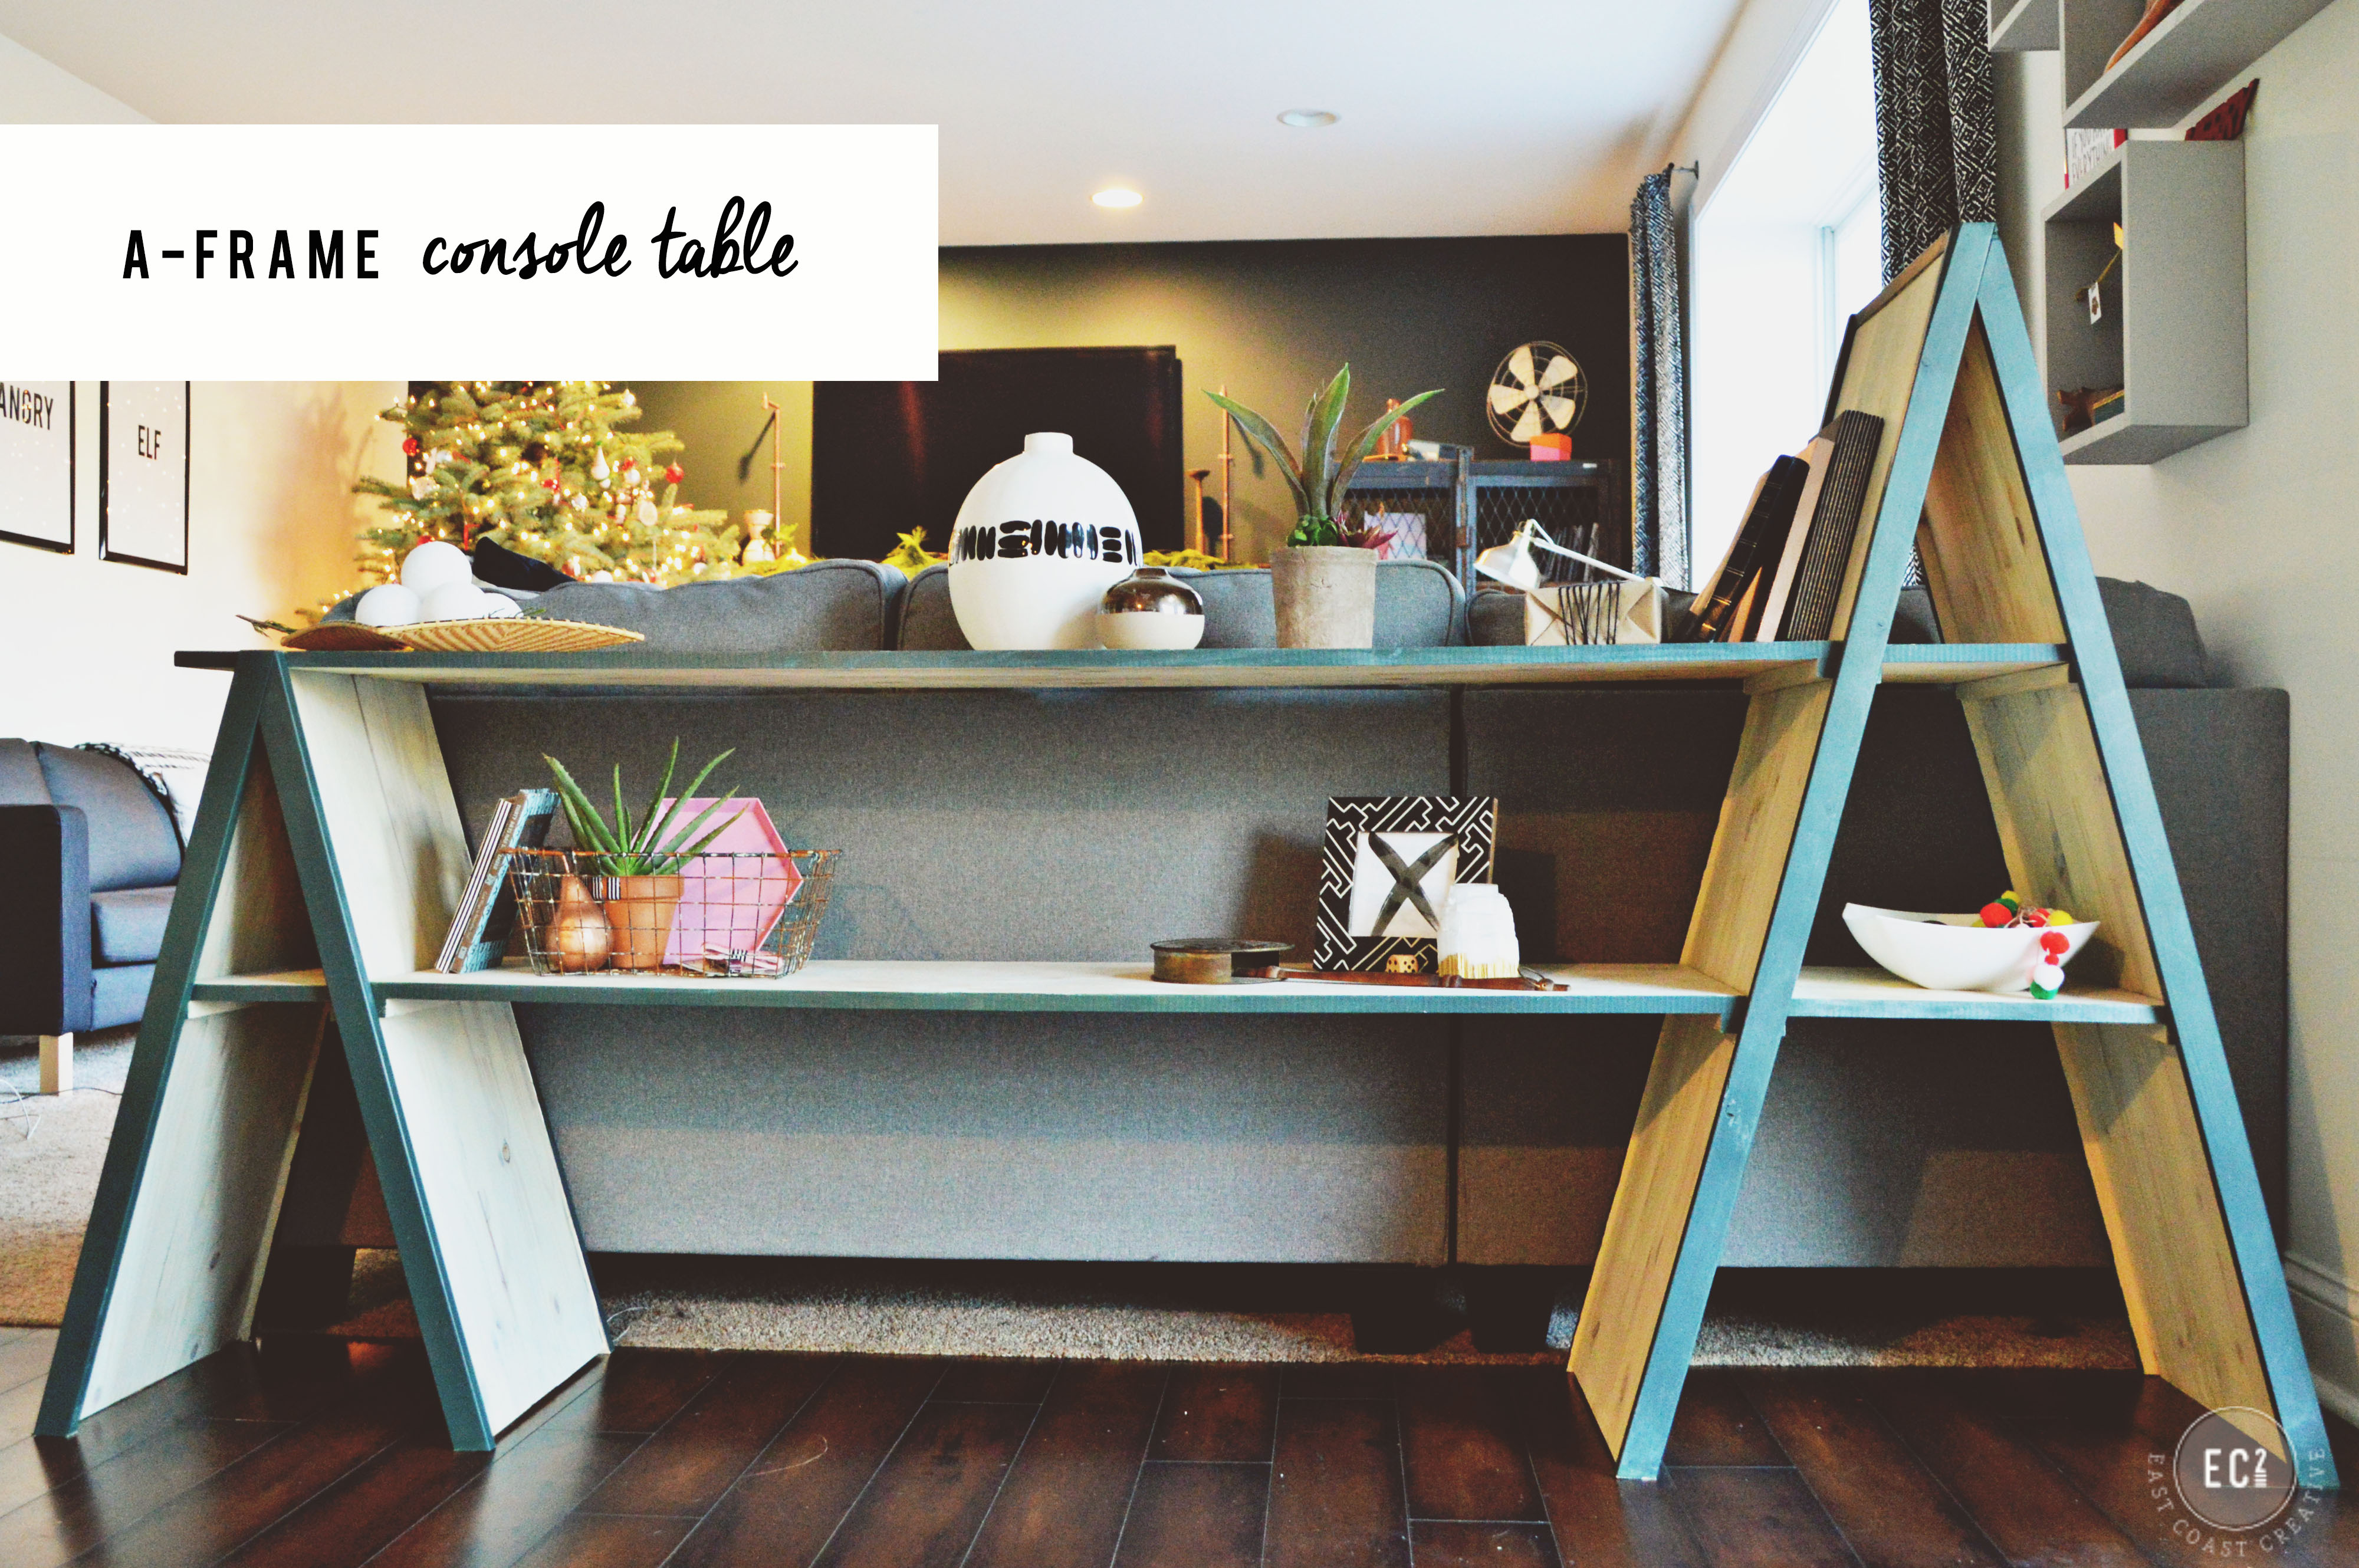
And here is the version I made for our house
The process for building the large or small version is exactly the same- so you can tweak the project to perfectly fit your space.
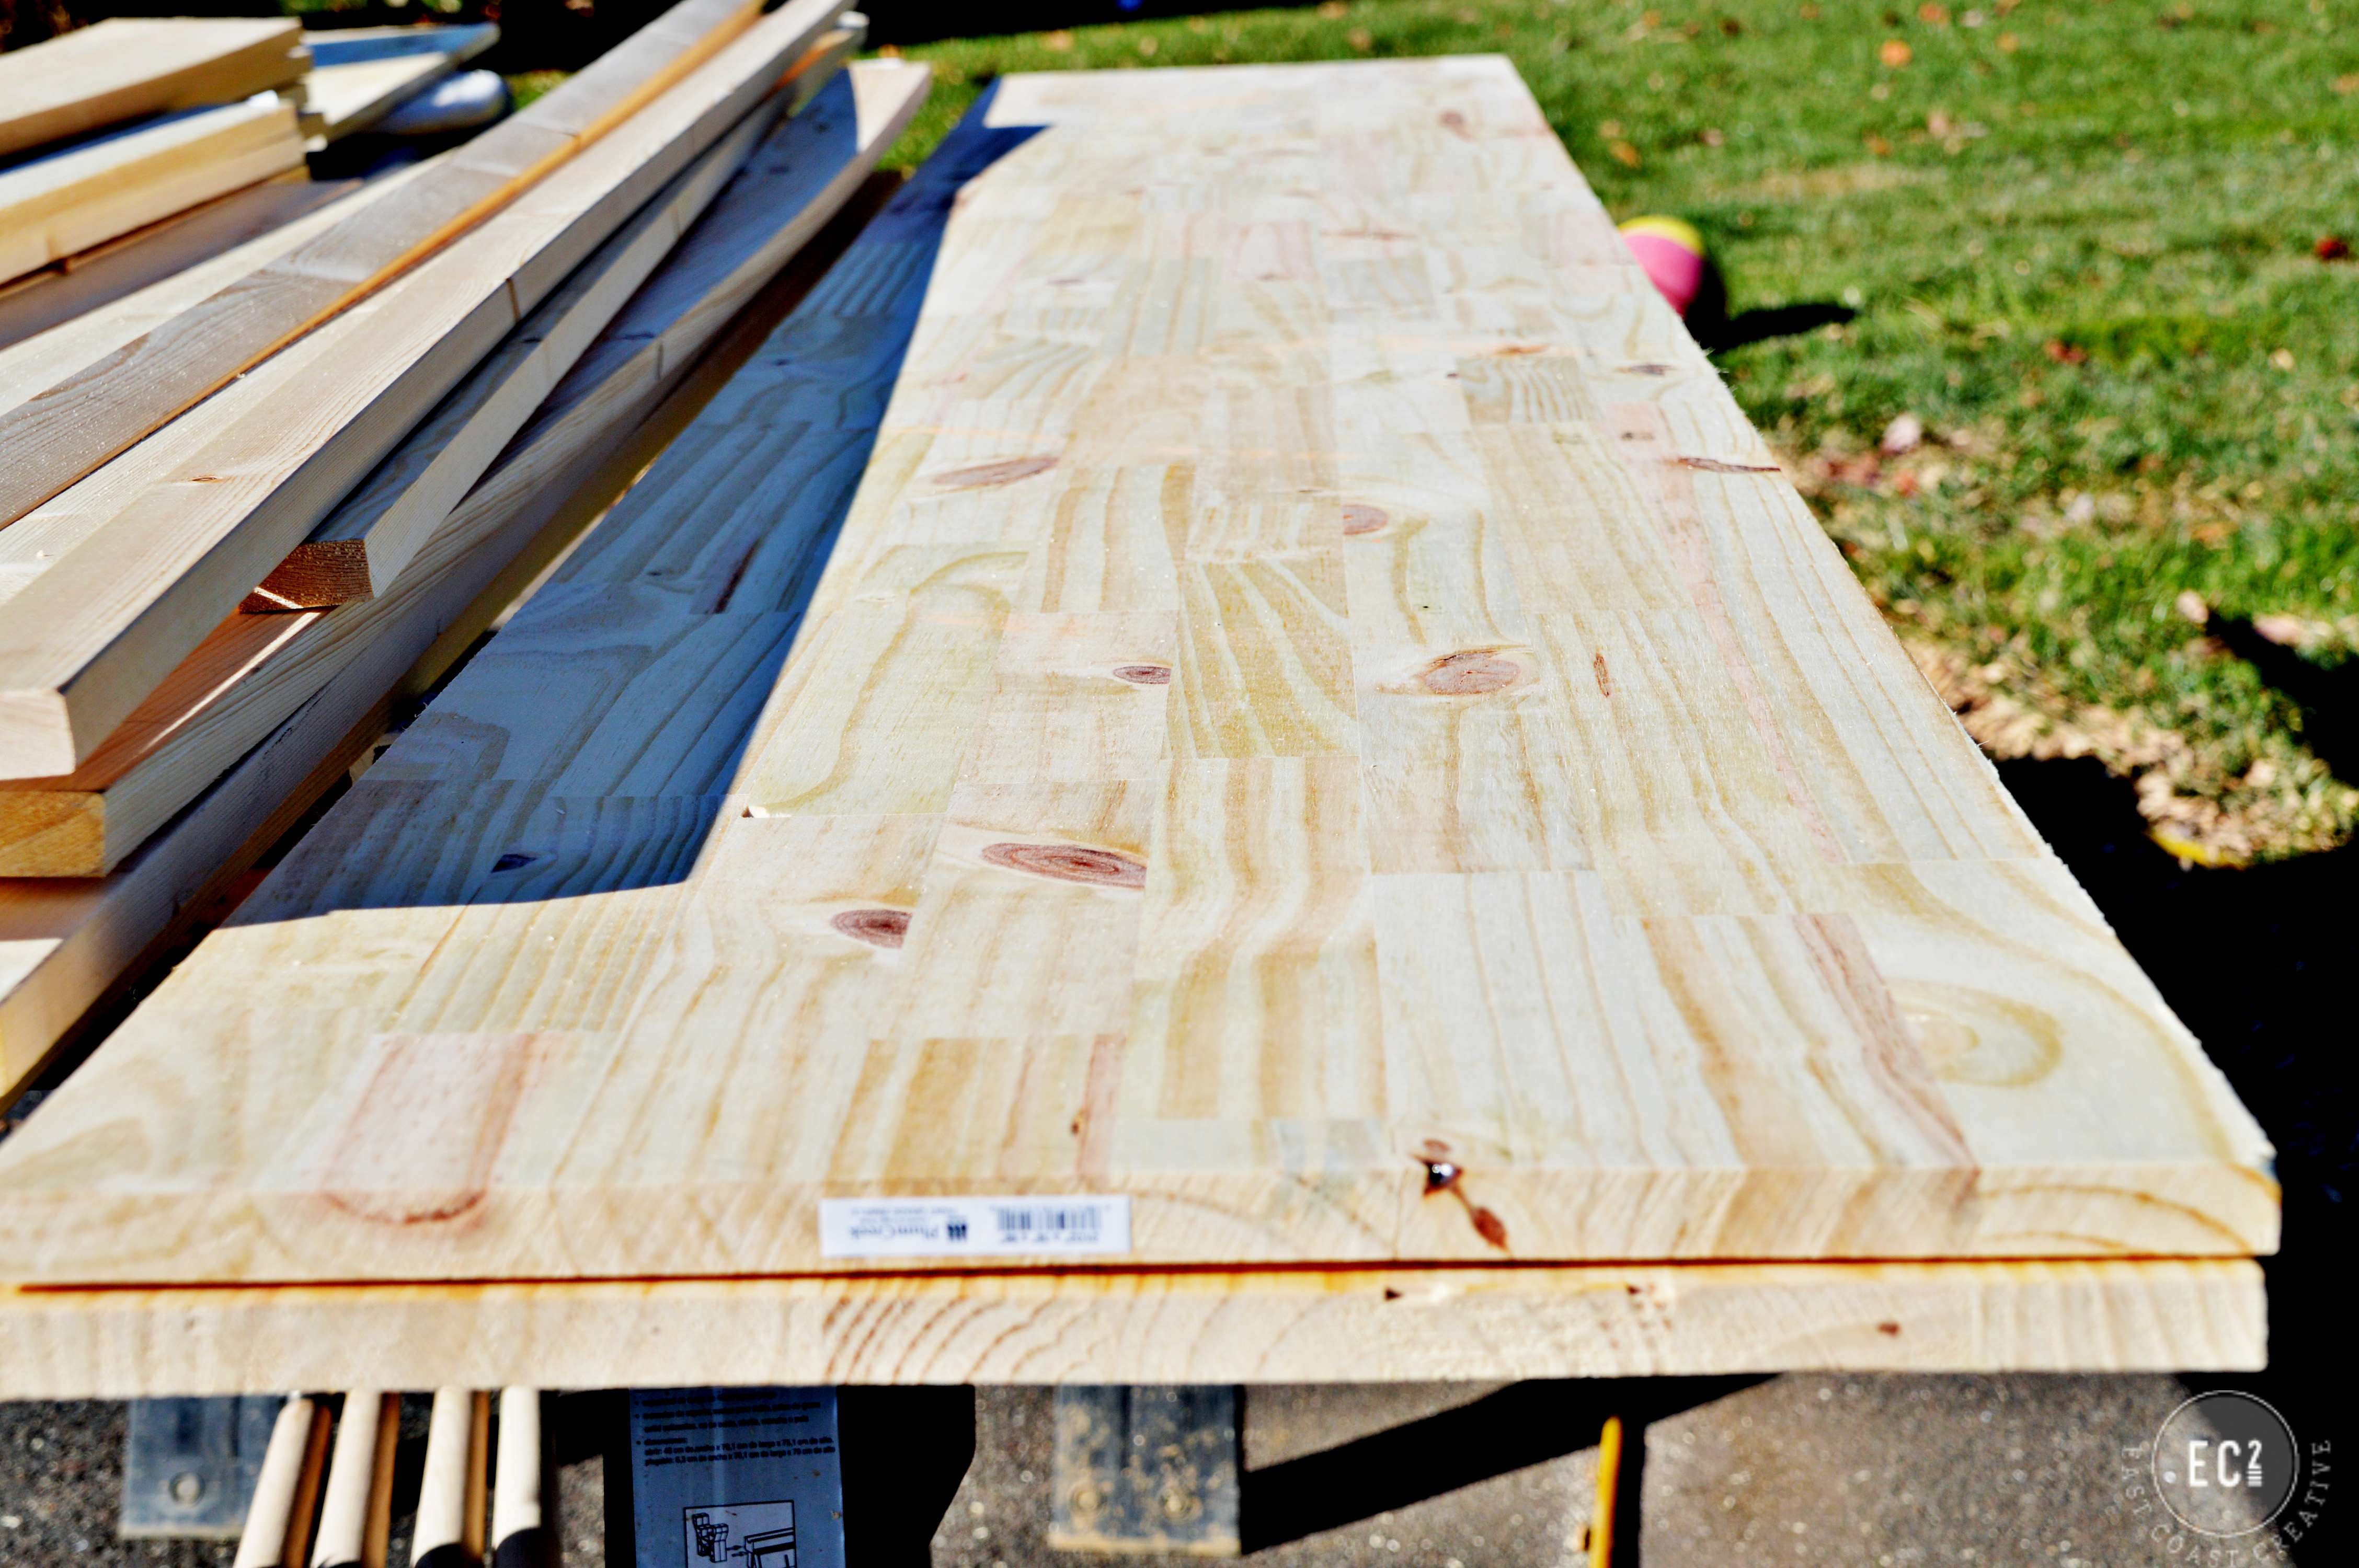
One of the other things I love the most about this build (besides the fact that it looks freakin’ cool) is that it’s made from just a piece of plywood.
Easy on the eyes- light on the wallet.
Make your own A-Frame Shelf
Materials:
4×8 Plywood sheet (1-2 depending on the size of your finished shelf)
Nail gun & Nails
Chop Saw
Table Saw
3M™ Advanced Abrasives Sanding Block
Stain
Polyurethane or Furniture Wax
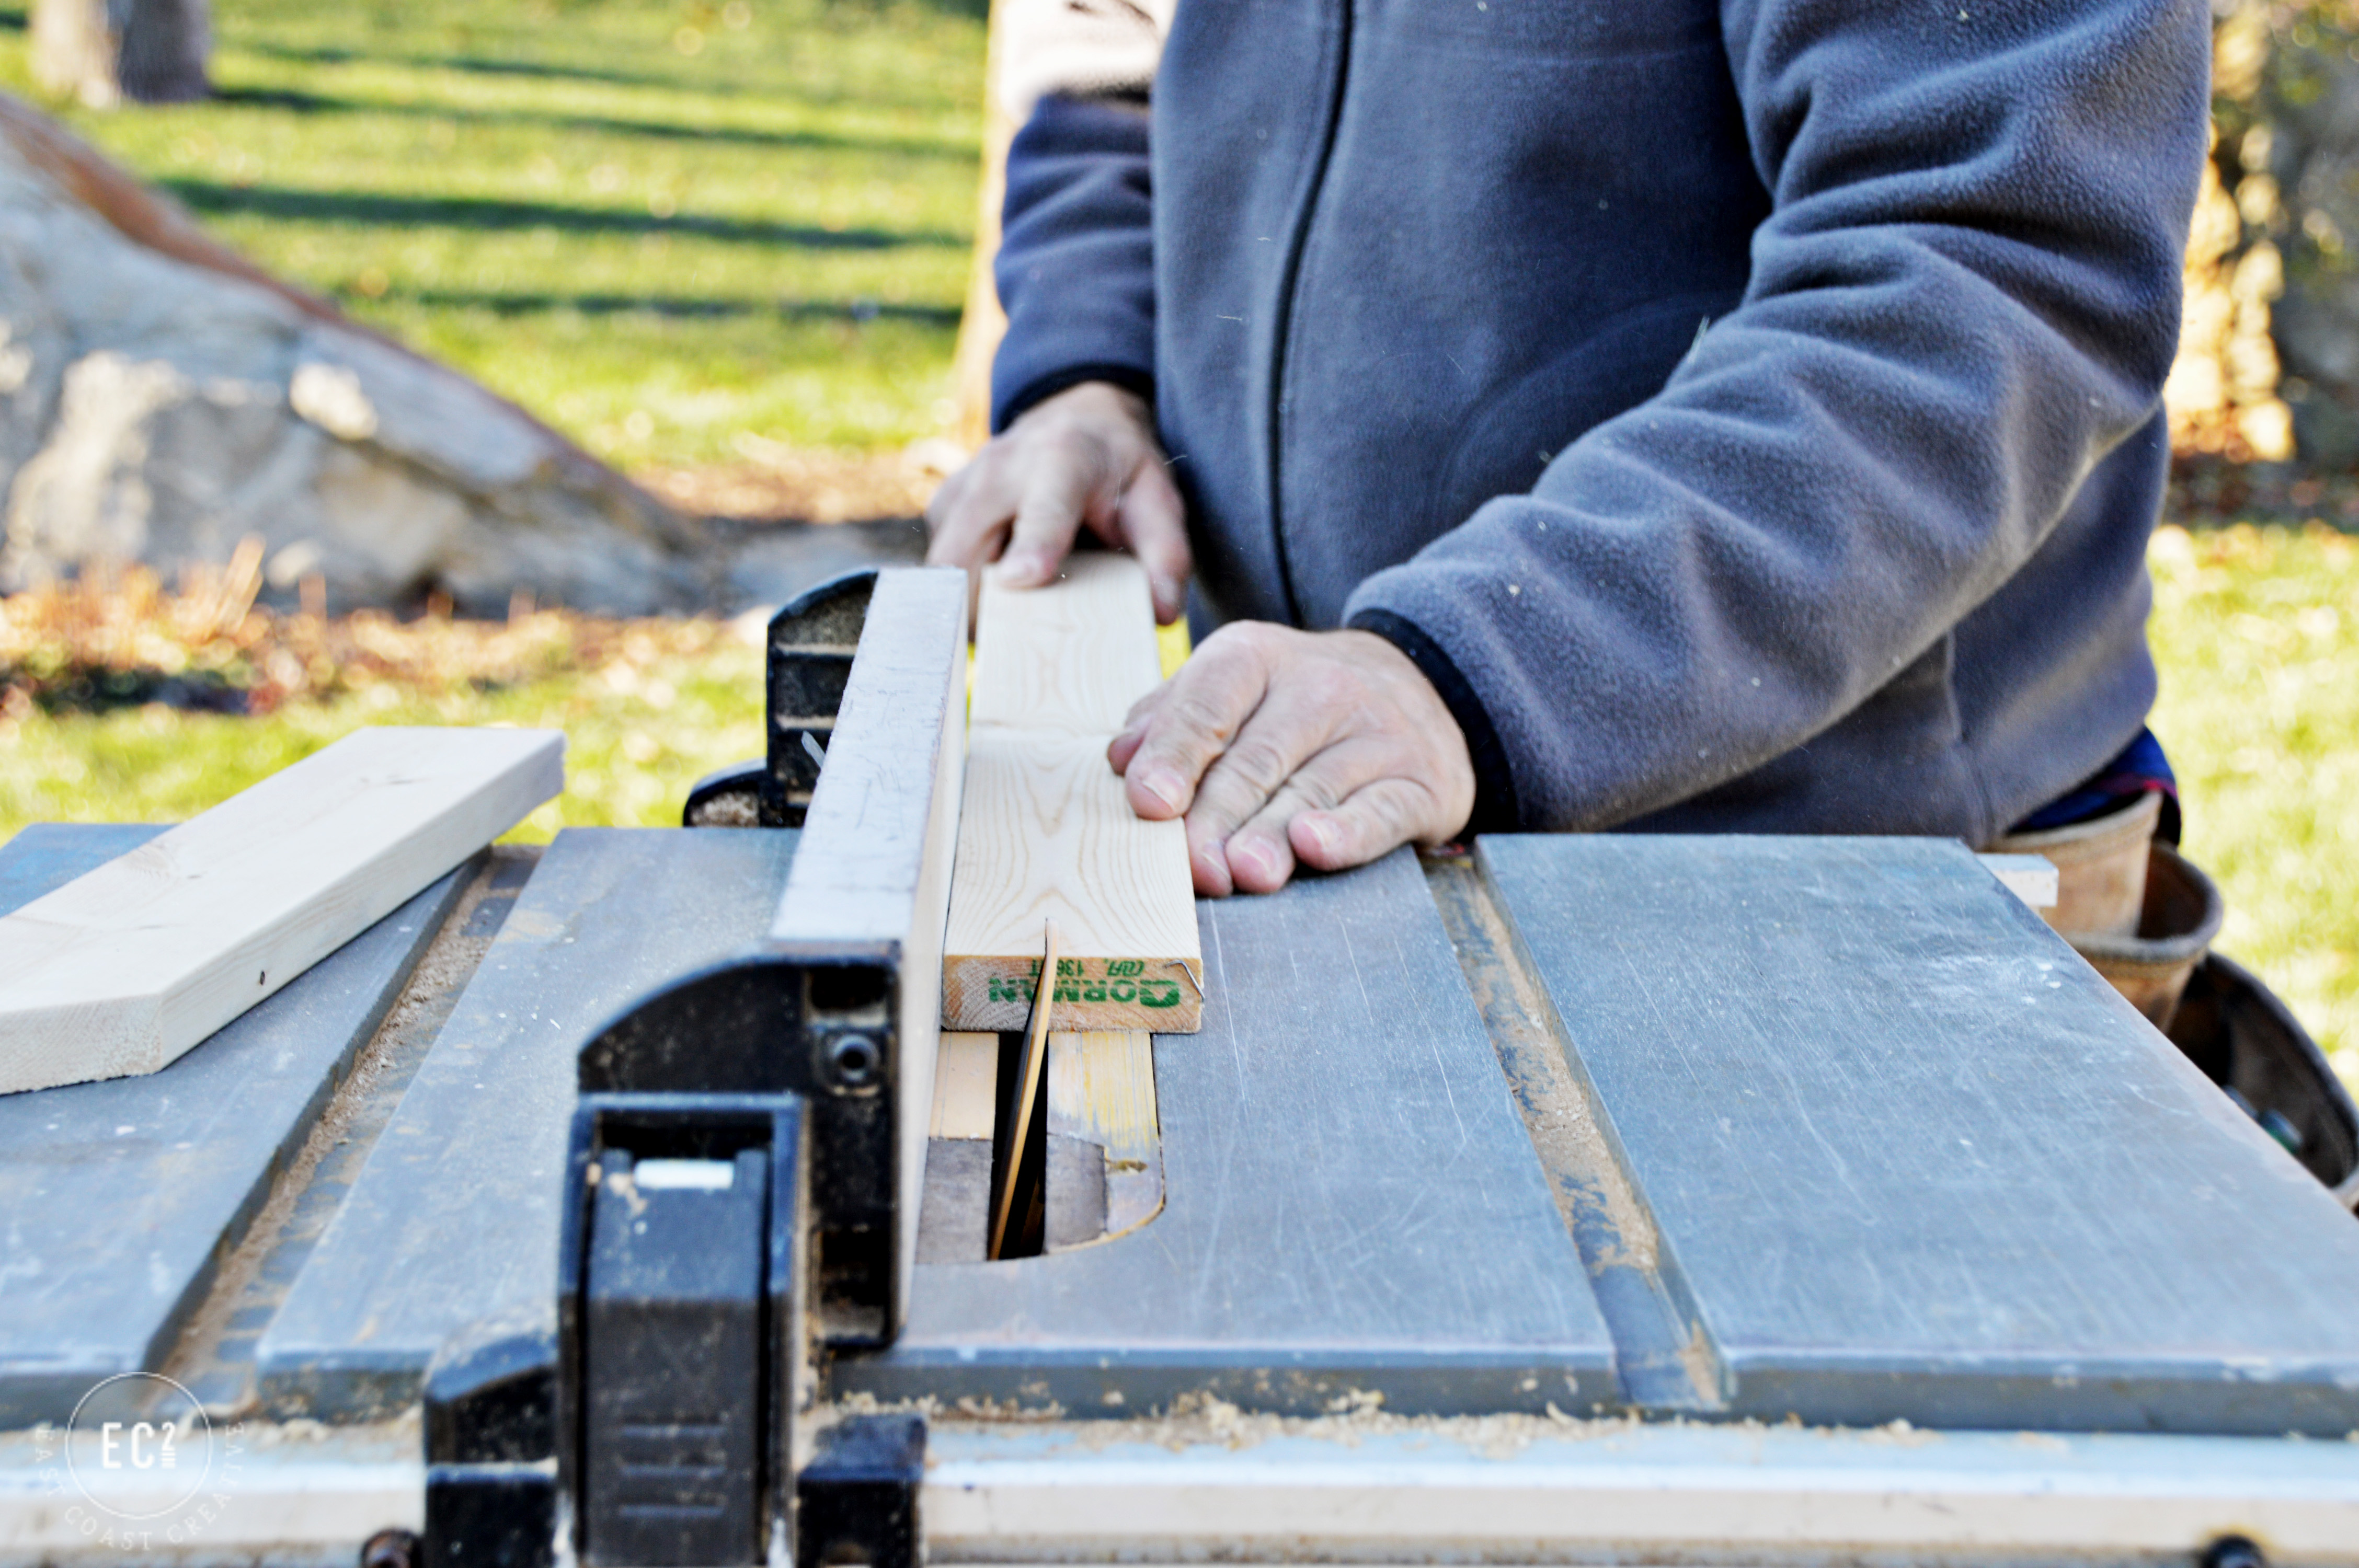
1- Rip Down Plywood – Using a table saw, rip down your plywood into 3 equal parts lengthwise. About 16″ wide each. For the boutique I used incredibly inexpensive plywood. For the one at my house, I used a tad prettier wood, just because I liked it a lot!
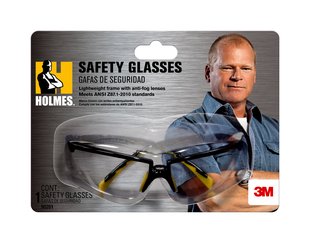
I’ll be honest with you for a minute, a table saw is my least favorite power tool. I use it a lot, but it’s the one I’m least comfortable with. Maybe it’s from the time I was doing a scene for our show, using the table saw in a small out building and the wood bumped into a light stand, came back at me and almost took me out, or the other time a camera lens touched the trim I was cutting and shot it into the air and I caught it and played it cool in front of the homeowner totally acting like everything was a-ok. Ha! So, needless to say I’m uber Safety First whenever I’m using my table saw. I have a few go-t0 safety items that actually A- Work and B- Don’t make me look like a dork (if Mike Holmes approves then so do I! ha!)
Safety necessity #1- safety glasses
Safety necessity #2- ear protection
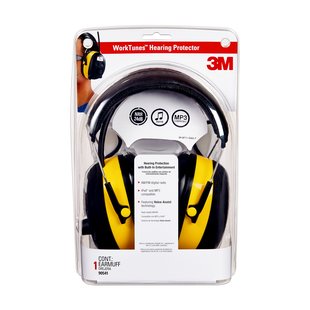
The above picture is the ear protection I use during build projects, because I can keep them around my neck when I don’t need them in. The picture below is what I use whenever I’m mowing- I love that it works with my iPhone or I can just pop on the radio. Actually, my older 2 kids are usually the ones wearing them and rocking out to tunes while they do their yard work chores!
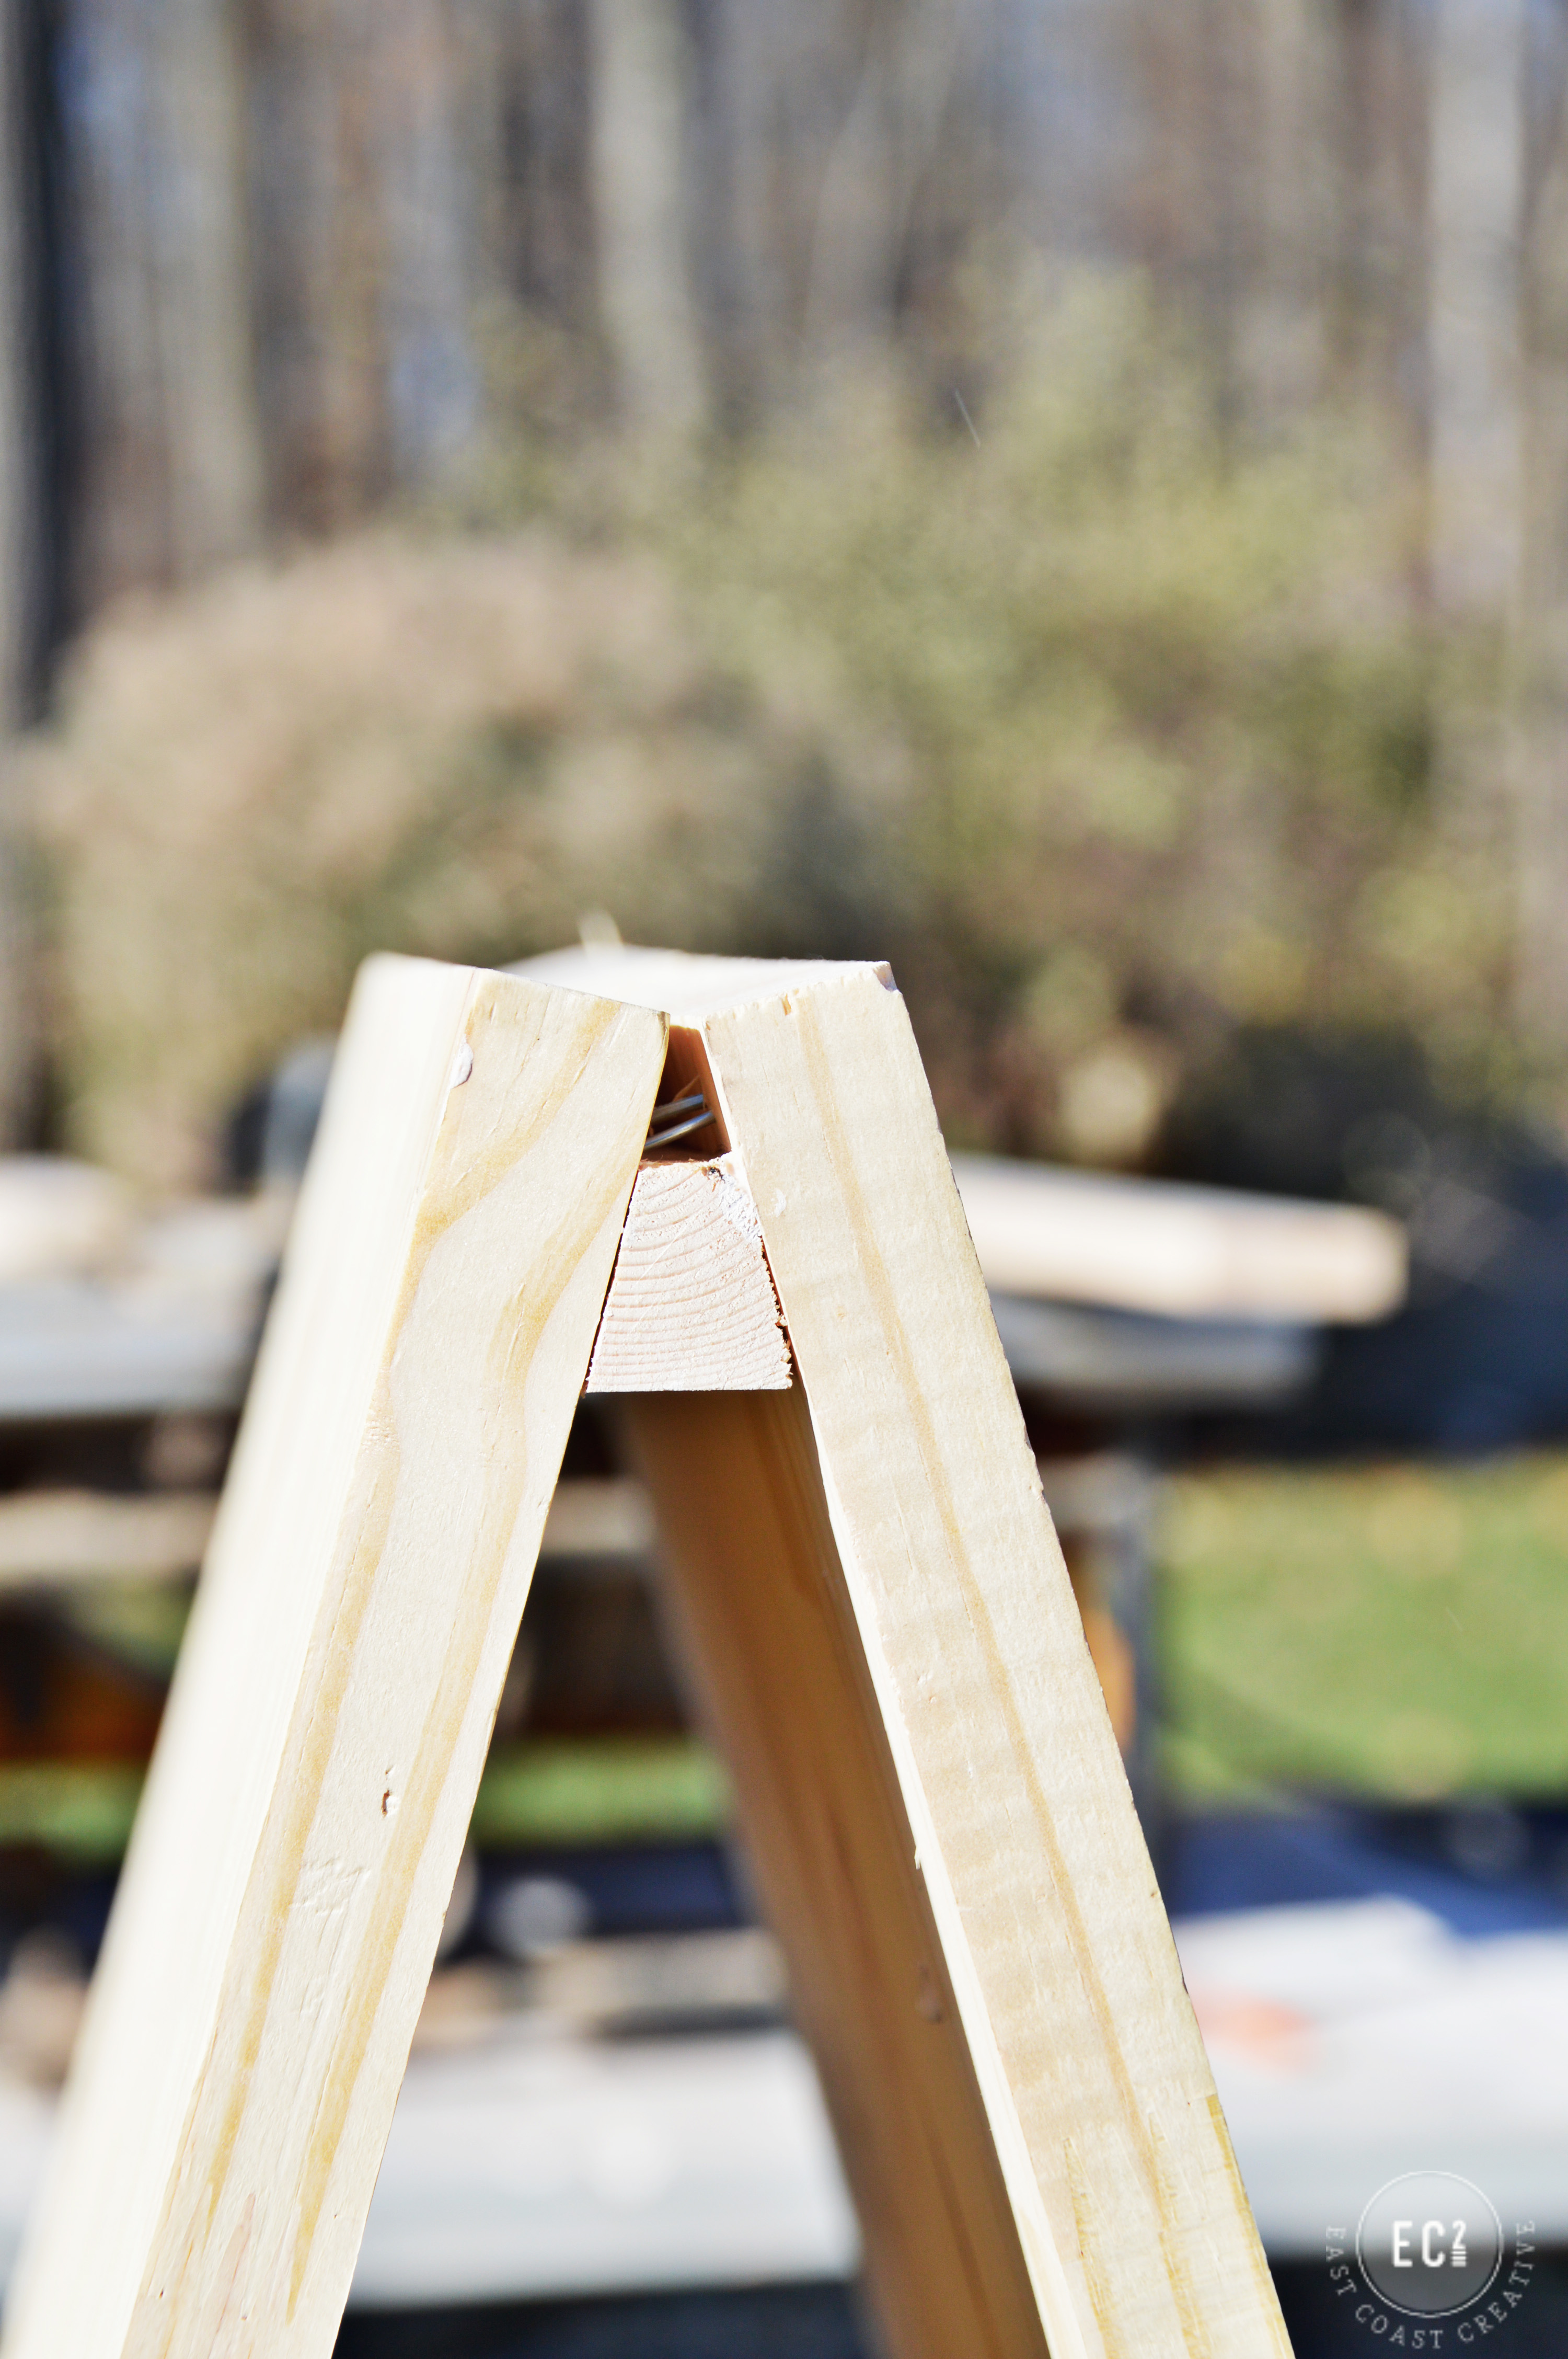
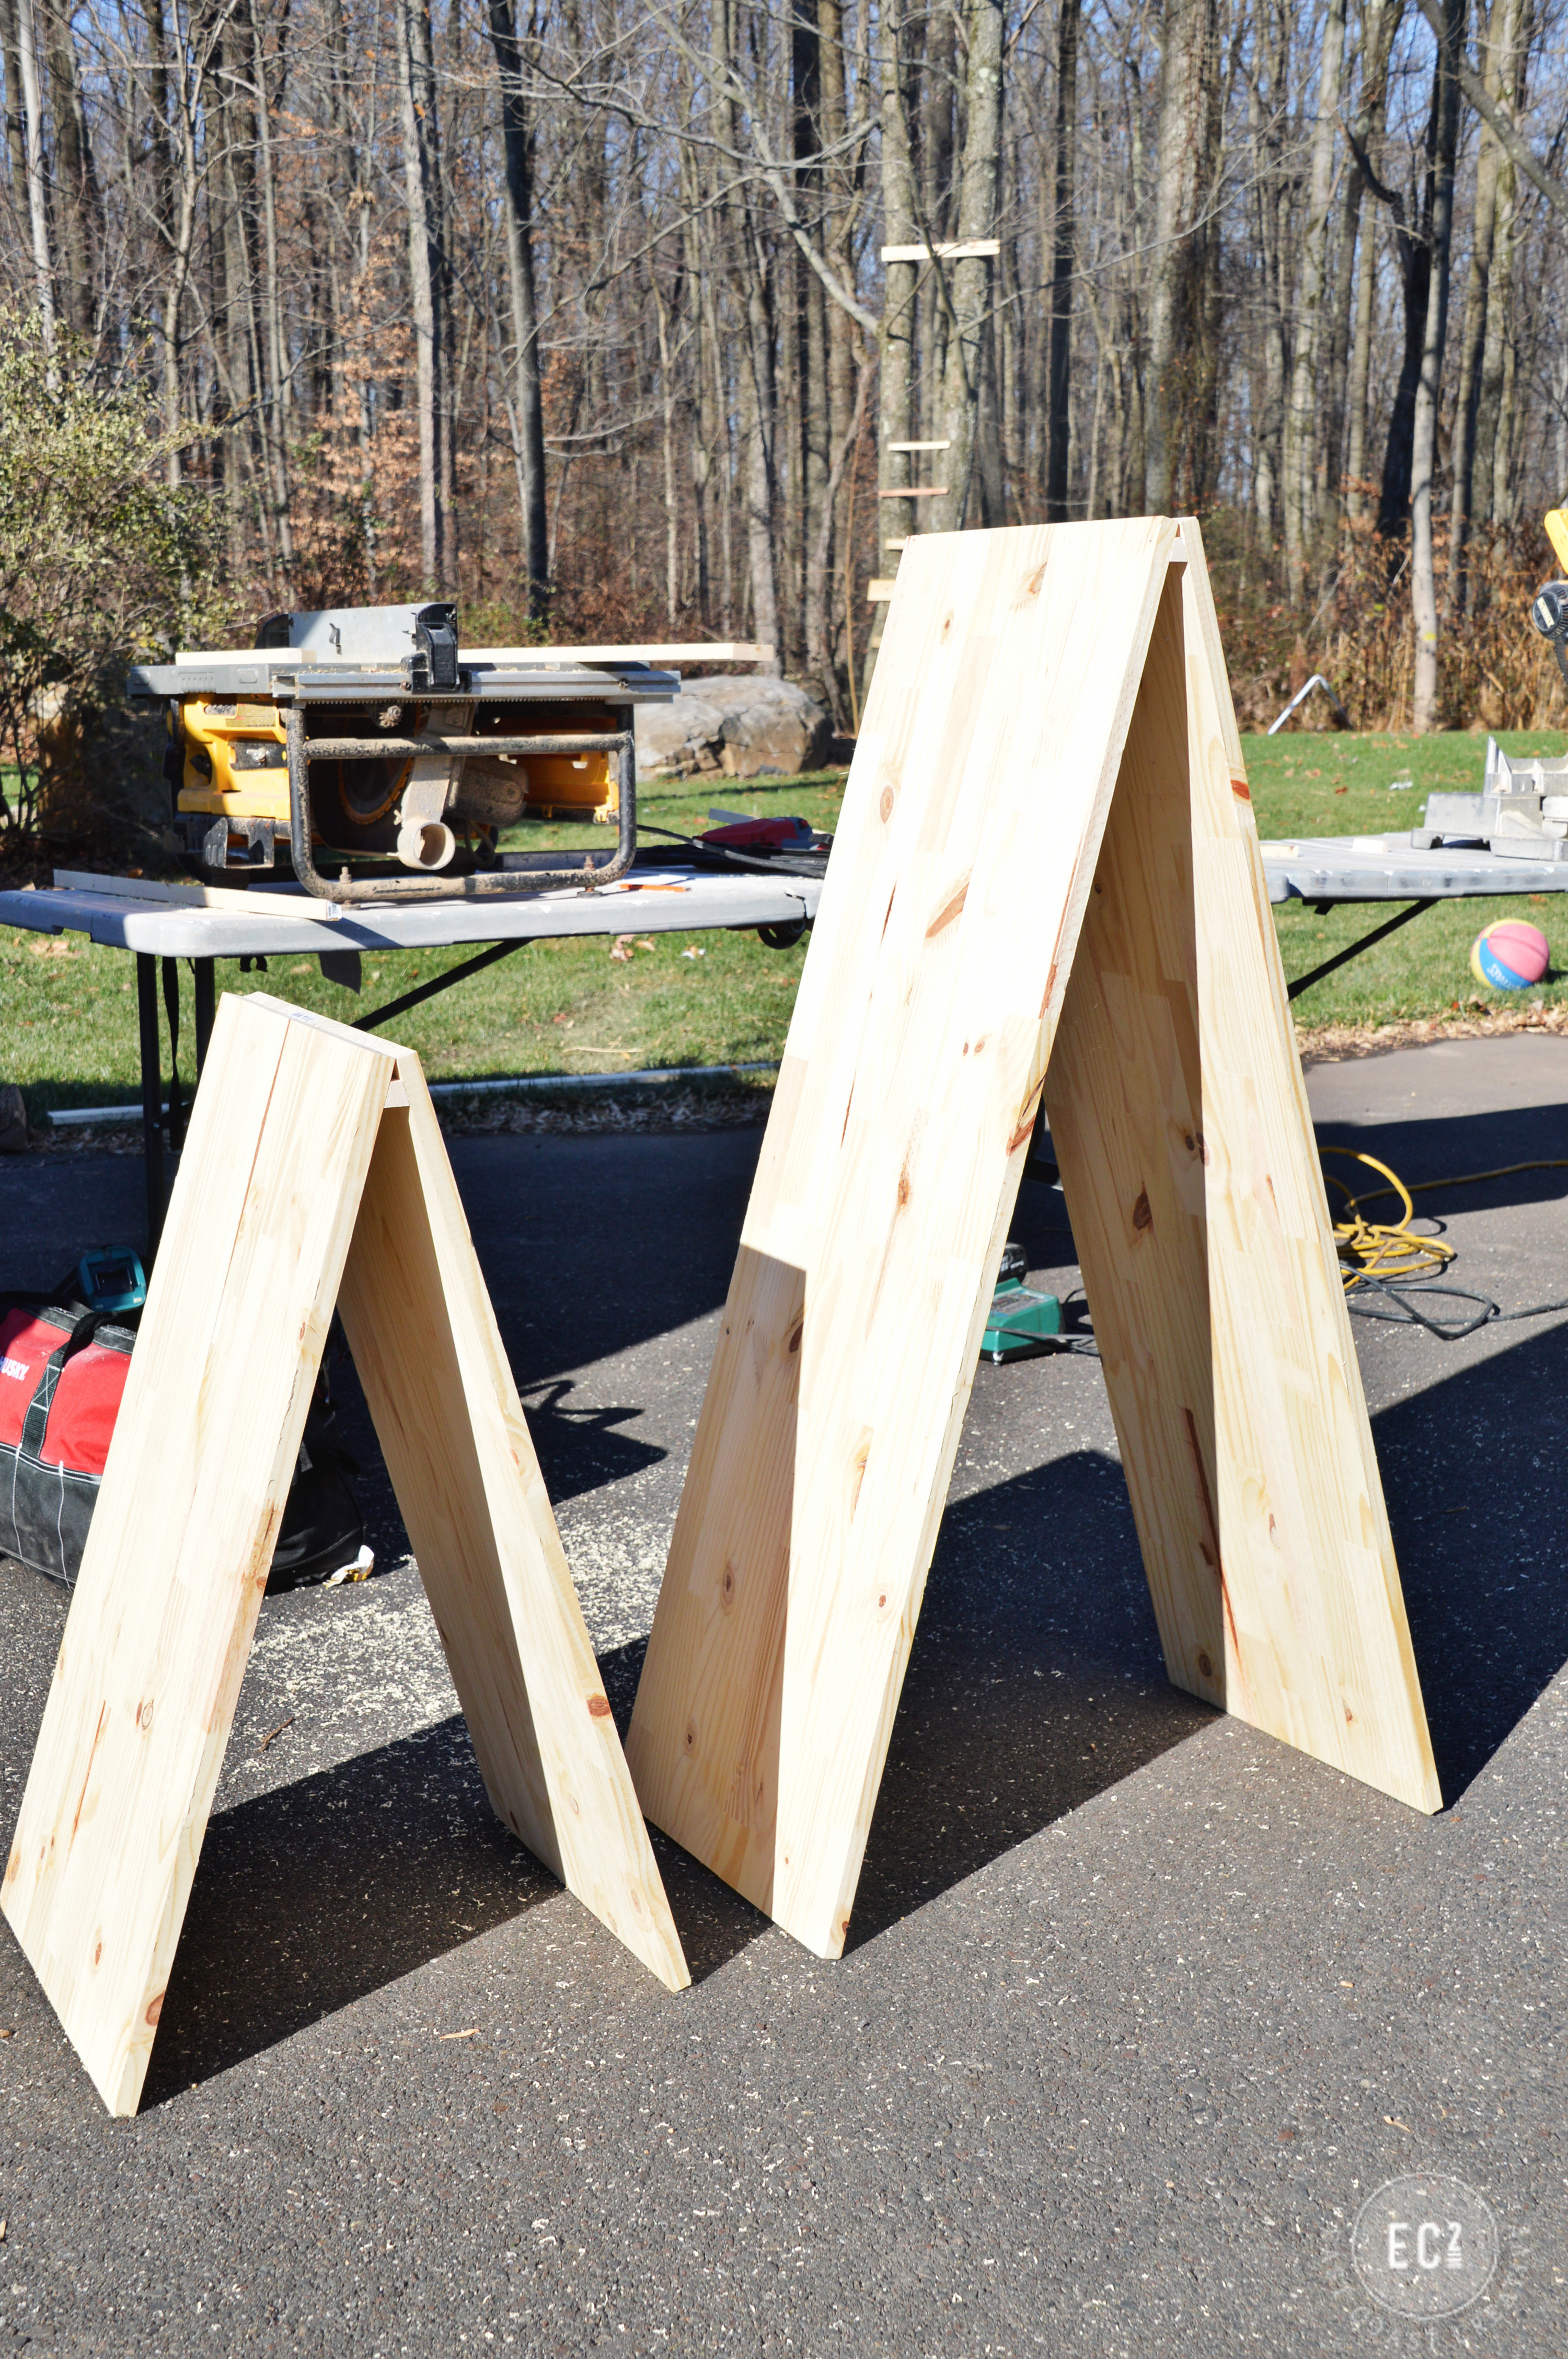
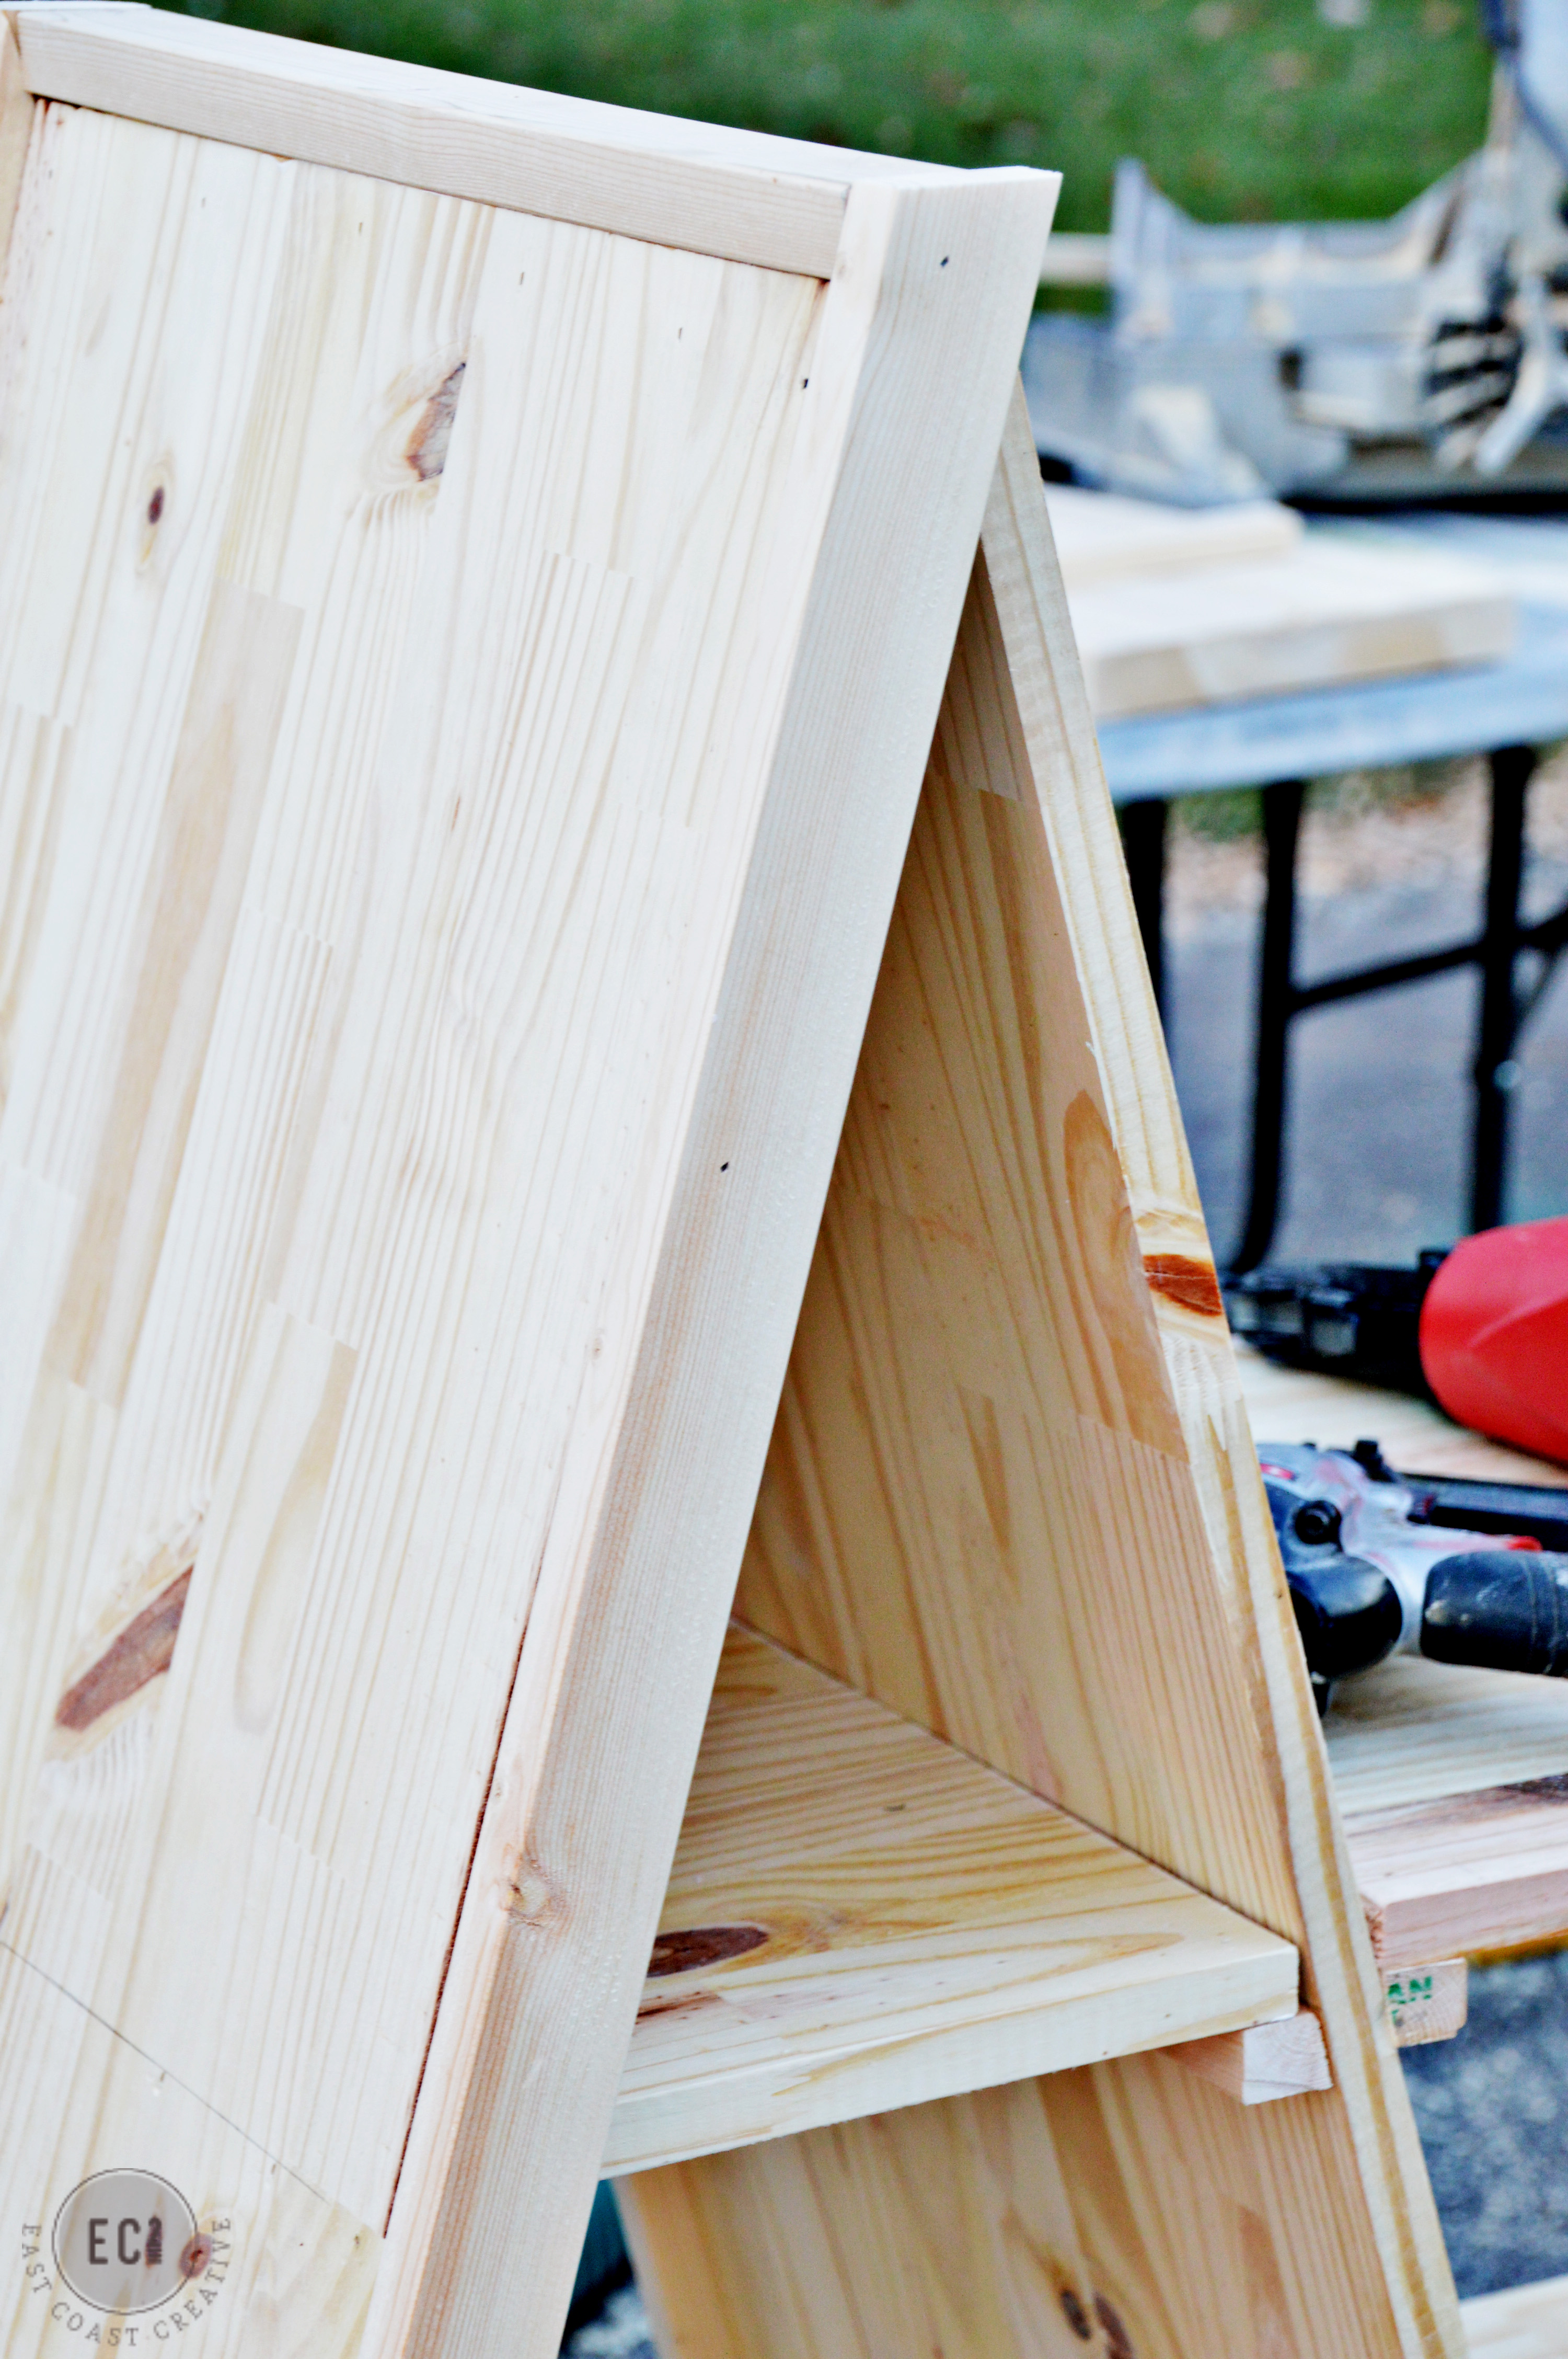
2- Build 2 A-Frames- This is where you can really customize your build. For my console table the small A-frame is 33″ and the large A-frame is 49″. To create the A-frame angle, you’ll cut your wood down to your desired length and a support cleat at 28 degrees. That’s the sweet spot number for this entire project!

Umm… no I didn’t grow a beard and look all lumber sexual overnight. This is Matt. Matt is my right hand man. Matt is the reason my marriage is still intact after 3 straight years of projects and makeovers. Matt and I work together on lots of projects, so that Eric doesn’t have to and because he’s insanely talented. Eric and I did the whole work together on projects all the time for the first years of this blog, but once it grew beyond tinkering in my own home, we knew we needed a Matt. Once you have a Matt you never, ever want to lose him! Anyhow, you’ll be seeing more and more of Matty V’s mug around here in 2015.
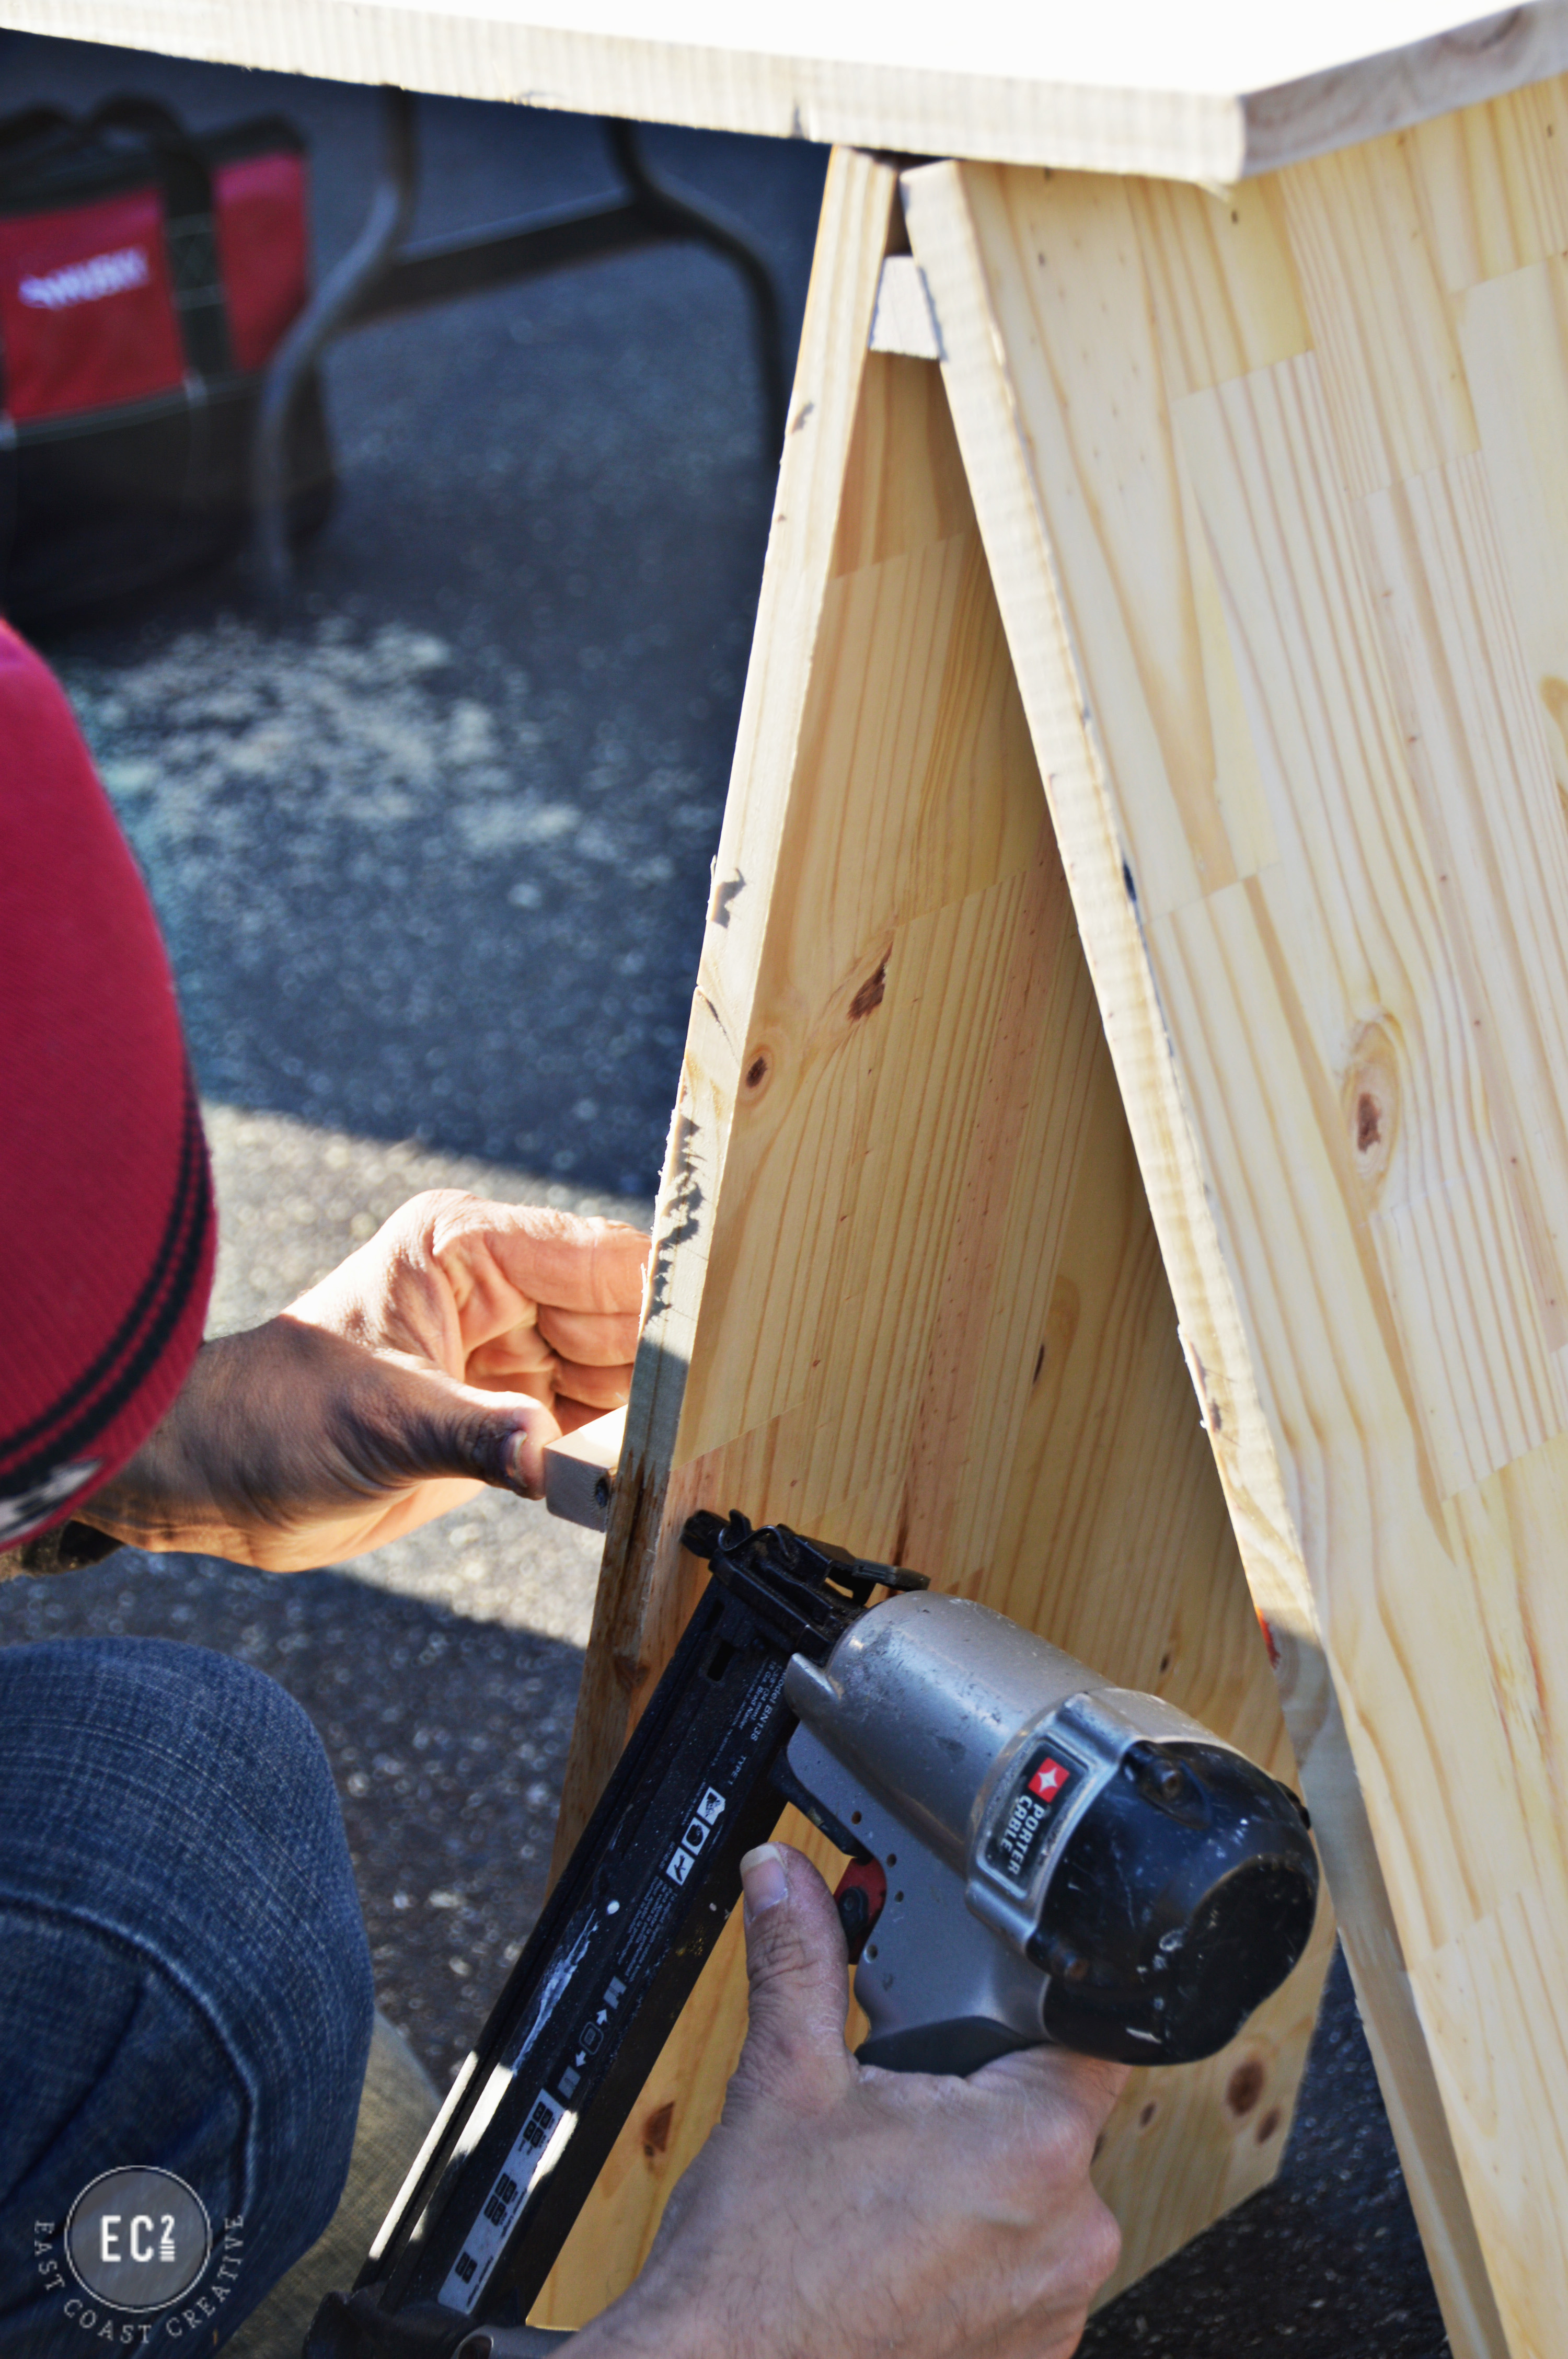
Okay, so hold your two pieces together into an A shape and then rip down a 1″ piece cut at 28 inches. This is the support “cleat” if you will, that supports the A-frame.
Attach it inside the A-frame using your nail gun. It should look like this…
Repeat for the larger one too. Easy peasy.
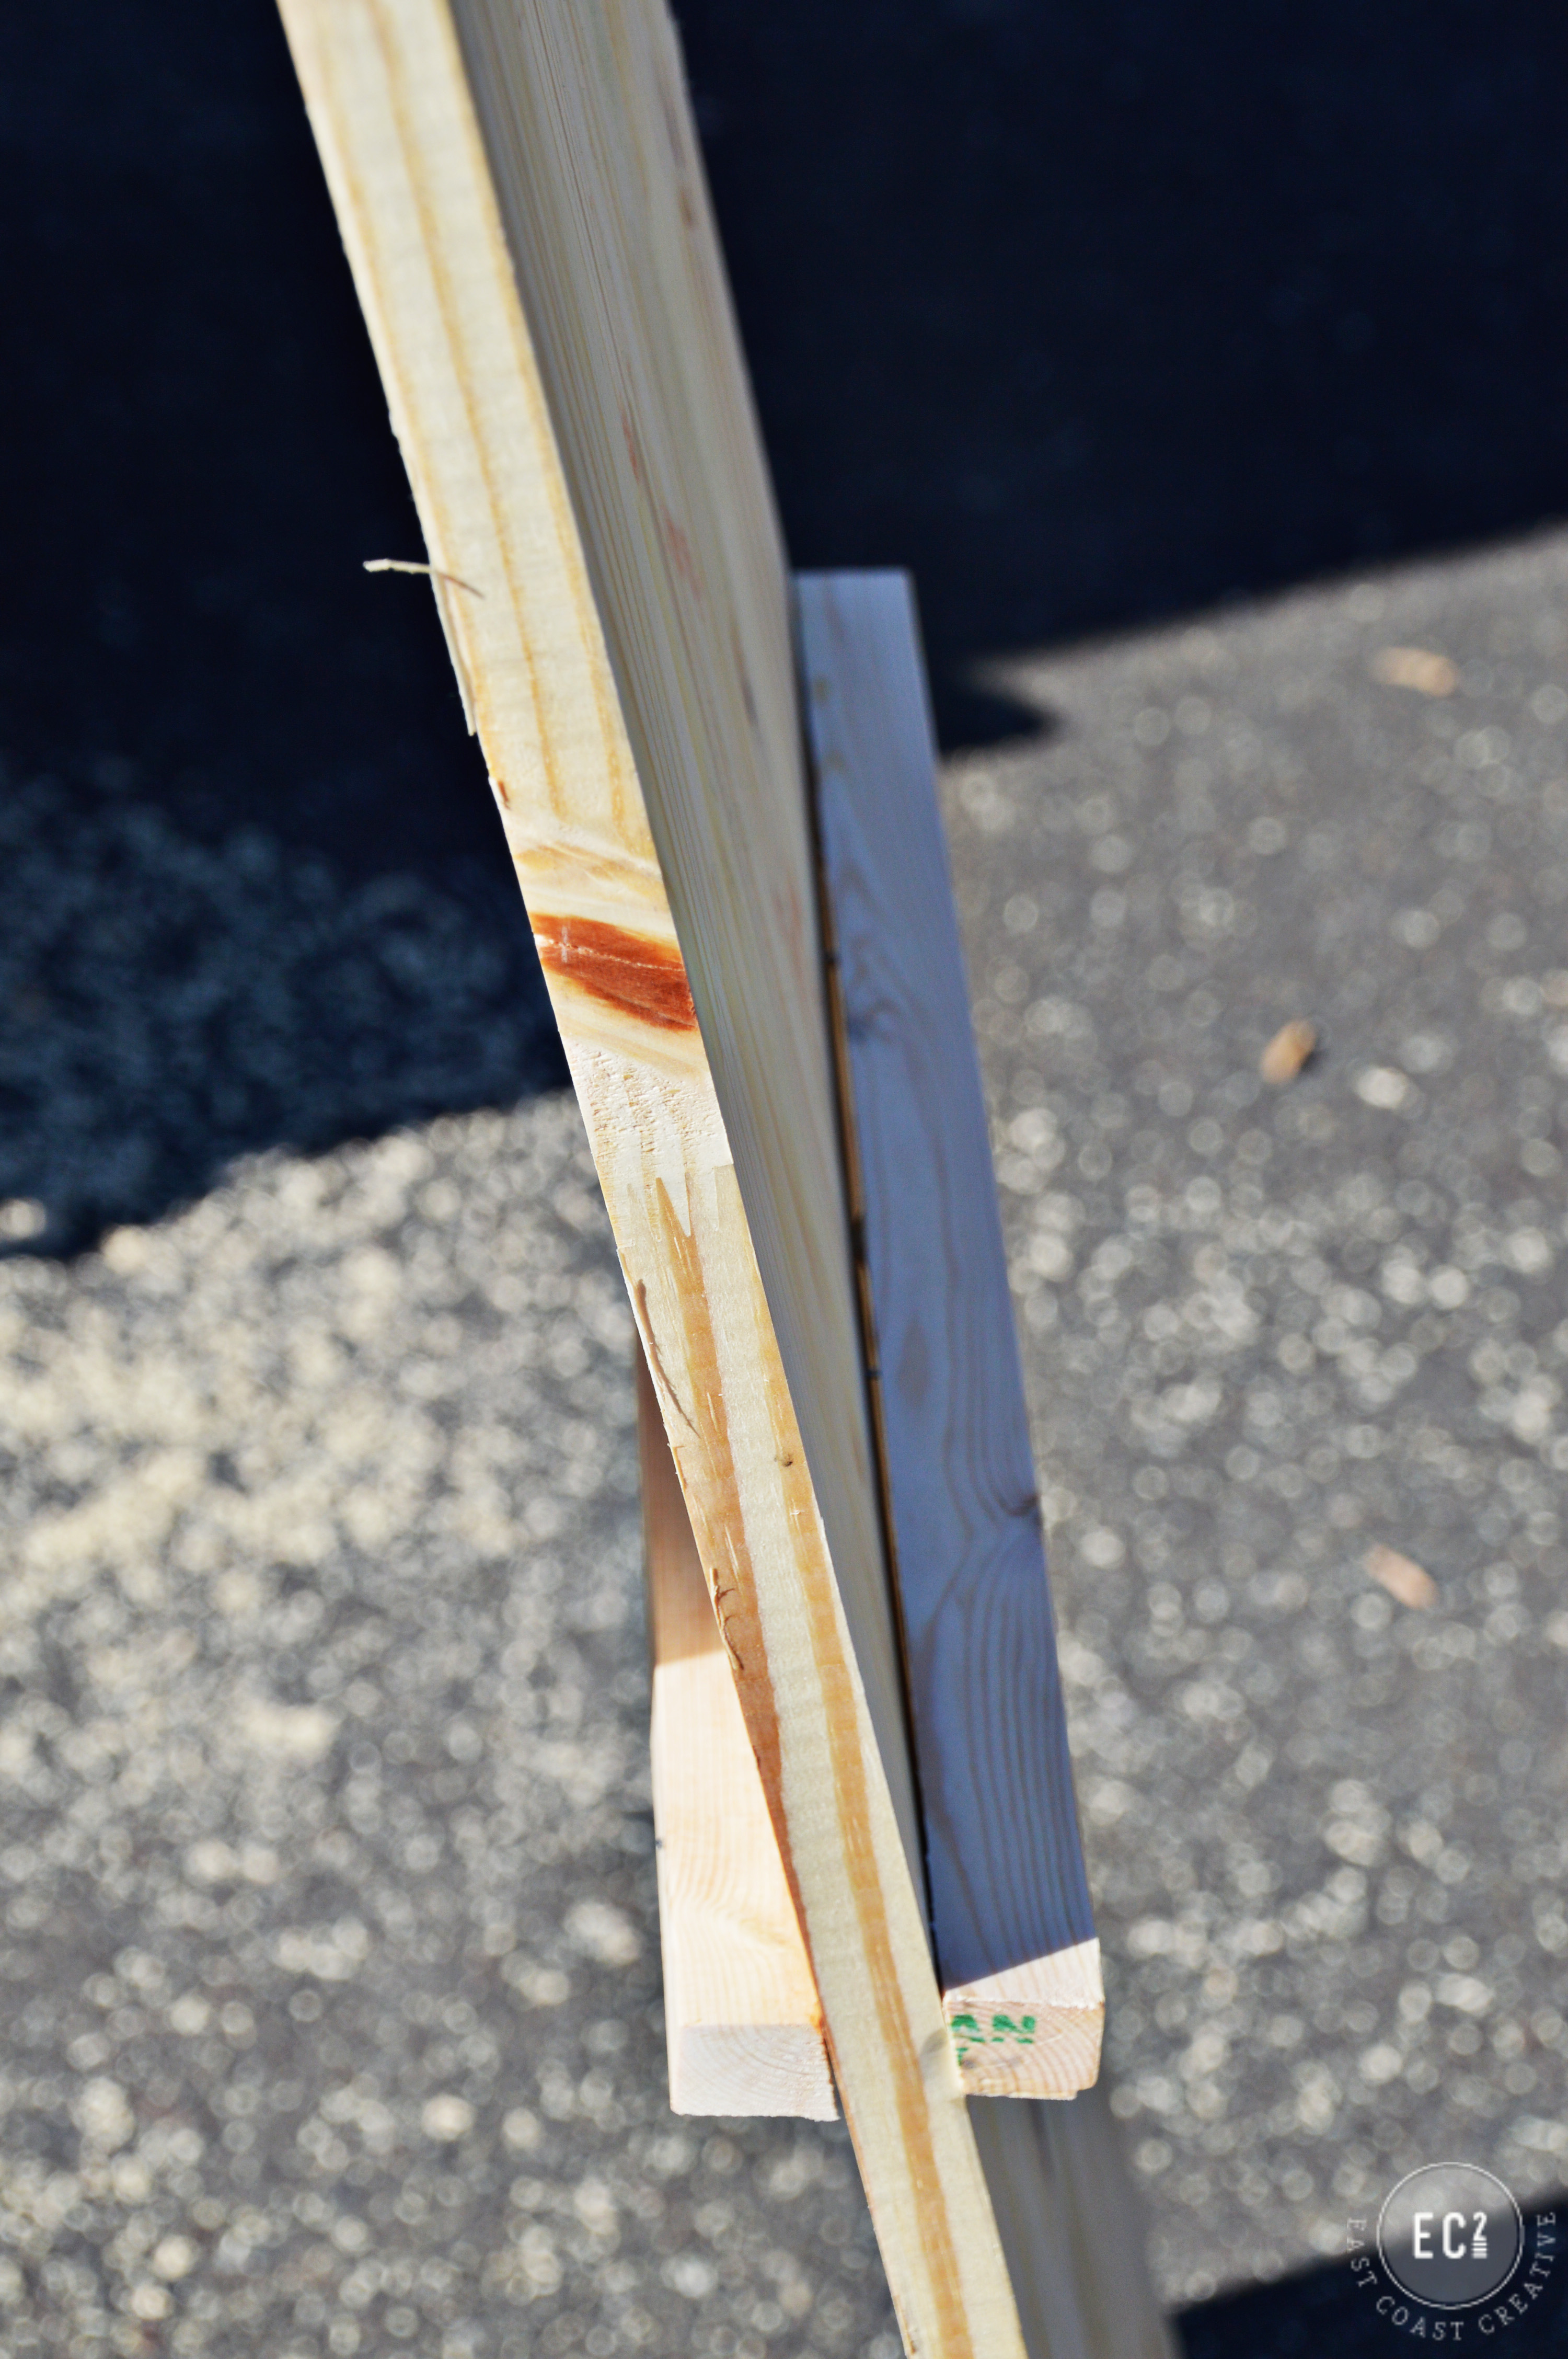
3- Add Supports for the Shelves- Using the exact same method as we used for the A frame support, rip down 1″ pieces of wood at 28 degrees to act as supports for each shelf. Attach them to the A-frame using a nail gun.
My bottom shelf was placed at 18″ just because I wanted to be able to put large things under it. There’s no rule on this location. Put it where you want it.
Your supports will look like this…
And you’ll place your wooden shelves on the supports like this…
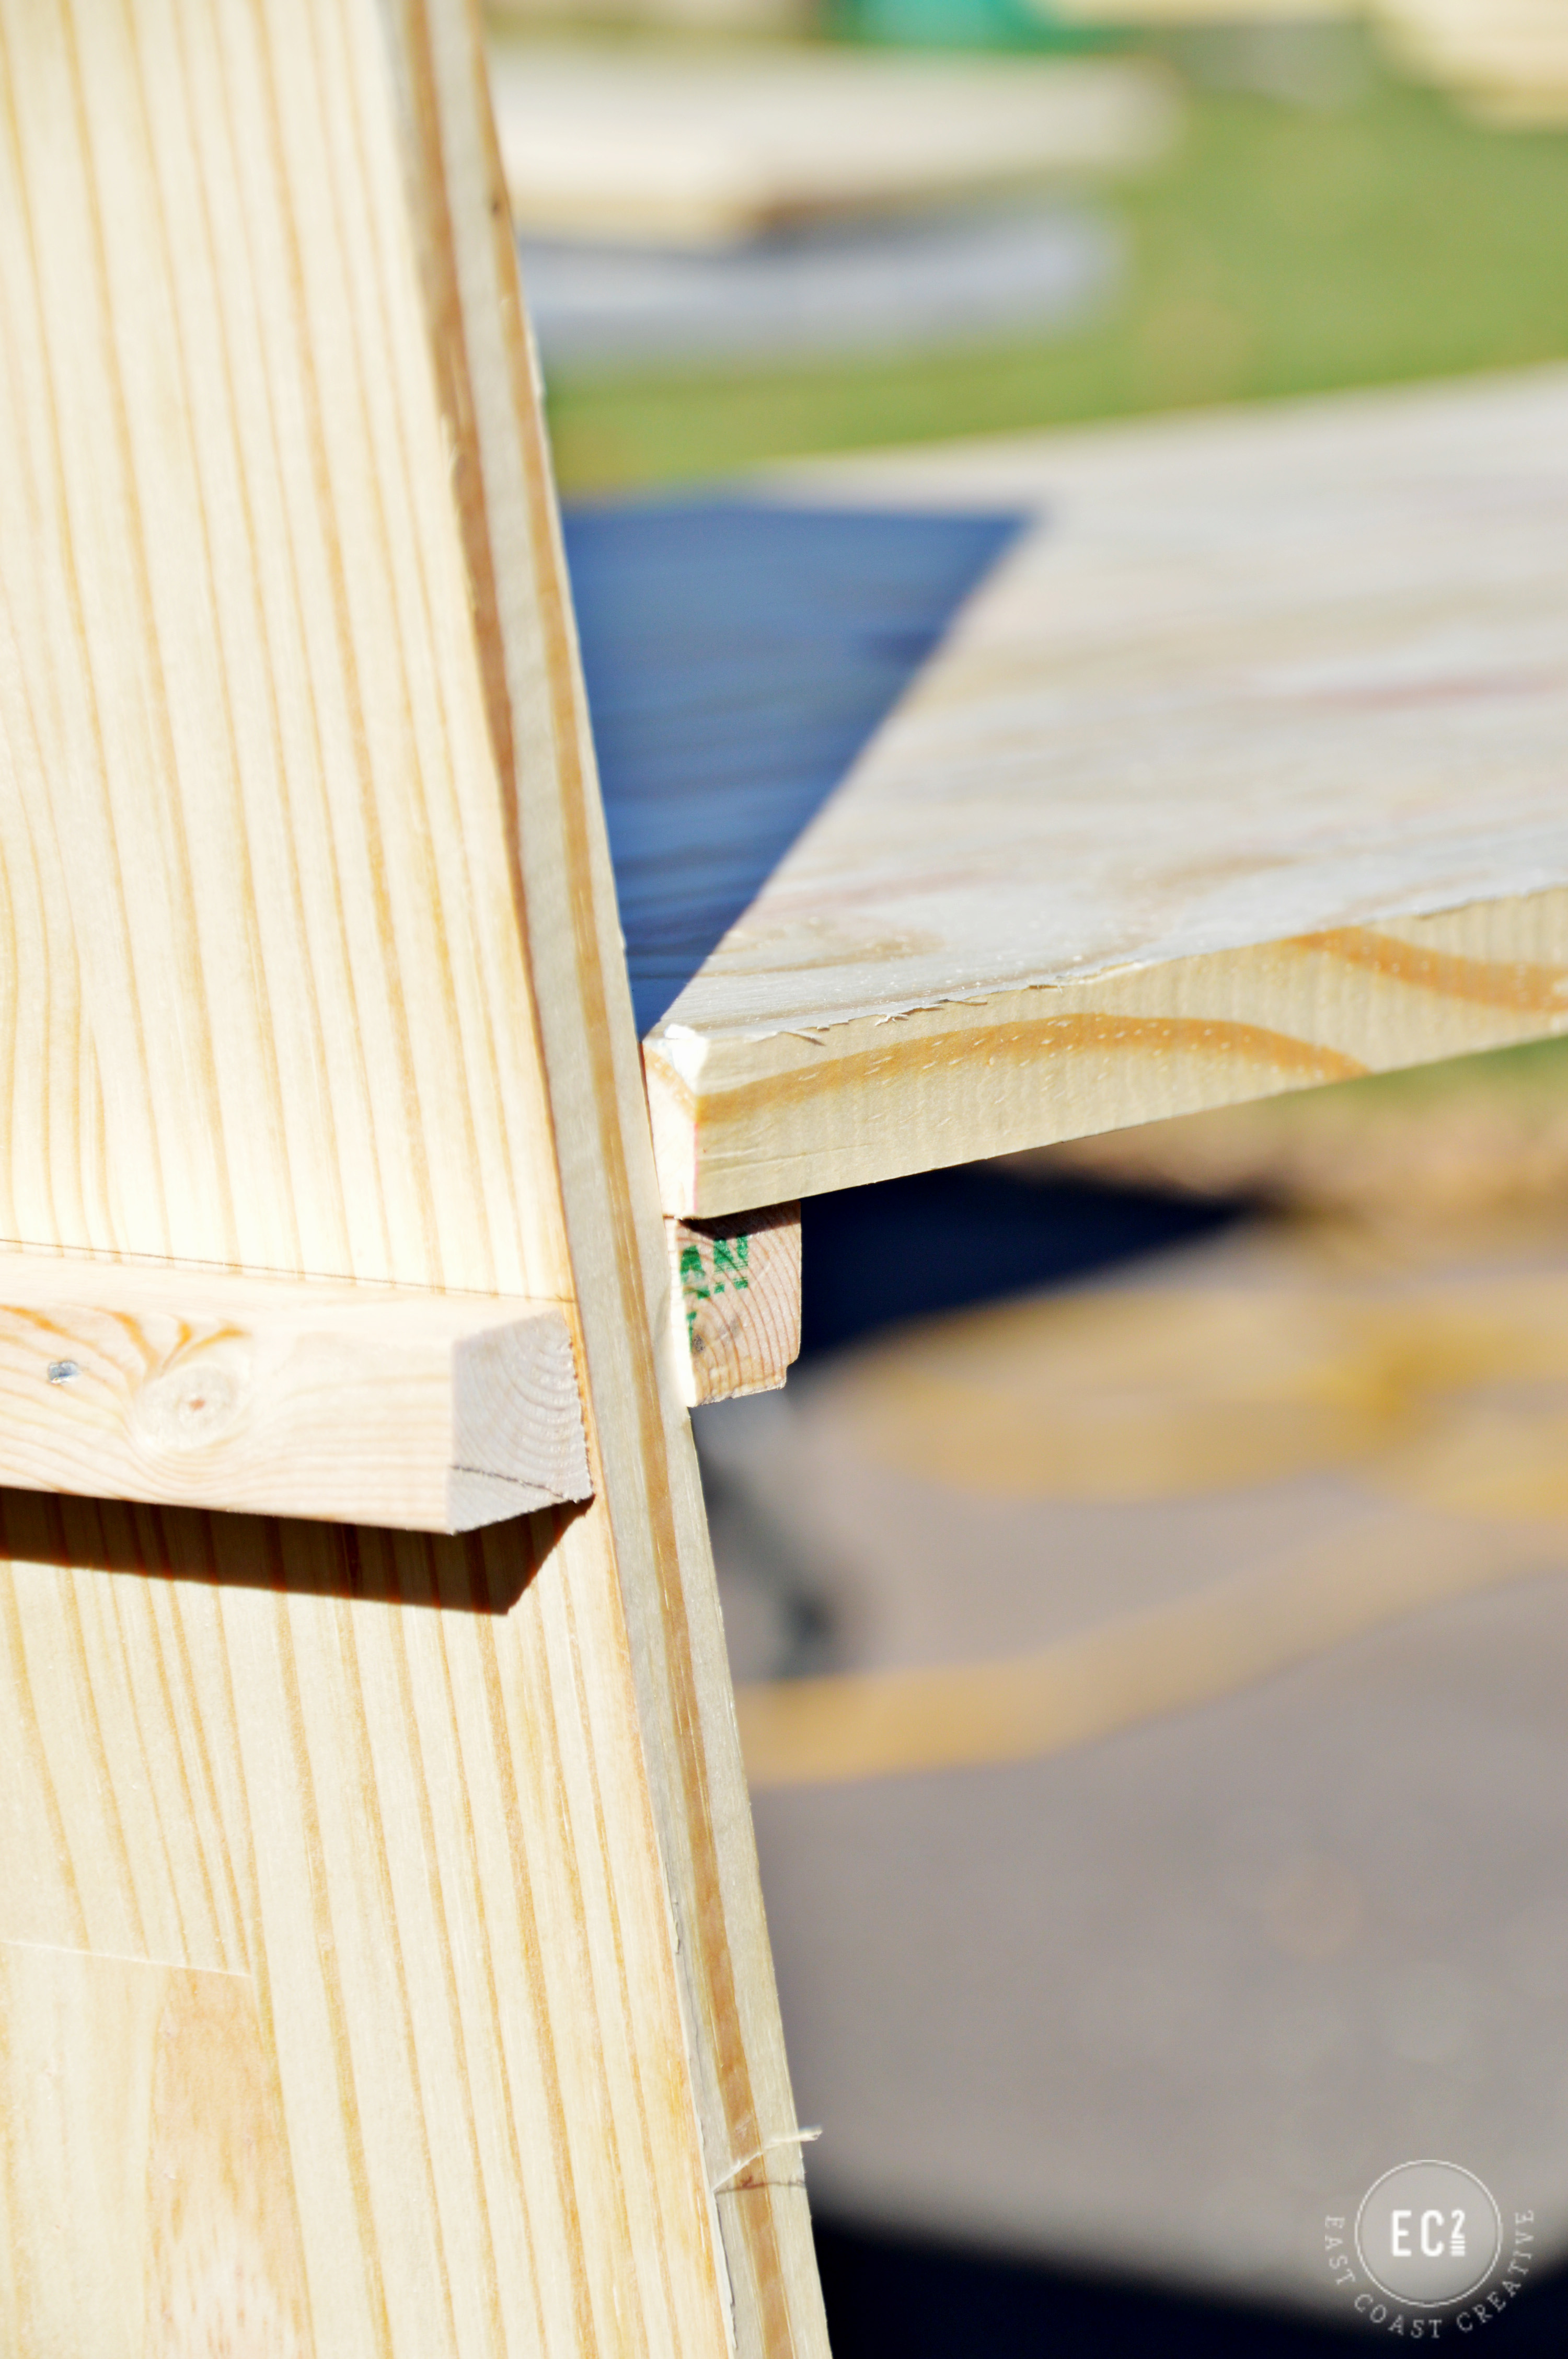
Place your shelves and your piece will look something like this

4- Call it a Day or Trim it Out- This step is optional, but I did it on both versions of my shelves. I feel like adding trim really gives it a finished feel. We ripped down extra wood to 1.5″ and attached it on the face of the A-frames.
Left side is trimmed out. Right side is plain. Big improvement.
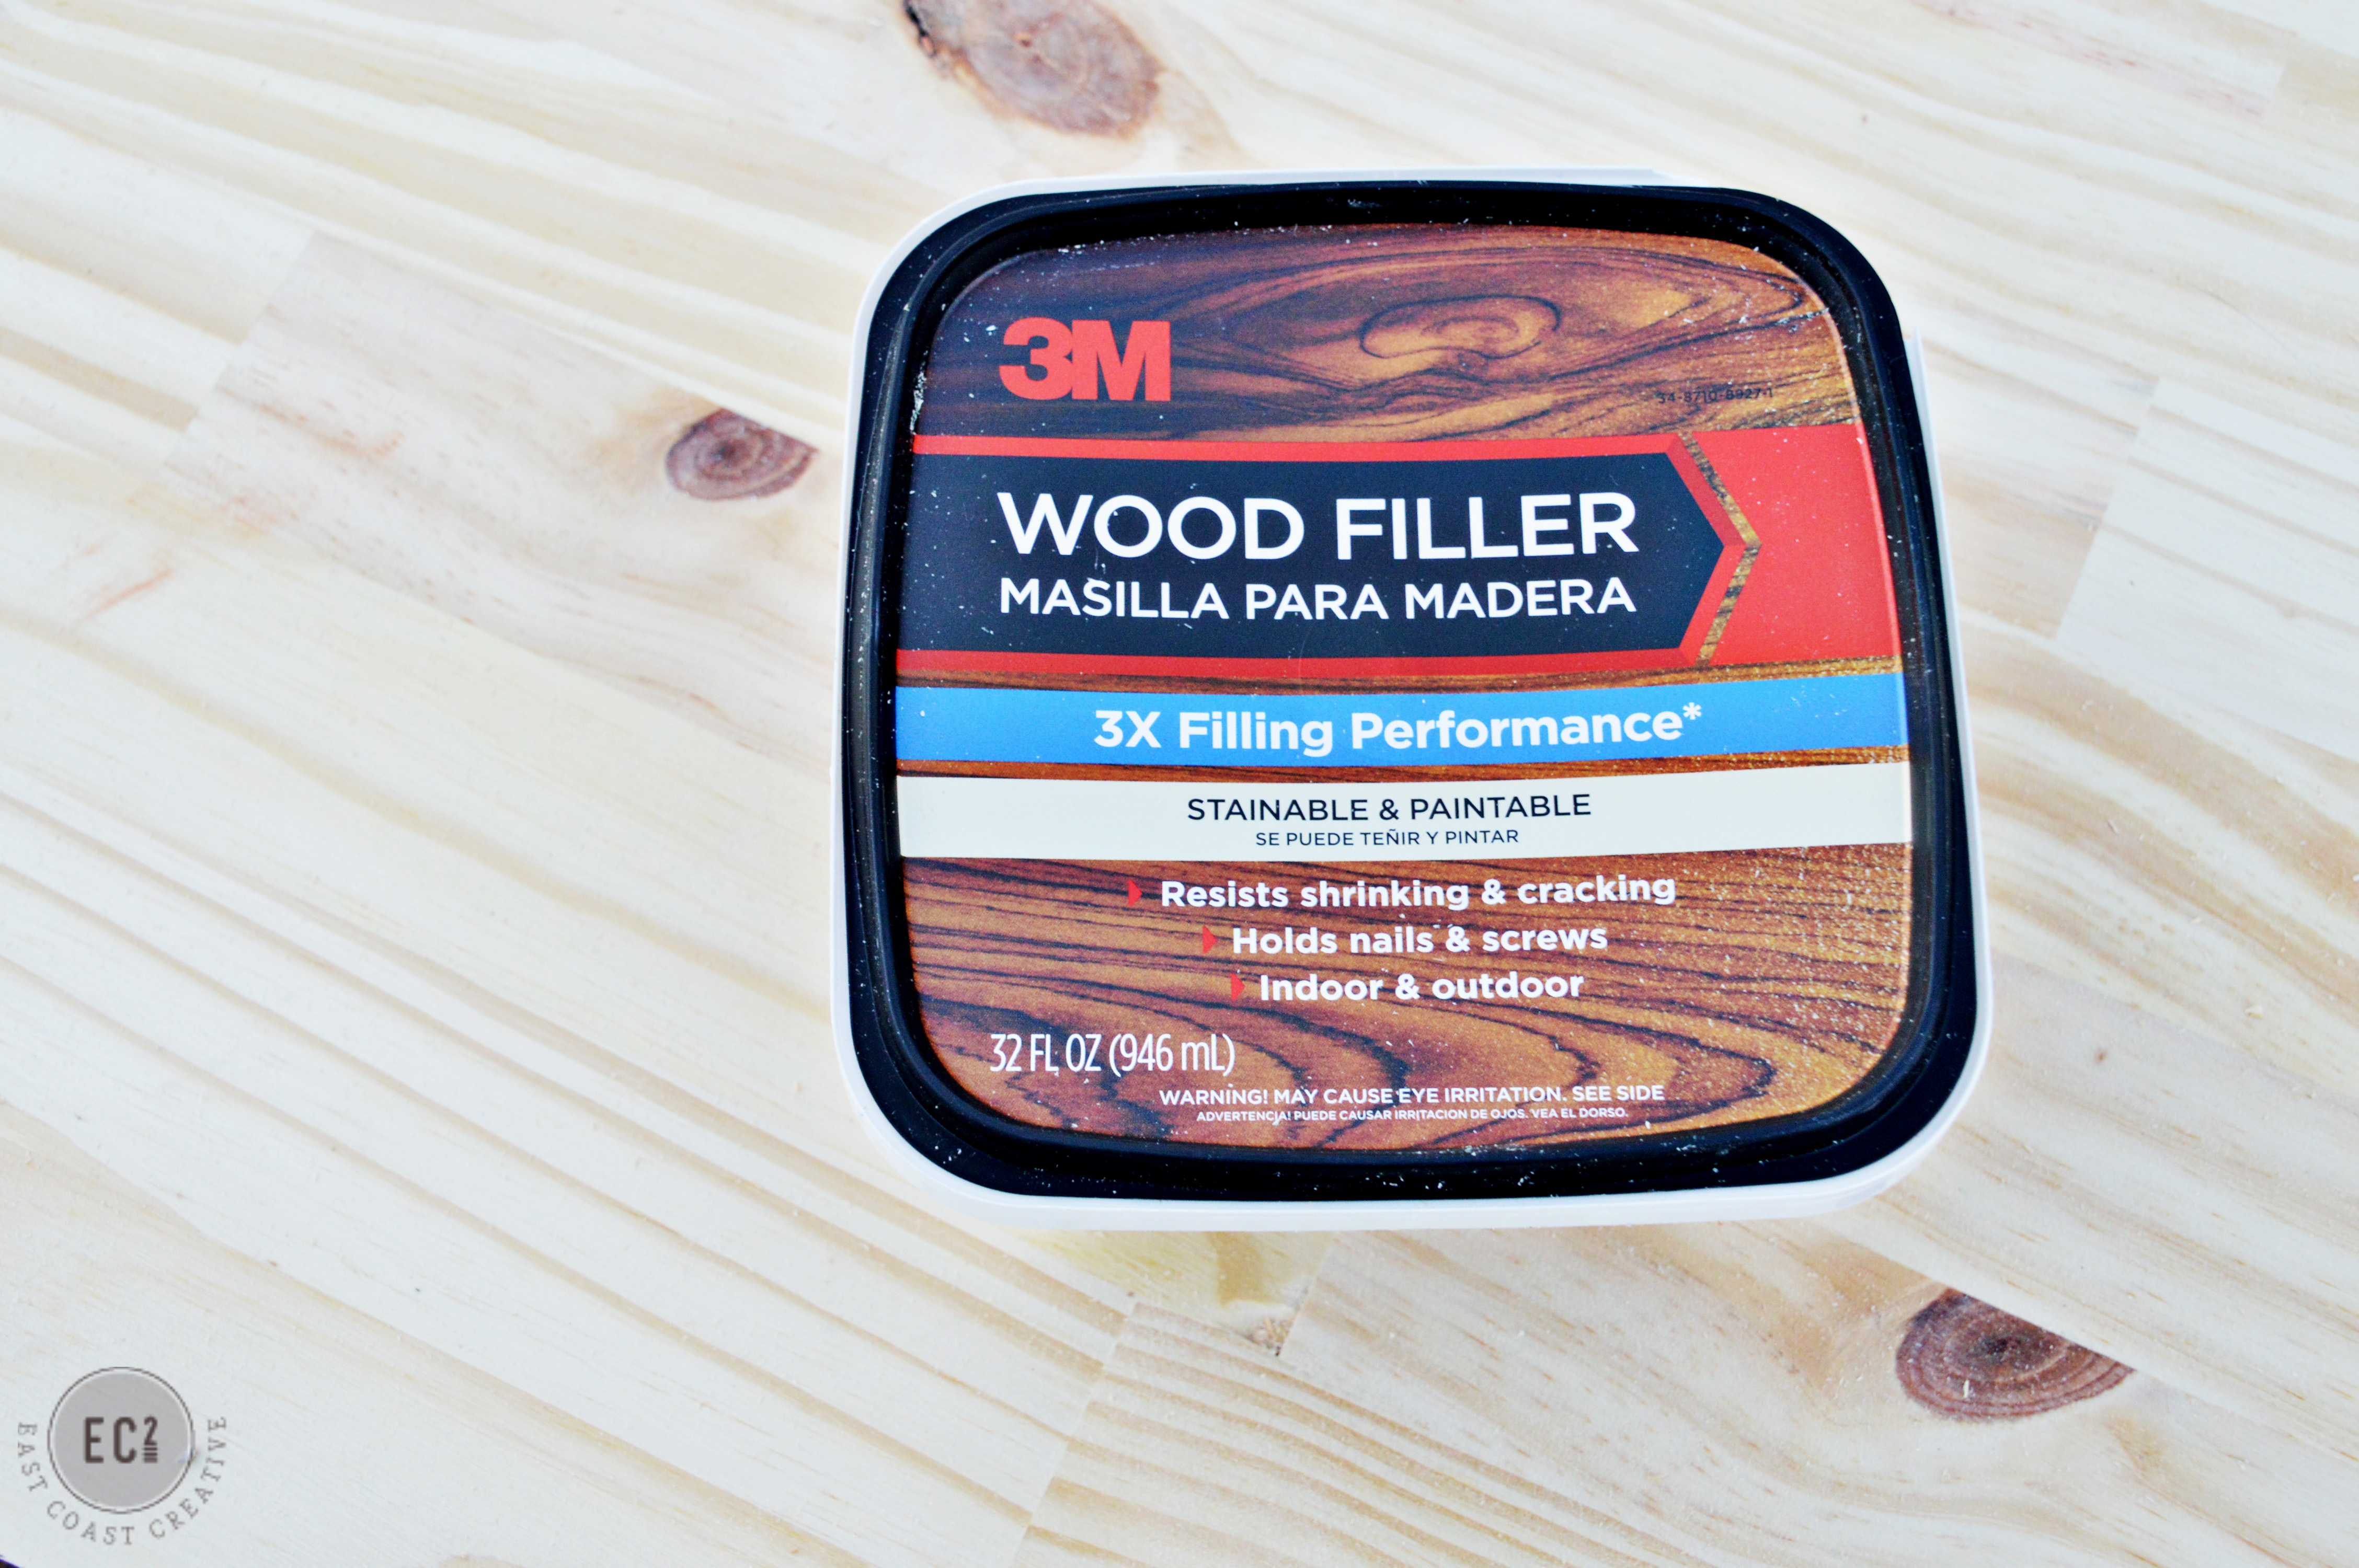
5- Sand. Fill. Sand. – Using 3M™ Advanced Abrasives (SandBlaster™ Pro with No Slip Grip™) I gently sanded the edges of my piece, so it seemed finished, but not rounded. I had a lot of tiny nail holes, so I filled them with 3M™ Wood Filler– be picky about this, especially if you plan to stain your piece. The 3M filler is stainable and paintable and honesty, I can’t even tell where my holes used to be!
5- Stain, Paint, Do Both, or Nothing- How you finish your shelf is 100% up to you! For the display shelf at The Freedom Boutique I left the natural wood and just used polyurethane to seal it.
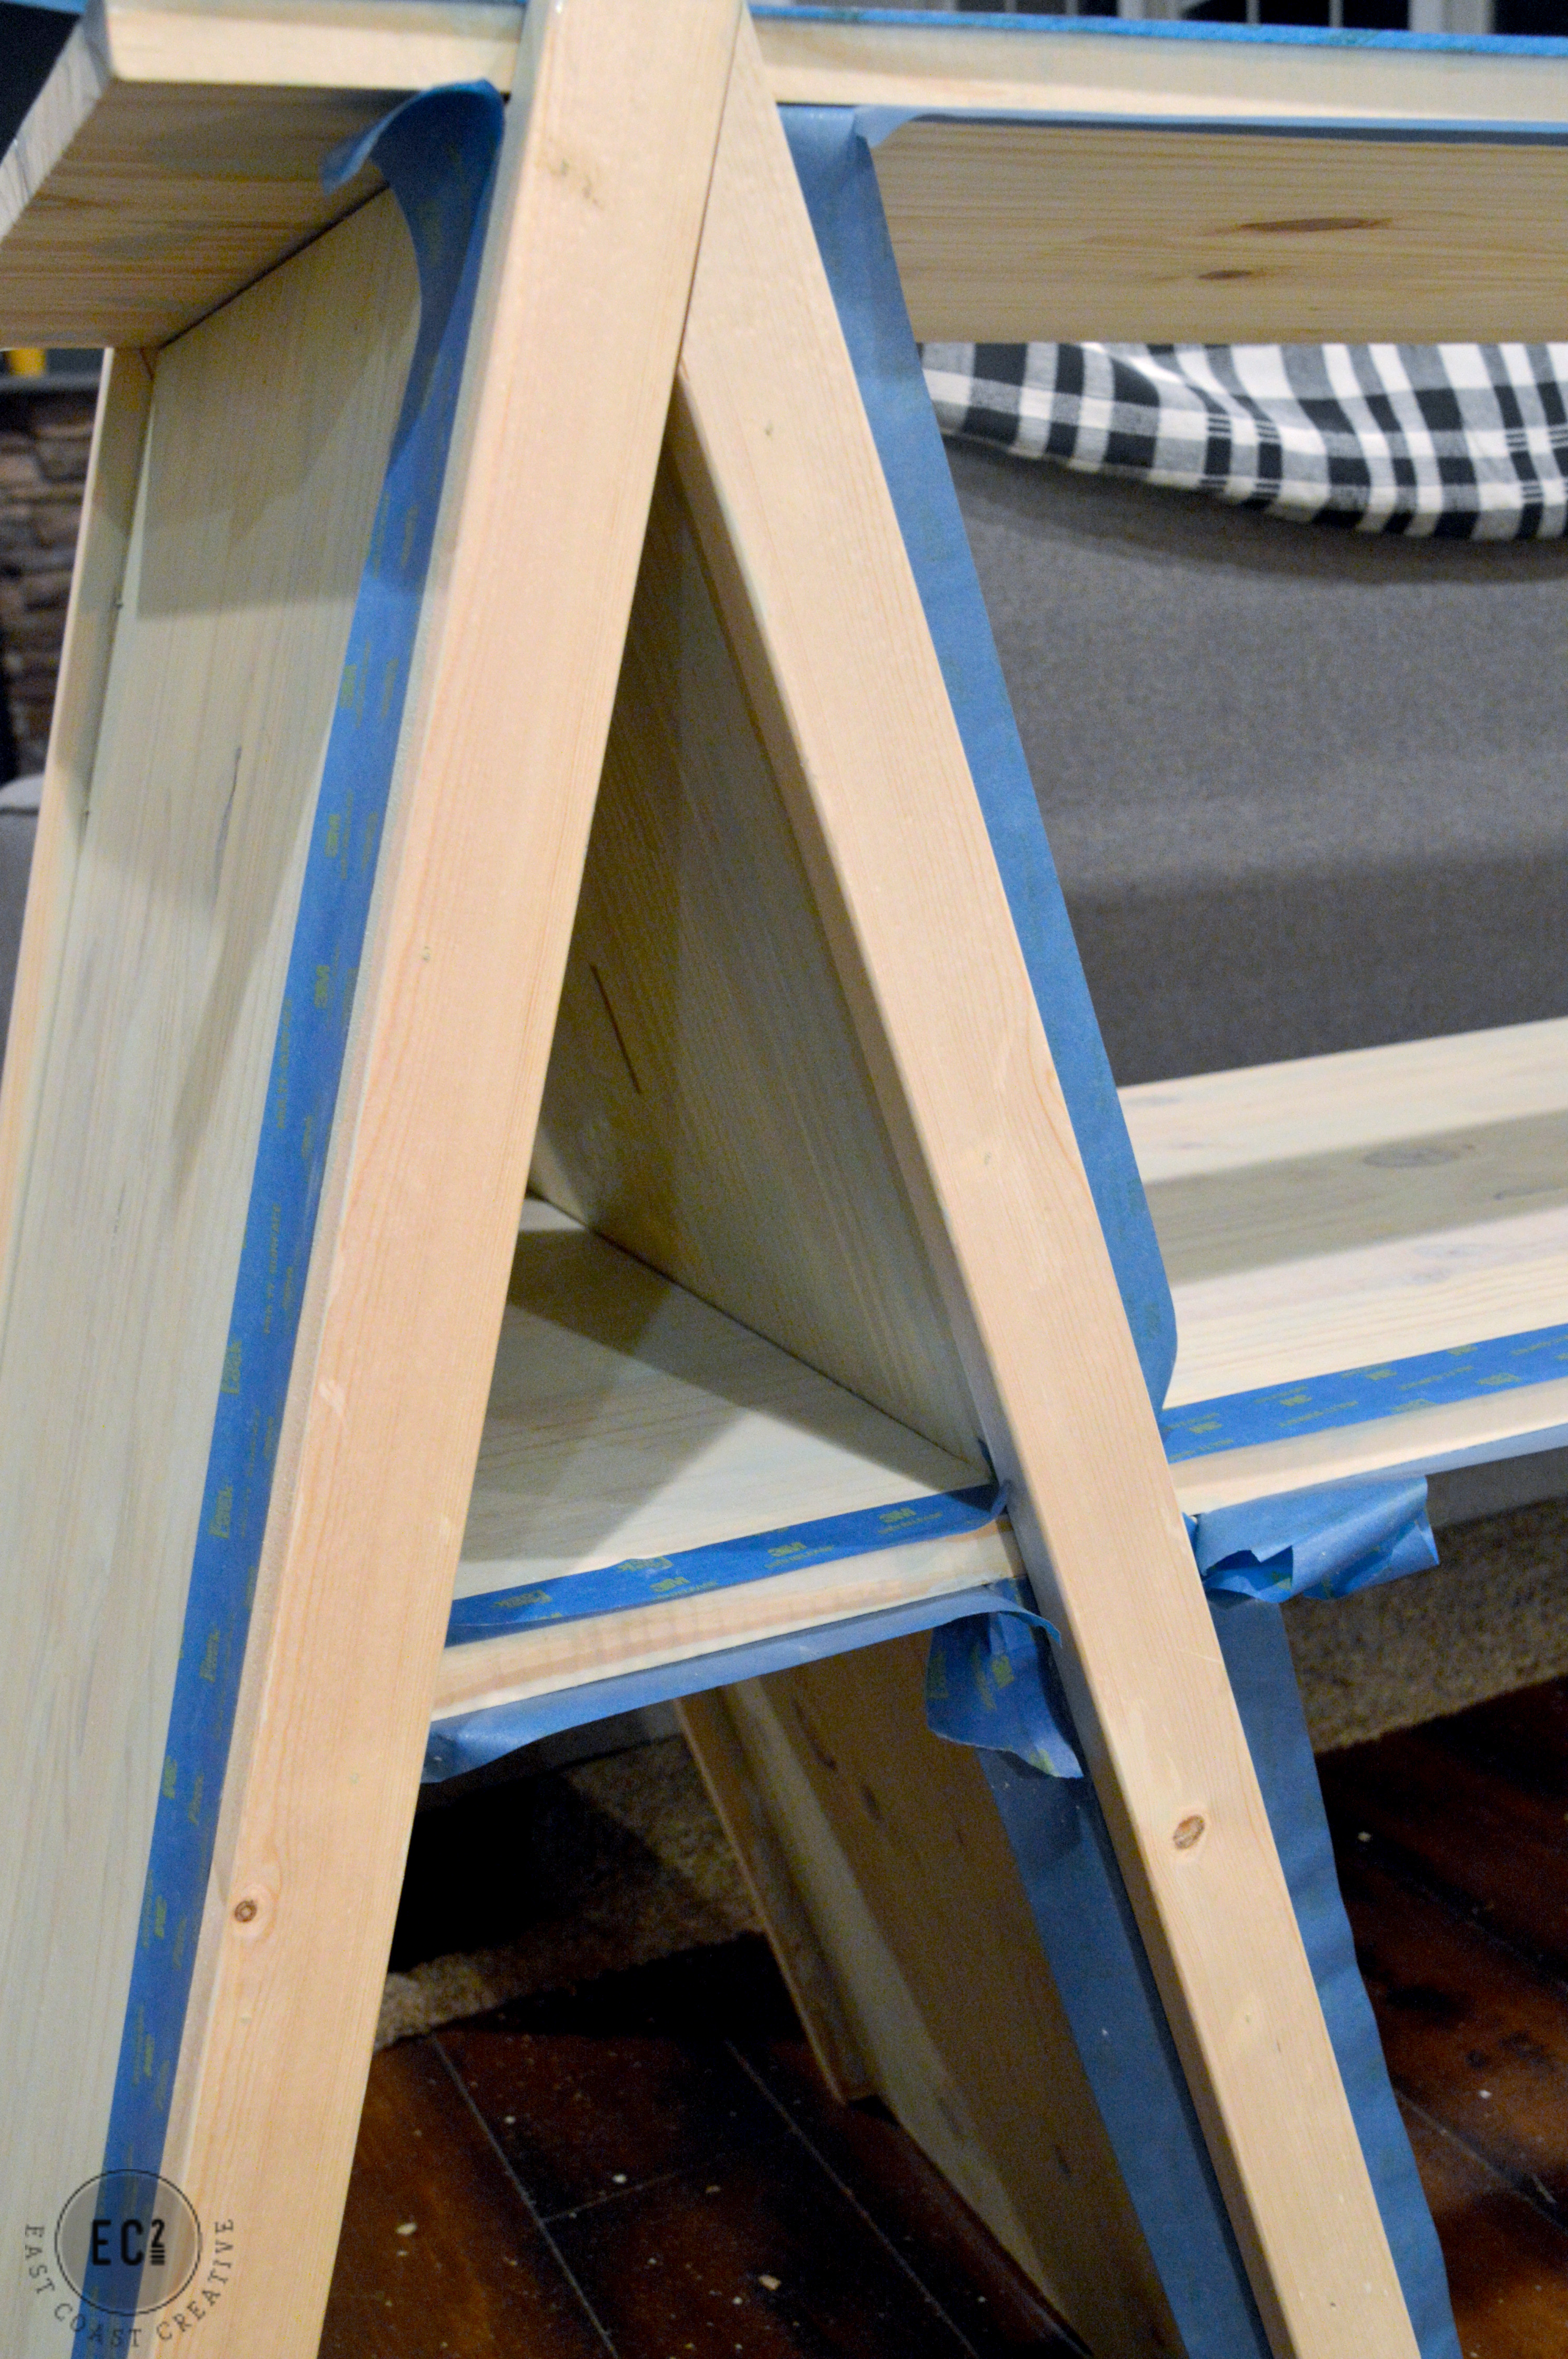
For my own shelf, I used a combo of stain and paint. I used Rust-oleum® Mineral Green Wood Stain (a current fav) on the whole shelf, except for the edges.
I used 3M™ Safe Release™ Painter’s Tape on the edges so it was easy to trim out the face.
I like how the paint gives the piece a two-tone feel. I’m really in love with my console table. We customized the size to my space and it’s completely unique. No chain furniture store here!
At the boutique, this display bookshelf is one of the first things your eye is drawn to when you enter the store.
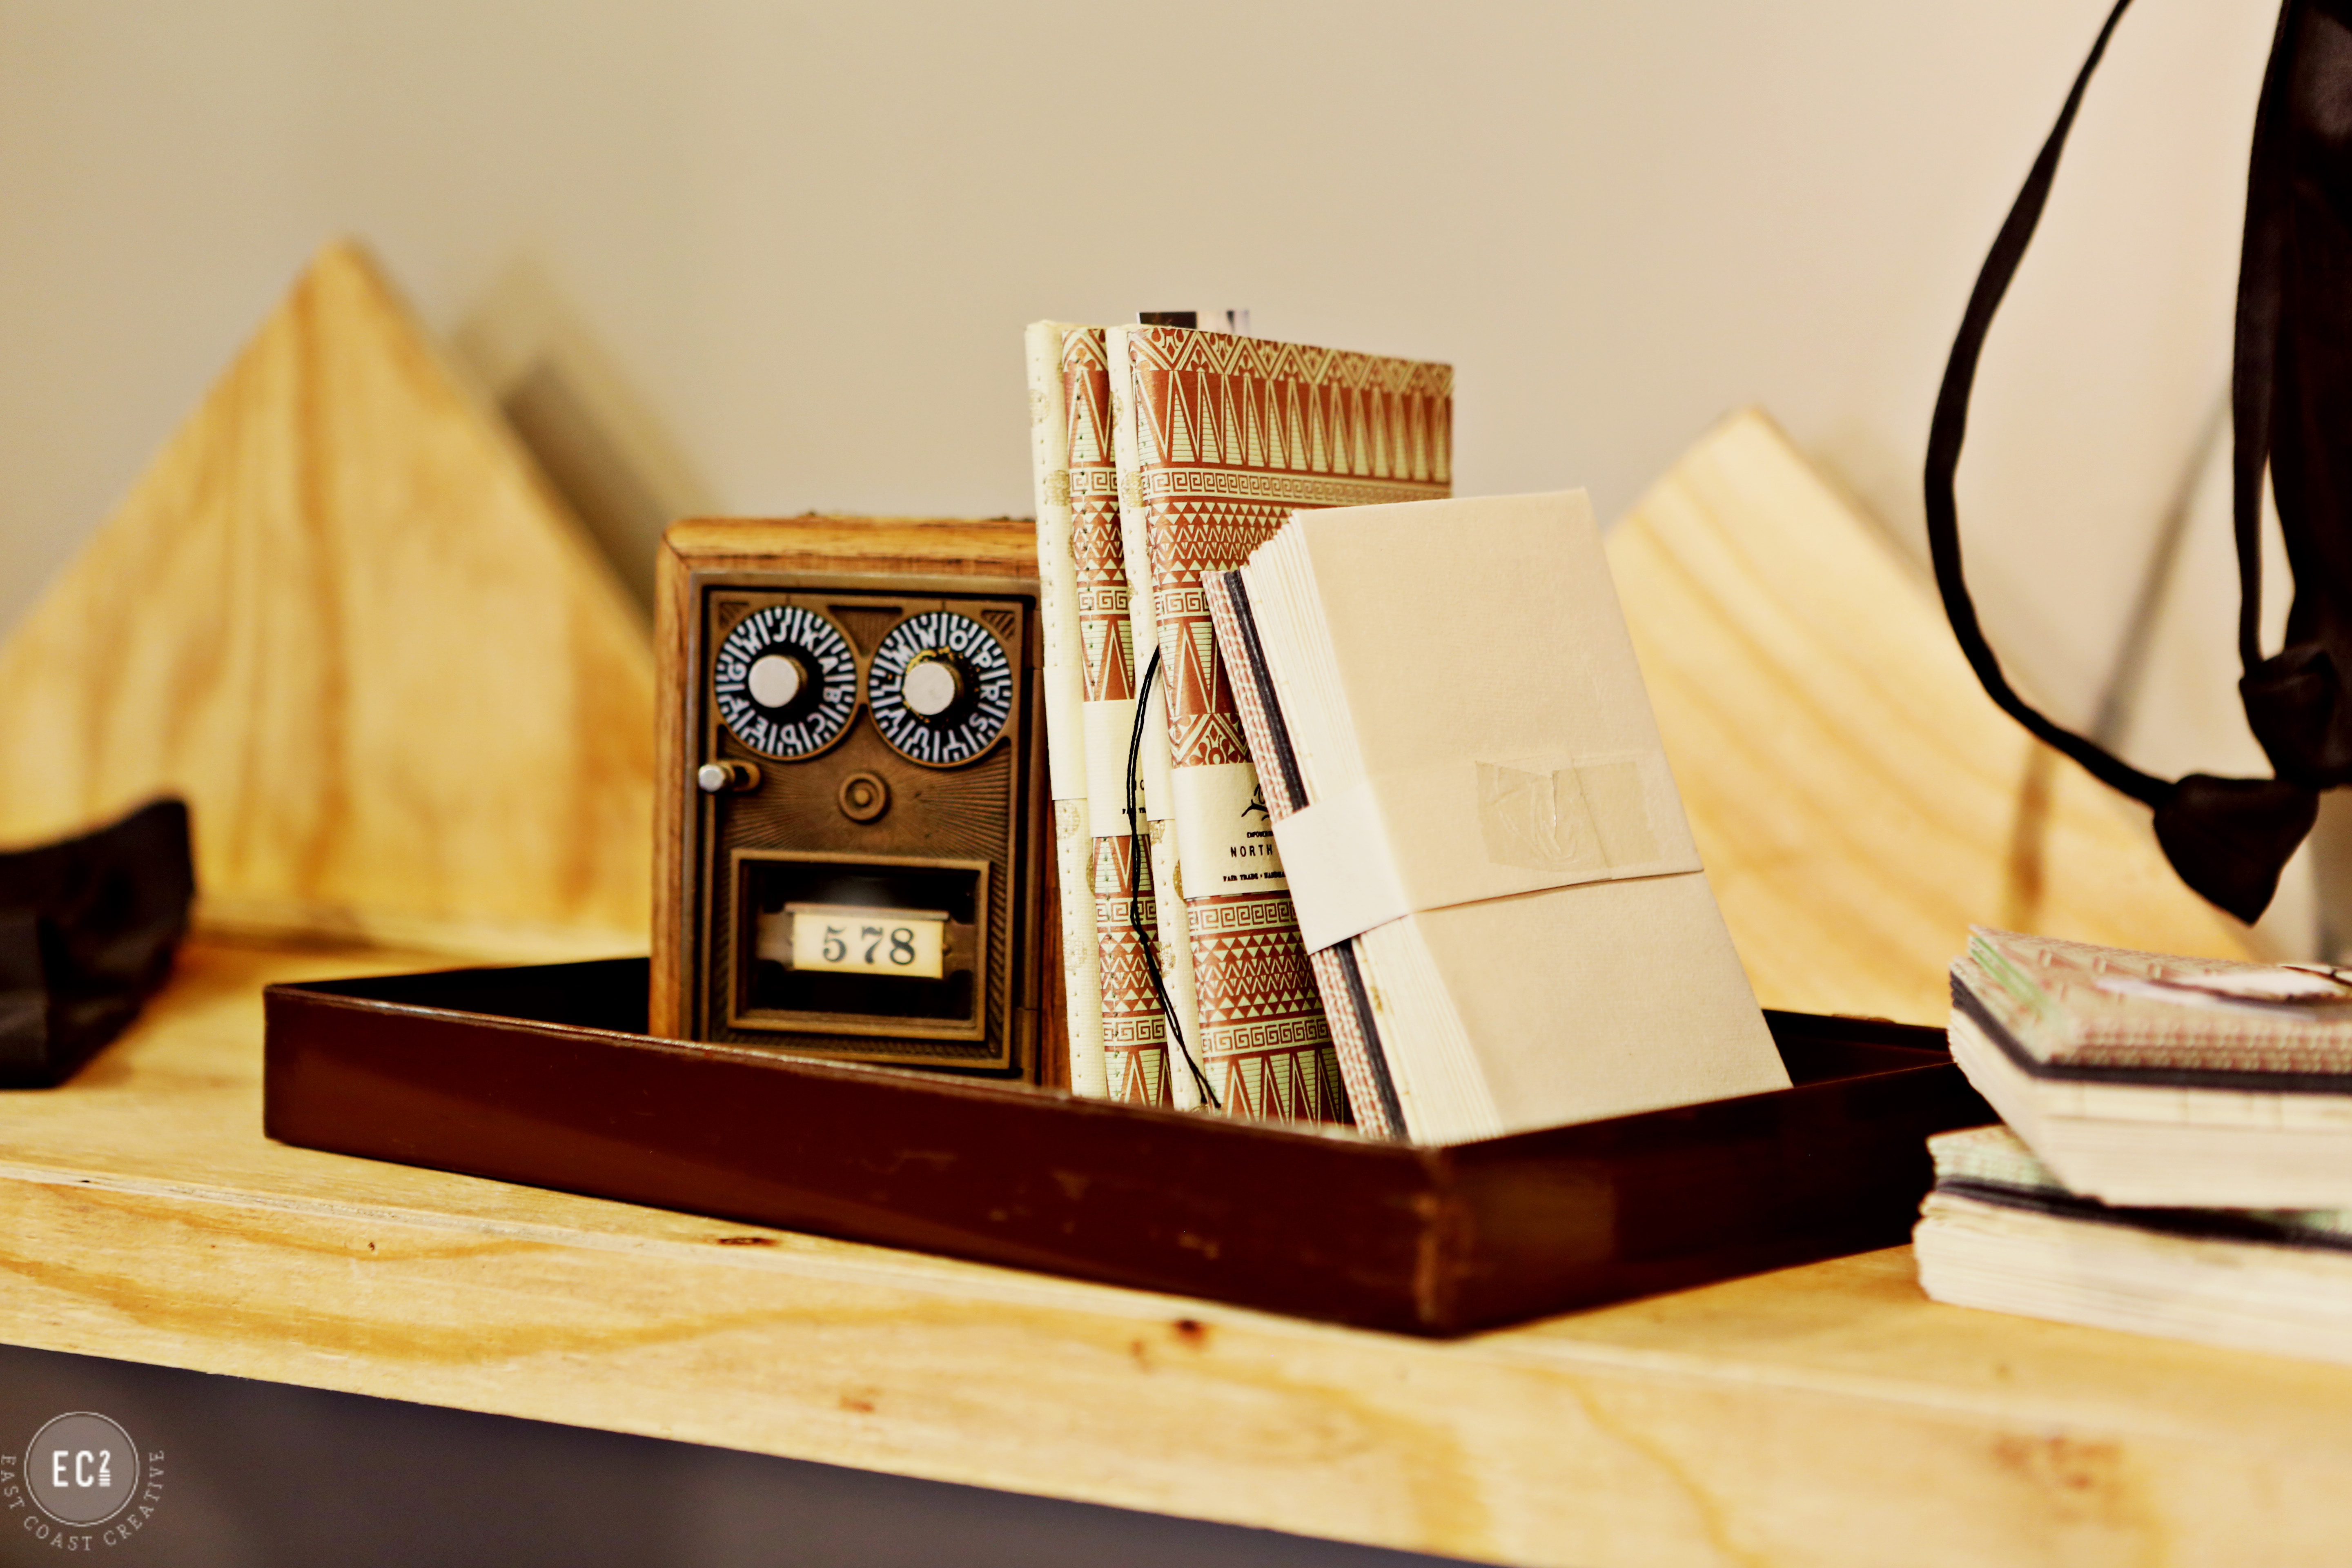
It’s the perfect place to display the handmade items for sale. Items at the Freedom Boutique have been made by women freed from human trafficking or women in programs in high poverty areas, preventing trafficking. The items are amazing and the story behind each one is even more incredible! I bought a bunch of these Raven & Lilly journals for my kids’ teachers as Christmas gifts.

If you’re local to Bucks County, you’ve got to visit The Freedom Boutique. I had an awesome time redesigning the space and being crazy creative with the displays and materials (did I mention that I had virtually no budget?) It was an honor to be a part of such an amazing organization fighting for such a worthwhile cause!
![]()
To learn more about how you can help fight human trafficking, visit Worthwhile Wear.
I’m proud to be a 3M- sponsored blogger, and, as part of my responsibilities, I get the opportunity to evaluate products from 3M DIY. Opinions are my own and additional product used in the project were selected by me.

For more inspiring projects check out the 3M DIY Instagram, 3M DIY Facebook, 3M DIY Pinterest , and 3M DIY Twitter pages.


Best use of cheap wood I’ve seen in a while. I’m sure I’ve got some knocking around in my workshop I could use!
Thanks Nikki! Yeah, the trick to making cheap wood look good is trimming out the face. Makes it instantly seem much nicer- that and the cool angles of course! Hope it inspires you to make something cool! -Mon
I love it — let’s just trade houses!!
I’m bummed that the LiveWell Network is ceasing to be. “Knock It Off” is one of my favorite shows. Although I am fearless in the kitchen, I am intimidated by DIY projects. You and Jess gave me wonderful ideas, but more importantly, confidence to try them. I’m looking forward to seeing your new show. The best of luck with it and I hope 2015 turns out to be the best year ever.