
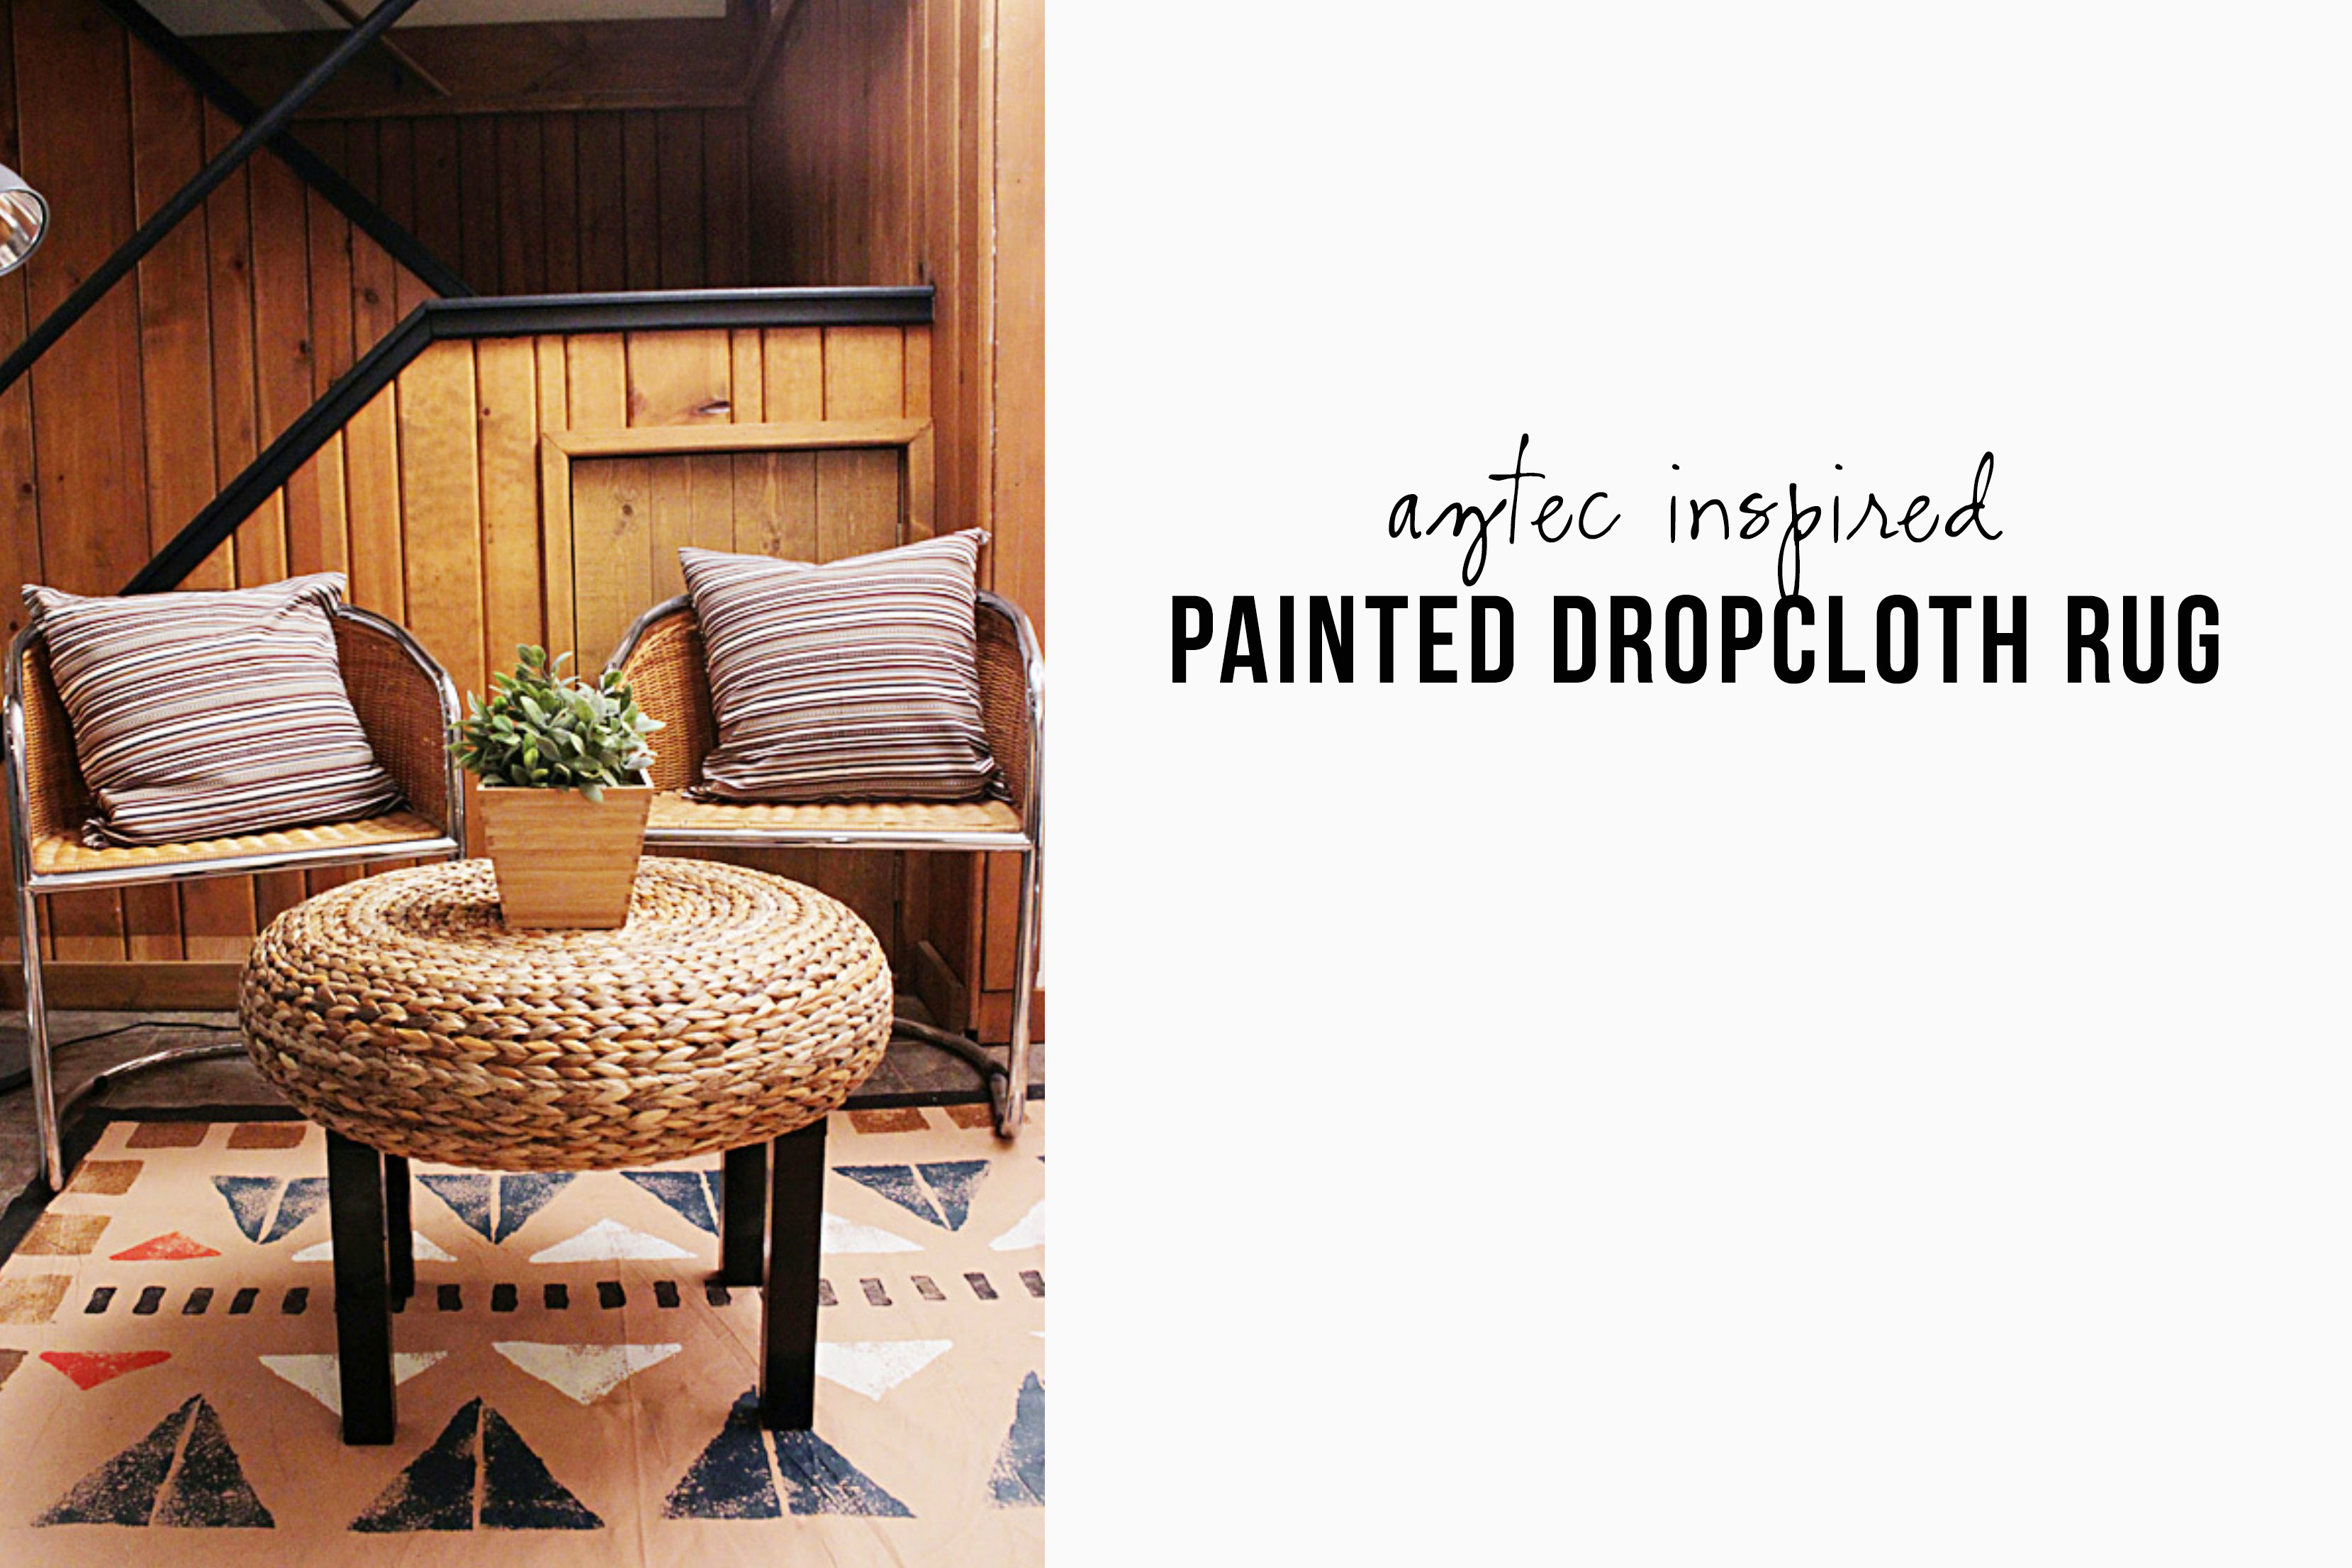
Why are pretty rugs so darn expensive? Please, tell me…why? It’s a crying shame because a great rug can totally change the feel of a room and finish it off so well. Well, on Knock it Off, we are forced to come up with inexpensive alternatives to dress the floor and we found a winner with this painted drop cloth project. Of course, we are head over heels in love with any tribal printed rug, so we decided to give ours an aztec feel, but really, you could do any pattern you wanted. Stripes would look super cool, too! Drop cloths are readily available, cost less than$20 a piece and are very versatile. The key to turning a plain jane drop cloth into a rug is using several coats of paint to give it weight and stiffness. The process is ridiculously easy, and the possibilities are endless with your design!
Here’s what you need to make your own:
(1) 6×9 drop cloth
Sponges
Base paint color
Various paint colors for detailing
Paint tray and rollers
Serrated Knife or scissors
Painters tape

Step 1: Lay the drop cloth out flat after ironing it.
(Oops! In the crazy time crunch that is TV world, we forgot to iron!)

Step 2: Using a roller, paint the drop cloth with your base color.
Let dry and repeat again with a second and third coat. Don’t skip this step! In order for your rug to stay put and not slide around, you want to make sure it’s stiff and sturdy, which is what several coats of paint does for the drop cloth!

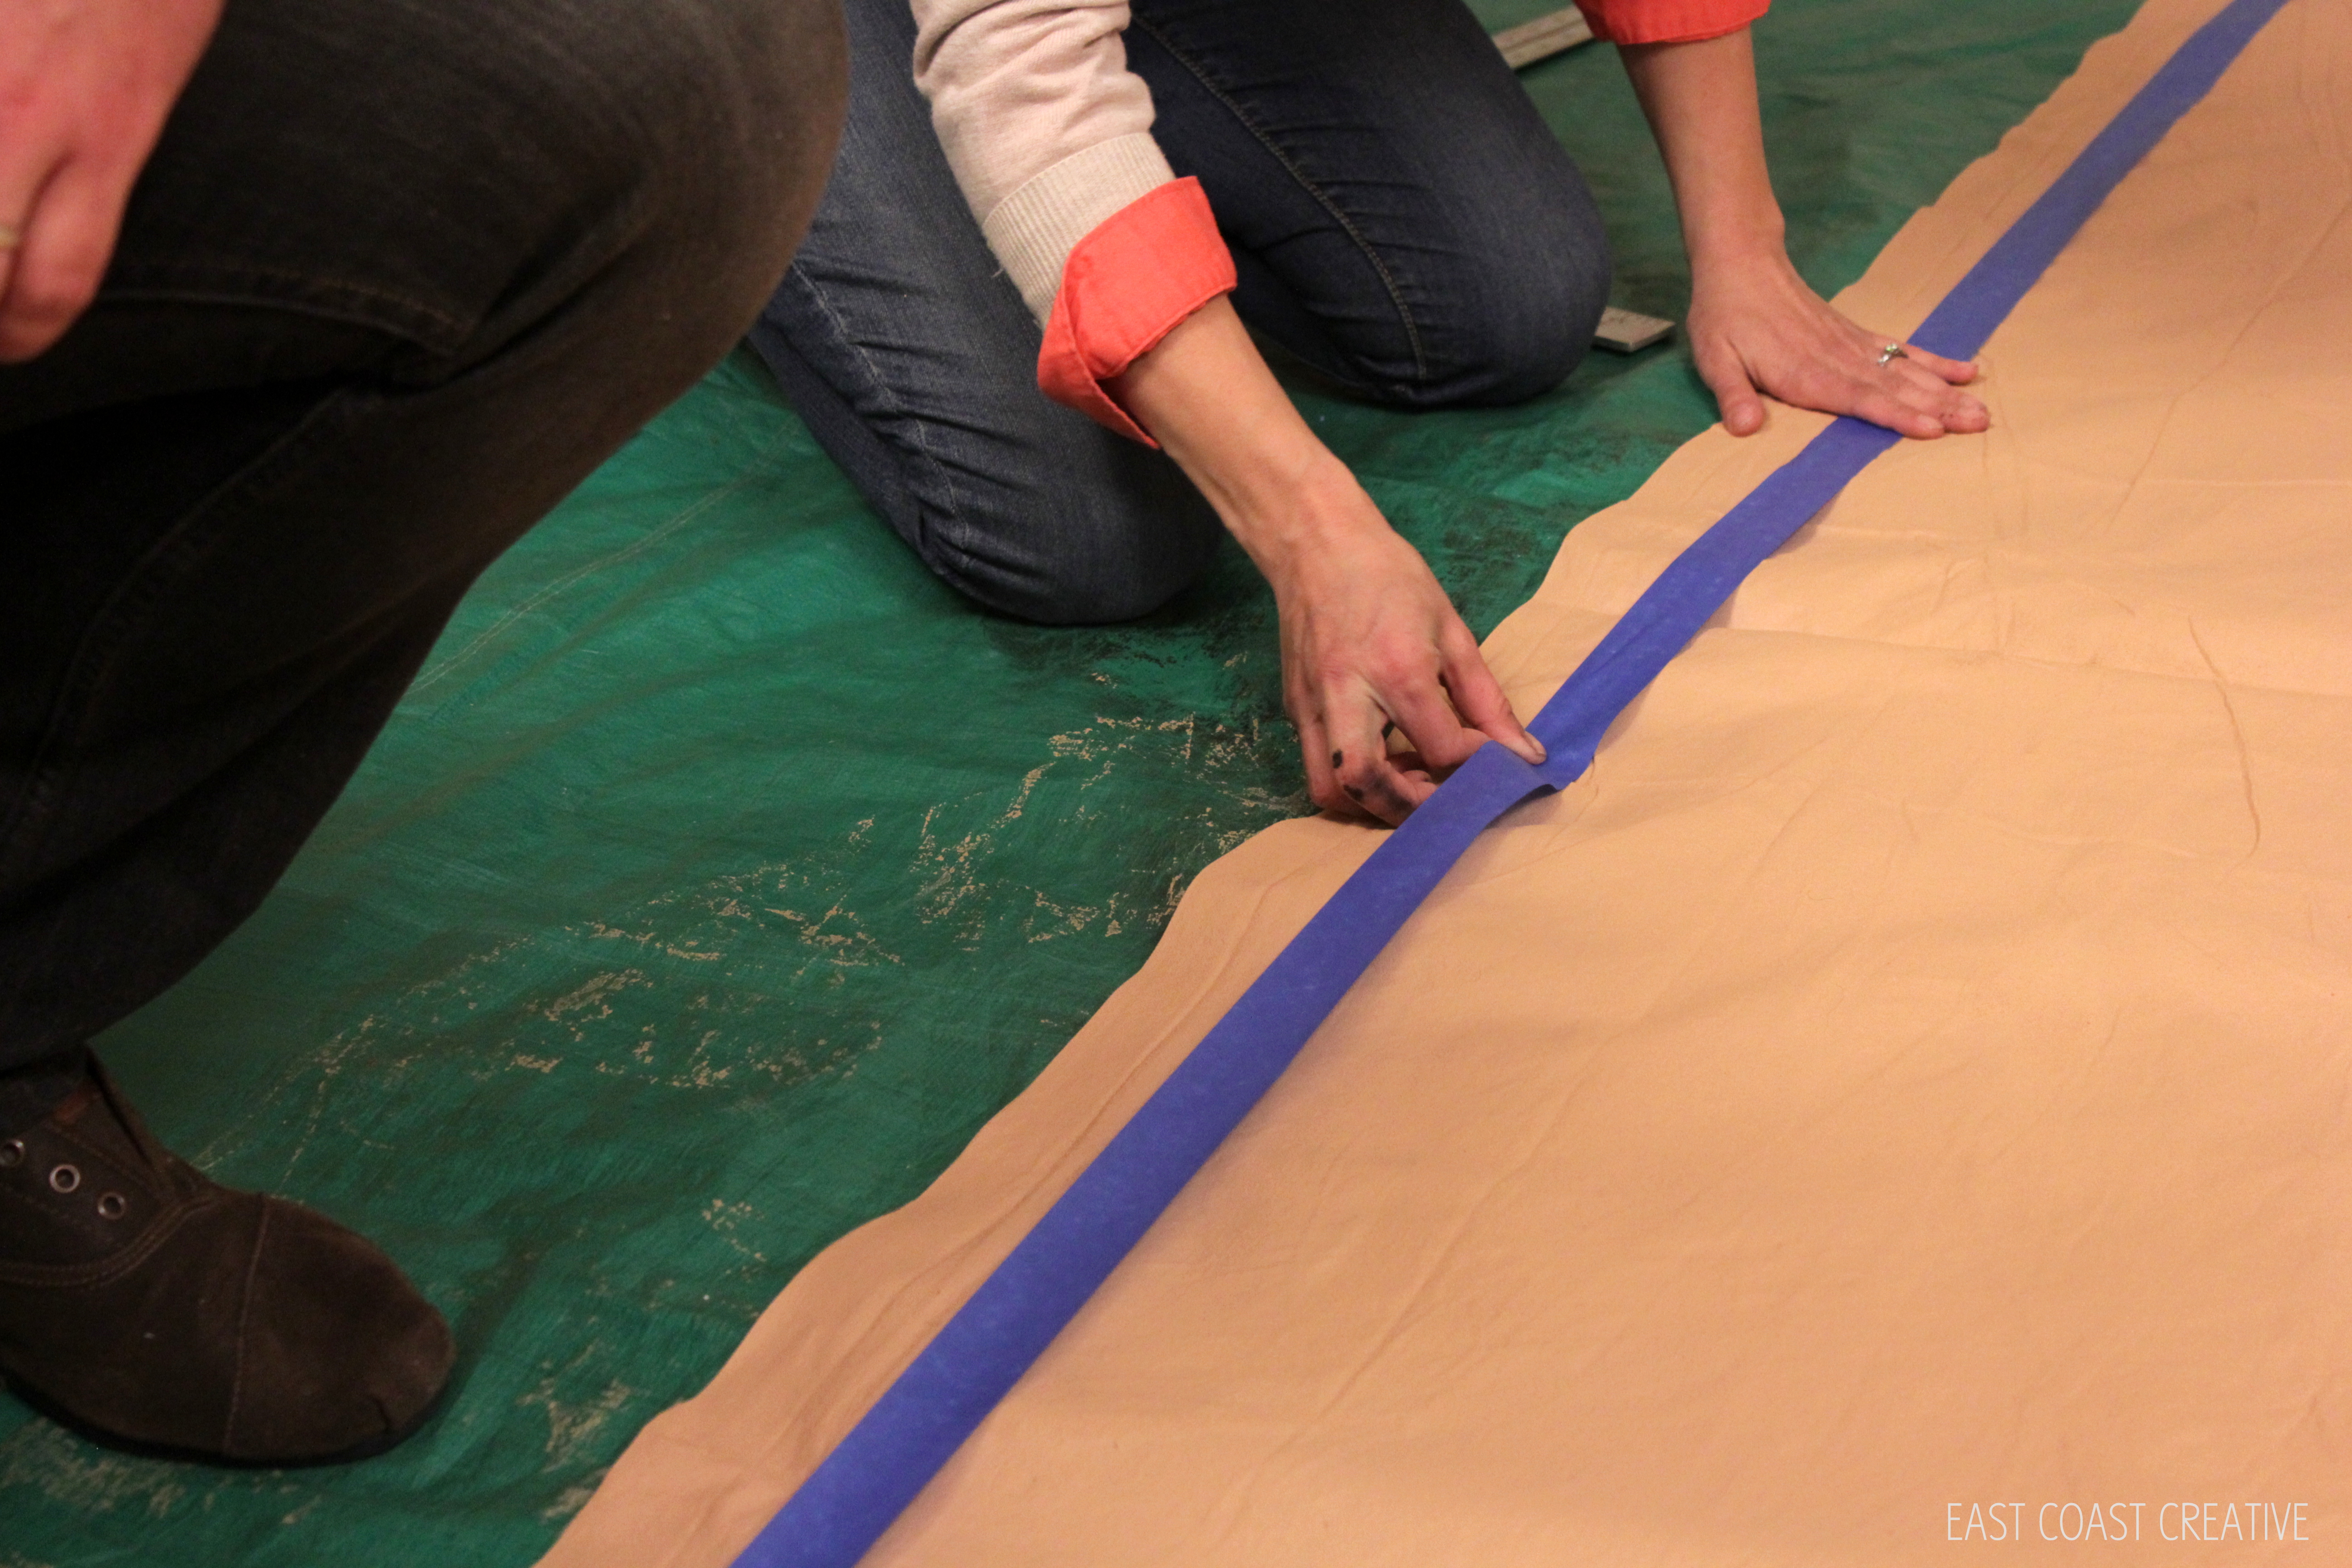
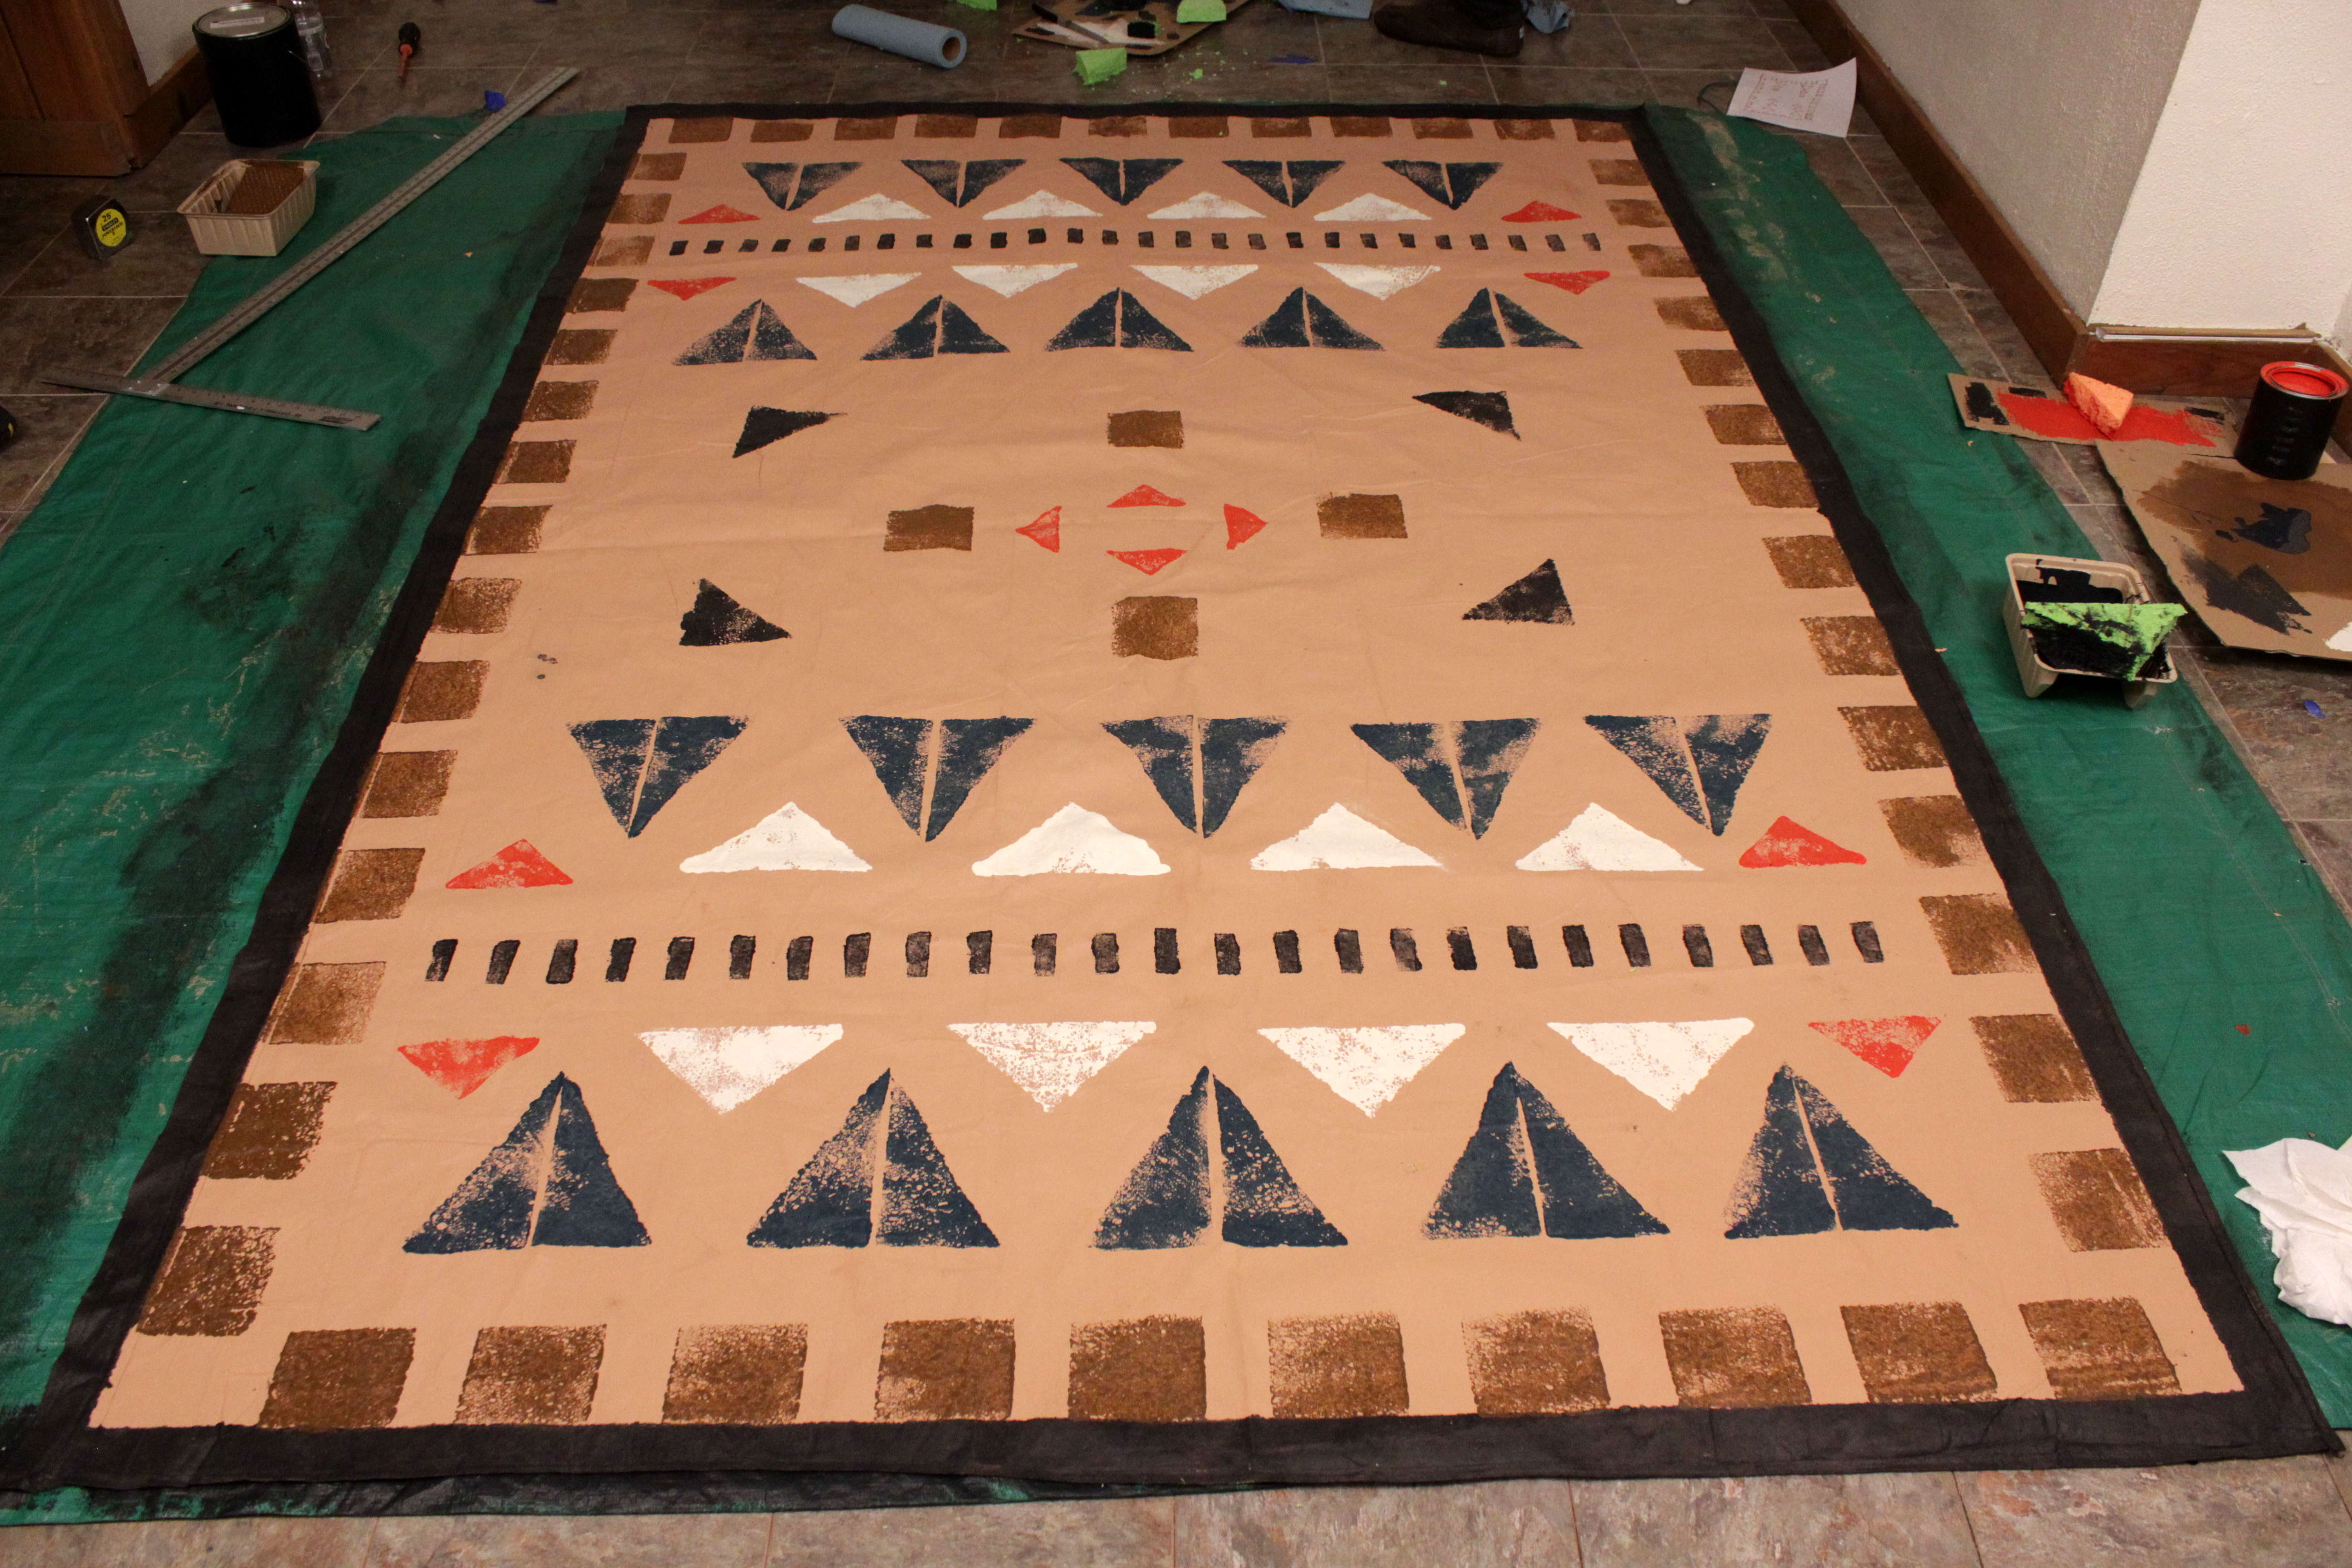
Step 3: We wanted a border for our rug, so we taped a 2 inch border all the way around and painted it black. We like that the border gave our rug a bit more definition and style, but you don’t have to do a border.
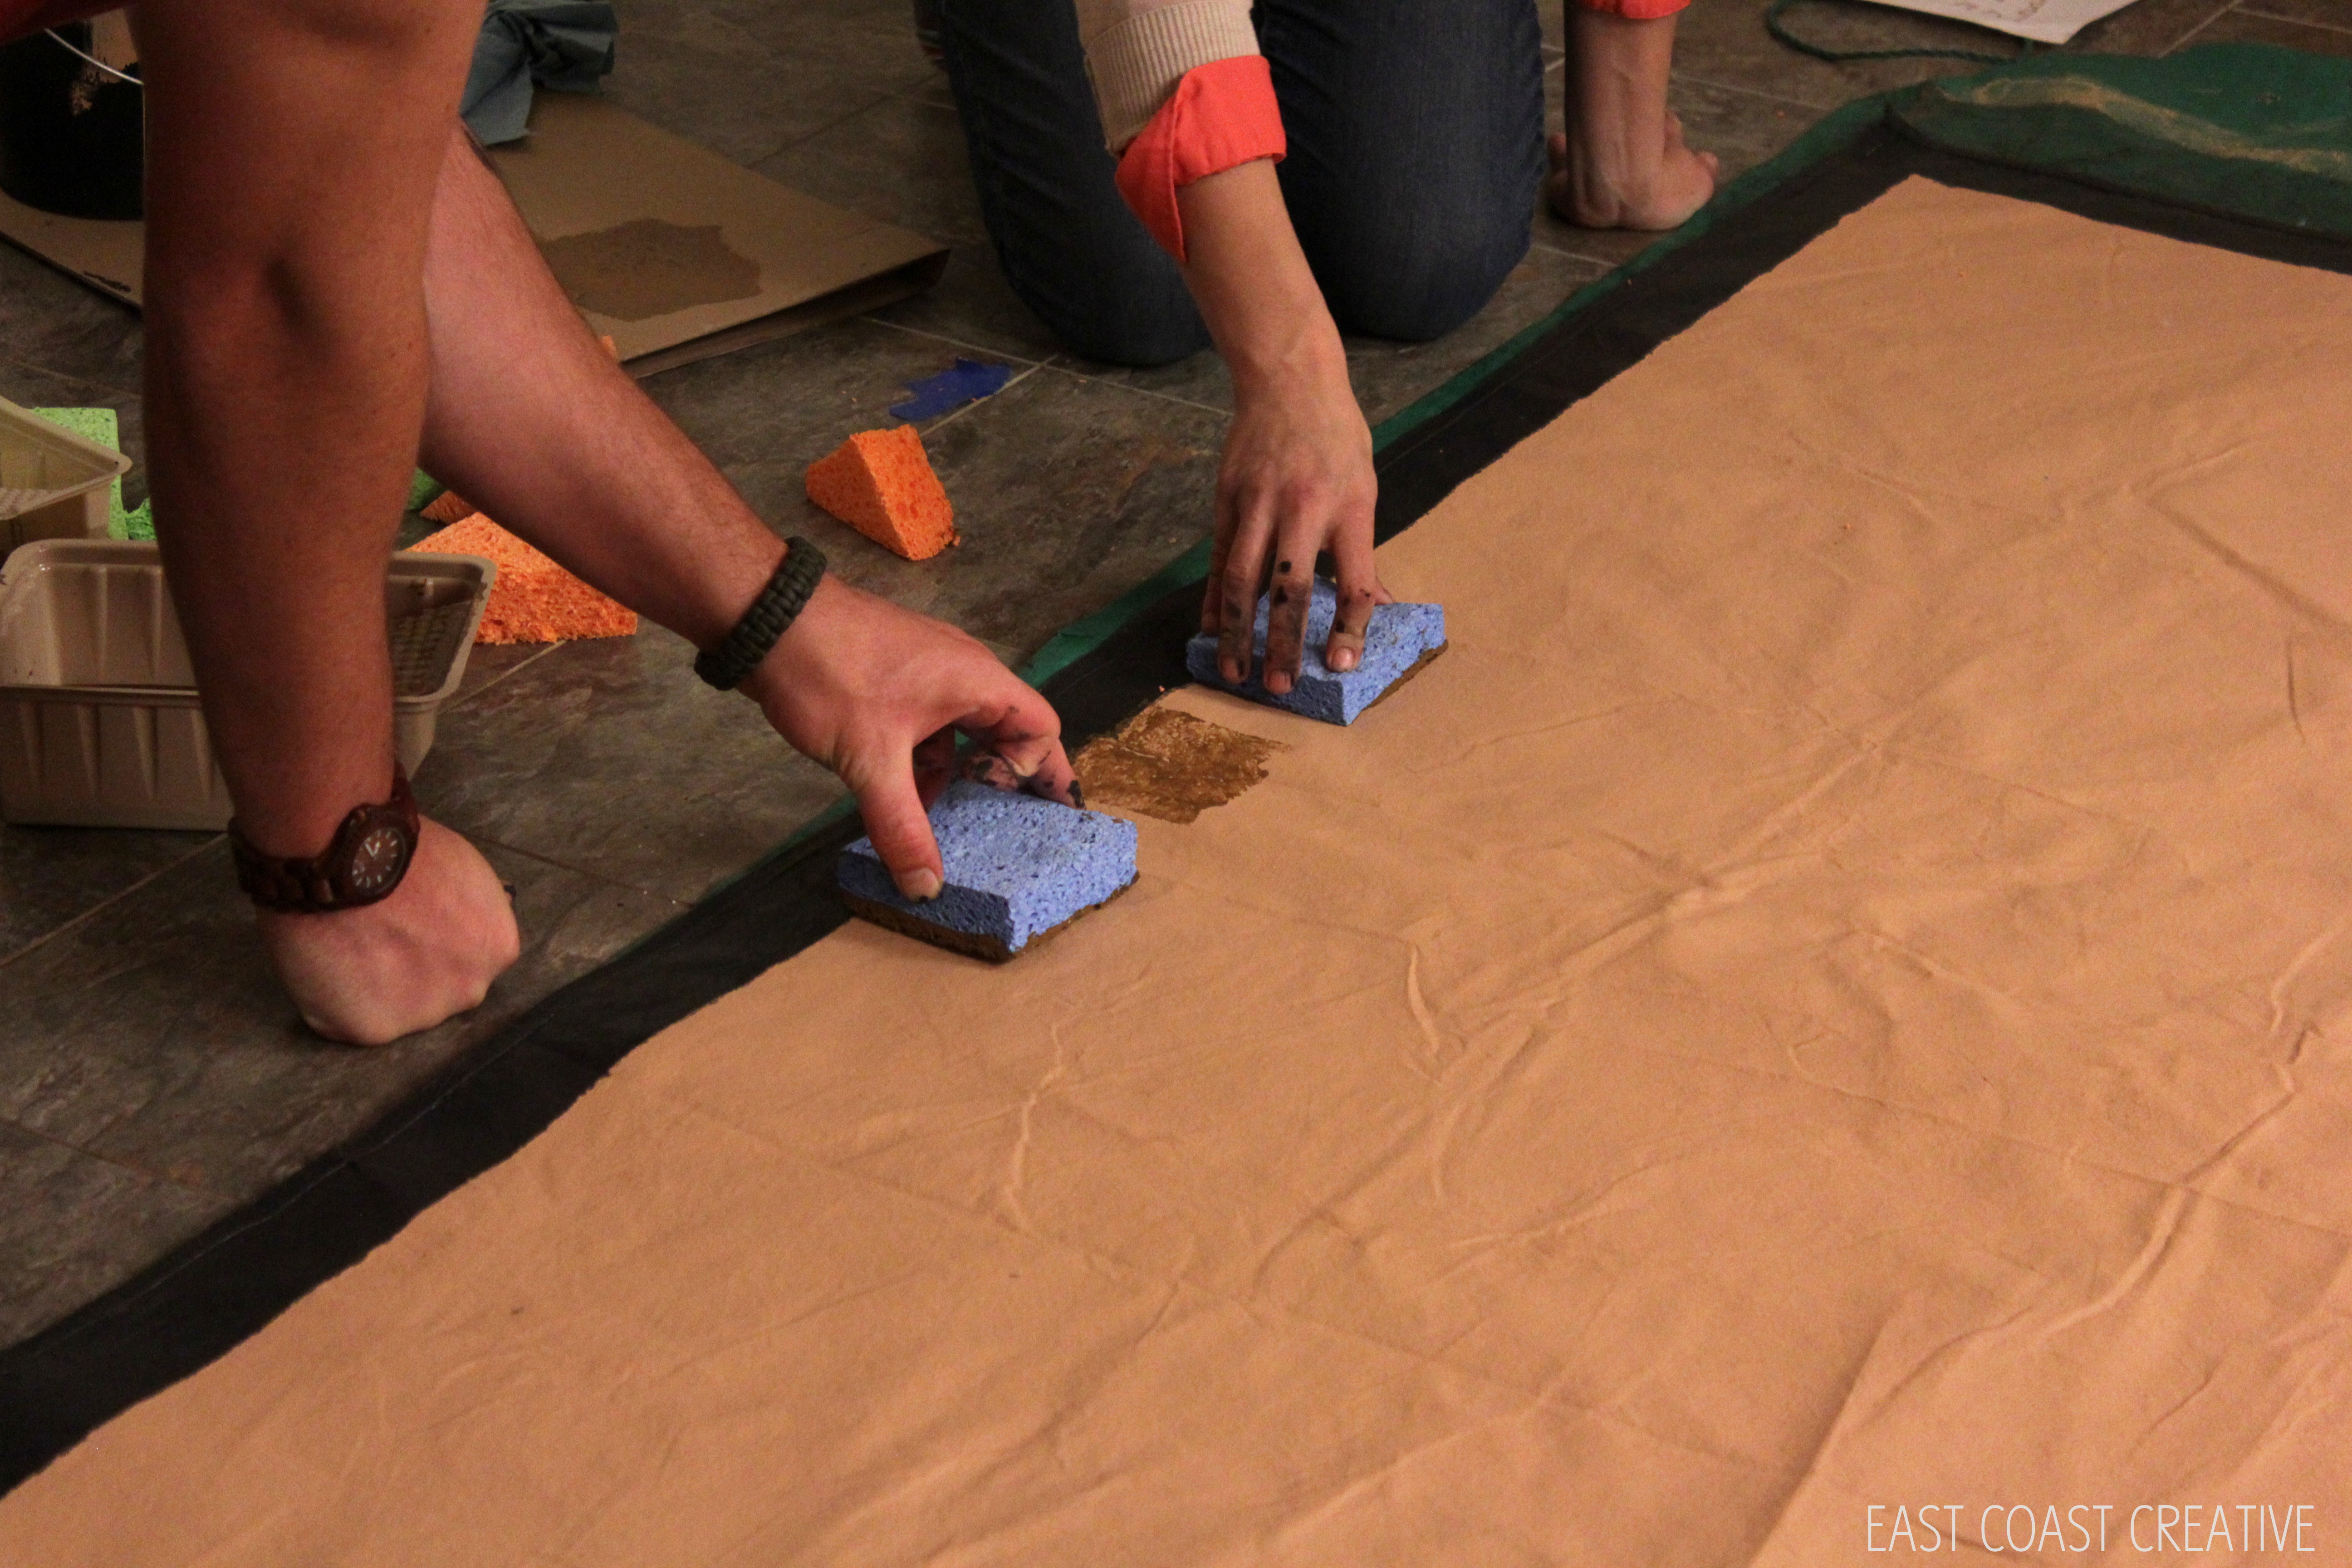
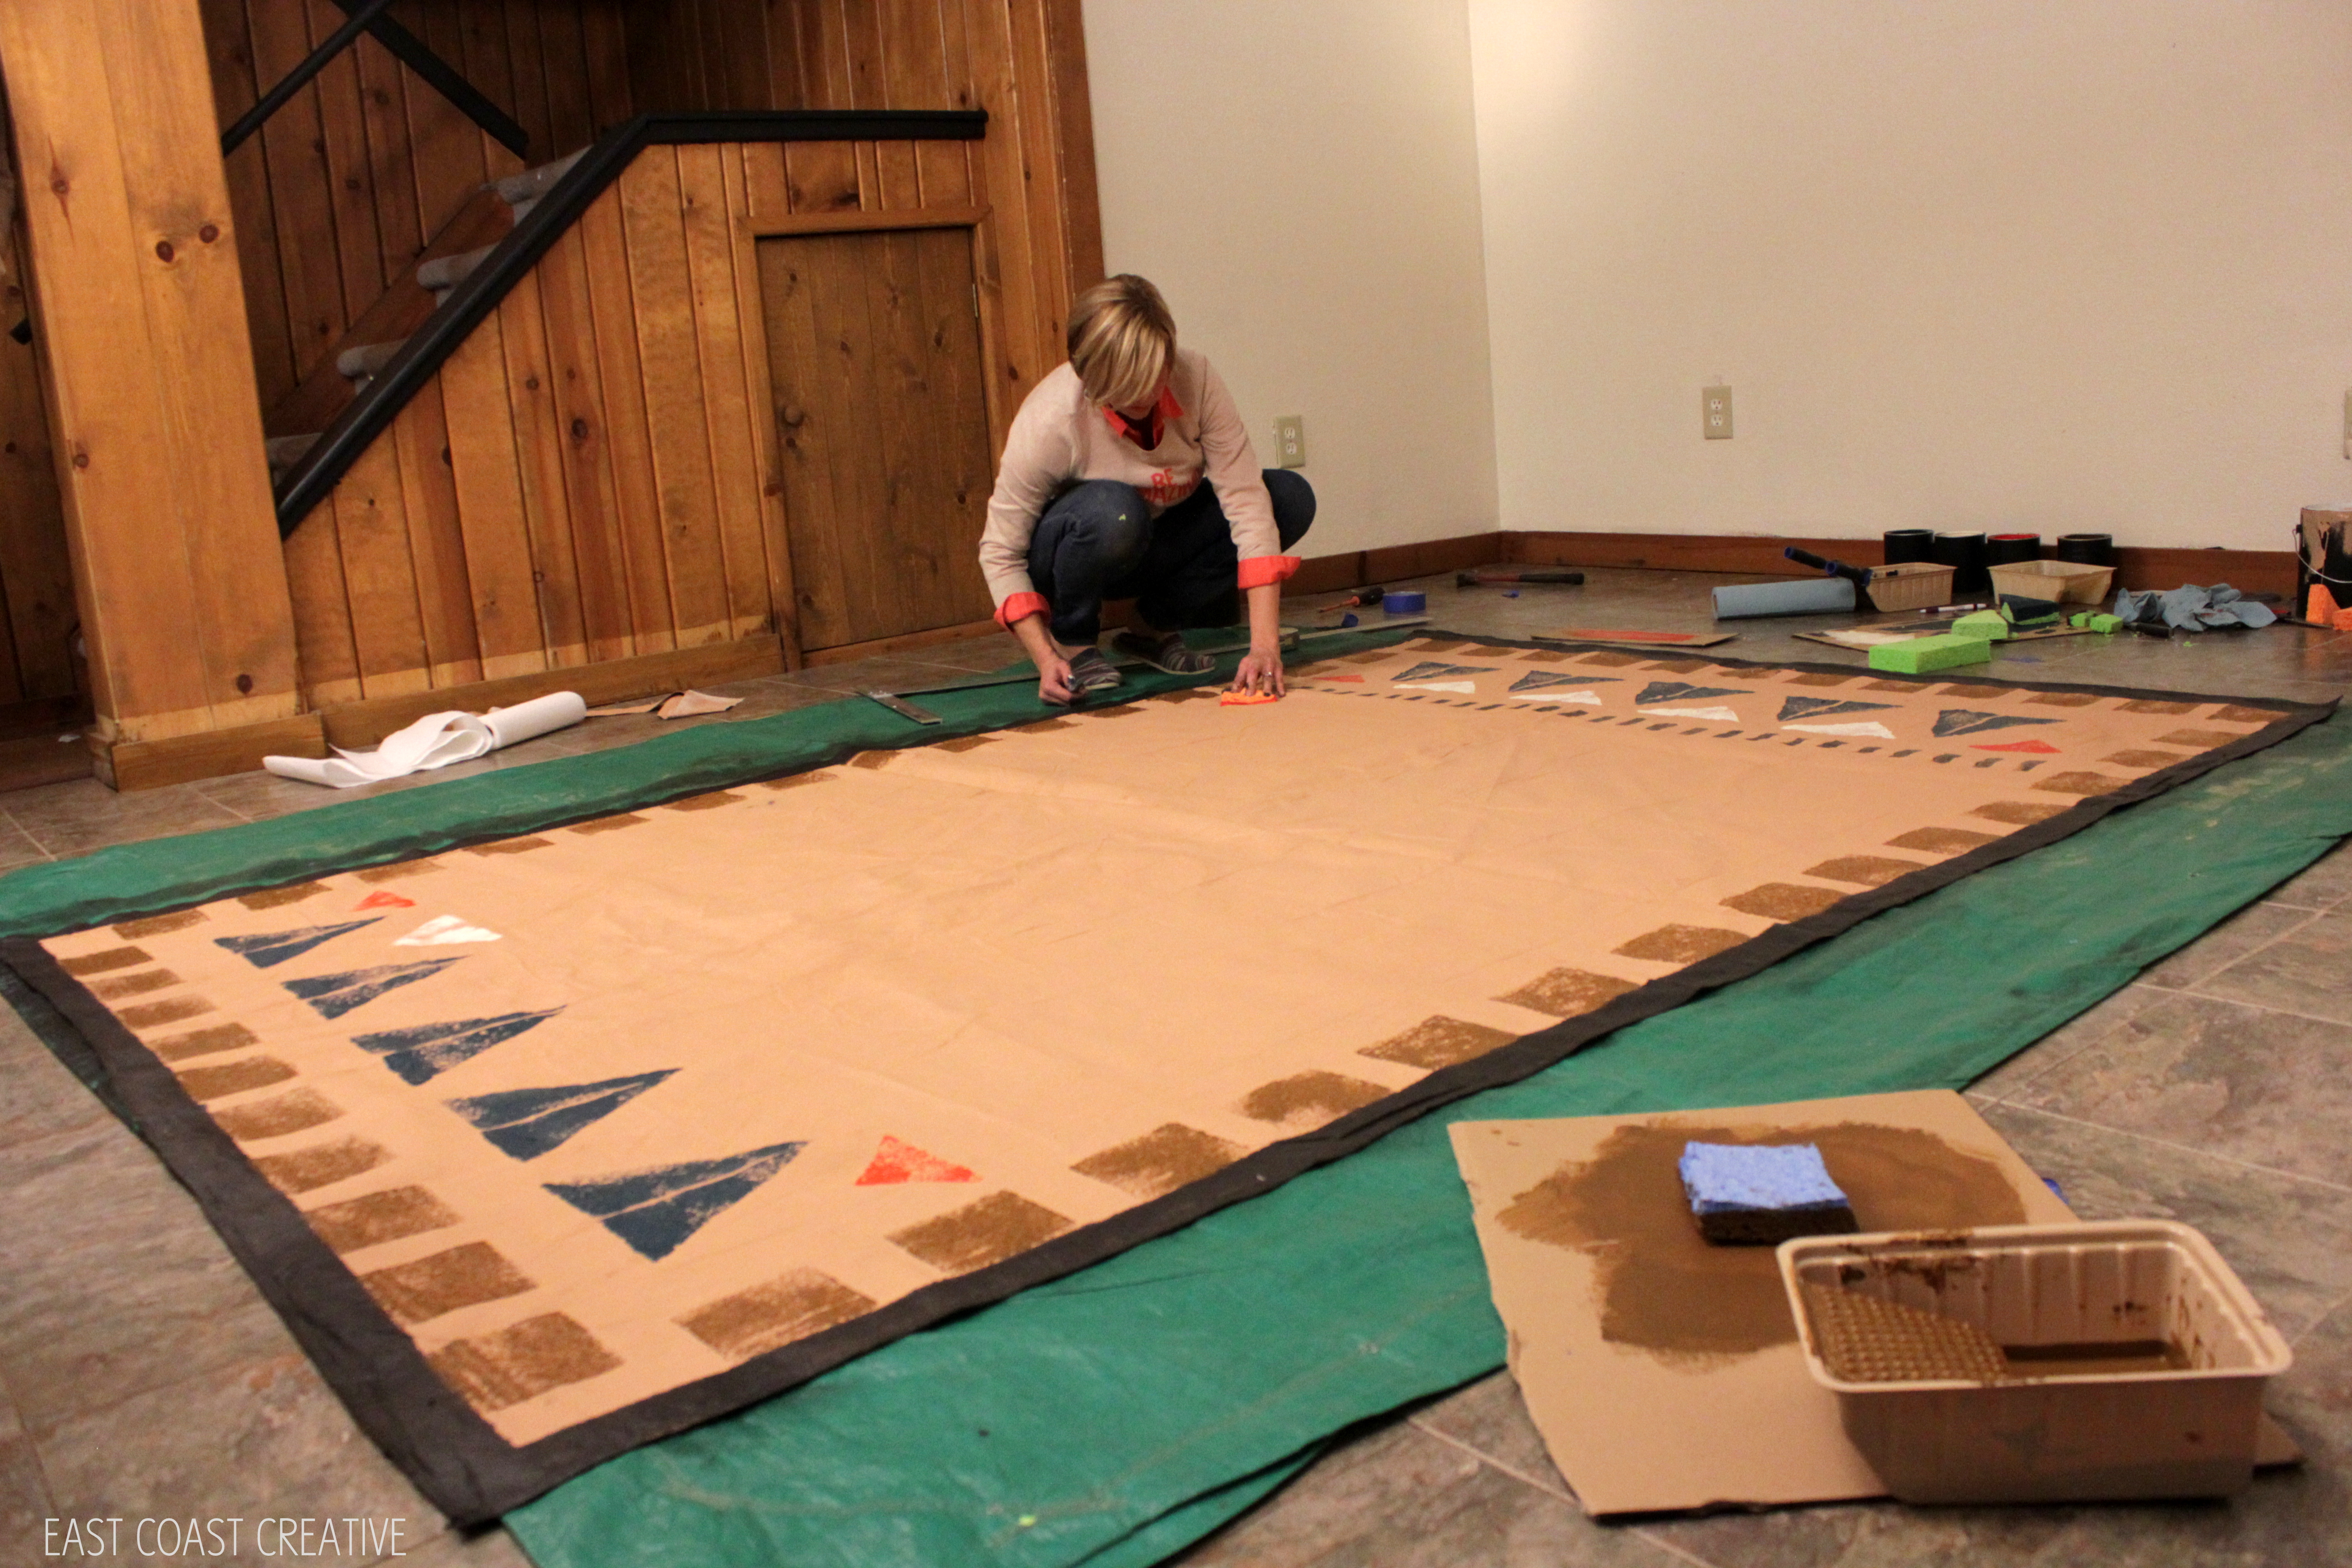
Step 4: Cut the sponges into different shapes using a pair of scissors or serrated knife. Aztec rugs are categorized by lots of geometric shapes so we went with triangles, rectangles and squares in varying sizes.

Step 5: Dip the sponge in the paint making sure to evenly coat the entire shape. Offload onto a piece of cardboard or paper towel before stamping on the rug. For clean lines, place the stamp straight down onto the rug and gently apply pressure over the entire shape. Don’t rock it back and forth! Lift the stamp straight up and repeat….over and over and over again. 😉
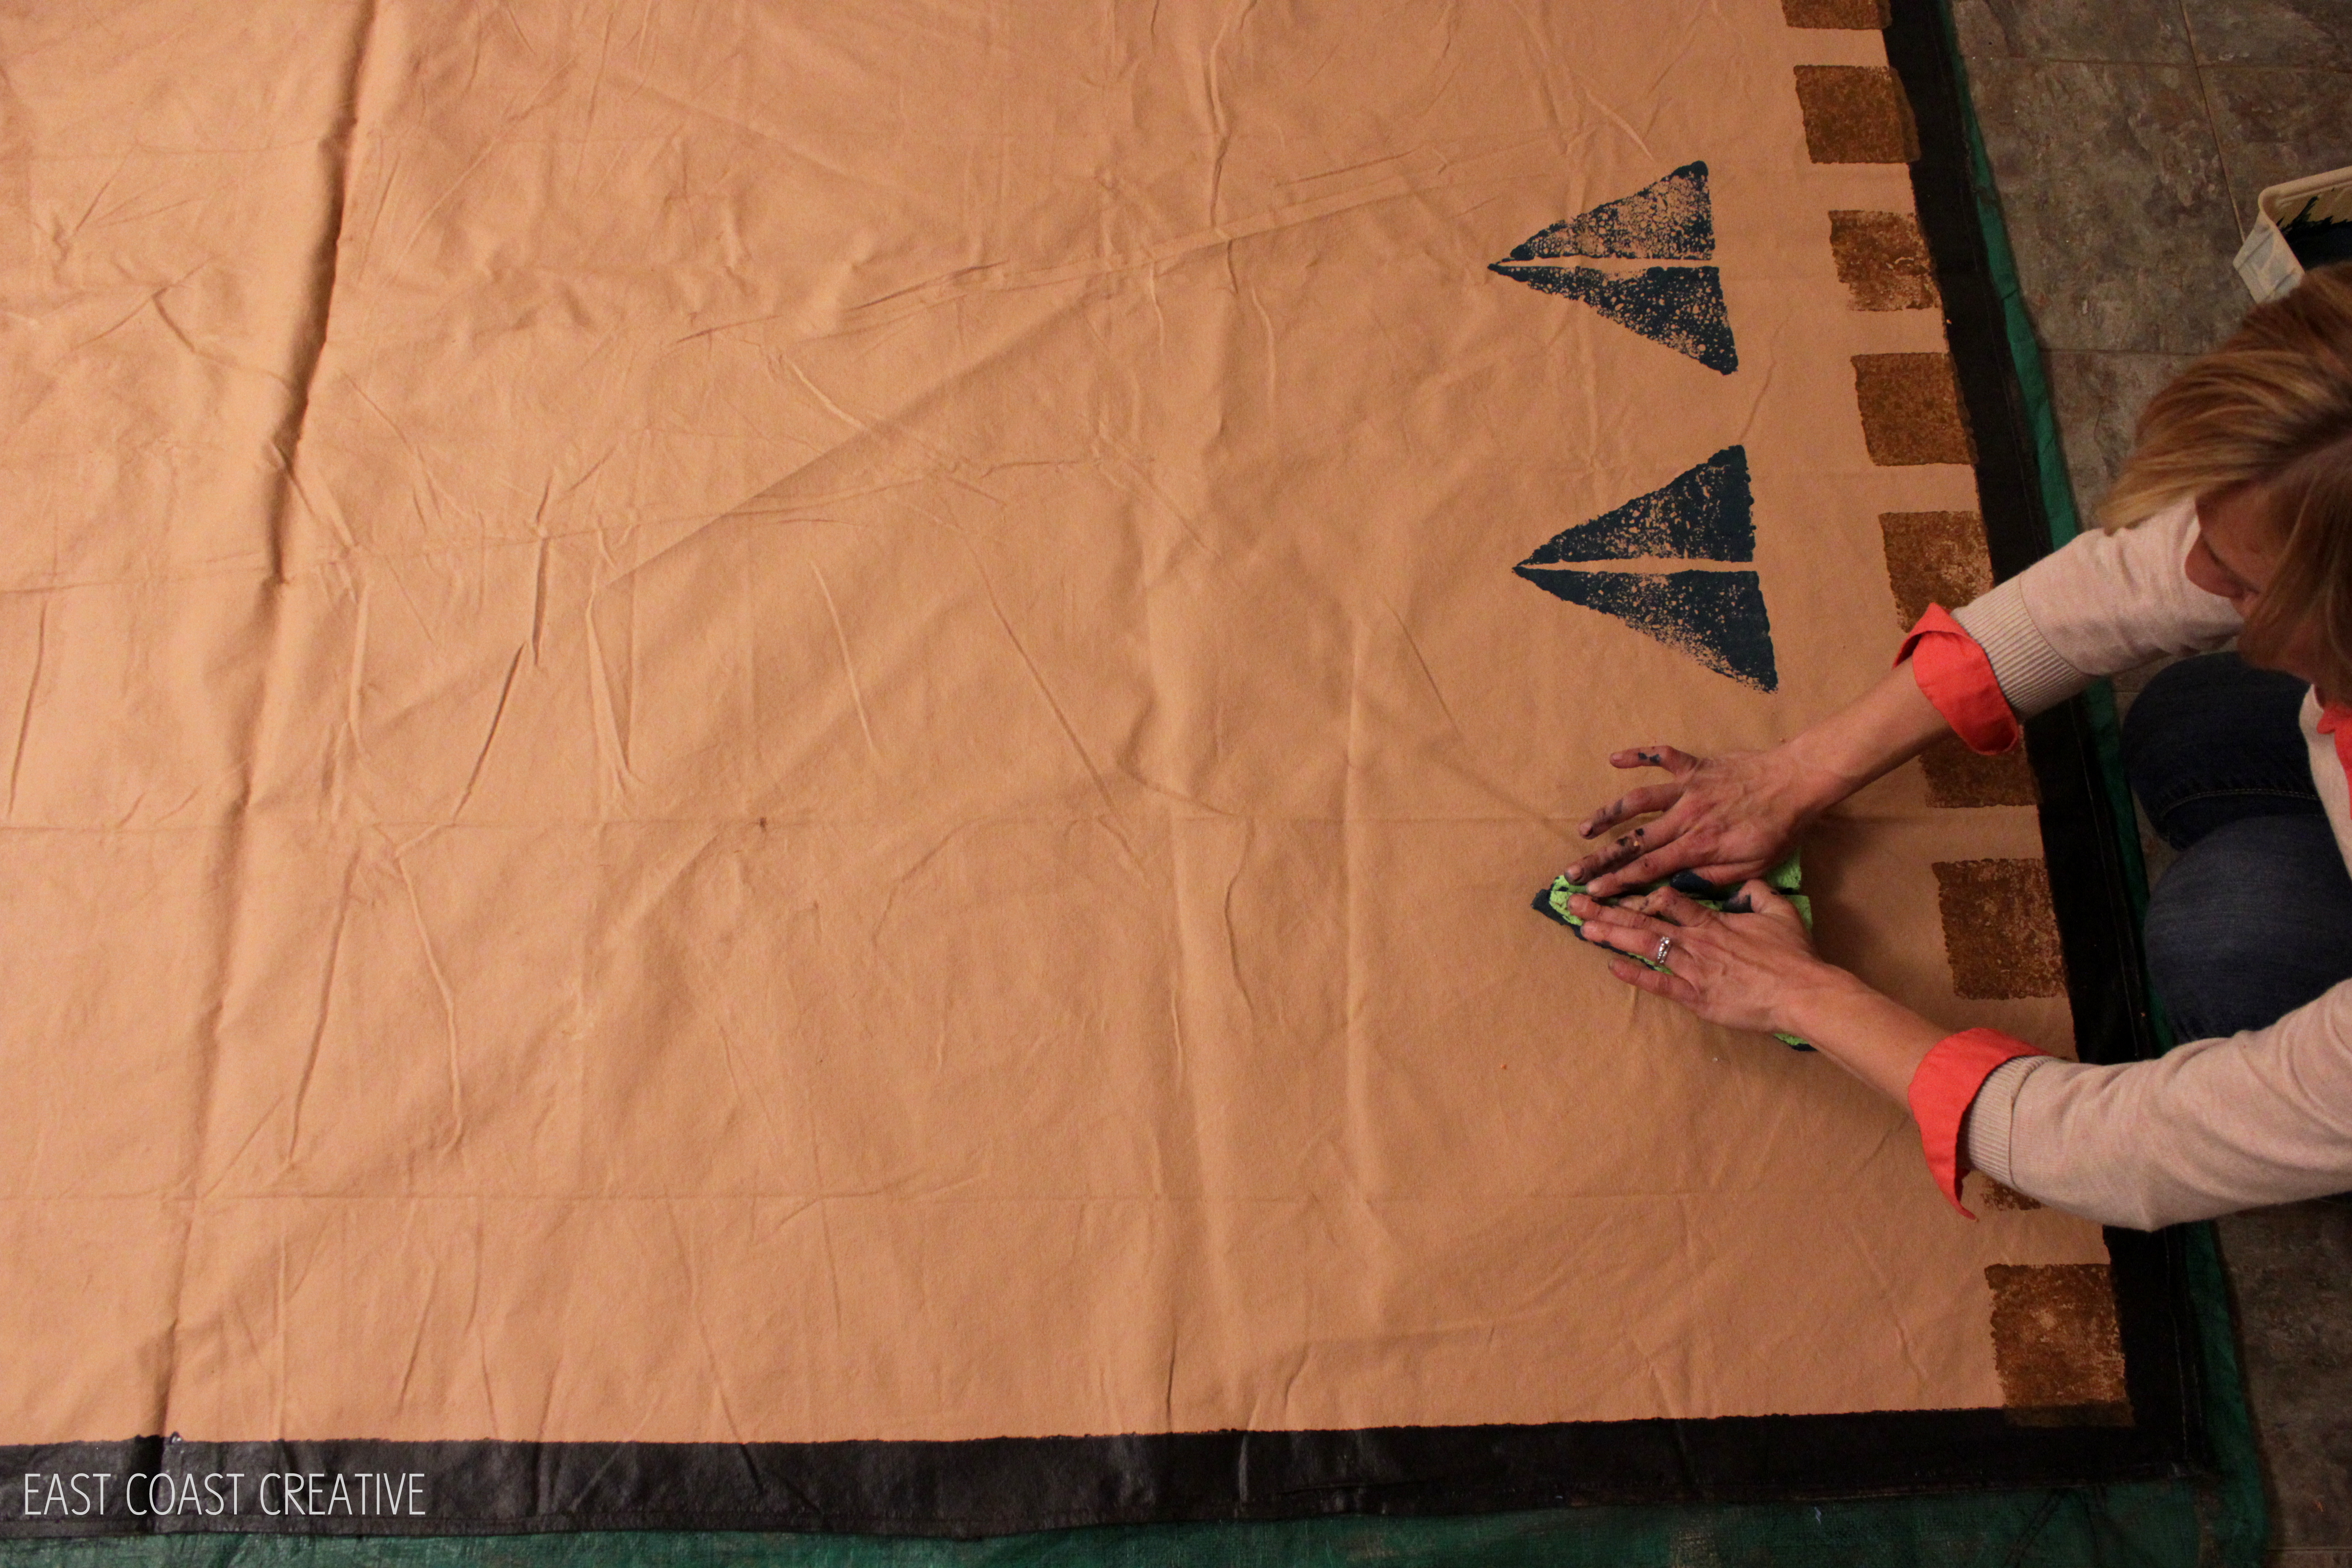
We started at one end with our pattern, then flipped to the opposite end and repeated the same pattern so that they met in the middle. Then we did a different pattern in the middle of the rug.
The end result is a cool, imperfect, totally custom rug that just screams for attention.

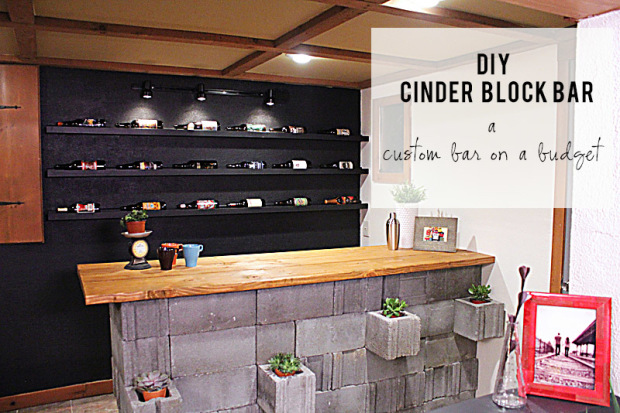
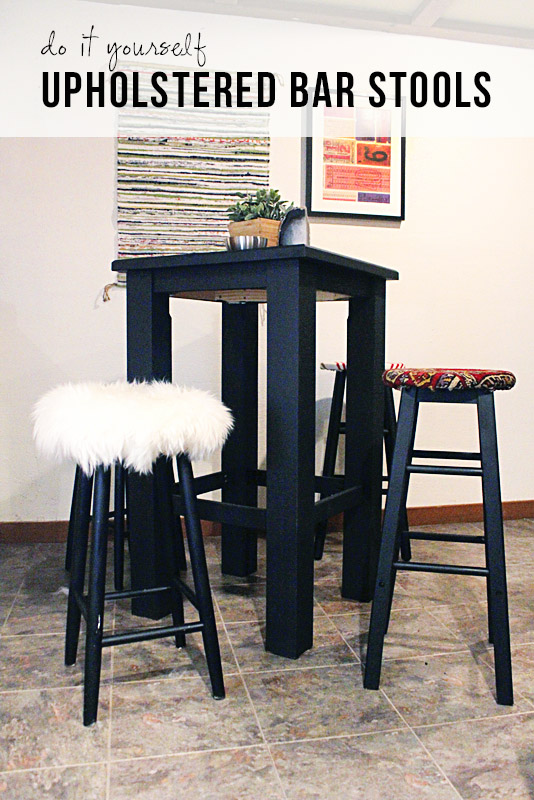
We loved the way this rug looked in the Global Vintage Basement makeover we did for an awesome, trendy young couple. If you haven’t had the chance to check out the full episode, you can watch it here. We had so much fun creating this earthy, trendy, global-inspired space! Be on the look out for these other tutorials from this episode in the new few weeks!
![]()
Time to go buy a few more drop cloths!


This rug and upholstered stools are awesome. Like blown away. And so my style!
I love the rug!! I just made some curtains and I’m painting them this weekend…maybe I’ll add the rug to my list!
Love the look. Such a great look and DIY!