I am so excited to share this project with you guys today- I’m really in love with it! So at hour house we have two wood burning fireplaces- one in the family room and one in the kids playroom. When we were first building the house the builder kept calling it a “library” and we were like, “dude, what world are you living in??? We have 4 kids, this is a playroom- fireplace or not!” So, for the first 3 years we lived here, we had just tossed a color (chosen by Eric) onto the walls and barely decorated it, because most times you couldn’t even see the floor with all the toys everywhere. Now our kids are a little older and they play less with toys, so we cleared lots of them out and I’m on a mission to create a fun, kid-friendly space that still has lots of style. Step #1 was adding fun hexagon wallpaper from Wayfair (check out that post here) and Step #2 was giving the drab fireplace a facelift!
I was determined to get this part of the room makeover done before Christmas, because we all know that Santa much prefers a fun fireplace, right?
I 100% know this style isn’t for everyone, but even just looking at the pictures gets me excited all over again! So, let’s pause a moment and take a look back where we started. 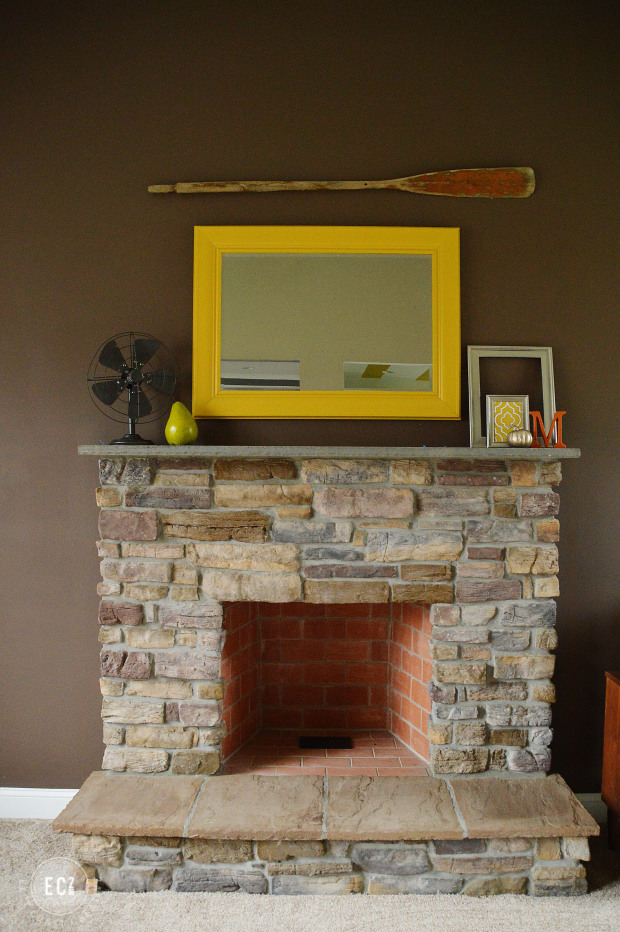
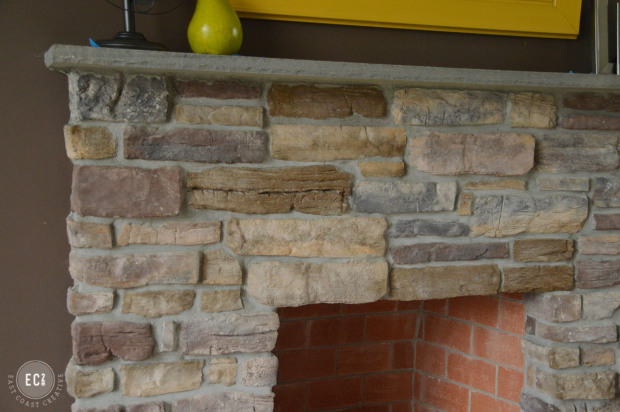
Brown wall (which I didn’t hate) semi-nautical meets bright colors decor… and the stone. Ugh that stone… Let’s just say the builder we used gave us a few grey hairs along the way and this stone had something to do with it. It wasn’t at all the color I picked, but after 6 homeless months (aka living in my in-laws basement) I just wanted to move in, so we kept it.
The colors just have a bit of a dated feel, but guess what?? I’m a huge fan of Mid-Century Modern design, so I channeled my inner 50s and decided to go full force with the fireplace makeover.
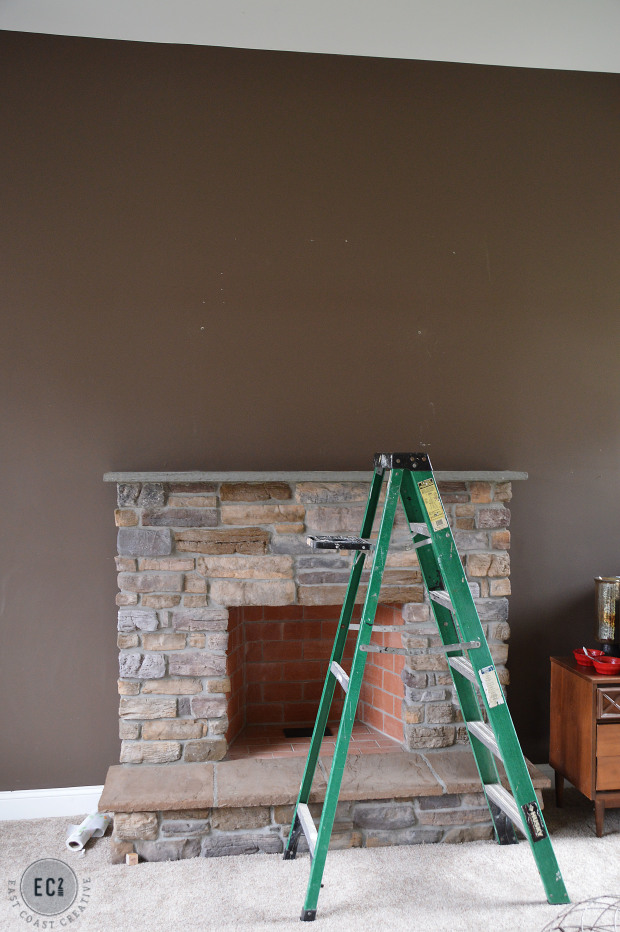
I removed all the accessories and had a blank state to work with…
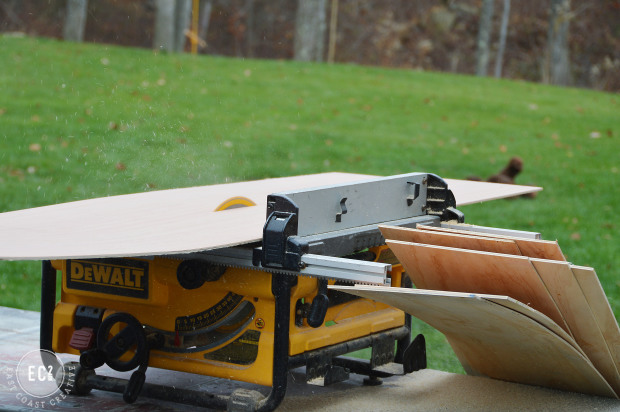
I wanted to add a little texture behind my planned hexagons, so I bought 1/8″ plywood and cut it down using a table saw. I could have bought paneling, but I didn’t want it to look like paneling, I wanted more of a planked look.
3M offered to send me some products to help with my DIY projects and because I love 3M I said, “Yes, Please!”
One thing I’ve learned working on “Knock It Off” is that wearing the right safety equipment is important- If I ever didn’t I’d have about 25 angry Facebook messages from fans (true.story) and our producers would go nuts! Here’s the thing though… wearing cruddy eyewear makes me feel blind- like it’s all foggy. So, I’m picky and only use really clear protective eyewear and my favorite pair (you’ll see me wearing them on the show) are these 3M Safety Glasses with none other than Mike Holmes- gotta love him! You can’t go wrong with 3M™ Safety Products.
Caution: Awkward Selfie Alert! But, look how clear they are! Love em!
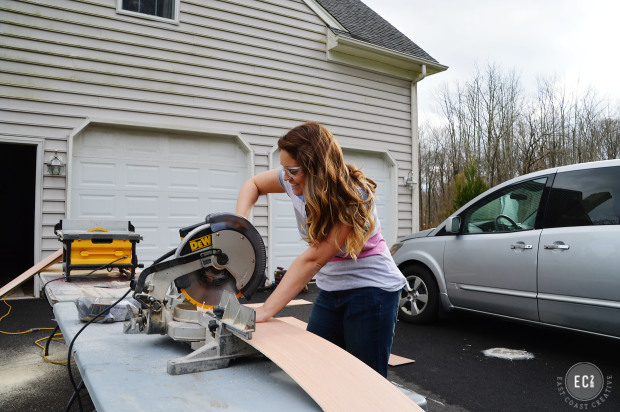
Okay, back to the tutorial… So after I ran ripped down my plywood into planks, I used my chop saw to cut it to the correct length. I wanted it from mantle to ceiling.
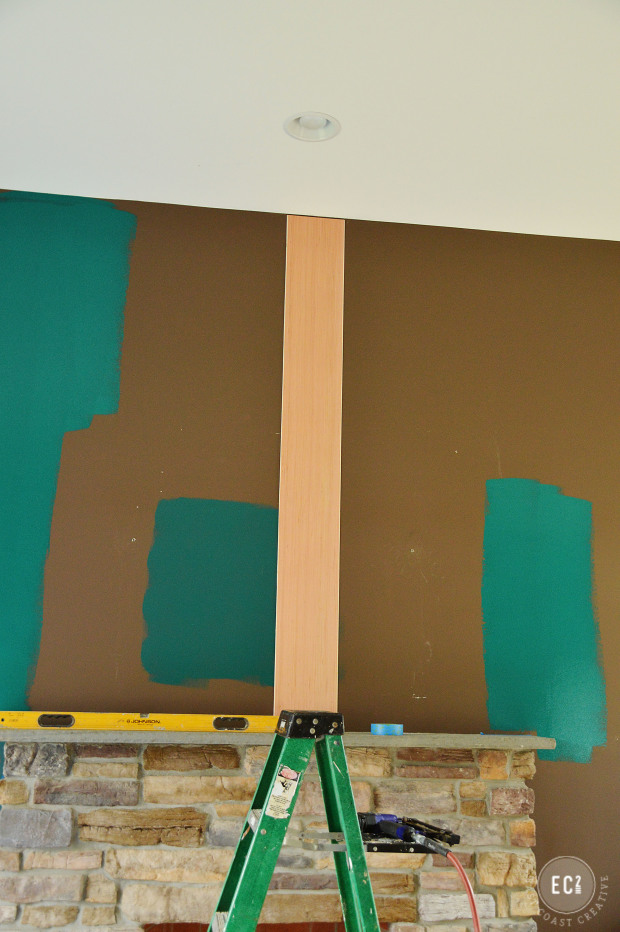
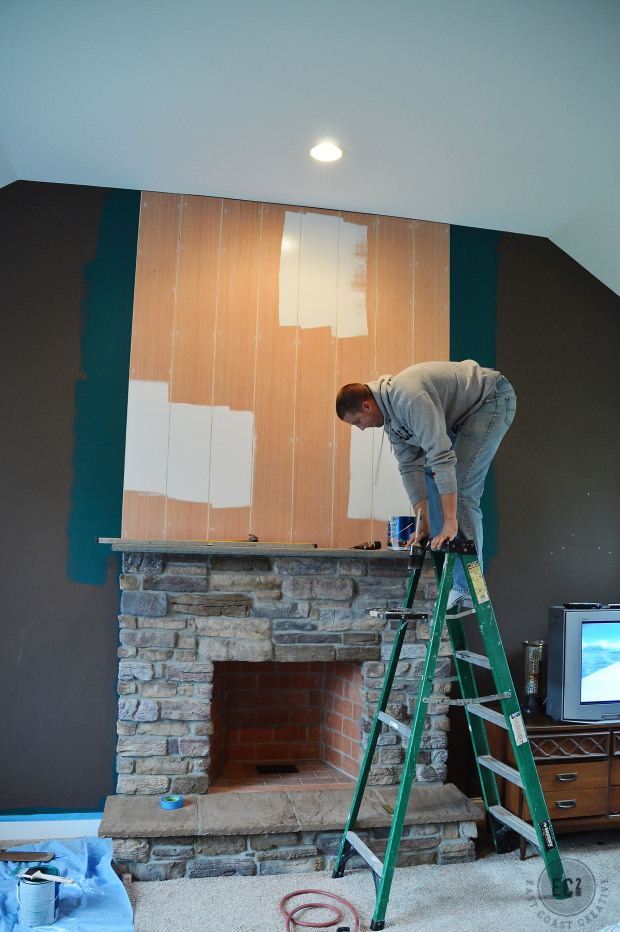
I used finishing staples in my nail gun to attach it to the wall. I was sure to level the middle one and then could just work off of that. I also was busy paining the teal color on the walls so I didn’t have to cut in around the plywood.
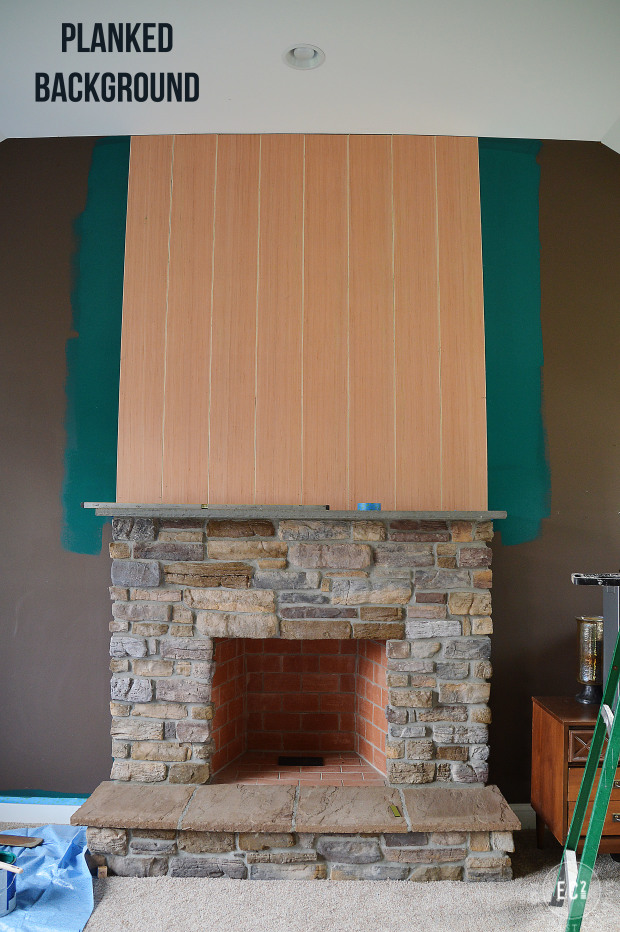
It took 8 planks to cover the entire mantle area. And then I had a good laugh because it kind of looked exactly like… wood paneling! Ha! It’s a bit different because of the spacing, but you could easily just use paneling if you want.
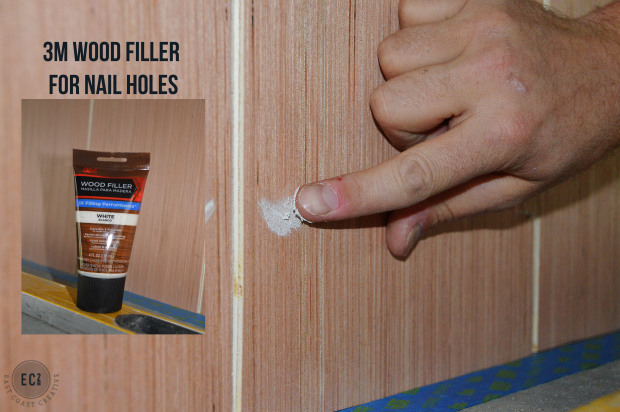
Before painting the planks I needed to fill in all the tiny holes from my staple gun. I used 3M Wood Filler and here’s why I love this stuff… it dries so fast that there’s almost no wait time at all. By the time I had them all filled, I just hit it with a sanding block and was ready to paint. I also should mention that you can’t tell where we used filler, which is important. Some brands, don’t accept paint well, and I feel like you can see every single nail hole. Boo!
(and those man hands are not mine. Eric and a friend of ours Matt were both helping me with this project. The man hands belong to one of them)
We didn’t have to wait at all for it to dry, so we got down to work painting…
Or doing ladder yoga?? Doesn’t it look like he’s doing Downward Dog?? Ha!
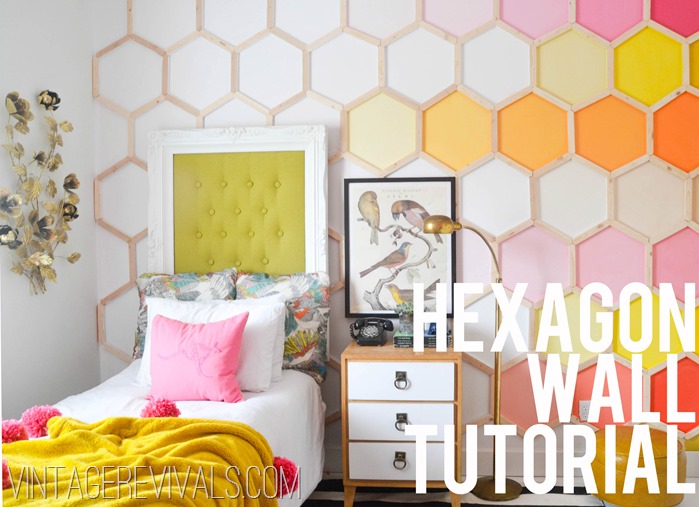
While Eric painted, Matt and I got to work creating the hexagon wood trim. I want to be sure to give full credit here to my good friend Mandi. She did this style project on an entire accent wall in her daughter’s bedroom and it blew me away. The girl is so.dang.talented.
Click Here to see her full tutorial
As Mandi would say, Amazeballs right?
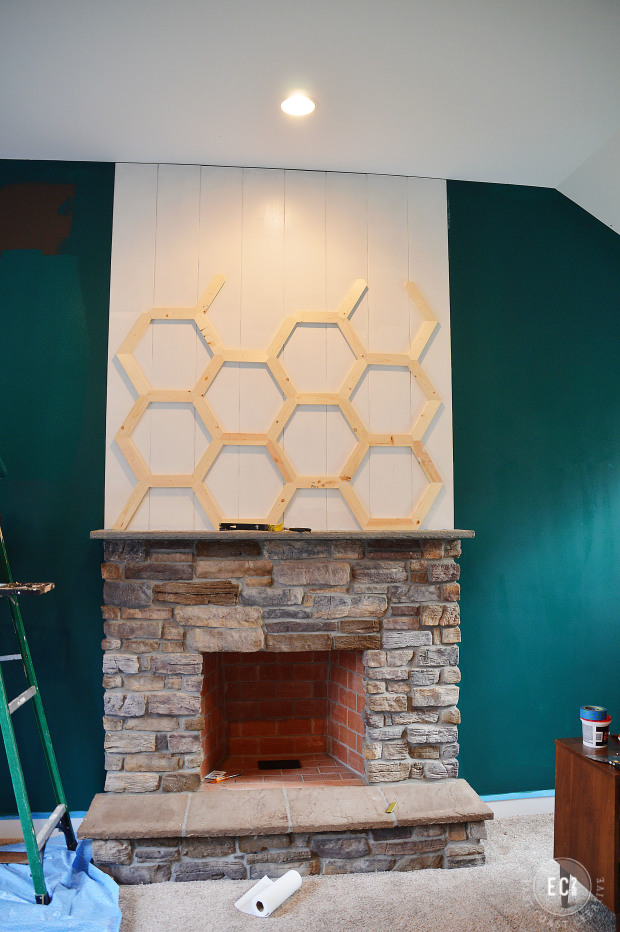
For my fireplace, I wanted larger hexagons, I wanted them on their side, and I wanted to stain the wood and keep it nice and neutral.
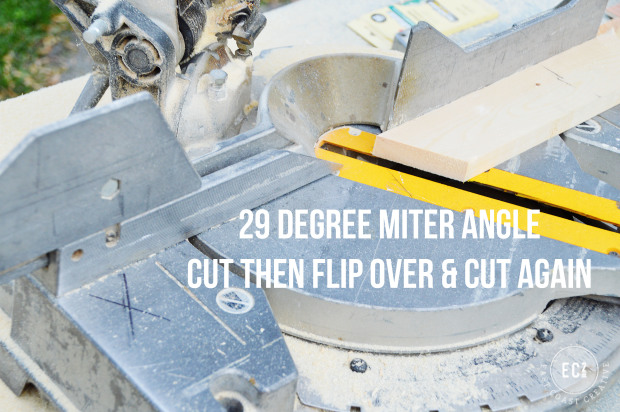
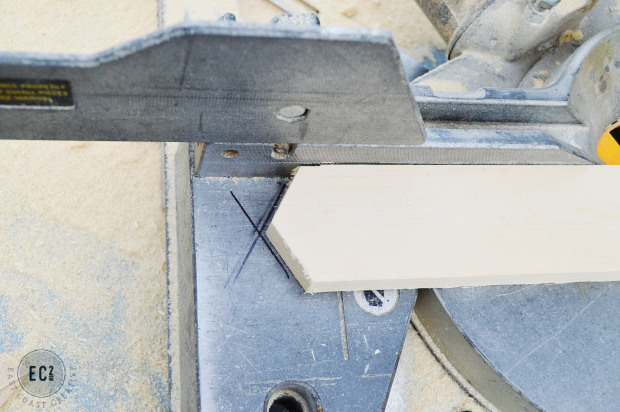
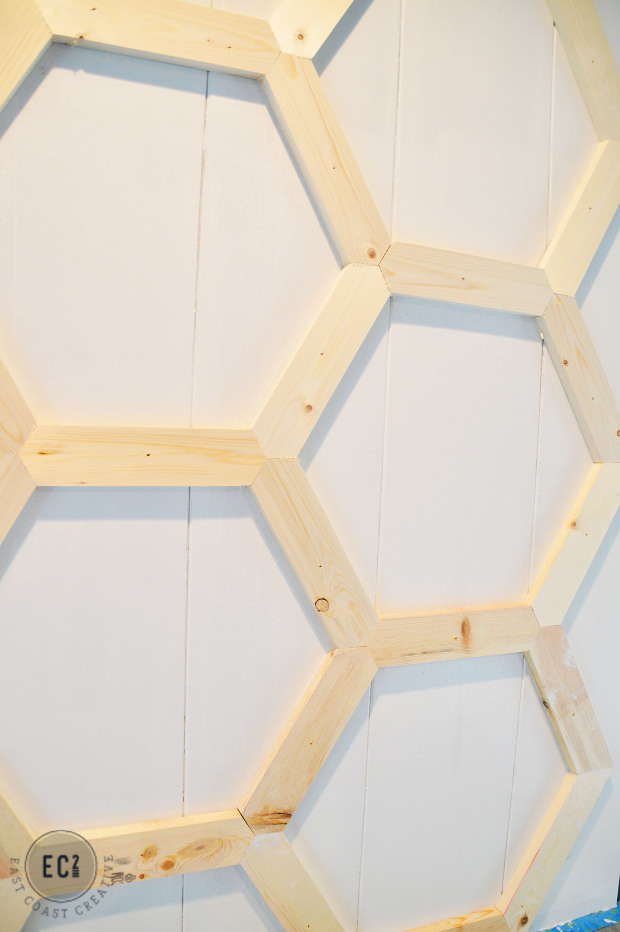
Matt and I got to work making lots of cuts. We found that with our saw we needed a 29 degree angle for our miter cut.
We cut the one side, flipped it and cut it again. We used a pencil mark on our saw to make sure we were correct on all of our cuts.
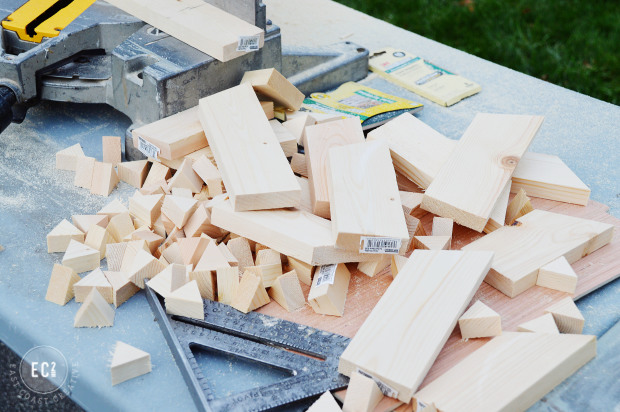
After a while our scrap pile looked like this and we were ready to hang some hexagons!
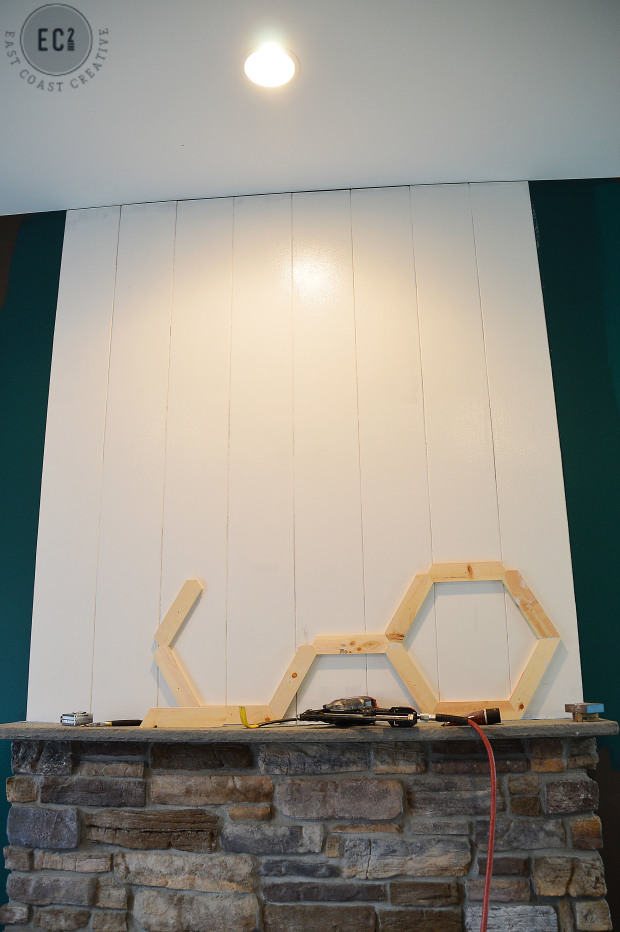
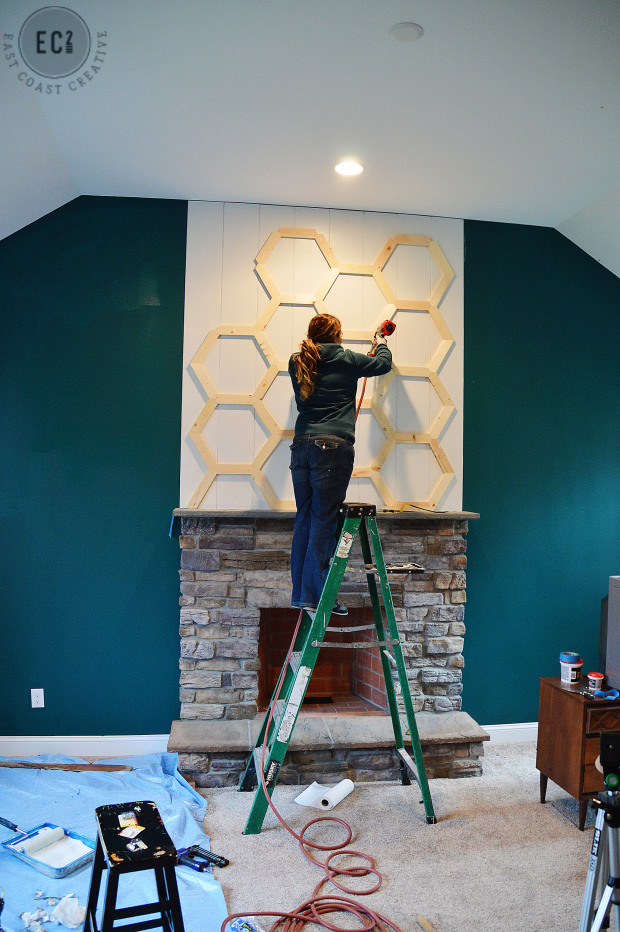
Starting at the bottom, we worked our way across the fireplace, measuring so that we’d have equal space on the left and right sides.
For the trim wood, I switched to using finishing nails in my nail gun.
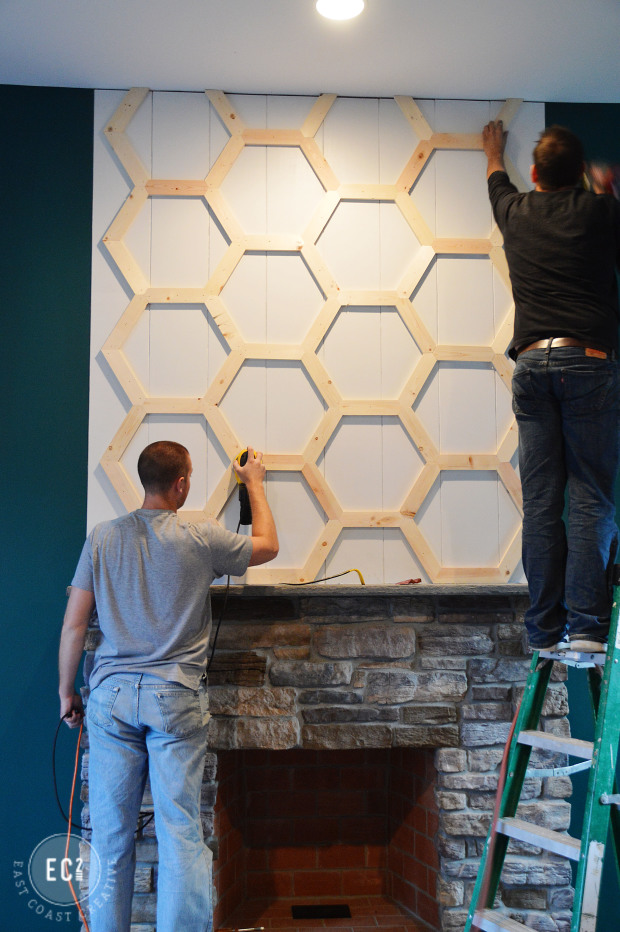
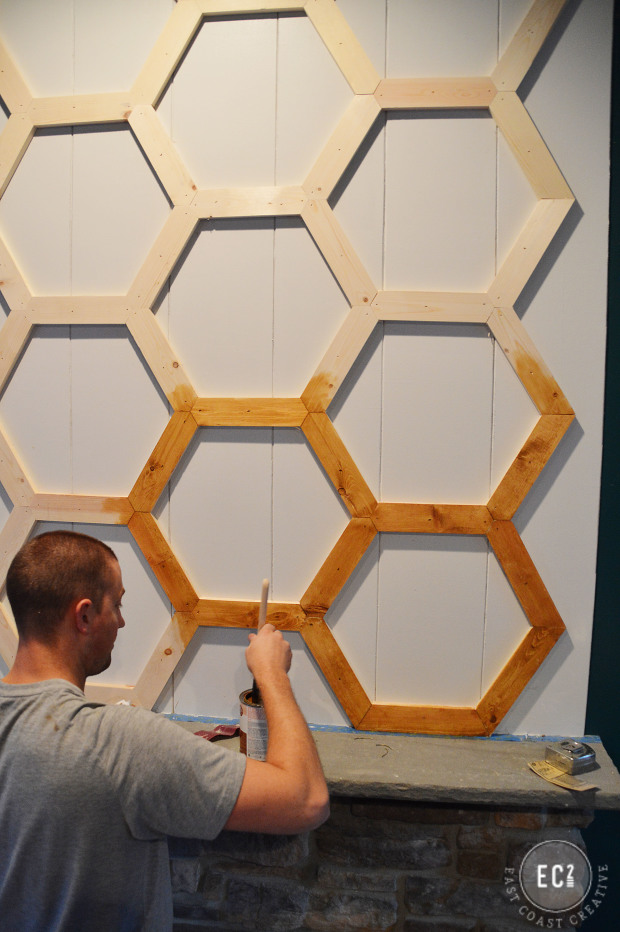
Once we got the first row done, it was like playing Legos or something… We just kept adding hexagons, working off of the row before. It was really simple and didn’t take much time at all.
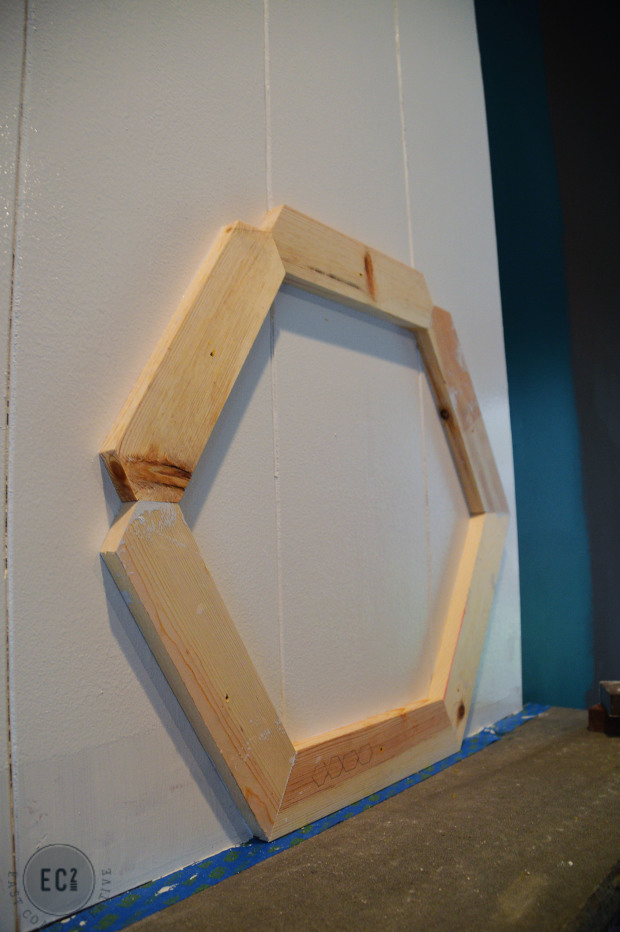
Since we made all of our cuts consistent, we didn’t even have the need to caulk at the intersections. That was awesome news to me!
I’m all about efficiency, so I took pictures, Matt finished the last pieces, and Eric go to work staining the wood.
I went with Rustoleum’s Wheat Stain, which is my current favorite color. It’s warm, but light and has a perfect retro feel to it. We brushed it on and immediately wiped it off to get a nice, light tone.
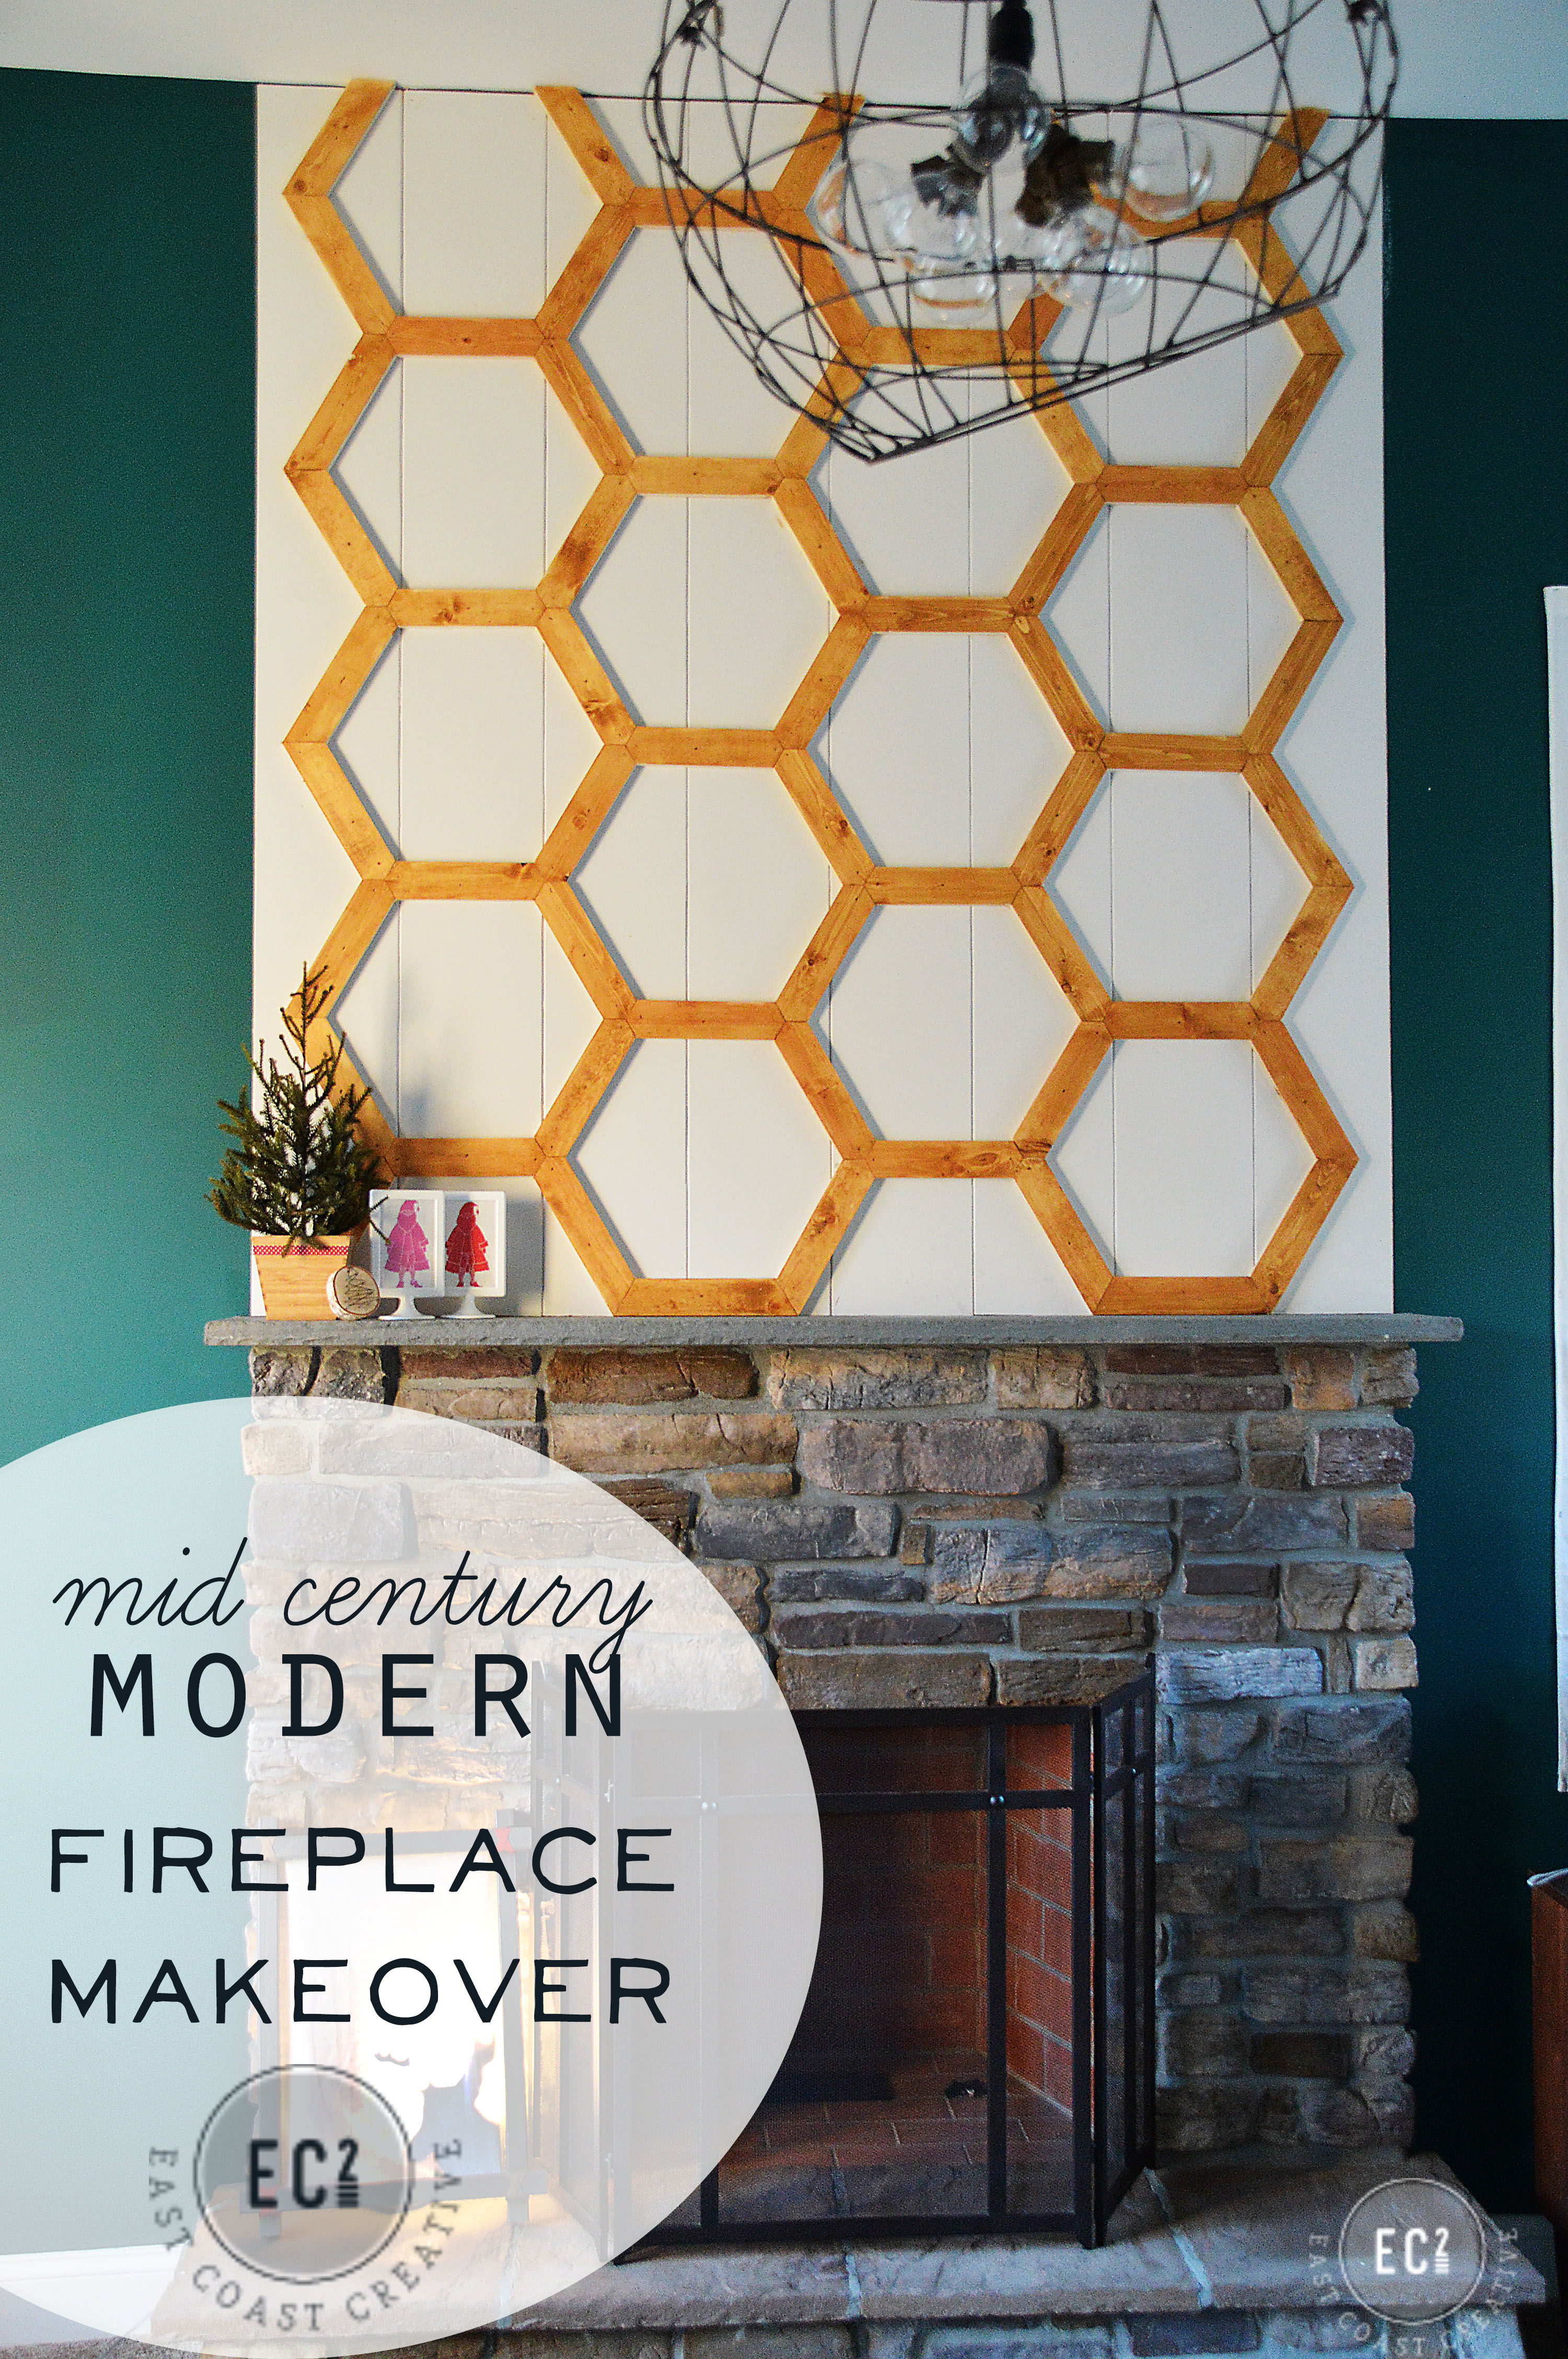
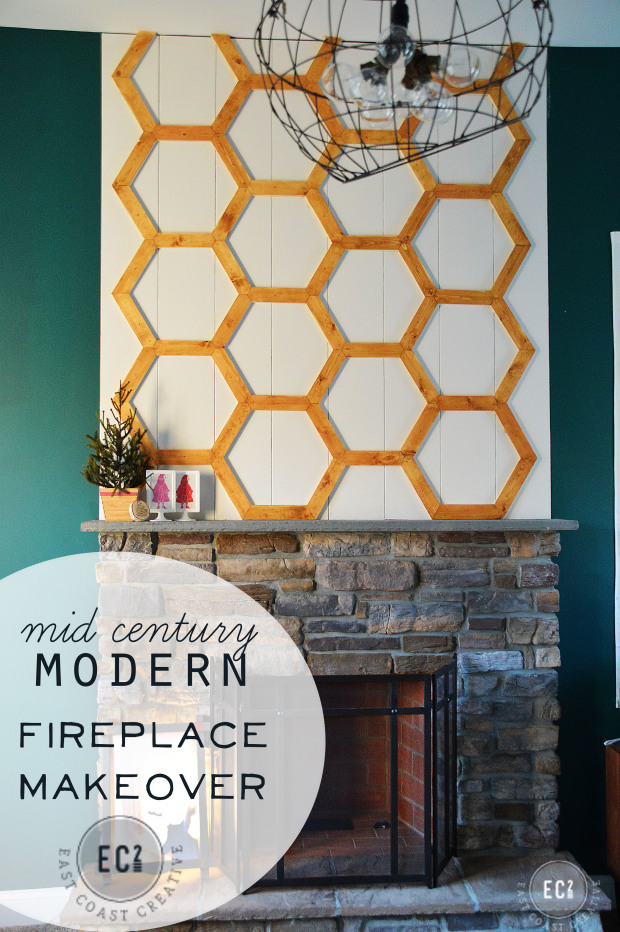
After just a few hours of work (probably 4 hours start to finish) I had transformed my fireplace into a Mid-Century Modern Masterpiece (well, the masterpiece is my opinion)
The kids’ playroom has officially become my favorite room in my house. Last night I played Mario Cart Wii with Callen and couldn’t have been happier to hang out in there. I’m going kind of light on the after pictures, because I’ve completely decorated the room and mantle for Christmas and you’ll have to come back and visit my Christmas Home Tour next week to see all the details.
A fireplace is such a focal point and you should love yours. We’ve helped a lot of people over the last year with simple fireplace makeovers. They’re simple, quick, inexpensive, and make a huge impact!
If you want to check out some other styles of fireplace makeovers we’ve done use the links below!
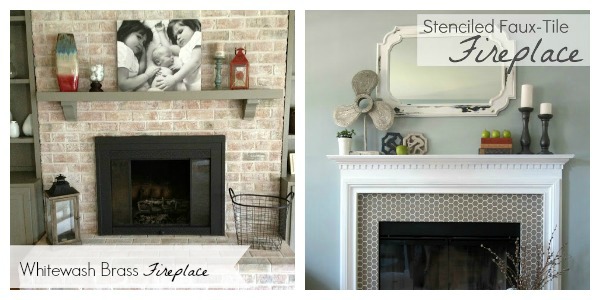
Learn how to whitewash and paint a brass fireplace like I did in the first photo with my friend Mandy, and if you’re looking for a great way to stencil your fireplace check out what Jess did with stencils from Royal Design Studio.
For more ideas from 3M™ DIY check them out on 3M DIY Twitter Page, 3M DIY Facebook Page, and 3M DIY Pinterest Page
So I’m in love with my makeover, but what do you think about my hexagon Mid-Century Modern Fireplace Makeover?
Do you have a fireplace in need of a facelift?
This post is a collaboration with 3M DIY along with my handy husband and his friend Matt! To stay up-to-date on projects, products, and sampling visit 3MDIY.com





 and
and 


I love it! I think it’s so creative and outside of the norm…totally my style 🙂
Thanks for the wonderful compliment Jessica, I know it may not be everyone’s taste but I really love it! 🙂
Dah-ling! It’s Mah-velous! (hey, waddayagonna do with the wood scraps?!? There’s gotta be a project there!!)
Thanks so much Deb!! Of course I saved all those scraps- lol. You know us well! Not sure what I have planned, but I’ll sure they’ll come in handy. Happy Thanksgiving~
This is so fantastic. I can’t believe you only got two comments on it. It makes the whole room work. It’s art, texture, and a design repeat (from the wallpaper) all in one.
Did you have a reason for staining after you nailed up the wood? That seems like a hard way to do it. Did you only stain the top, and not the sides?
The original girl’s bedroom was beautiful, too.
Hey Laura! Thanks so much for your encouragement! I really love how it turned out. The only reason I stained it afterwards is because I’m a dork and didn’t think through it! I was just so excited to get the hex on the wall! 🙂 I did just to the front since the color is very close to the original and actually it gives it a cool dimension. Thanks for reading and for your comments!! 🙂
[…] shared a few of the projects already, so check out the tutorials for my fabric tree, hex fireplace accent, string art Christmas ornaments, and illuminated deer […]
[…] The fireplace didn’t always look like this- you can check out the makeover here. […]
[…] for Christmas- you can check it out HERE. If you want to see how I created the hex fireplace click HERE. And one of these days I’ll get around to decorating the room since my holiday decor is […]
Howdy! This is really wonderful. Can I ask why you cut the angles at 29 degrees? I was planning another project with hexagons, and my cutting angle calculated out to 30 degrees.
[…] Hexagon Fireplace DIY […]
What is the paint color? I love the color you used and the whole project is so great and creative!