
Today I finally get to show you HOW I made my vertical garden, and guess what? It was pretty simple!!
Since Home Depot has done a great job with providing both a video and written instructions for this project, I’m not going to give you every step, but I will share some tips I learned along the way!
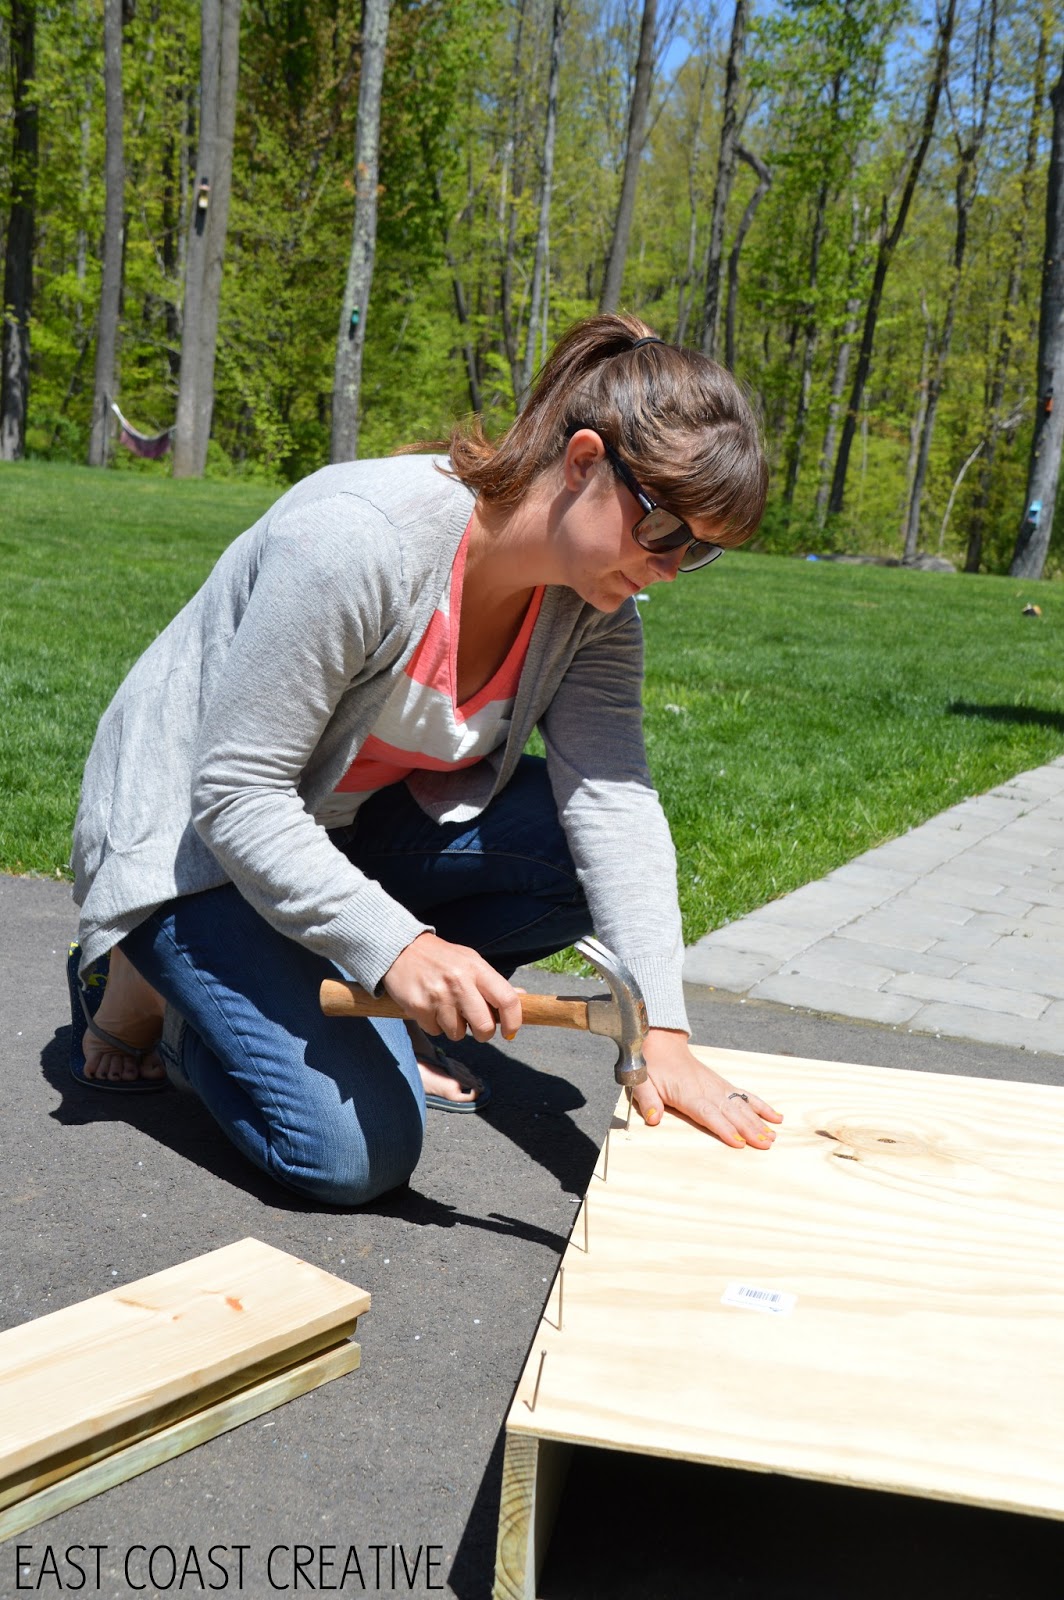
You definitely don’t need a nail gun for this project, but it would have made it so much faster!! Ours was on set for Knock It Off, so I did it the old fashioned way!
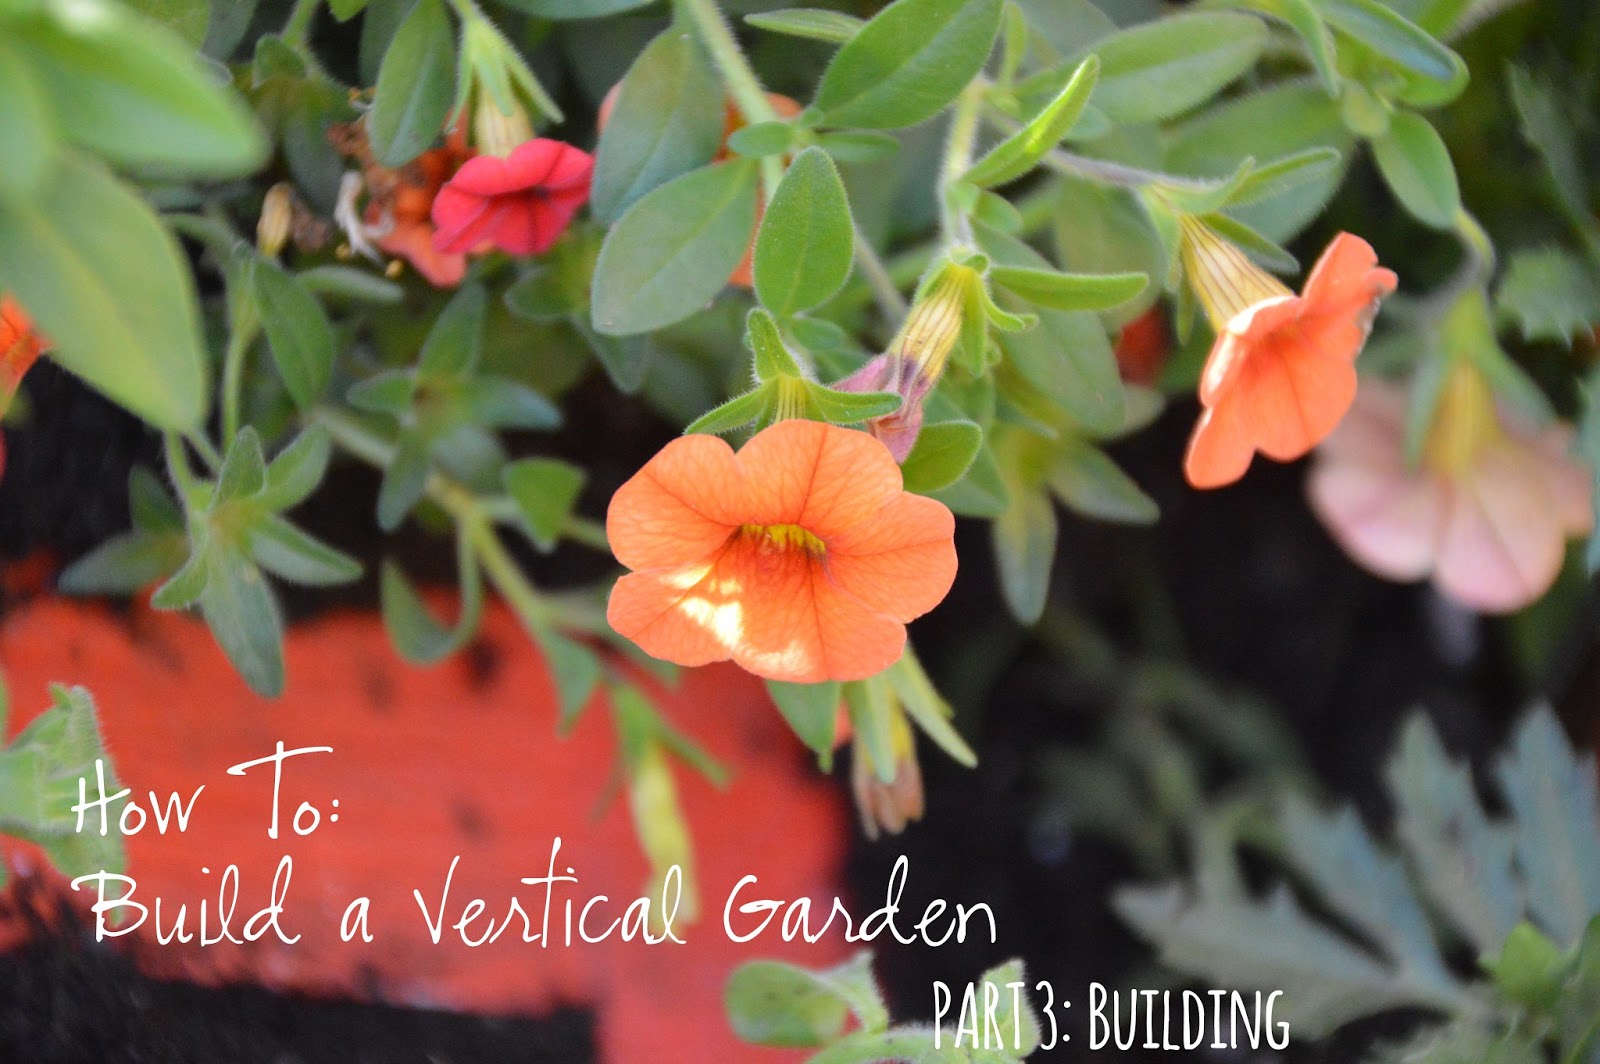
I went with a variety of colors for this project- I usually avoid marigolds, but I liked the orange and yellow contrasted with the blue/purple of the petunias!

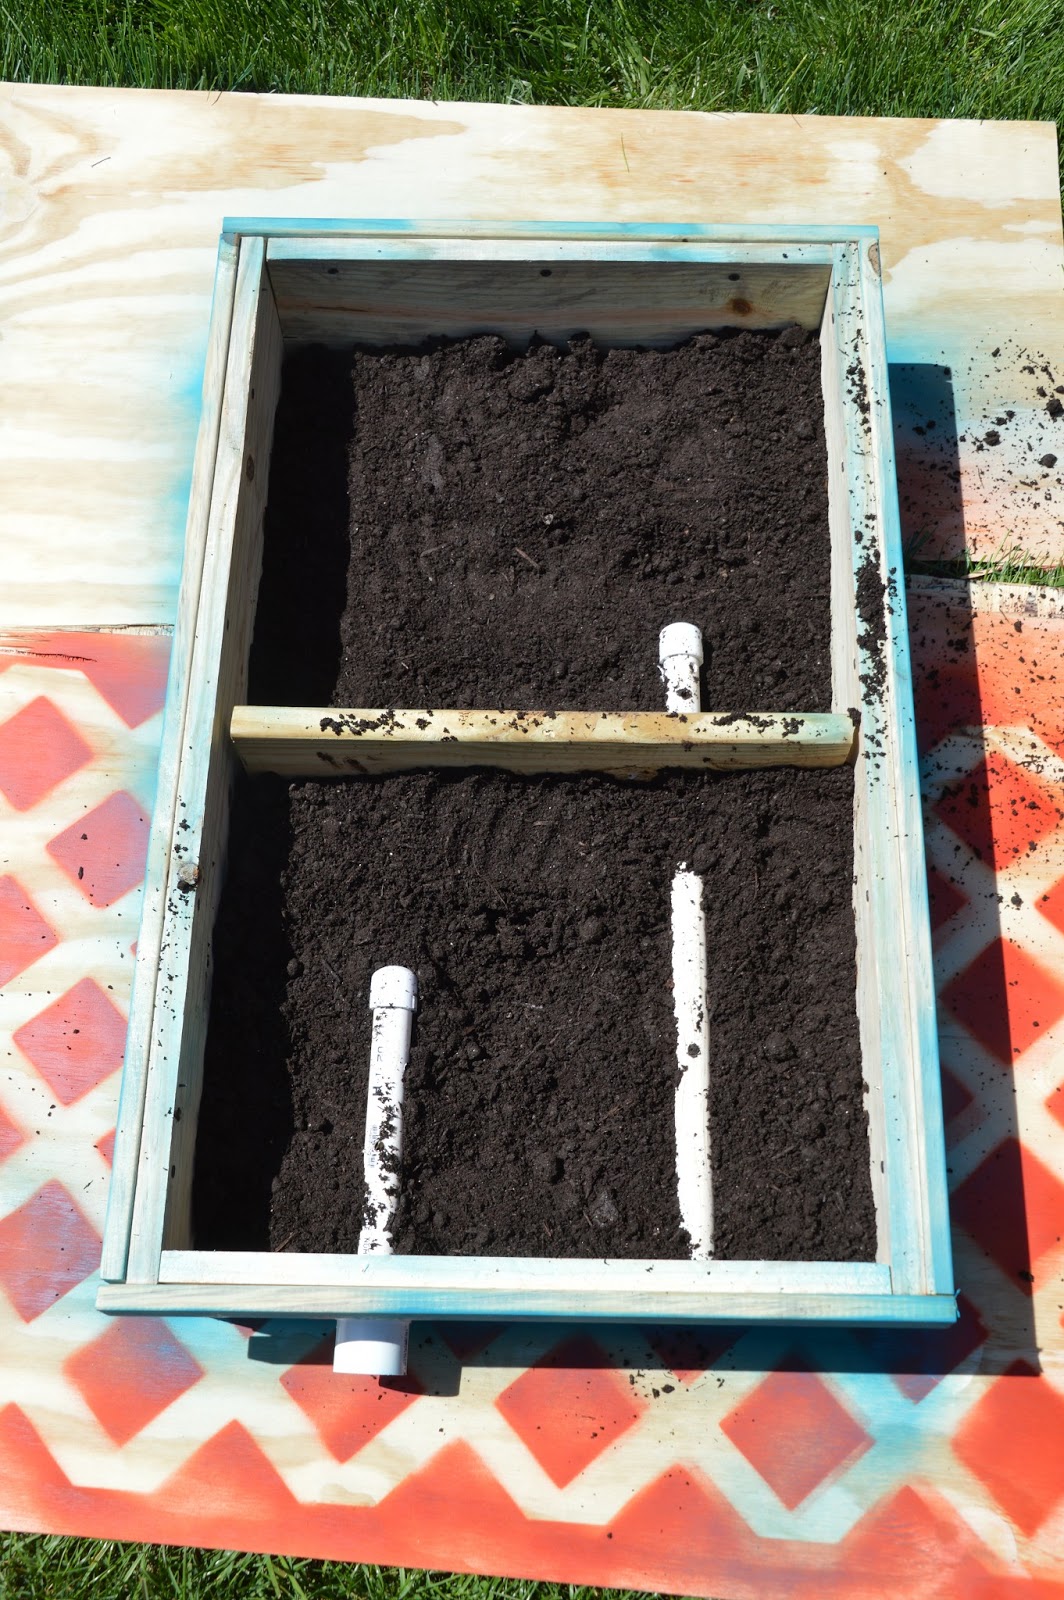
When I was working on the holes for my irrigation tubes (which is just simple PVC that lets water get down deep in the planter) I found that if I drilled my hole in one direction and then once the tip of the bit was through, flipped it over and came in from the other side, it helped me not have any of my wood splinter or crack.

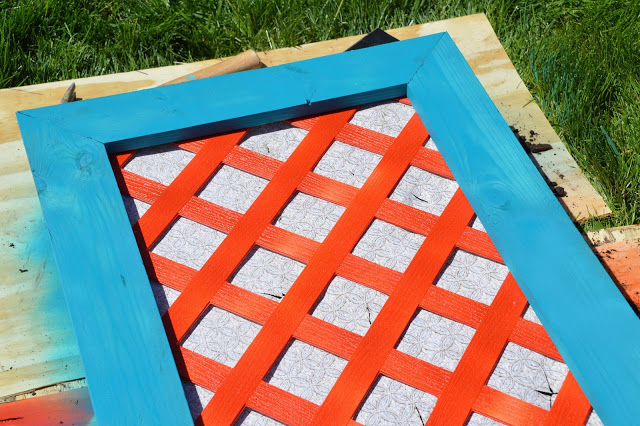
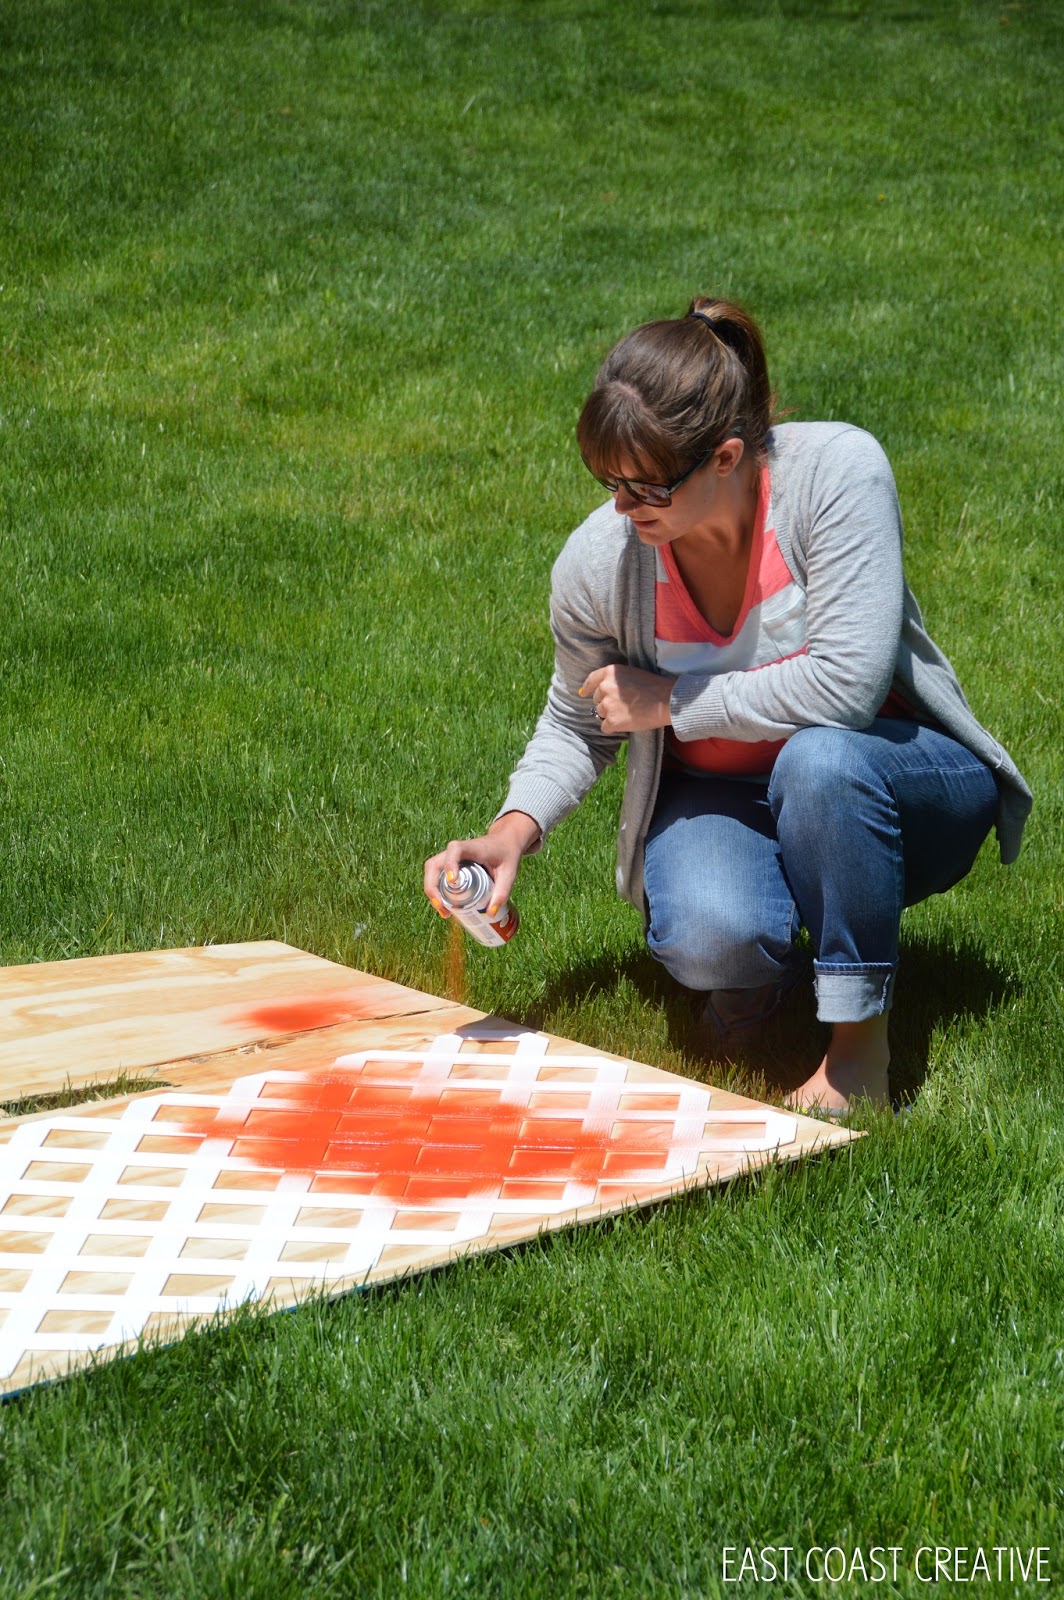
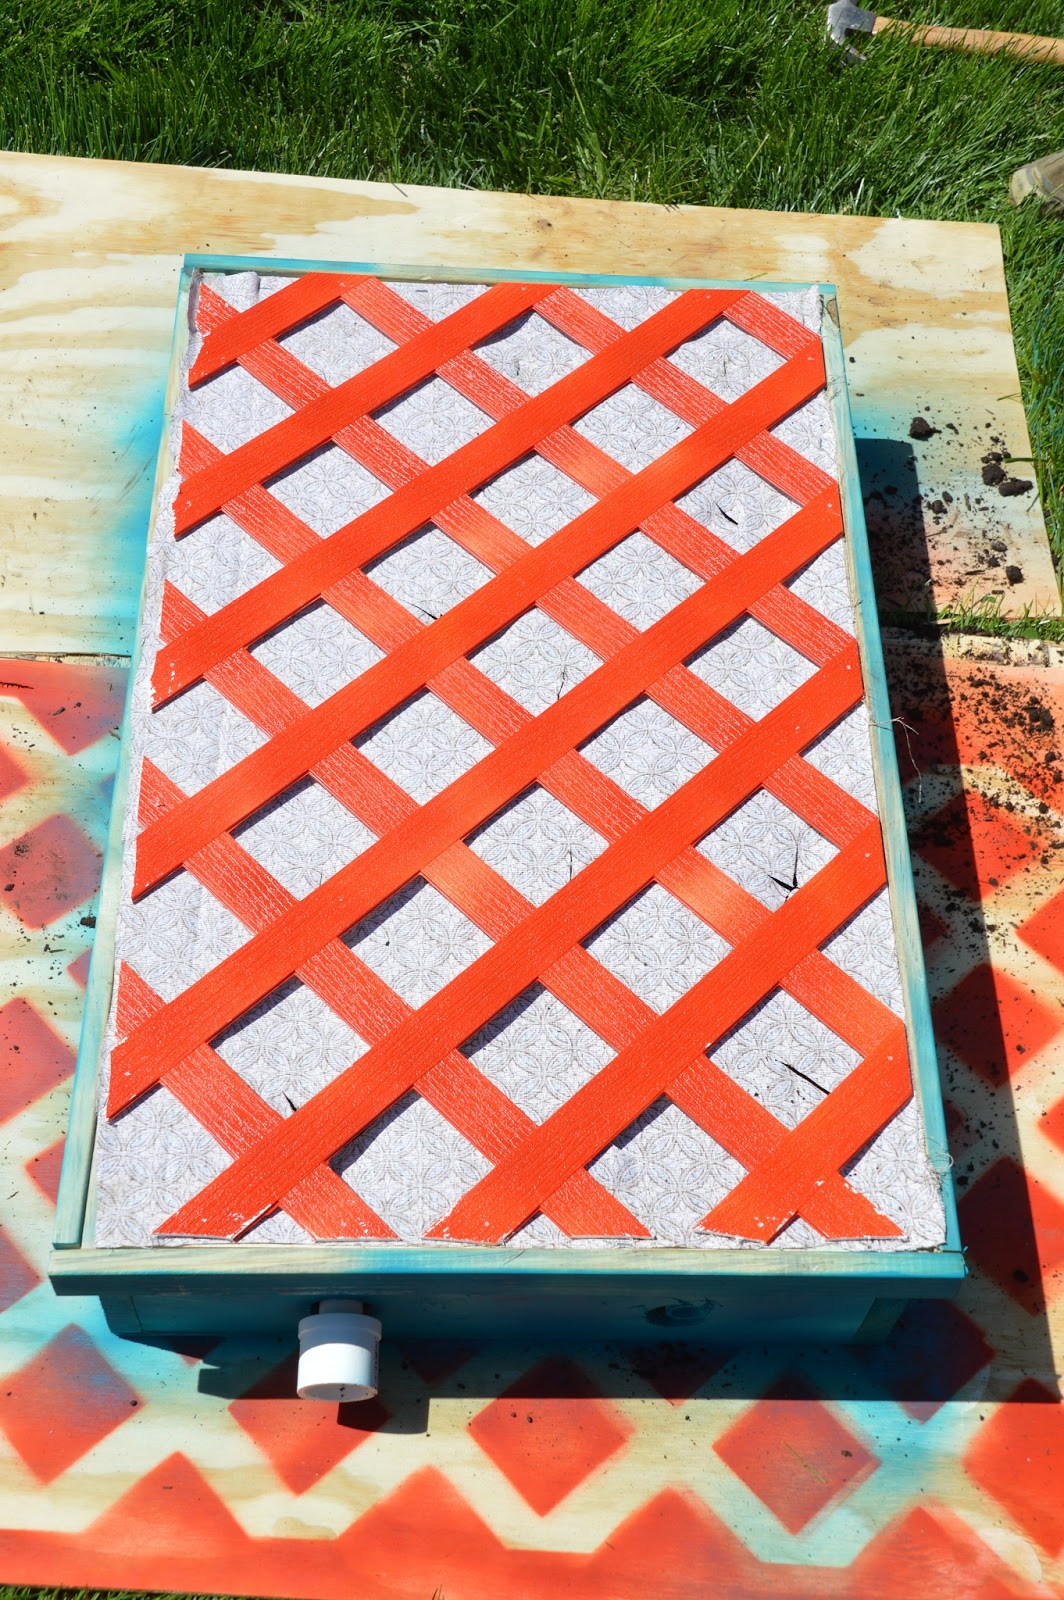
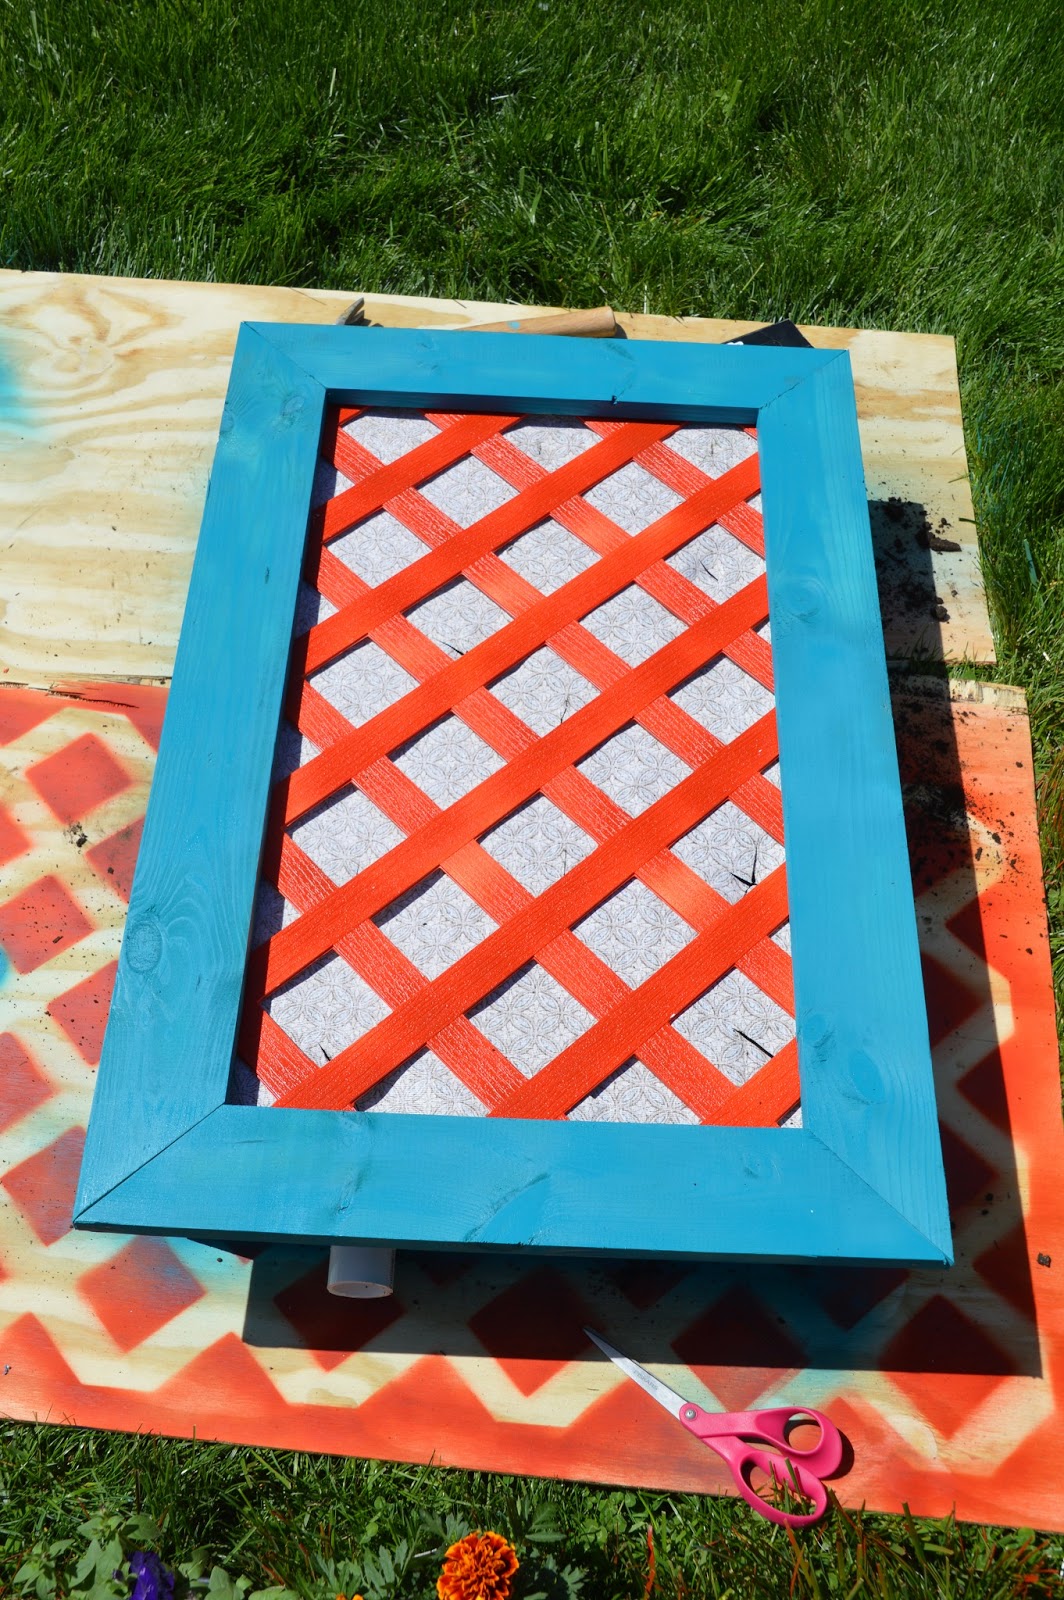
This is one step I added on my own… I spray painted my lattice- Shocker right?!? I know eventually it will be covered by plants, but in the meantime, I wanted it to look fun and colorful!
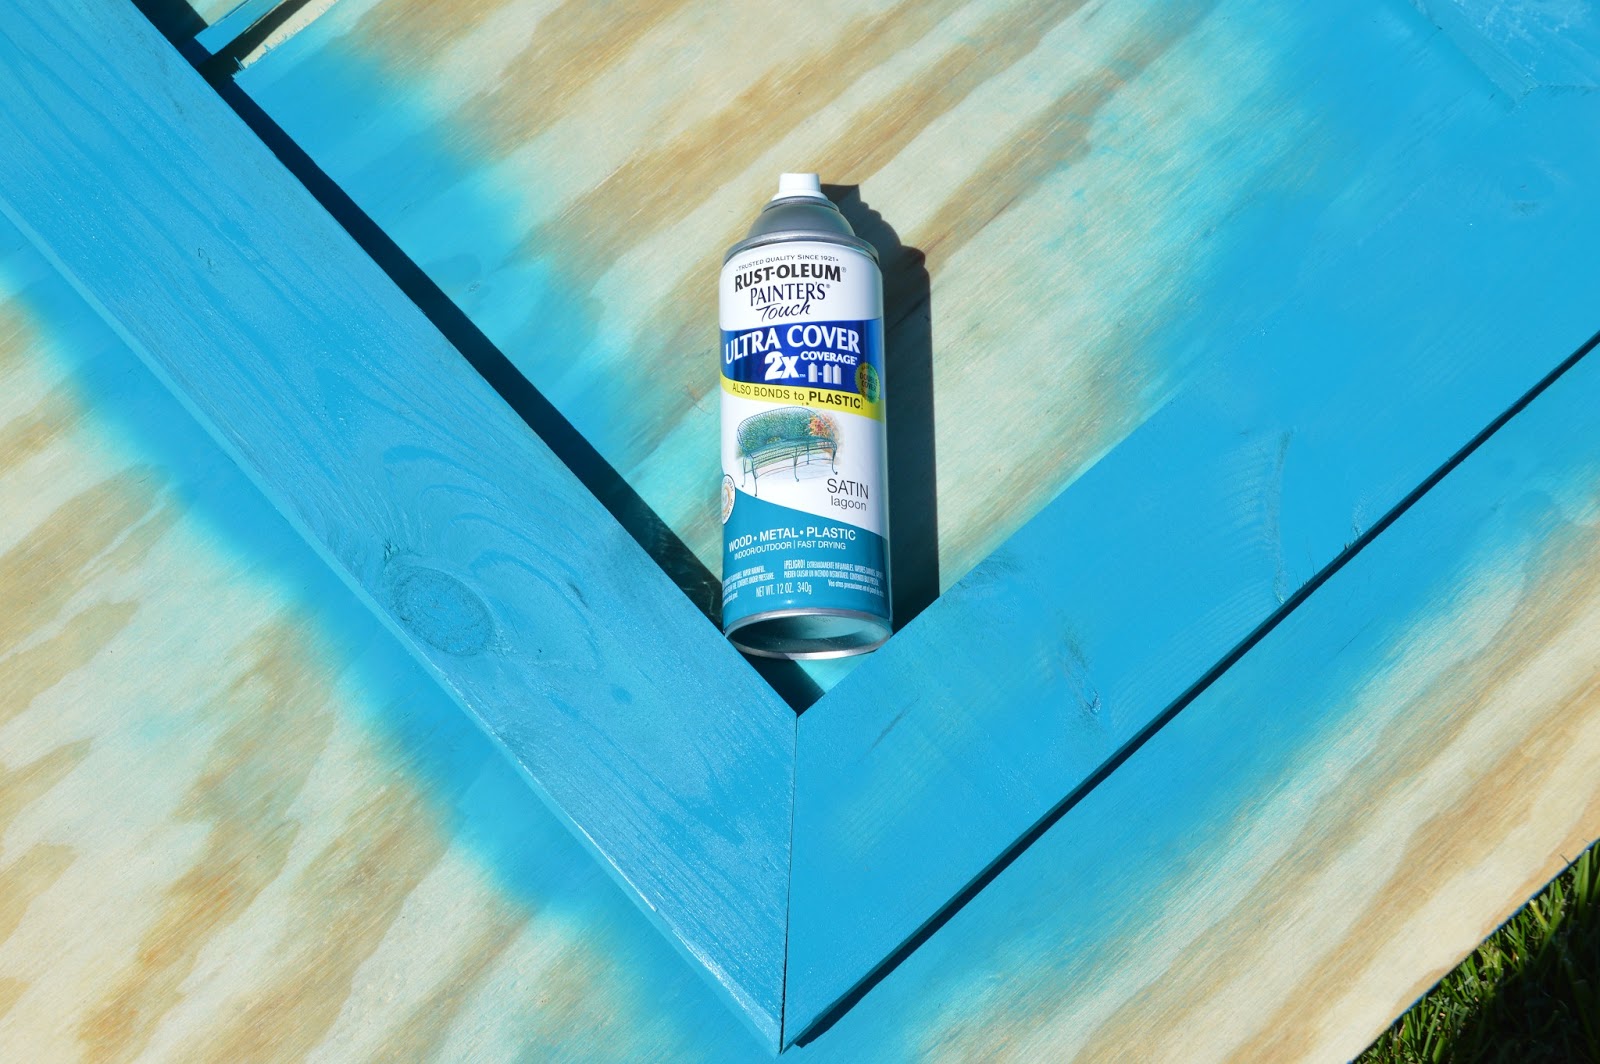
Once my box and frame were built, I gave them a coat of indoor/outdoor paint as well!
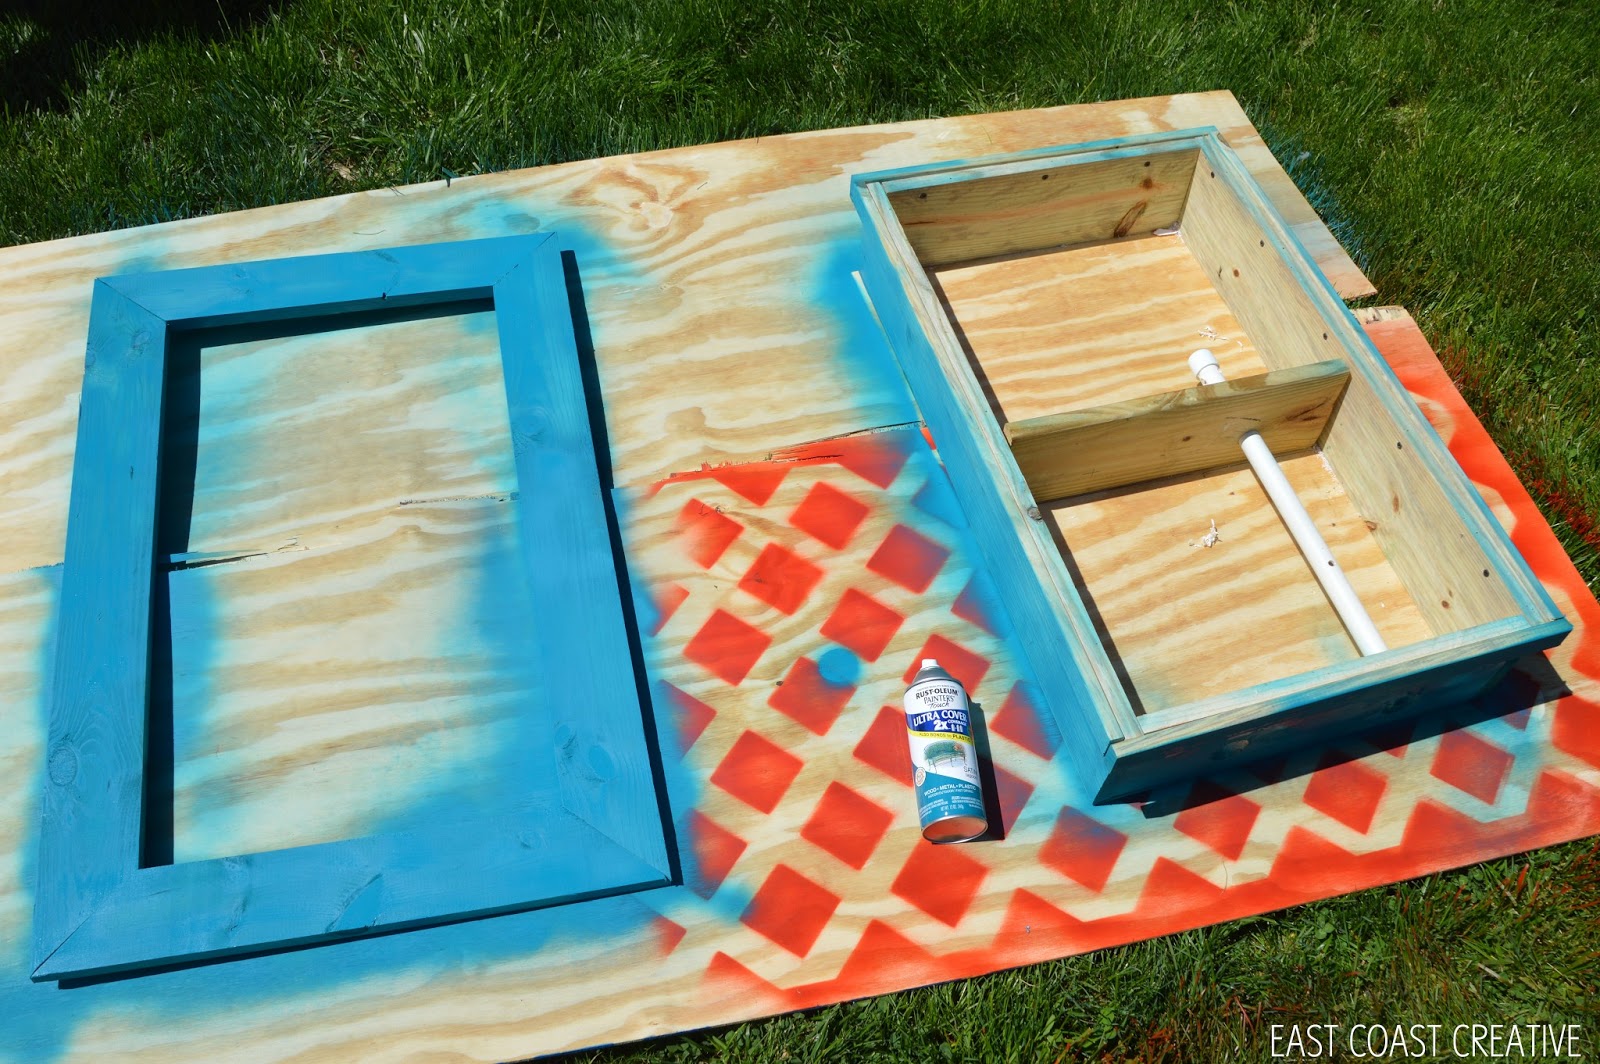
I love this color from Rust-Oleum (Blue Lagoon)- it’s the same one we used on Jess’ huge family artwork frame.
Once that was dry it was time to start planting!
I had an Oh Snap moment, when a realized that I forgot to buy the thin black meshing so all the dirt wouldn’t fall out of my planter… thank goodness for the Home Depot Garden Community forums– I found out I could use some old material and it would work just fine! Phew!
Even before I added my flowers, I knew I was in love! The fun colors totally sold me!!

Here’s just a taste of the awesomeness that the flowers brought to this project!

Tomorrow’s my final day of this journey and I’ll show you the finished product and where I hung it!


The comments +