


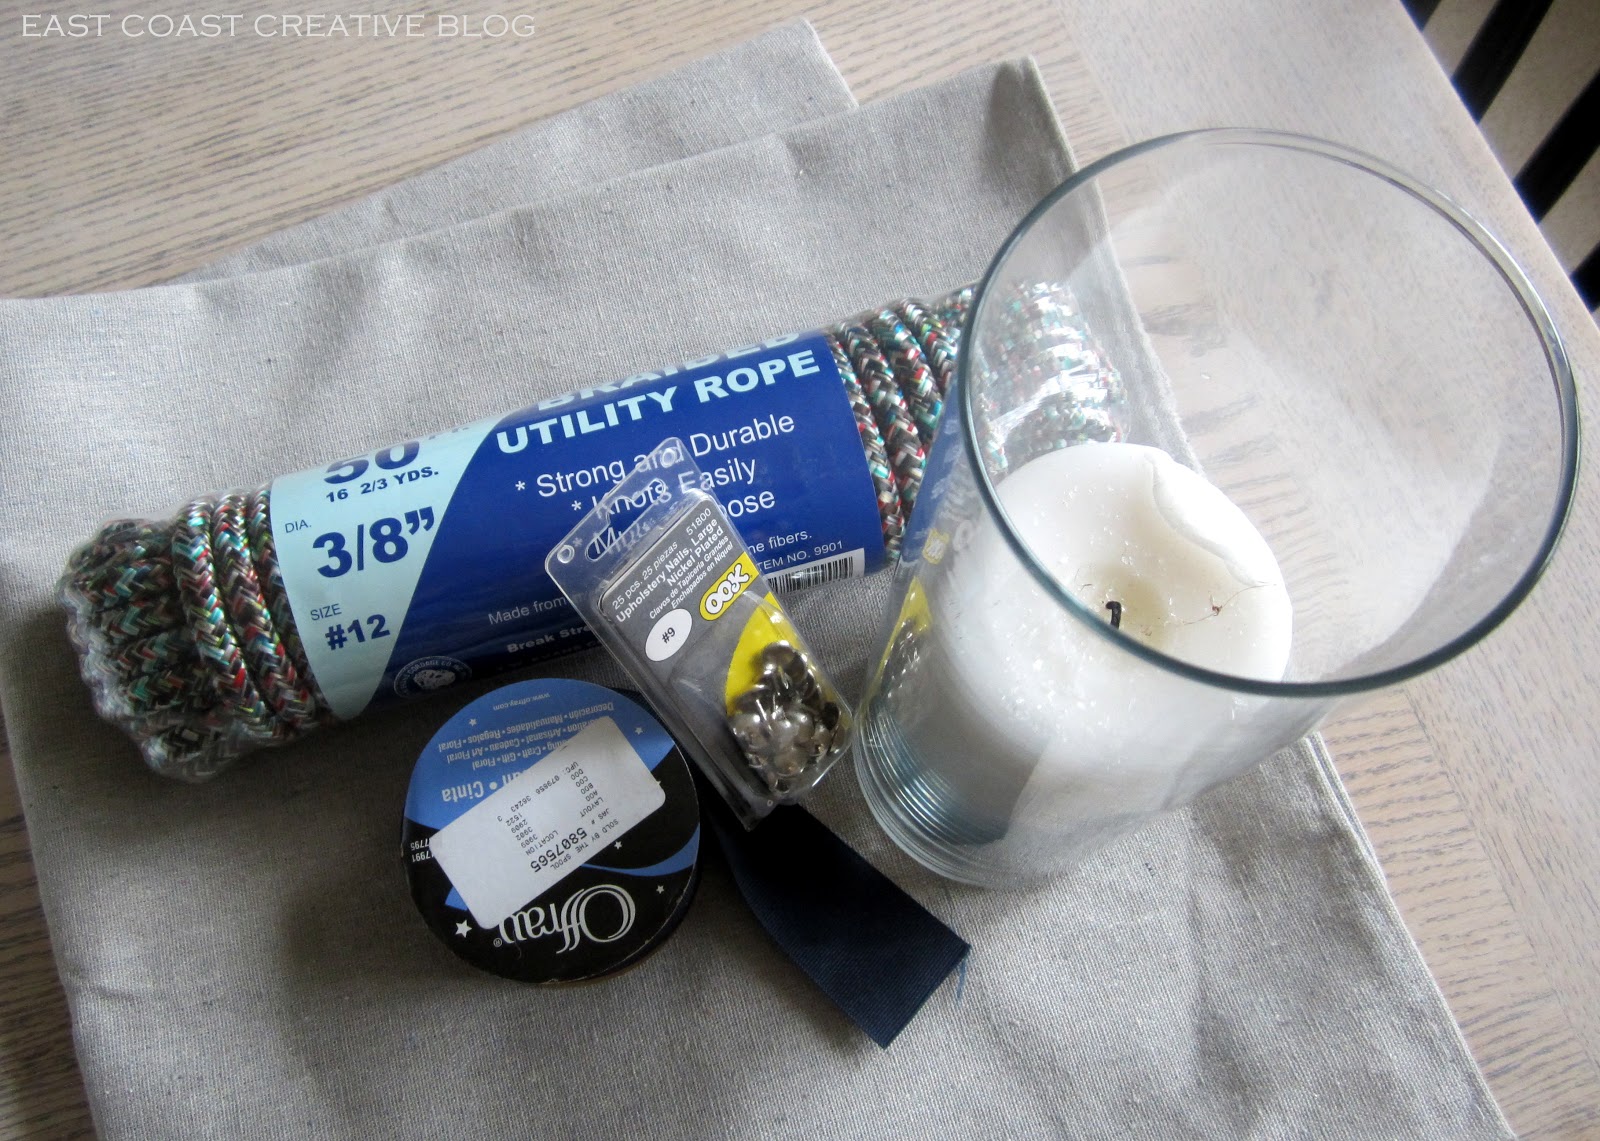
Here’s what you need to make your own:
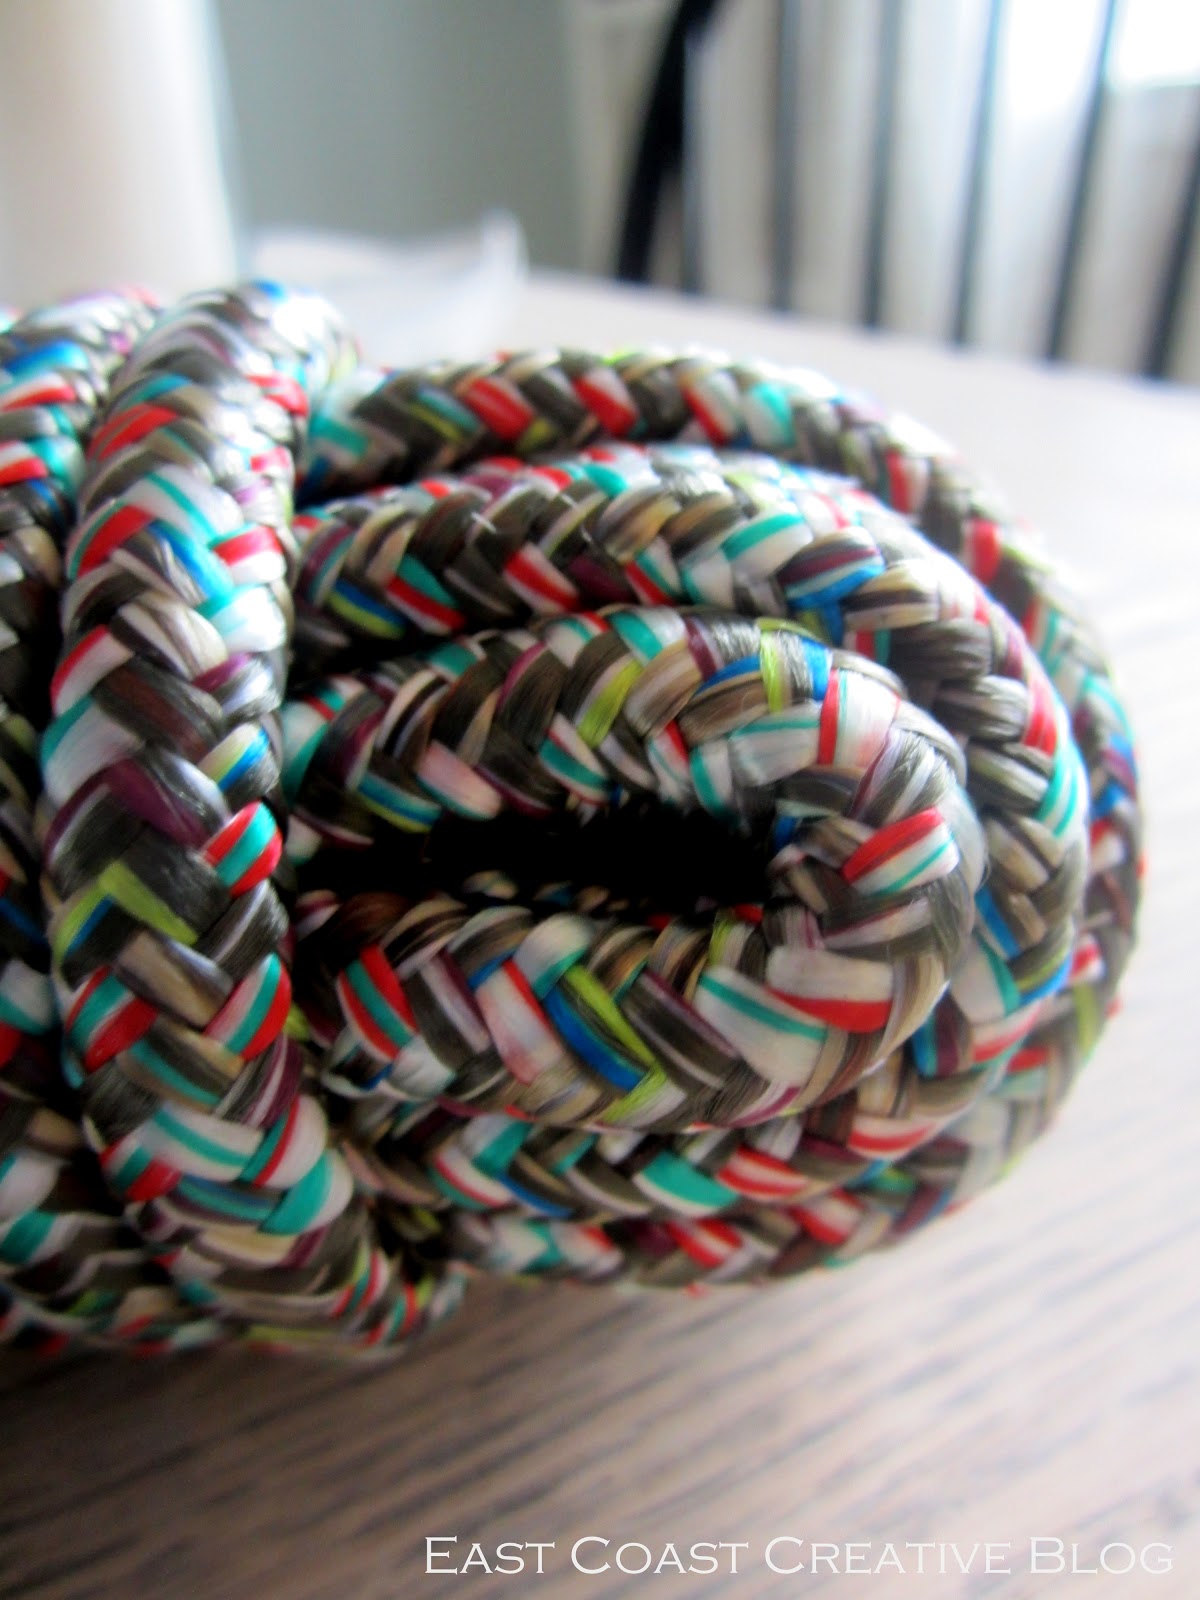
-Rope of any kind(I found this utility multi-colored utility rope at the dollar store)
-Ribbon
-Large Hurricane Vase (found at Target for $2!!)
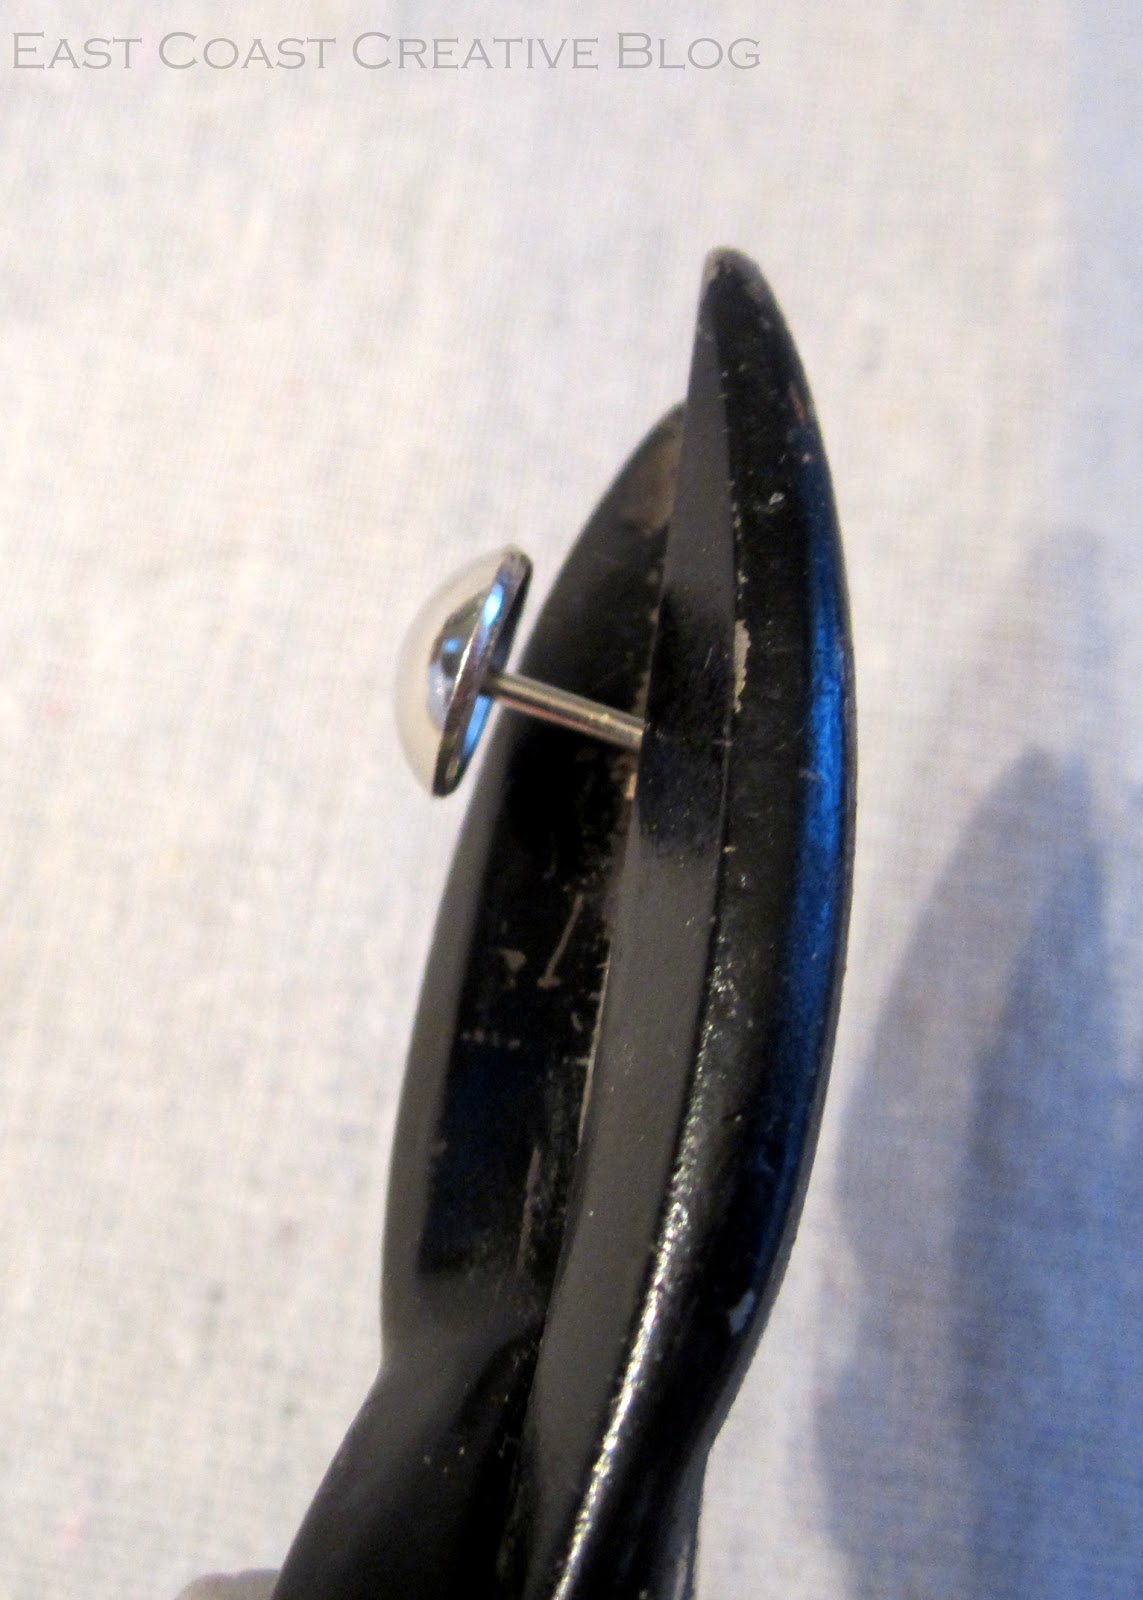
-Upholstery Tacks
-Hot glue gun
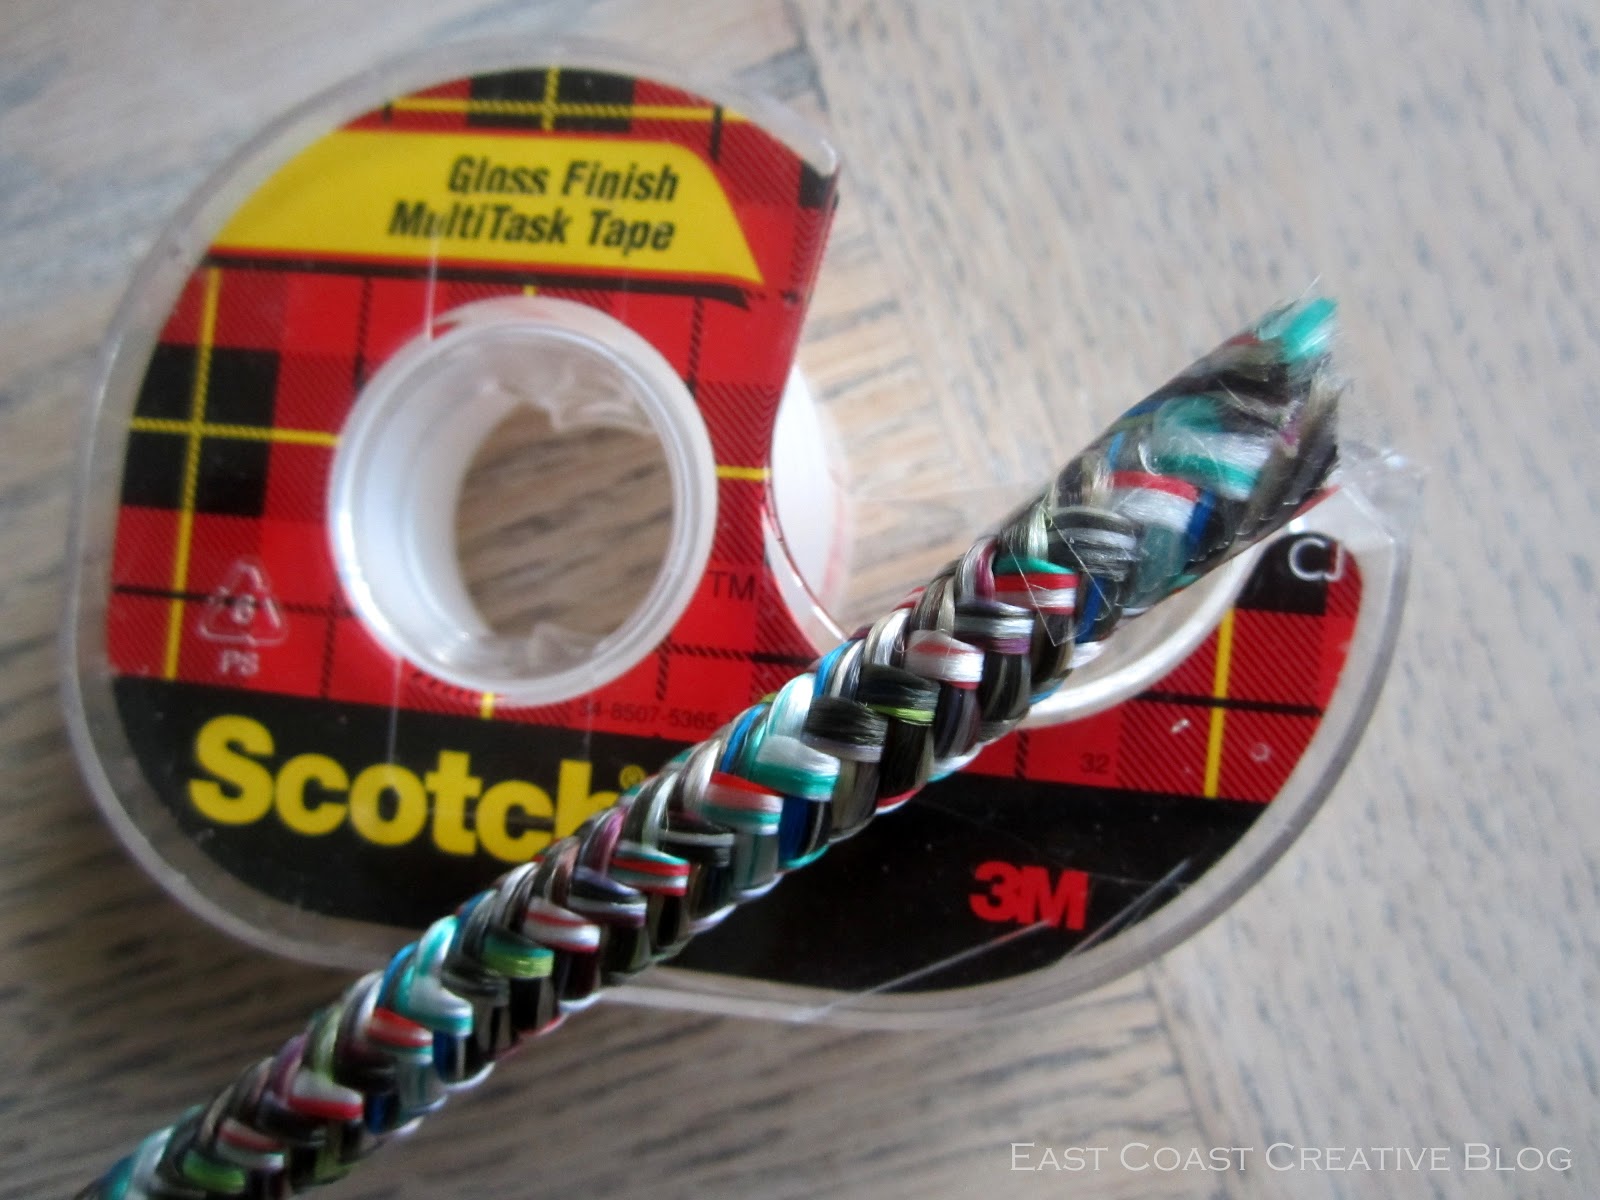
2. Wrap regular ol’ tape around the ends to prevent fraying (don’t worry- you won’t see this in the end!)
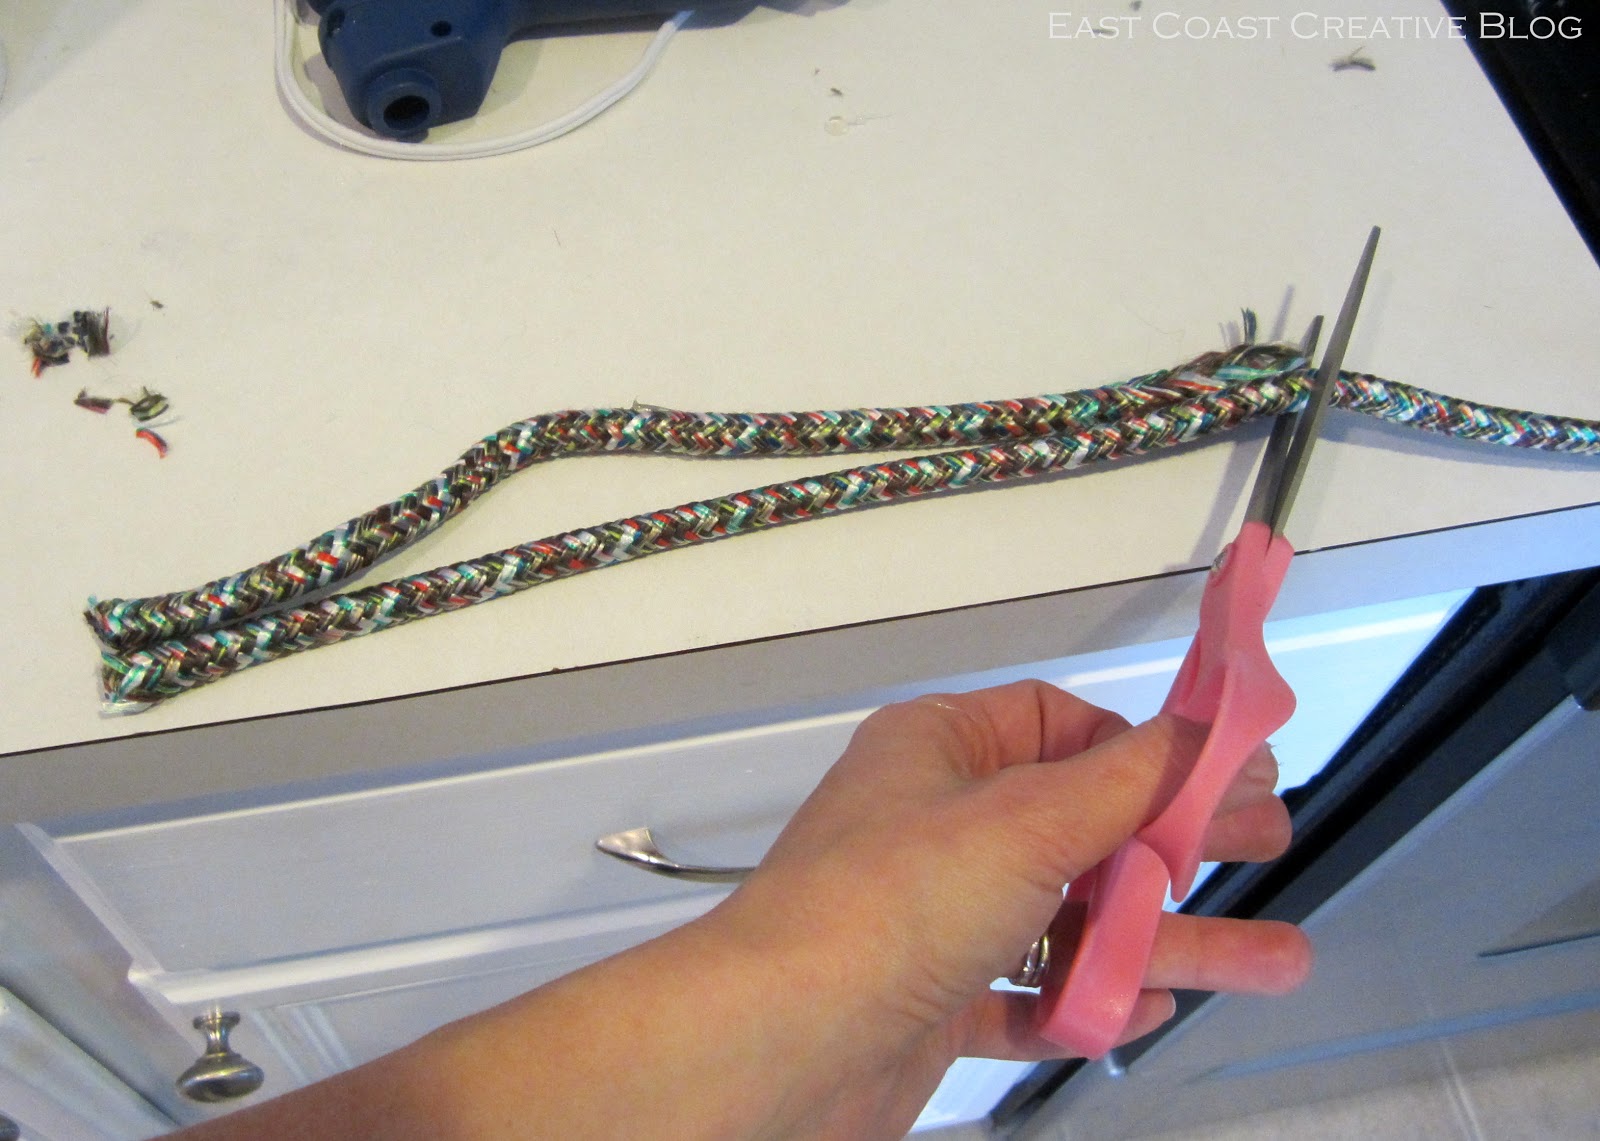
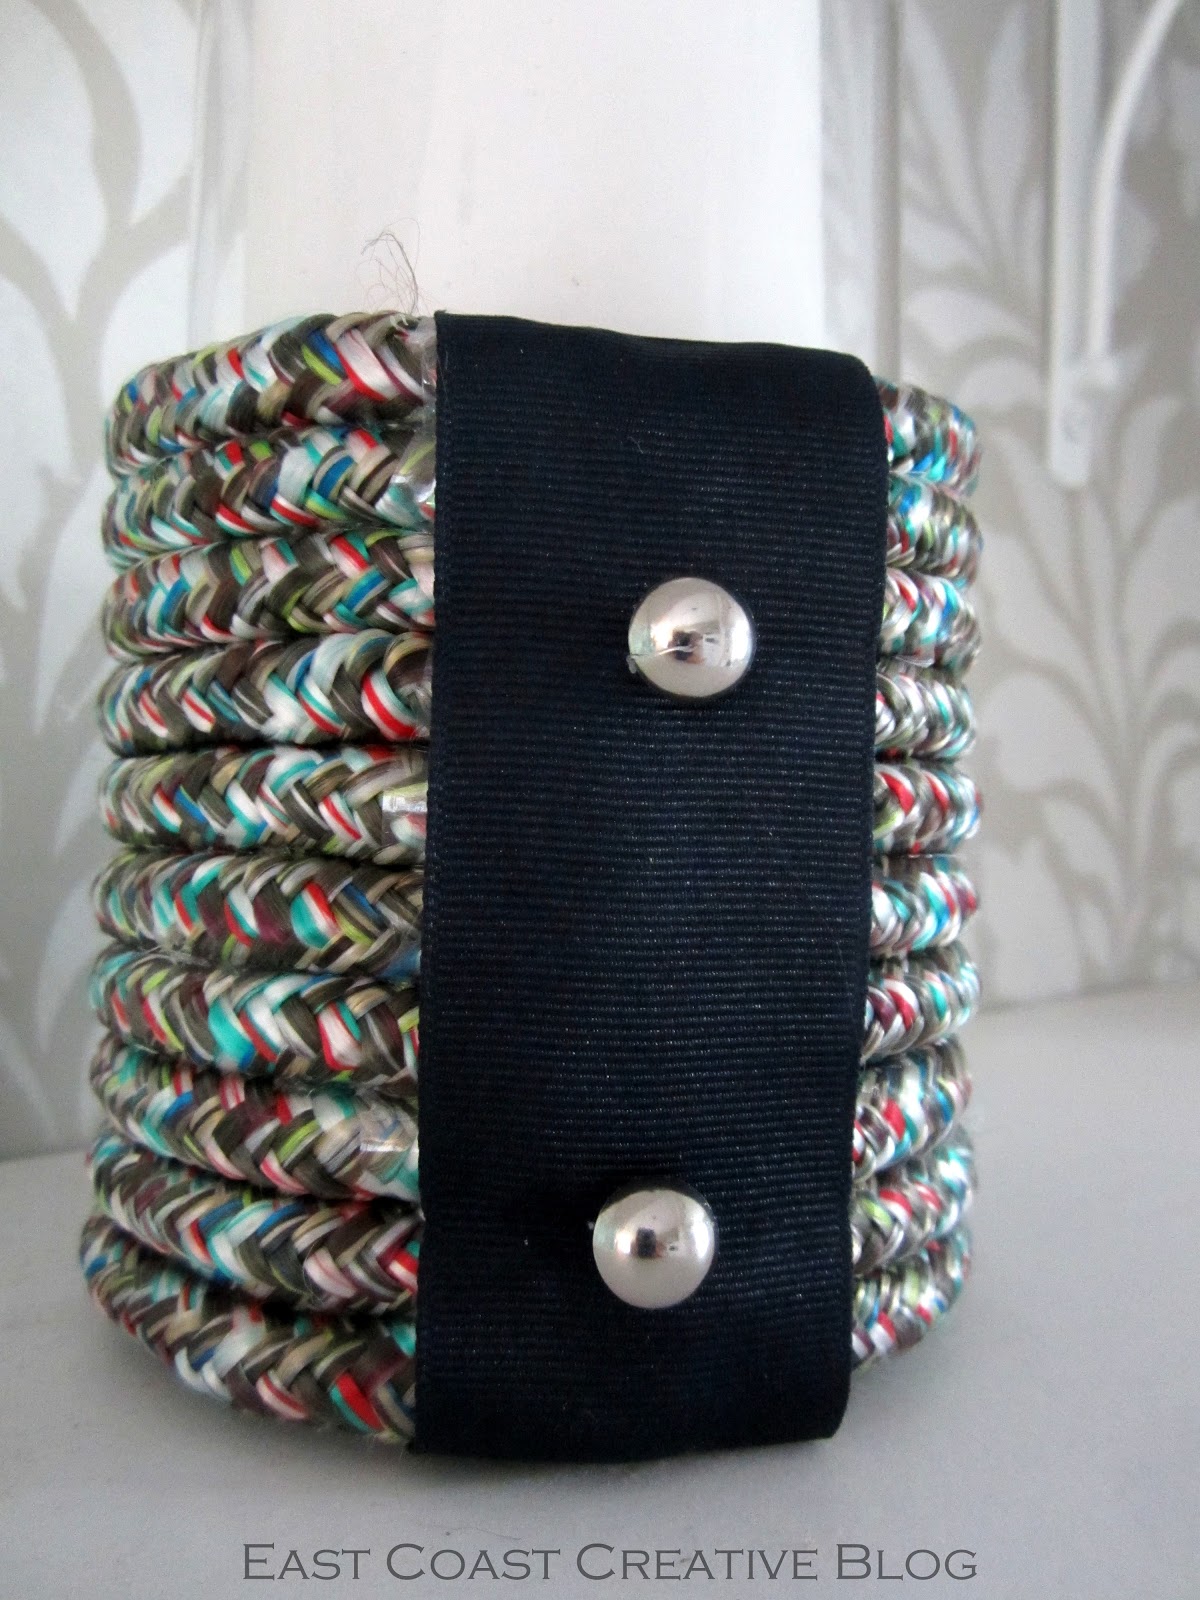
3. Using one cut rope as your template, cut the remaining rope into however many strips you need. Cover the ends with tape.
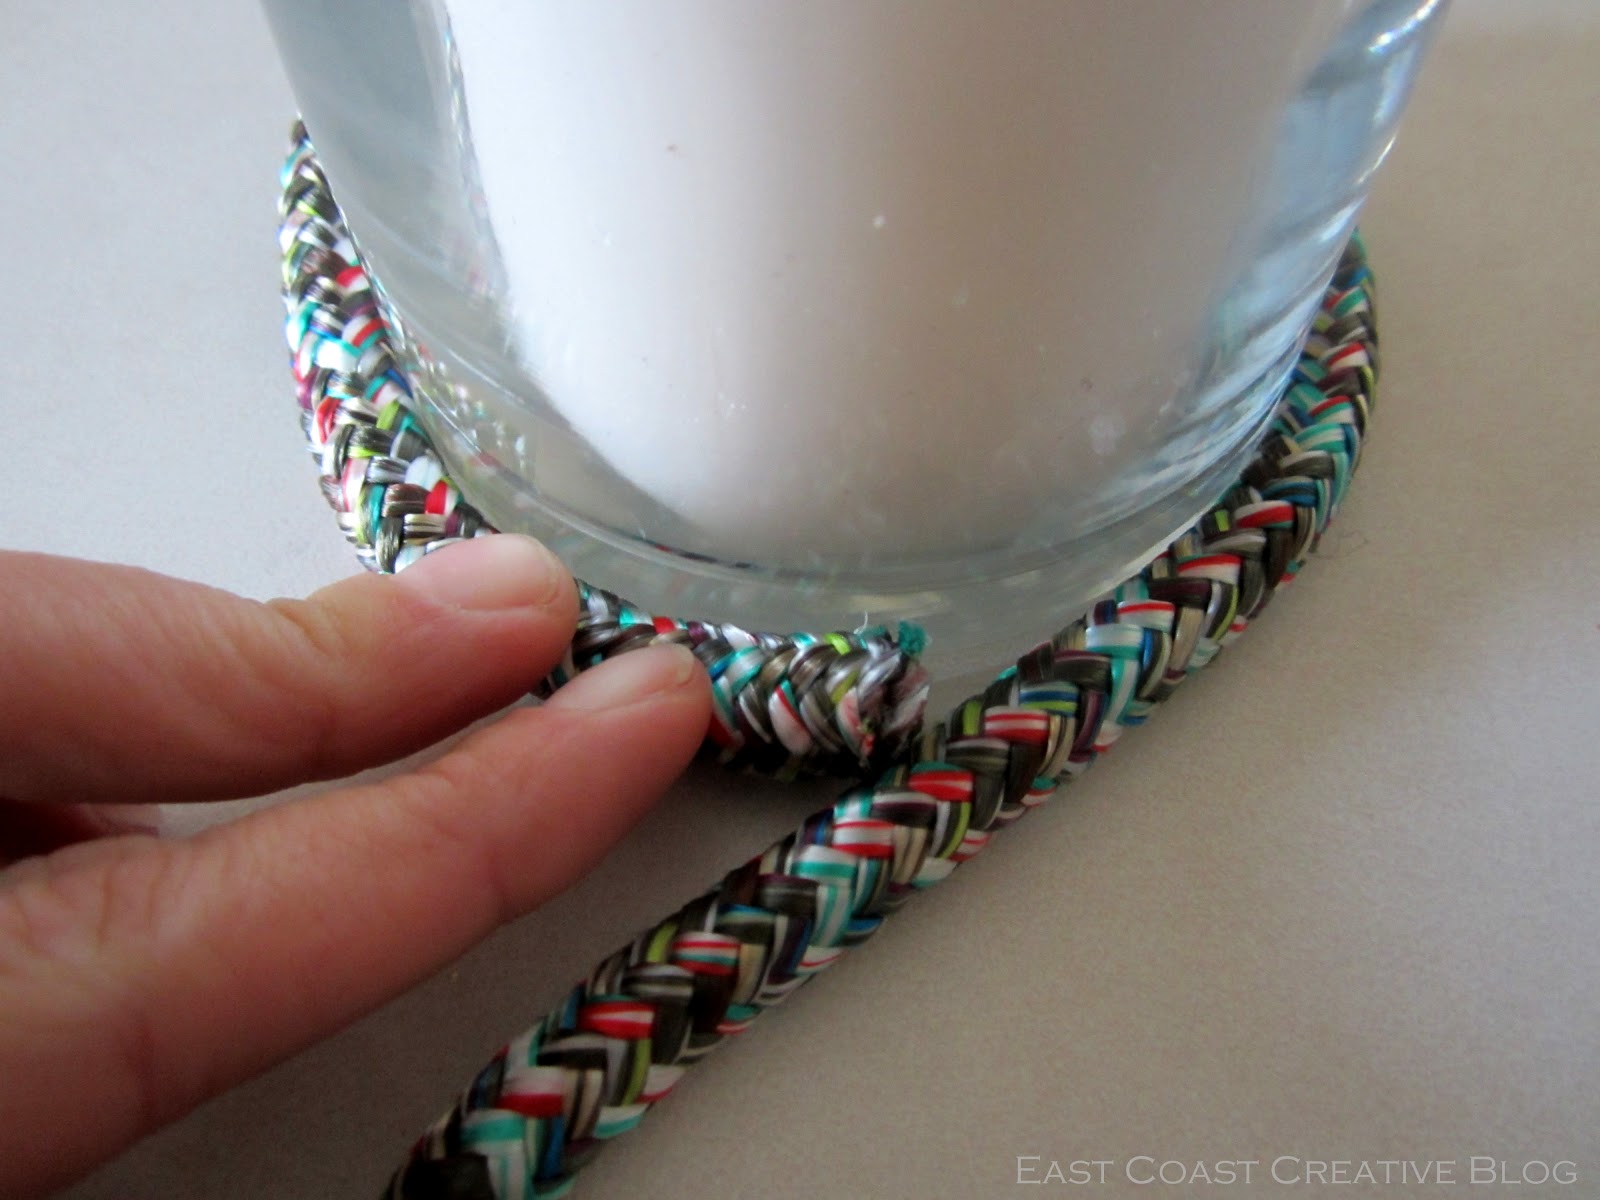
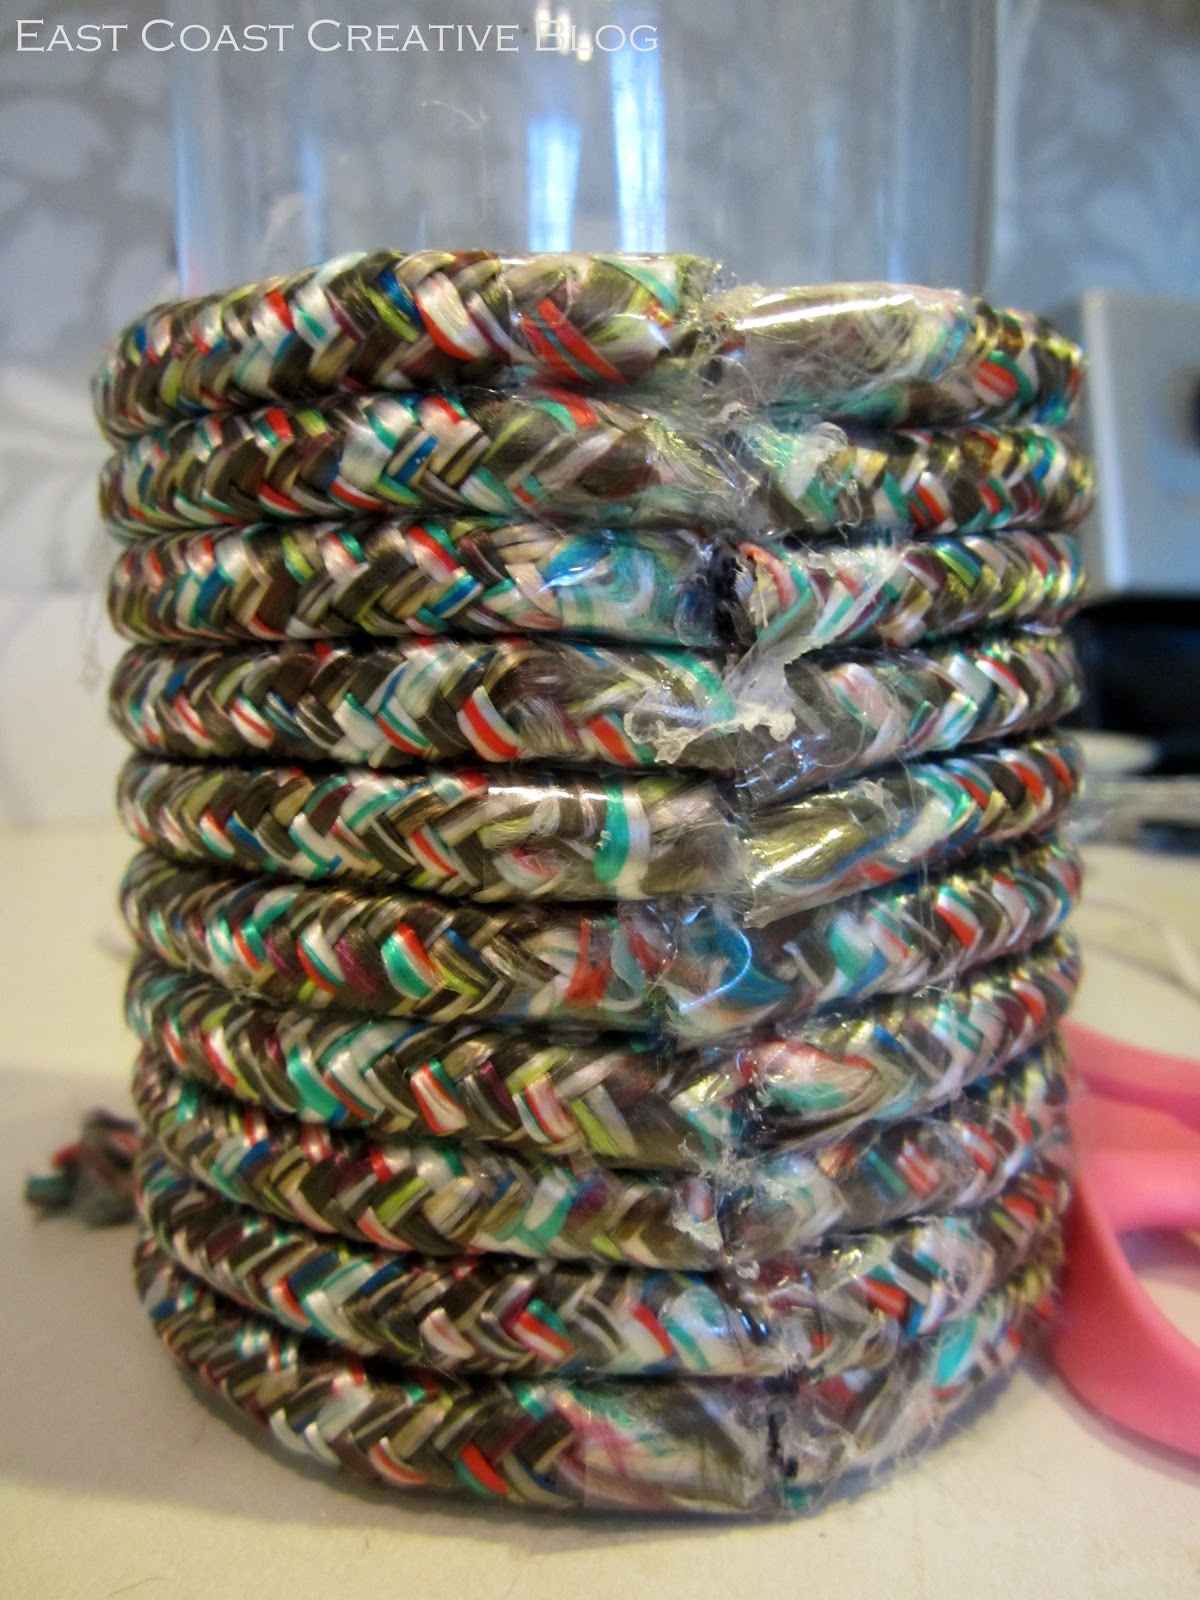
4. Starting at the bottom of the hurricane, place a line of hot glue around the entire base. Immediately lay your first length of rope around the hurricane. Put a dab of hot glue on both ends and attach them together.
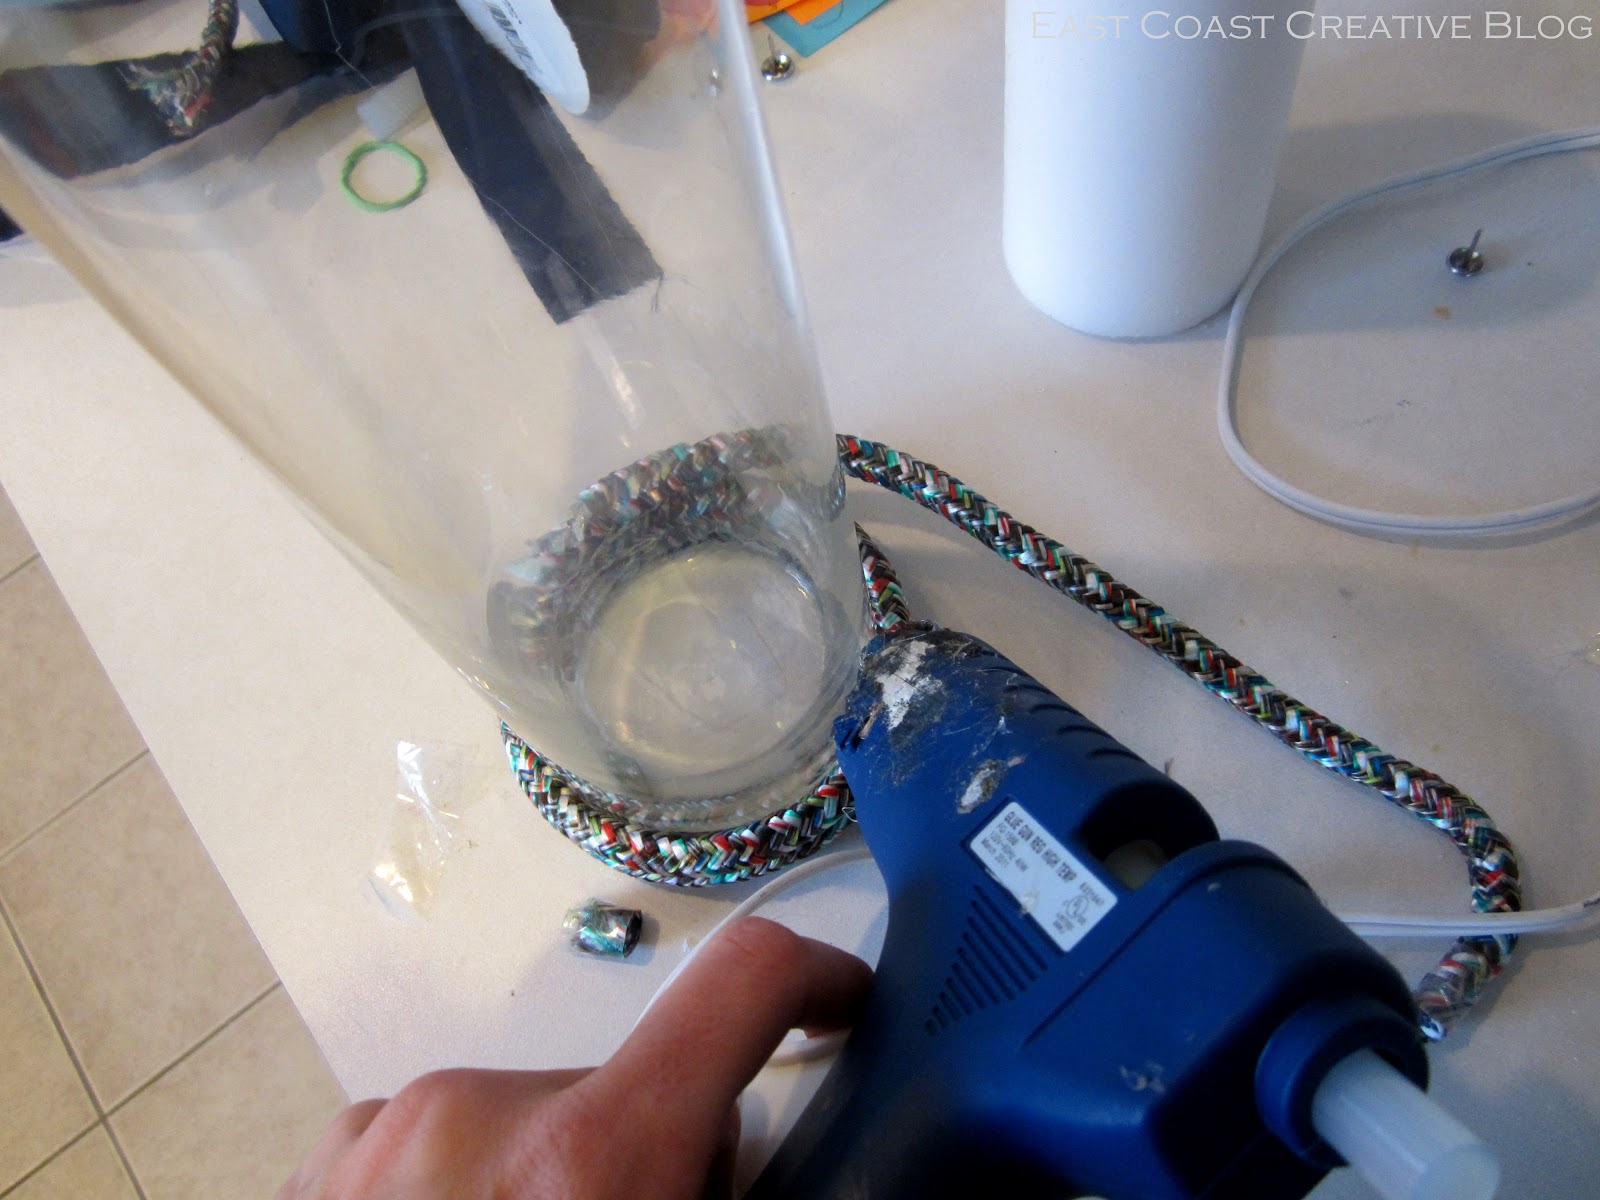
5. Do the same with all of the rope, making sure that ends match up to create a seam. Other than the rope at the bottom of the hurricane, I only put hot glue at the seam, the back and then the other side of the seam of each rope (not all the way around- I’m so cheap I don’t like to waste anything!)

It looks messy, but the glue comes right off the glass with a little warm water and some scrubbing.
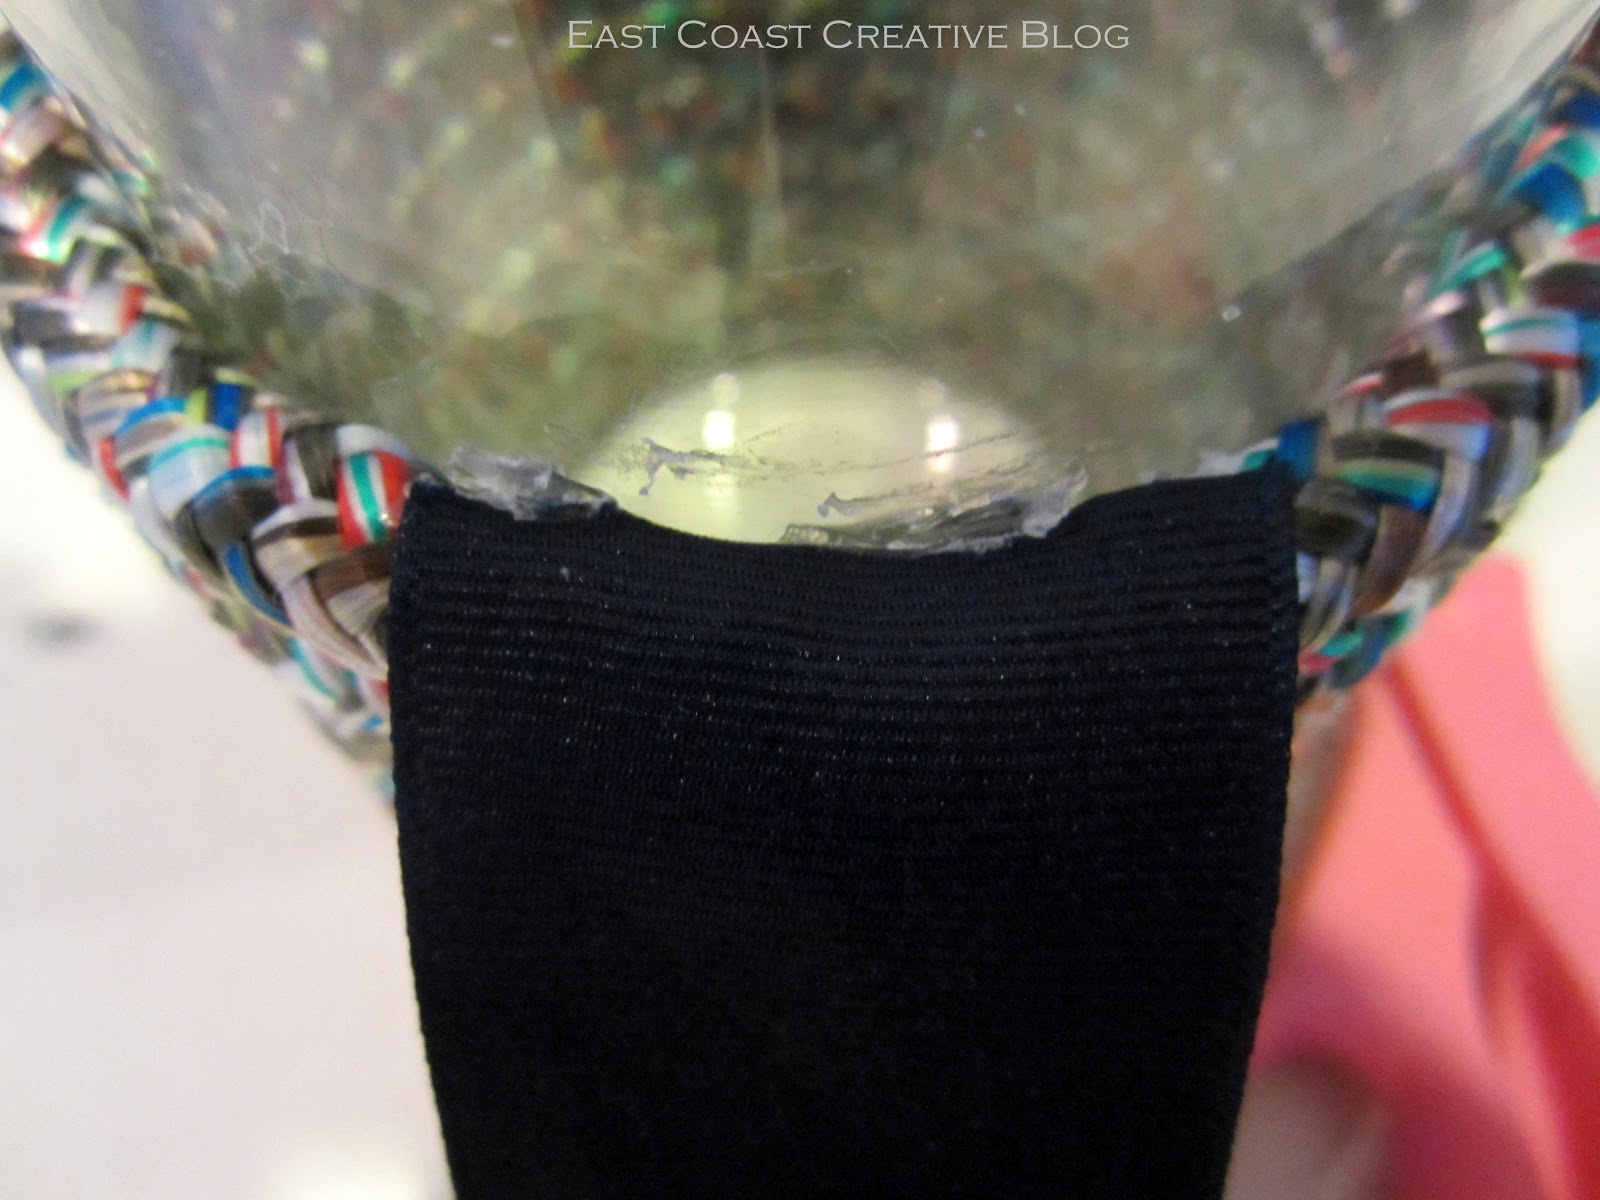
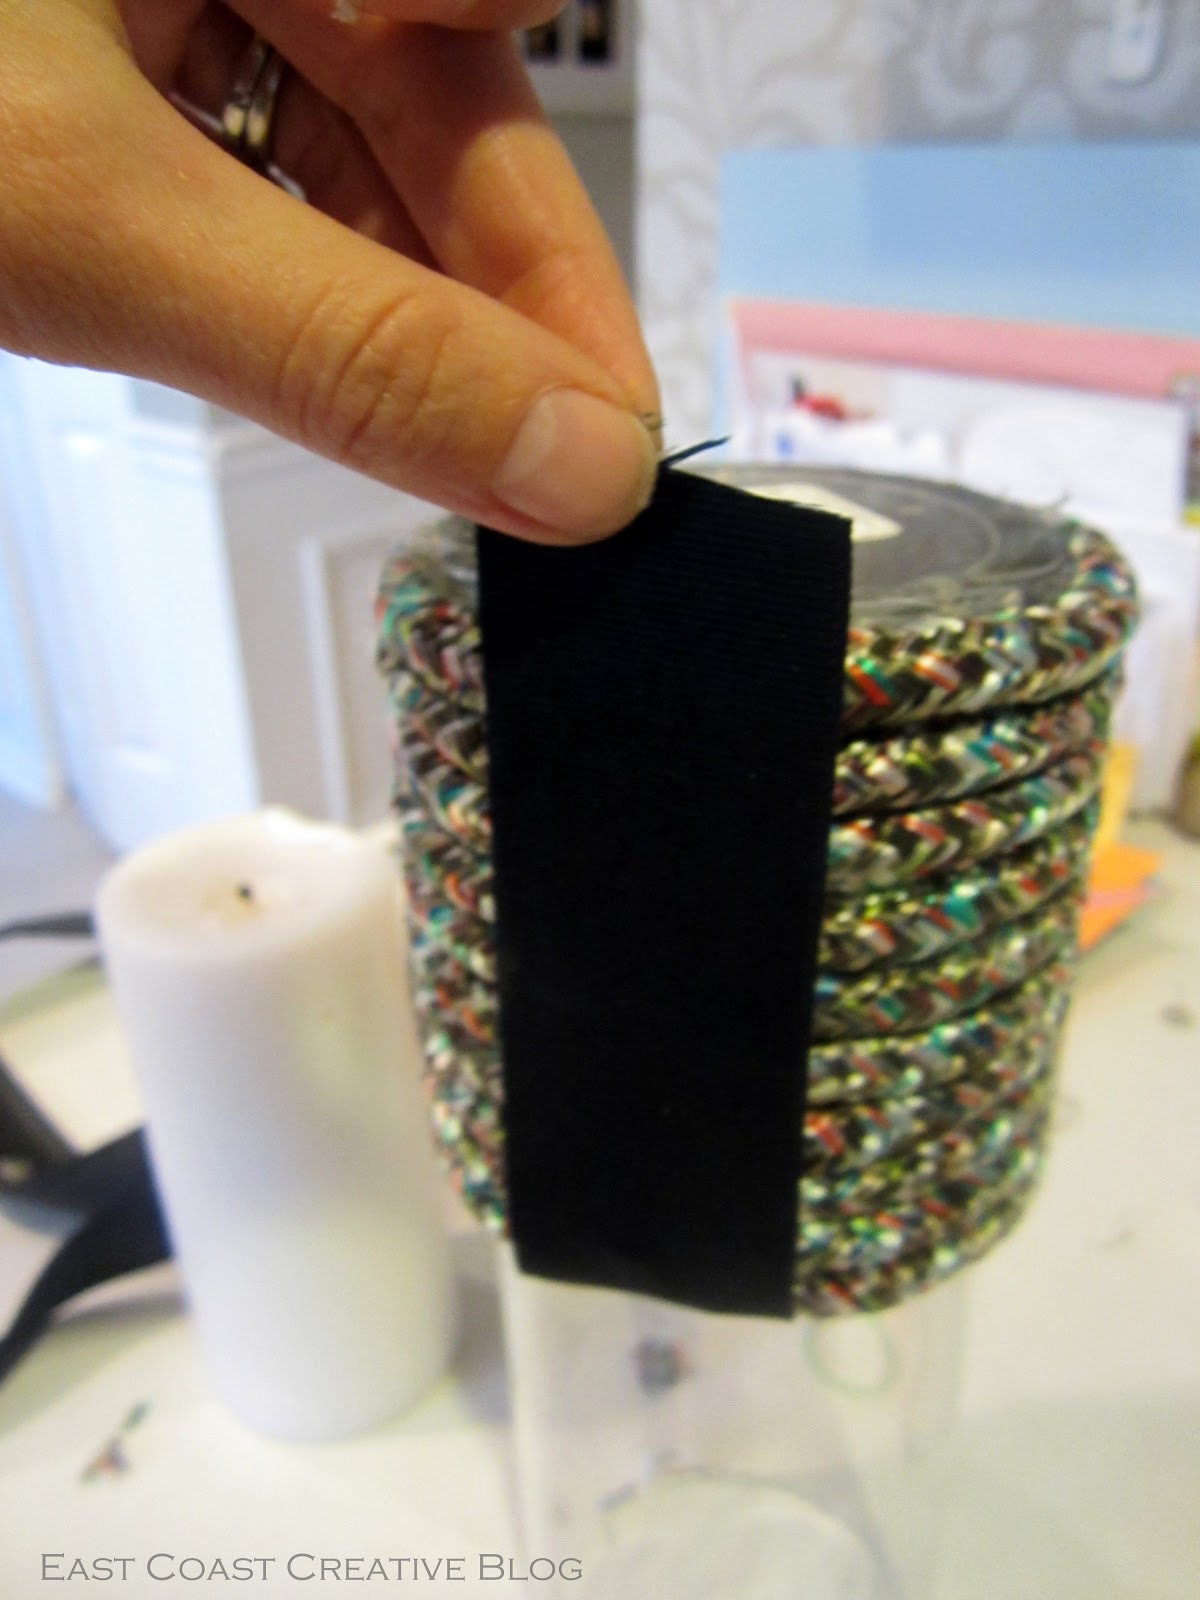
7. Flip your hurricane upside down, cut your ribbon to the desired length and hot glue to the underside. Be sure not to leave too much ribbon, because that plus the glue can make your vase wobbly.
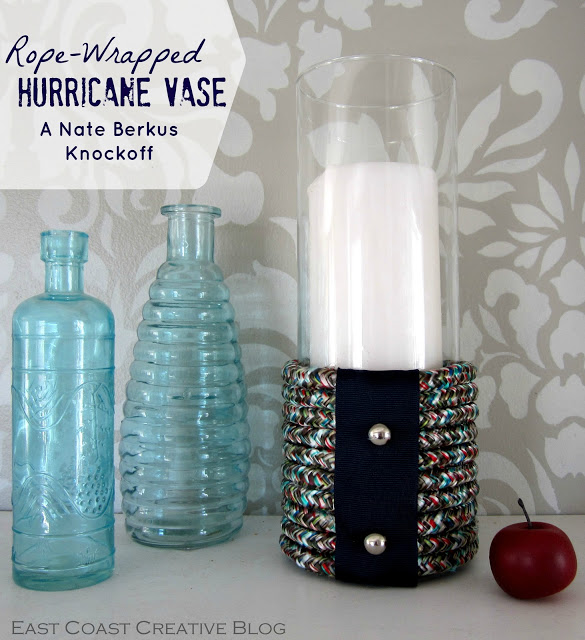
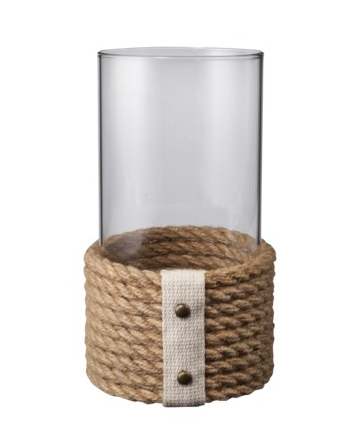
Ta-da! I’m sorry, Mr. Berkus, but I’m kinda partial to my version. Thanks for the idea!

Linking up to: Tutorials & Tips


This came out FANTASTIC and actually even more nautical than the original Nate! LOOOVE IT and have the perfect one-off candle holder that this would spruce up. Great job!
One suggestion that might even make this project easier would be to use a lighter to sear the ends of the rope. If it is a poly type blend (which this appears to be) the fibers will actually melt and you can even stick both ends together while they are still soft and they’ll adhere stronger than you’d think. Saves on tape (huge expense there) and could help to make it more solid. -Sarah
I will gladly accept one if you would like to make one for me! =]