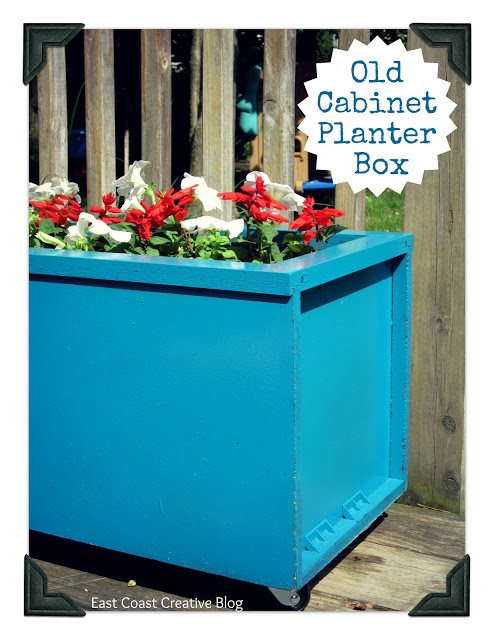

There’s nothing like a good, old-fashion upcycle, is there? Remember when my hubs and I recently renovated our kitchen and in the process took down some of our cabinets to make room for open shelving? I know I could have sold them, but I love the thrill of coming up with a new use for something rather than having it sit around waiting for a purpose. Planters are soo expensive, and so the thought occurred to me that I could use one cabinet to make a planter box! A virtually free project makes me one happy girl.

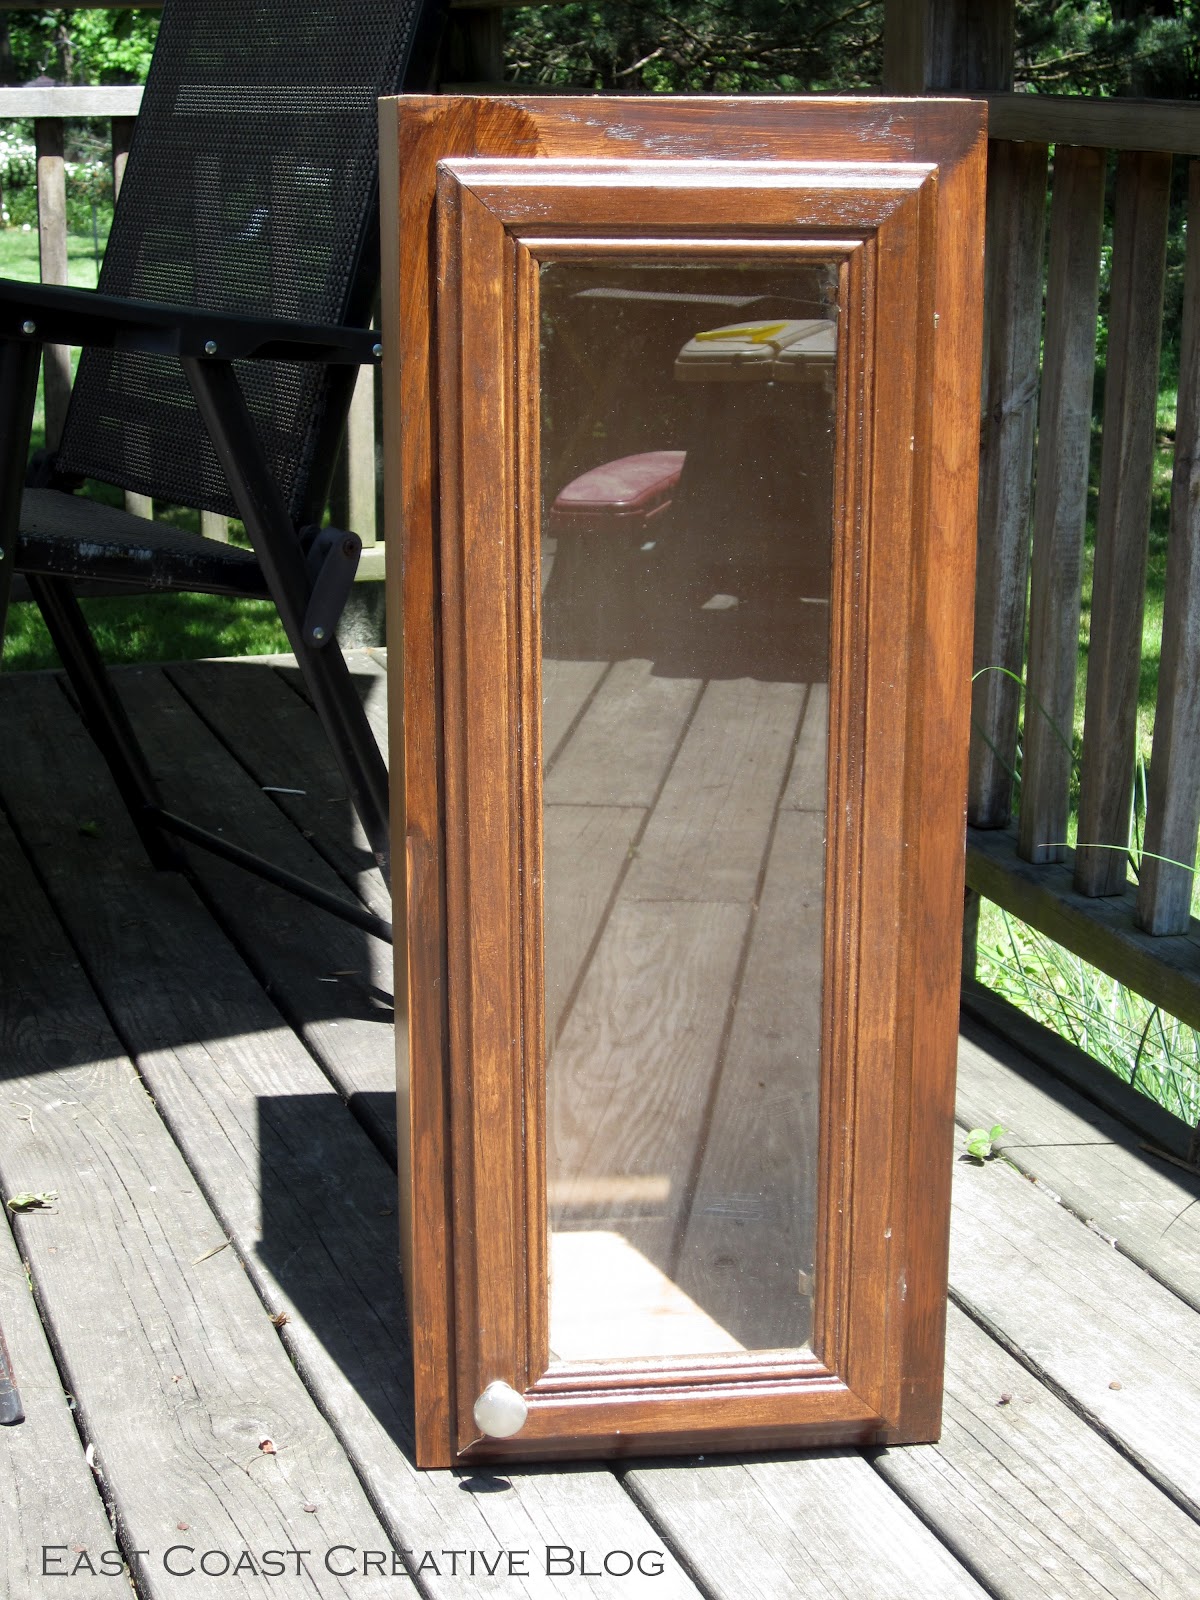
The cabinet was nothing special to begin with. Can you see why I wanted to get these things out of my kitchen?! First, I removed the door and all of the hardware;
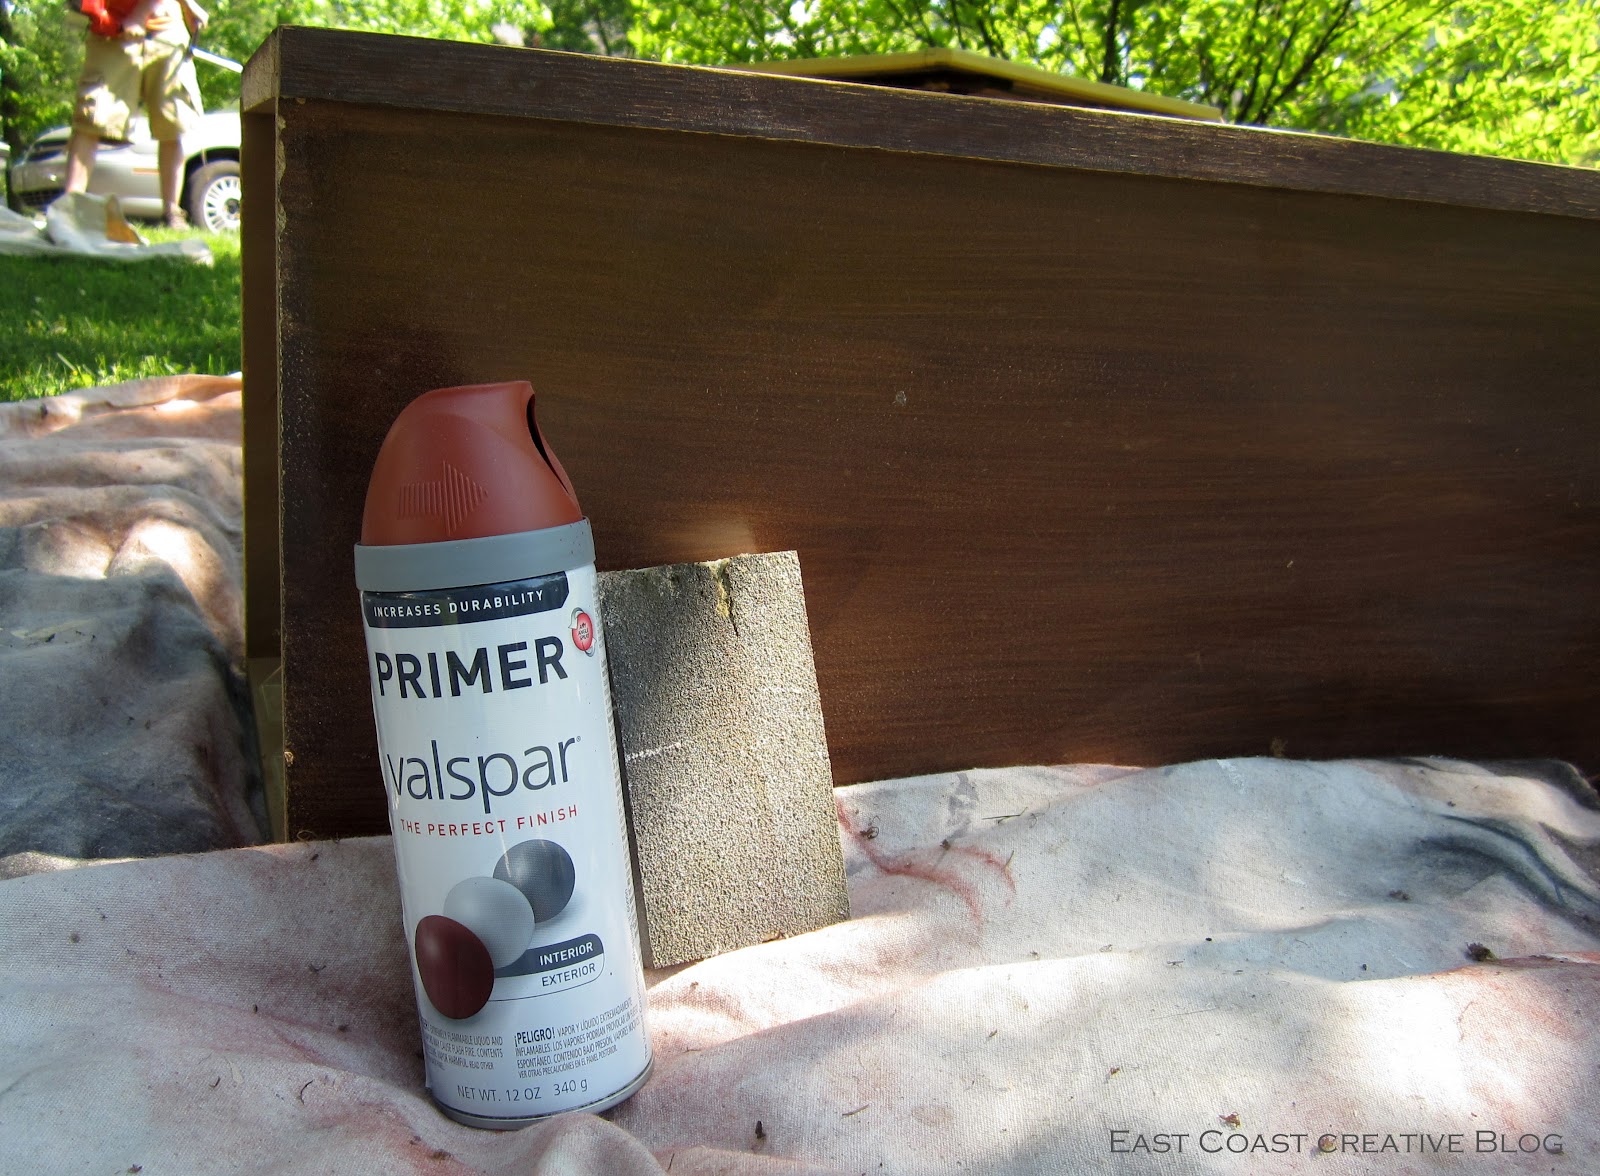
and then lightly sanded down the entire cabinet. I just wanted to rought it up enough so that the spray paint would “stick” to it. If your cabinet is really glossy, make sure you give it a good sanding before painting. Next came the spray primer. I used this red one because it was all I had on hand.
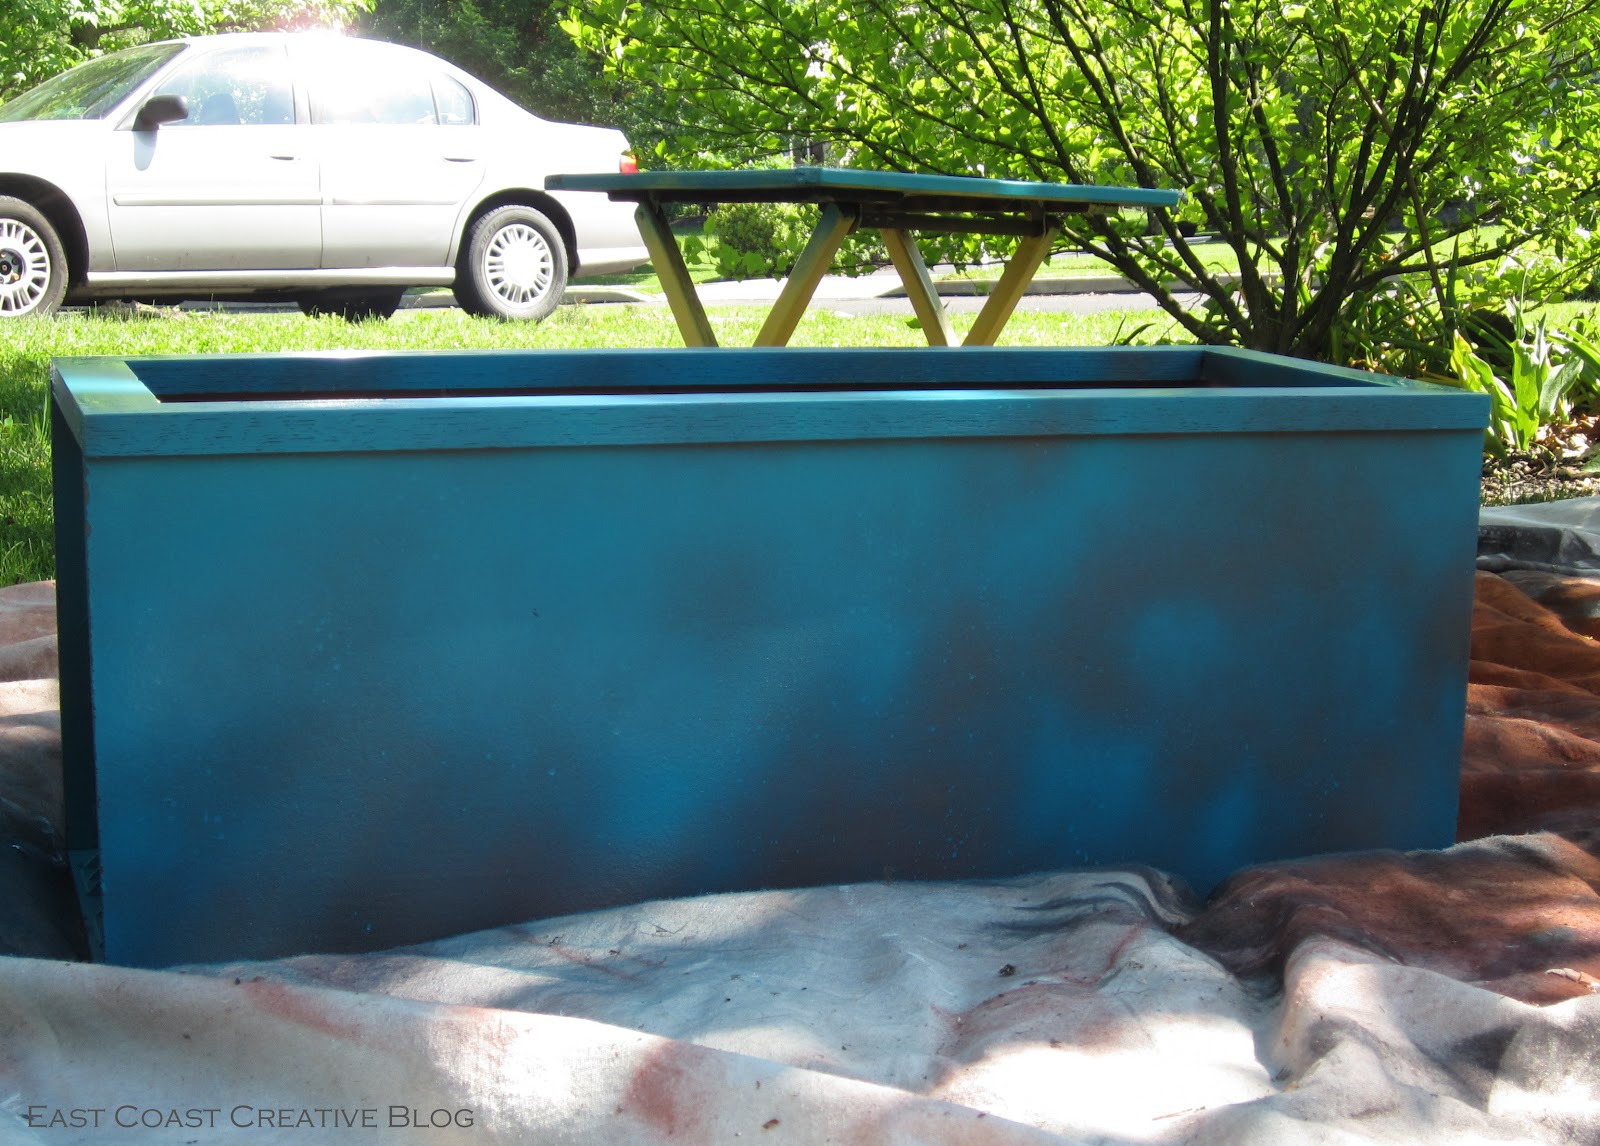
I used my favorite shade of blue (Rustoleum Ultra Cover 2x in Satin Lagoon) and lightly sprayed the box with three coats.
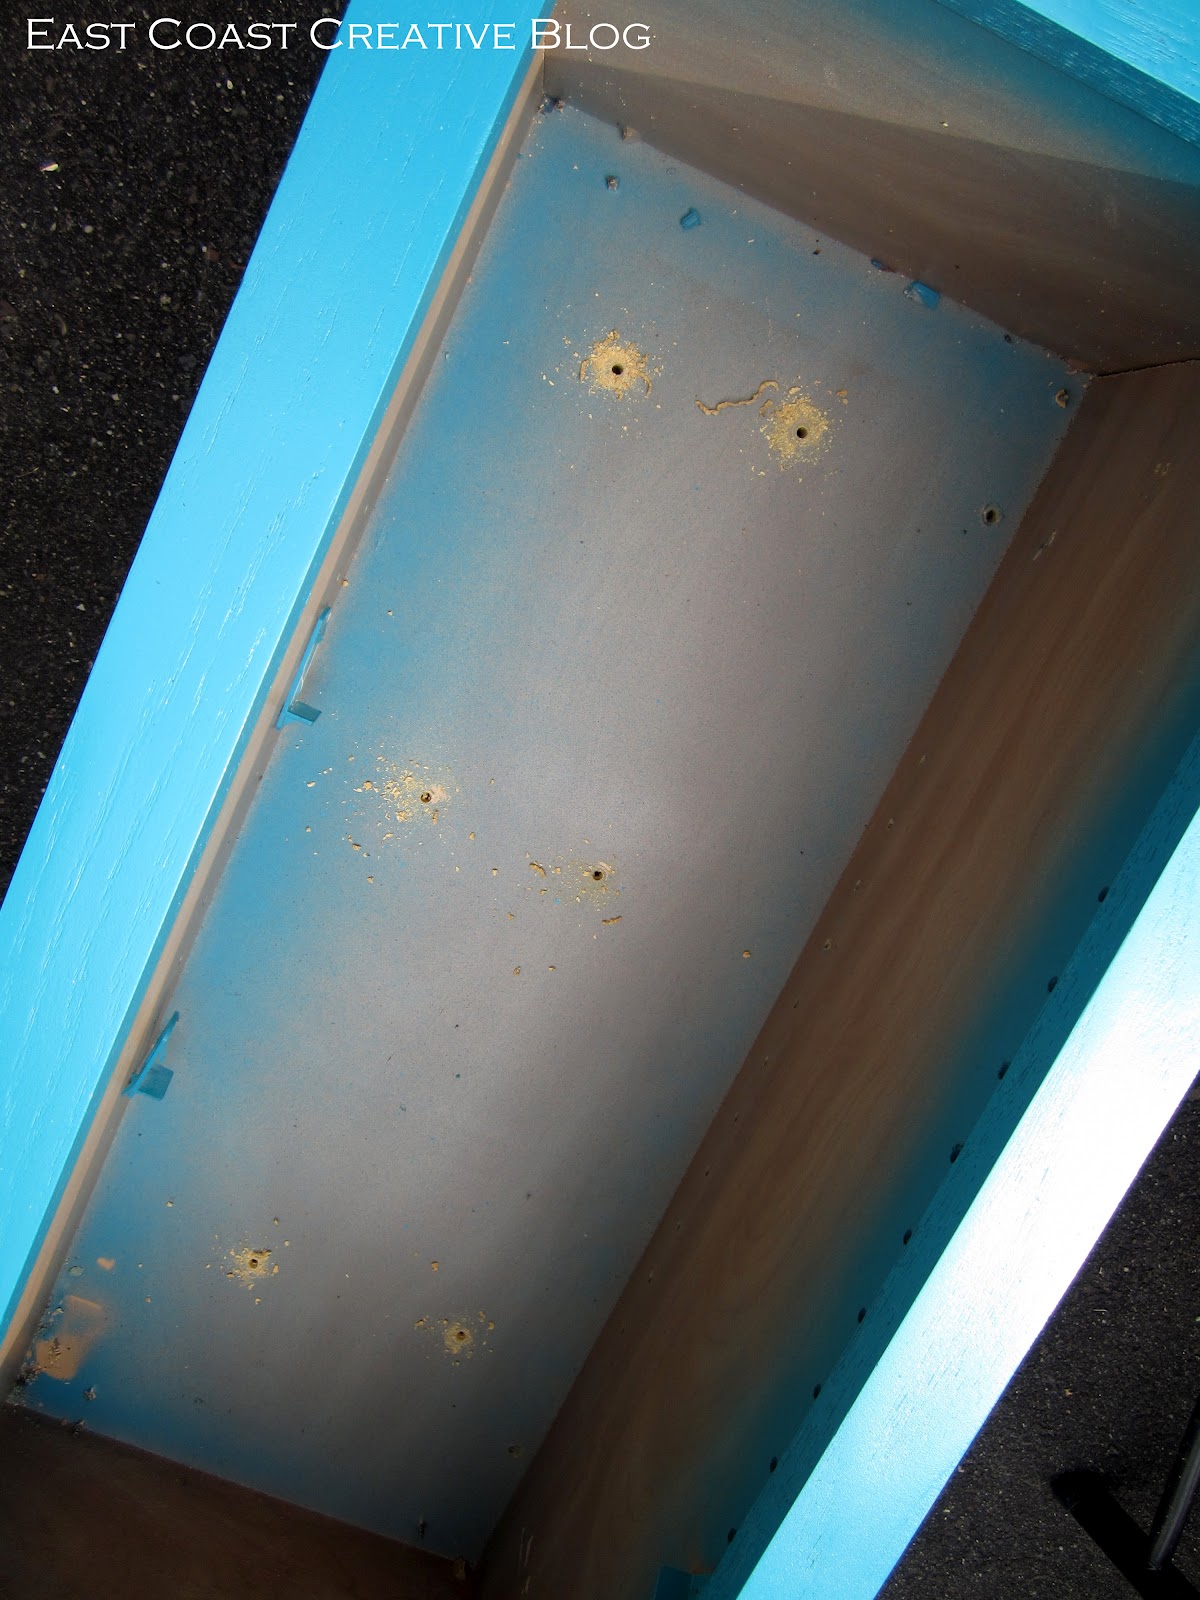
I wanted to make sure it had good drainage, so I drilled several holes along the bottom of the box. The holes are small enough that dirt won’t easily fall through, but large enough for the water to seep out. There is no perfect number of holes, so drill away until your satisfied!
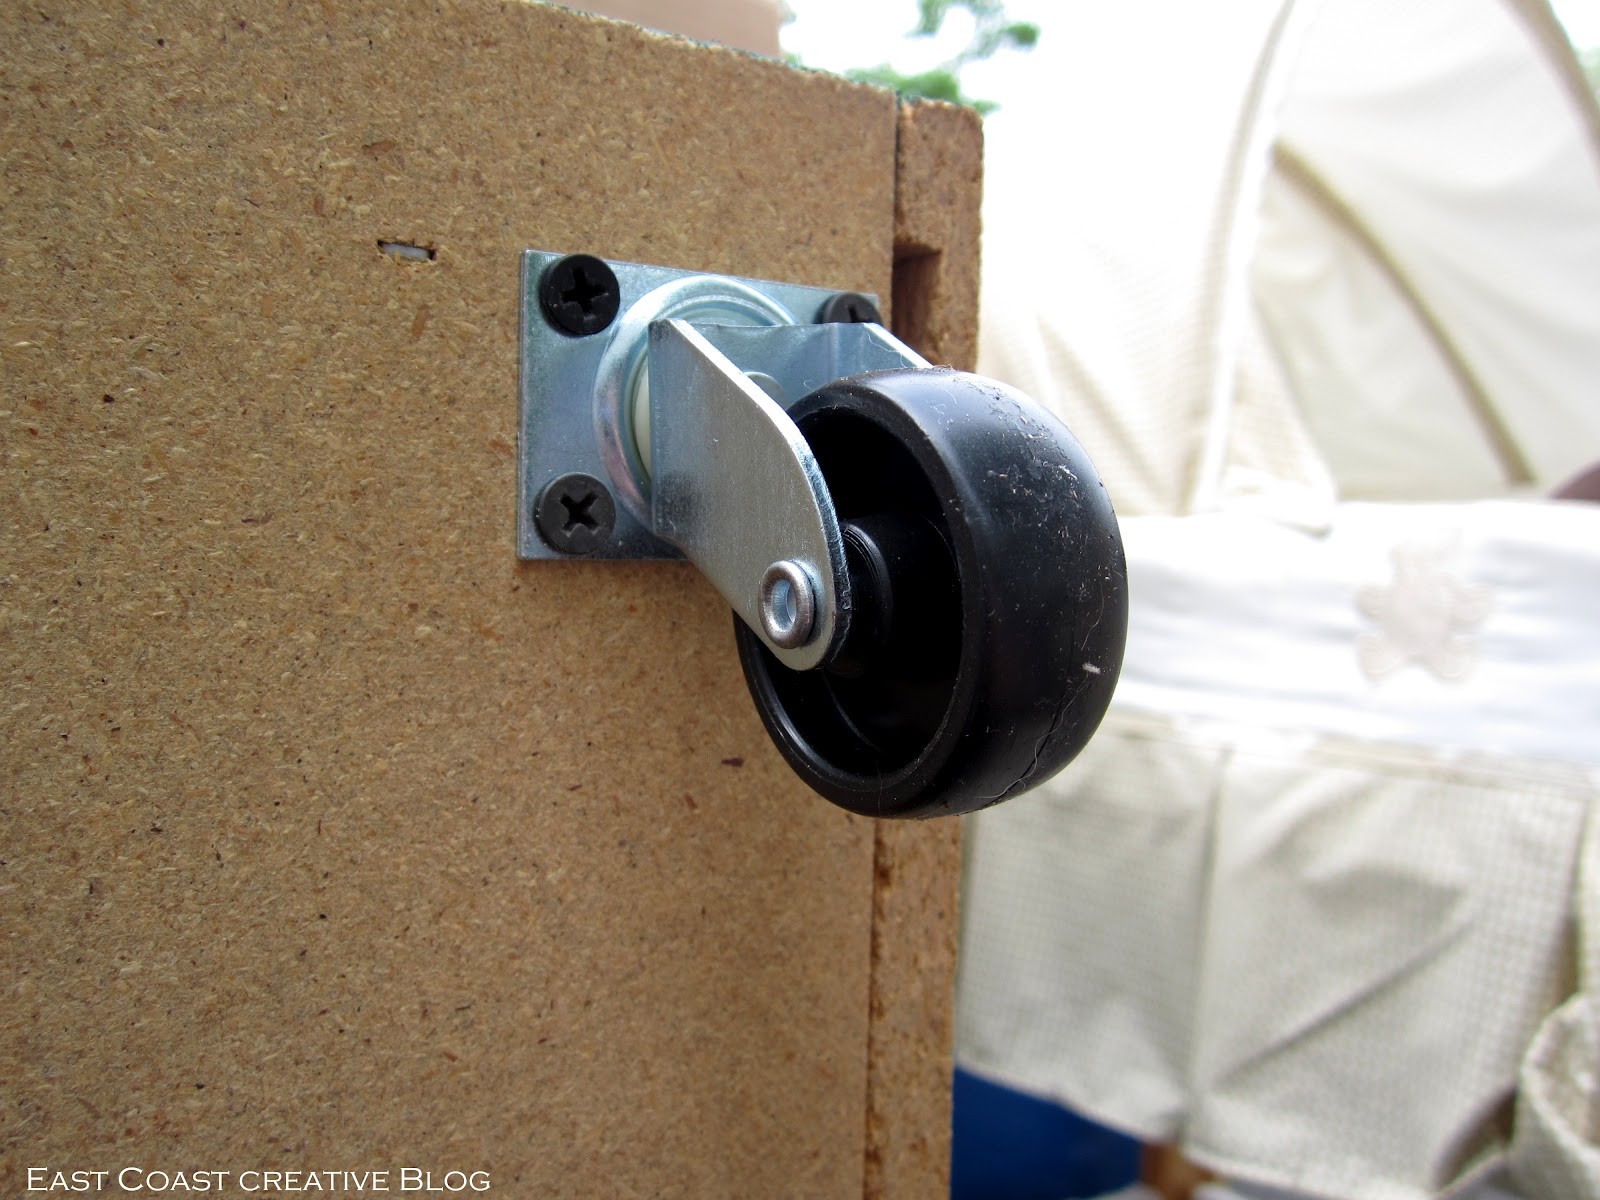
I also added castors to the bottom because this thing was bound to be really heavy once I added potting soil and plants and I wanted to be able to move it around whenever inspiration struck (which happens really often at my house!)
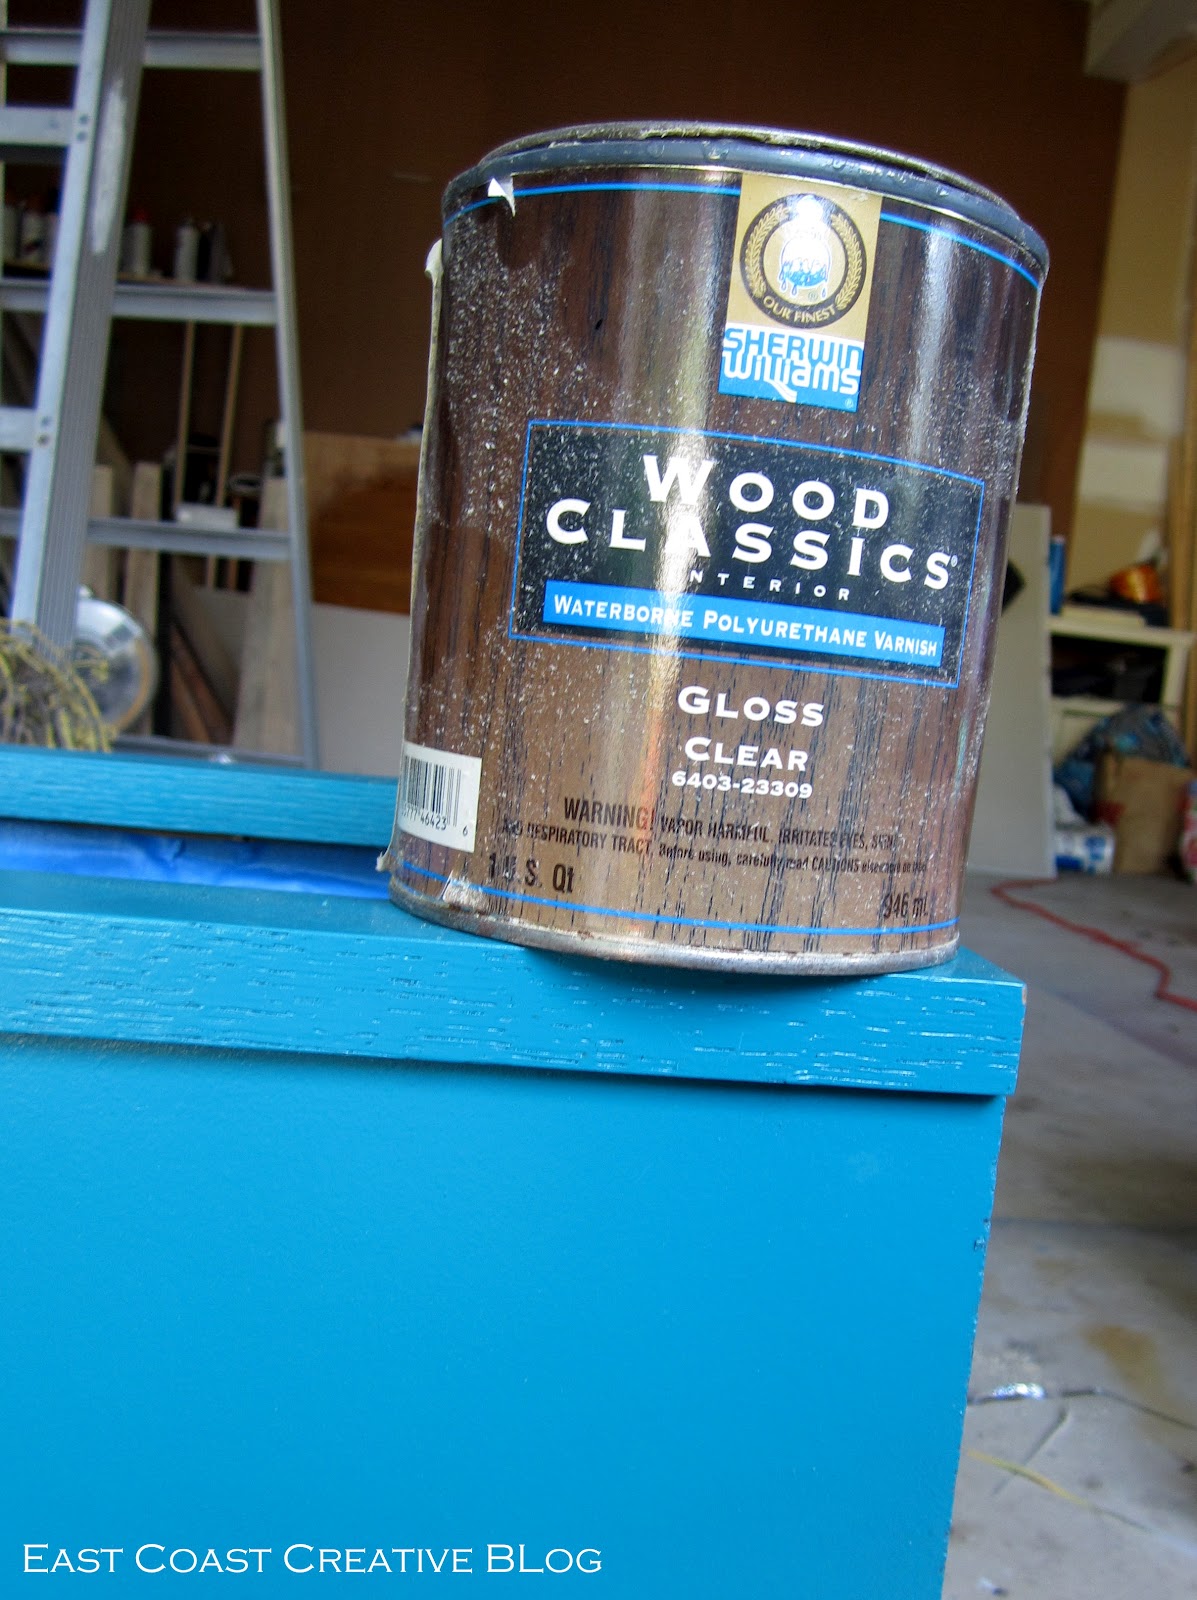
Polyurethane is your best friend when it comes to protecting any surface from water damage. I applied several coats, letting each coat dry in between. My poly is well-loved, can you tell? I’ve had this planter sitting on my deck for about a month now. My cabinet is partially made of particle board and is beginning to show major signs of wear. Make sure your cabinet is solid wood OR coat both the outside AND inside with at least three coats of poly. Trust me- I know!
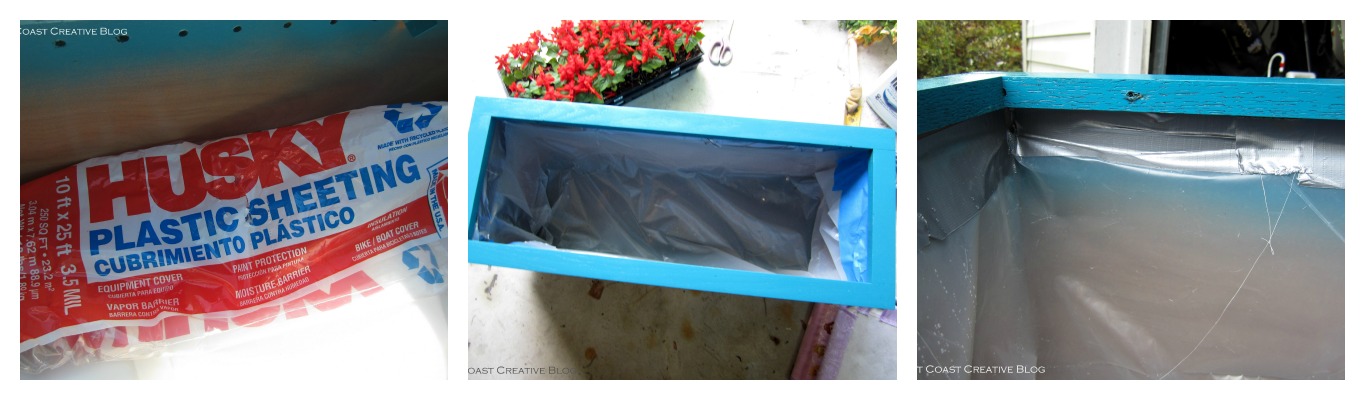
To protect the inside of my box from damage, I lined it with heavy plastic sheeting (found with the dropcloths in the paint section of Lowe’s or Home Depot), and secured it with duct tape. Then I poked holes in the bottom of the plastic sheet, again, to aid with drainage.
Then came the fun part! Filling it up with potting soil and gorgeous flowers! I love how it came together and the way it adds a pop of fun color to my deck.


For less than $15, I had a brand new planter box! Even better, I repurposed something I already had and gave it new life.
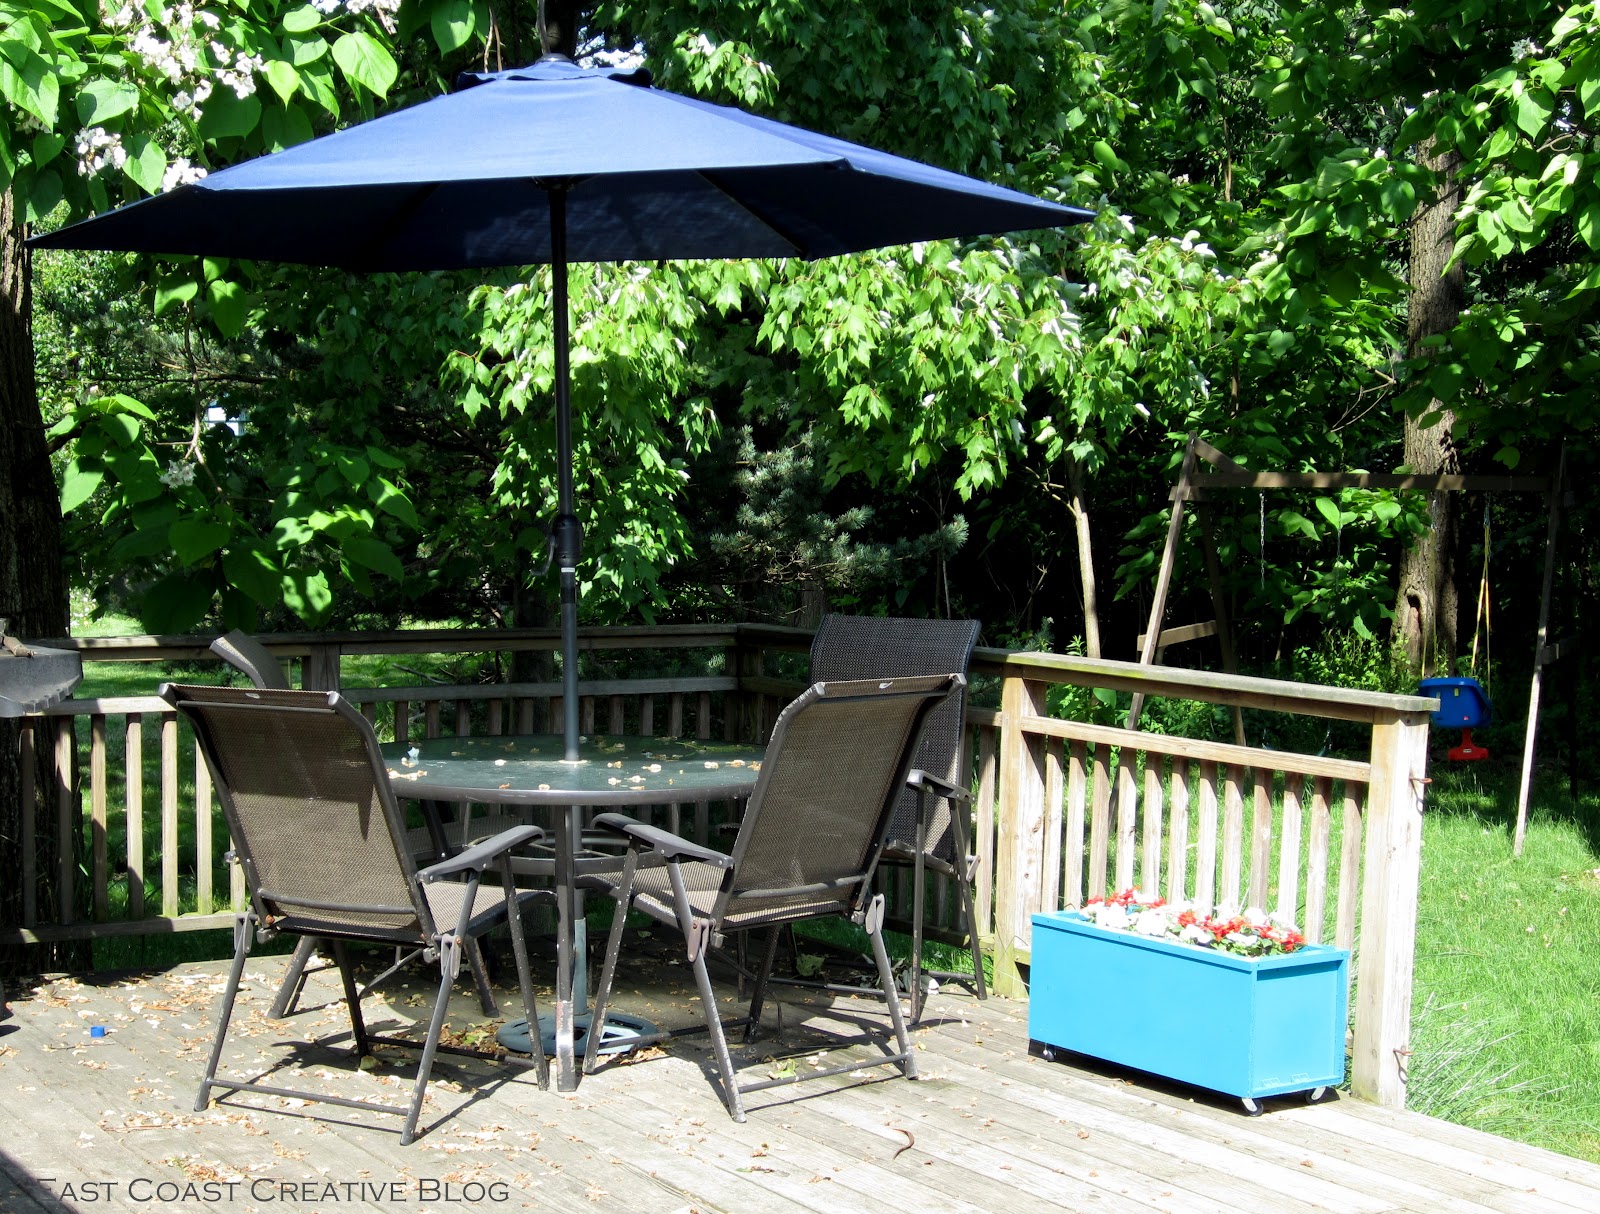
I love it even more now that the flowers have grown in. So pretty!
What would YOU do with an old cabinet?


Love it!! I still need cabinets to use as cabinets (for my laundry room), but once I fall into a surplus of cabinets, I will definitely try this! Great color choice too!
That is a great idea! I just remodeled my kitchen and have loads of scraps I need to figure out what to do with!
Love, love that !!!!!
Nice. Have to be on the lookout at tag sales! Linda
Fantastic idea! I noticed that the original cabinets had glass doors. I would think that you could also have put them back on after painting, and created a kind of greenhouse. You could then start your seeds early in the year, and just prop the door open for venting, until the plants got big enough to leave the door open and a backdrop.