
Ok, let’s be real here. You know how when we write a tutorial and most of the time we say something like, “It couldn’t be easier!” or , “Anyone can do it”? You won’t hear that from me today. Painting kitchen cabinets really isn’t hard, but it’s time-consuming, monotonous and boring. It took us a full 10 days (working on weekday evenings- it could take less time if you have a big chunk of time to devote to it!) from start to finish. That being said, for the amount of money you put into it- really only the cost of paint- you won’t find anything that makes as big of a difference. So, if you think you’re ready to tackle this project- go for it! You won’t regret the time spent in agony. Ha! Just kidding. But seriously, you will absolutely love the results.

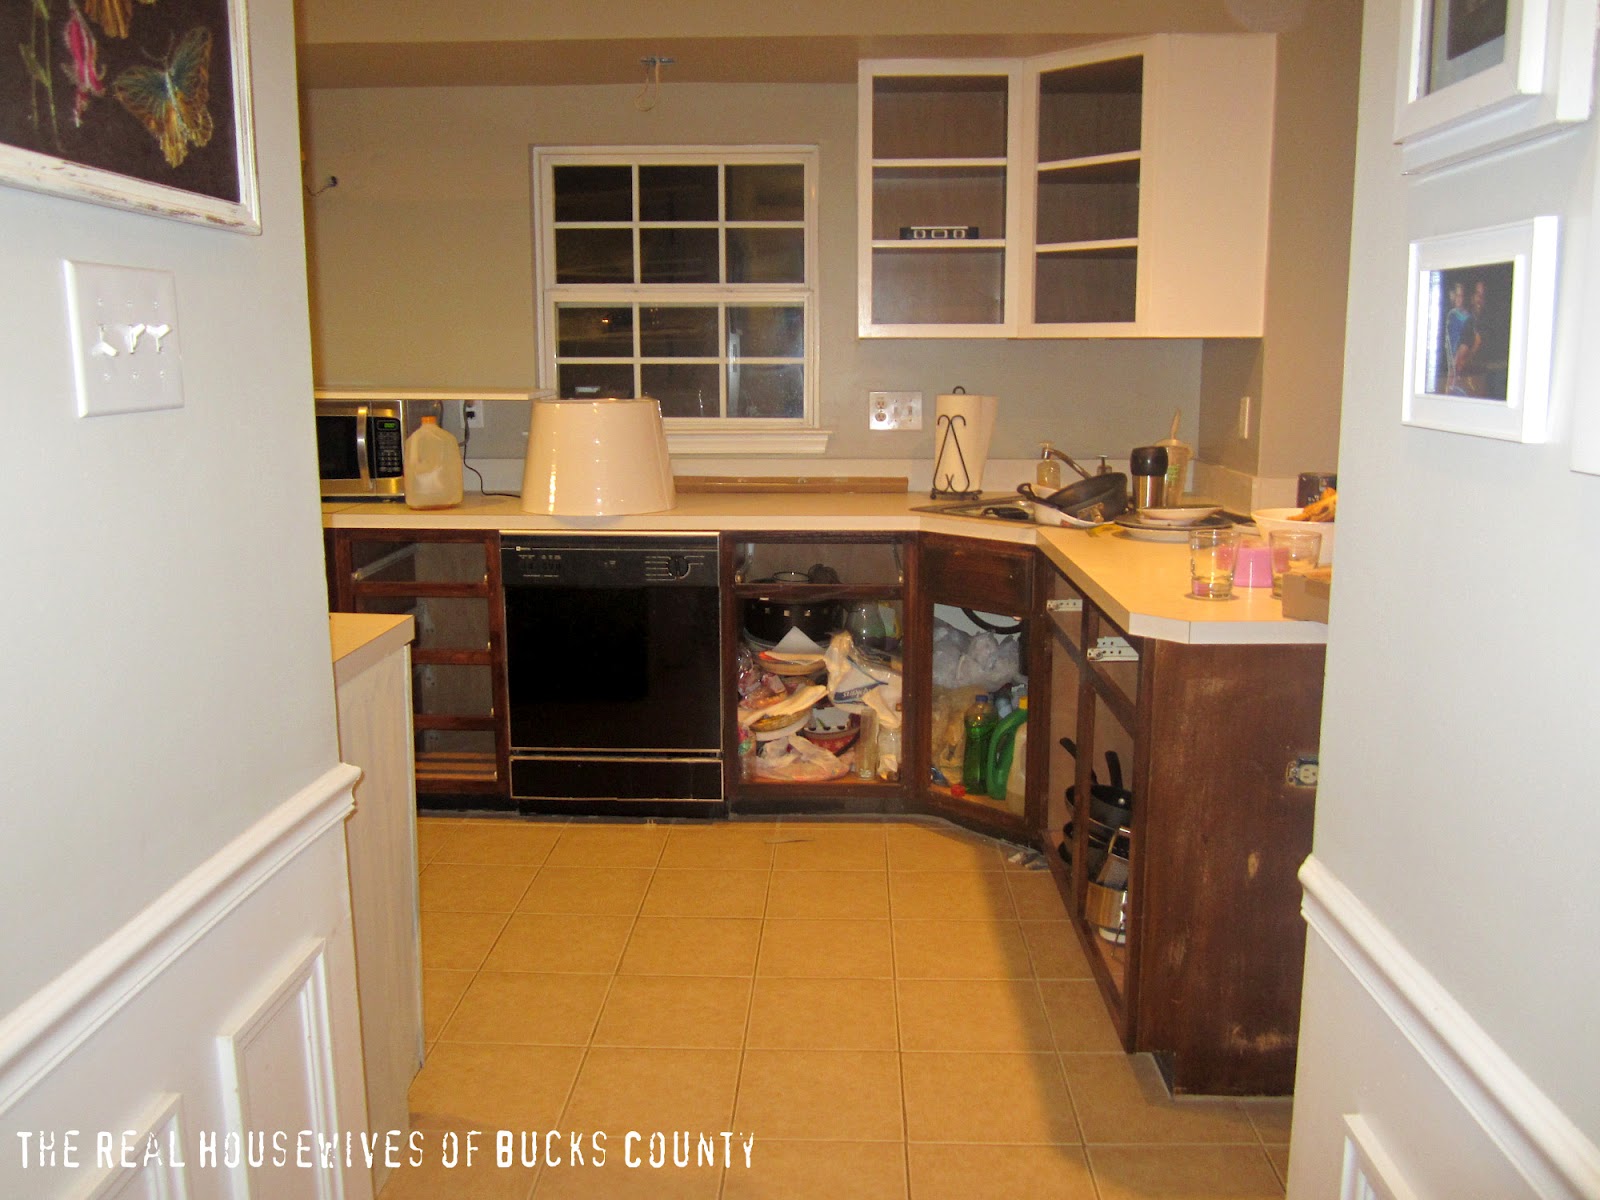
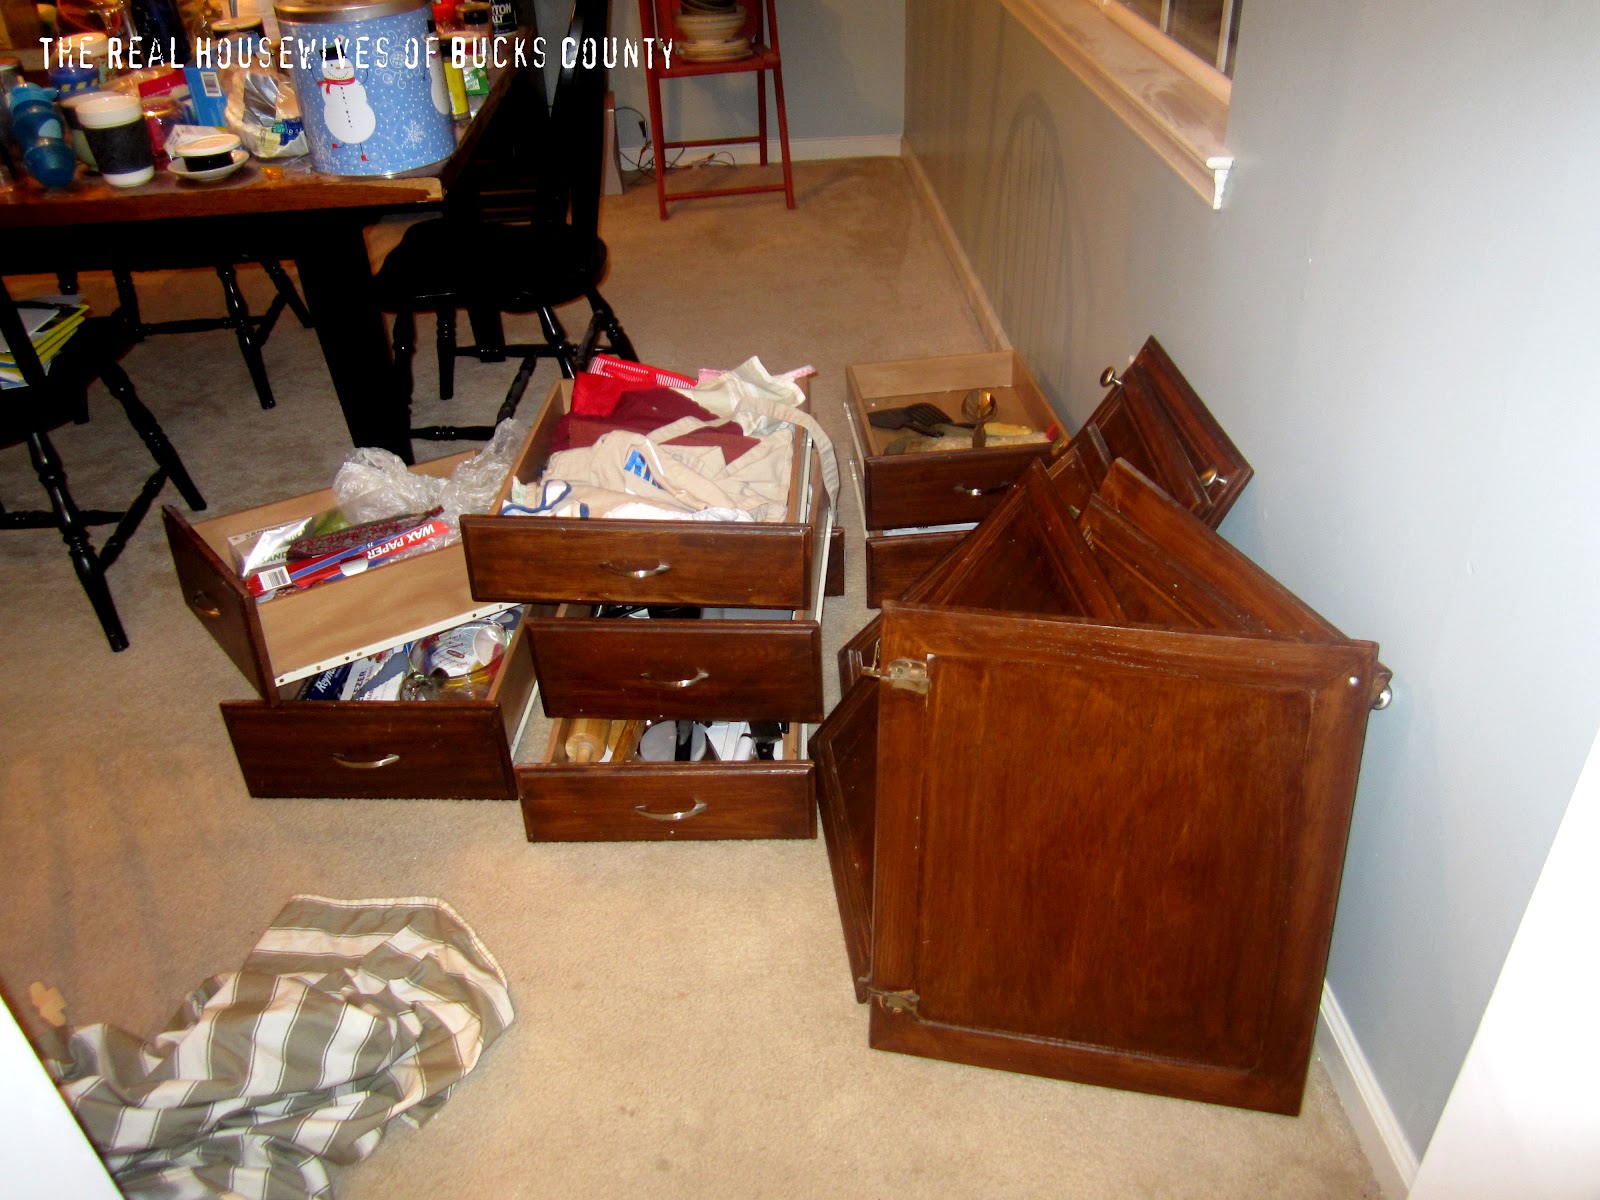
1. Take off all of the doors and pull out all drawers. Take off all hardware and store in a safe place! We had a bag labeled with what went where. And if you’re anything like me, clean out your cabinets because that’s just gross.
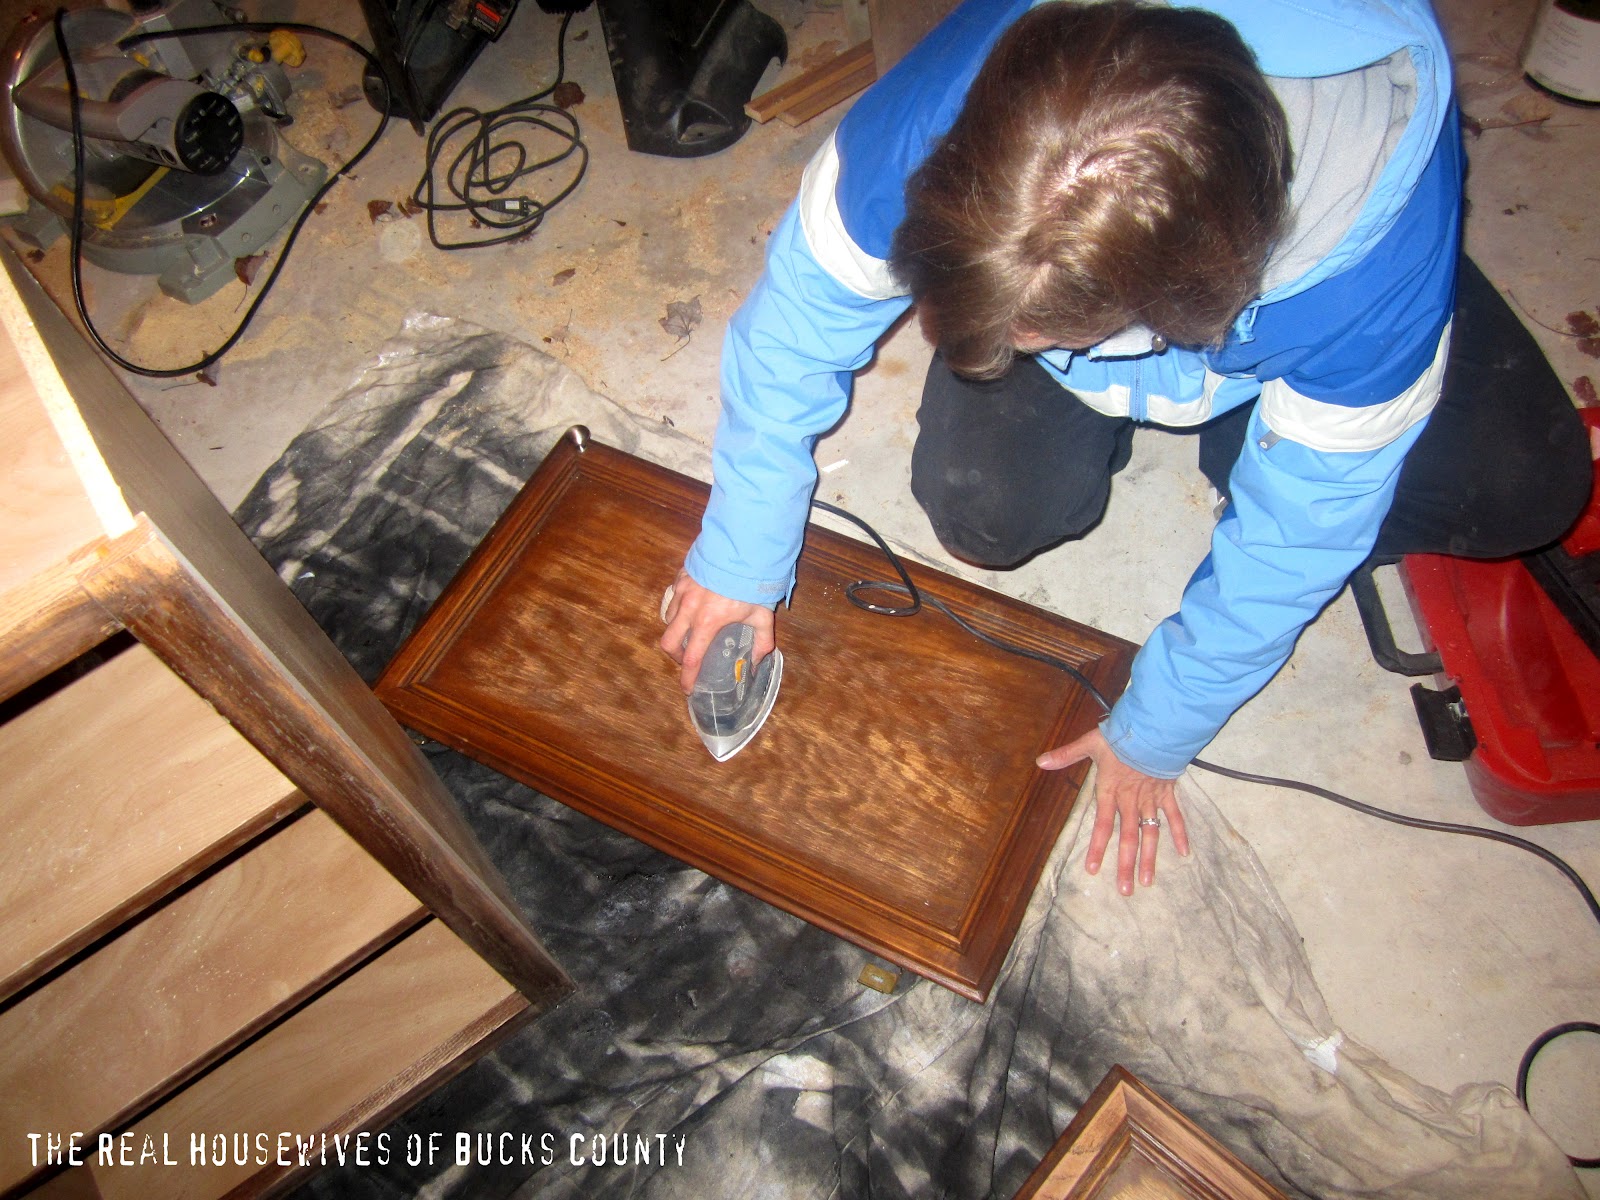
2. Sand away! A lot of people will tell you that sanding is unnecessary. However, if you want a really seamless, smooth look, or if you have very glossy cabinets, I recommend a light sanding. I used my palm sander with 80 grit sandpaper (the higher the number, the finer the grit. For heavy duty sanding, use a lower grit sandpaper!)
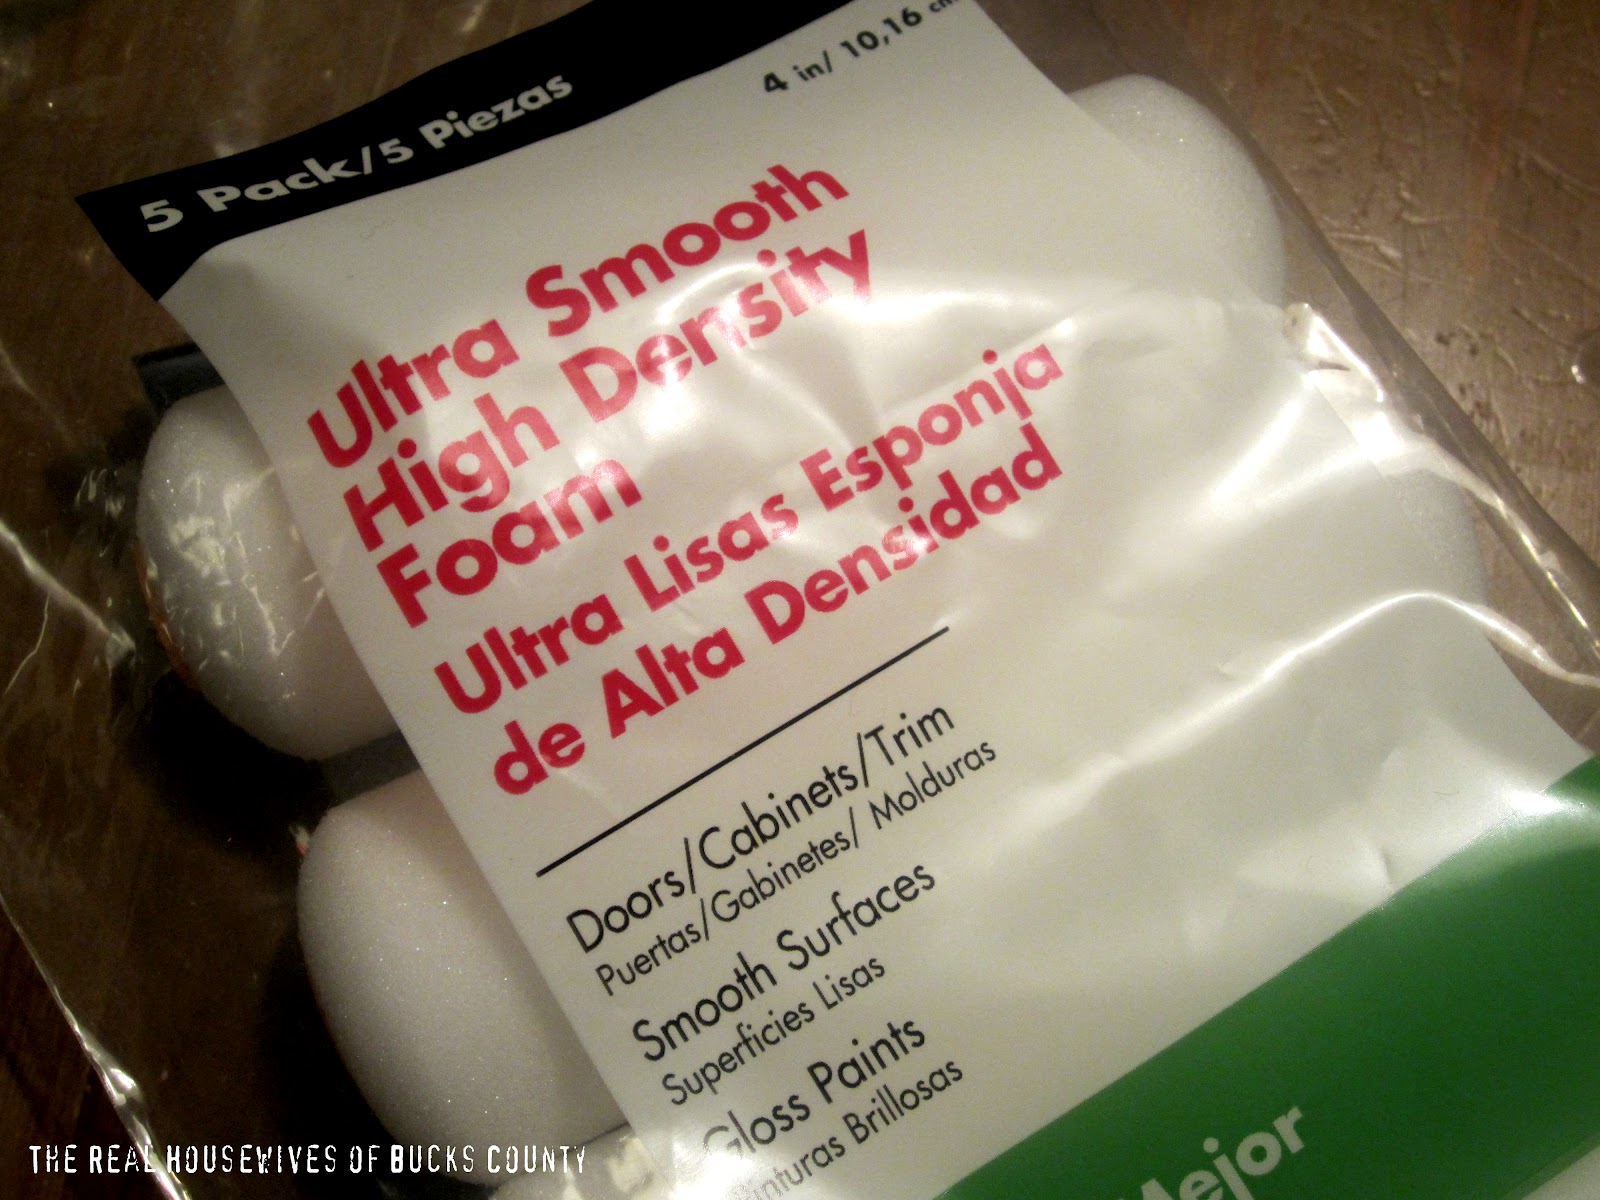
3. Wipe down the cabinets to remove all dust and choose your supplies. We used a 2-inch high density foam roller that is meant to be used on cabinets. We found that they didn’t hold paint well, which meant we needed to do lots of coats, but the paint went on so smoothly! We also used a 2 1/2 inch angled paint brush (Purdy is the best!) to get the corners and hard to reach places.
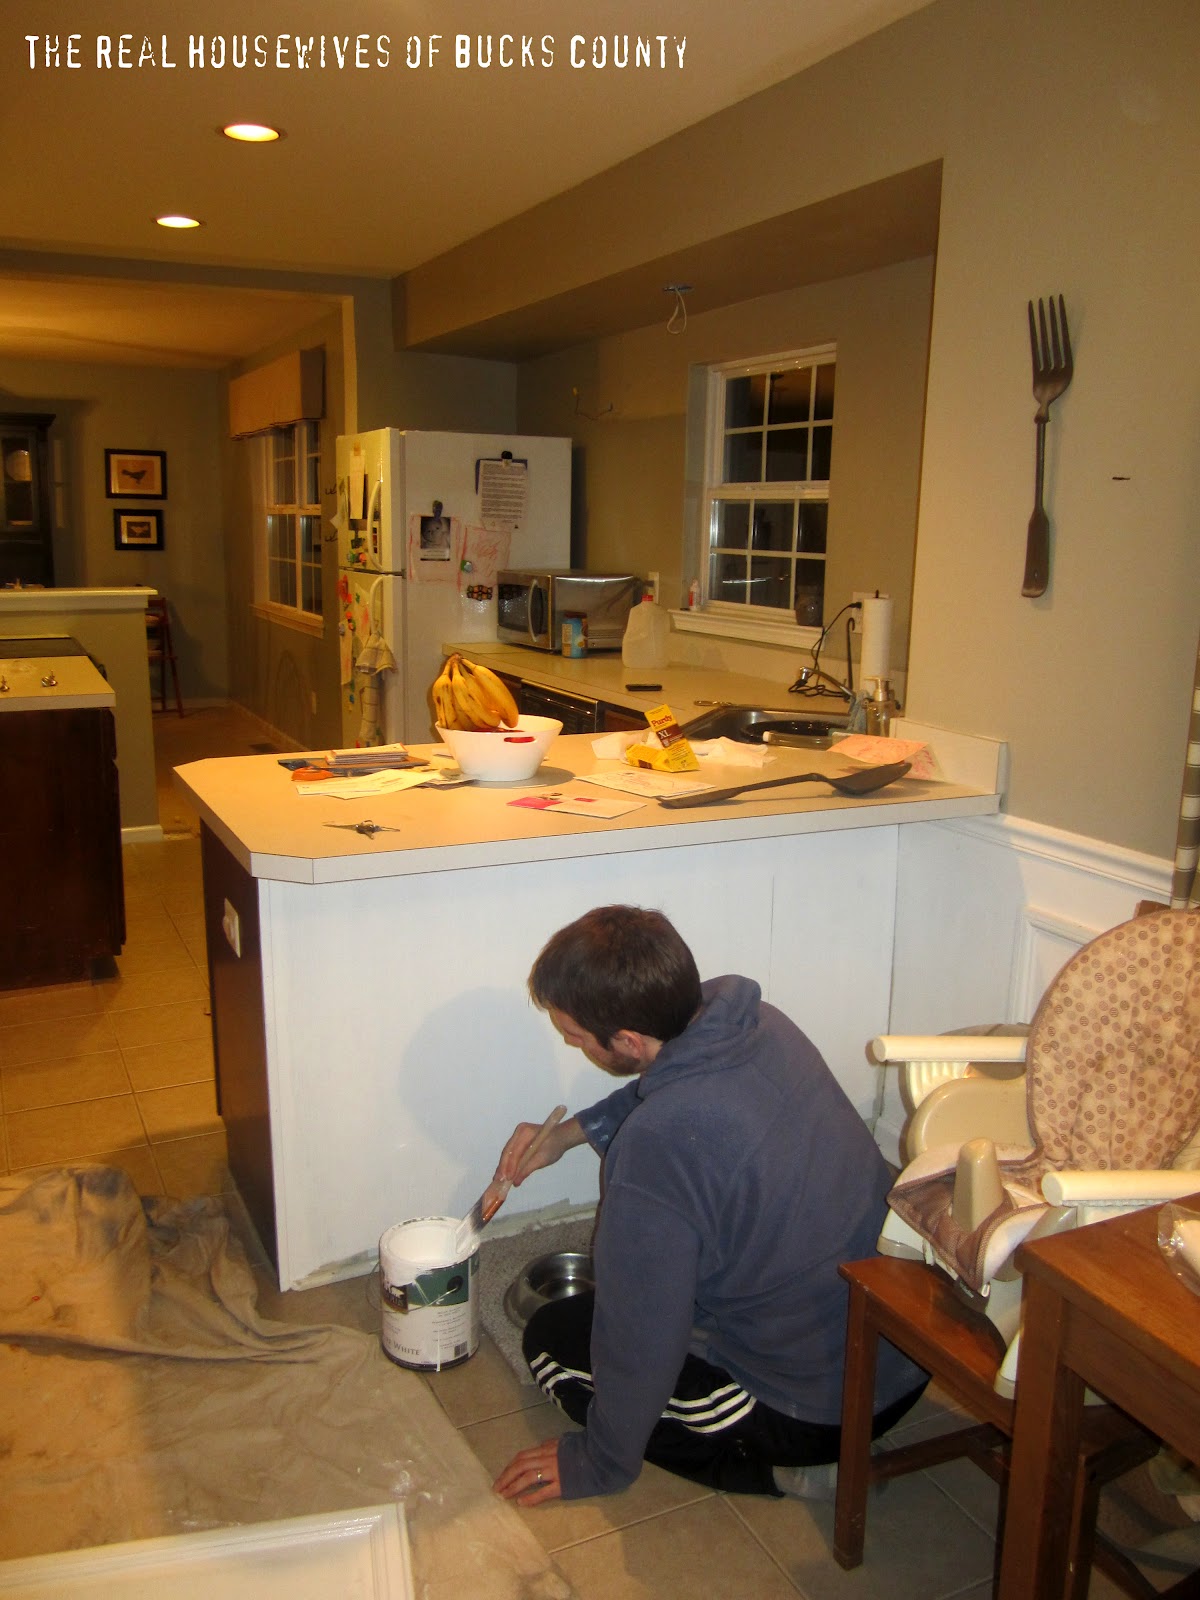
4. Prime and Paint. We started off priming everything, but quickly realized that to get good coverage we’d have to do way too many coats of paint. So we used Olympic ONE Paint + Primer in pure white that coordinates with our moulding in the kitchen and entryway. We didn’t feel the need to use an oil-based paint as long as we used an enamel paint (enamel = paint that dries hard, is usually glossy, and is easily washable). Also, the higher the gloss of the paint, the harder it dries. I wanted a glossy look, so this works for me.

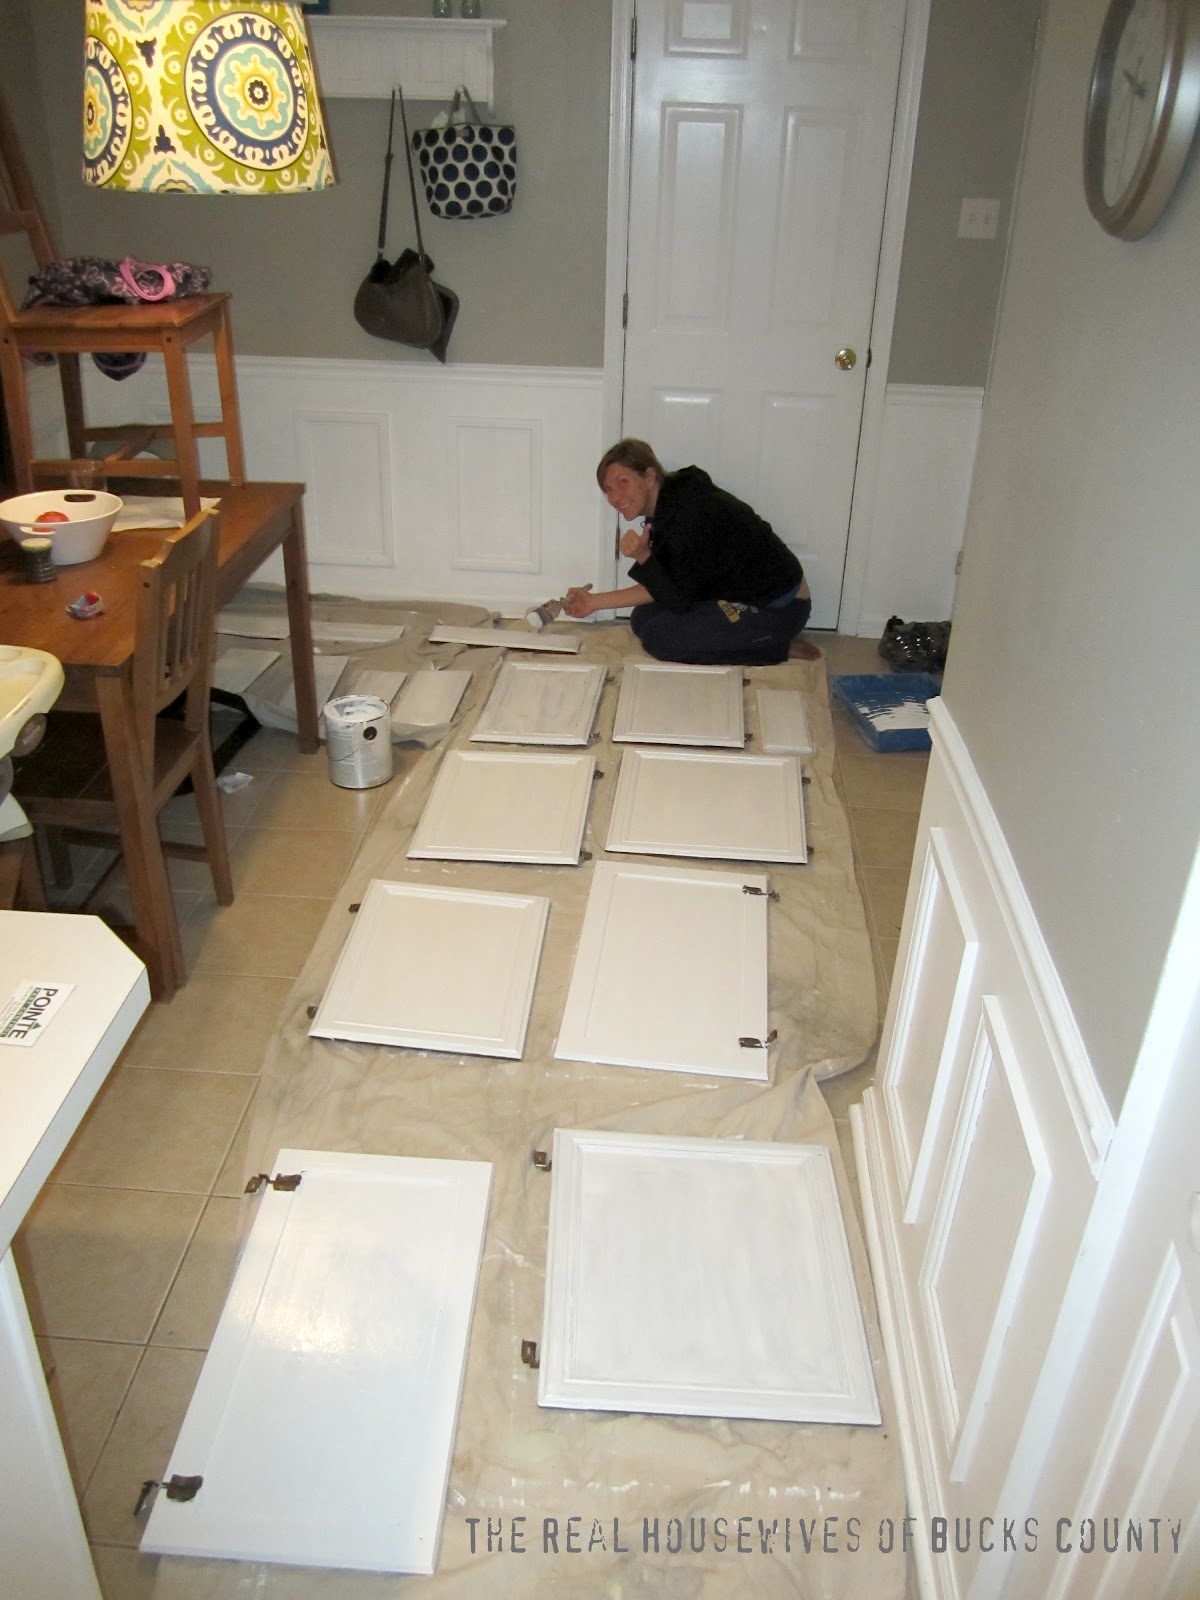
Because our cabinets were previously stained (by us!) a dark walnut, it took several coats of paint. I would say that each door got 4 coats of paint. You could sand the cabinets in between each coat for an even smoother finish, but honestly, that would have taken us 4 extra years, so we decided to skip that step. They still look amazing.
We did both the outside and inside of the cabinets, so that no dark wood peeks out when you open the doors. Here’s a super great tip that I wish I had heard of before we started: use push pins in the back of the cabinets to lift them off the ground. No more sticking to the dropcloth!
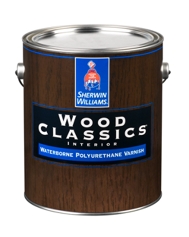
5. Seal with a water-based polyurethane (we used Sherwin Williams Wood Classics) for extra protection and even more washability (is that even a word?) Again, we went with water-based because oil-based polyurethane can yellow over time and that’s not the look we’re going for!
6. Wait and wait and wait some more for the paint to cure. You don’t want to nick up your beautiful white cabinets, so make sure you wait the appropriate amount of time written on your paint can before putting them back together.
7. Put all the hardware back on the cabinets and drawers.

8. Time to put the kitchen back together! This step couldn’t have come sooner in my book, and I was literally, dancing for joy. We hung the upper cabinets first, and made sure to caulk along the side of the cabinet to make sure it look seamless.

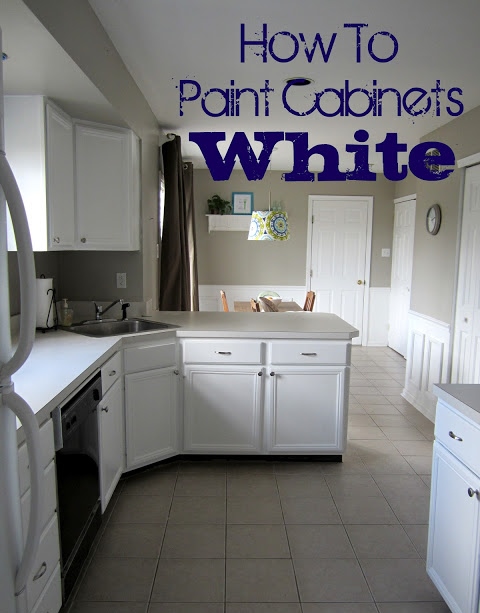
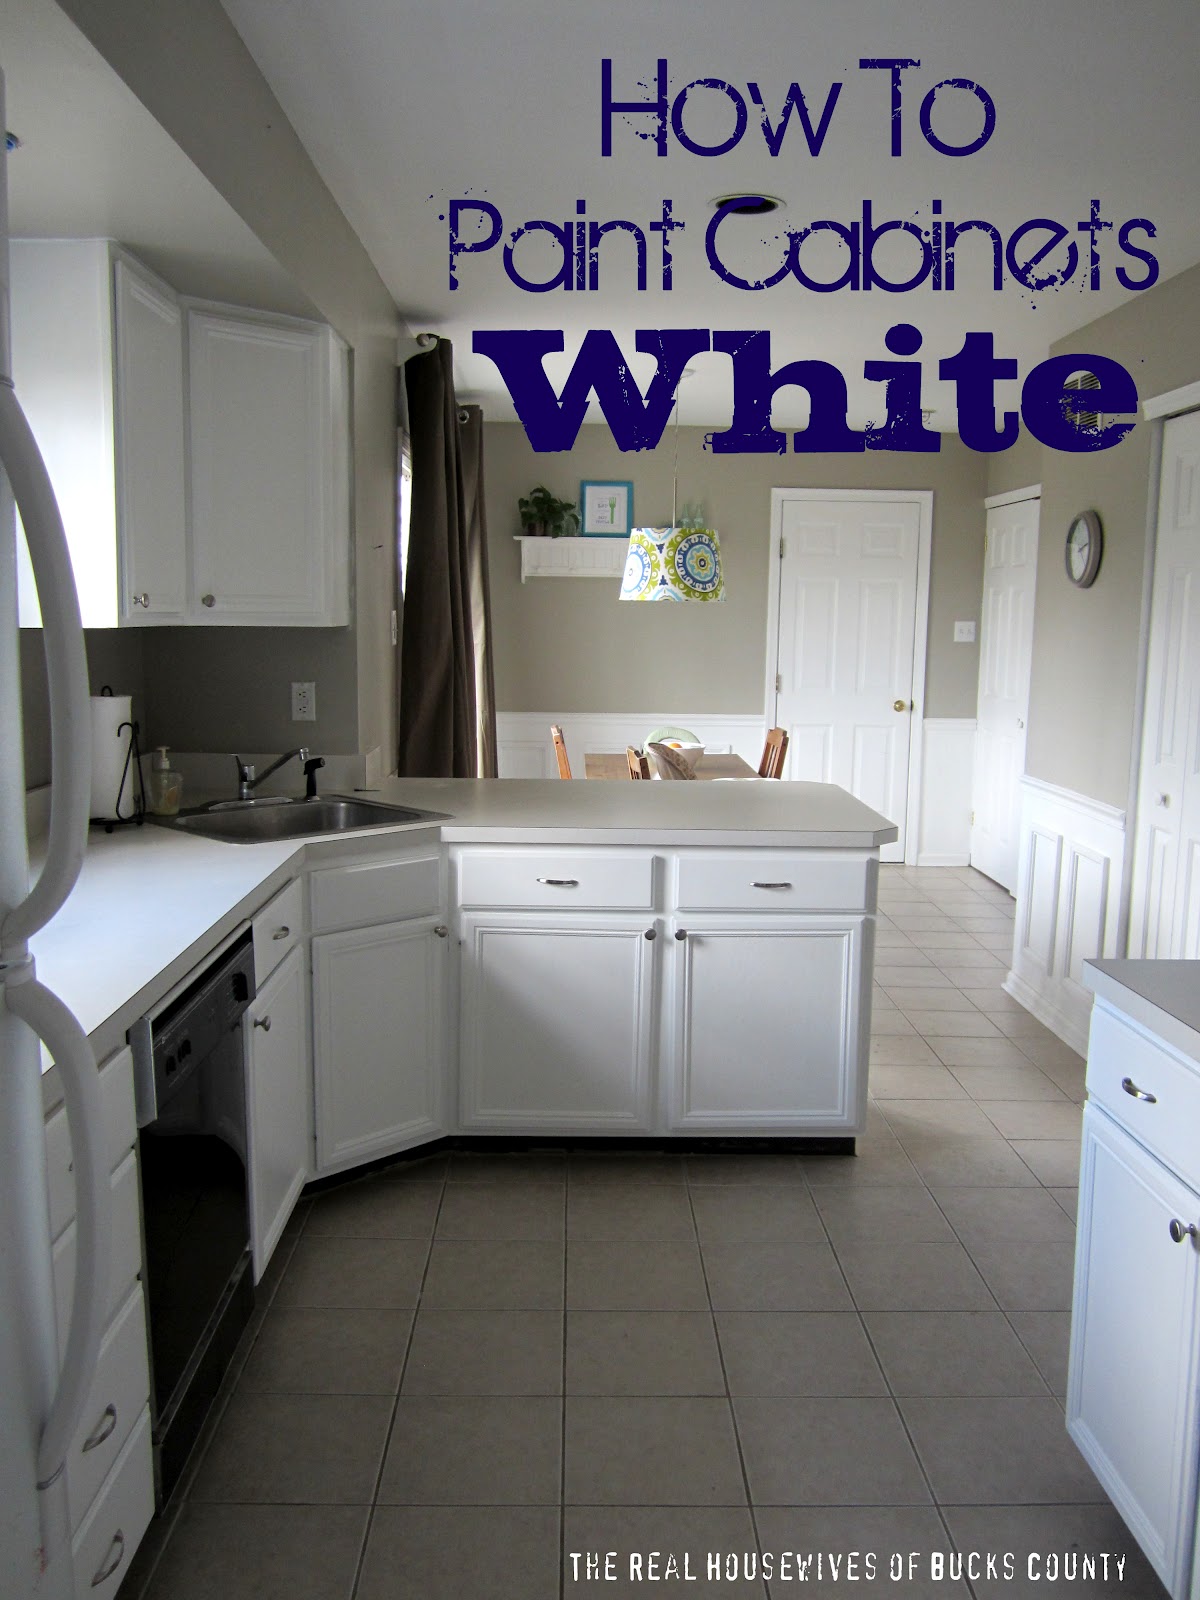
9. Step back and admire your beautiful cabinets! All that hard work was worth it, for sure!

I hope I answered all of your questions about how to paint cabinets. If not, be sure to leave a comment with your question!
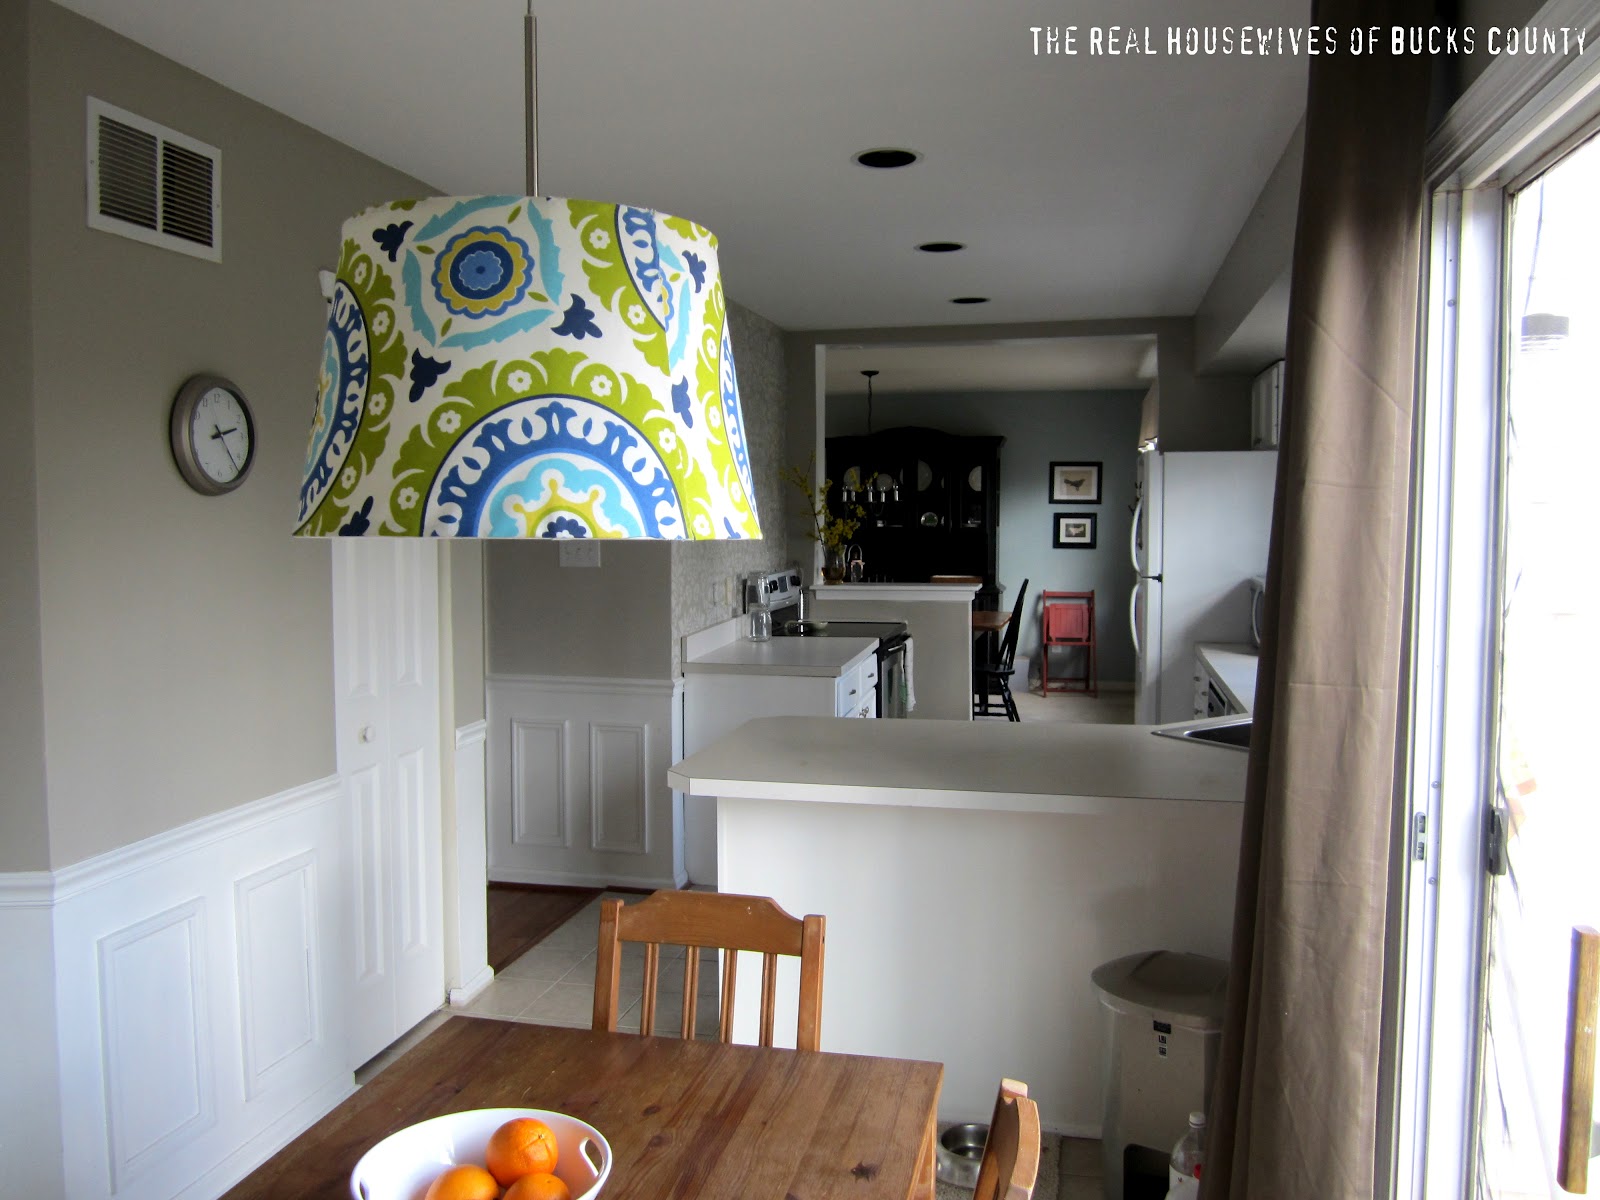
I LOVE my new cabinets! What do you think?
Worth the effort, or just way too much work?


I love it! Just got through our kitchen update… We did ours white as well. I hired out though girl…. My hubs isnt a painter. He has a lot of good traits… Painting ain’t one of them though. Kudos to y’all for getting it done:) love it!
Those cabinets look fabulous! I’m in the slow and tedious process of painting my cabinets (blech!) You are right it is so worth it in the end.
I’m sure you said this somewhere, but what color is your kitchen walls? I’m going to be painting my kitchen soon and I love that color. Something neutral but still eye catching!
This just looks so nice!!!!! All these white kitchen cabinets in blog land make me want to redo my kitchen!
hah. who am i kidding. craft room comes first 😉
So beautiful, I really want to do this but am scared!
Thanks for breaking this down so “tutorial-ey” – consider it pinned! I’m going to use this to “convince” my husband we should do this. look how much it brightened you up! Thanks ladies!
The white makes the room look so bright and clean! We just painted our cabinets white and we are now hanging white beadboard paneling backsplash. Going from oak to white…it’s a completely different room. Love it!! You can see ours here http://lindahwmh.blogspot.com/2012/03/counter-top-o-morning-to-me.html ~Linda
Believe it or not, I blogged about painting cabinets white today, too! Yours look so great!
I noticed you took down the upper cabinets off the walls… Just curious what prompted you to do this? Off to see the beadboard backsplash mentioned above. Love the new look. Can’t decide if we want to go paint or strip and stain… I’m thinking paint is the way to go for a brighter look. I’m going to busy this summer!
Very nicely painted.. Looking awesome
I must know where your cute pendant shade came form – I love it. I’m also about to paint my cabinets white and those are the colors I’m going to use in my kitchen!
What color are the walls in your kitchen? I am completely overwhelmed trying to pick out paint colors and yours is perfect!
“The color is Olympic’s Stormy Weather color-matched in Valspar premium paint from Lowes. It is such a soothing color- I love it!”
Found it in another post. 🙂
This comment has been removed by the author.
How many sheets on sandpaper did you go through when sanding?
I am getting ready to paint my cabinets and this sure was helpful! I think I will go with enamel paint instead of oil based – thanks so much for the tip!
Hi Shashi,
So glad you found the cabinet post helpful. Would love to see yours when they are done. Shoot us an email!
Question, or cabinets are laminated. Can wt paint over them? They are super dark brown and I think a lighter color would really brighten up the kitchen! They also have zero personality. They are literally a rectangle with hinges. Is there an easy and cheap way to liven them up? Thx! -Heather B.