
Oh, how I wish we had taken more pictures of the process and the final room reveal! But instead, you’re forced to see it from a tv screen shot. Boo! We promise that we’ll do better about that next time. Ha! 🙂

One thing that really stinks about doing short segments on a TV show is that we pour ourselves into loads of projects, spend a lot of hours working on them, and then they never even get mentioned. Don’t get me wrong, it’s not Nate’s fault, it’s just the nature of the beast. And all that hard work on the details is absolutely necessary in order to pull the room together and have it look polished, so it is what it is. Ok, enough of my pity party, on to the beverage cart! You probably thought we had lost our minds when we decided to purchase this thing:
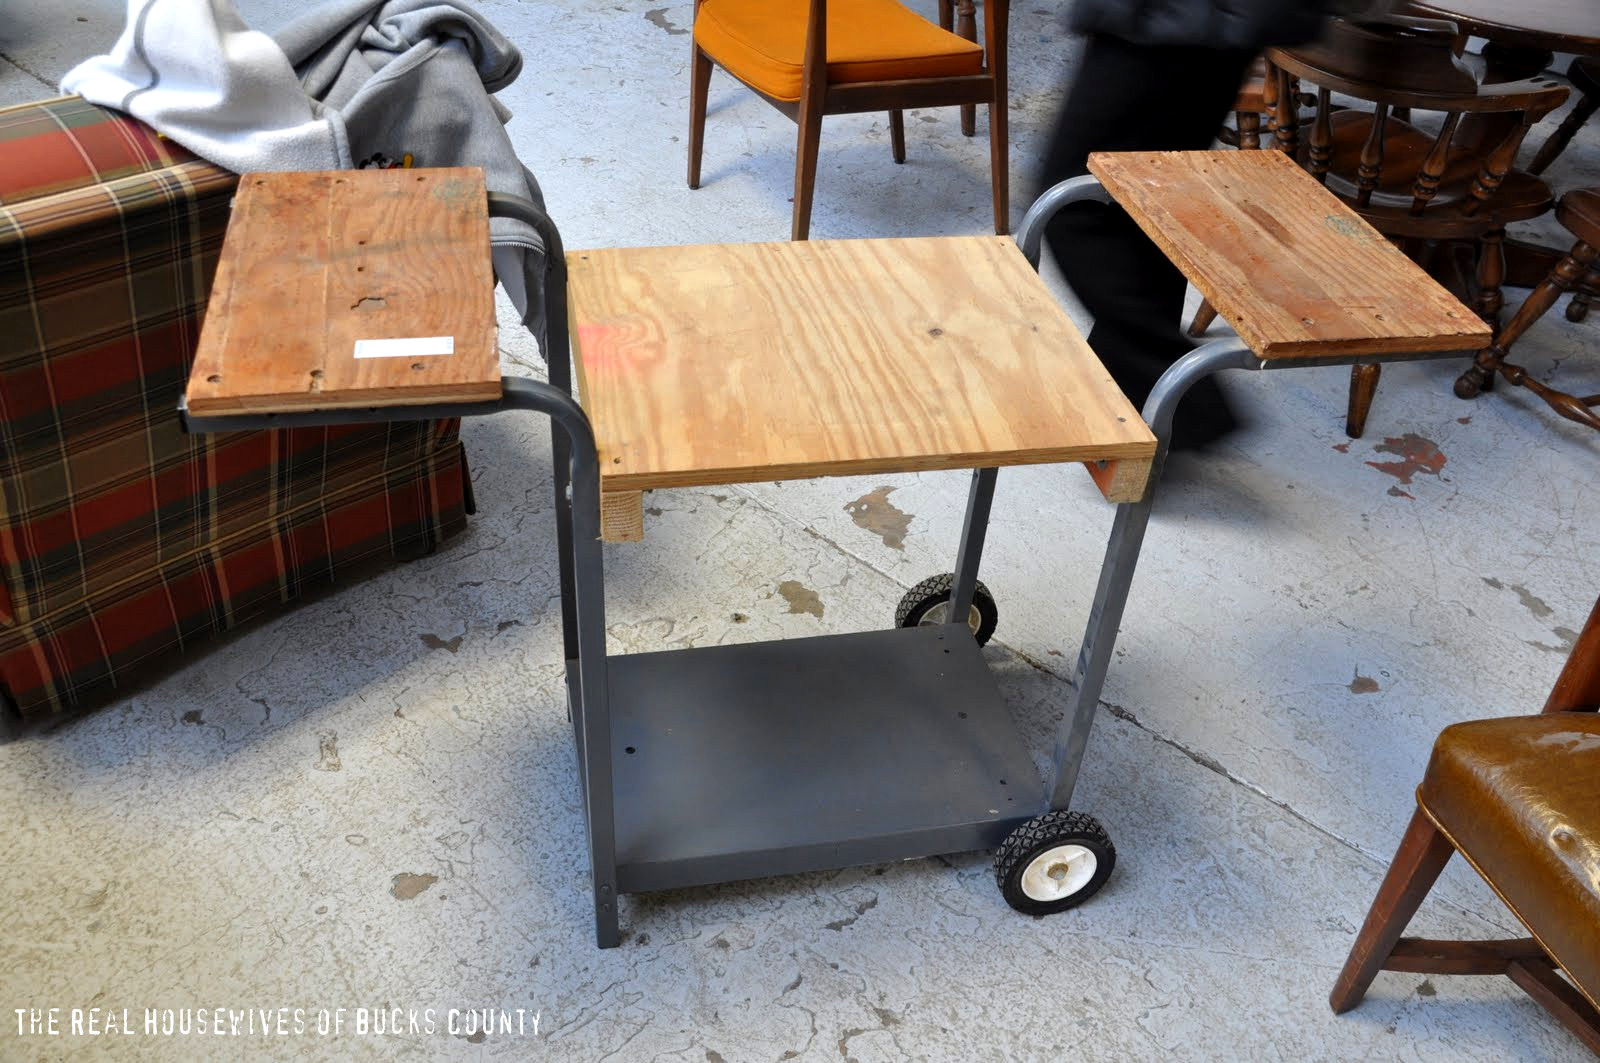
Quite honestly, we kind of thought we did too. We both envisioned the same thing when we saw it (best friend brain’s work like that, I guess), but getting there was a different story. We sort of put this cart off until, literally, the last minute, and tried a million different things until we were happy with the finished product. (I slammed my finger in the car door on one of our many trips to Lowe’s for random supplies for it!)

The first thing we did was remove the wood shelves from the arms. and then used a hack saw to cut off the one side (yes, a hack saw will cut through metal!). Then we spray-painted the whole thing gold, and added a wooden dowel as a handlebar. On one of our trips to Lowe’s we found inexpensive wooden slats in differing widths, so we bought them, painted them in complementary colors and used them to create the shelf. We HATED it. It just didn’t feel right at all and we almost gave up on it. Not to mention, that I cut the wrong side off (see above) and so the wheels were at the opposite end that they should have been! Seriously, Monica’s 9 year old daughter pointed that out before I even noticed! Oops! After doing some googling, I did discover that some bar carts have wheels on the handle side, so I redeemed myself a bit, but man, I felt dumb! 🙂 This is what it looked like after our first try:

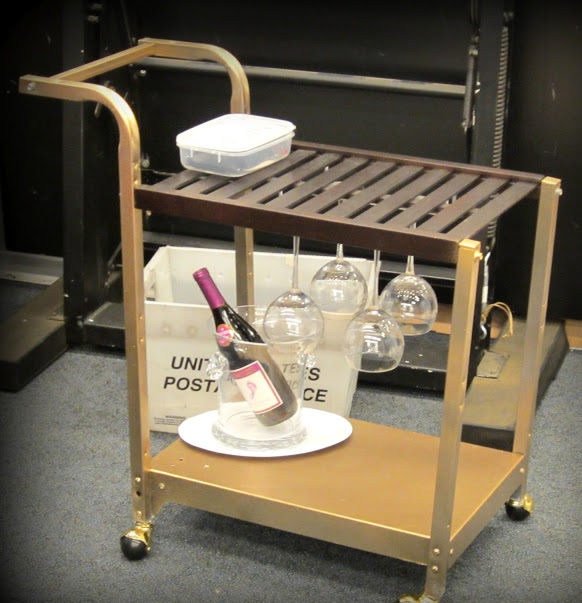
Blech! Anyway, we we ended up cutting more of the arms off and used a towel bar rod as the handle. We also added four gold castors because we couldn’t stand those tractor tires! And guess what the shelf is? It’s a pre-made shelf for a closet, (I think!) It ended up fitting perfectly, for which we are eternally grateful, because we were about to quit DIYing for good because of this thing! We mounted a wine glass rack to the underside of the shelf and called it a day. Phew! It was a close call, but I actually think it turned out pretty darn cute for all the grief it caused.

Here’s a peak at the little details you didn’t see on the show:

(The scale, horse head and door knob all came from Architectural Antiques) We did find some pretty cool stuff at the thrift store. The tray on the bottom left is actually a picture frame that we sprayed with our favorite rust-colored paint and added fun, antique gold handles to. It’s a great, inexpensive way to make a tray, and it ended up on top of our beverage cart on the show. We both were in love with the rust pillow with zipper detailing and were so bummed you couldn’t see it on the show, and who doesn’t love a houndstooth pillow with navy buttons? 😉
Lastly, here is the final picture of us on The Nate Show. It has been such a fun ride, and we were totally flattered and blessed to have been a part of the show. Thanks, Nate!

Next week we have some fabulous stuff to share with you guys: updates to BOTH of our kitchens, two huge photo art pieces and more. Have a great weekend!


Holy Moly! I love it! At the first picture of the cart I though “no way…” but kudos, you made it fab! Love it!
In my opinion, furniture cart must have a lock so that you can stop unnecessary movements. In this way you can save whatever stuff you’ll gonna put in there.