We’re so thrilled to have Tam from Sew Dang Cute guest posting for us today. The name of her blog is perfect for describing her- she is so dang cute! 🙂 Tam is so creative, and hosts Crafting with the Stars, which we had so much fun being a part of! She was so encouraging and uplifting, and also extrememely understanding when we turned our weekly projects in really late. Ha! Welcome, Tam!
———————————————————————————————————————Hi, my name it Tam of Sew Dang Cute Crafts and I am so excited to be here today at
The Real Housewives of Buck County.
———————————————————————————————————————Hi, my name it Tam of Sew Dang Cute Crafts and I am so excited to be here today at
The Real Housewives of Buck County.
Some of you may know me from Crafting with the Stars, which I host on my site. I was blown away by Monica and Jess’s insane talent! They were definitely deserving to be Season 3’s champions, and I’m thrilled they asked me to guest post for you guys today.
I don’t know about you guys, but my jewelry drawer was an absolute mess. Things were tangled up and completely unorganized. I’ve seen DIY jewelry organizers all over blogland, but none of them were quite what I was looking for.
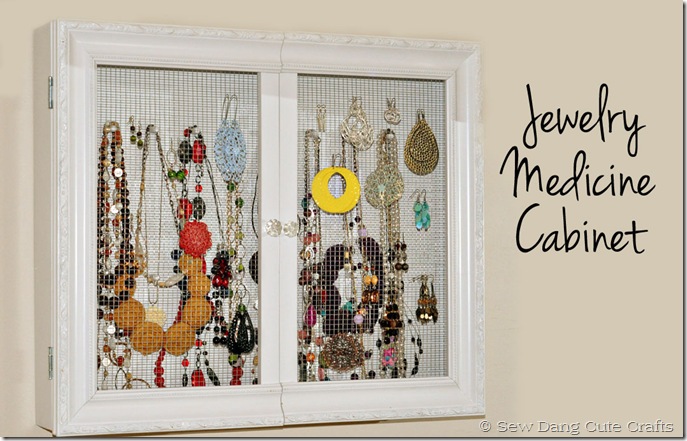
Then one day the wheels were turning, and I came up with the Jewelry Medicine Cabinet.
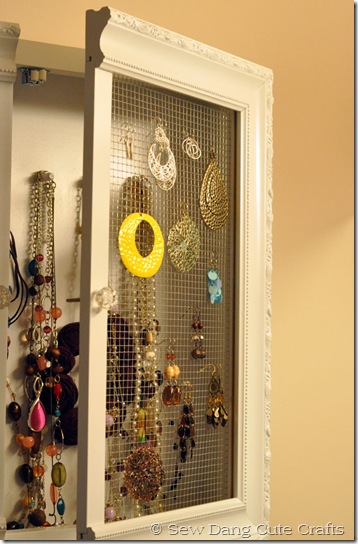
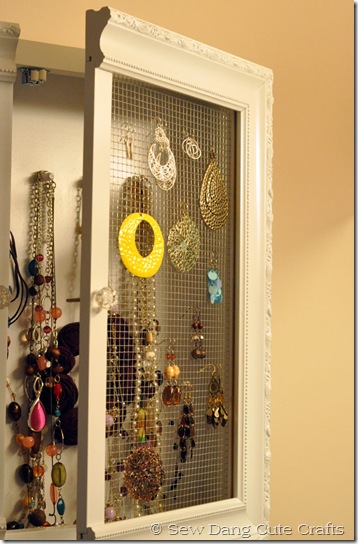
I can hang my earrings on the doors.
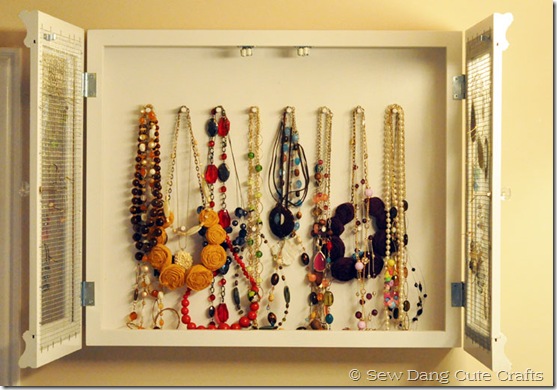
And store all my necklaces and bracelets inside.
It’s perfect and it all started with this frame I found at my local thrift store for $2.
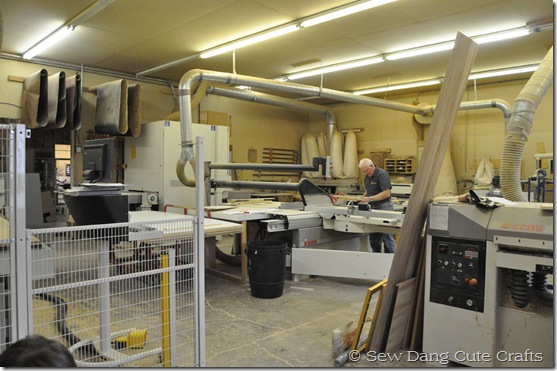
My dad owns a cabinet shop, so when I was out-of-town visiting him this past weekend I took my frame with me and ran my idea by him. He took me to his shop and made it happen for me.
Obviously he has a lot of professional tools that make it so much easier, but don’t worry, you don’t need them to make this.
Here’s how we did it:
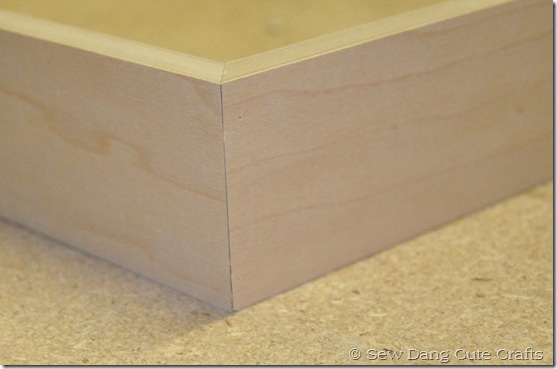
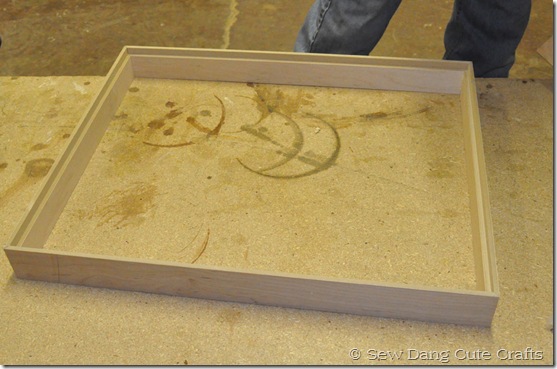
STEP ONE: Build a box the size of your frame. (Or if you have an old drawer your box would already be built – you’d just need to find a frame the same size).
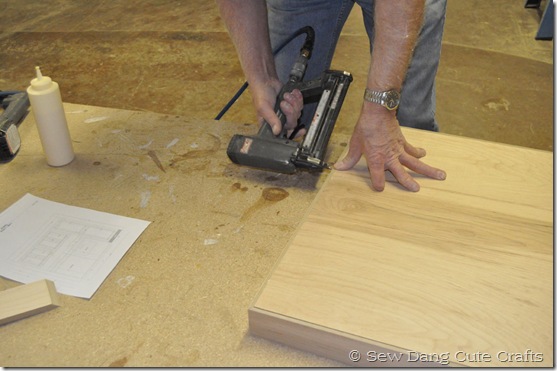
We took pieces that were 3.5” wide and mitered the corners, then used wood glue and small pins in the nail gun to put the sides together. If you don’t have a nail gun, you can use a hammer and nails.
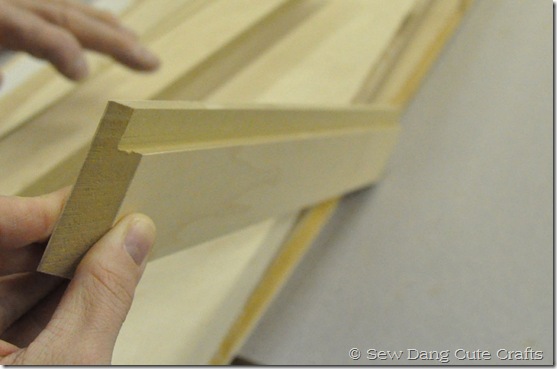
You may have noticed that the pieces have a little cut-out in them.
My dad is a bit of a perfectionist, so he cut out an inlay in each piece, so the back piece could fit in the box and everything would be flush.
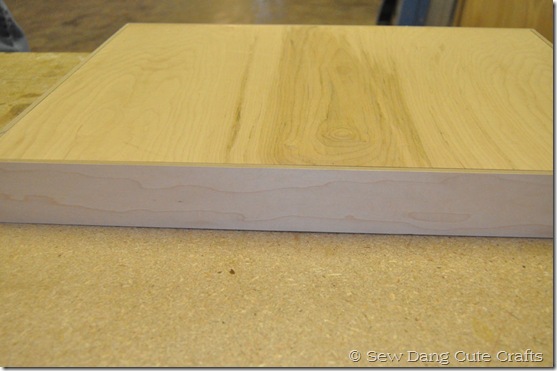
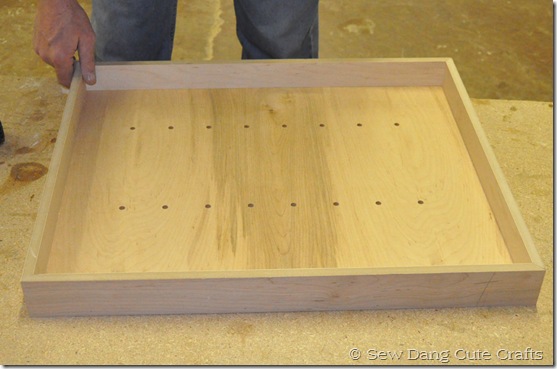
Then more wood glue and pinning the back piece in place with the nail gun.
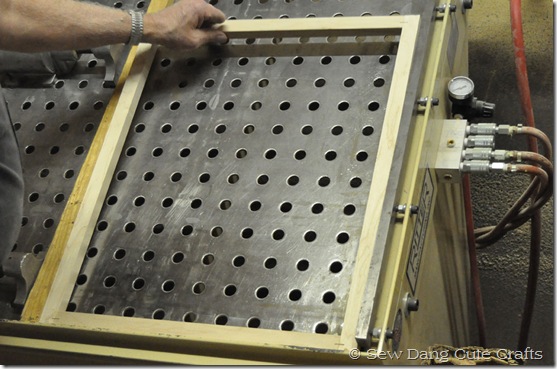
My dad has a fancy machine that you can program to cut things for you, so he used that to cut out all the holes in the back piece. If I was just on my own, I would have used a drill bit and that would have worked just as well. We did 5mm holes because my dad had that size of dowels on hand.
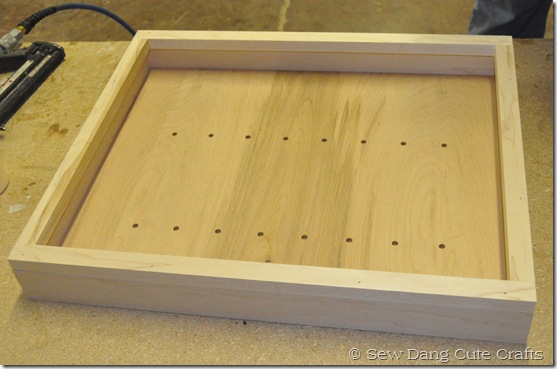
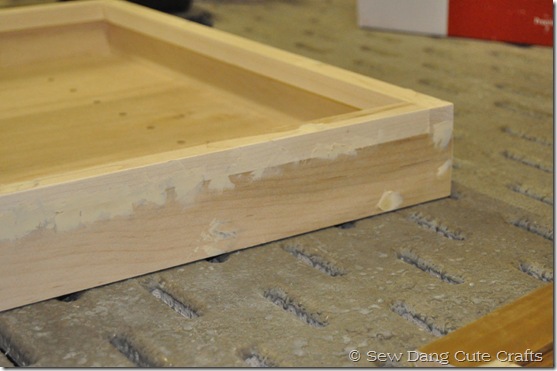
STEP TWO: Make a face frame. Since we are attaching some hardware to this and don’t want to risk splitting the wood, my dad recommended adding a face frame to the top of the box.
The wood is just a bit wider and goes right on top with some wood glue and pins.
Go ahead and putty all the holes and cracks. Once it’s dry, sand the entire thing down.
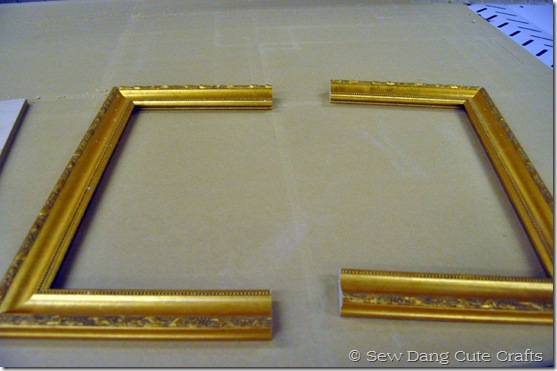
STEP THREE: Make the doors. Cut the frame in half.
Add a strip of wood to the inside of the frame.
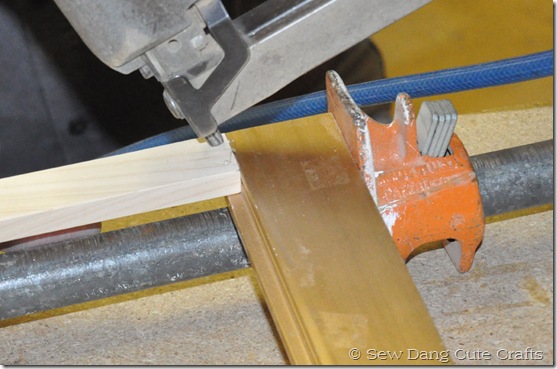
We glued it in place and used some vices to hold each door.
Then we also angled the nail gun and put some small pins in to really make it secure.
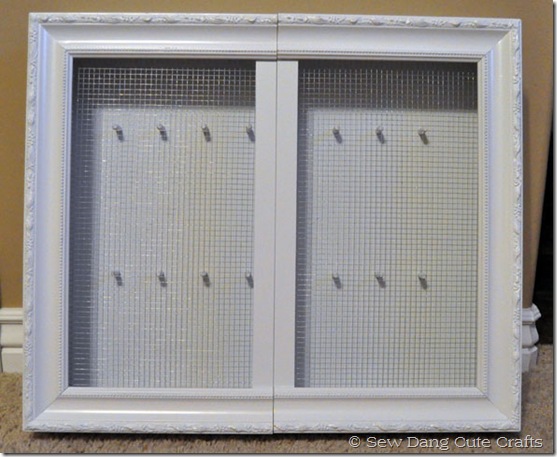
Put the wooden dowels in the holes and you are ready to paint.
STEP FOUR: Spray paint. I went with white and apparently forgot to take a picture of this step. Oops!
STEP FIVE: Add hardware.
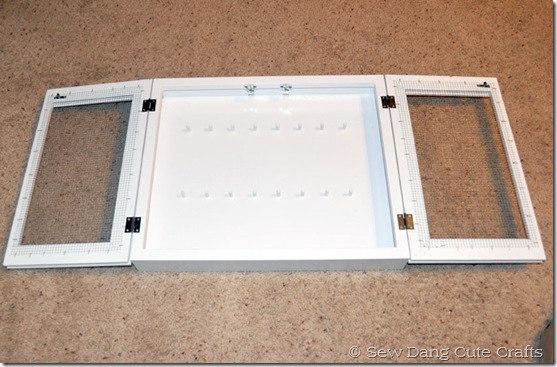
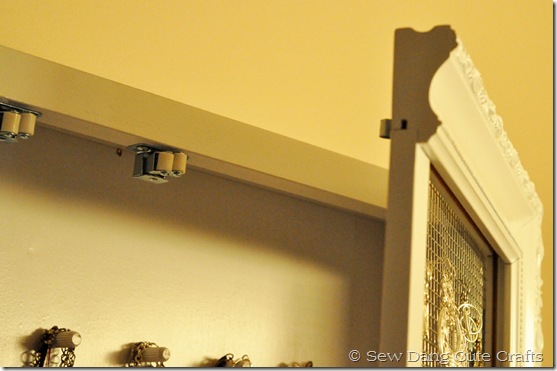
I used my staple gun to add the wire mesh (hardware cloth/chicken wire) to the back of the doors. Then I added hinges to attach the doors to the box and put a catch at the top of each door.
It’s almost there.
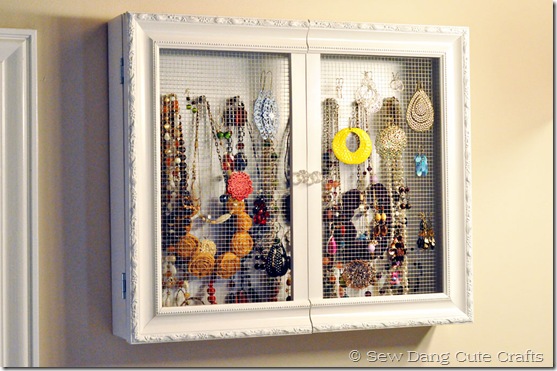
The last thing I did was add some knobs on the front of the doors. Then I hung it up and filled it with my jewelry.
All done! Now my jewelry is organized and tangle free!
Thanks so much for having me today Monica and Jess! Have fun in Mexico and congrats on turning 30. I’ll be right there with you next week (30 that is, not Mexico).
I hope you guys will all come visit me over at Sew Dang Cute Crafts!

————————————————————————————————————
Isn’t that adorable? I’m definitely in need of something cute to help me organize all my jewelry, and I may have just found it! Also, we’re super excited because we’ll celebrating our one year blogiversary with our first annual:
Come back every day next week for new and awesome giveaways. Trust us, you’ll love them! Adios, from Mexico! Have a great weekend-






The comments +