
 In case you didn’t notice, we did TONS of projects in that short 48 hour period, so there’s just too many to break down with tutorials, and I’ll be honest, some were so easy that anyone can figure them out without me giving you the play by play. But, even so, the details are really fun, so I’ll give you a glimpse of the little stuff that makes me happy.

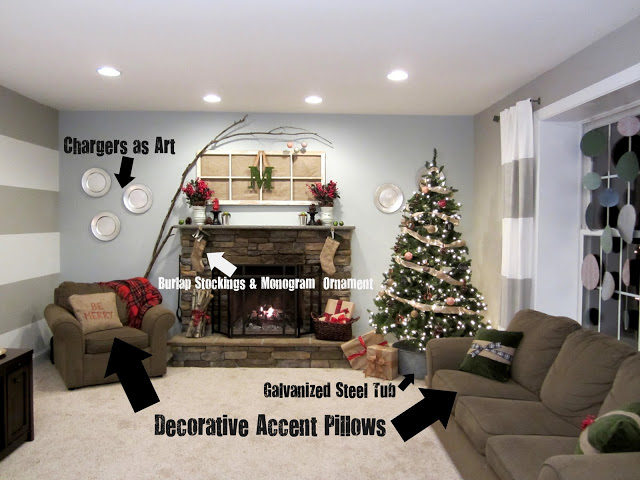
I hung the silver chargers on the wall on either side of the fireplace to add some interest. I used a little trick to hang them that was super easy: I took a safety pin and hot glued it to the top of the center of the plate. Then all you have to do is hang it! It works awesome for things that aren’t heavy, but I wouldn’t recommend it for big pieces of art or picture frames. I loved how the metallic color added a modern contrast to the rustic accent branch and stones of the fireplace, and how it mirrored the circles in my modern snowflake garland.

One of the other fun things I did was to add whole cloves to limes in fun patterns for some of my mantel decor. I used to do this with oranges every year with my Grandma, and it’s such a great memory. The limes add a pop of Christmas color, but they also smell amazing. Love this for easy decor!

I made two stockings out of burlap and hot glue. Ha! What I wouldn’t be able to do without the help of my glue gun! Would you believe that Monica and I don’t sew? We get around it pretty well, but man, you should have heard the Nate Show producers when we told them that we were DIYer’s who didn’t sew. 🙂 I didn’t even use a pattern for the stockings, just drew a shape I was happy with and cut them out. I also made faux metal ornaments out of, wait for it…rolled cork! I used two different metallic spraypaints for the finish, and they turned out cute! Granted, they are soooo flimsy, but they worked perfectly for the show!

One of my absolute favorite additions to the room was the galvanized steel tub I used for holding the base of the tree. Unfortunately, the base of the tree didn’t quite fit, so my hubs cut out the bottom of the tub with something (I just gave instructions and he made it happen. I didn’t watch so I don’t know how he did it! Sometimes that’s better. 😉
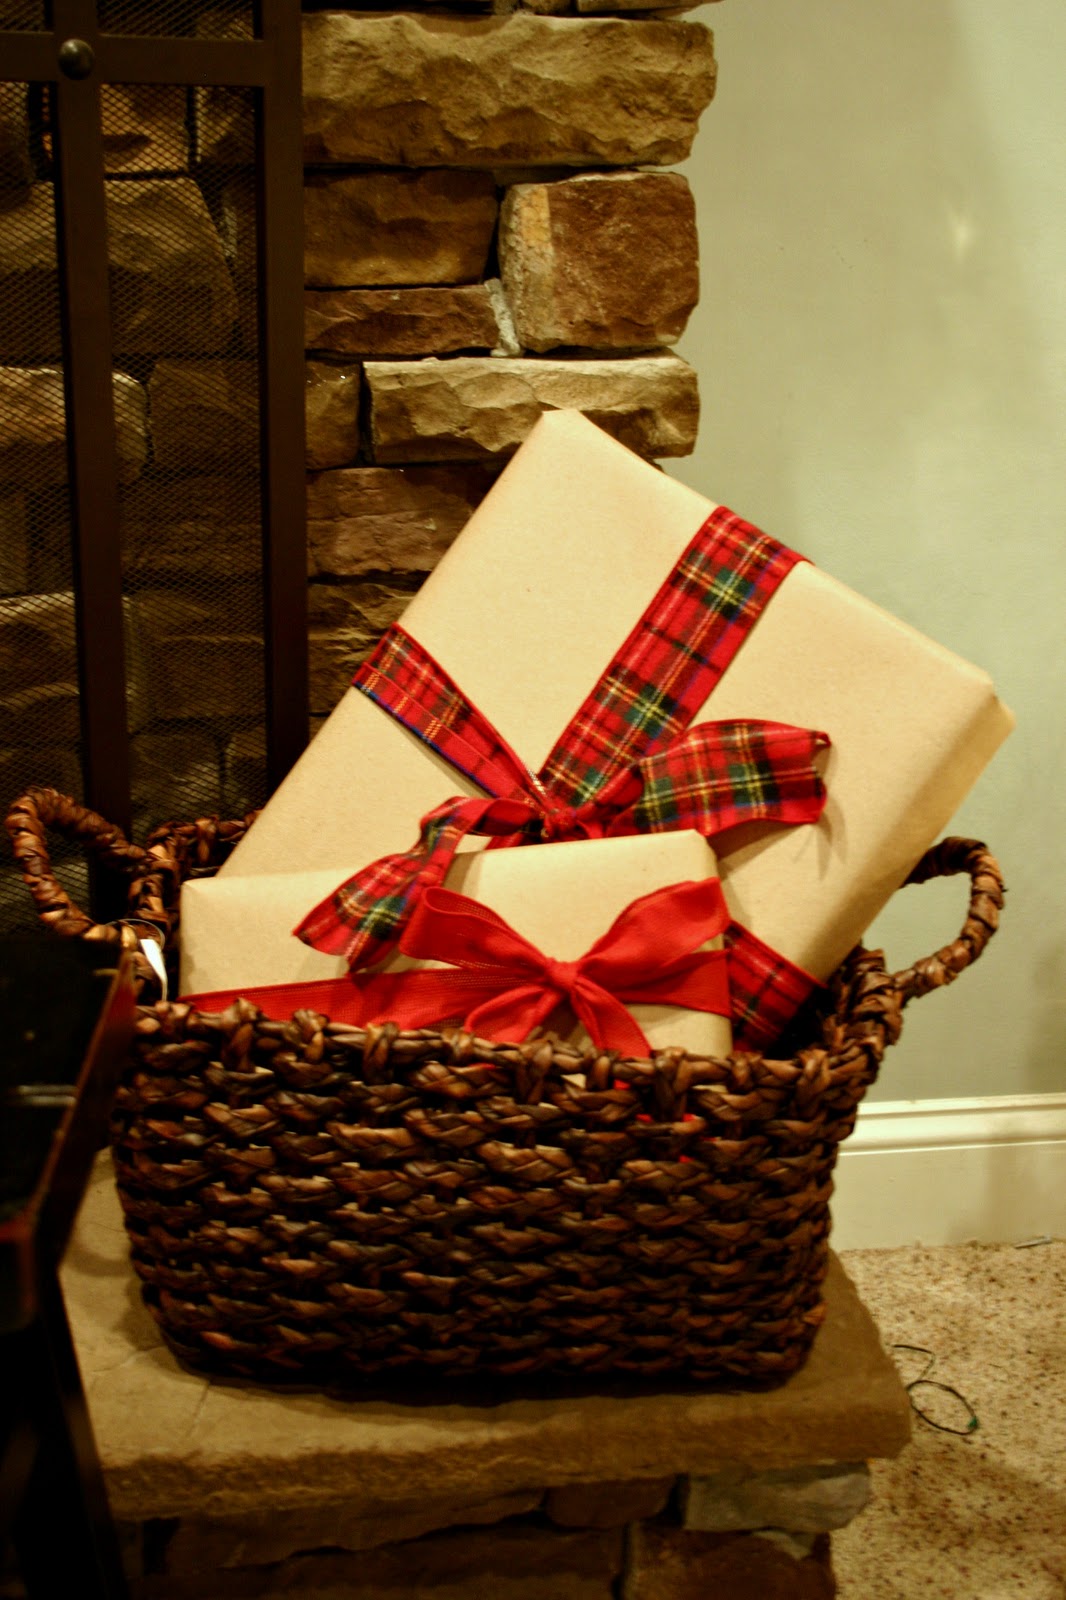
Because of the tub around the tree, I didn’t have a ton of space for presents, so I used them as accents on the hearth. I love the simple look of kraft paper and traditional ribbon.

Ok, here’s the truth. This pillow stinks. I was totally not thinking about the right way to make a pillow cover and so I folded, folded some more, and hot glued in place. DO NOT TRY THIS AT HOME! But still, I like the sentiment of “Be Merry”. However, Monica, feel free to rip that thing to shreds any ol’ time. 🙂

These two are the pillows I made for the couch under the window. I took my time with these, so they’re tons better! I can’t get enough of the burlap against the green velvet- such a mix of textures!

Taking a cue from Monica’s anti-wreath, I hung several pinecones from festive ribbon in a large frame. Even though it was super easy, I totally dig the pinecones. Actually, I adore pinecones now that we’ve used them in everything from placecard holders, ornaments and now art! They will be making a regular appearance in my Christmas decor from now on. Mark my words.
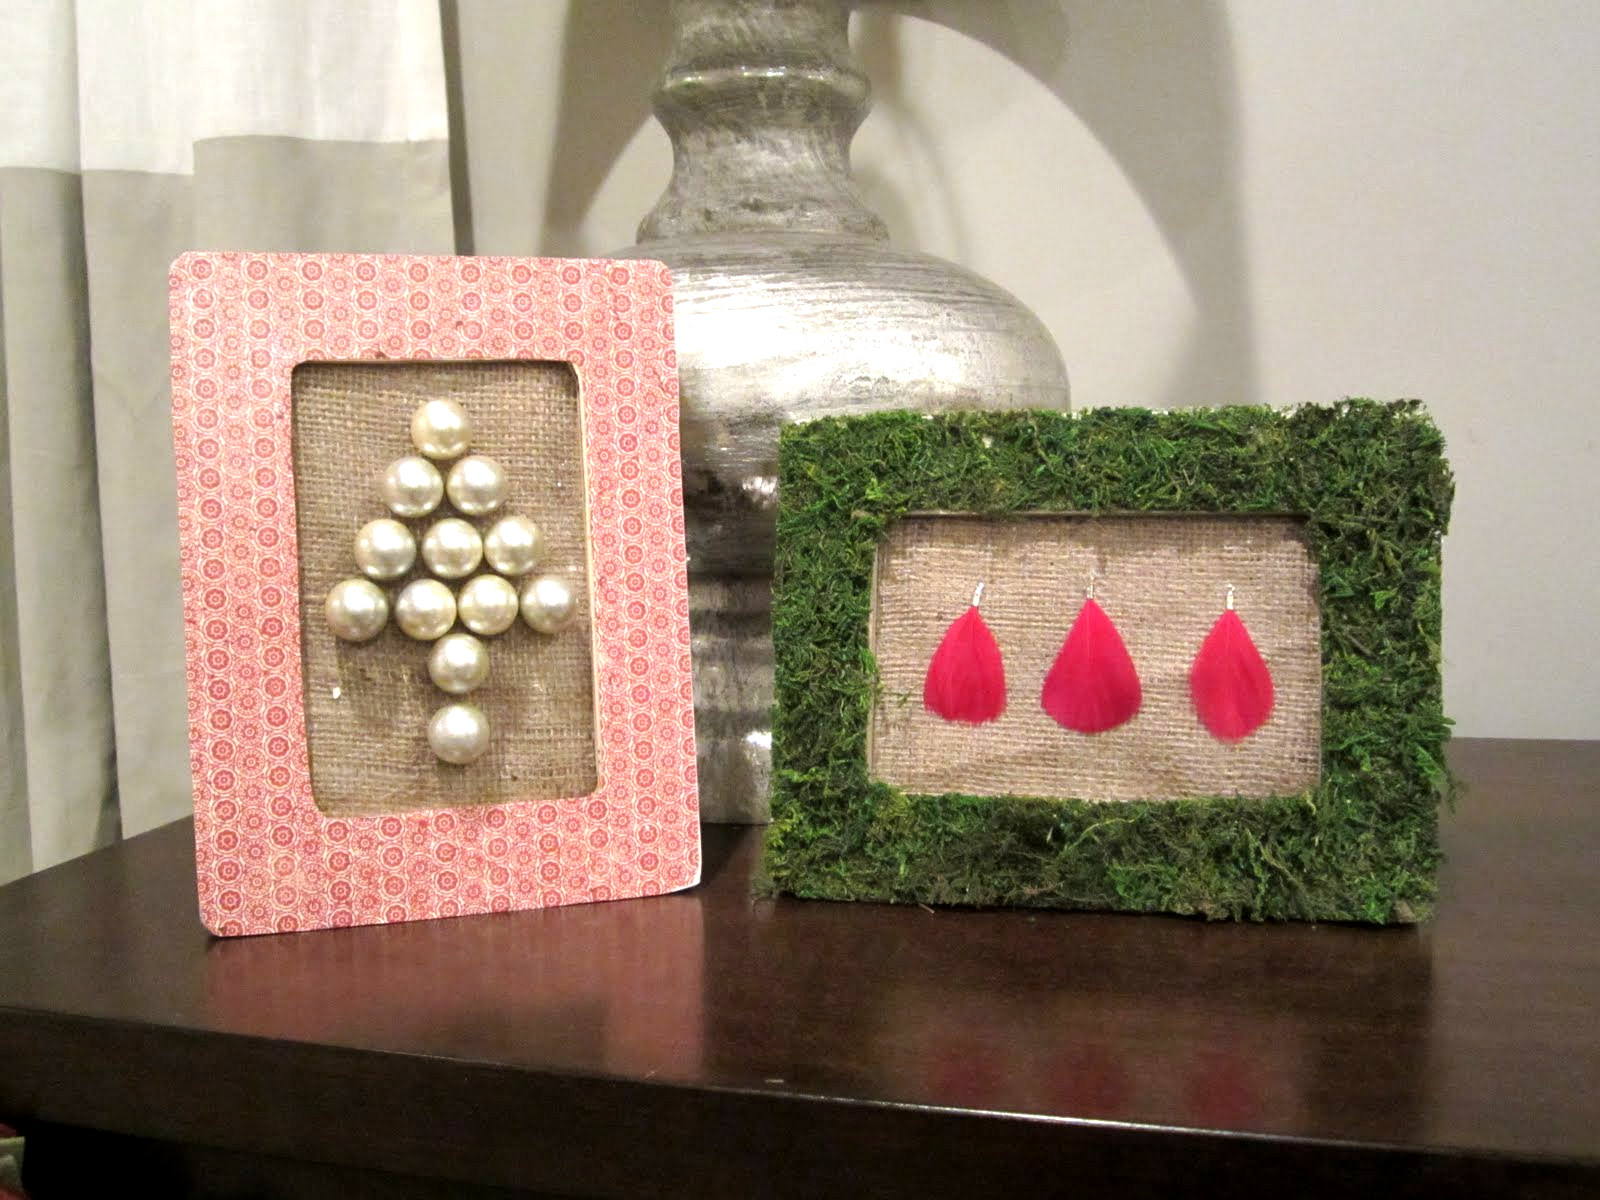
These two little frames make me smile. Nothing is easier than decoupaging a cheap wood frame from Michaels, and you already saw how simple it is to use artificial moss here. I lined the backs of the frames with burlap, took apart a necklace for the pearl tree on the left and a dismantled a few strange-looking earrings for the specimen art frame on the right. It’s nothing if not non-traditional, and I think it’s pretty darn cute.

This felt garland was a bear to make because it took forever! At least, it seemed that way. I like quick and easy projects, and this one was easy, but NOT quick! Lots of cutting squares, alternating colors and threading the squares with a car tire repair kit (yes,, you read that right. I didn’t have a needle and thread, so I used what was on hand!) and then repeating a million and one times. The end result was so cool, so I guess it was {almost} worth it!
Tomorrow is the last day of our Nate DIY’s, so don’t forget to check back for all the little details from my basement family room. Thanks for stopping by today. 🙂


The comments +