
Oooh, I so wish you could see my hallway bathroom right now. It is coming along exactly how I had envisioned. Mostly because I finally found the perfect piece of furniture for my new custom vanity. This vanity earned us a spot in Round 3 of Crafting with the Stars over at Sew Dang Cute, and although she’s pretty darn cute in pictures, she’s absolutely gorgeous in real life. So, here’s the breakdown of the transformation this little table underwent:
Antiquated to Awesome Table Transformation
While browsing one of our local antique stores, I stumbled across this table in an out-of-the-way-spot covered in loads of other stuff.
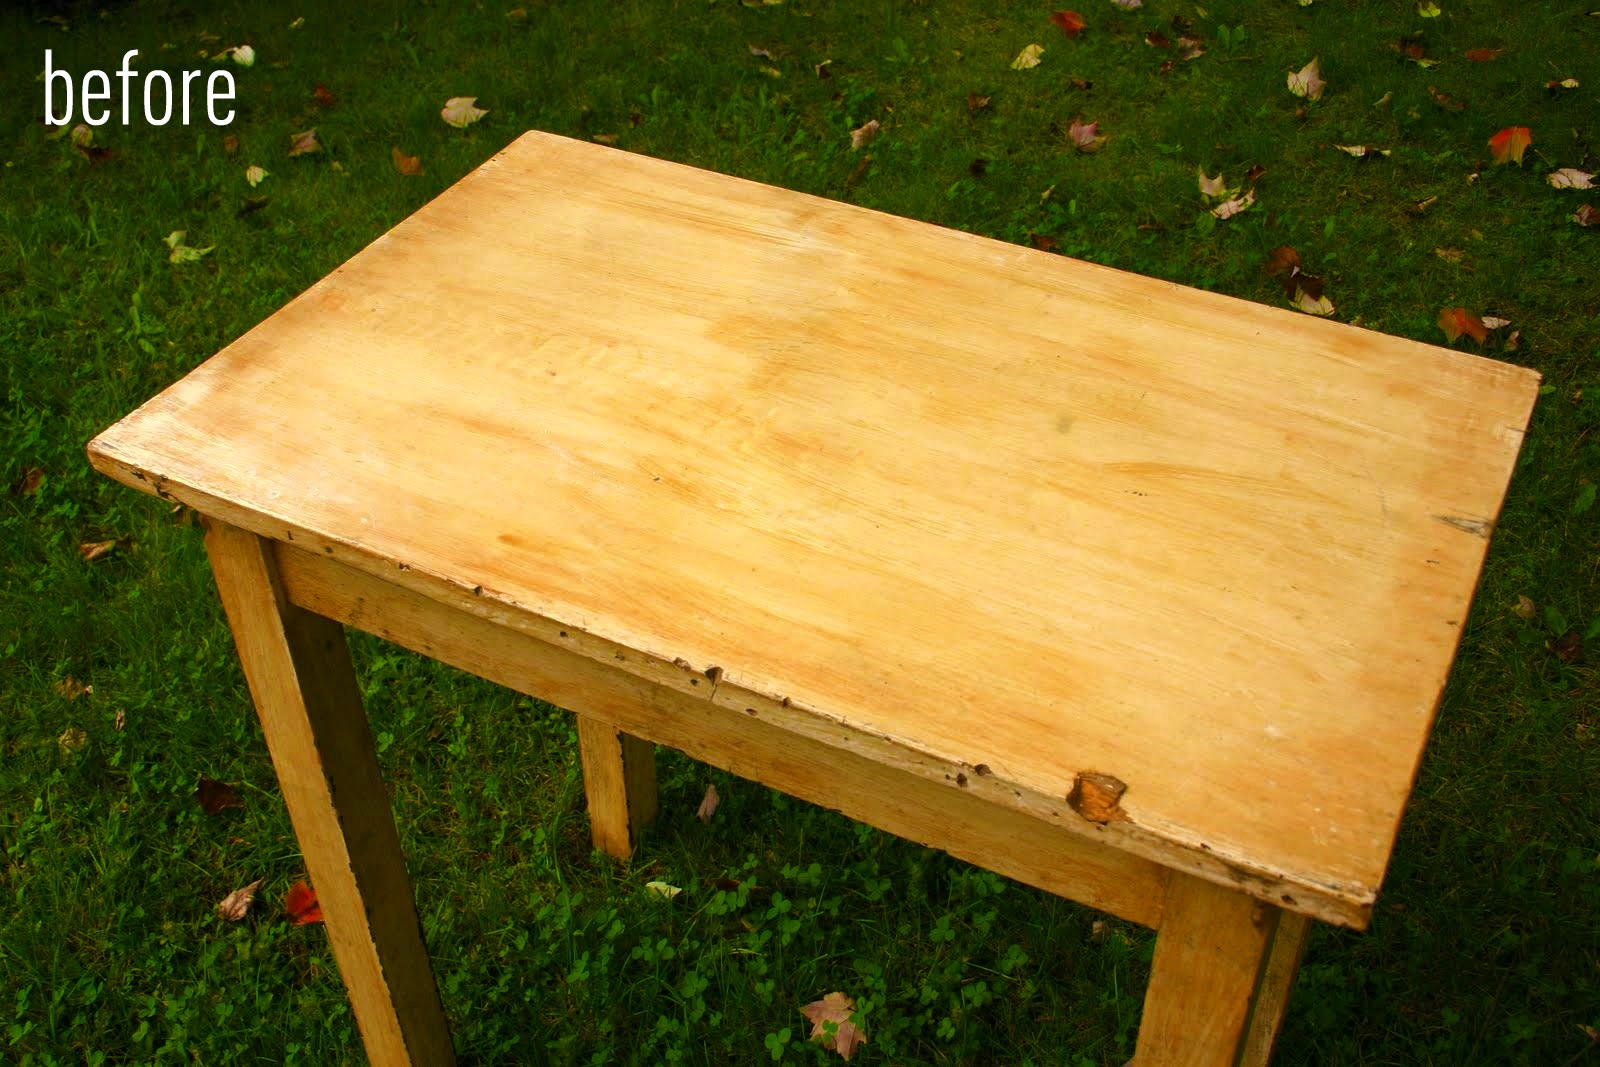
Now, she doesn’t look like anything special, but I could see through her battered, yellowing self to see the potential in her simple lines and aged charm. My initial thought was to sand the yellowish tones off to hopefully reveal a distressed white/wood look. After what seemed like an eternity of sanding with two palm sanders, I realized that this piece probably really was an antique and that the paint had mostly likely been there forever. I hesitate to reveal this information for fear of the antique-lovers out there giving me a hard time about sanding such an old piece, but hey, a girls gotta do what a girls gotta do.

So anyway, the chippy paint look I was going for totally didn’t happen because sanding it made the paint appear the color of a peach and that just was not at all the look I was going for.
So, on to plan B. Monica came over to help out and she brought the custom gray stain they used on their farmhouse table and also a mahogany stain she had. We had some walnut stain left over from when we originally stained our kitchen cabinets, so we tested all three on the top of the piece. We knew we could always sand out the stains we didn’t like, but we made sure to place the sample stains in the middle where the vessel sink would go, anyway.
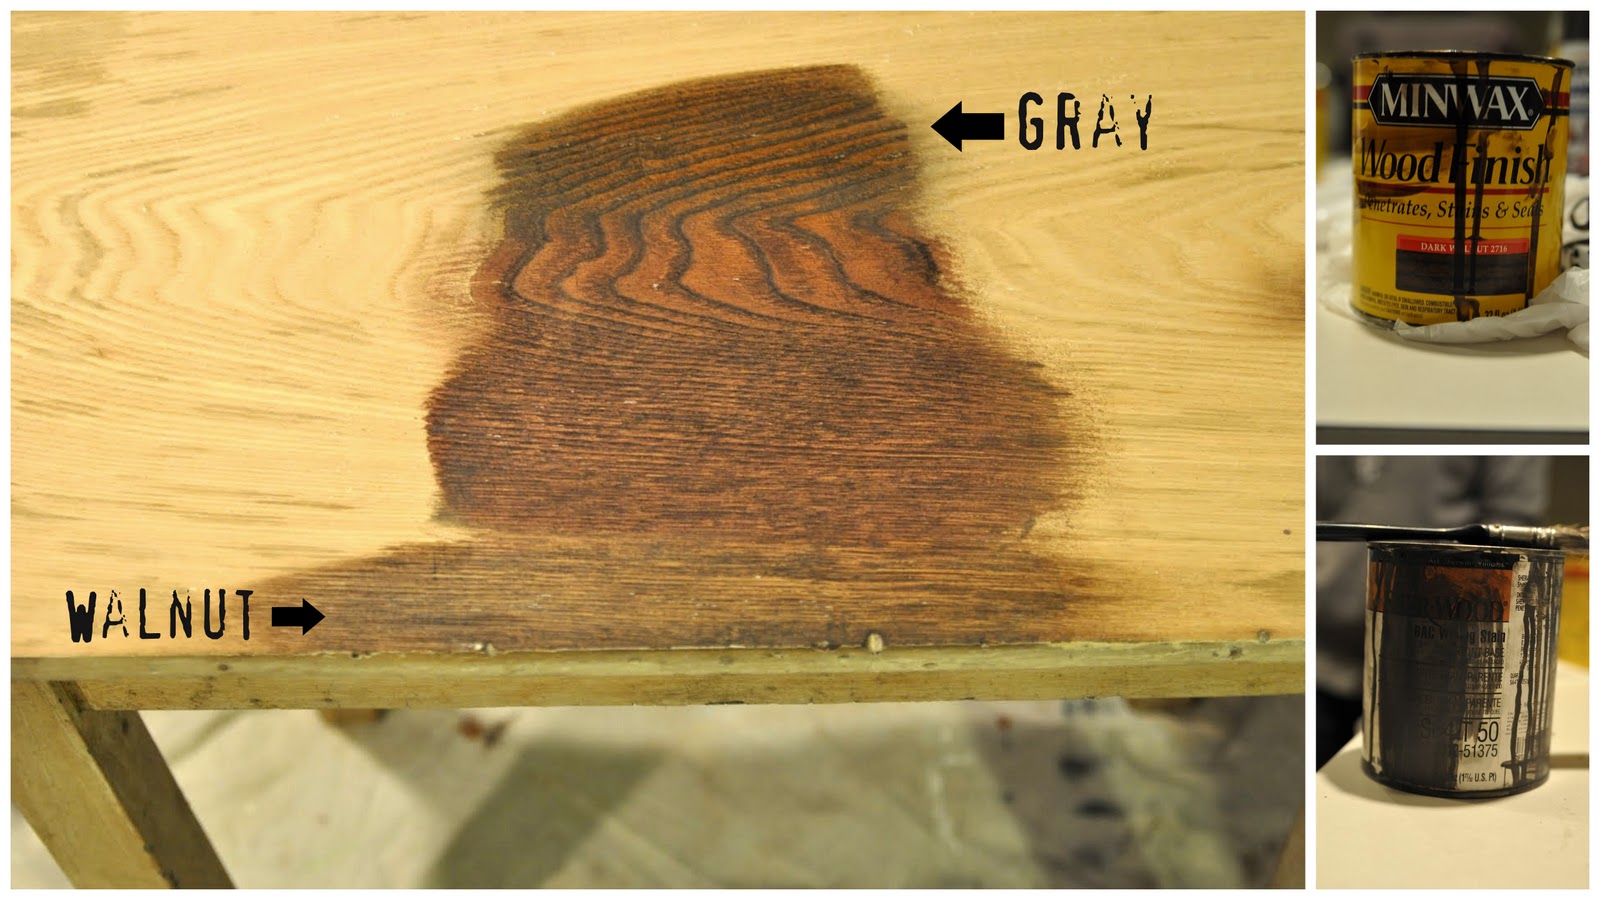
In the end, we decided on doing a custom mix of walnut and gray stains.
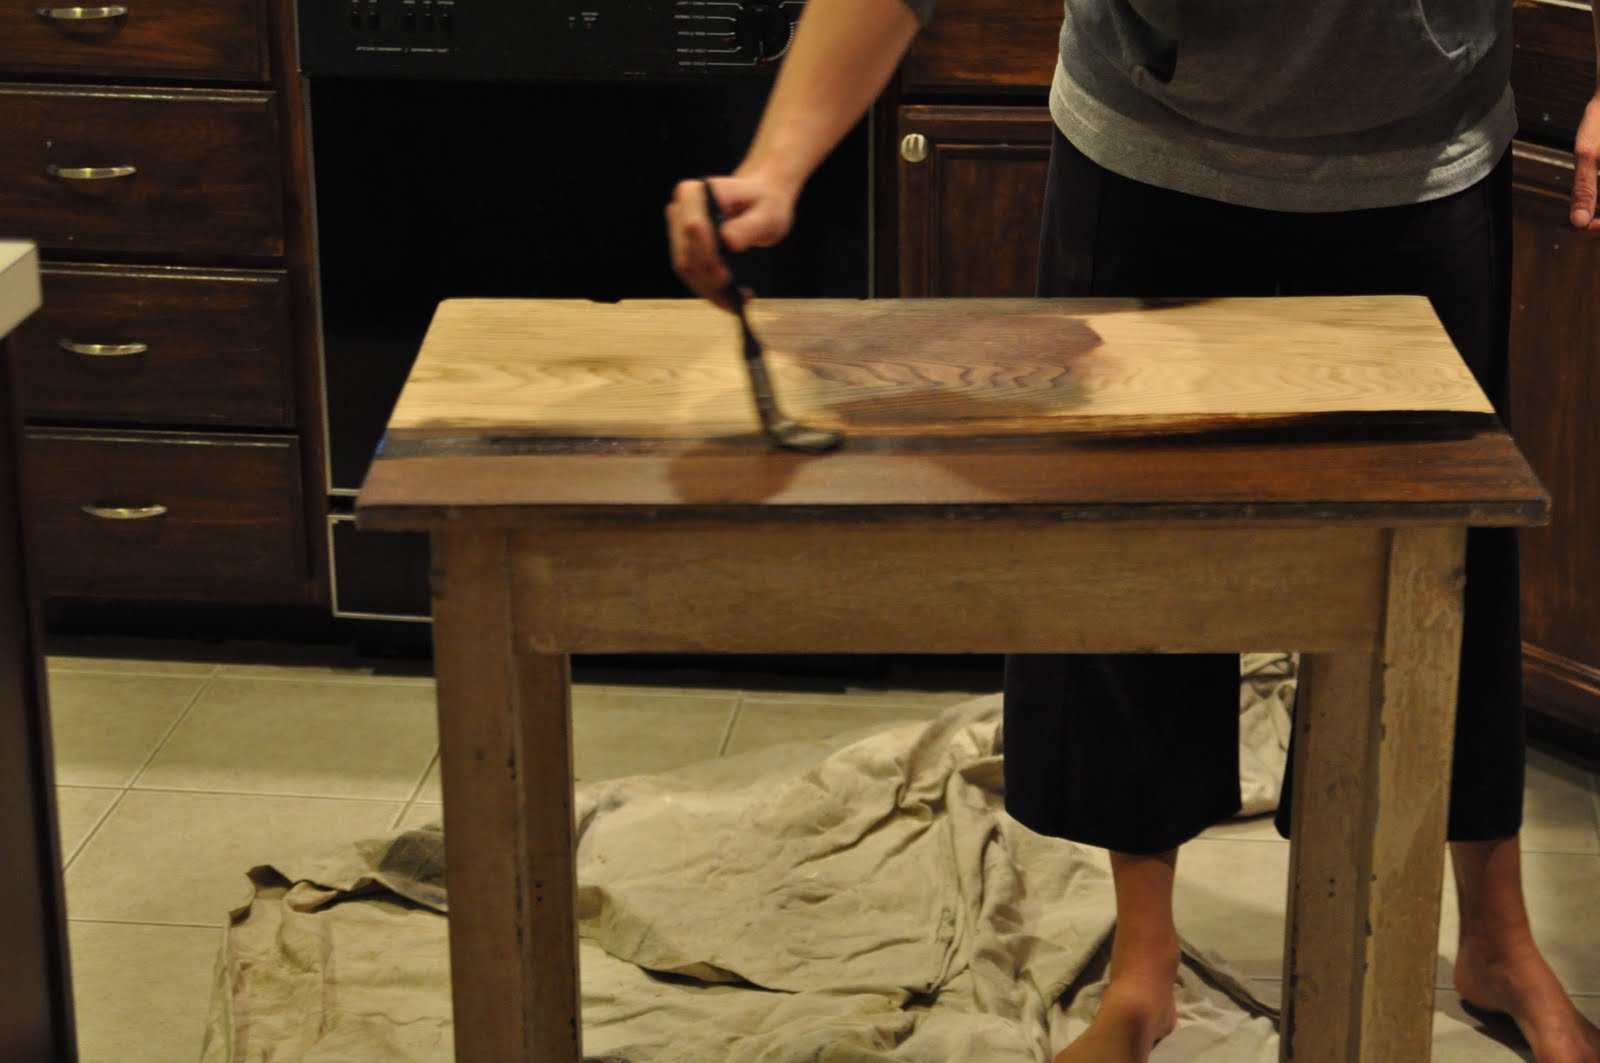
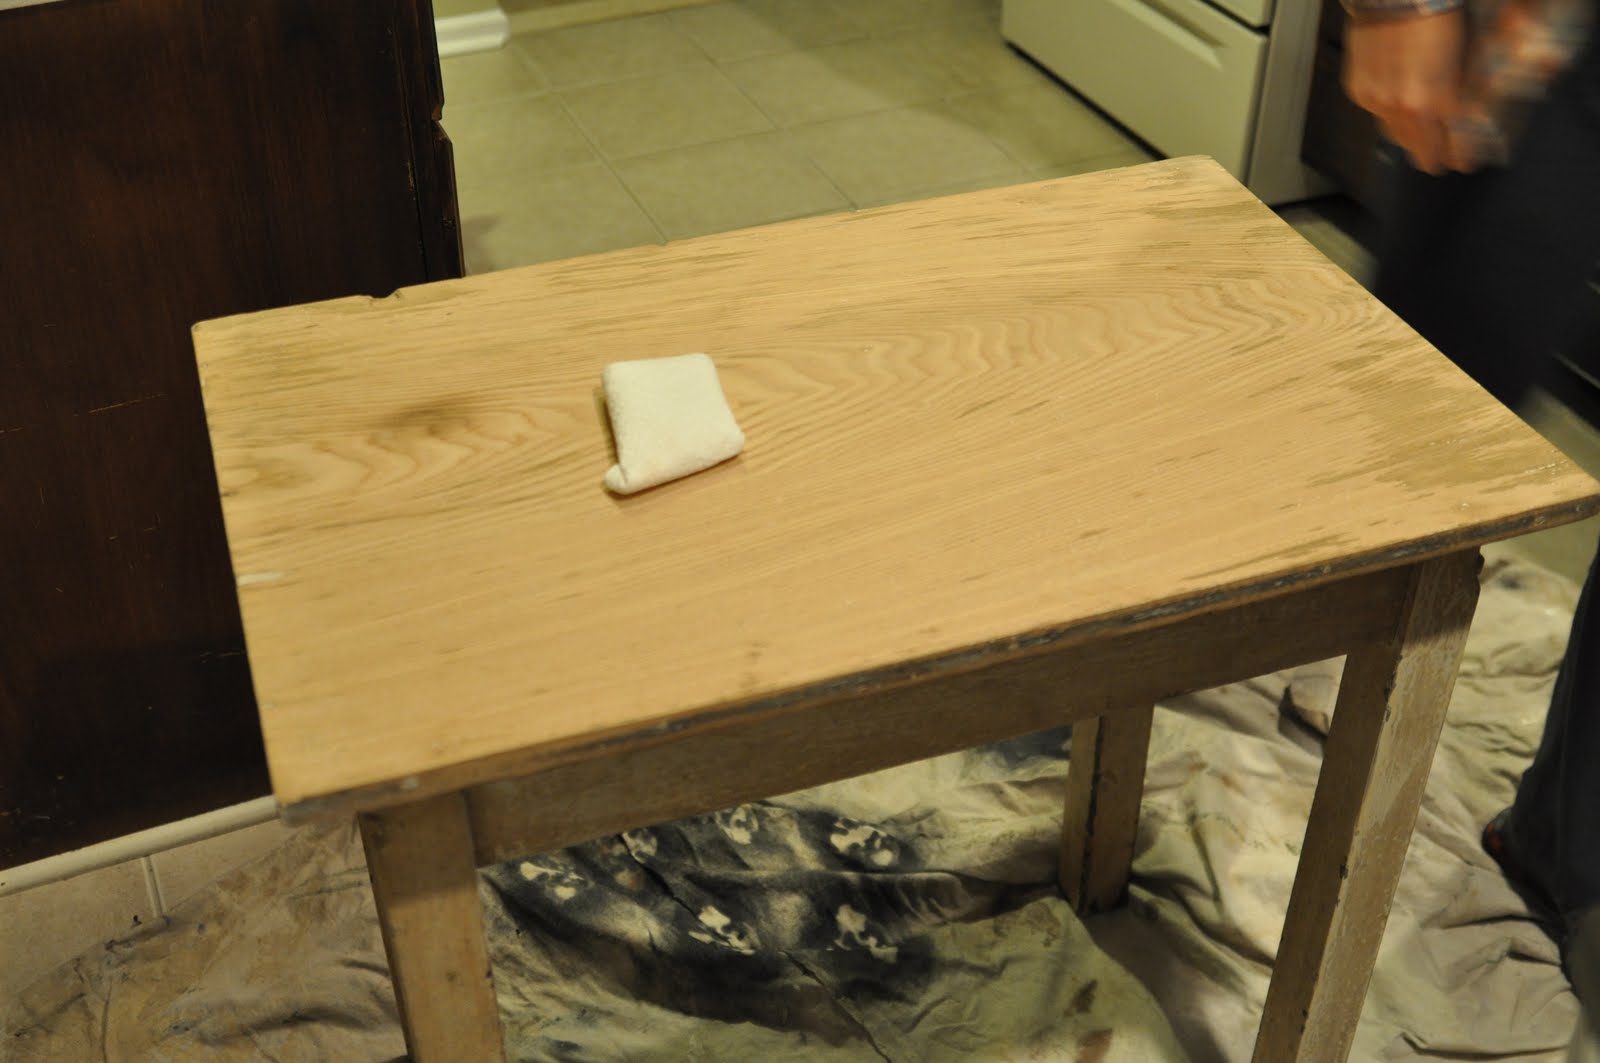
I brushed on the walnut stain first in long even strokes.
After about a minute, Monica wiped the stain off with a staining pad.
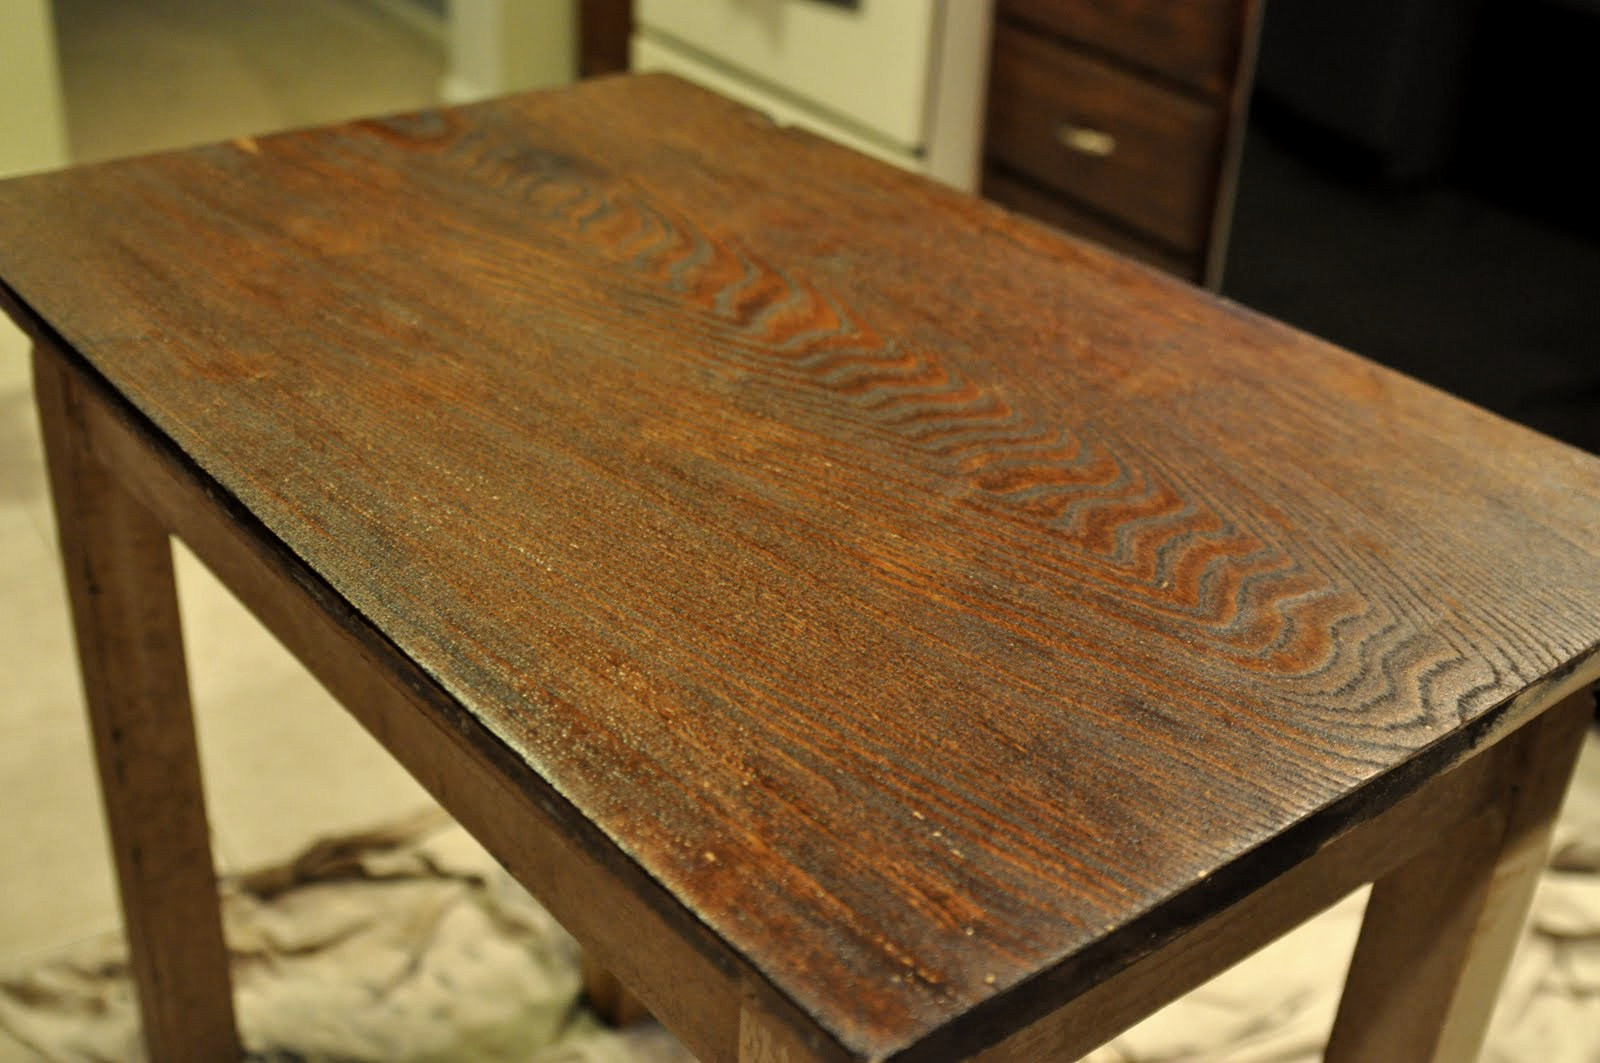
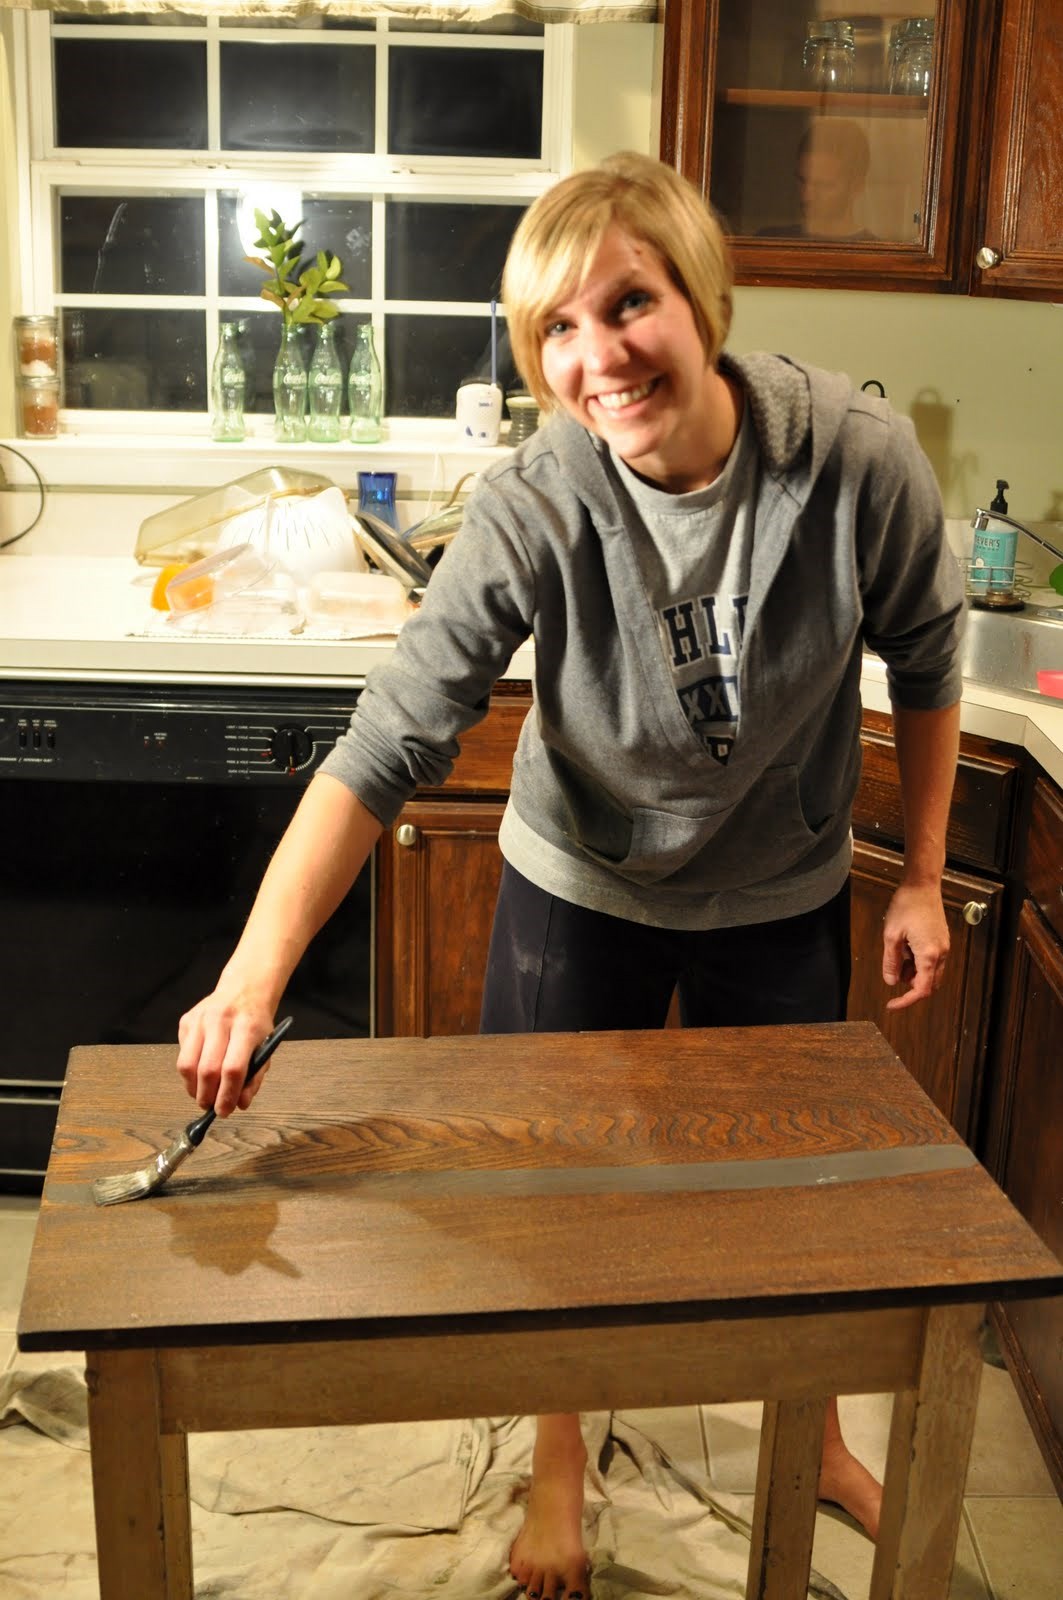
Even with just the walnut stain, it was absolutely beautiful, but I knew that the addition of the gray stain would make it match the colors in the bathroom even better, so again, I brushed the gray stain overtop of the walnut in long even strokes.
After wiping it off, we had this:
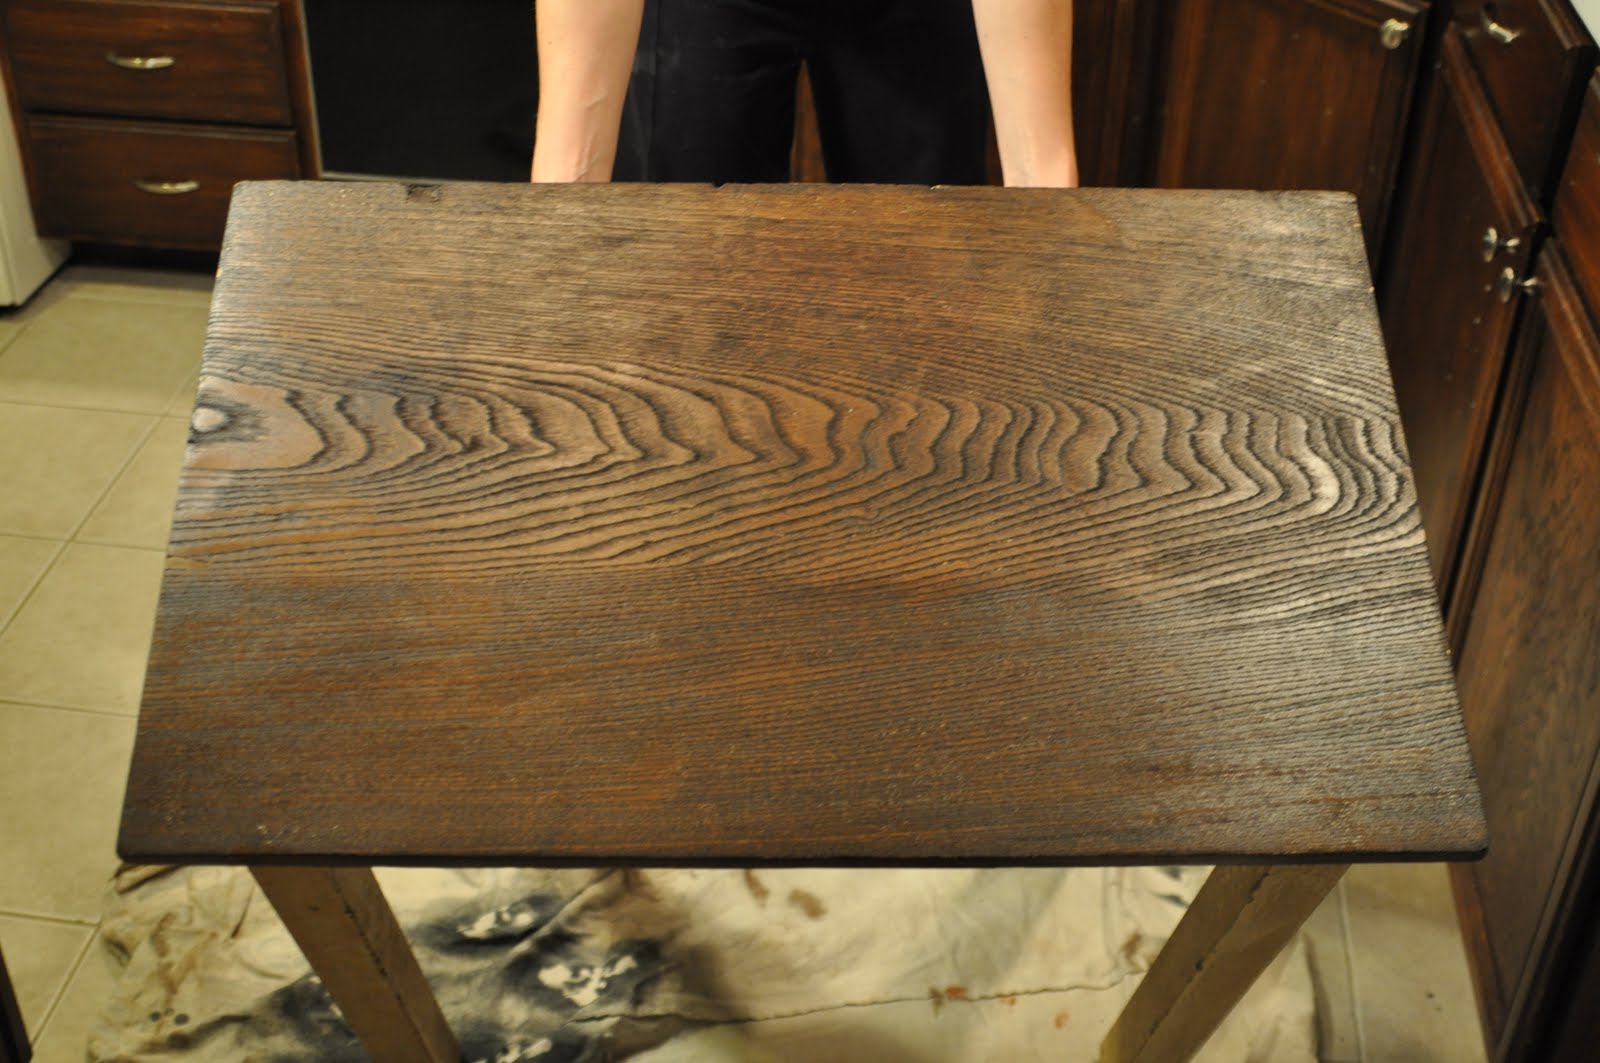
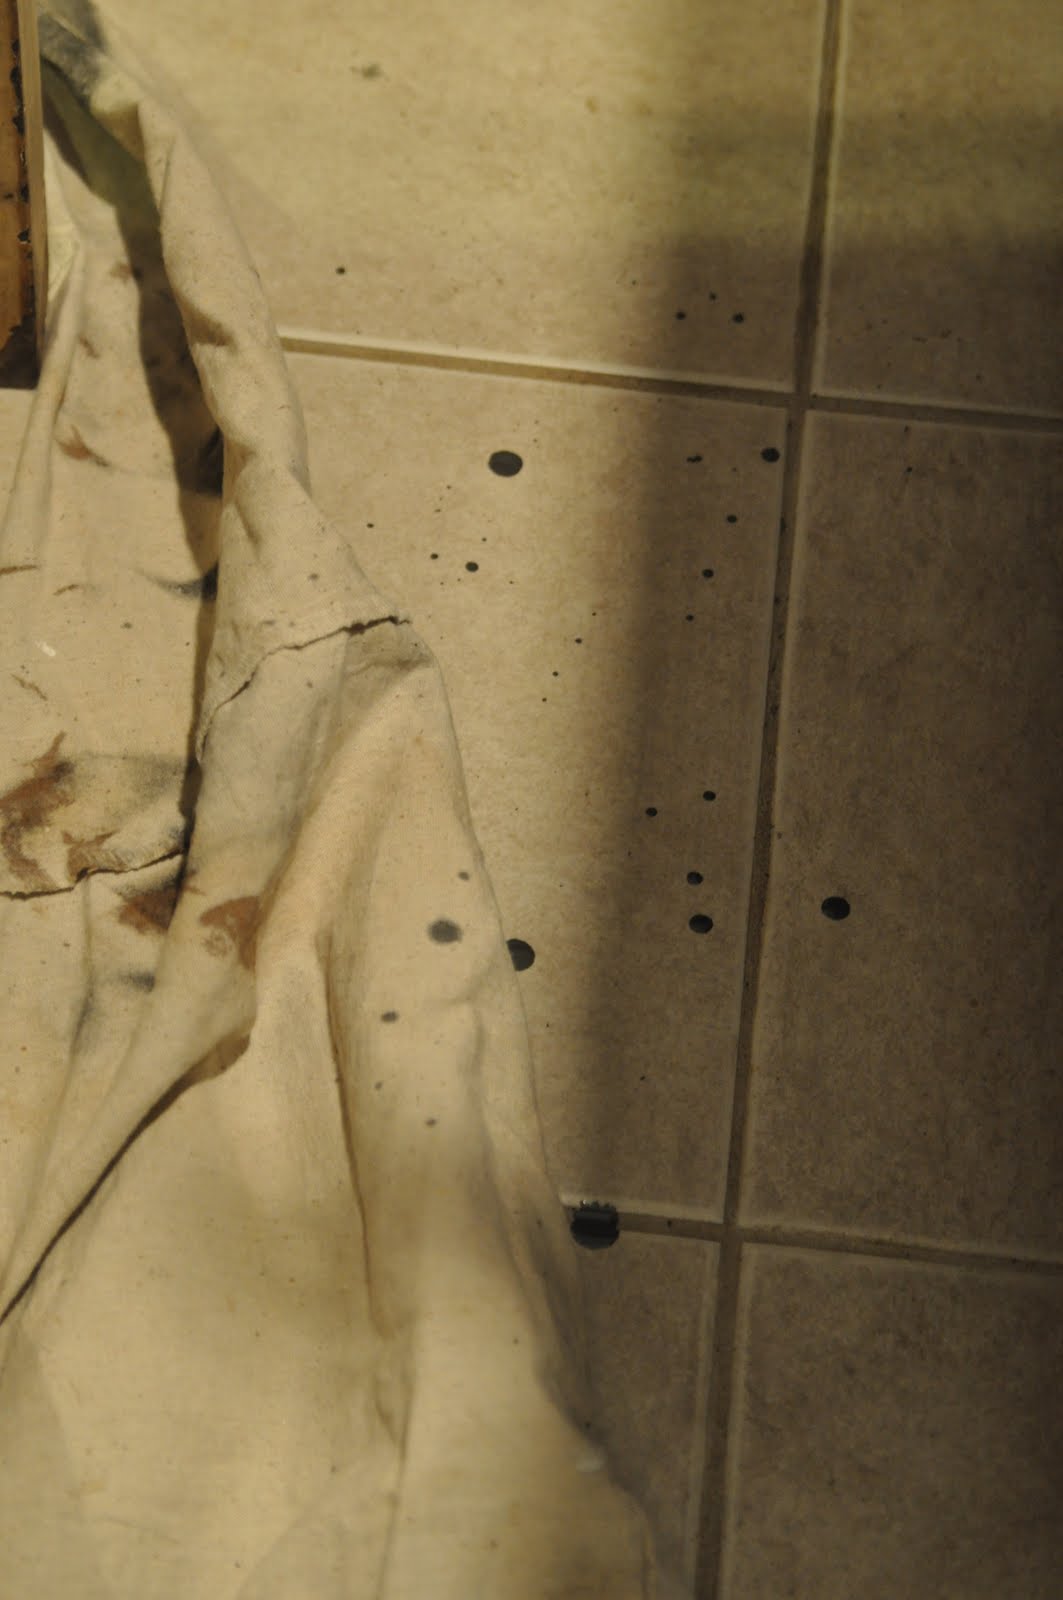
Note to self: Do not stain a piece of furniture in your kitchen. If you’re not careful, stain will get everywhere leaving you in a slight panic and making lots of extra work for yourself.
Ahh! Let me stop here to point out how crazy our work environment was that evening:
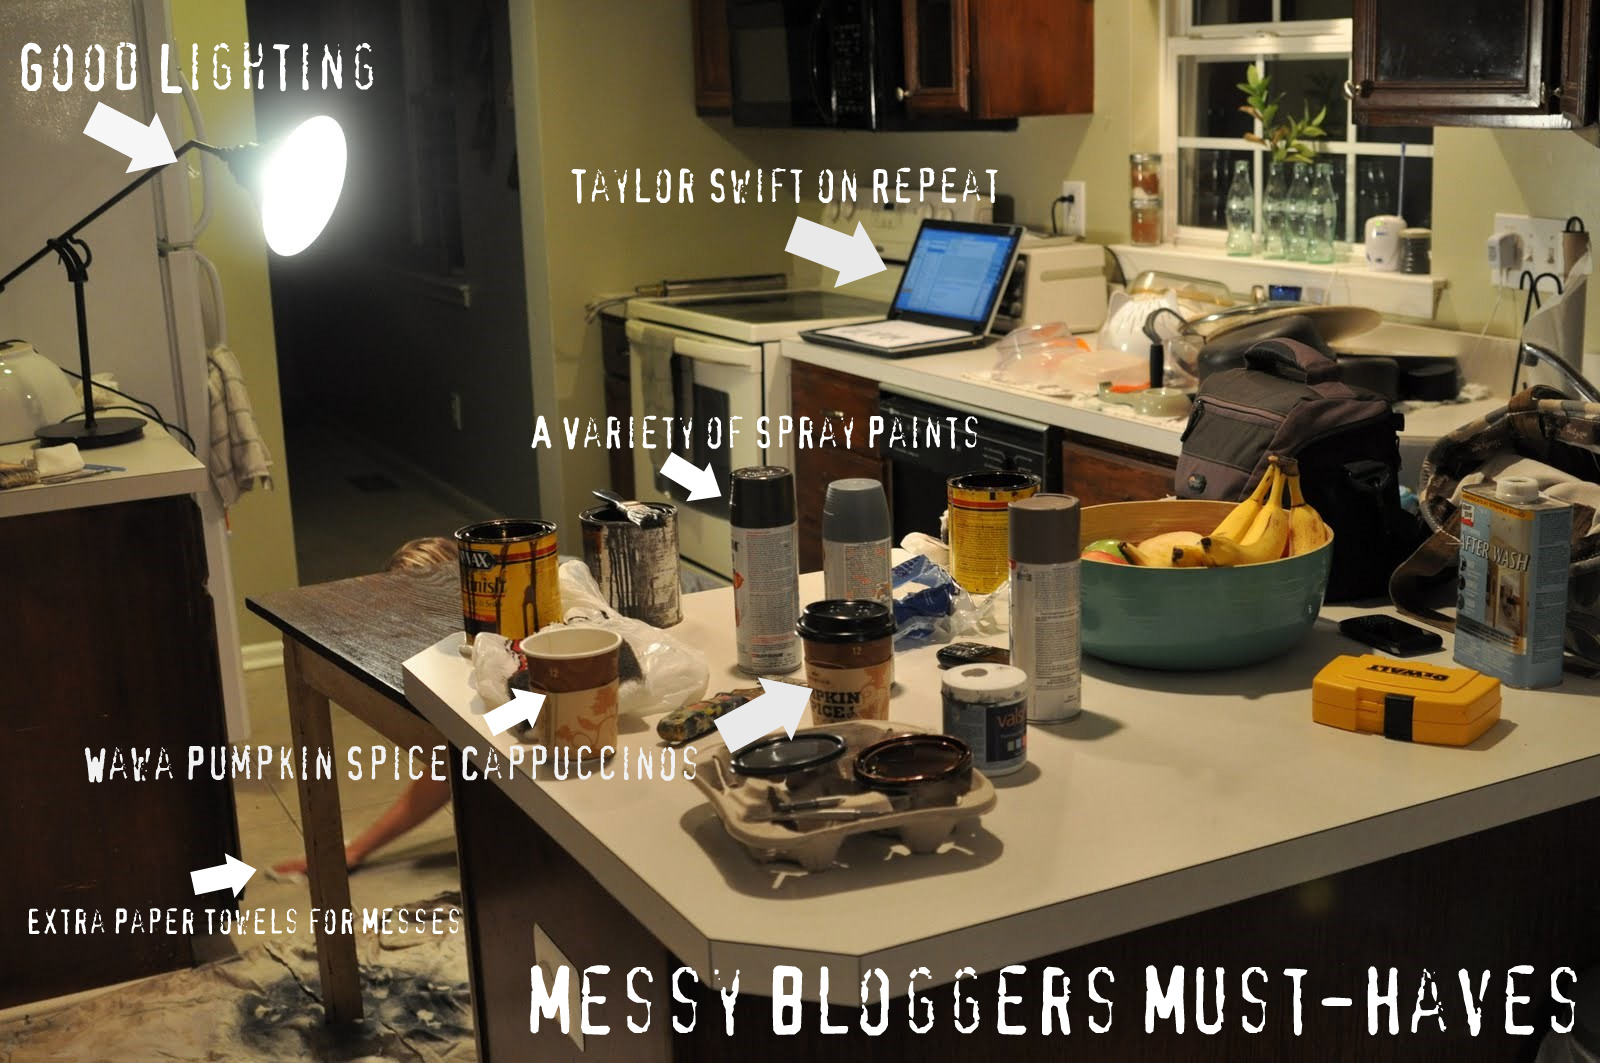
How we got anything done is a mystery to me. Monica and I work very quickly and as a result, leave a trail of disaster in our wakes. We were simultaneously working on the table, painting a custom destination sign with coordinates for a customer, planning our posts for the next few weeks and drinking our favorite Pumpkin Spice Cappuccino from Wawa. Craziness, I tell you. But I digress… on with the project:
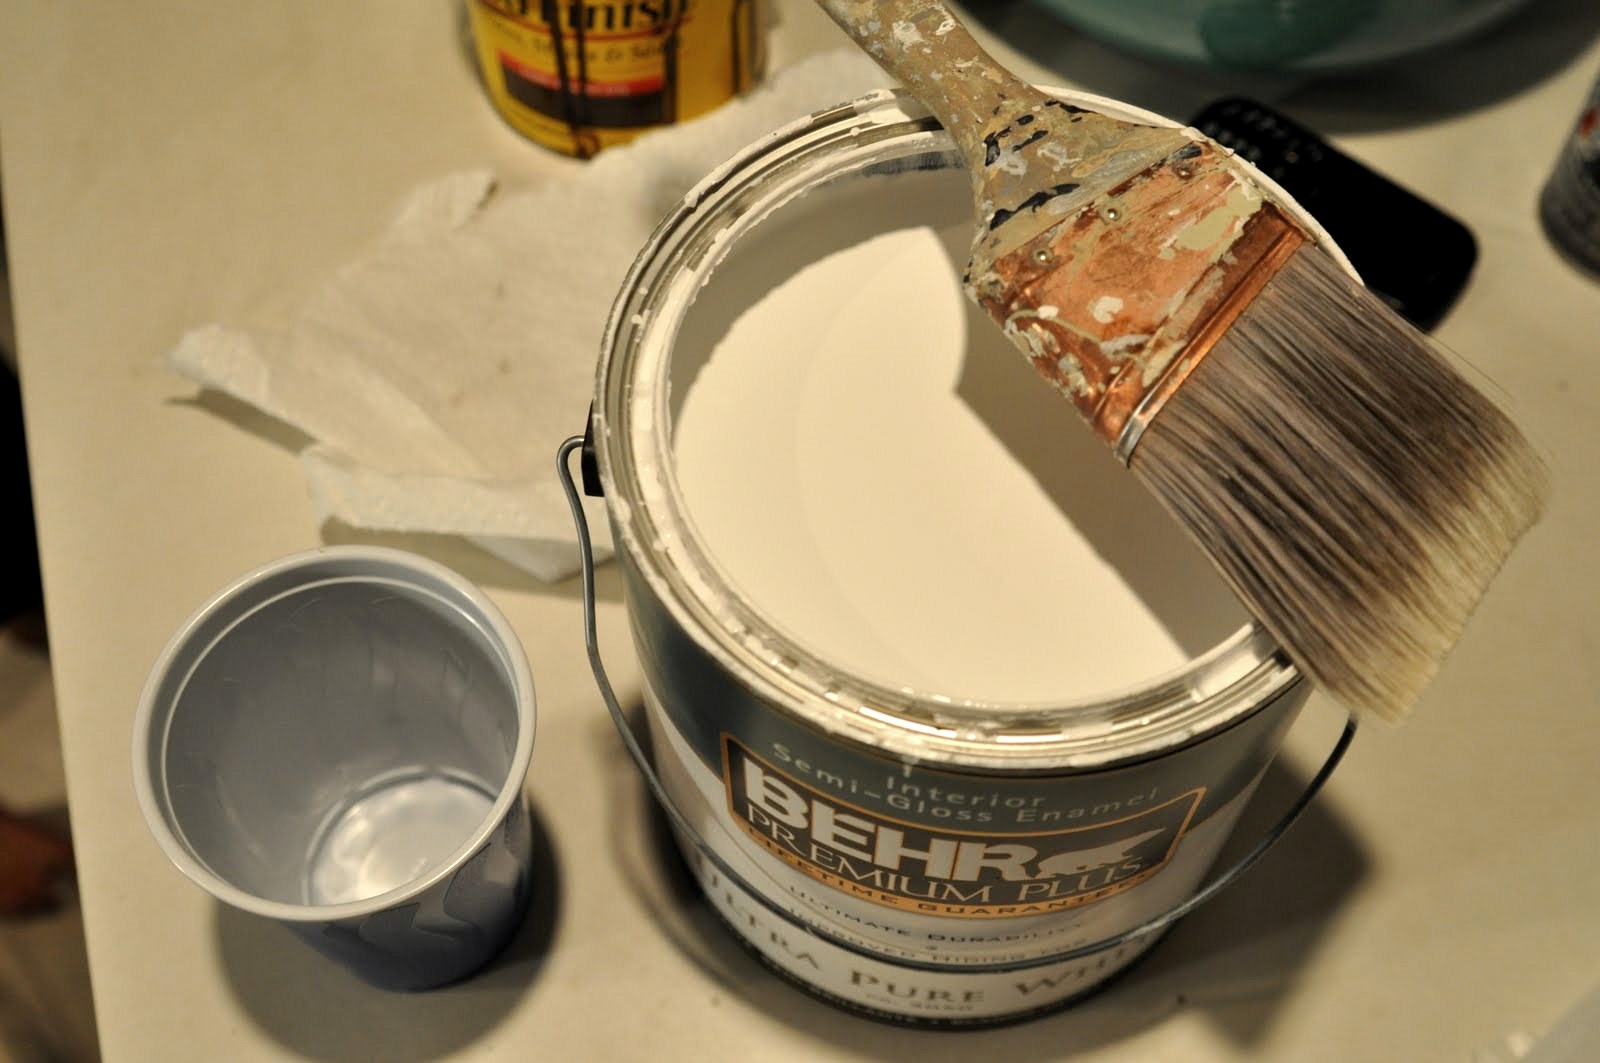
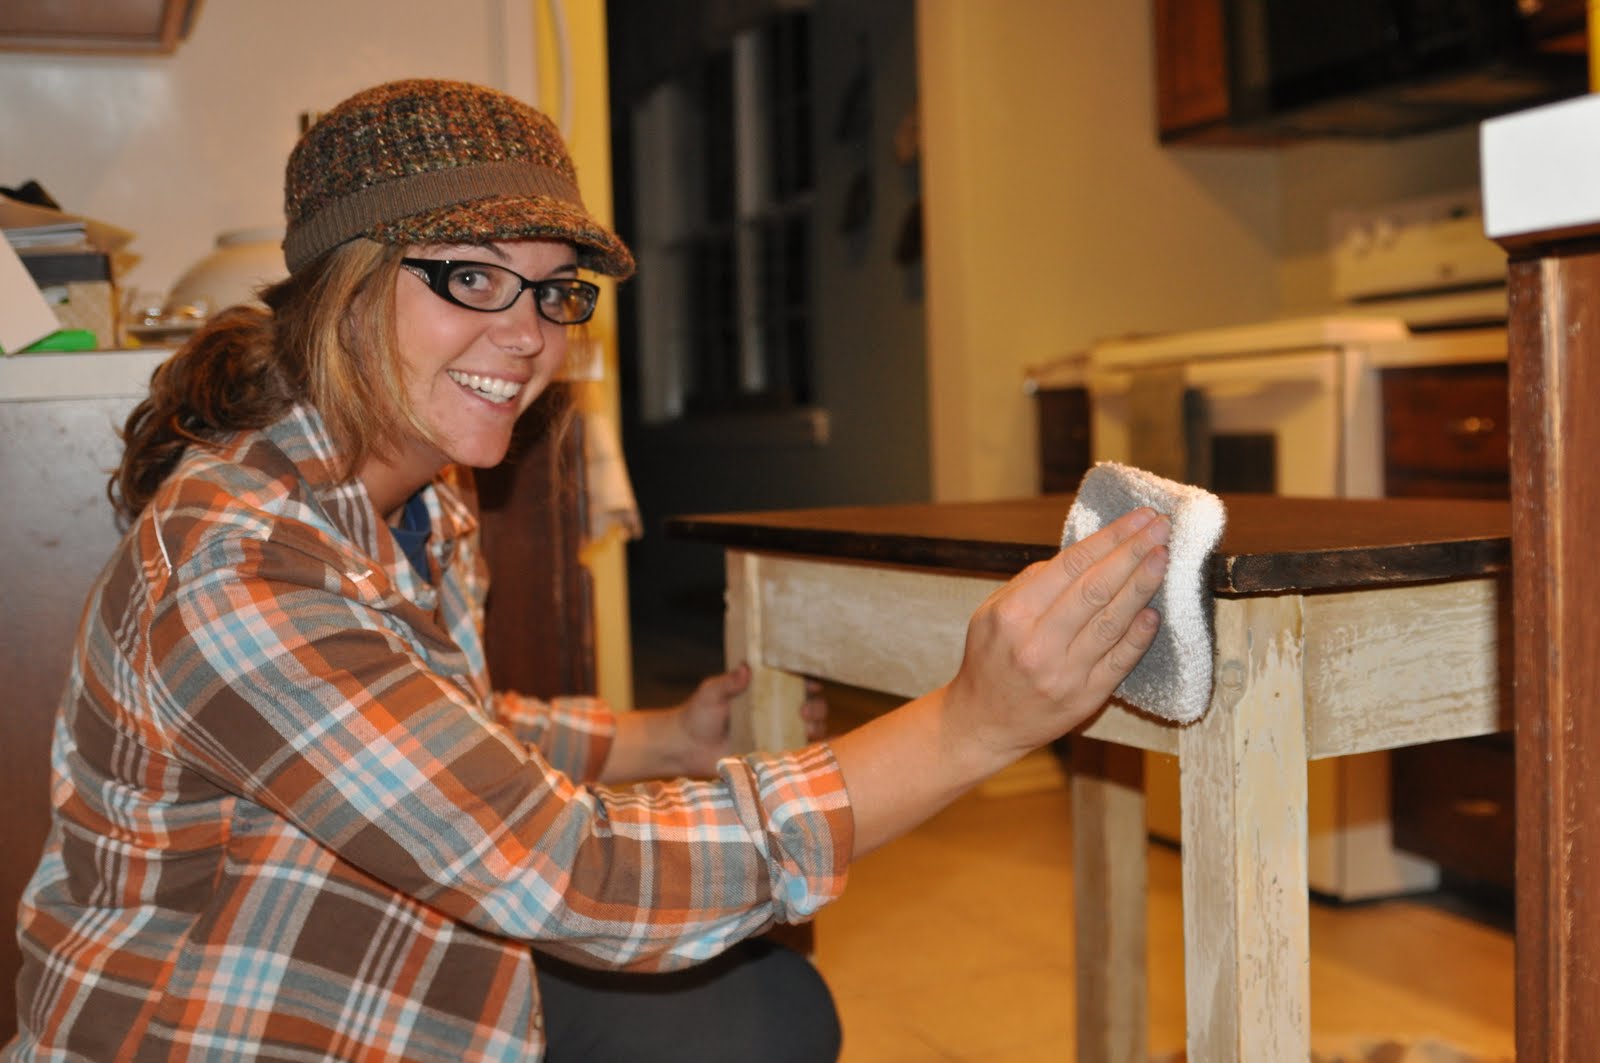
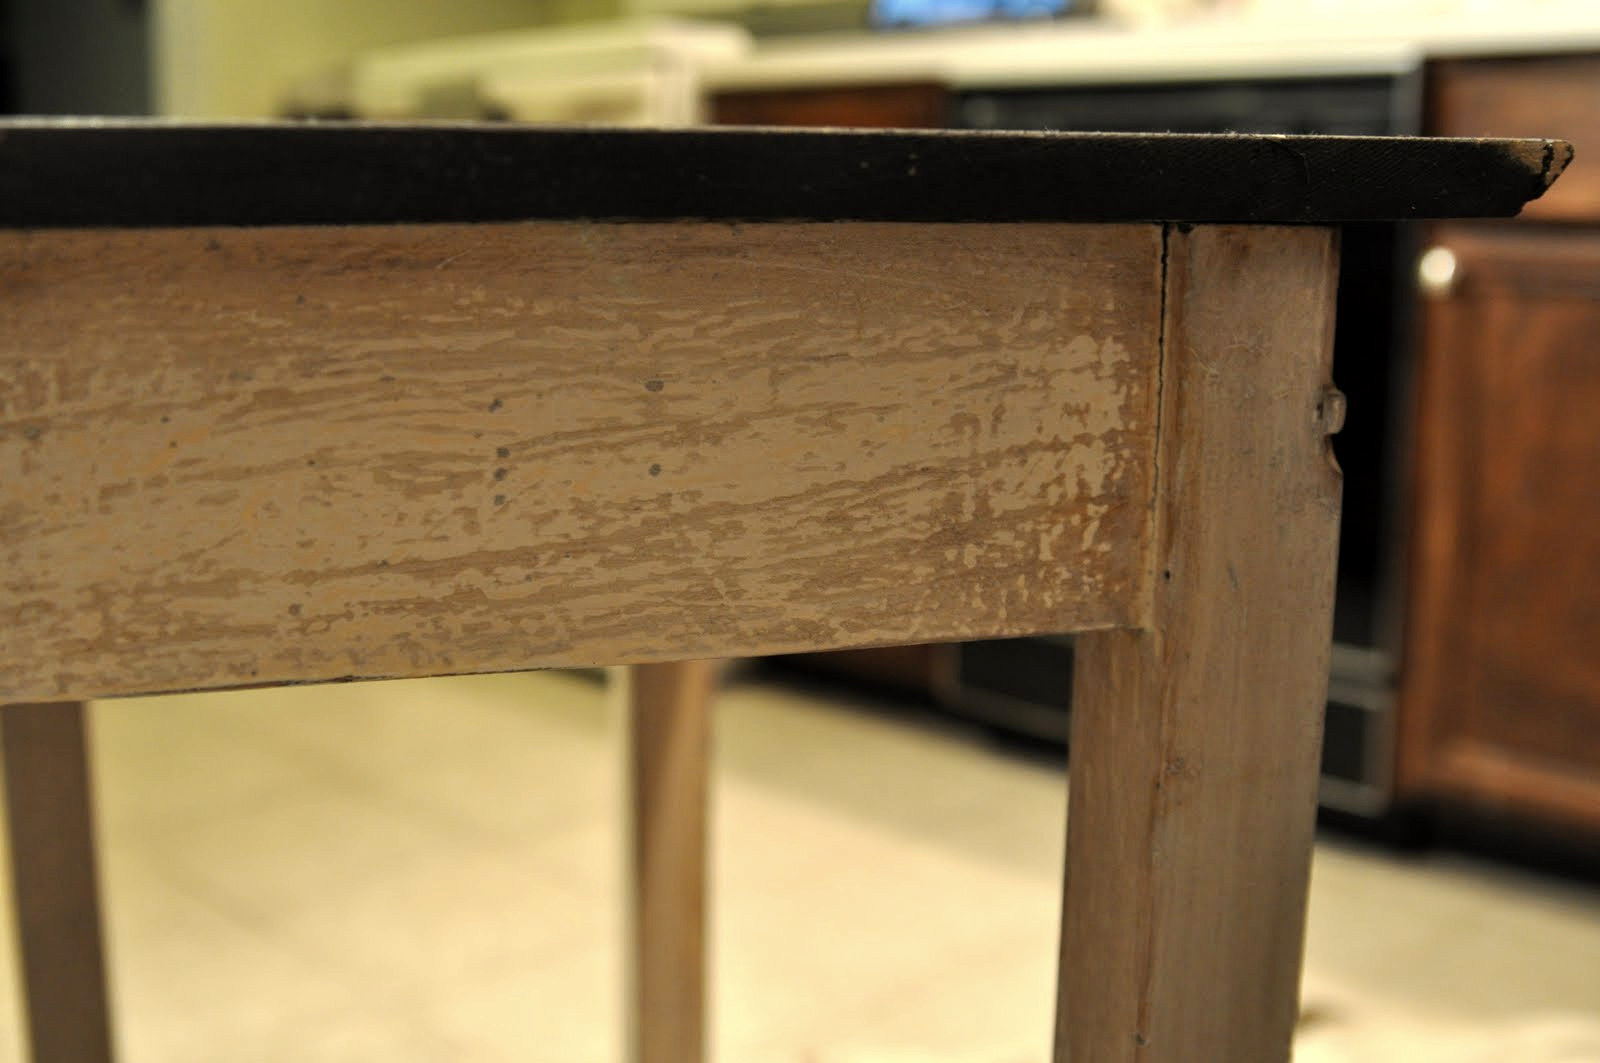
After the hours of sanding the top, I really REALLY didn’t want to sand the legs, so we came up with the idea of doing a whitewash treatment. Basically, whitewashing is a combination of paint mixed with water that creates a translucent glaze of color.
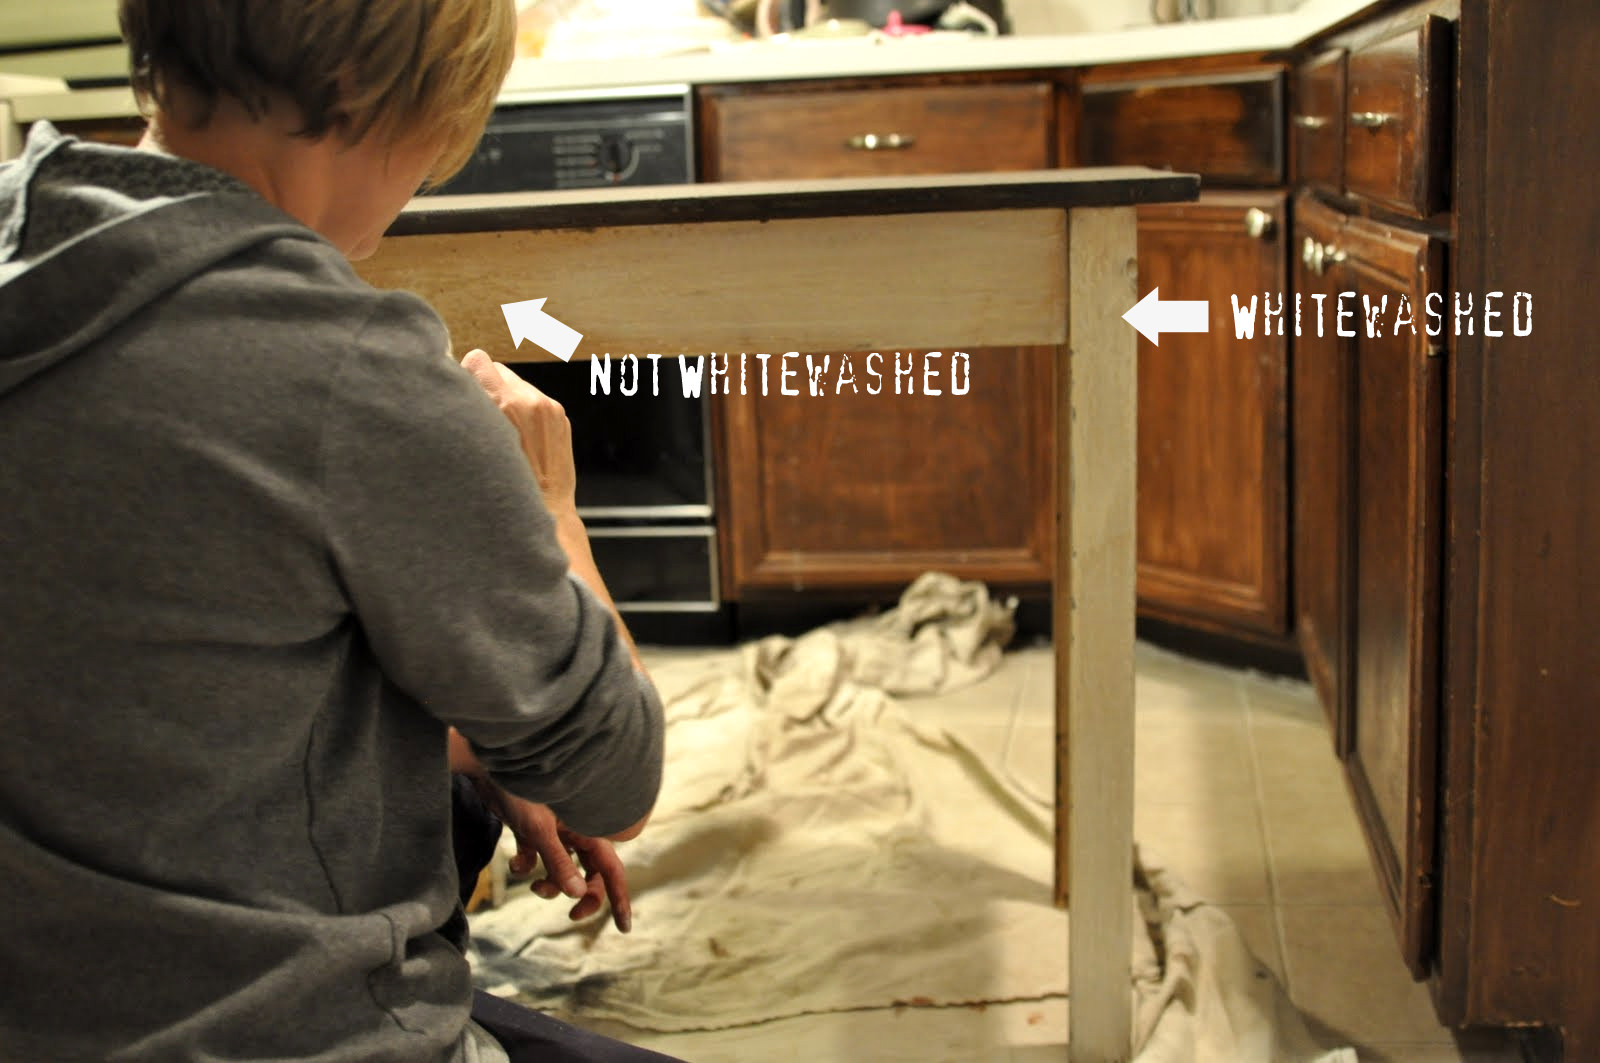
You can see that adding the whitewash took away the yellow tones, but kept all that yummy aged character of the piece.
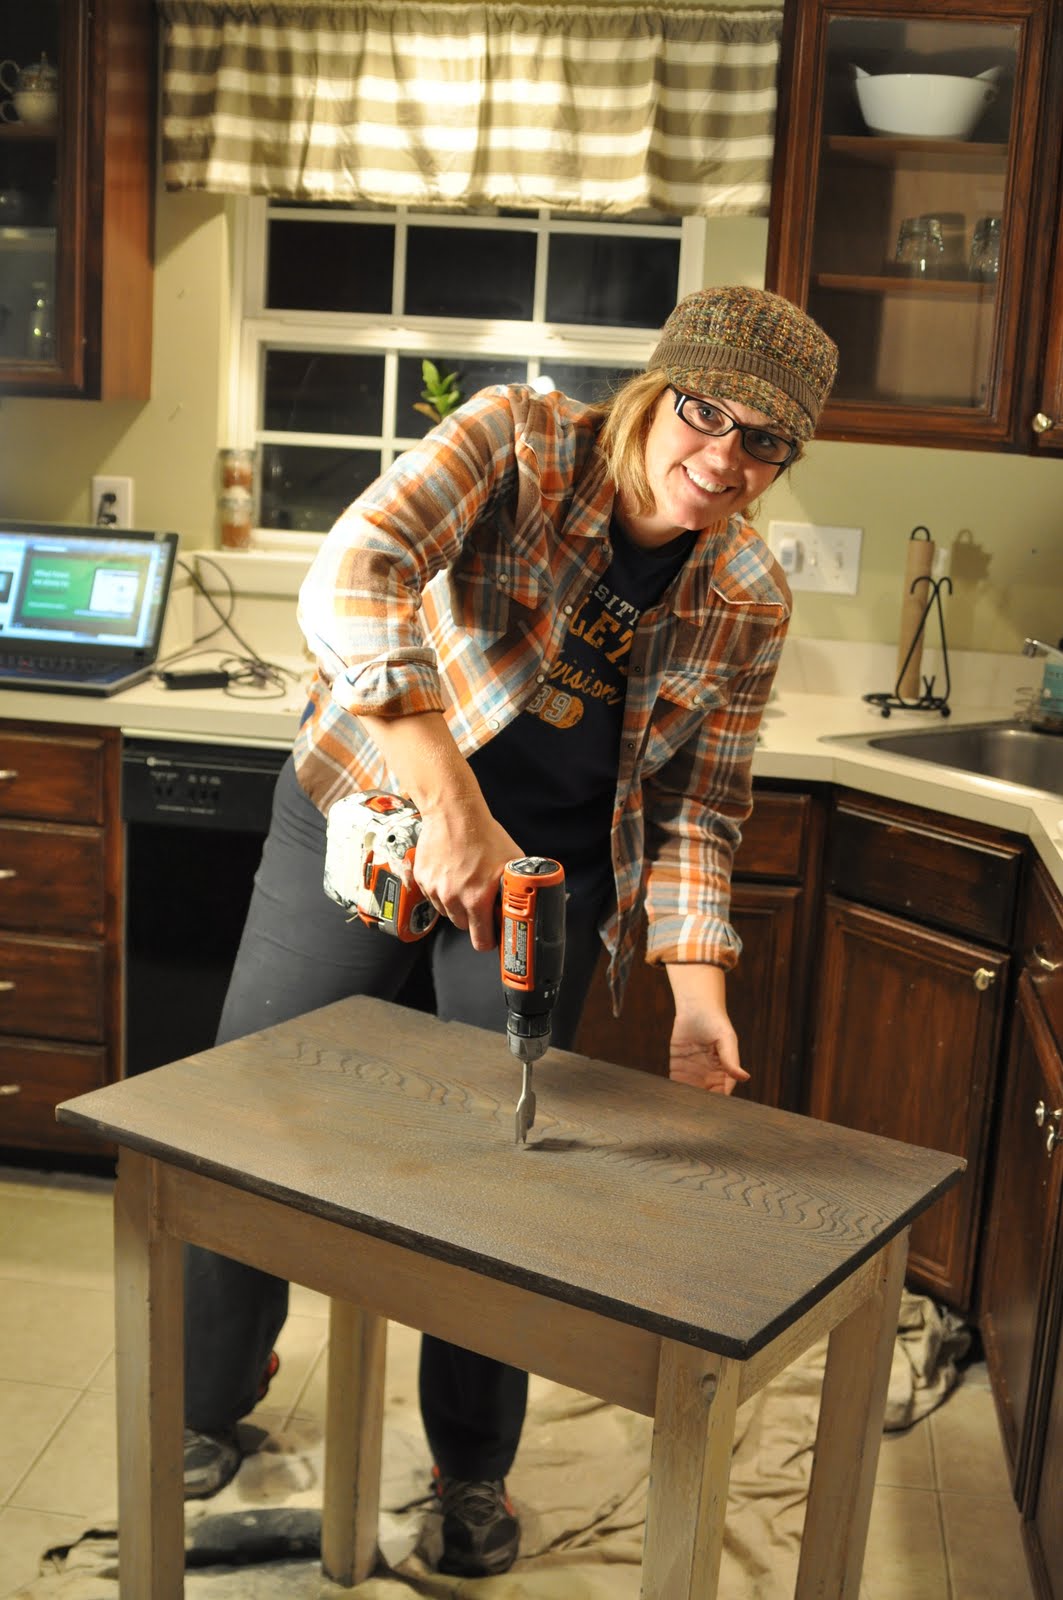
Finally, we broke out the power tools and got ready to make our holes for the new sink and faucet. This is a lot easier than you probably think it is. After measuring the center of the table where the sink would go, we used a drill with a 1 1/2″ circle bit to make a hole for the pipes to run through.
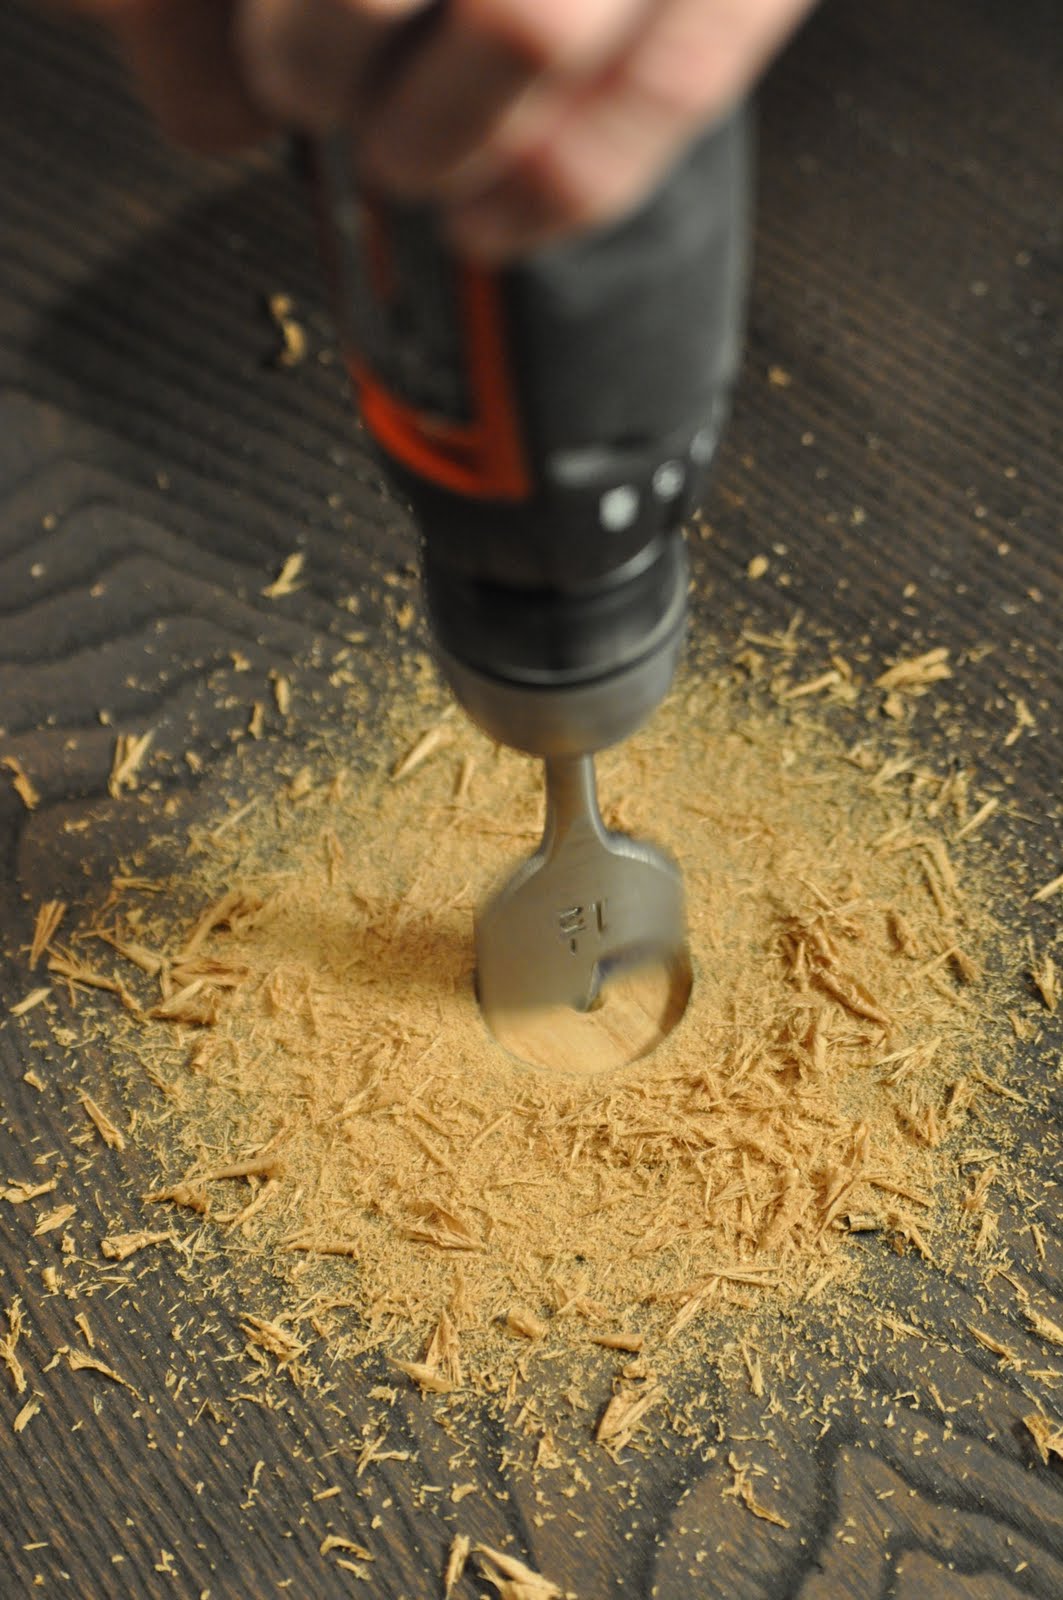
This creates a lot of sawdust which for us was a problem. DESIGN BLOGGER FOUL! We should have drilled the holes FIRST before we stained!
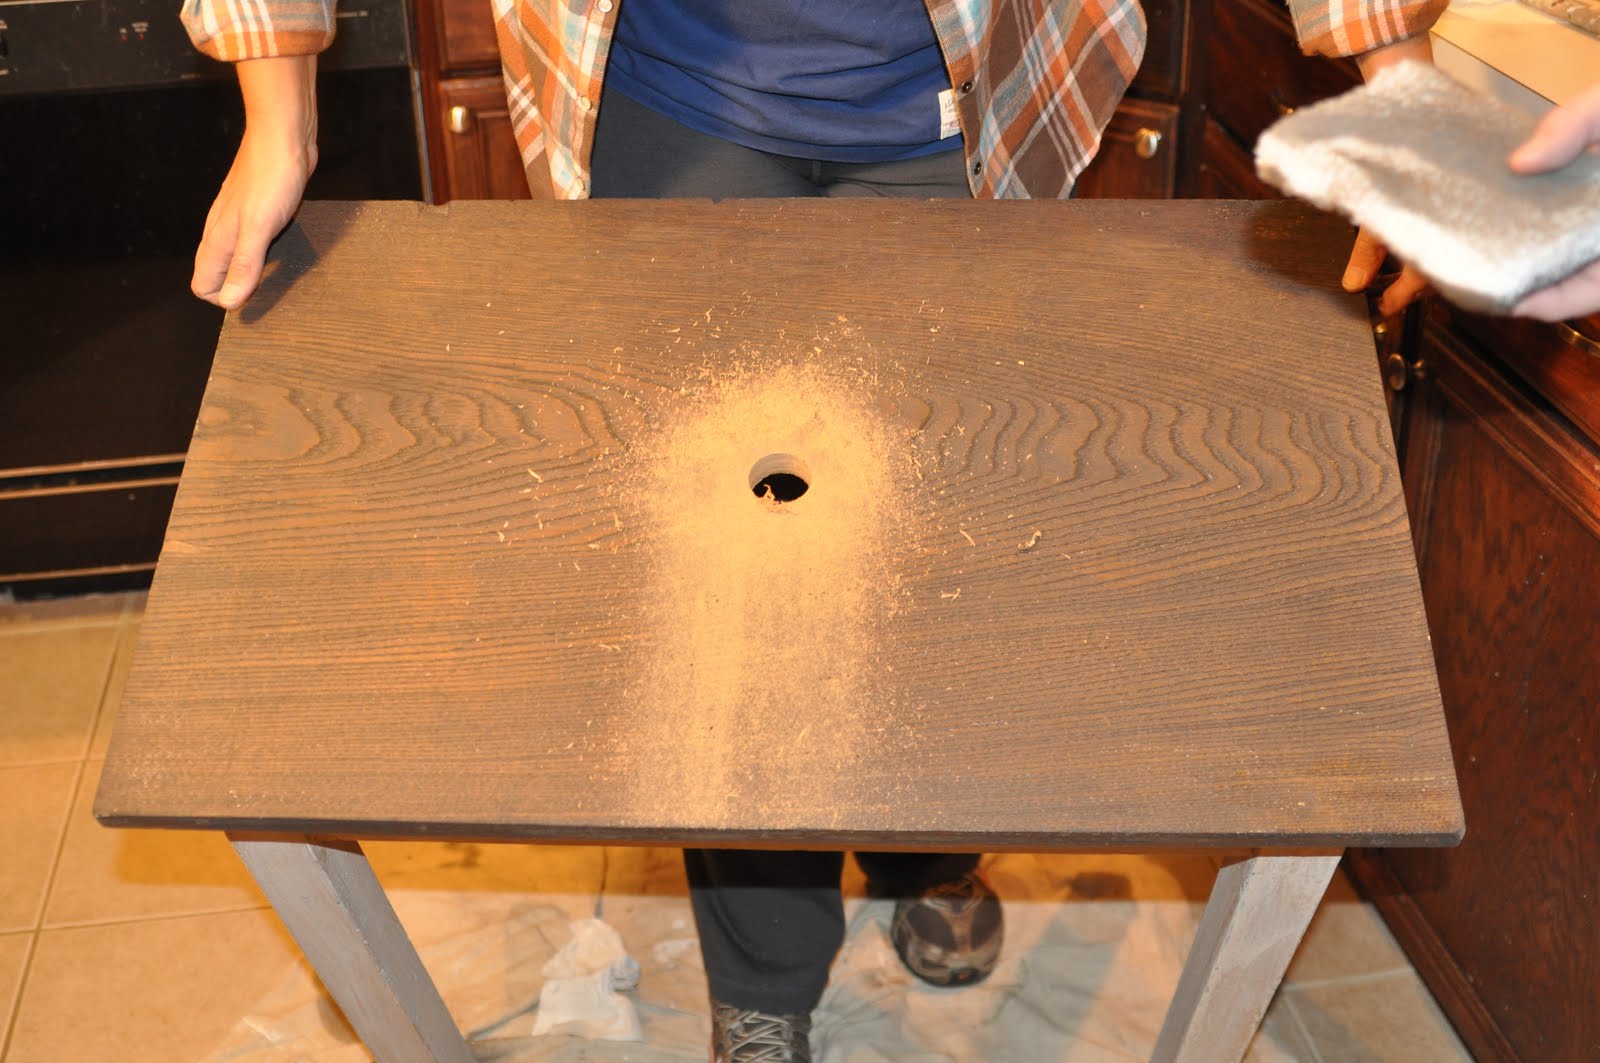
Brushing off the saw dust on stain that hadn’t dried yet gave us a minor heart attack, but we recovered after restained the parts that needed it. Phew! No big deal. (But if you attempt this project, drill first, stain second!)
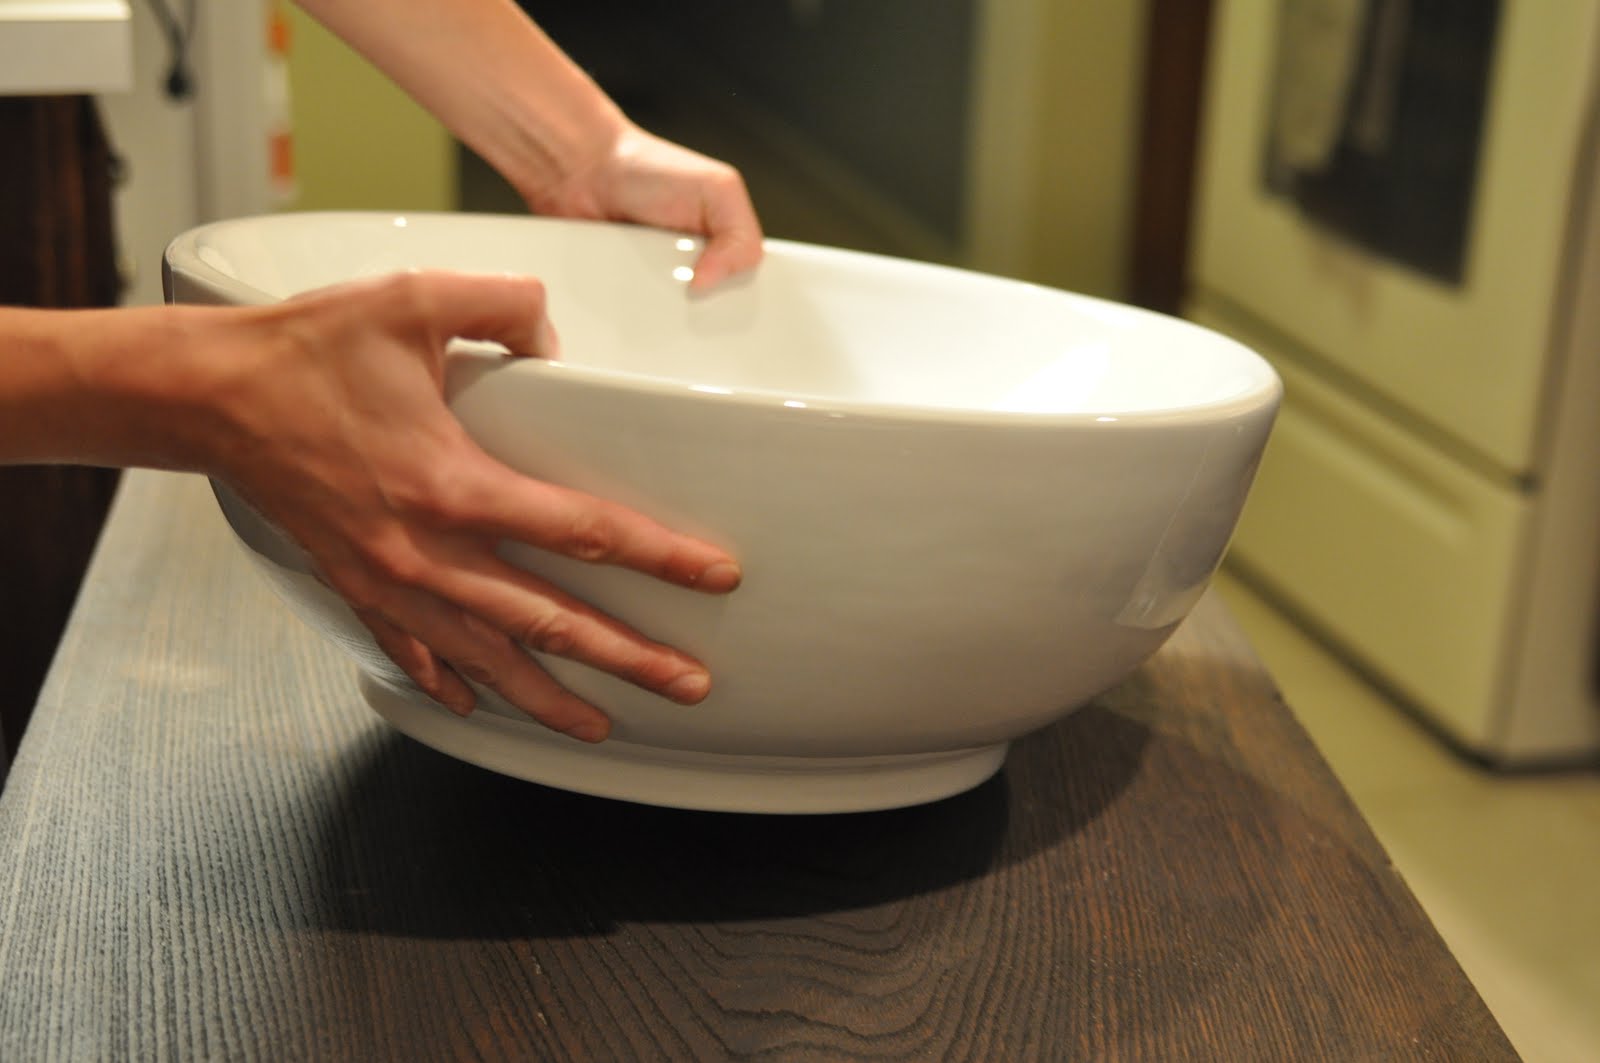
We added the sink that we bought at Lowes so we could determine the placement of the hole for the faucet. We didn’t use any scientific method here; we simply placed the faucet next to the sink and eyeballed where it should go. Remember folks, I don’t claim to be a perfectionist. 🙂
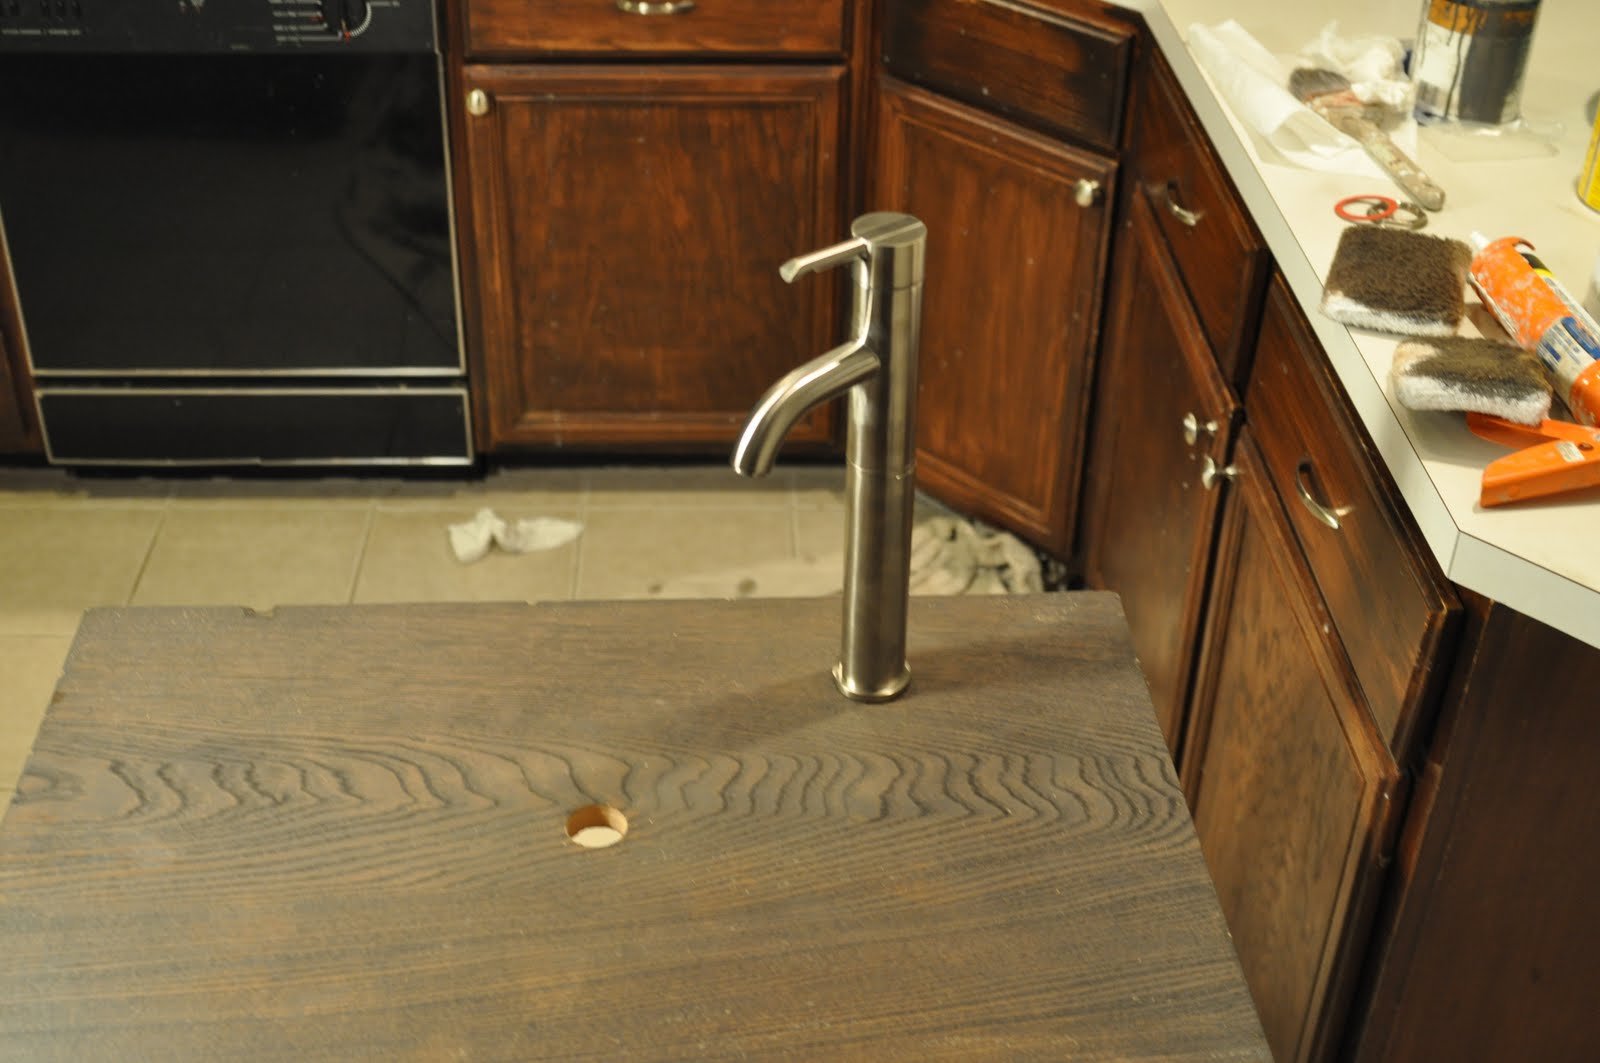
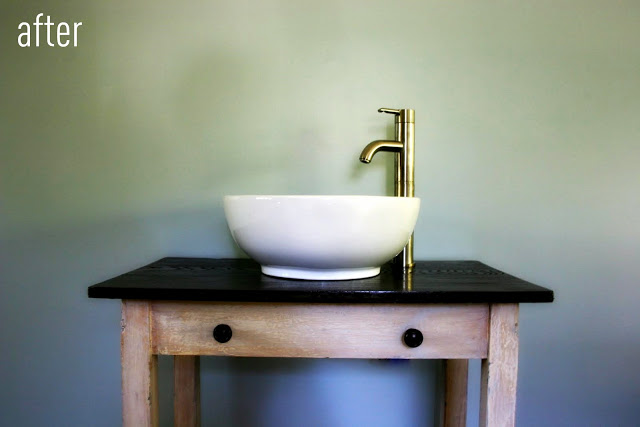
In pictures, the faucet looks kind of goldish, but in reality it has a brushed nickel finish that adds just a touch of modern that is perfect.
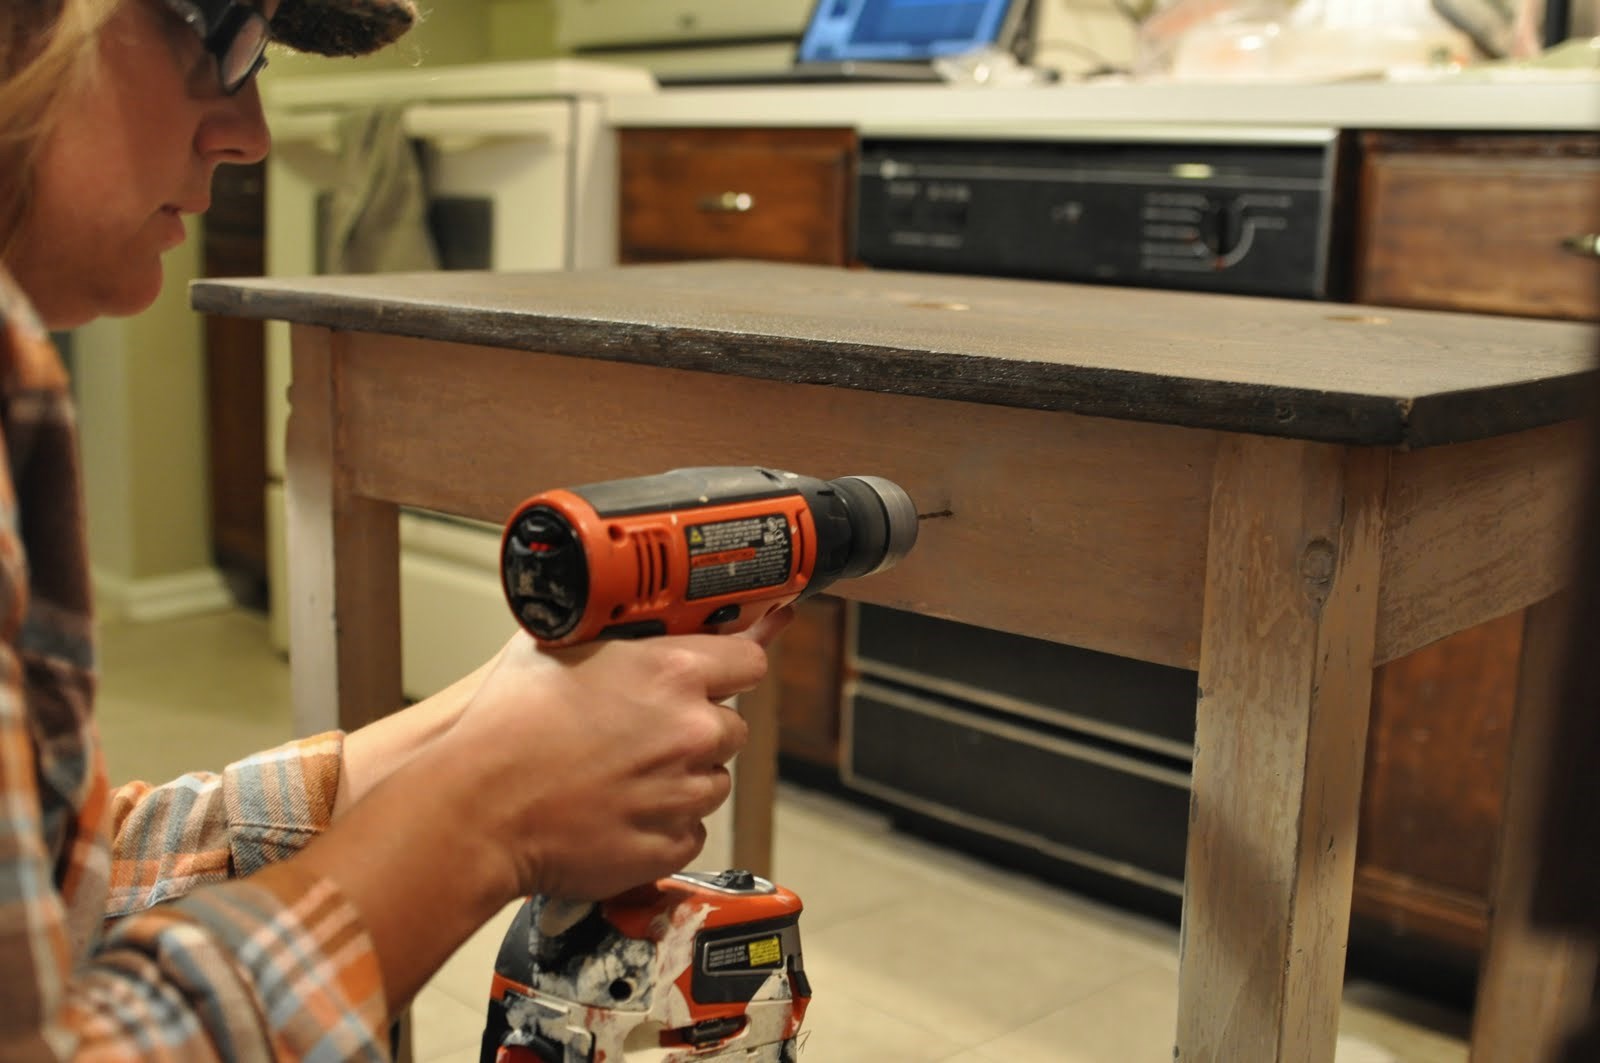
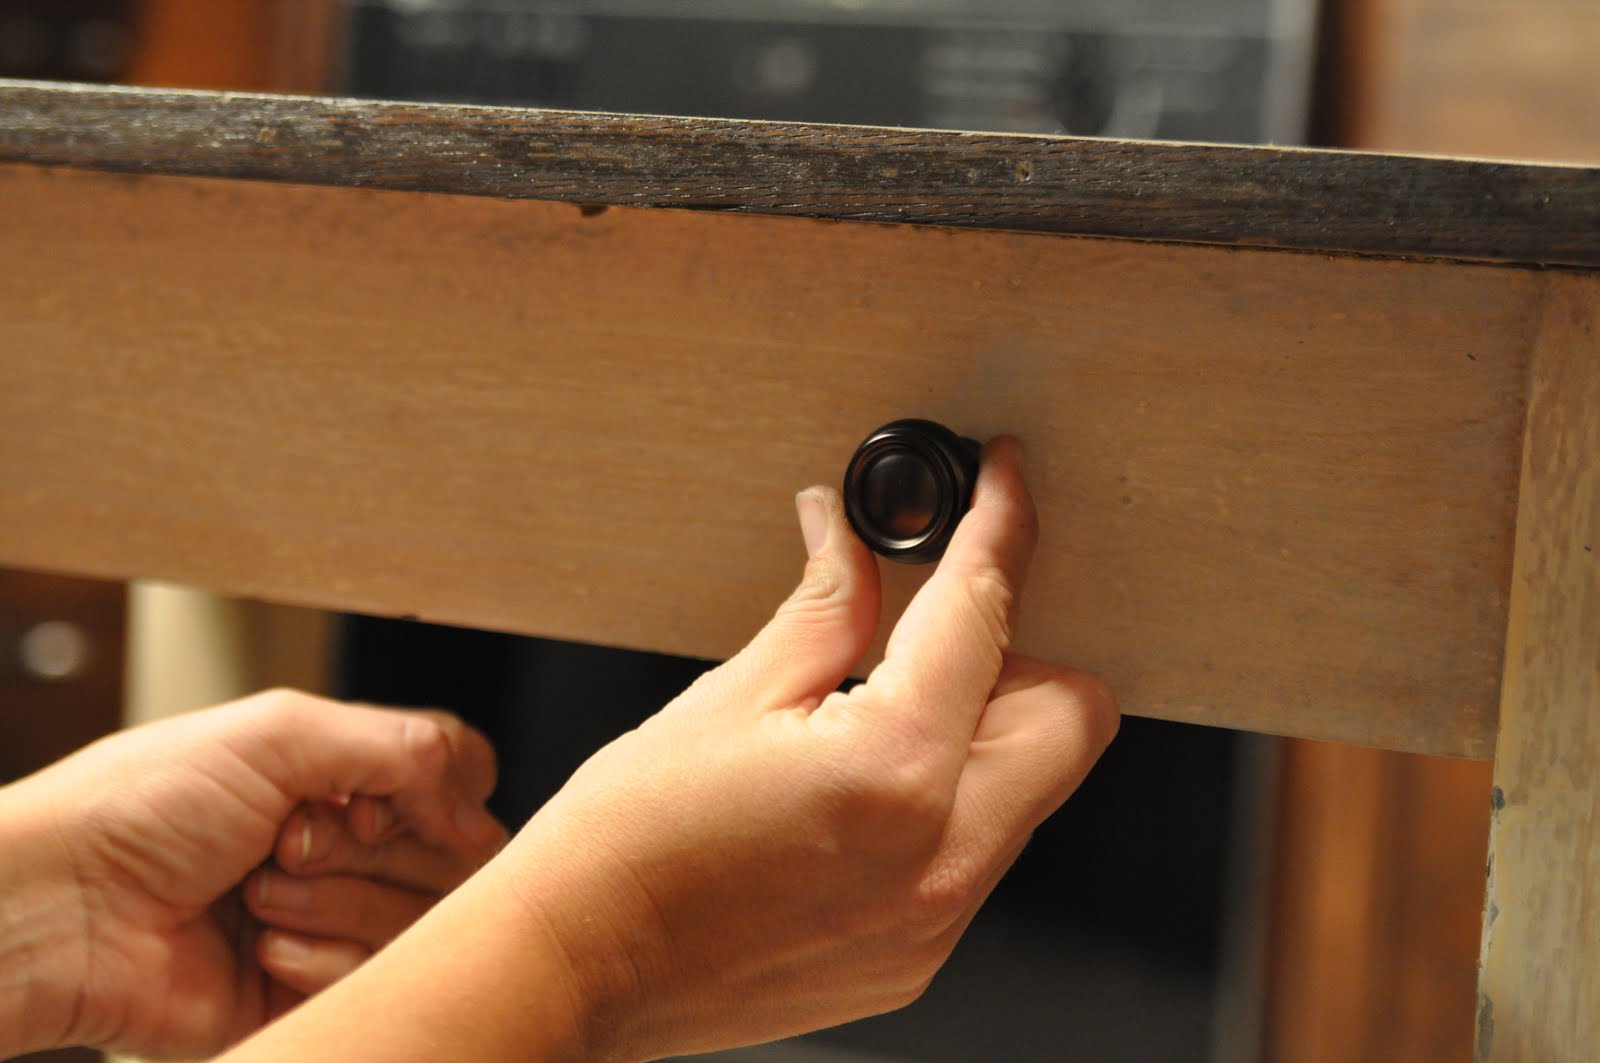
We wanted to add some detailing to the piece to make it more unique, so I picked up some oil-rubbed bronze knobs from Lowe’s. Monica pre-drilled a few holes, and then we screwed them right in. They look so cool and give the affect of a drawer on the front.
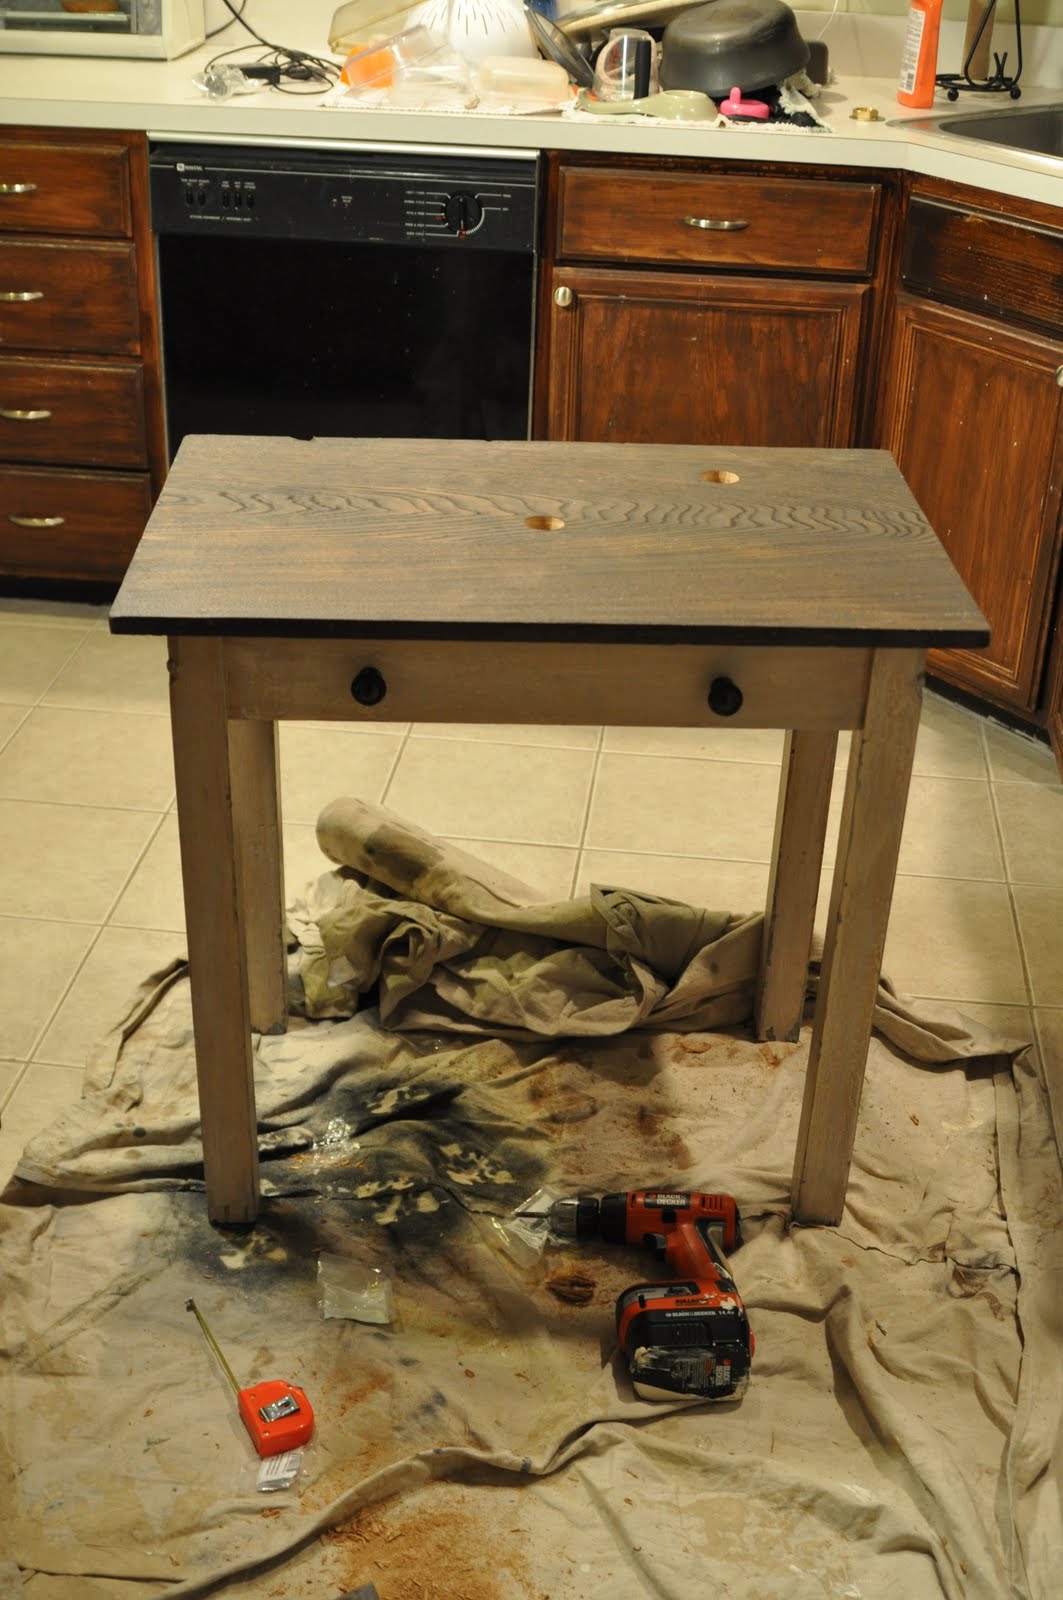
So, at the end of night one, this is how the table looked. Pretty sweet, huh? But the fun part was putting it all together the next day after I (and my mom who wanted to save me some time while I was coaching my tennis team) added 6-7 layers of a water-based polyurethane to the top to prevent water damage that may occur from my very messy wonderful family. We went with a water-based poly because it doesn’t change the color of the wood tones. I’m not 100% sure this will be enough protection, and I’m paranoid about anything marring the surface of this beauty, so I’m going to be doing a bit more research on protecting the wood before we use it. Any suggestions?
So now that all is said and done, this is how my beautiful vanity looks:


I am so in love with this table, and am thrilled to death that it turned out just like I was hoping. It looks amazing in the bathroom, and pictures just don’t do it justice. Next week, I’ll be showing you the final reveal of our hallway bathroom after I add some finishing touches and I can’t wait!
What do you think of my table-turned-vanity?
Have you ever turned a thrift or antique store find into something fabulous?

Now, on to Round 3!

Linking up to: TT & J, Show & Tell Saturday, Tips & Tutorials Tip Me Tuesday, Sundae Scoop, Sunday Showcase


This is amazing! I am so in love, and I totally voted for this project on Sew Dang Cute!
That is one cute vanity! I love how it turned out. Wow!
wow! love the table. Can’t wait for the final reveal!
I second the Wow! Looks fantastic! What a great job 🙂
Wow! I’ve been trying to explain a project like this to my DH and now I can just show him your post.
You did a spectacular job and the results are amazing.
Gorgeous!
I came here from Tip Junkie 🙂
Warmly,
Nicole
This is FANTASTIC!!! It reminds me of this bathroom that I saw on apartment therapy a while ago! http://www.apartmenttherapy.com/chicago/look/look-ikea-gorm-for-storage-and-your-sink-080217
i’m back and agog! you read my mind…i’m prowling for a piece to set up as a vanity–though i’m looking for storage underneath sooo…can you do a post on how to reconfigure a piece with a drawer in it? please? soon?
such fun that you have each other to drill with!
amy
Love it! Please post this, and anything else you may have,in my link party at
http://diycraftstomake.blogspot.com/
Thanks,
Peggy
love it ladies! i’m featuring it tomorrow on my blog:
http://beachhouseinthecity.blogspot.com
i also loved that you showed your messy workspace, i can relate! 🙂
Beautiful vanity! I love the idea of using a table instead of a closed cabinet.
I love this! The colors together turned out amazing and I wouldn’t have imagined to use to different colors on the top.
Beautiful great job! : )
Hi friends,
These double sink tables are made of the best quality raw materials like steels and mild steels which make them very durable in nature. They are anti corrosive in texture with fine and polished finish. Thanks a lot….
Here is a great product for your top. It is called Waterloc. I used it on a kitchen butcher block counter. So far so good. The water just beads up and it looks marvelous. Great product! Check it out online.
Deborah
This is really great. I love your how to post. Thanks!