
*I AM PROUD TO BE A 3M-SPONSORED BLOGGER, AND AS PART OF MY RESPONSIBILITIES, I GET THE OPPORTUNITY TO EVALUATE 3M PRODUCTS. OPINIONS ARE MY OWN AND ADDITIONAL PRODUCTS USED IN THE PROJECT WERE SELECTED BY ME. THANKS FOR SUPPORTING THE BRANDS THAT MAKE EC2 POSSIBLE! *
Hey guys! I’ve teamed up with Command™ Brand to bring you some fun DIY projects featuring their line of home and organization products- we’re focusing on those hard-to-tackle small spaces, and how to bring some serious style even when space is at a premium. Got a blank wall and nothing to do with it? This simple DIY project is a great way to add some sophisticated home décor to even the smallest of spaces!
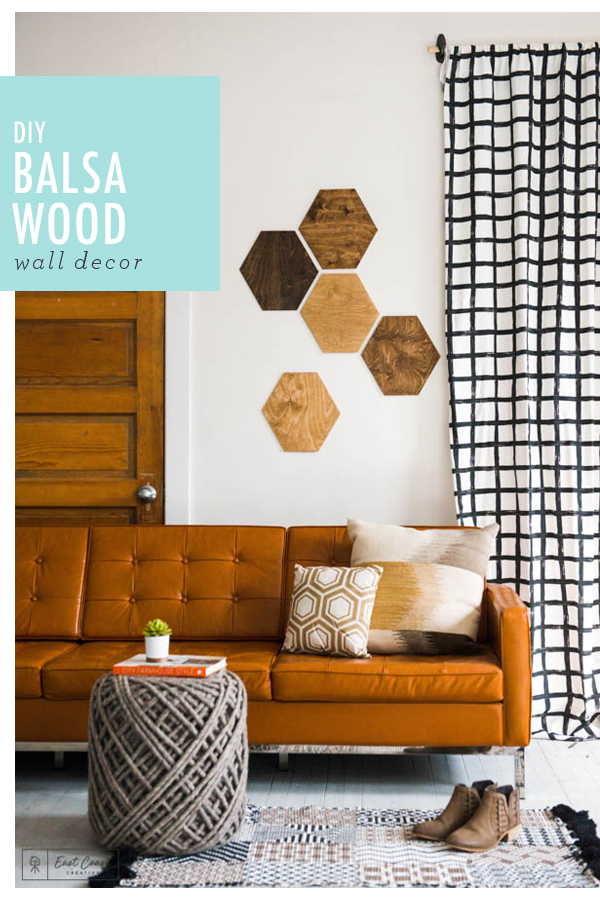
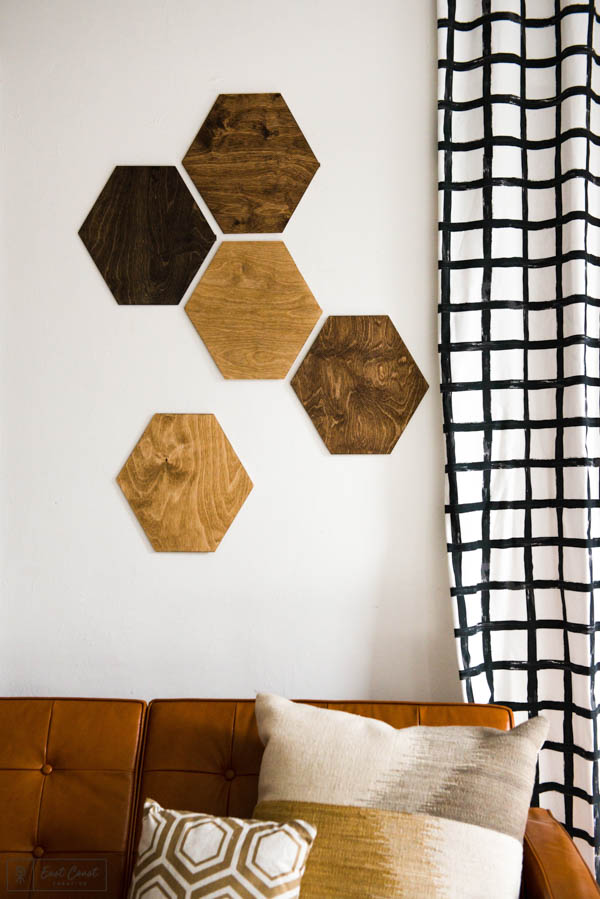
Check out this simple Balsa wood wall art! It’s the perfect accent piece to any space, and the best part is that it’s super easy and cheap to make!
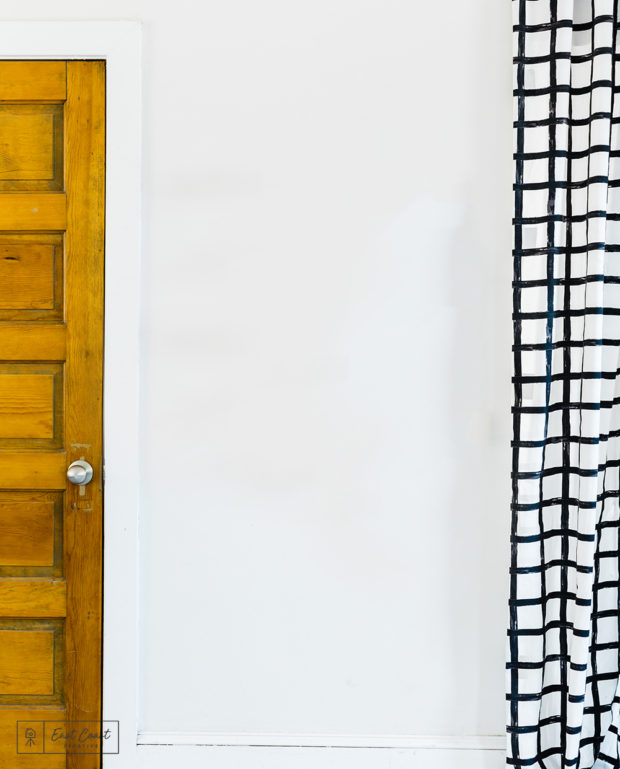
Before– just a plain ol’ wall begging for some attention!
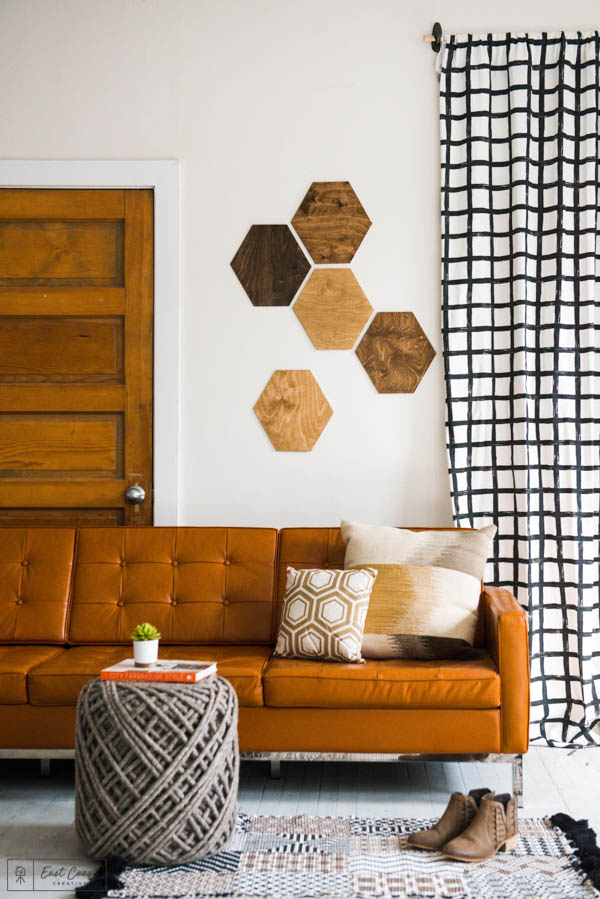
After– sooo much better, don’t you think?!
Alright, here’s what you’ll need to get the same look…

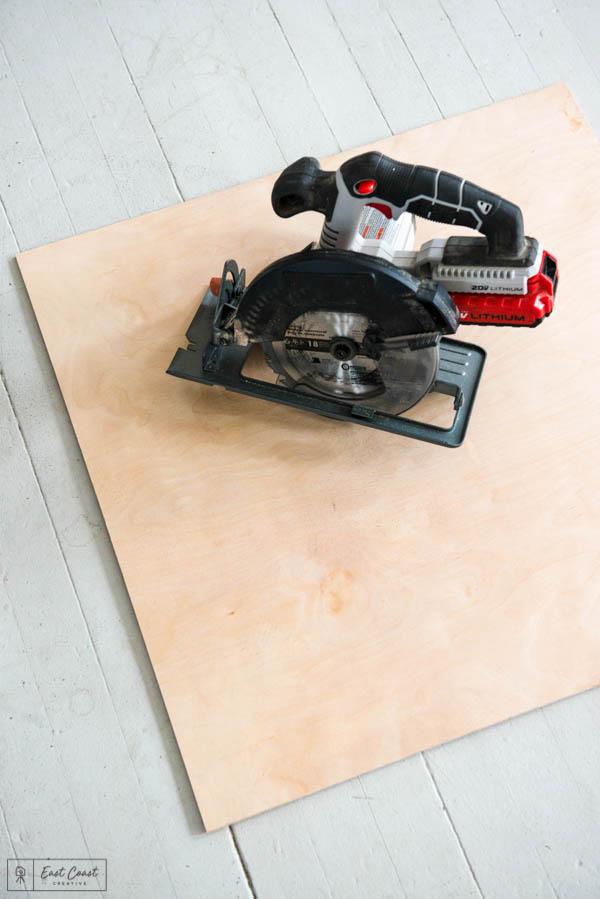
Materials: Command™ Large Picture Hanging Strips | Balsa wood sheets | Polyurethane | Various wood stains | Foam brush or old rags (for applying stain) | Circular Saw
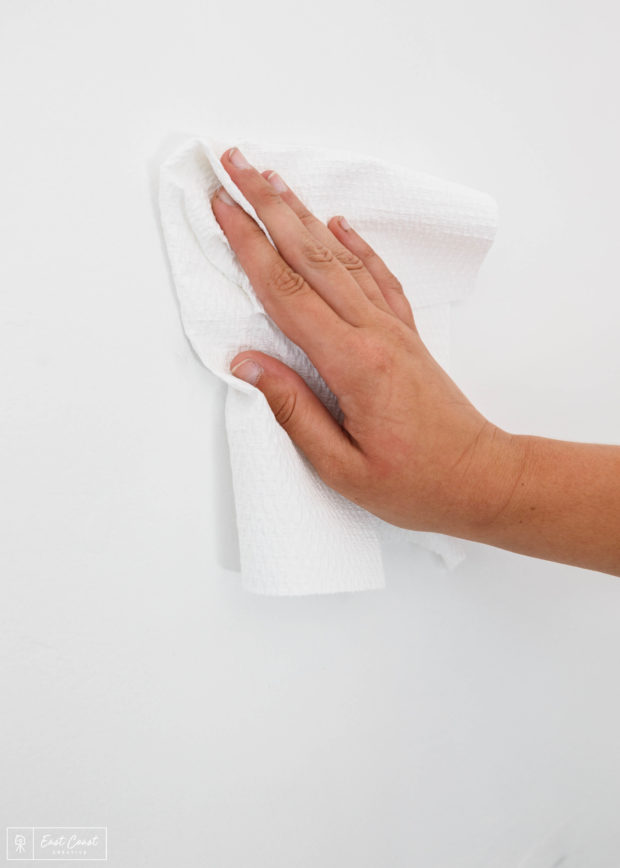
Step 1: Decide what pattern or design you’re going to make on your wall. It helps to sketch it out on some paper, or even very lightly on the wall. Before you apply any Command™ Products to the wall, make sure to clean the wall with rubbing alcohol first.
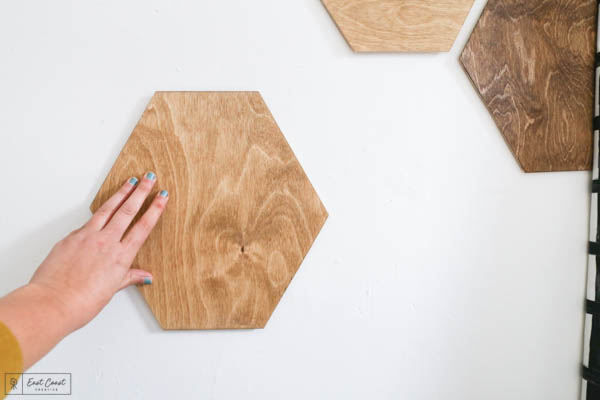
Step 2: Once you have your design figured out, it’s time to cut and stain the pieces of Balsa wood. You can either opt for a trendy, modern approach, and stain a diagonal section of each piece of wood, or stain the whole piece– it’s really up to you!
Using a portable circular saw, we cut out hexagon shapes from our balsa wood sheets, then applied the stain after each piece was cut out and lightly sanded. If you’re not so handy with the power tools, you can buy a lighter weight Balsa sheet that you can actually cut with a utility knife at any craft store.
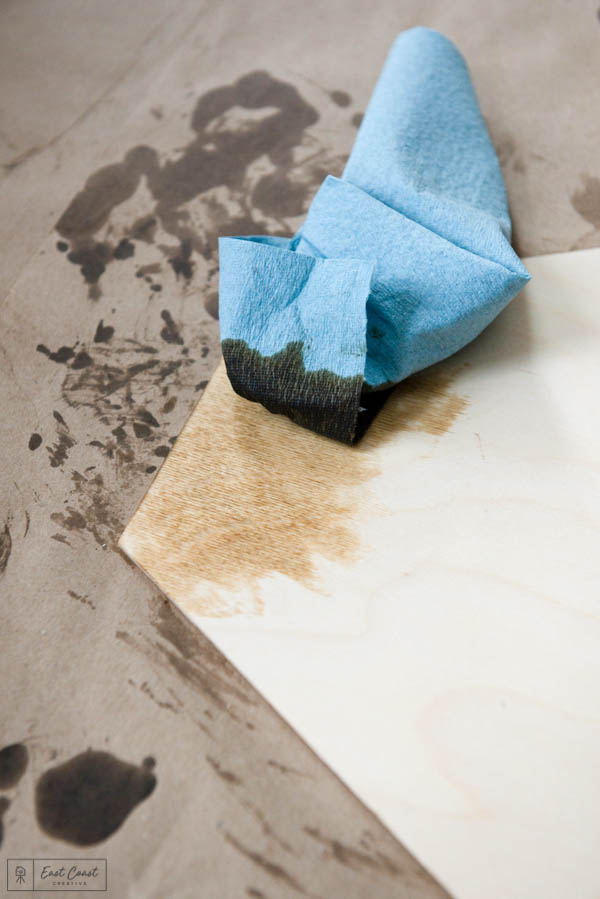
Stain is different than paint– once you initially apply it to your surface, you’ll want to wipe off the excess stain so that it dries properly. Once each coat dries, you can apply and wipe off another for a more rich color. We used a variety of stain colors to create an almost ‘ombre’ effect on the wall, and the wood tones are perfect for fall!
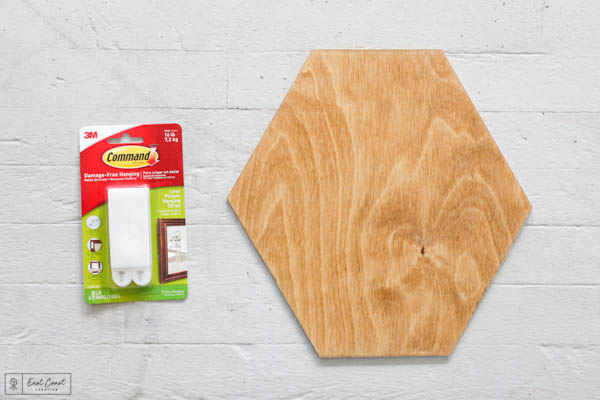
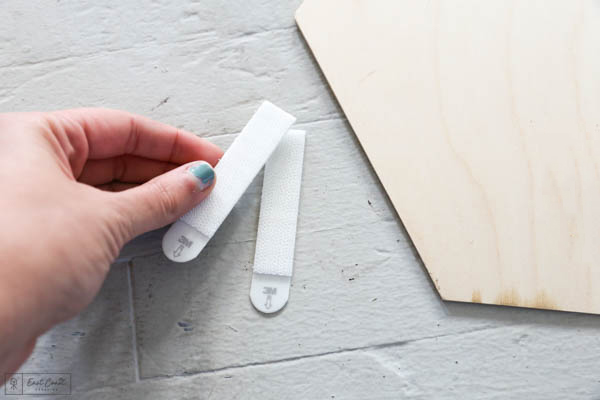
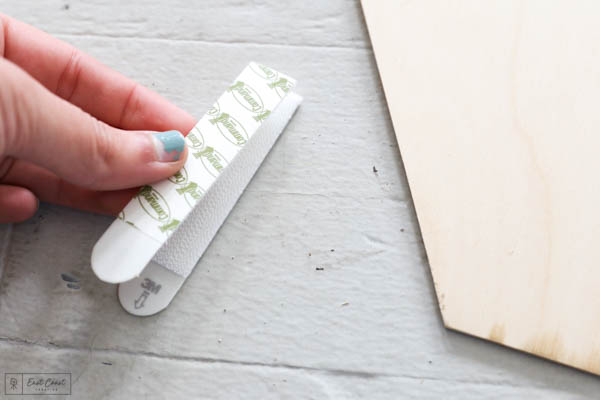
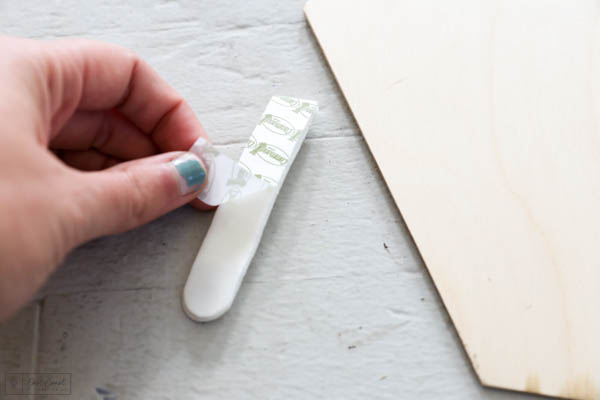
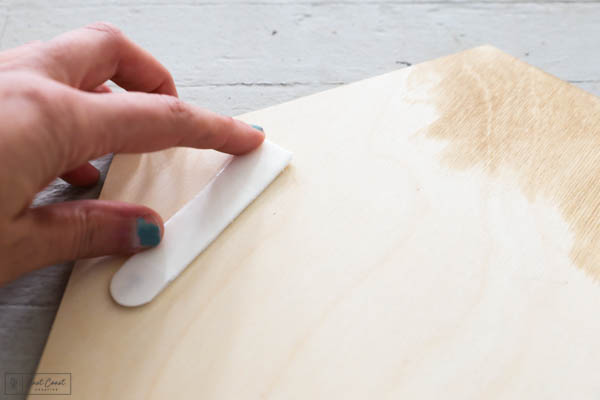
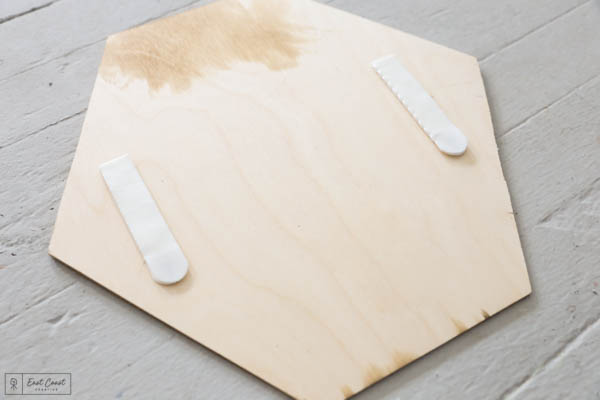
Step 3: Once the stain/paint has dried, use polyurethane to coat the front and back to make sure the wood is a finished surface. Once completely dry, follow the instructions on the Command™ Packaging to apply the Command™ Strips to the backs of each Balsa piece. Start by separating and clicking the two strips together, then follow the package instructions for pressing the strips to the wood and then the wall. Be sure to place your strips on the right and left side of the wood– just like you would a frame.
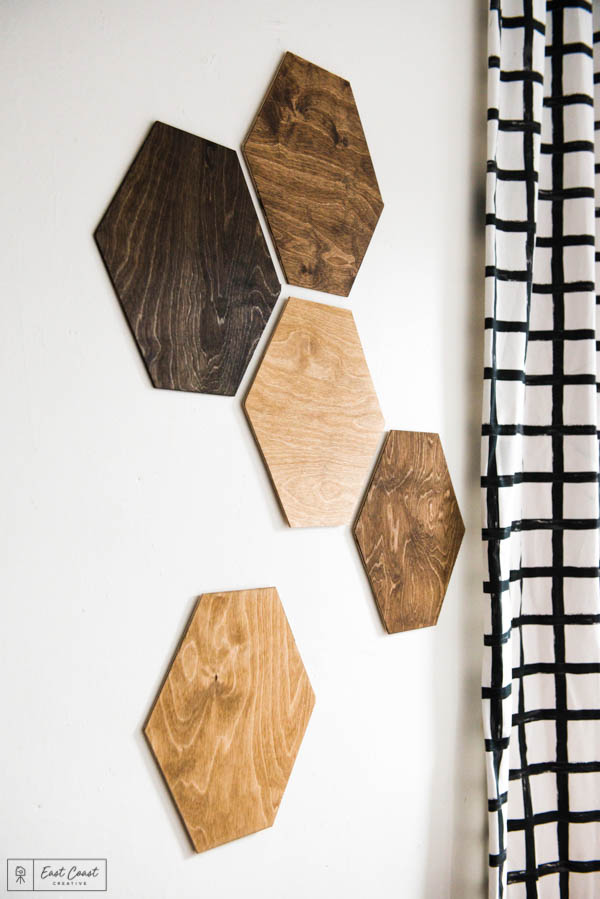
Would you look at that! Custom wall art that would otherwise cost you a pretty penny at a home decor store, but actually costs less than $30 total!
These Command™ Picture Hanging Strips are great for re-positioning your wall art because they’re easily removable and click right back into place– a home design win in my book!
How cute and simple is this project? It’s a great look for your house, apartment or even dorm room, and it can stay up throughout any season!
Stay tuned for more Command™ Brand DIY projects coming soon, and in the meantime be sure to check them out on Instagram for the latest products and projects!
-Mon


This wood wall art looks awesome!! I’m definitely going to make it for my place too. Thanks for sharing it!