
Hey Guys! This post is part of The Weekender Makeover Series. A DIY Makeover web series in partnership with Lowe’s Home Improvement. You can watch Season 1 + 2 on your streaming devices or by subscribing to Lowe’s YouTube channel.

Meet Laura + Danny Christiansen… and their ridiculously cute little boys.
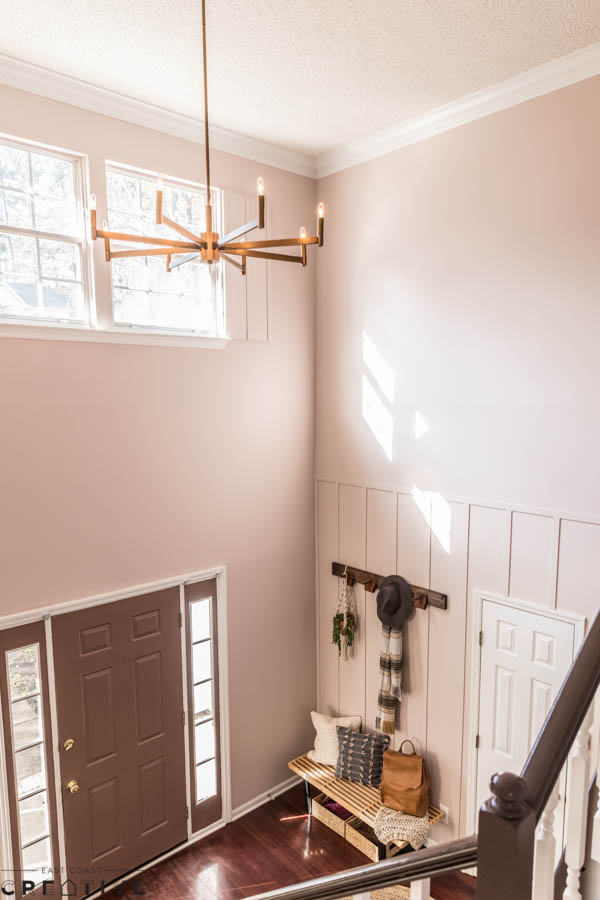
Laura + Danny are the new kids on the block – they recently moved into a well established neighborhood just outside of Charlotte. Their house is the definition of neutral, which is cool, because it will be pretty easy for them to infuse their own style into it, but one space was massively intimidating to them… Their 2 story foyer. Foyers can have all kinds of awkward angles, closets, staircases. and high ceilings. Lucky for the Christiansens theirs had all of the above!

And that’s where I came in– literally, I came into the foyer. It was plain, bare and begging for a little TLC. For such a young, modern couple, the 80’s vibe definitely didn’t fit them, and had to go. Laura + Danny’s style is a equal parts California cool and cozy homemaker, and I knew just the cure for this sad lil’ space…
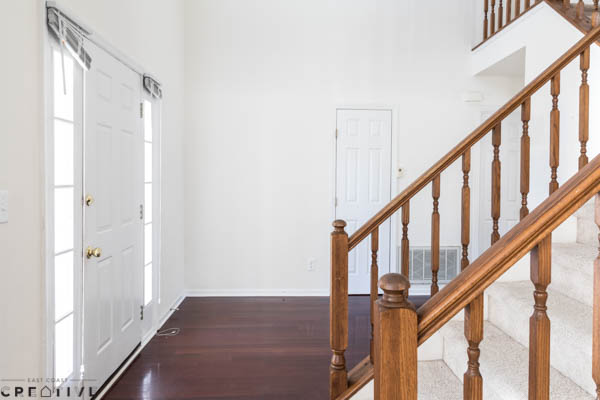
Despite the daunting high ceilings, multi-tier staircase and 80’s chandelier staring me in the face, I was ready to get this Weekender makeover started, and I knew Laura + Danny were too. Although a foyer isn’t where most families spend a lot of their time, it’s a space that makes a whole lot of impact, good or bad, and this was going to be a game changer for the new family on the block.

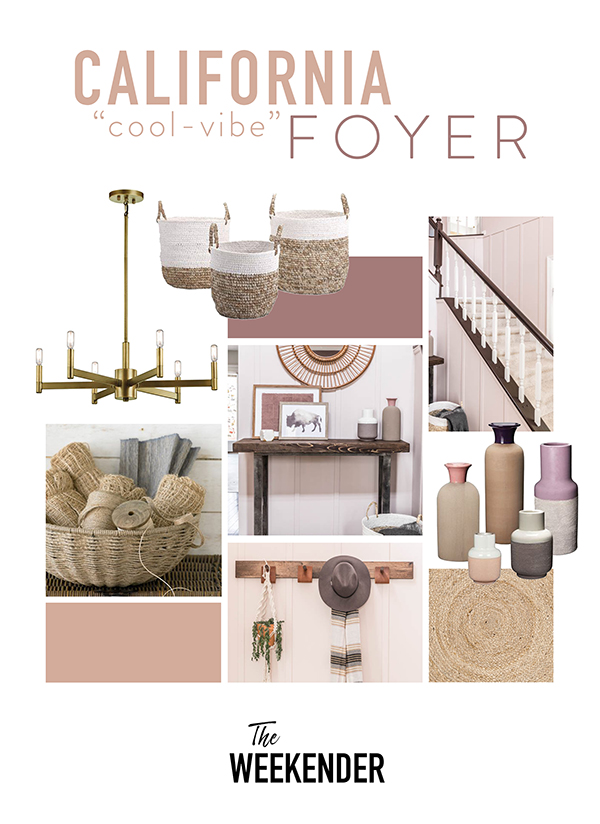
Laura + Danny both wanted a cozy, homey feeling entry with a bit of a natural California feel to it– that meant muted colors, mixed textures, and my specialty, a bit of surprise! Since foyers typically don’t have a lot of floor space, we needed to tackle the walls and really utilize our vertical space.

After two days of hard work, some doubt about my paint color choices, and terrifying heights (aka this will be my last 2 story foyer ever!) this is what we came up with!
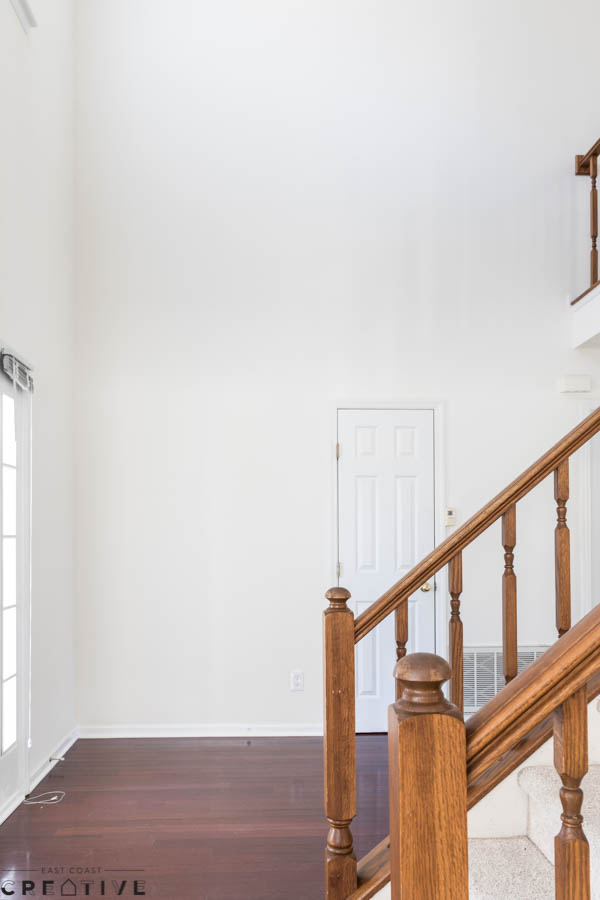
Before
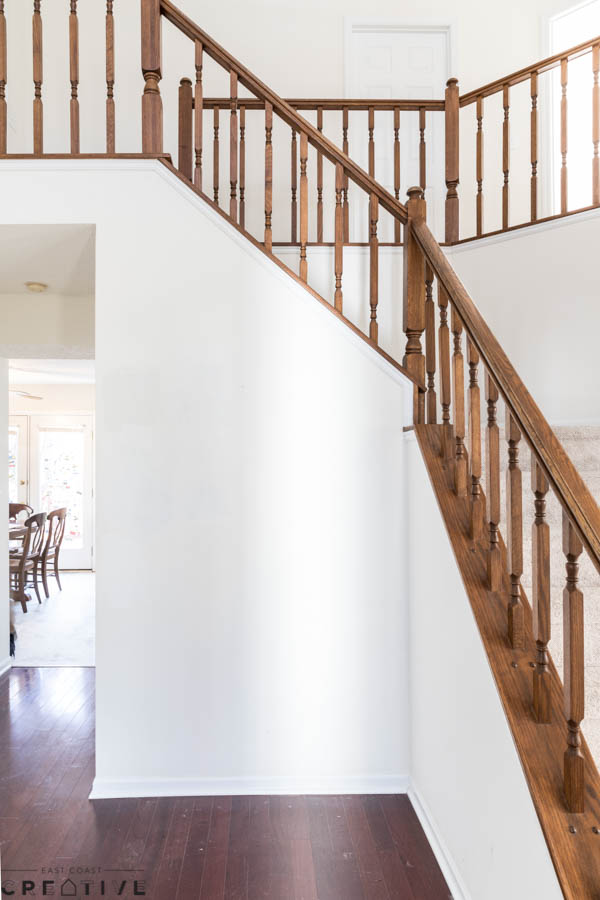
Before
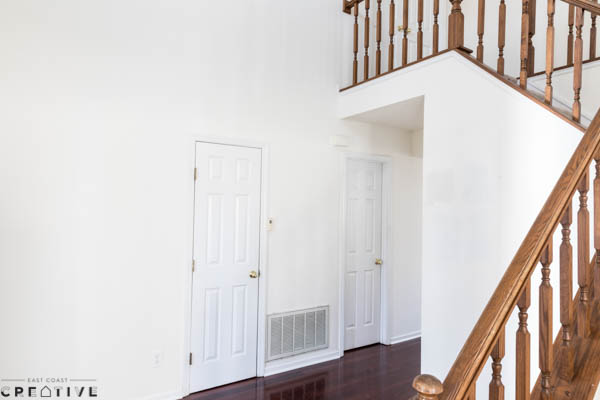
Before

Before
We took on this could be intimidating project, by focusing on five main projects. Here’s what we did over the weekend.
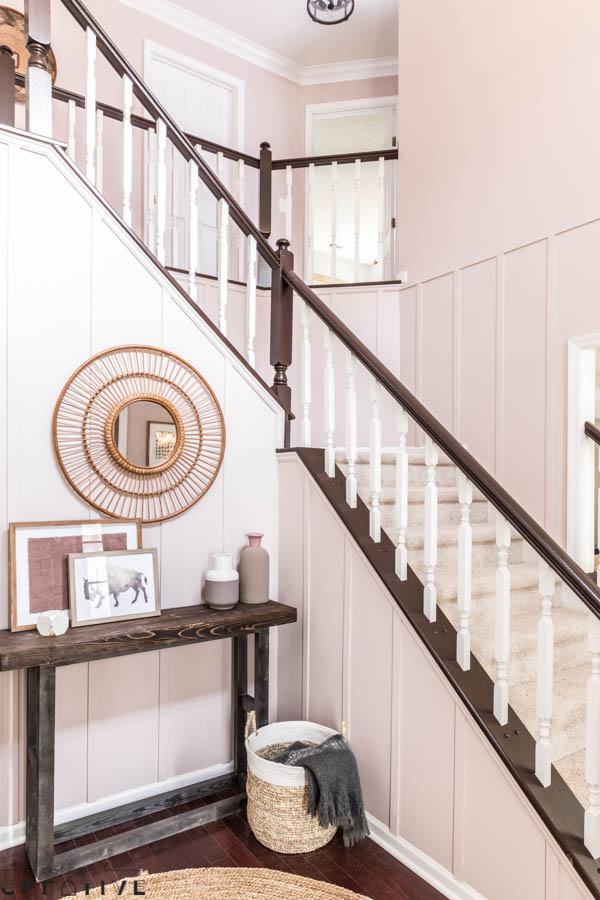
I wanted to give this space a more custom feel and knew molding was the way to go. Laura + Danny wanted a casual, laid back feel to their home, so I decided against anything overly ornate. Board and Batten was my winning choice.
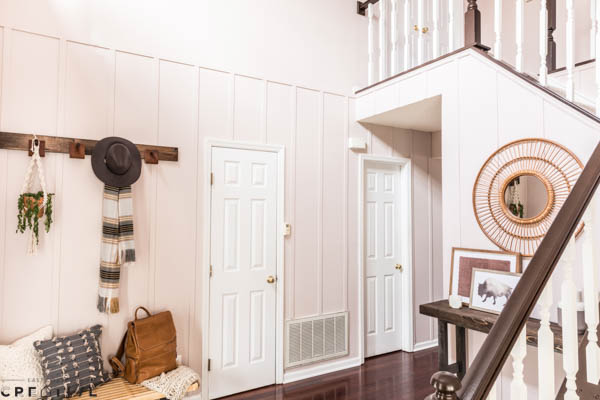
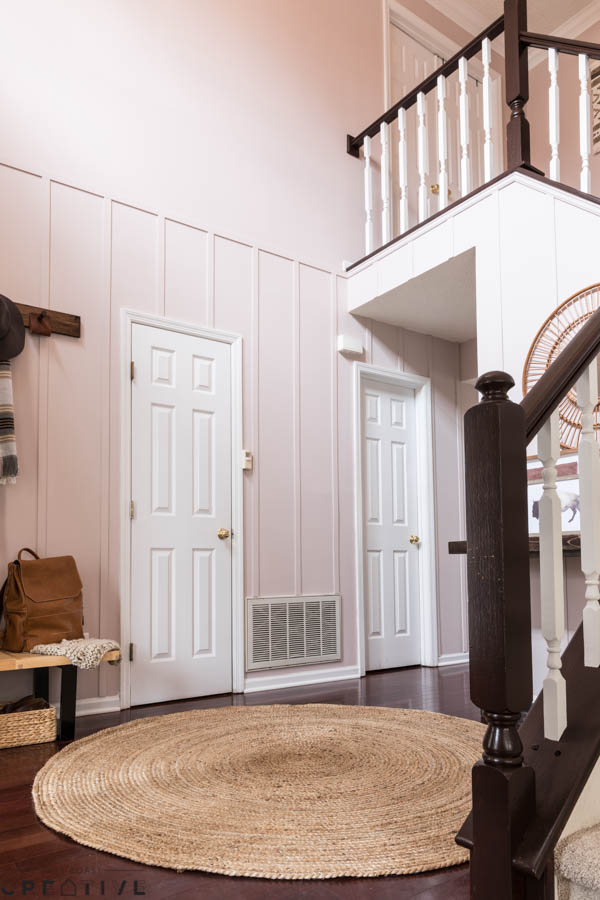
We used 8-foot strips of Square Lattice Moulding to extend our board and batten pattern just to the floor level of the second story. We could have gone all the way to the ceiling, but I didn’t for a few reasons A- I wanted to draw the eye up, but still make the space feel cozy and inviting. Going halfway achieved this. B- It saves where it matters most – we get all the impact with half the time and money. C- I really hate heights and this way I didn’t have to be up on a ladder or scaffolding for each piece!
To install the board and batten we used wood glue on the back of each piece and attached it using the Porter-Cable Cordless Nailer. We spaced our molding about 18 inches apart. There’s no rule for spacing, you can hold a few pieces up on your wall and decide what look you like the best.

This could very well be my favorite project for a long, long time. It is easy, inexpensive, and totally chic!
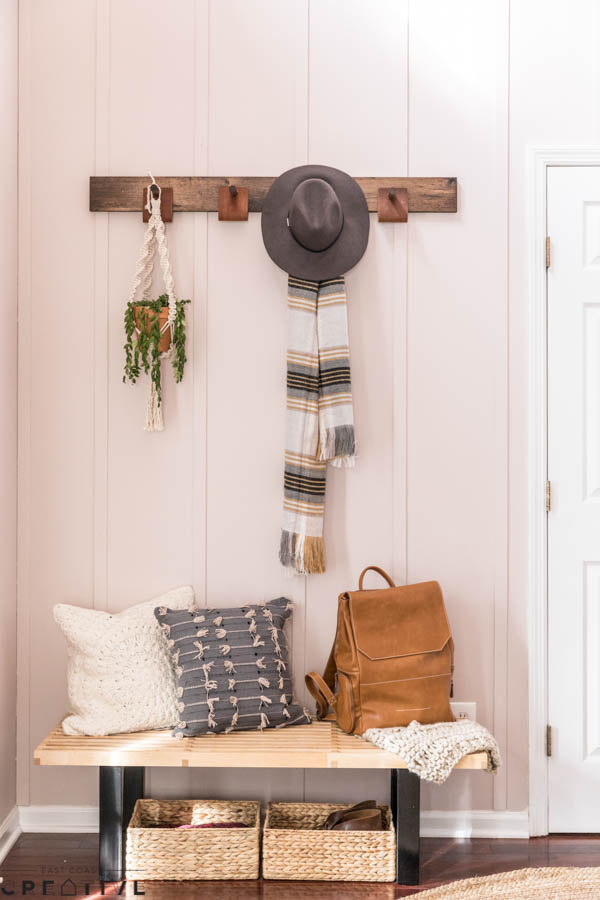
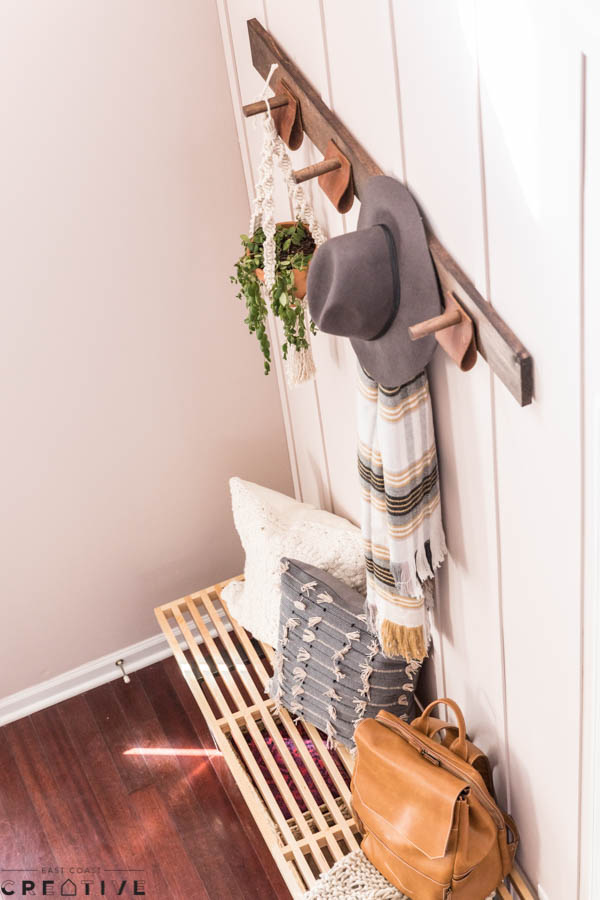
The full tutorial for this project is over on Lowe’s Weekender Site so check it out there. The leather takes this coat rack up some serious levels style wise. I think it looks like something you’d see at Anthro, but nope, we made it, and it was easy peasy!

We decided to build this piece from scratch for two main reasons… size and budget, both of which were pretty small!
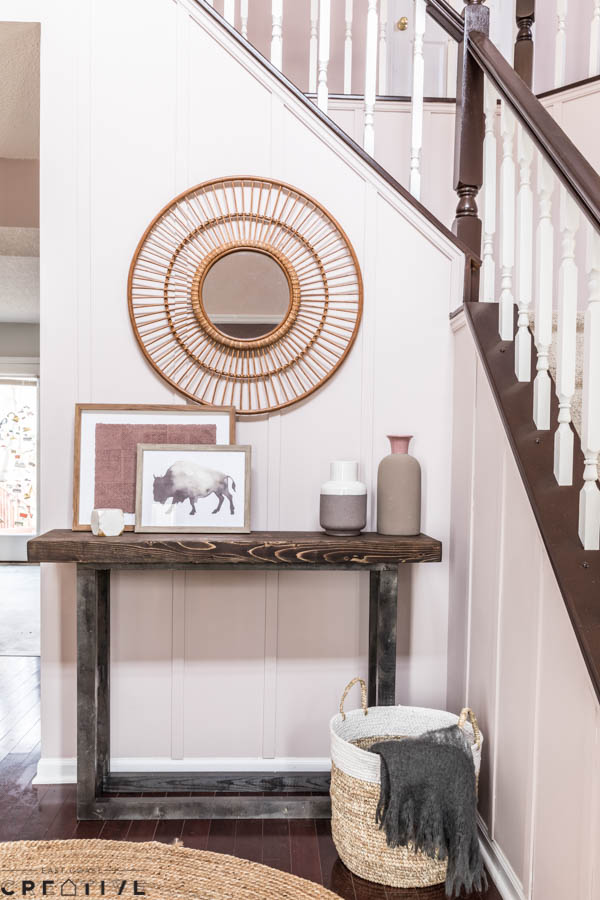
I knew what style piece I wanted for the foyer (a PB knock off), and I also knew that their entry wall was narrower than most standard console tables so we had to get our build on. This is a beginner level DIY build and the key to making the base sturdy and professional looking is all in the Kreg Pocket Hole Jig – it’s an inexpensive, must have tool for anyone wanting to make their own furniture.
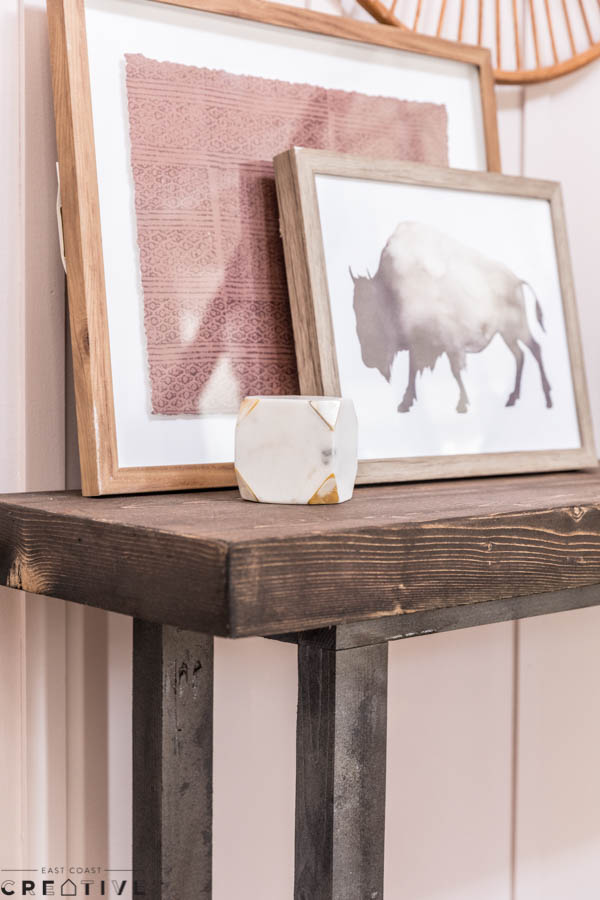
We stained the wood top and used a combination of black and metallic spray paints for the base, giving it a faux metal look. Total cost for this console table was under $100 – that’s a major steal!

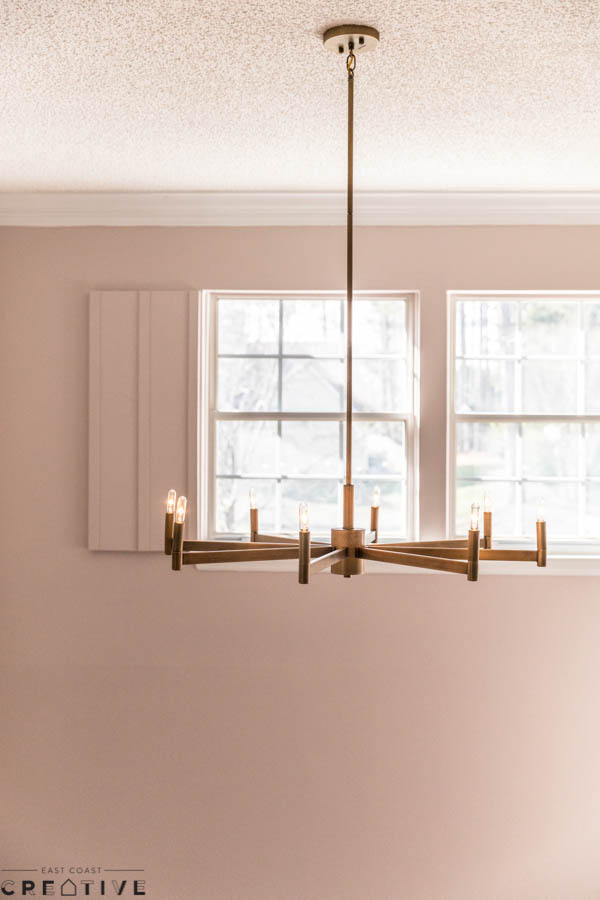
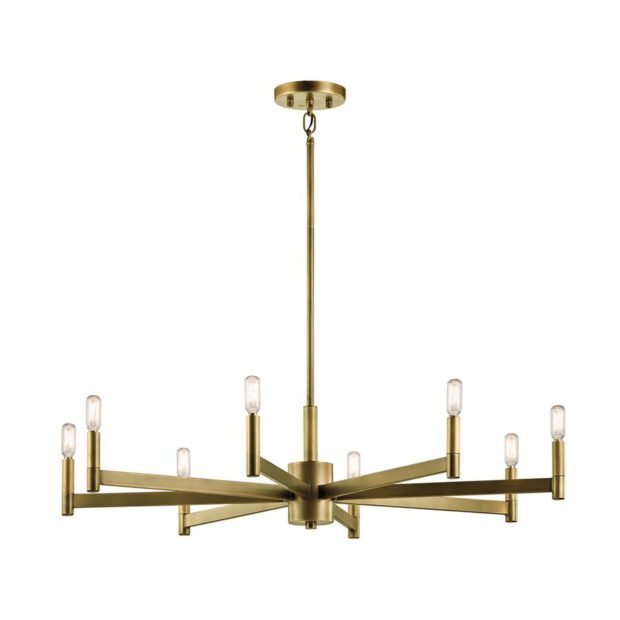
AKA the project that almost gave me a legit panic attack, but in the end was worth it, because seriously that light is SO.FREAKING.LIT.
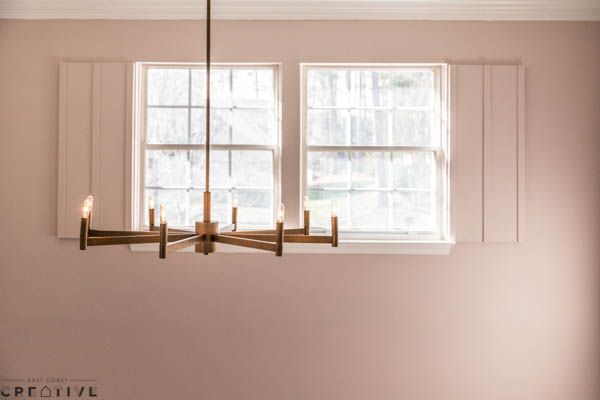
This Kitchler Natural Brass Industrial Chandelier is sleek, contemporary and timeless. The brushed gold finish is so good. If you haven’t watched this episode of The Weekender yet, you’ll want to just to see how stinking awkward I was while we installed this light… I swear we were 1000 feet off the ground!

Paint was the most impactful project in this space and it should have been, because we painted ALL the THINGS!
Here’s a list of what we painted what…
Walls and Board + Batten – HGTV Home by Sherwin Williams White Truffle
Staircase Banister – HGTV Home by Sherwin Williams Flat Steppe
Spindles – HGTV Home by Sherwin Williams Alabaster
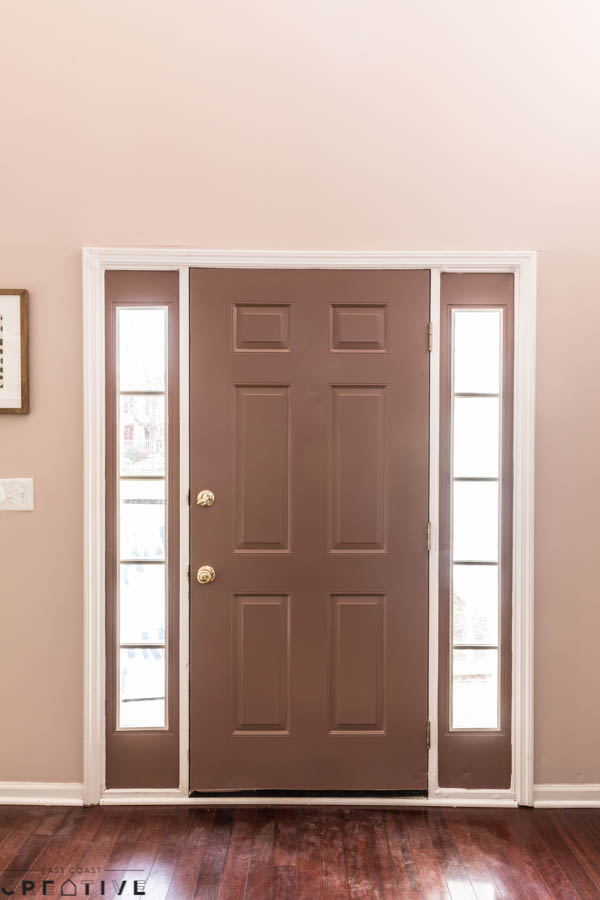
Front Door – HGTV Home by Sherwin Williams Fiery Hue
 5 projects transform the space, but there are lots of pieces that play very important supporting roles in the makeover. Use the slider below to see all the products. You can click on any one to be brought to the source.
[print_responsive_thumbnail_slider id=”19″]
A few favorites from this room…
1. Kichler Natural Brass Industrial Candle Chandelier
2. Worldwide Raffia Woven Basket

3. Fine Mod Imports Wood Entryway Bench

4. Anji Mountain Kerala Round Indoor Area Rug

While challenging and slightly terrifying (remember the heights) this Weekender makeover was a huge success. Danny + Laura loved the finished product and said they can’t wait for their neighbors to stop by and see the changes! Although a foyer might seem like a big undertaking, it’s totally worth the effort to make an awesome first impression that reflects you or your family just right!
-Mon
Don’t miss a single Weekender Episode of Season 2- You can watch all Season 1 + 2 Episodes right HERE!


The comments +