
There are many reasons I don’t wish I was back in college again… homework, all-nighters, college loans, writing a senior thesis etc. BUT, the shift in dorm decor could almost convince me to go back in time! College dorm decor has come such a long way and even though I’m not in college anymore, I wanted to pretend just for a little while and try my hand at a dorm project (I will also be pretending that I weigh the same amount I did in college and that I can function on as little sleep as I could back then! Ha!)
What are the typical buzz kill decorating rules in dorms… 1- No Painting 2- No holes in the walls … wah, wah, wah. Well, back in my day that was kind of a decor deal breaker, but not anymore… Enter Command Crystal Hooks and Command Strips. They’re dorm room game changers. I used them to hang these DIY Macrame Mini Planters.
Here’s what you’ll need to make your own!
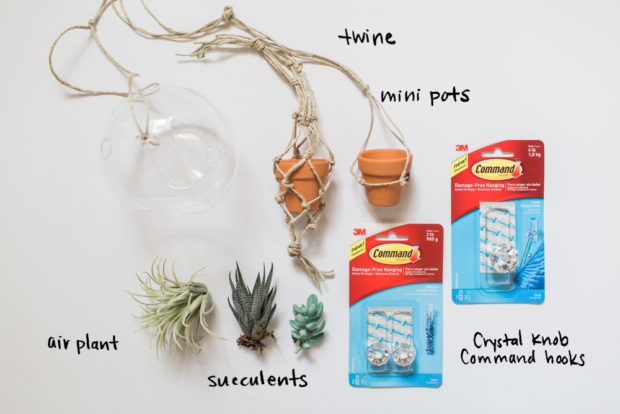
We used basic twine for our mini macrame planters, because I was pretending to be a college student and college kids are broke! Amiright?
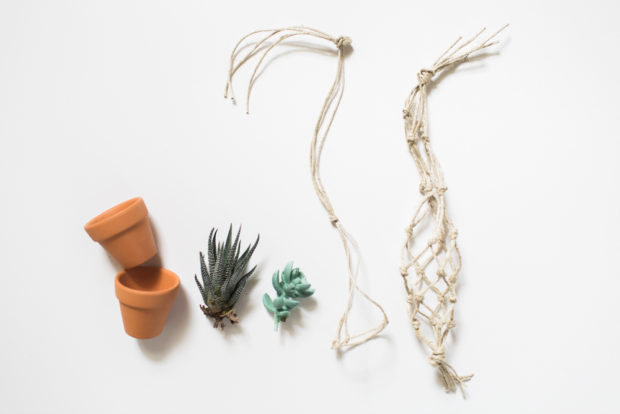
There are tons of ways to macrame, but we used one of the simplest methods for our planters.
- Cut 8 strands of twine, the longer the better so you have plenty to work with, but 3’-4’ each is a good length. Adjust the length depending on how long you want your plant hanger to be. Tie all 8 pieces of twine together in a knot at one end.
- Separate the strands in sets of 2, so you have 4 groups of 2 strands each.
- With each set of 2 strands, you’ll use them to tie a knot, so you’ll have 4 knots total.
- With the 8 strands you have, connect those to new cords, and tie another set of knots, connecting all the strings together in a web-sort of shape.
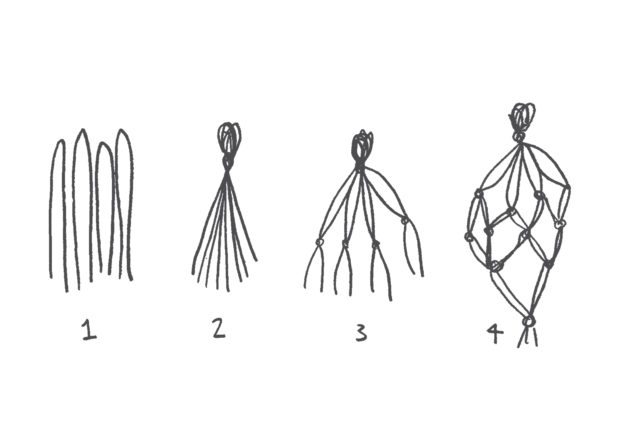 Keep the space in between your knots somewhat consistent so your plant has a stable netting to sit in.
 - Tie this series of knots until you have the desired height of netting for you plant, then tie a knot with all of the strings at the top.
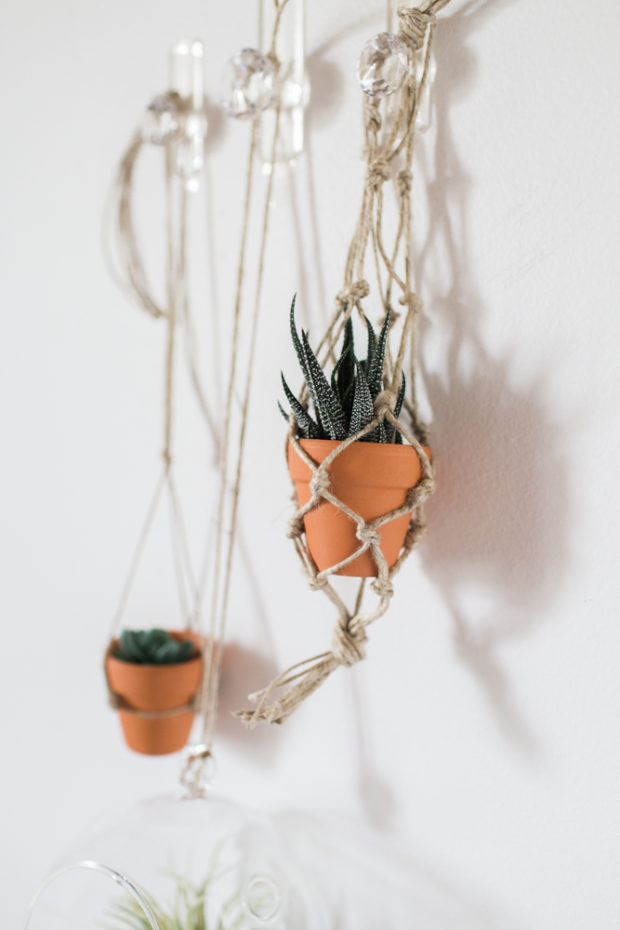
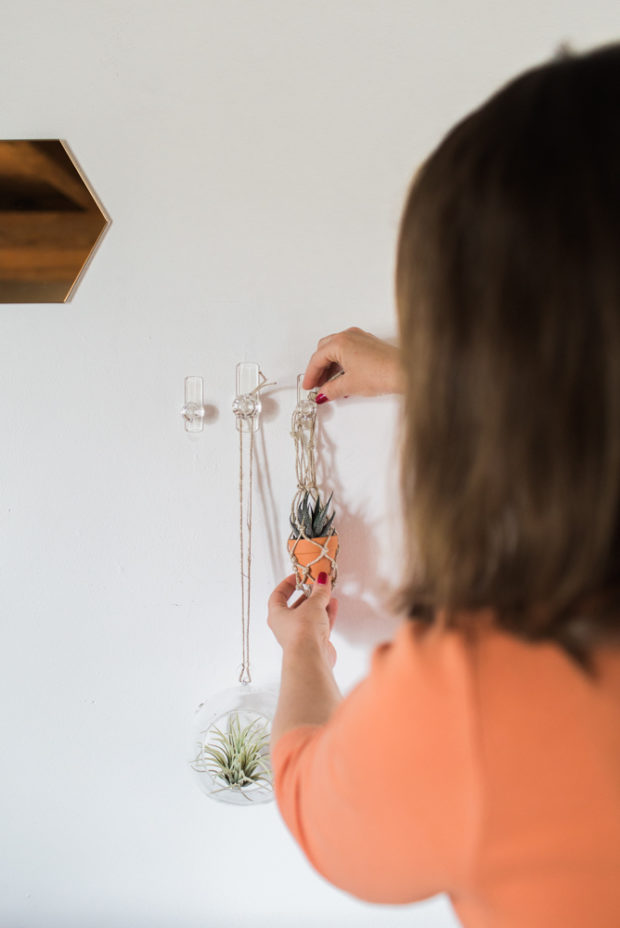
- Time to put in your pot or terrarium globe, pop in some plants, and hang these bad boys up with Command Crystal Hooks.
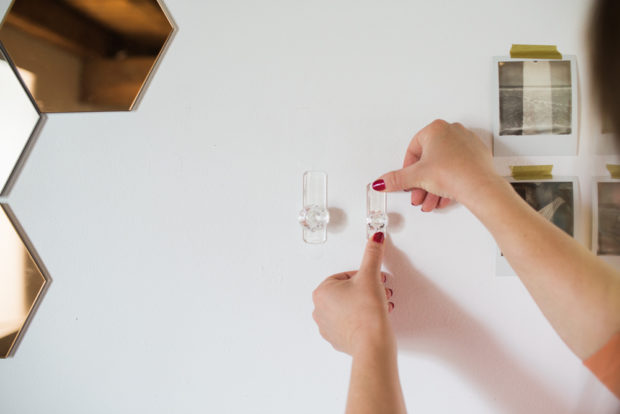
First, we removed the blue side of the adhesive strip
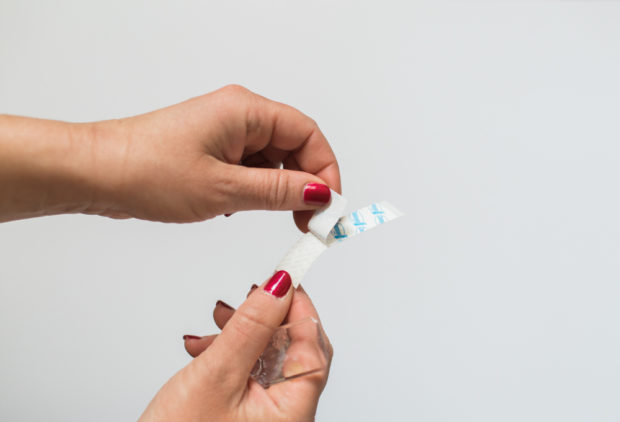
Press it firmly onto the center of the back of the Command Crystal Hook

Now peel back the black side of the adhesive strip
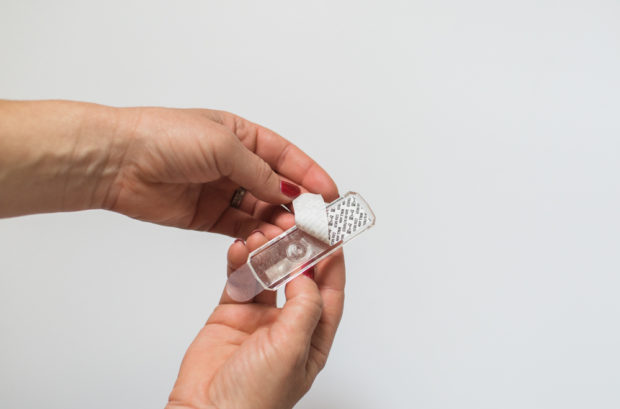
and press it firmly onto the wall.
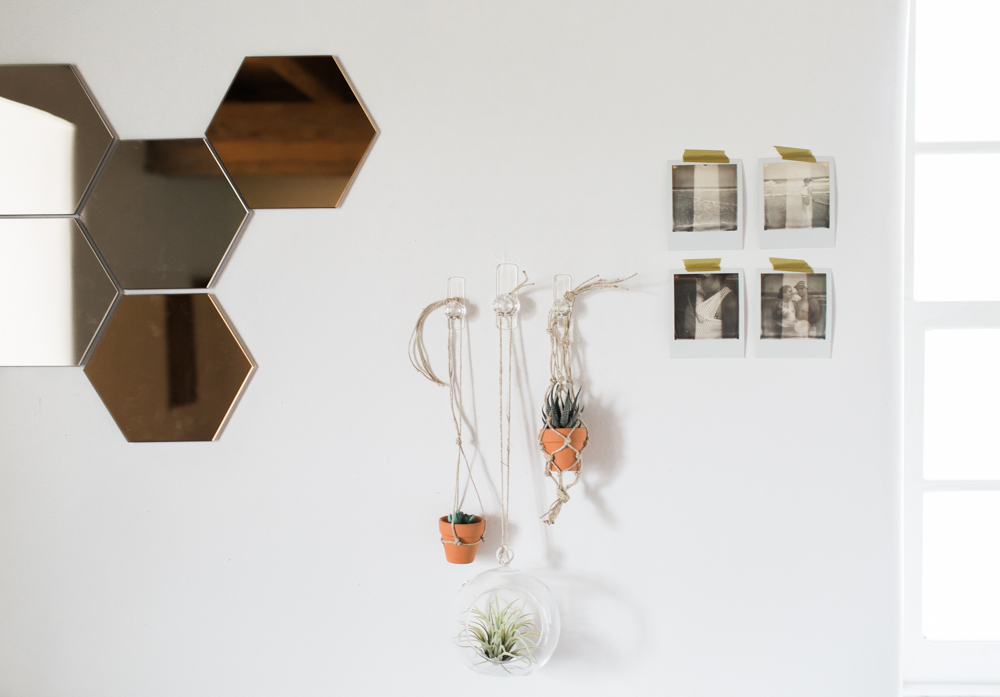
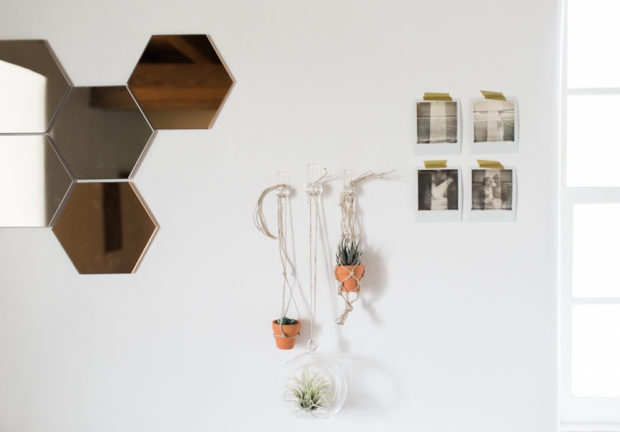
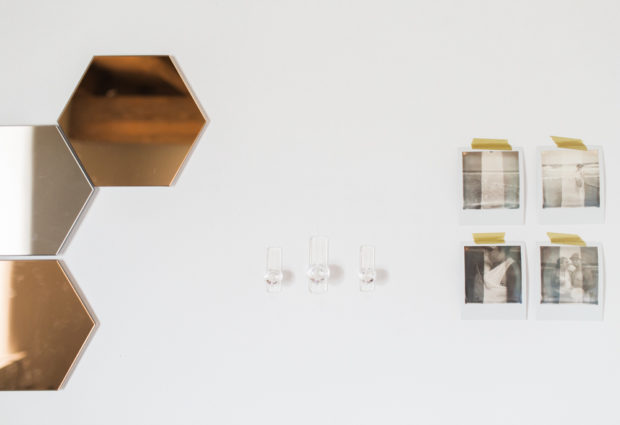
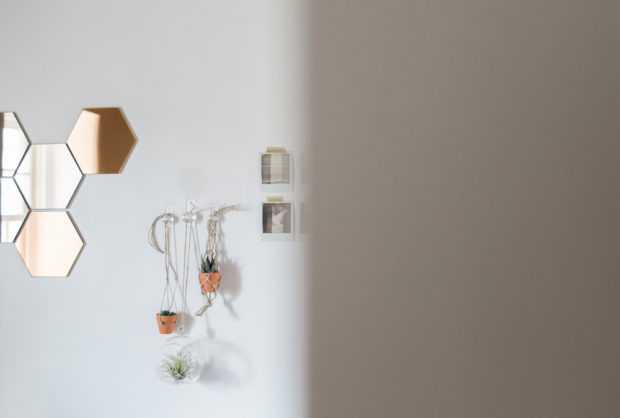
I grouped our planters into a cluster of three. It’s kind of the magic decorating number.
Add your mini macrame planters
And just like that you’ve got some freaking cool, inexpensive, do-no-harm to the walls, dorm decor. And of course for those of us not still living the college life, this project would work great in any home!
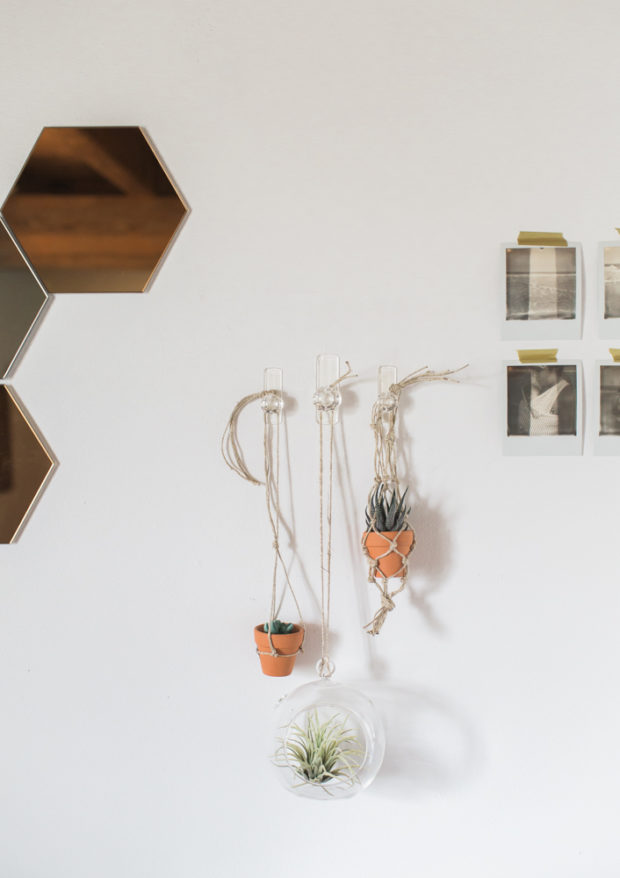
Simplicity at its best
I have 4 years before my first baby girl is headed off to college- I have a feeling this is just the first of many epic dorm decor projects for me!
-Mon
And don’t forget that an all NEW episode of The Weekender airs tomorrow!

*I am proud to be a 3M-sponsored blogger, and as part of my responsibilities, I get the opportunity to evaluate 3M products. Opinions are my own and additional products used in the project were selected by me. Thanks for supporting the brands that make EC2 possible! *
Photography: Laura Olivia Photography
Graphics: Alisa Wismer


The comments +