
Hey Guys! Thanks for your patience waiting for the tutorial for this shingle accent wall- when Live! with Kelly & Michael calls, you kinda drop everything and run. The Real Design Series is back on track and I have tons of posts ready to share! This cedar shingle accent wall definitely made the biggest impact on this room’s transformation, and the best part… it cost me under $20!

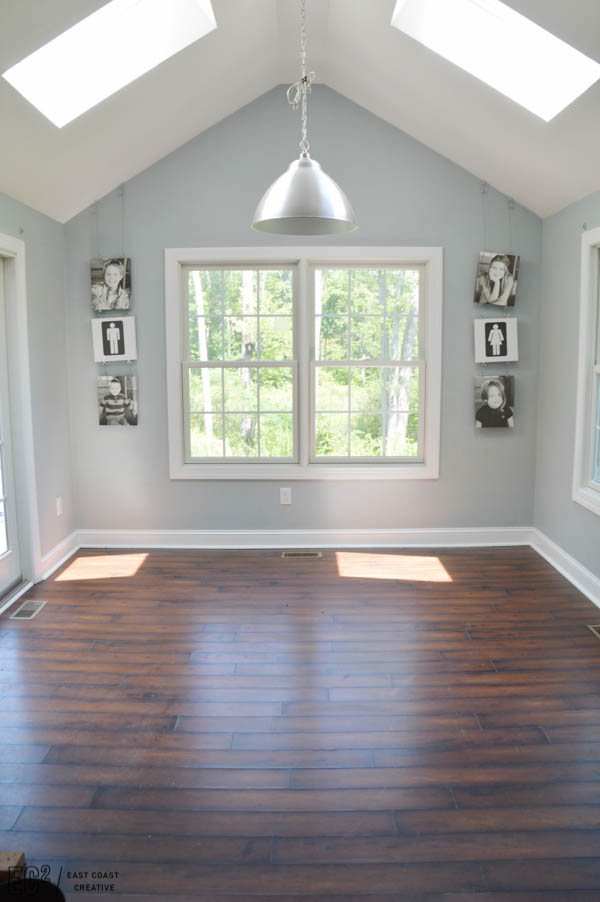
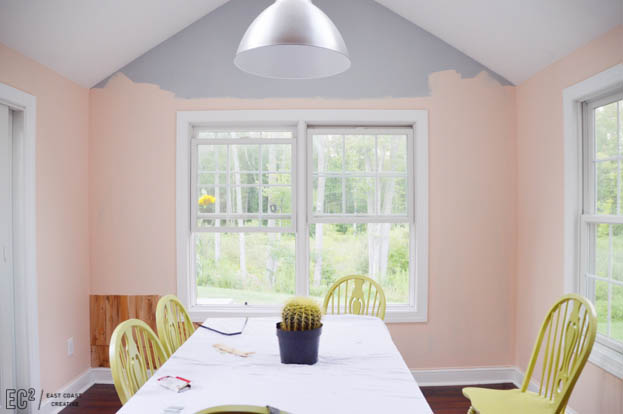
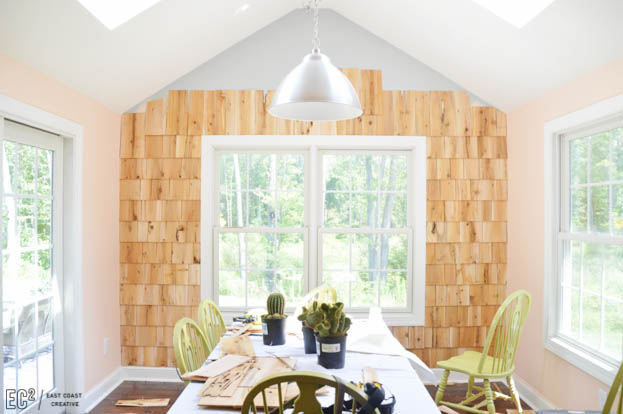
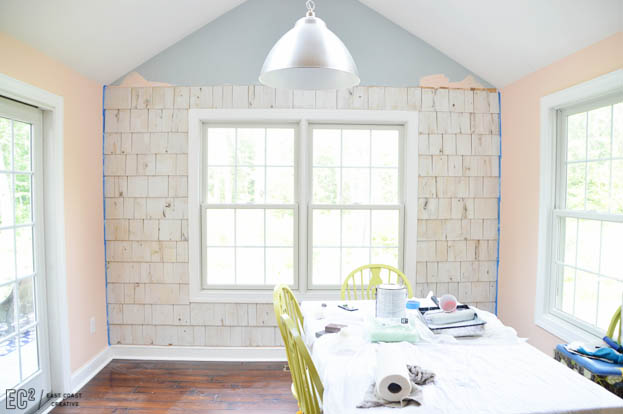
I love that our breakfast nook has high ceilings and some neat archetectural details, but the blue walls just weren’t doing those details any favors…
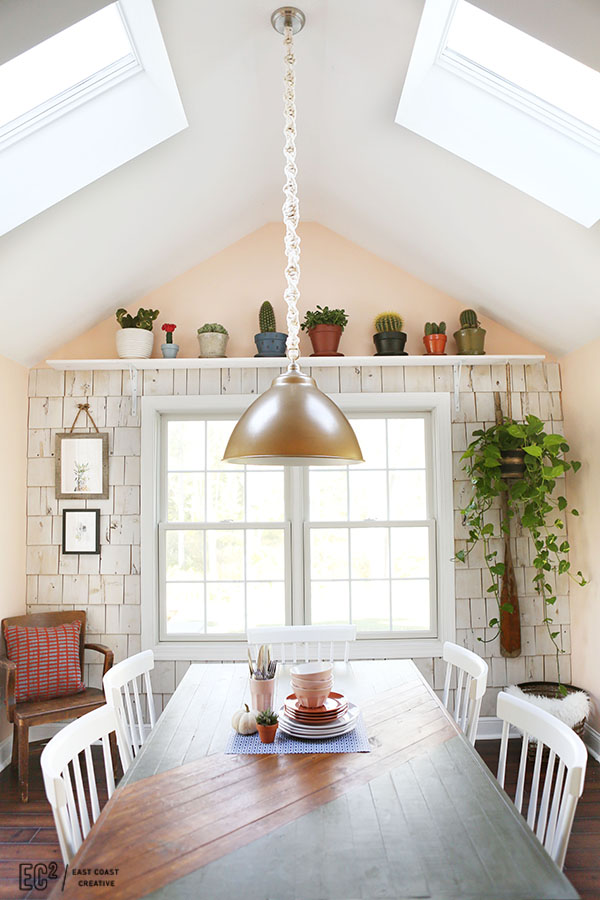
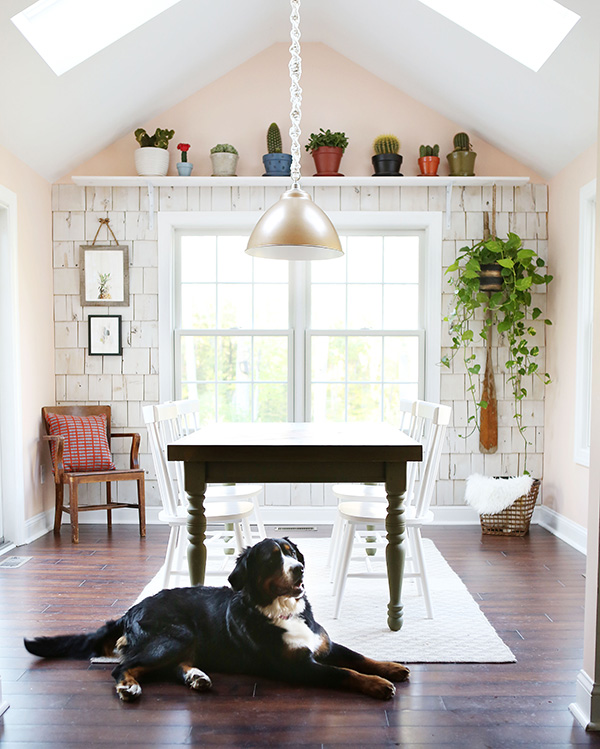
Adding the cedar shingles and capping it with the shelf really draws the eye up and makes you notice the cool ceiling peak. I really, really love it!
Funny story, my mom actually liked this room so much that she and my dad borrowed all my tools and leftover shingles and did a wall in her breakfast nook this past weekend. Imitation is the highest form of flattery right? Especially when it’s from yo mama!
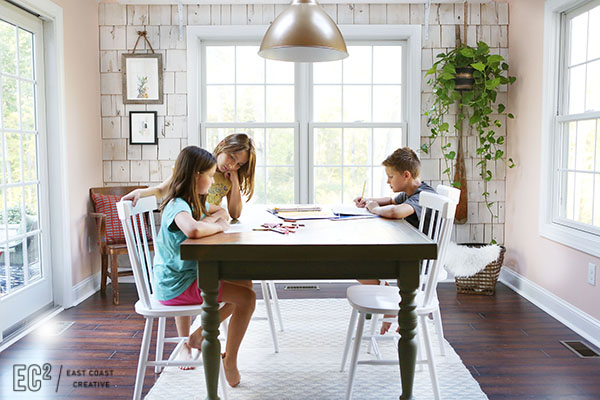
I grew up in New England, and this wall really reminds me of the little cottage we owned on our property. I love how a simple DIY project can do more than just make a room look cool, it actually makes it feel like home. How’s that for sappy and sweet?!?
Okay, enough gushing about how much I love this project. Let’s get to the tutorial.
Project Materials:
Cedar Shingles | Nailer (or hammer & nails) | Utility Knife | Tape Measure | White Paint | Water | Paint Brush | Pine Board | Shelf Brackets | Cacti | Pots |
Shop the Project Materials
[print_responsive_thumbnail_slider id=”2″]
Click on the images above to get the exact materials needed
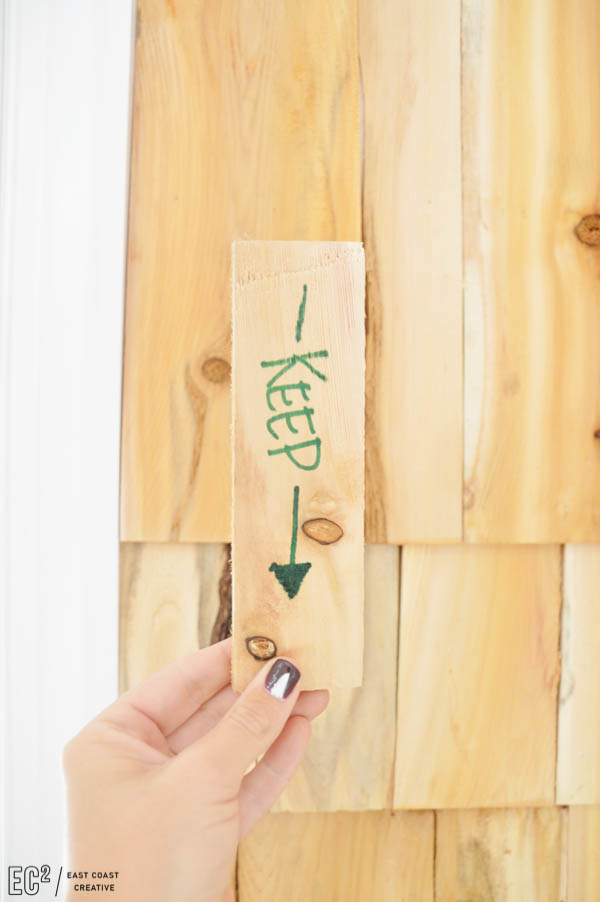
Step 1: Create a “cheater block”- this is a piece of scrap shingle wood that you’ll cut down to 7.5 inches. You’ll use this to get perfect spacing between rows, instead of having to measure each one or use a string line for each row! Make sure you write on it, so that it doesn’t met mixed up with your scraps.
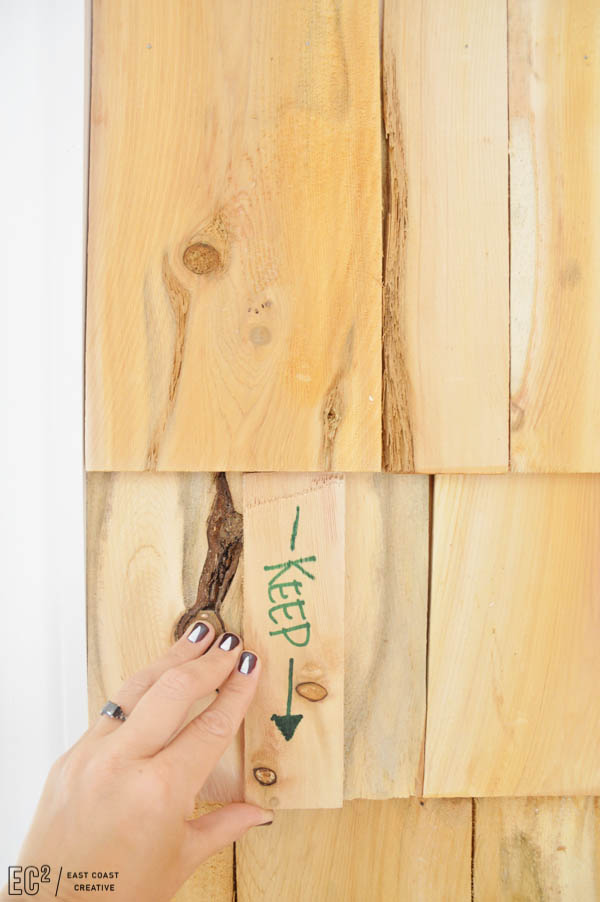
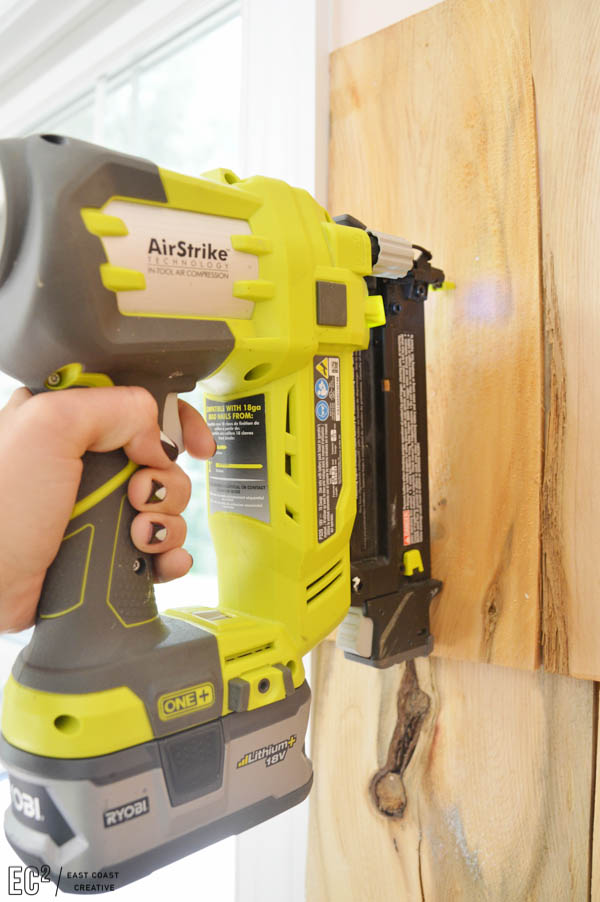
Step 2: Begin at the bottom of the wall in one of the corners. Shingles are installed thick side down. Use your nailer (or hammer and nails) to attach your shingles to the wall. Hold your cheater block up at the bottom of your first shingle so that you know where to put your nails. Put your nails higher than where your cheater block ends, so that way they’ll be covered up by the next row.
Step 3: Once the first row is attached, it’s time to get your cheater block out again. You’ll hold the block at the bottom of the previous row and place your shingles for the next row right at the top of it.
Step 4: Continue with the process working your way towards the top of the wall. I started in early evening and finished up the next morning- I’d say a wall like this would take a beginner a max of 2 uninterrupted hours, but I have 4 kids, 2 dogs, and no idea what uninterrupted time even means, so I had to stop and start quite a bit! Ha!
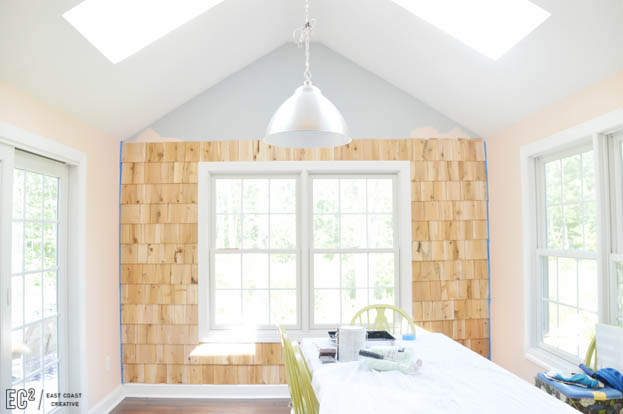
Step 5: When you reach the end of a row or need to cut around a window, you’ll mark the shingle with a pencil, then use your utility knife to score the wood and then snap it along the scored line to make your cut. No need for any power tools!
Step 6: At first I was planning to shingle all the way to the top of the wall, but I got to this point and had the idea of stopping the shingles right where I was putting the shelf.
I used a chalk-line to give me a level, straight line and then my utility knife to cut an even line across the top row
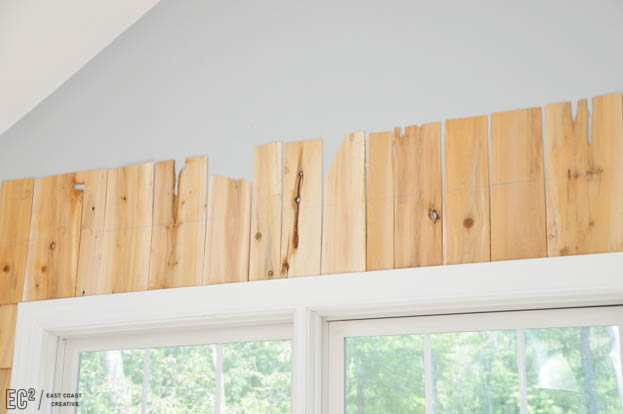
I was left with a nice, straight edge right where the shelf would be installed. Major bummer that I didn’t paint the peak of the wall, but I was thinking it was going to be shingled. I went back and painted it later.
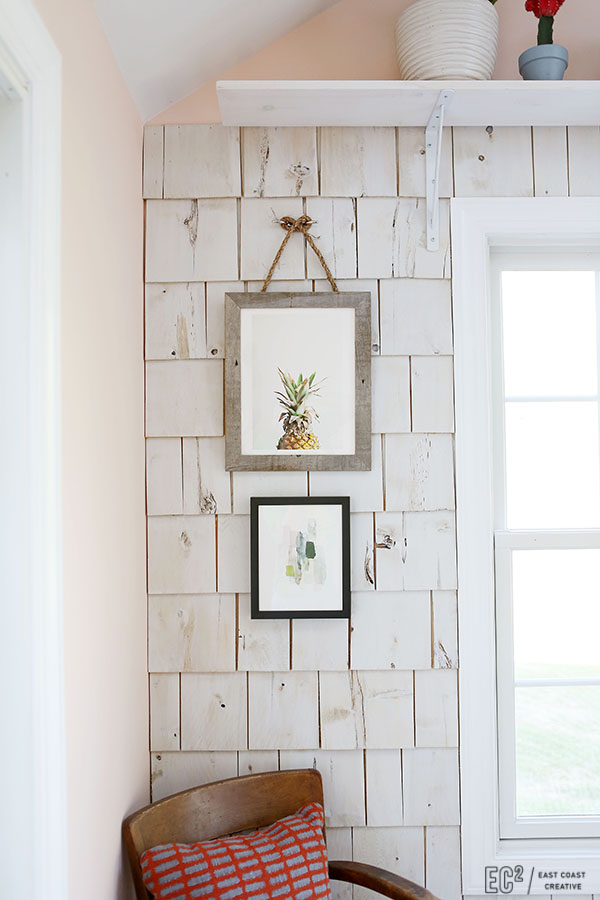
Step 7: You could leave your cedar shingles natural and be done, but I wanted a light, bright, coastal feel, so I applied a whitewash paint technique over them. Whitewashing is just watered down paint, it changes the color, but is slightly transparent to show some of the grain and details of the cedar shingles.
Whitewash Ratio: I used 4 parts water to 1 part paint on this wall. You can play around to get the desired effect you like. And don’t panic if it looks too white at first, the shingles really absorb a lot of the paint, making it seem lighter. I actually had to go back and coat some areas twice to get the coverage I wanted.

The whitewash completely changed the feel of the room! Isn’t that crazy!
Step 8: After the wall was dry, I added 3 shelf brackets and a pine board that I’d cut to fit the wall. I added lots of cacti in terra cotta pots that I’d painted with leftover paints, and voila I had myself a shingle wall with a fun indoor plant garden, which is clearly puppy approved!
This room is part of a collaboration with Lowe’s to bring you guys amazing, Real-Life Design ideas and projects that actually work in real life with a real family! To check out the other projects and posts shared so far, use the slider below- click on an image and poof you’ll be taken there! It’s fancy, and you should be impressed. Hehe.
[print_responsive_thumbnail_slider id=”4″]


I really love the peach colored paint! Would love to know what color you used.
This is excellent! Our mud room interior is finished with cedar shake shingles and I’ve been toying with the idea of painting but I love how cottagey the whitewash looks! I’ve done washes before so this will be a breeze! Thanks for the inspiration!