
When I was planning my breakfast nook makeover, I had to make a decision about the pendant light… replace or update. Lowe’s has tons of lighting options that I love and that would have worked great in the space, But… you can take the girl out of Knock it Off, but you can’t take the knock offs out of the girl! (typed slightly differently, that sentence could mean all kinds of different things- yikes. So make sure you read it correctly! lol) I decided to get creative and work with what we already had!
Doing it myself allowed me to create something that’s really unique and perfectly fits with the style of the room.
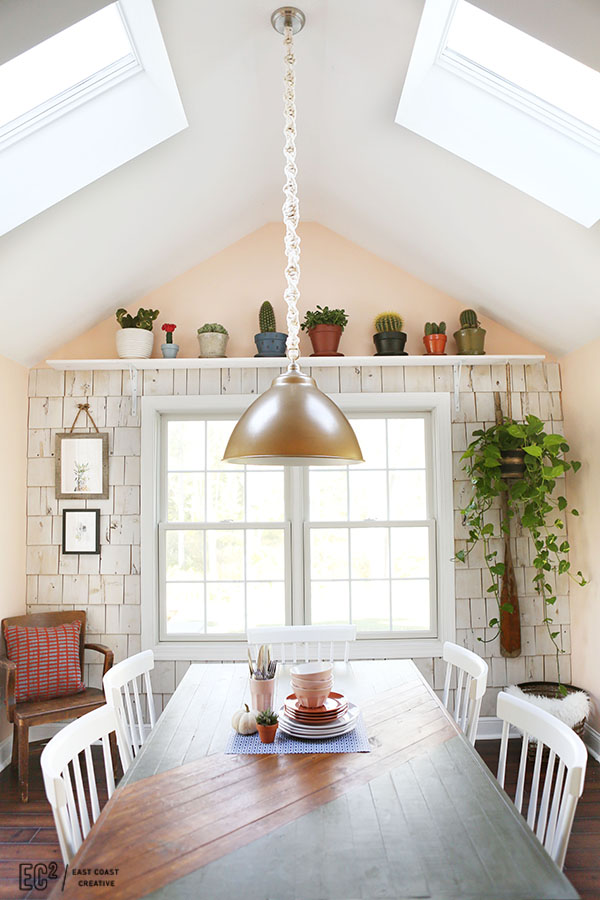
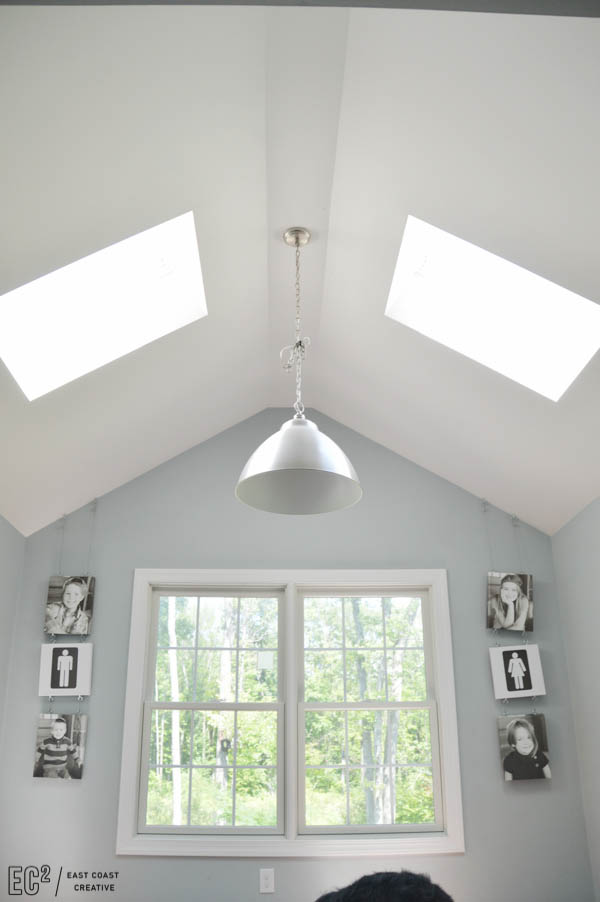
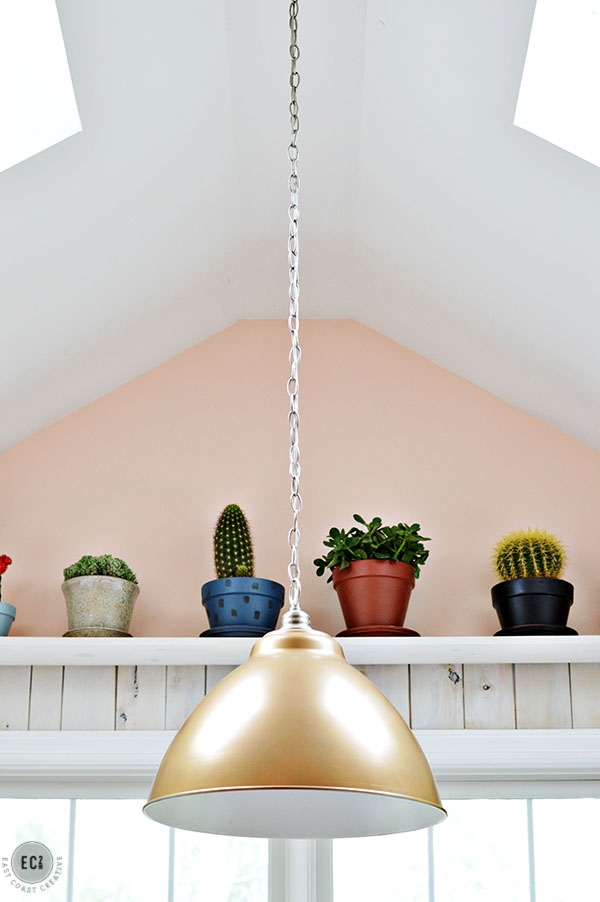
In case you forgot… here’s what we started with. See that knot of lamp cord? Yup, I used a hair tie for 2+ years to create that knot and adjust the height. Just call me MacGyver.
Project Materials:
Pendant light | cotton cording | fabric glue | Spray Paint |
[print_responsive_thumbnail_slider id=”3″]
click on any image in the slider to get product details or purchase materials
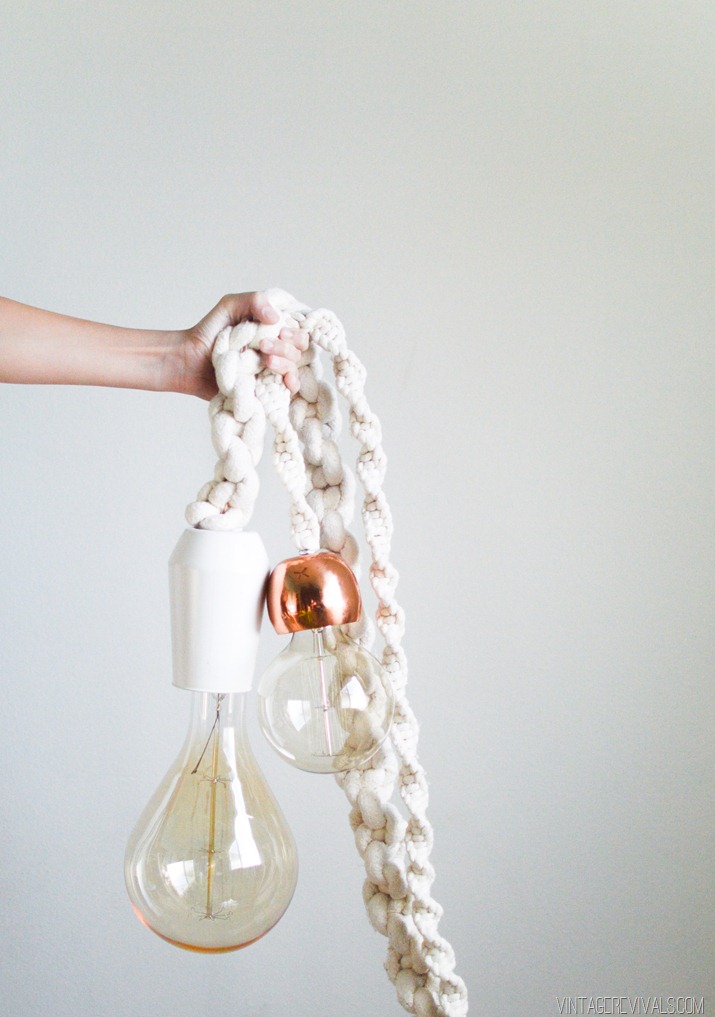
My friend Mandi at Vintage Revivals is a DIY genius and the idea of weaving my cord was inspired by her amazing Giant Macrame Rope Lights – she also does a great job teaching how to tie macrame knots, so when we get to that point you’ll take a field trip and visit her!
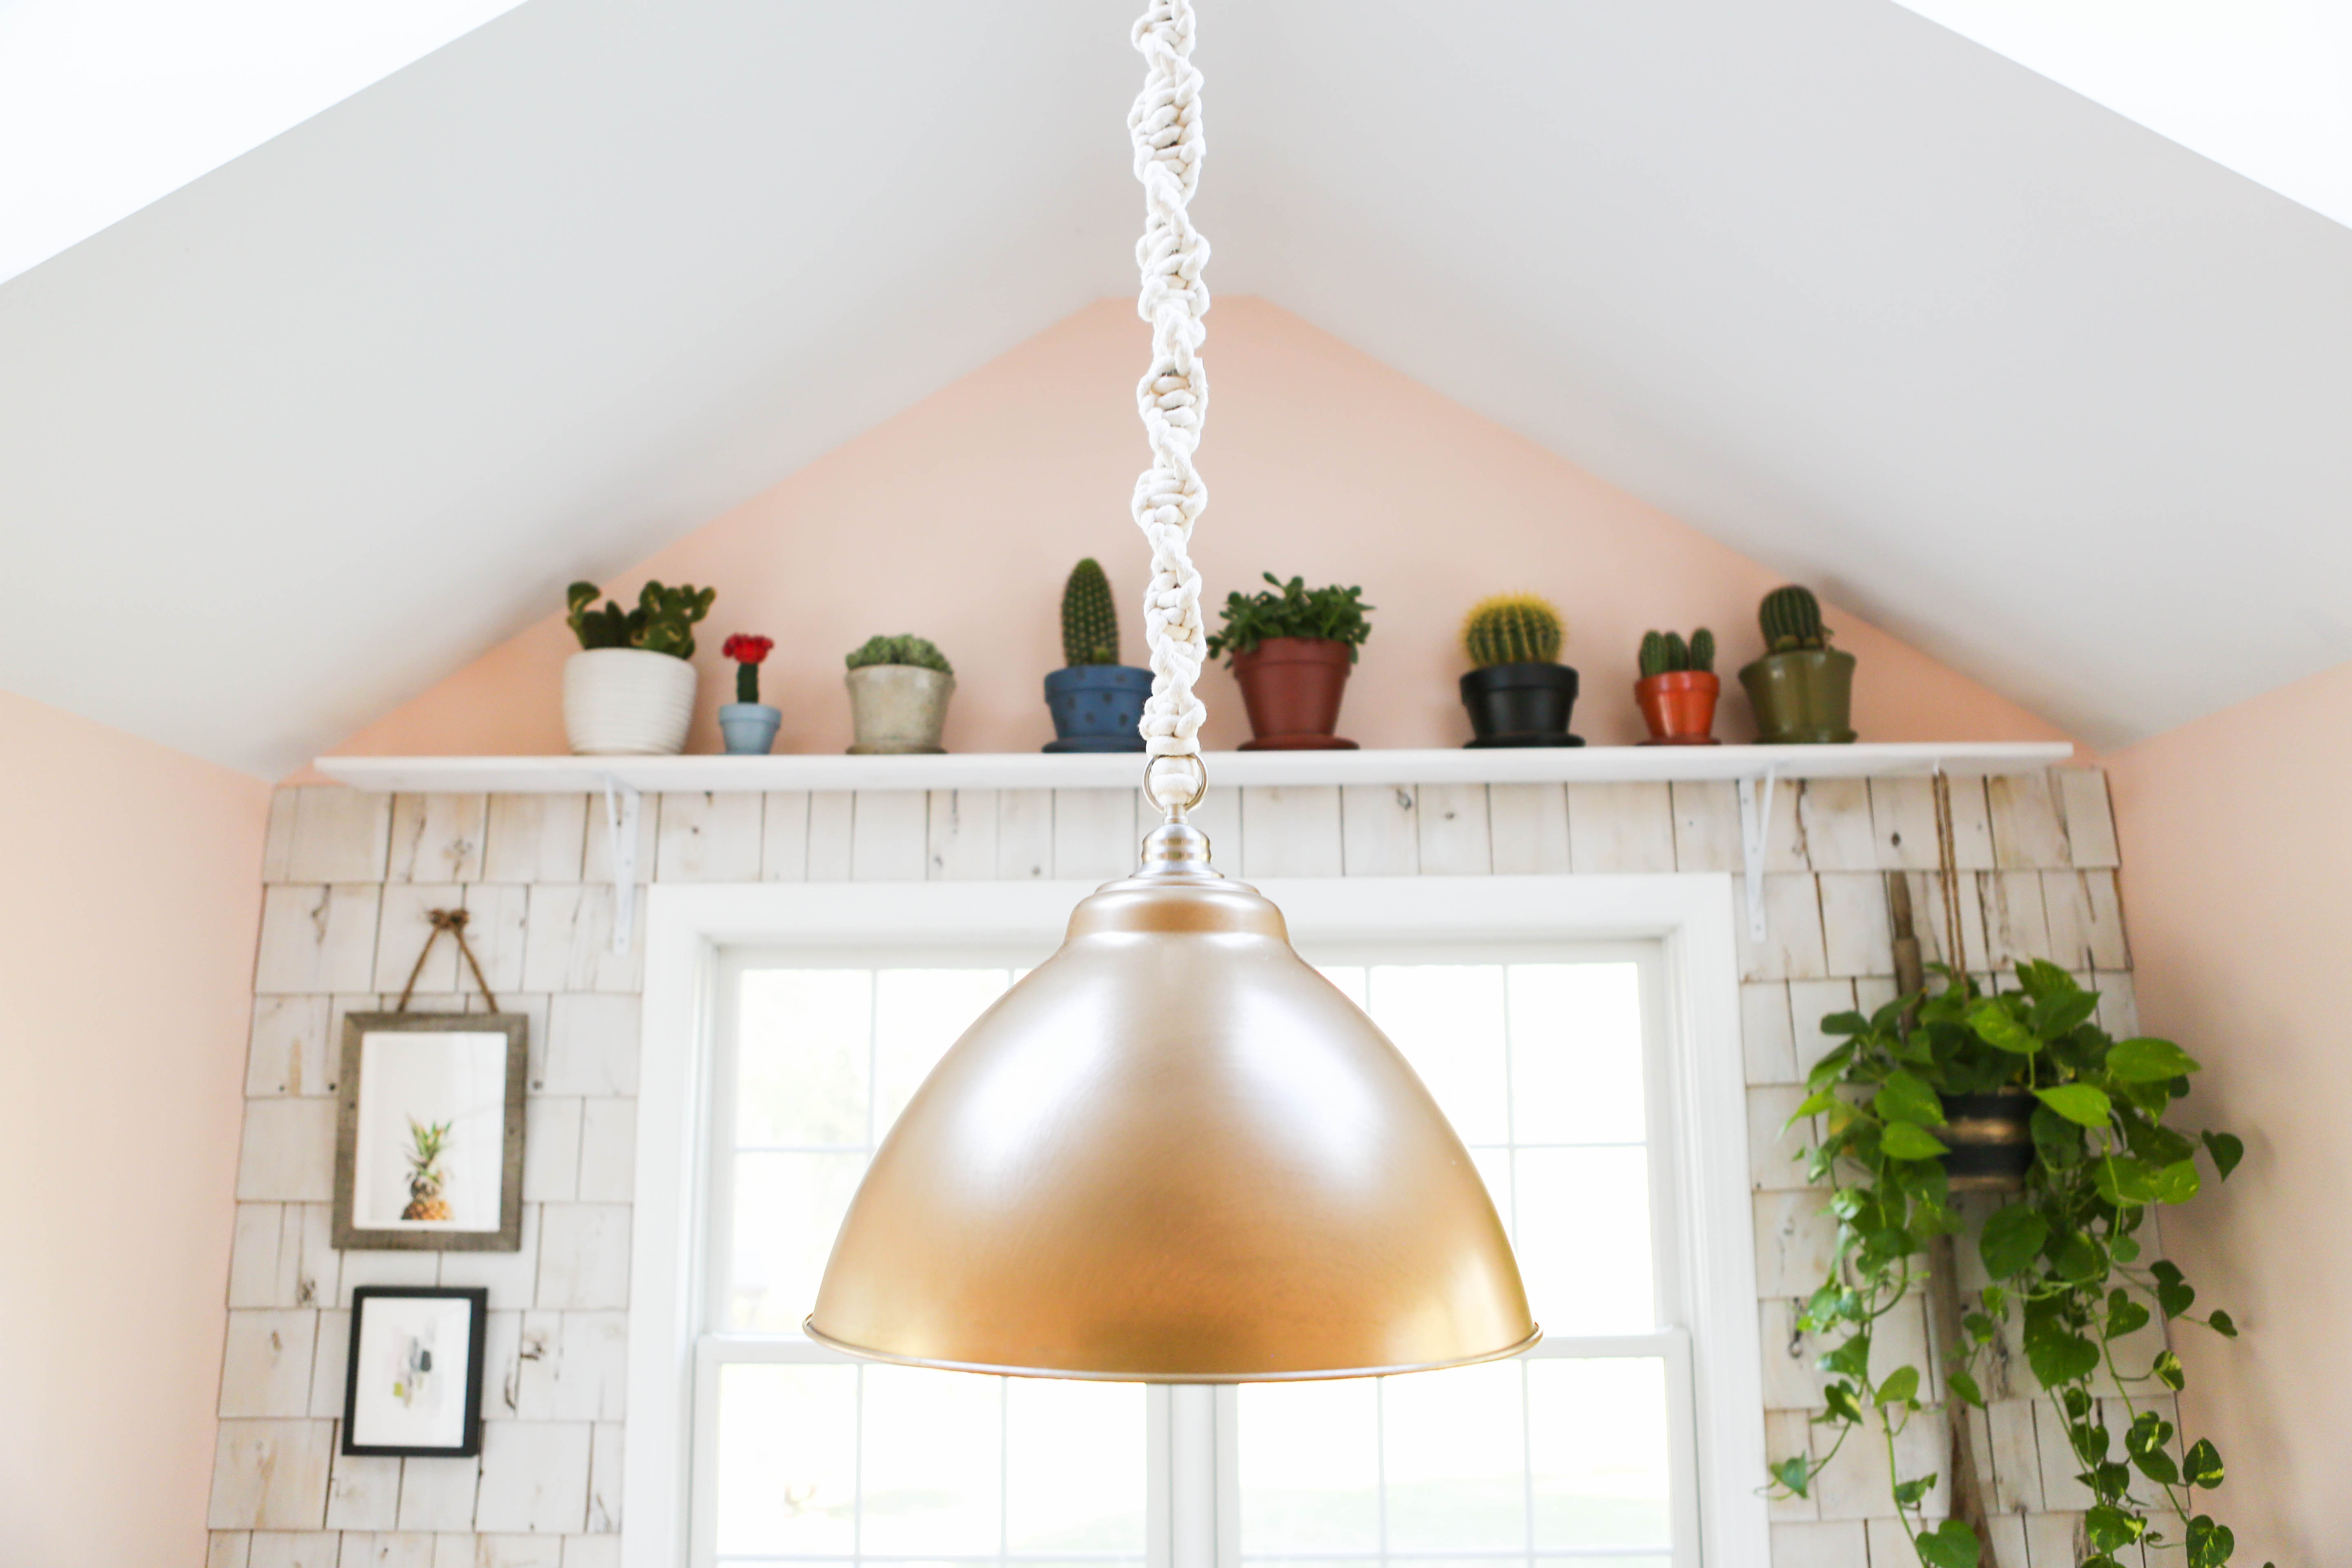
Step 1: If you’re changing the color of your pendant light, now’s the time. I sprayed my silver dome with Valspar’s gold spray paint. It’s my go-to gold color- I love that it’s deep and rich, almost leaning towards a bronze in some lights.
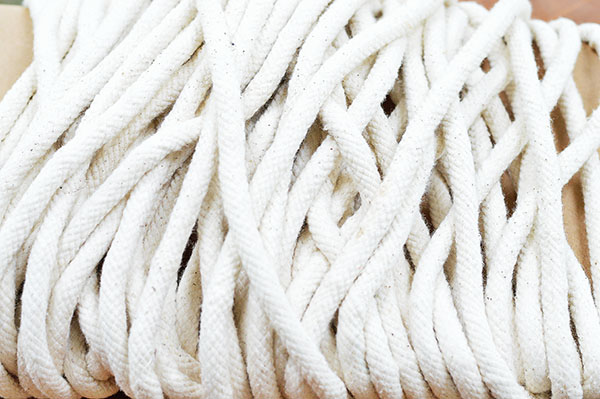
Step 2: Now we’ll get rid of the builder grade hanging chain. Fold your cotton cording in half to find the mid-point. The amount of cotton cording you’ll need will vary depending on the length of your wire cord and the thickness you choose. I bought about 50 yards and had plenty.
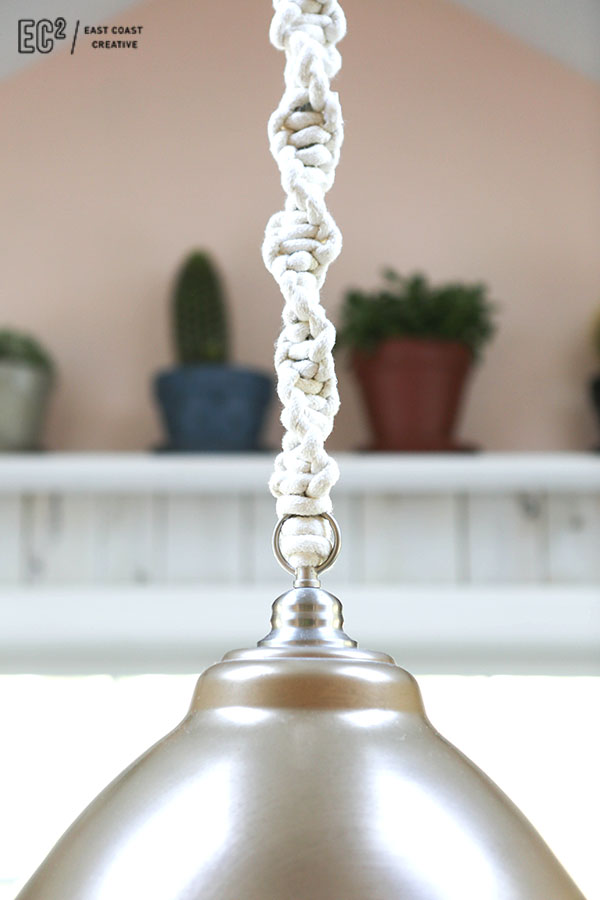
Once I found the middle I tied a knot around my lamp cord at the very top, near the ceiling.
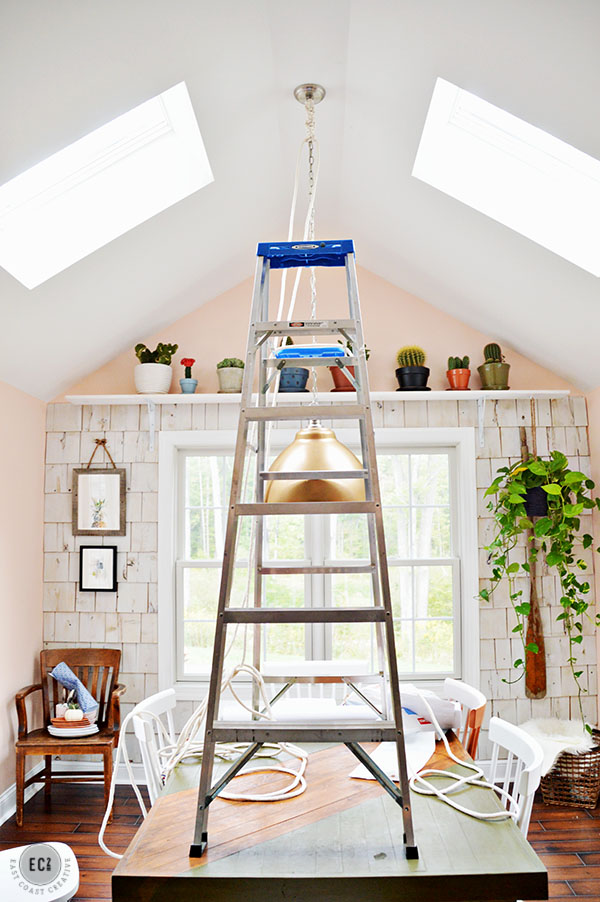
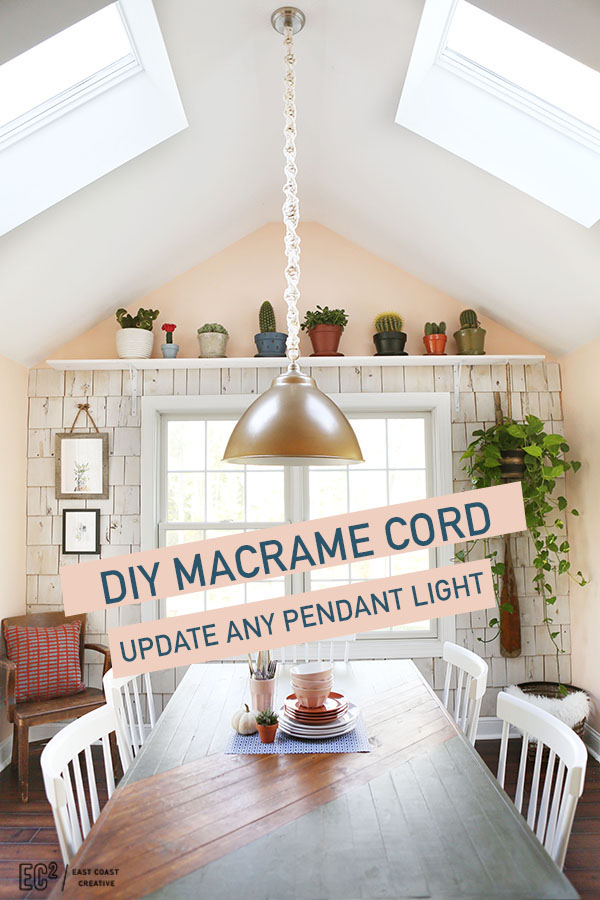
Let’s zoom out a bit and show you a wide shot… My ceiling is pretty high, so there was a ladder on top of the table situation going on. I’m not a fan of heights, so it wasn’t my fav, but you’ve gotta do what you’ve gotta do right!?!
Step 3: Begin weaving and knotting. You’re doing a basic square knot- in the image below, the light cord are the “fillers”- you’re knotting around the cord and the rope will naturally begin to spiral around it.
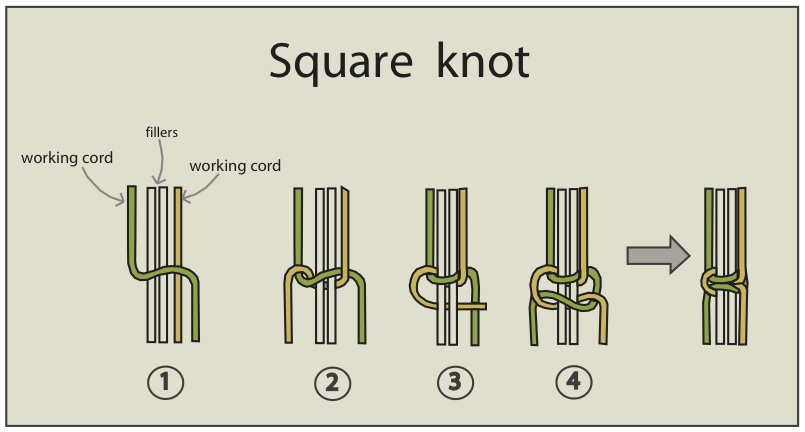
Here’s the link to Mandi’s excellent tutorial on the square knot. There wasn’t a chance in the world that I was going to be up on the ladder, on the table, knotting AND taking pictures. I have my limits! Ha!
Step 4: Continue knotting until you reach the bottom of your light cord. Use fabric adhesive to attach the end of the cotton cording to itself. I used a piece of painter’s tape to hold it in place until the glue dried.
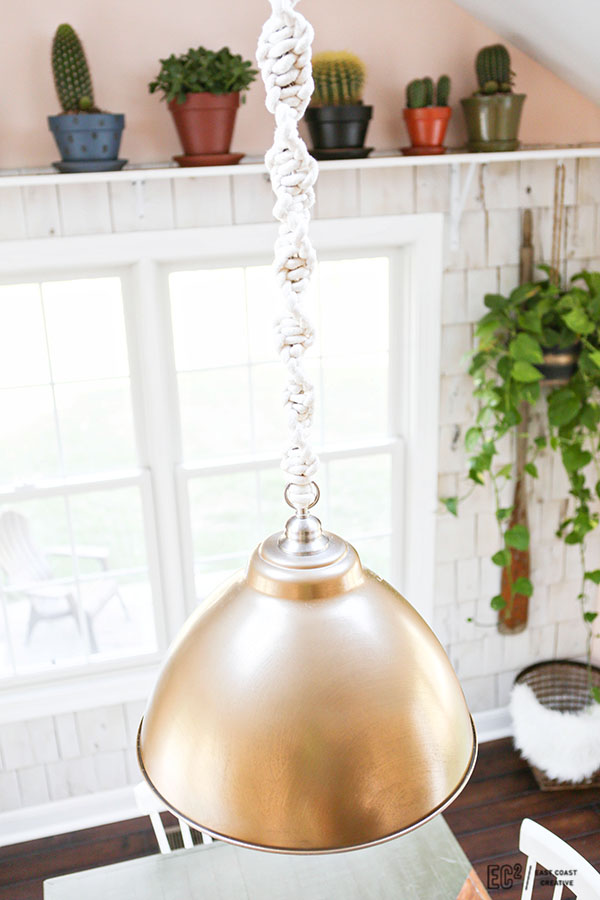
This project took me about 45 minutes total and most people can’t even believe it’s the same light! I’m so glad I chose DIY over BUY for this project! It’s a simple, cost effective way to upgrade any pendant light!
To check out any of the other projects in my breakfast room and the rest of the Real Design Series, use the slider below!
-Mon
[print_responsive_thumbnail_slider id=”4″]


The comments +