
![]()

We’re so excited to have Tracy here today from Right Up My Alley. Jess and I loved that she saw the huge potential that her thrifted buffet had! She completely changed the buffet before adding her color-blocked blue-toned paints, which look amazing with her accessory styling. We love how there’s simplicity and style perfectly balanced in this project. You all loved it too, because you voted it into the top three!
Here’s Tracy with the full tutorial- read it now and run out thrifting for a buffet later!
——————————————————————————————————————————————
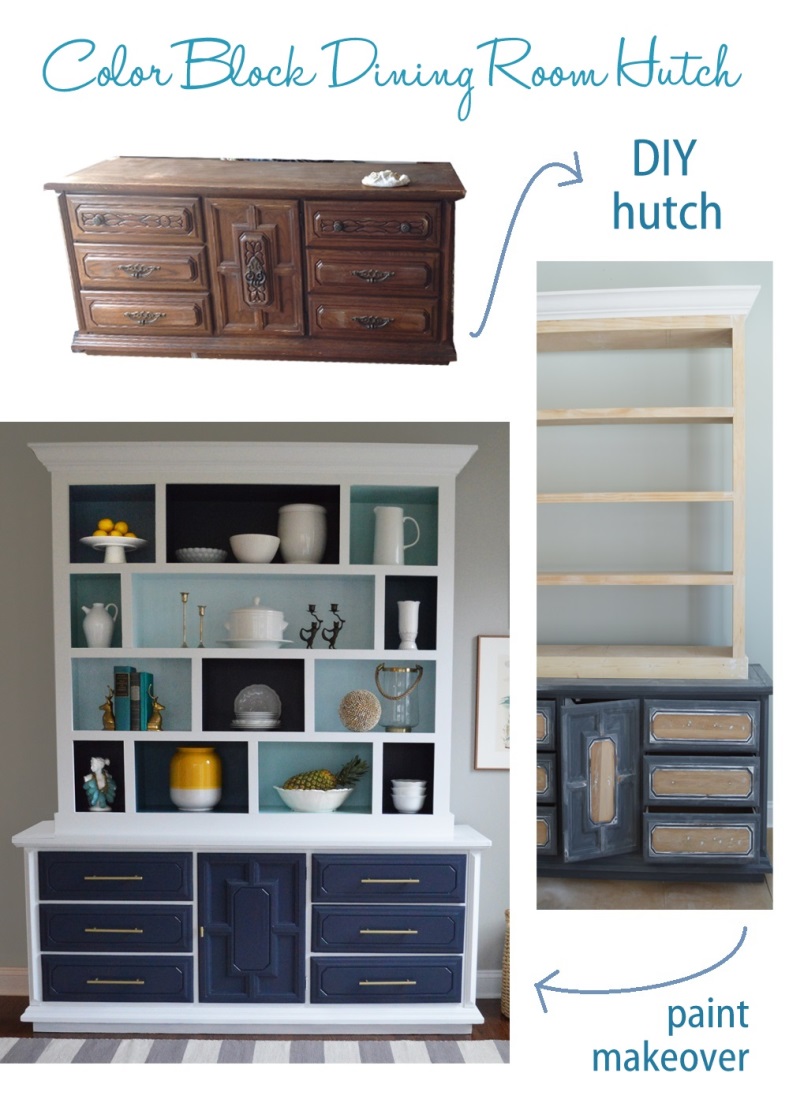
We’ve been looking for a tall hutch for our dining room, but didn’t want to pay the huge price tags which normally come with similar furniture. The alternative is to make it yourself! I found an old buffet table at a local thrift store. It was out dated but sturdy. This was the perfect candidate for the base of the hutch we’ve been looking for. This week’s CWTS challenge was just the motivation I needed to make this happen!
Here’s how we did it…
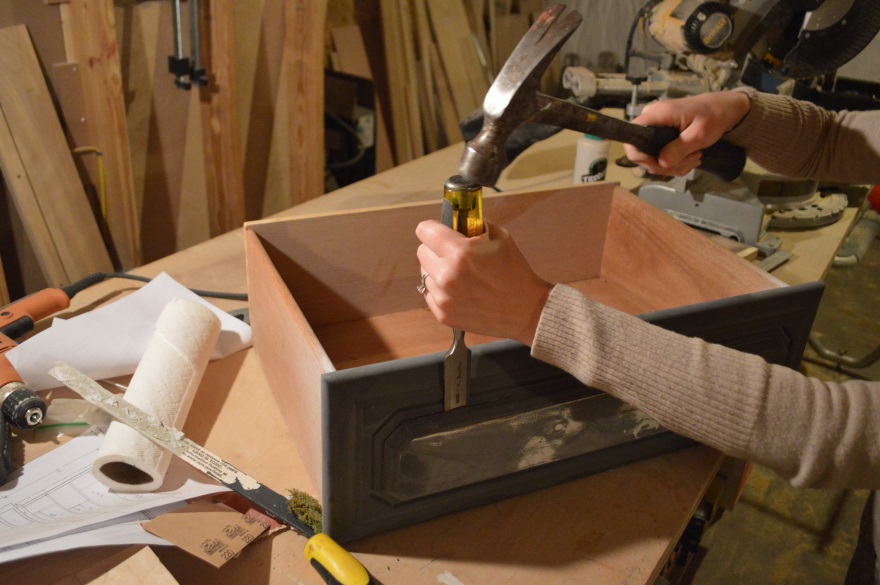
The console table had raised panels on the drawer fronts and the door. We were able to remove them using a hammer and chisel. We also removed the old and outdated drawer hardware. We filled in the holes left by the hardware with Ready Patch (sort of like Bondo).
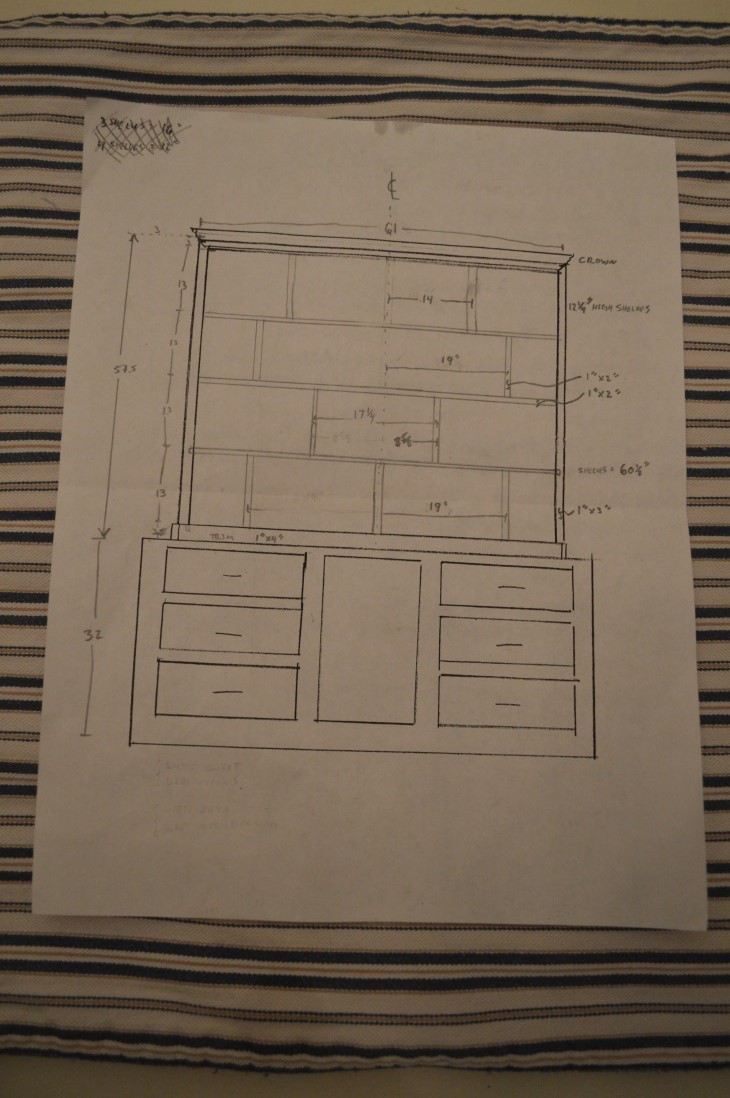
The next step was to design and build the bookshelves that would be attached to the top of the buffet table. We wanted the hutch to be about 8 feet tall so we made the bookshelves tall enough to make up the difference. Here is the high-tech sketch with our master plan…
Lumber is expensive, especially the birch plywood we used, so we planned the cuts ahead of time to make sure we use each piece as efficiently as possible. This is how we planned out the cuts for some of the bookcase.
 Material List:
2 sheets of ¾” birch plywood – This makes up the bookshelf carcass, shelves and dividers.
1 sheet of ¼” birch plywood – for the bookshelf backing
1”x2” pine (C-Select): – for the rails and the divider stiles
1”x3” pine (C-Select) – for the perimeter stiles and rail
1”x4” pine (C-Select) – for the base trim around the bottom of the bookshelf
Crown molding
1 ¼” wood screws
Wood glue
Brads (nails)
We ripped the plywood as laid out above using a table saw and cut the shelves, sides, top, and bottom to length using a miter saw. We made ¾” slots ¼” deep in each of the bookshelf sides using a router where we wanted the shelves to go. If you don’t have a router, you can also nail shelf support boards out of 1”x2” boards.
When all these pieces are cut, we assembled the bookshelves using wood glue and screws.

Then we added the trim using a brad nailer and glue

We built 9 dividers but did not nail them in quite yet as we wanted the flexibility to move them around if needed. Once we found the spacing we wanted, we nailed them in place.
We then topped off the bookshelves with crown molding. We didn’t nail the backing up yet as it was easier to prime everything without the back in place.
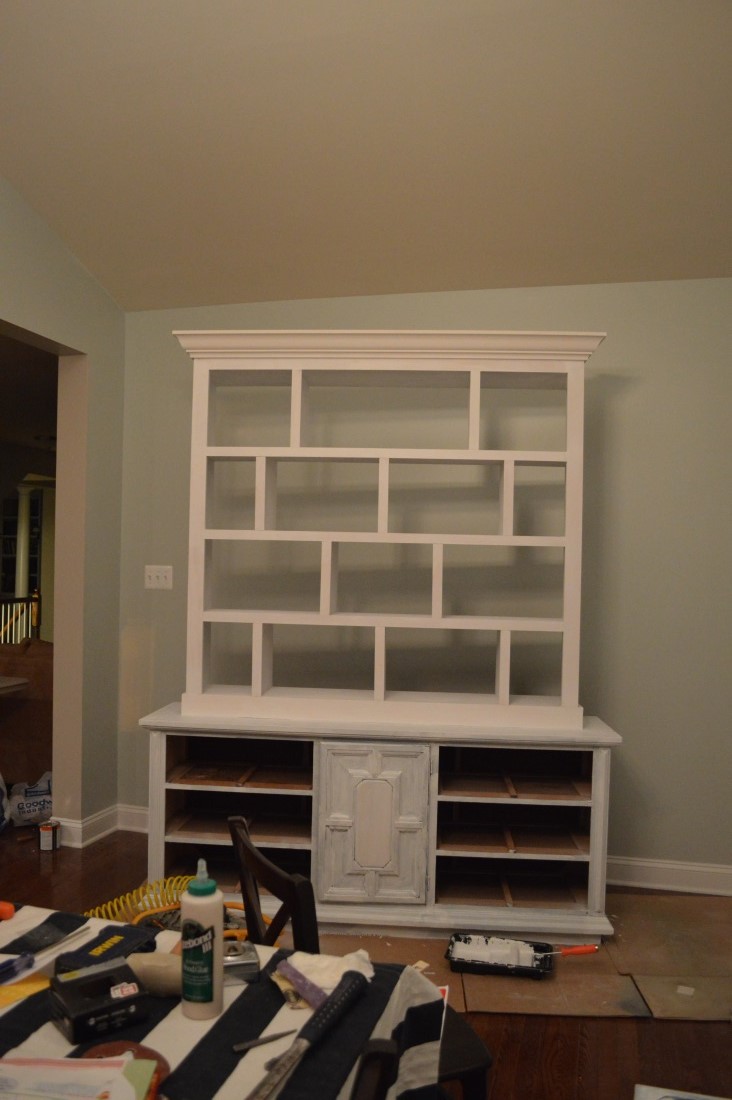
Now that the canvas was created, it’s time to start painting!
We used Sherwin Williams Pro Classic line of paint as it coats really well and the end product is very durable. We’ve become pals with the folks at Sherwin Williams since Creating with the Stars started! I wanted different shades of blue for the color blocking. The four blue paint colors I decided on were:
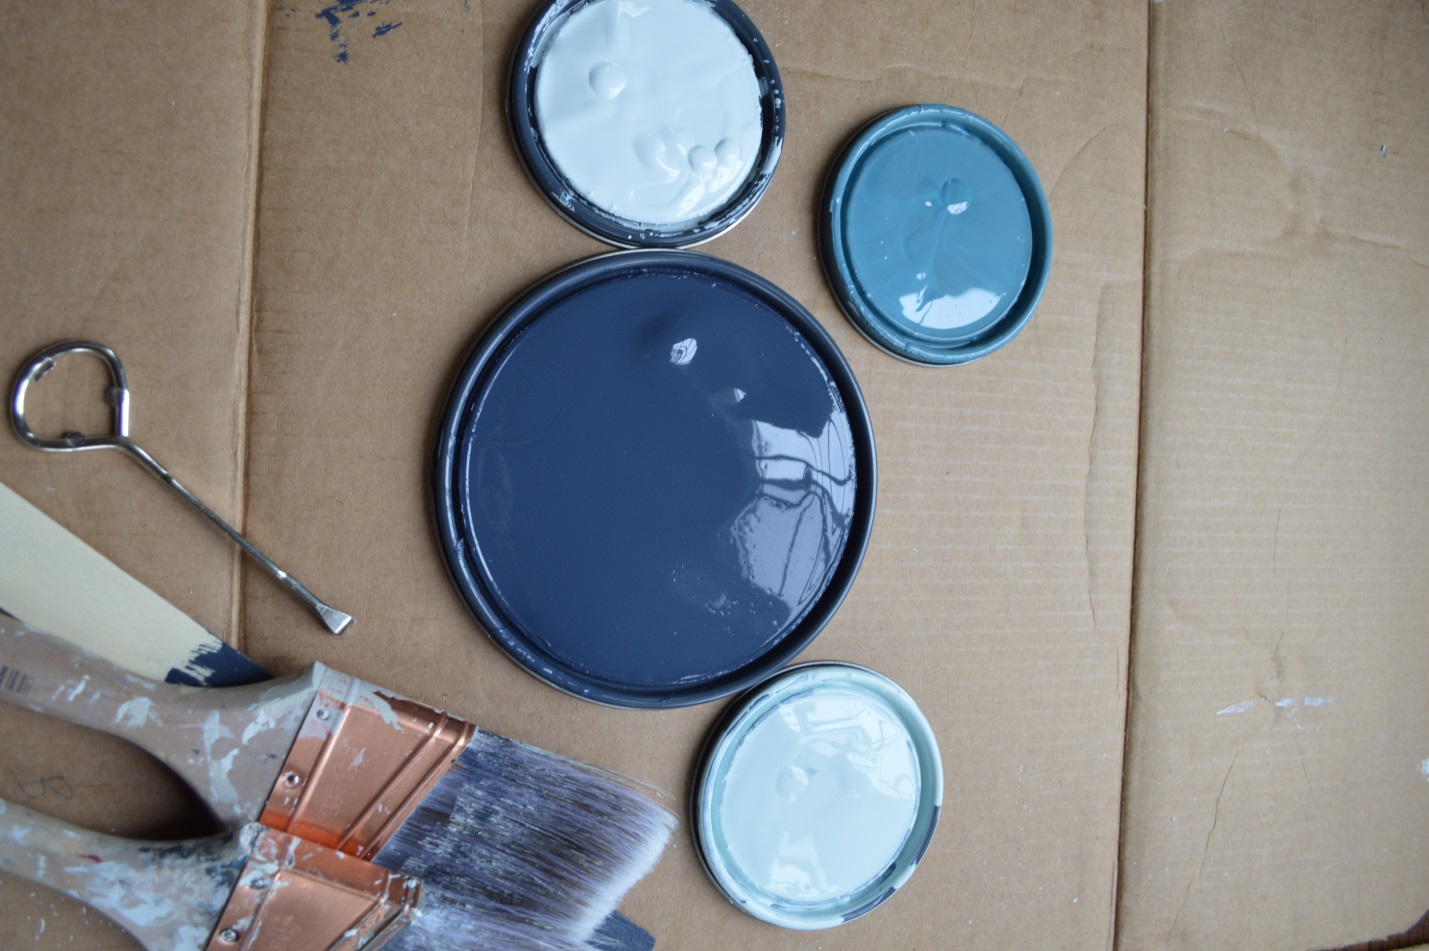
Benjamin Moore Hale Navy (Color Matched at Sherwin Williams)
Sherwin Williams St. Bart’s
Sherwin Williams Meander Blue
Behr Soar (Color matched at Sherwin Williams)
The white paint is Sherwin Williams Duron semi-gloss trim paint.
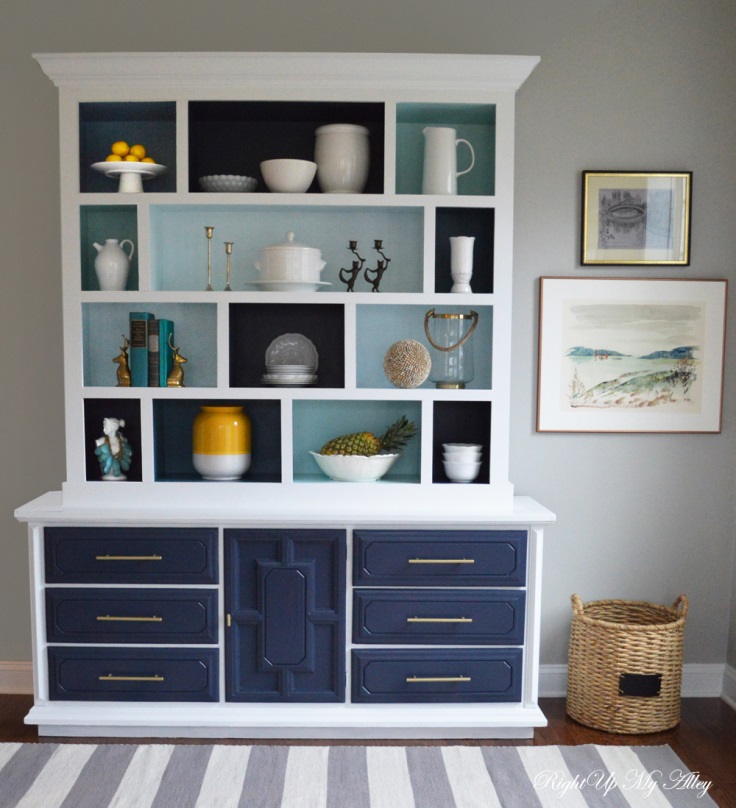
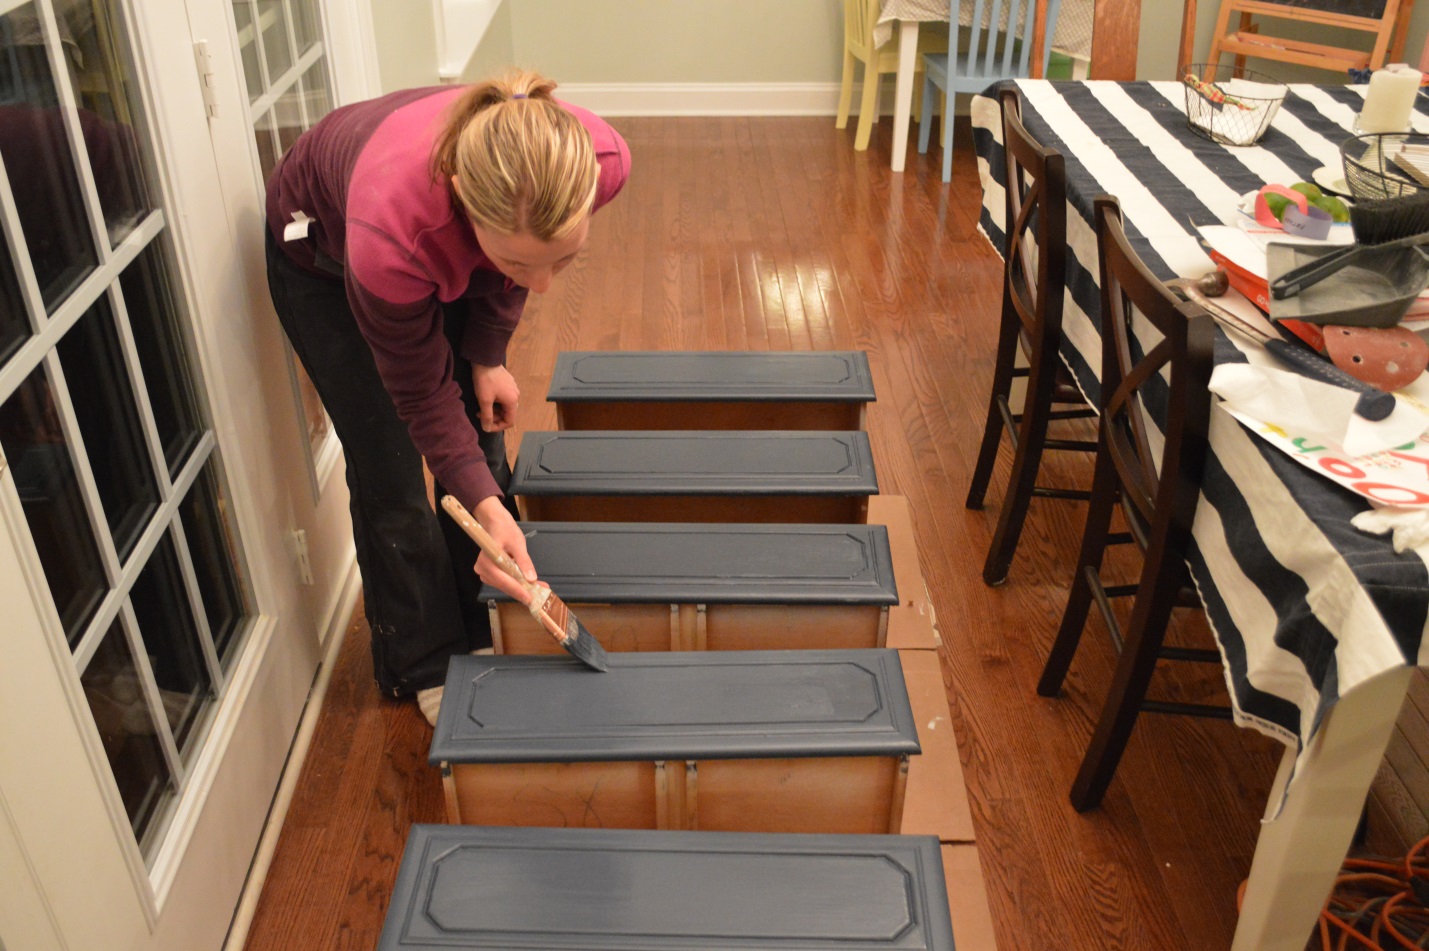
Once the painting was complete, I styled the shelves with sculptural pieces. Some of the pieces are from thrift stores, Target, and Homegoods.
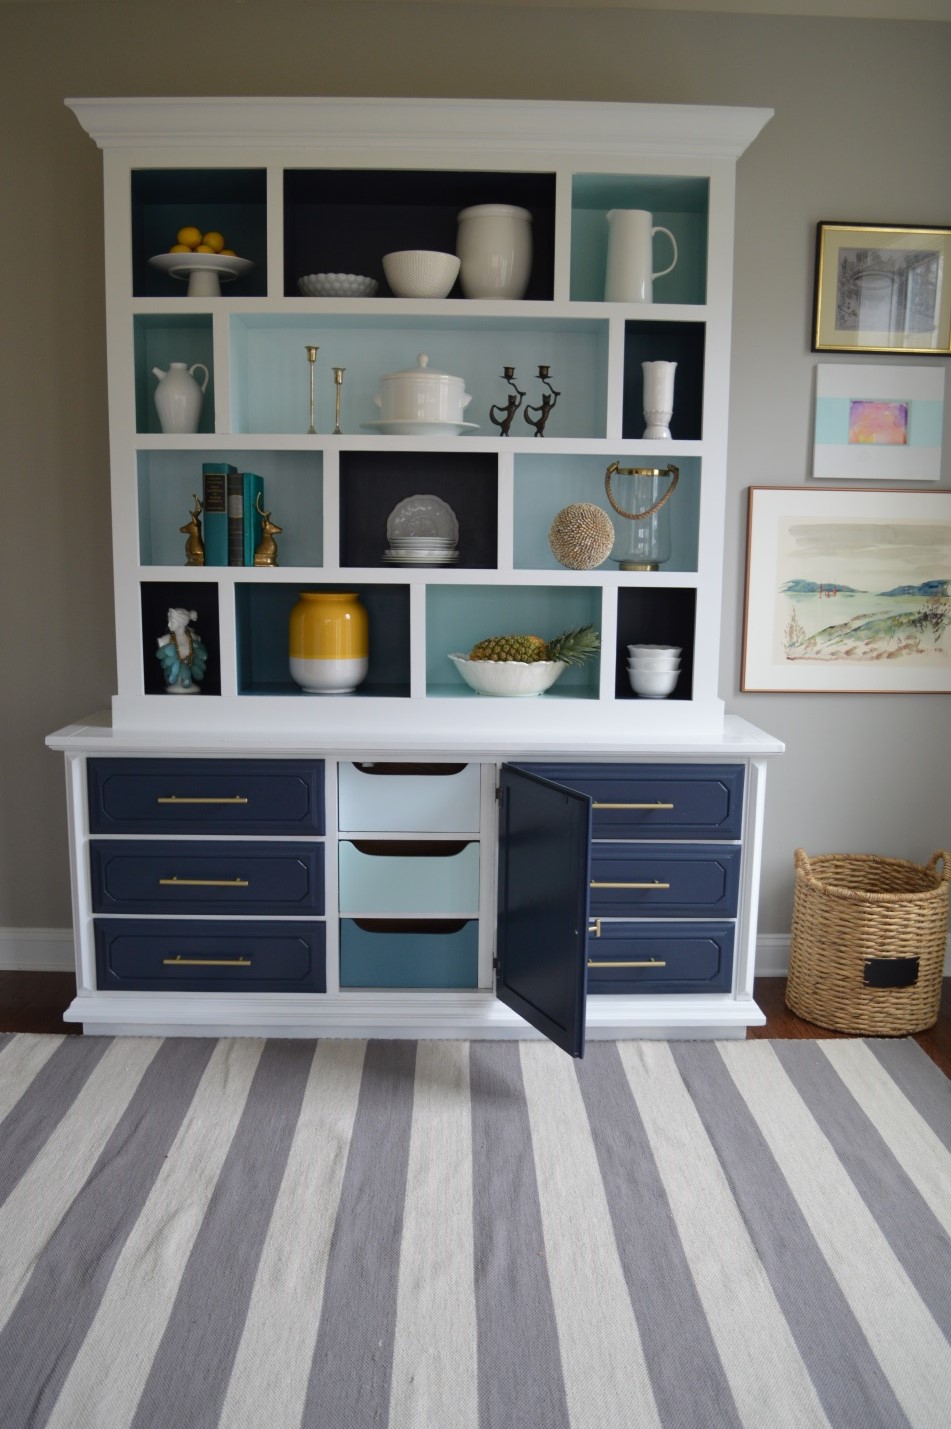
I painted the inside drawers shades of blue to match the cubbies for another fun punch of color. We love how the buffet and hutch turned out. If building shelves is not in the cards, another option is to go to IKEA and get yourself some inexpensive bookshelves, attach it to a console table, and then add trim like we did here.
———————————————————————————————————————————————————-
The blue color palette Tracy chose compliments all of the items on the shelves so nicely. We love that she didn’t just paint the thrift store console for her entry, but made her project even better by adding the DIY bookshelves- You rocked it girl!
Stop by her blog Right up my Alley to see details of her beautiful home, and other DIY projects she has put together like this cool ‘Wills’ frame she made for her daughters’ room that was inspired by a similar one she saw in the Handmade Walls book.

Come back tomorrow to see who will be featured from the Paint Link Up Party, which you can still join, and don’t forget there is still time to enter for a relaxing beach vacation to Punta Cana from Apple Vacations! ![]()


The comments +