
Happy Thursday! A few weeks ago, we had the priviledge of sharing this fun project on I Heart Naptime (if you haven’t ever stopped over there, do it! Jamielyn is such a sweetie, and her blog is super fun!). We hope you enjoy it!
————————————————————————————————————————–
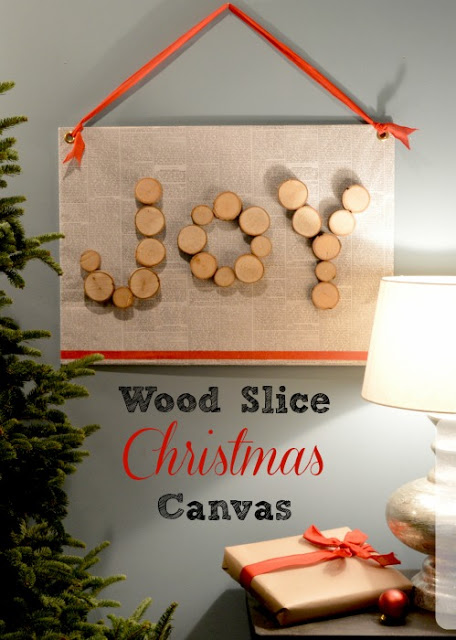
We don’t know about you, but one of our favorite things to do is decorate for Christmas, and we absolutely thrive on challenging ourselves to come up with decorations that are new and different each year. Last year, we tried our hand at creating ornaments out of slices of wood, and since we loved them so much, we decided to create a piece of holiday art with them!

Here’s what you’ll need to make your own:

Not pictured: Liquid Nails, Grommets and Grommeter, Washi Tape
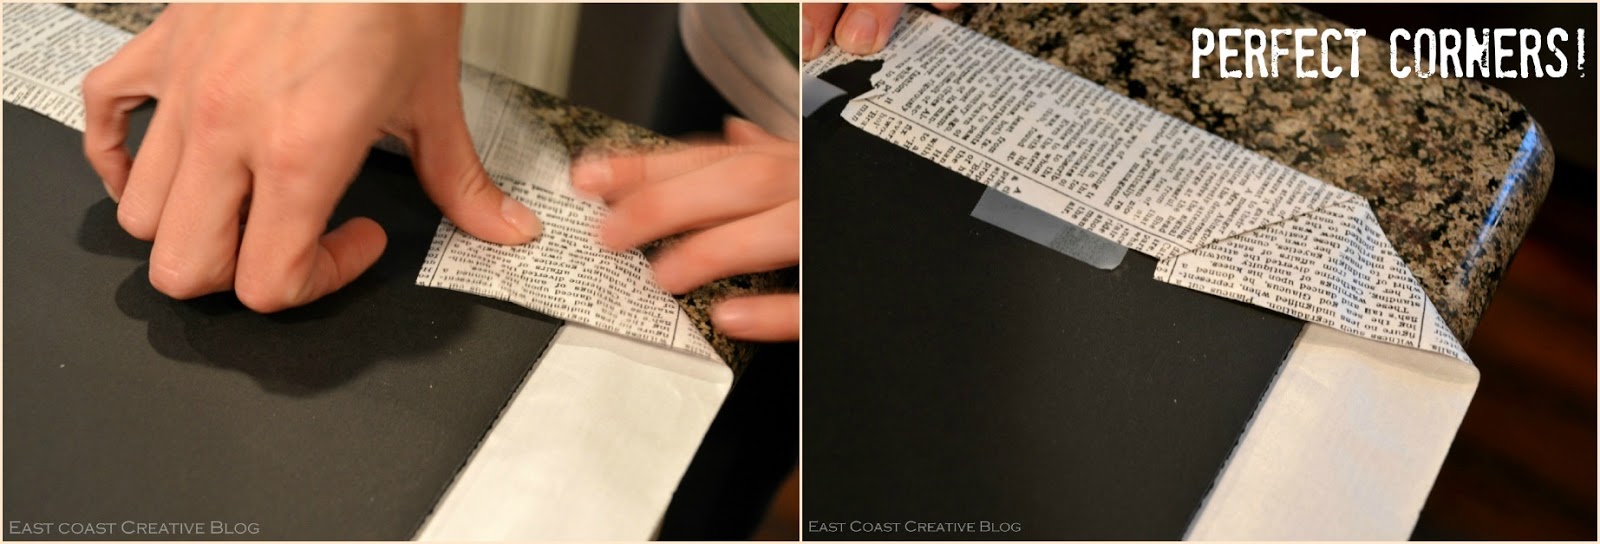
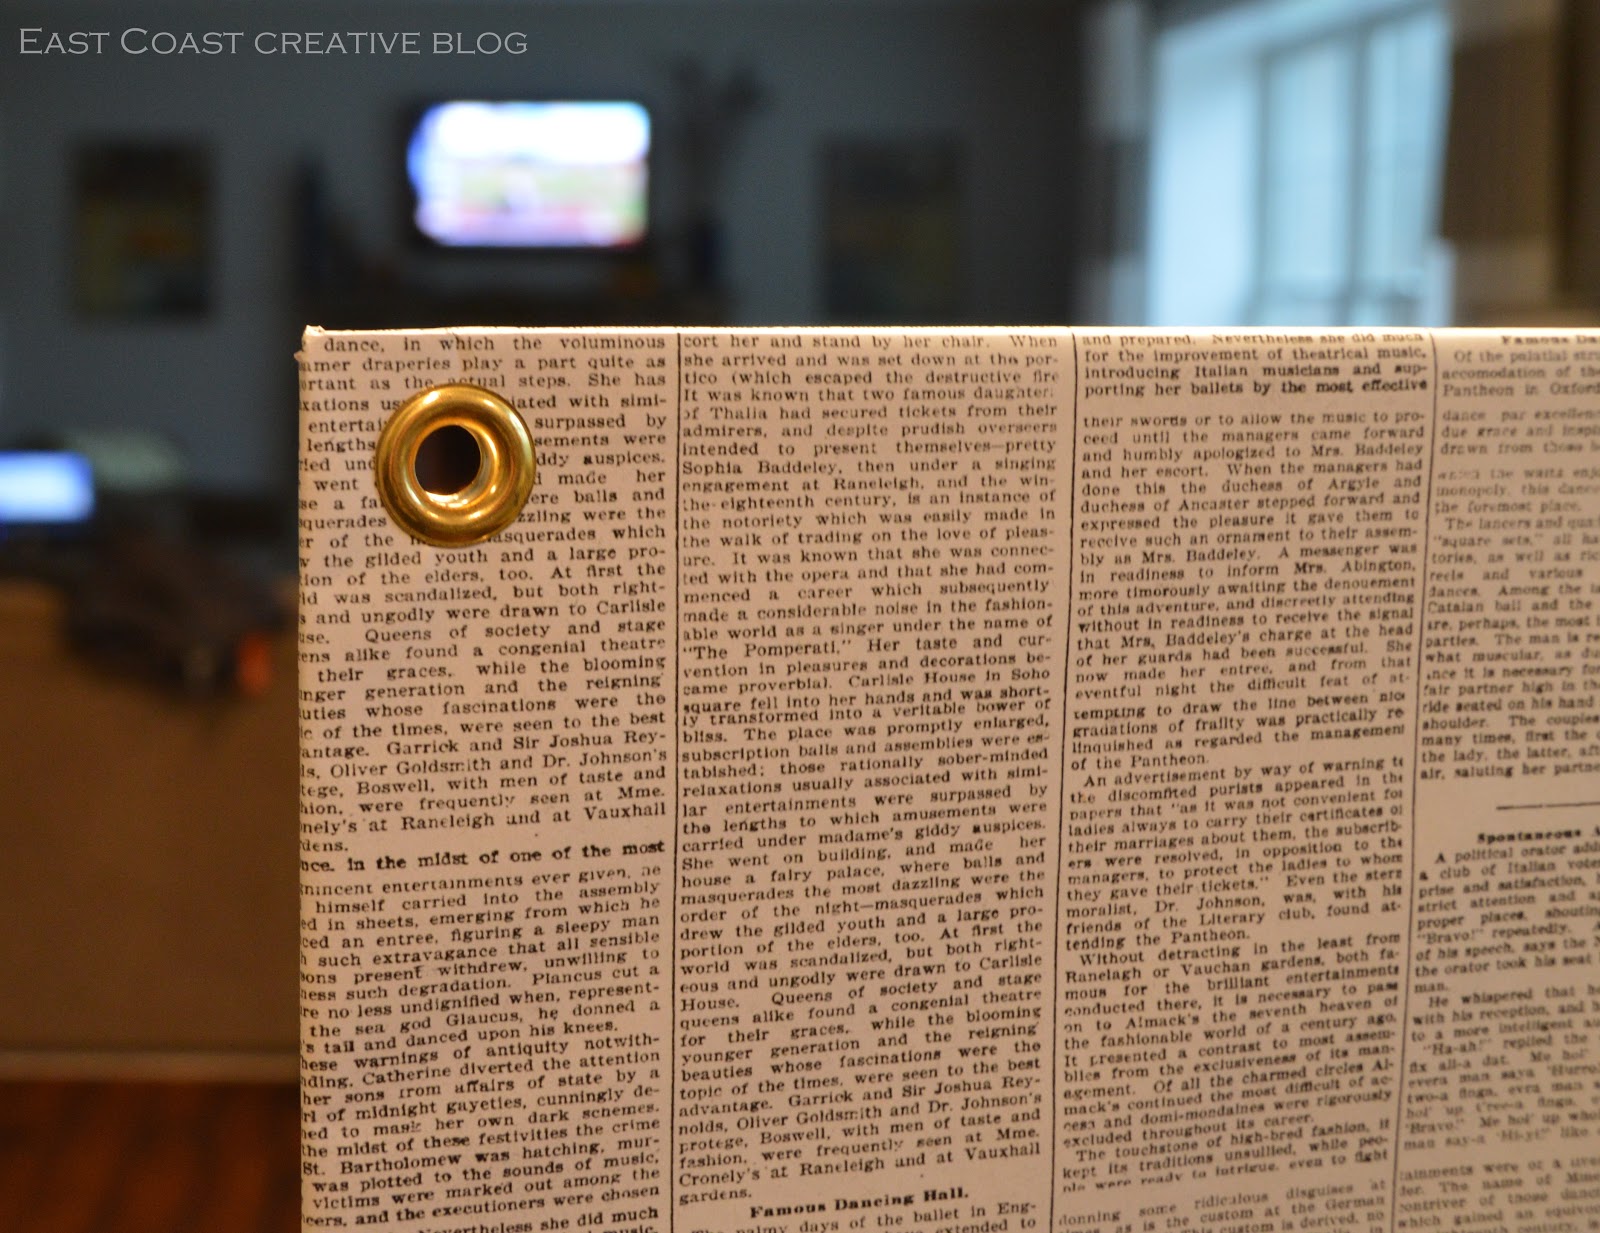
Step 1: Wrap your foam core in wrapping paper. We found this fun newspaper/book page wrapping paper in the dollar bin at Target. Score! You could use spray adhesive, but we found that wrapping it worked just as well, with less mess!

To get perfect corners without bunching, fold the corner in towards the center of your foam core, pull tight, and then fold the sides over the top. Tape down in place.
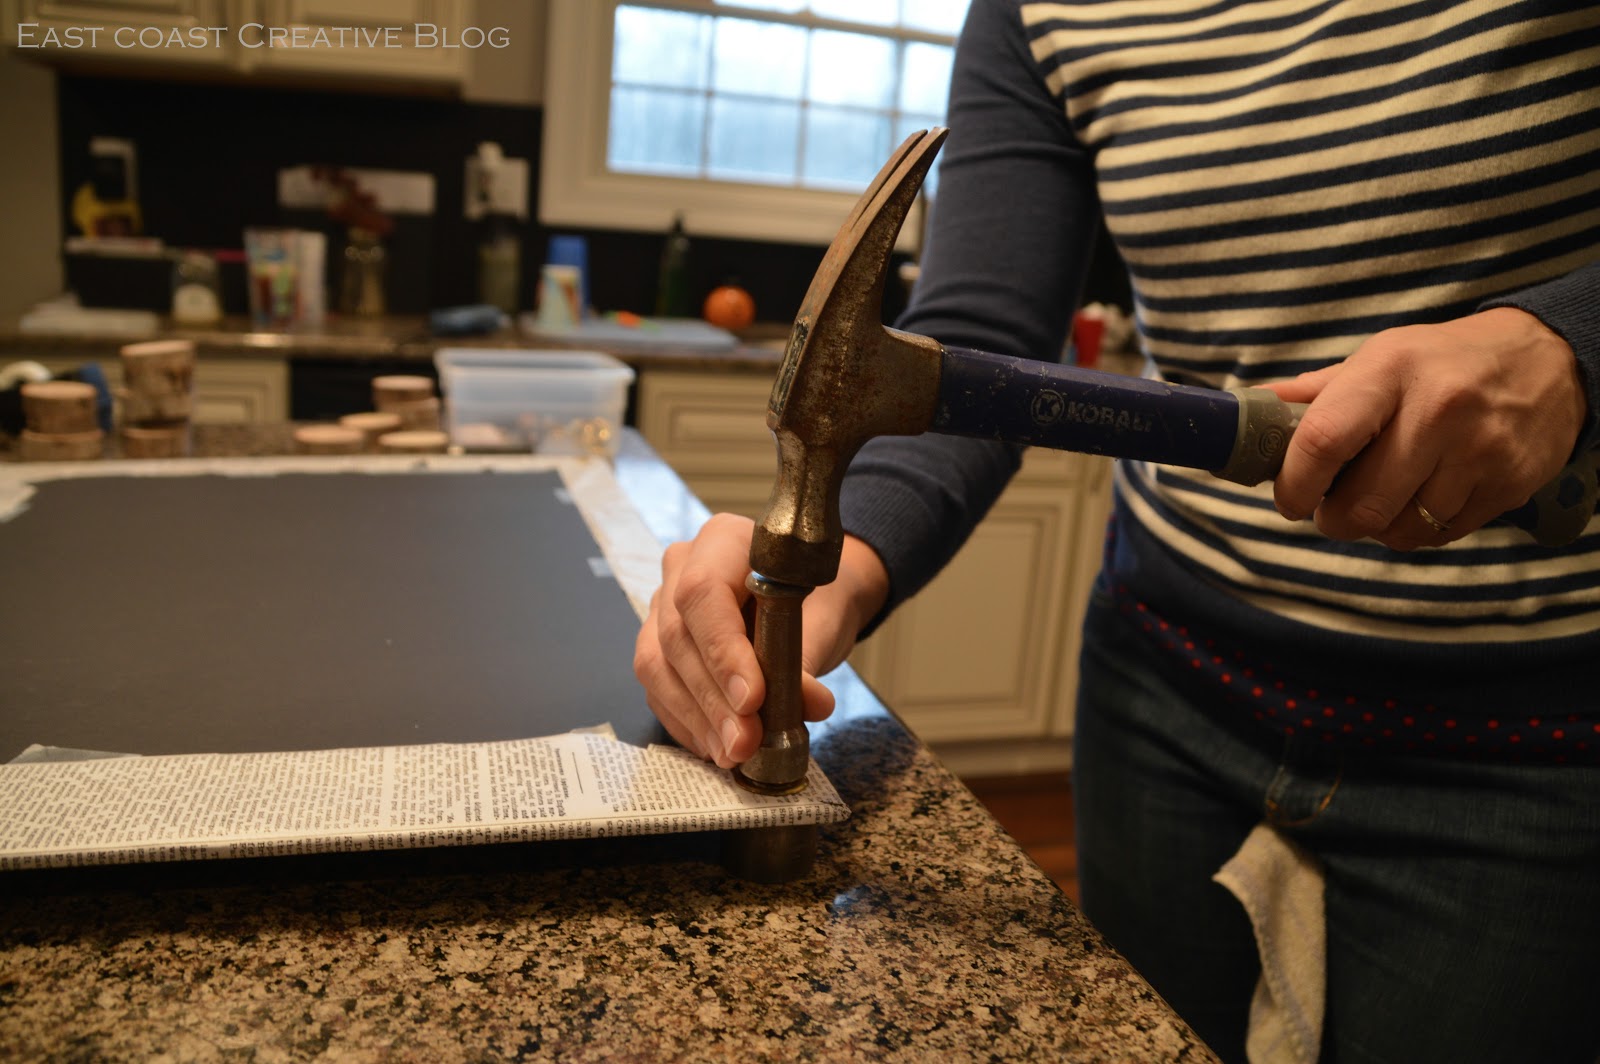
Step 2: Add grommets to the top corners of the foam core. Don’t know how to add grommets? We’ve got you covered and can teach you. This step isn’t necessary (you could hot glue your ribbon to the back), but we think it adds just the right amount of glam to our art piece.
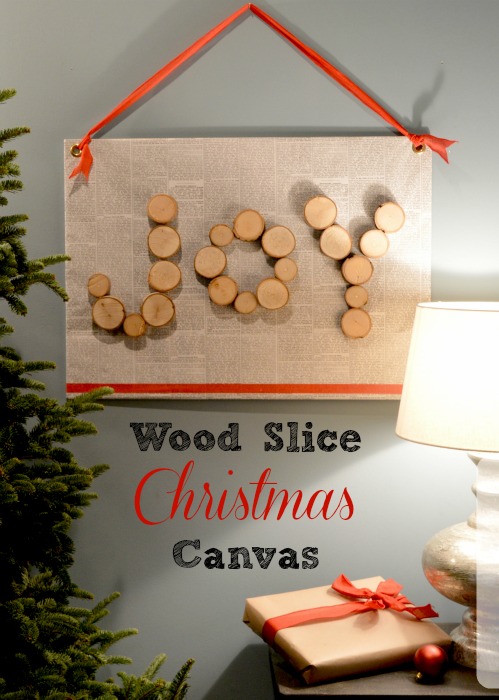
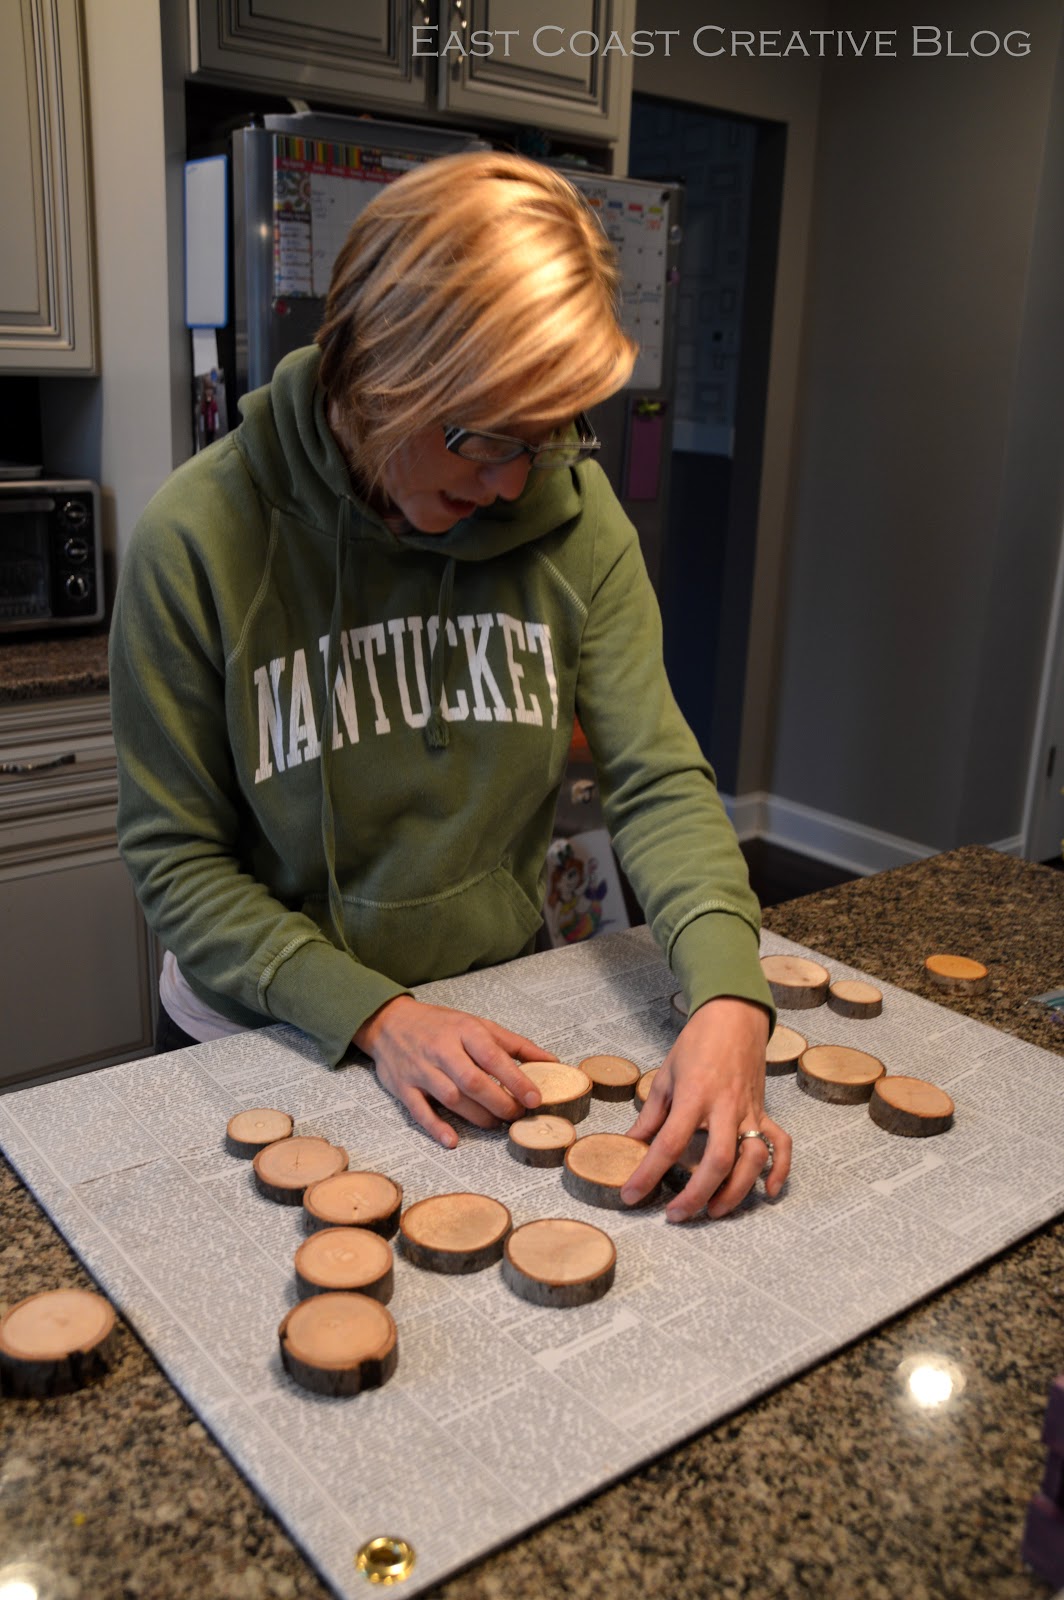
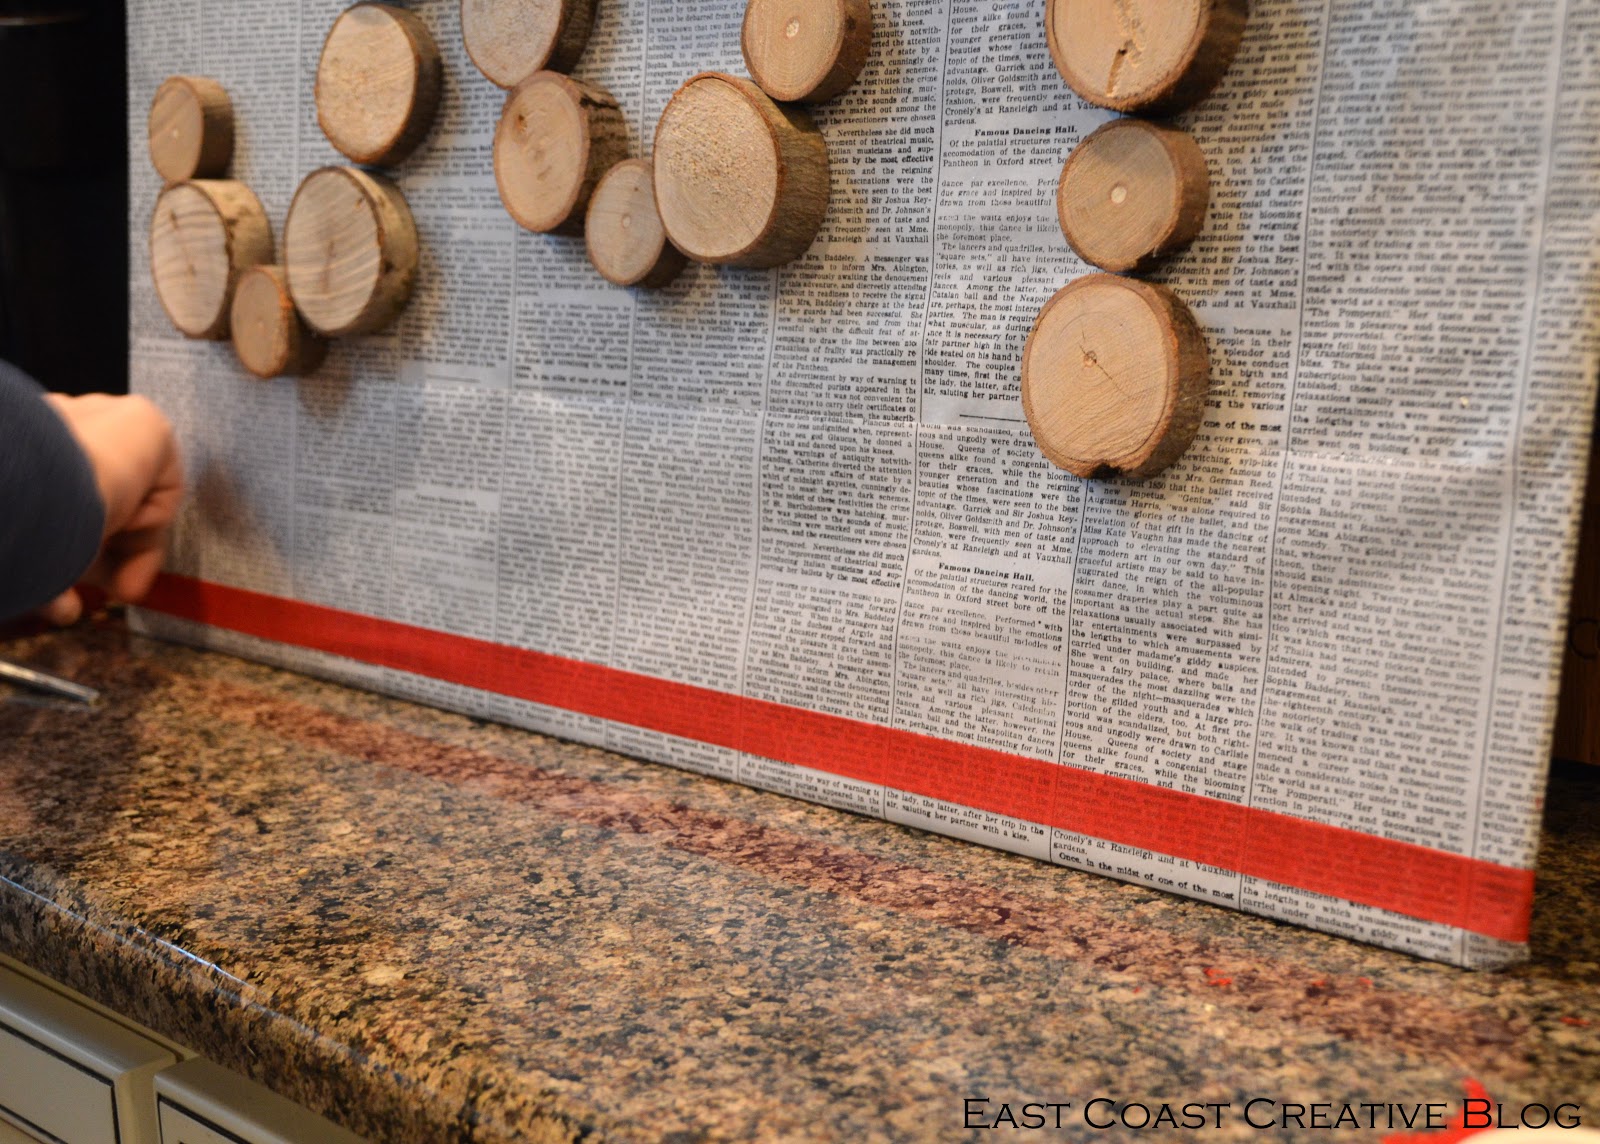
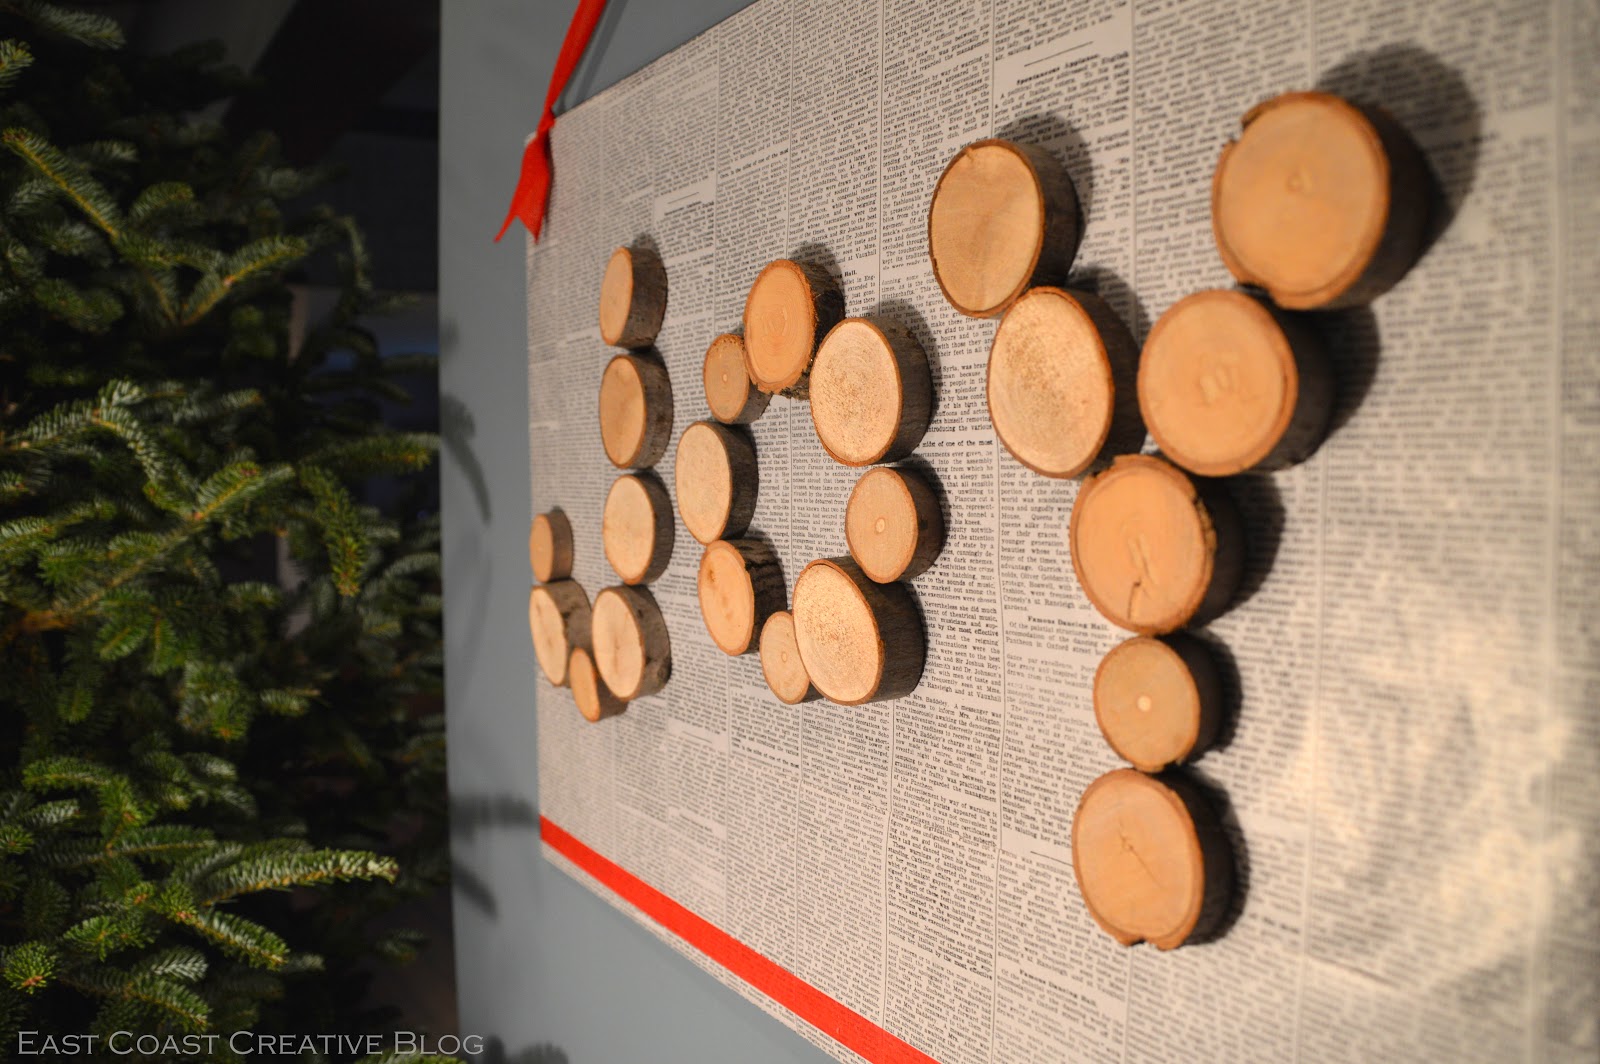
Step 3: Figure out the arrangement of your wood slices. We cut our birch logs with a chop saw about a 1/2 inch to 1 inch thick. We found our birch wood in our backyards, but usually Michael’s sells these if you don’t live in the boonies like we do. Then, we just laid them out on our foam core and decided which arrangement we liked best. No special scientific method needed! (We try really hard to limit the amount of math we have to do for projects. Hehe.)
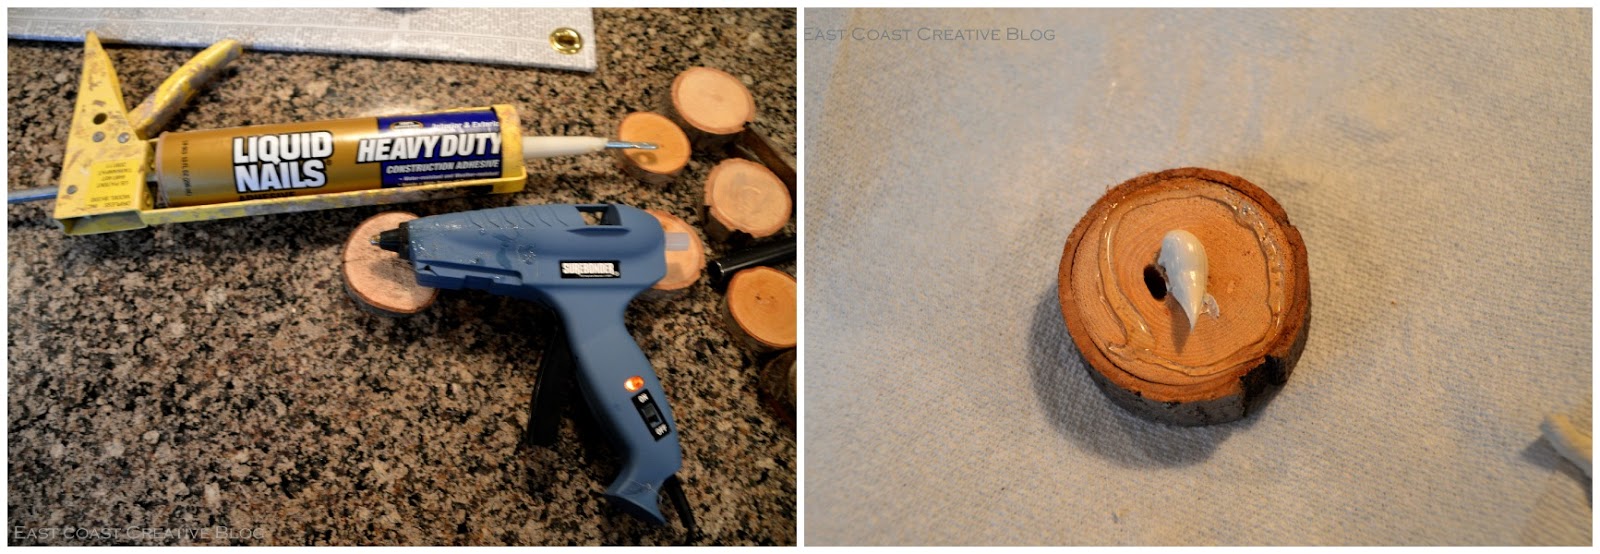
Step 4: Attach your wood slices to your “canvas”. We wanted to make sure that the wood slices would stick immediately, so we used hot glue around the outside. Then to make sure the wood slices stayed permanently, we put a dab of liquid nails in the middle. It never hurts to be extra careful, right?
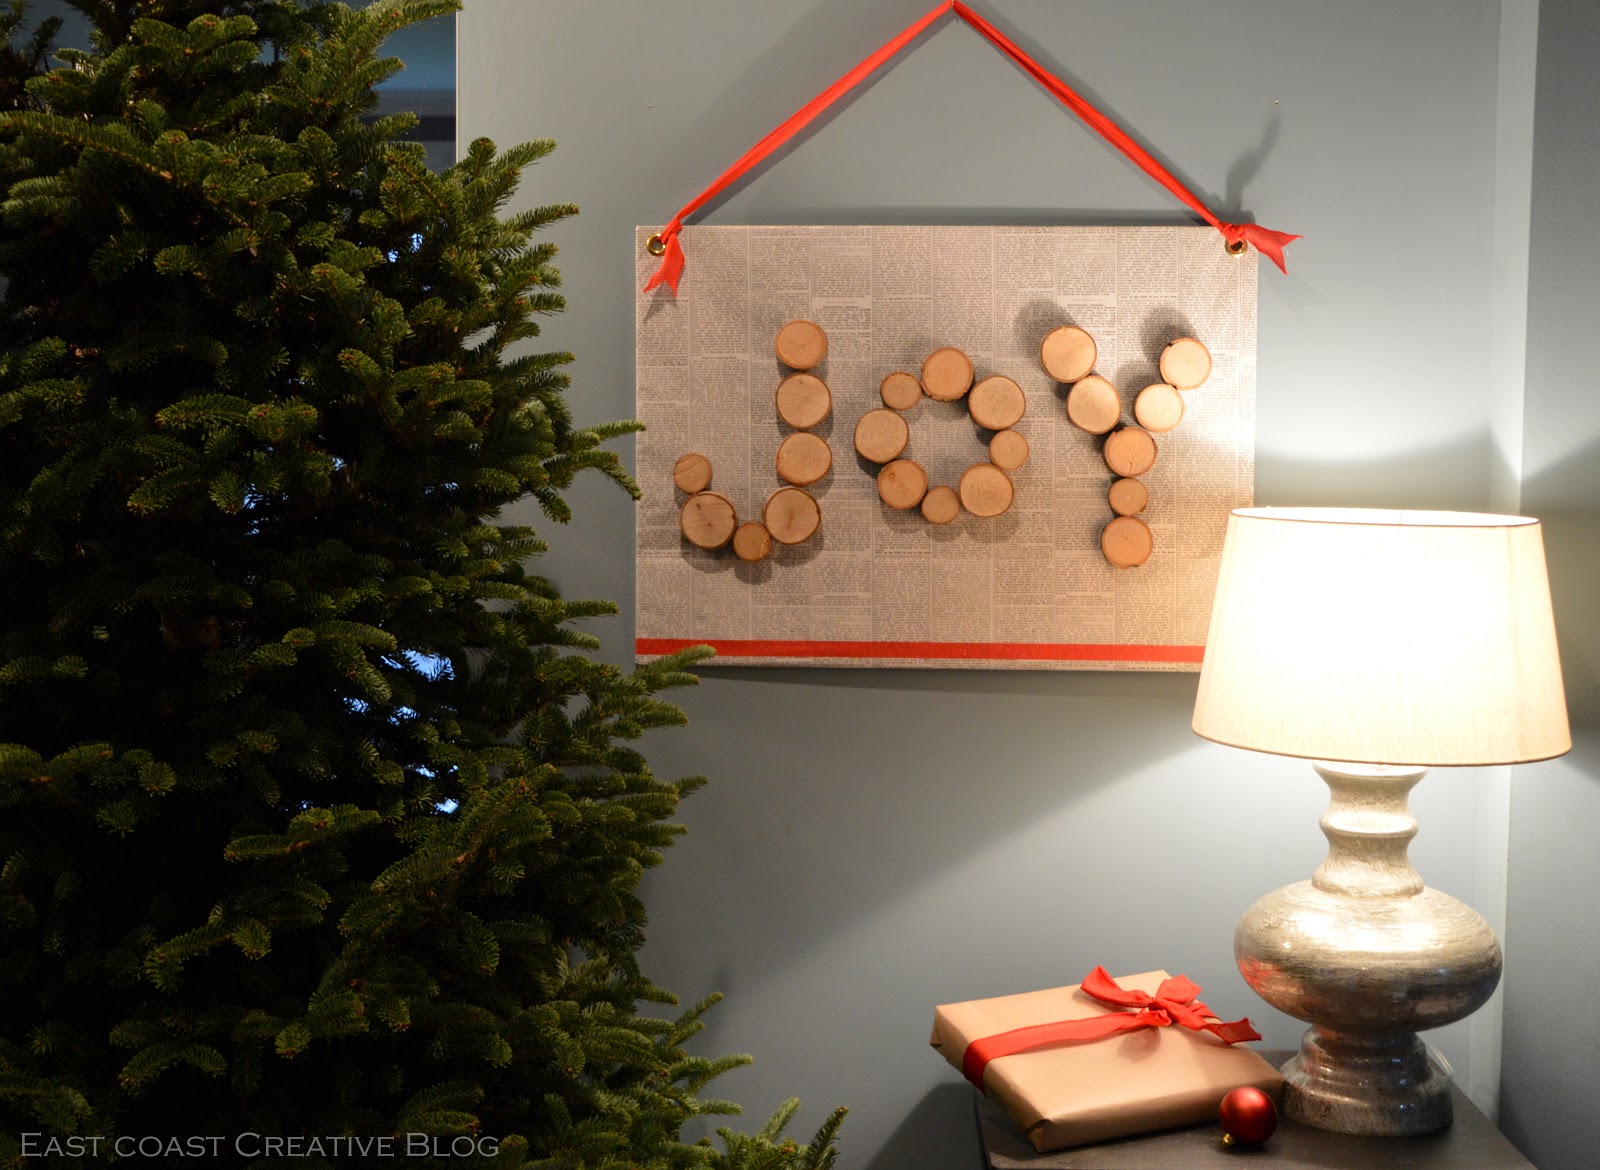
Step 5: Thread your ribbon through the grommets. Leave enough length so that it hangs at the height you want it. Cut the ends so they look cute.
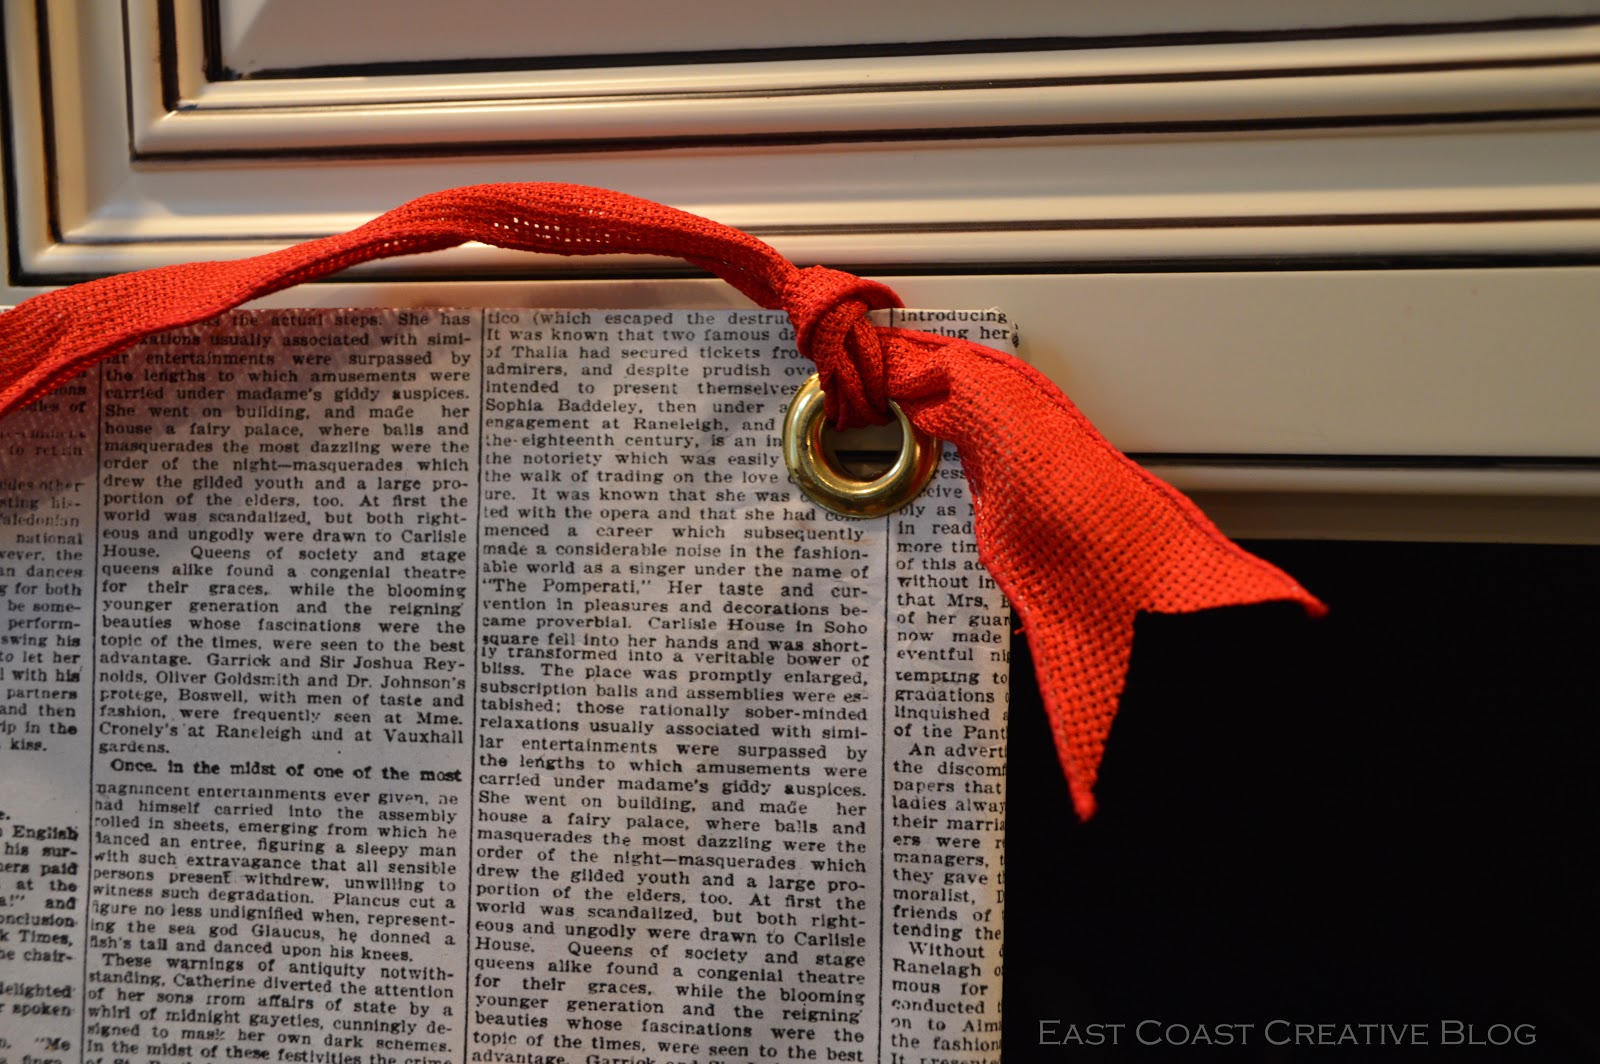
Step 6: Add some detailing. We wanted to really make the canvas pop, so we added a strip of red Washi tape along the bottom of the canvas. It helps carry the red from the ribbon above through the entire canvas.
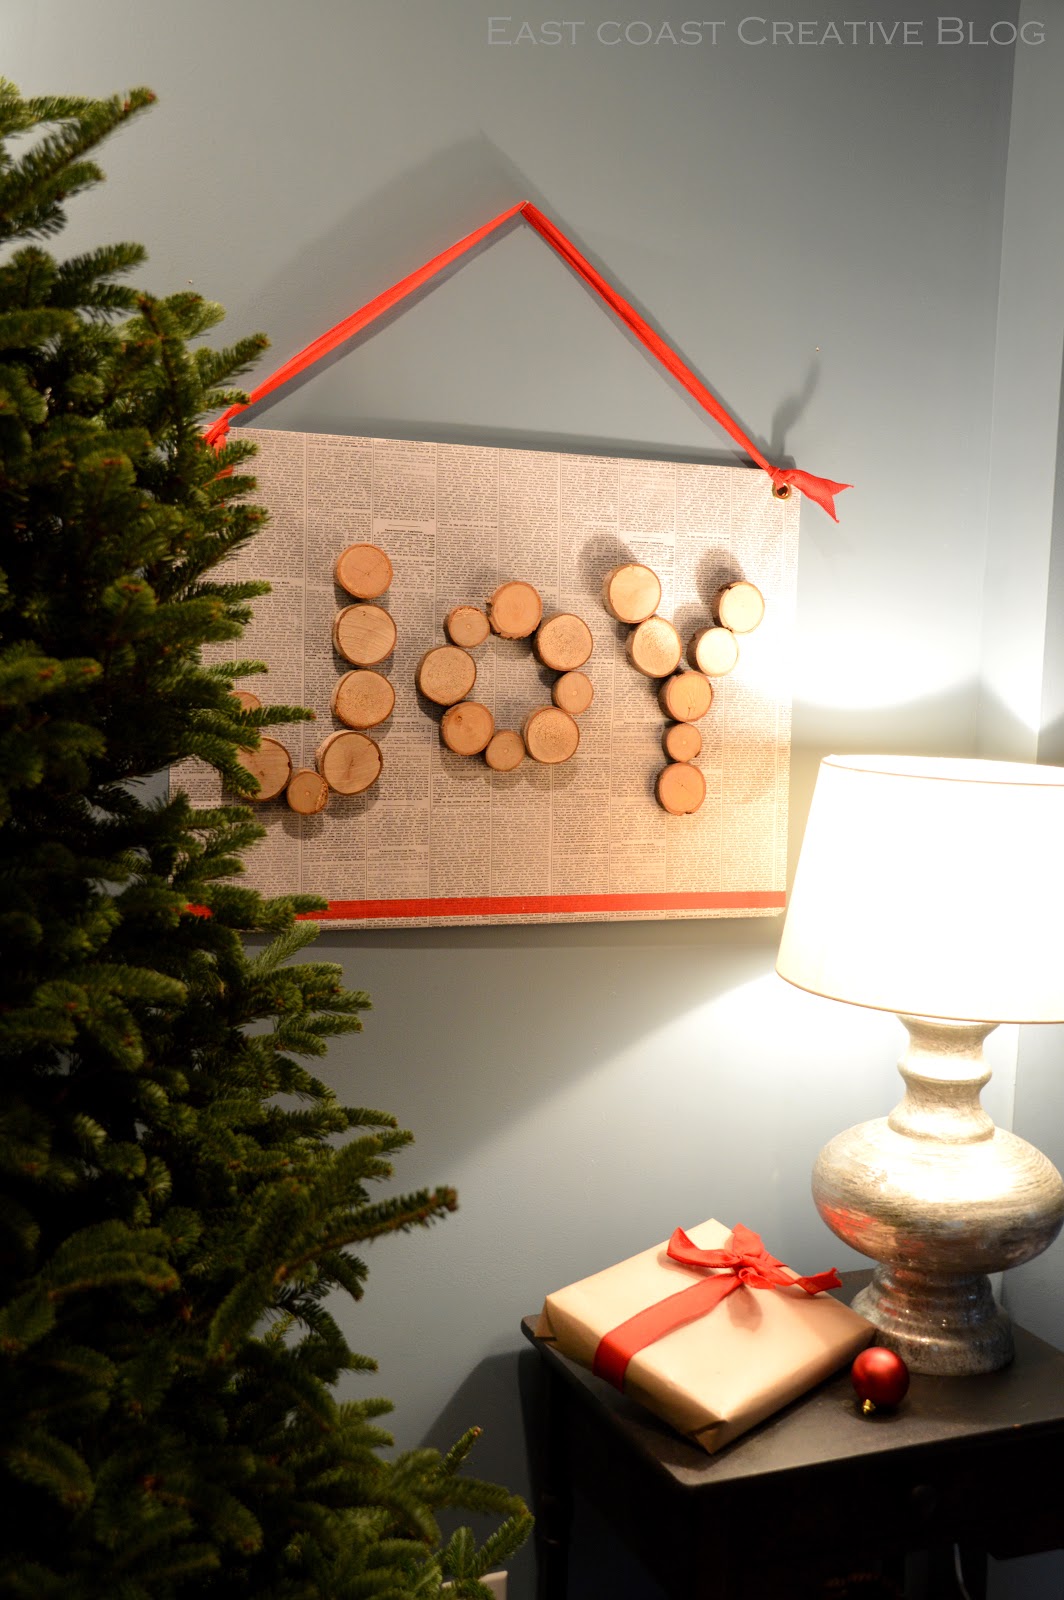
Hang up your canvas and start singing Christmas carols!
Yup, we’re ready. Bring it on, Christmas!
So, that’s two wood projects in 2 days! Are you feeling the wood love like we are? What new twists are you doing to your holiday decor?


PS. Don’t forget to send us your Christmas cards!
Want more EC2? Use the icons below to follow us!


This is absolutely adorable!! I love that it’s unique and you could customize it to say anything!!