


To make the card with the picture, here’s what I did:
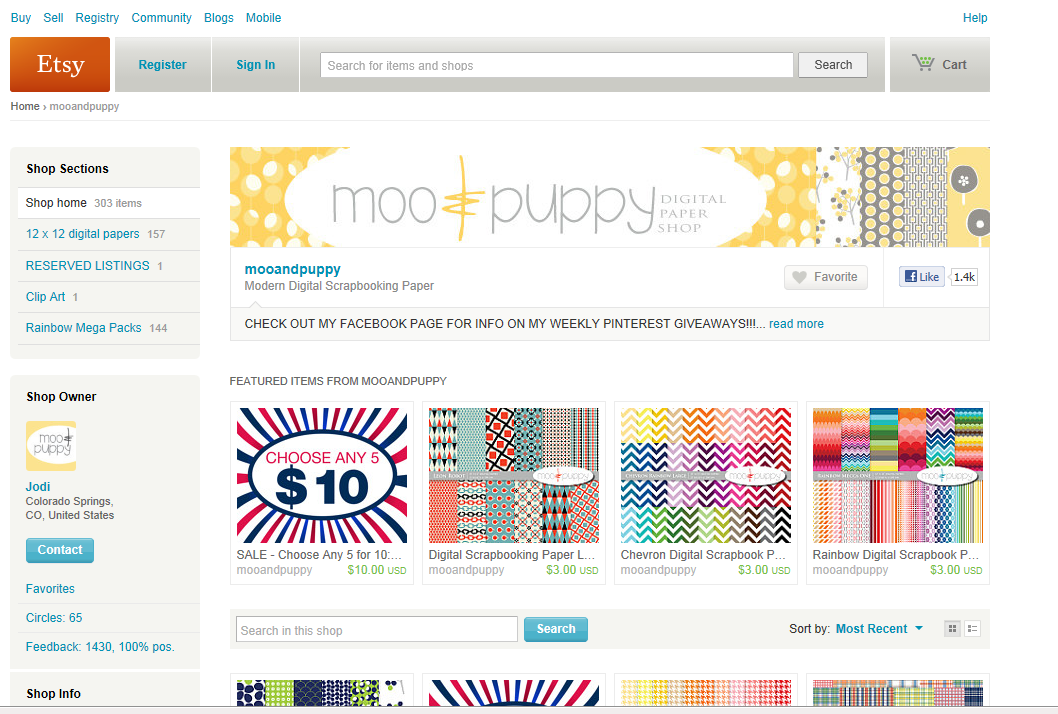
I went to my favorite digital scrapbook paper store, Moo & Puppy, and picked out a pack of paper that I liked. She has SO many cute and modern options, that you’ll be able to find anything you’re looking for! I used the Gridley Patriot pack.
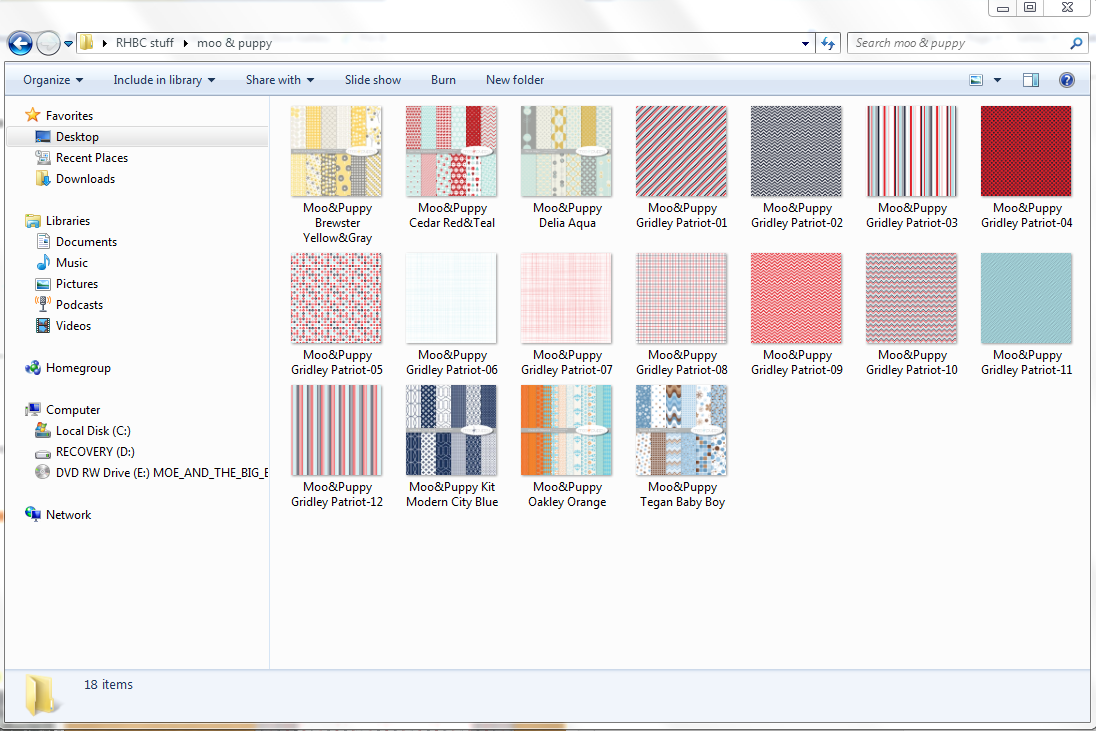
When you receive the paper download after purchasing, it will show up on your computer like this:
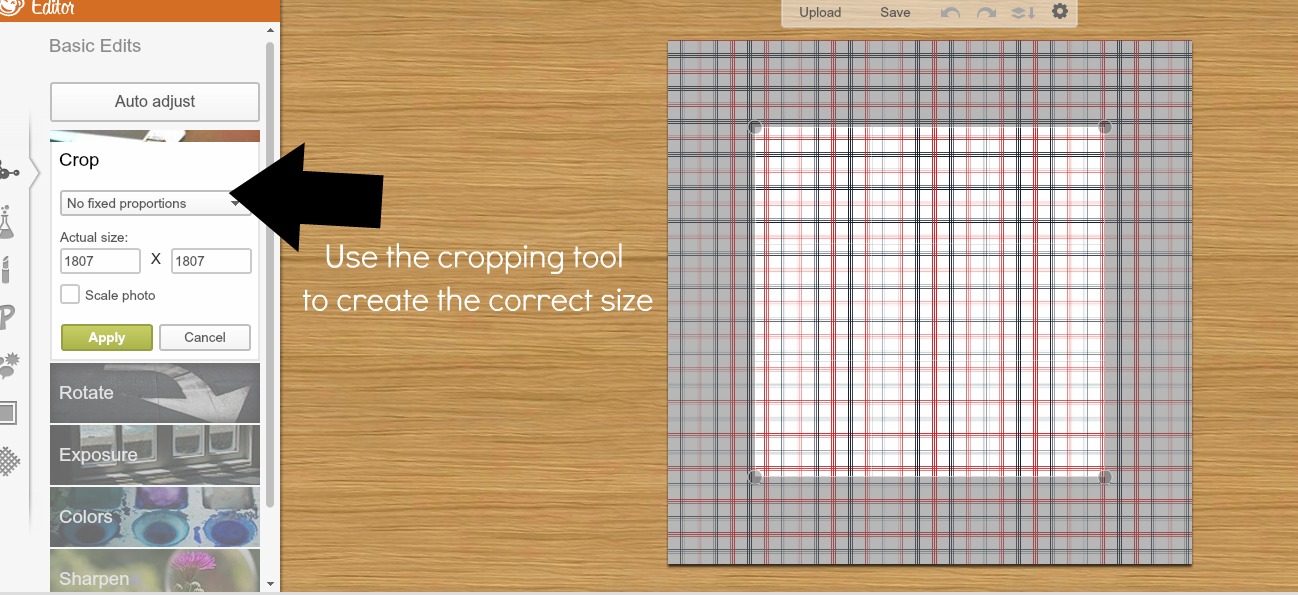
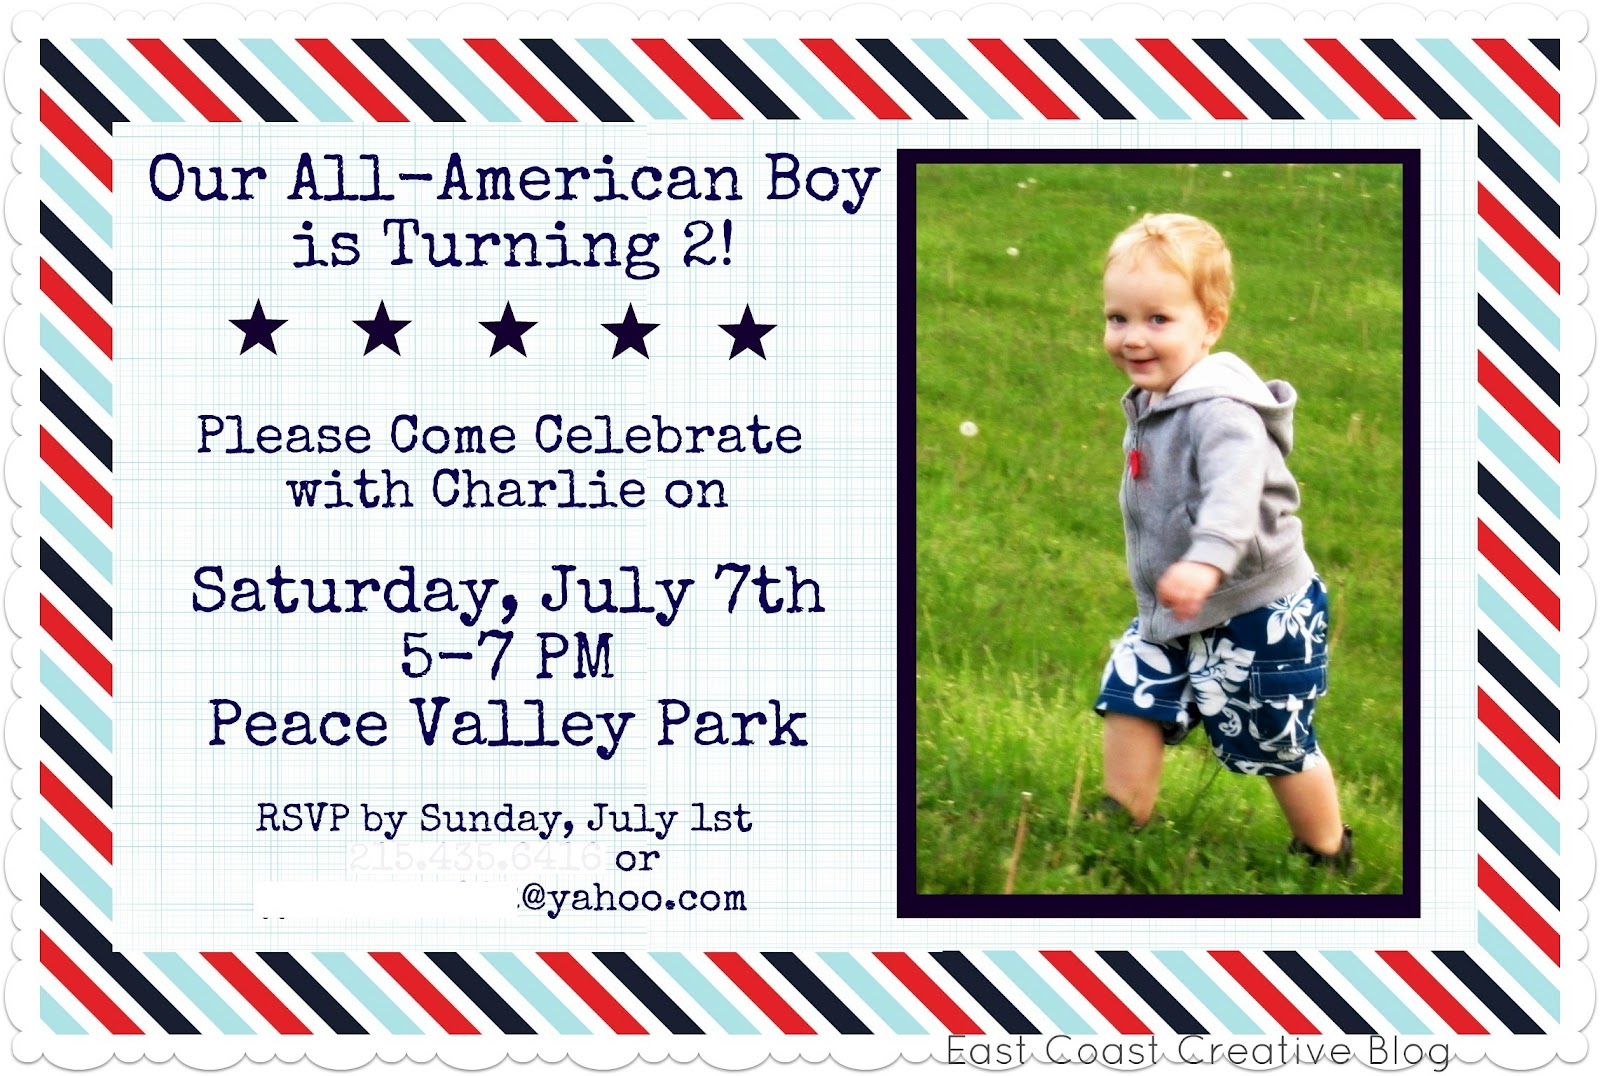
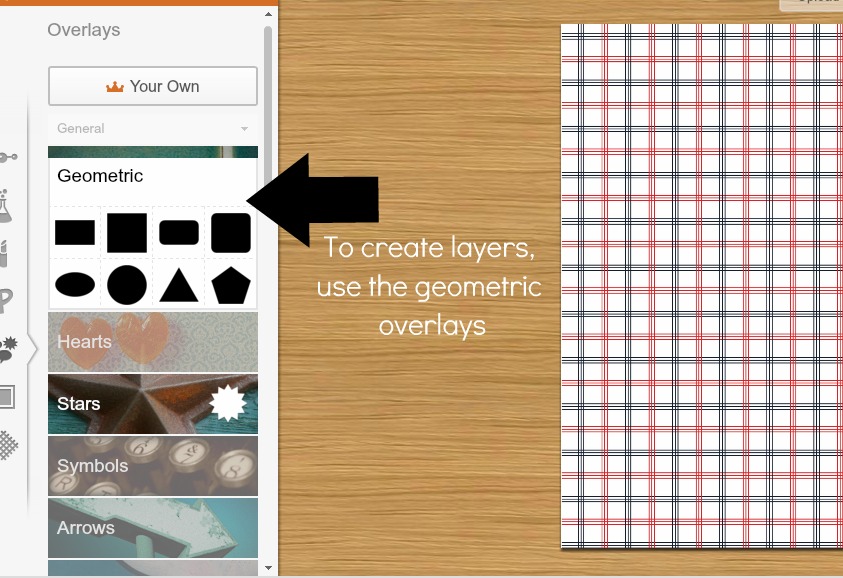
I knew I wanted to add a picture, but I wanted to create a layer for a more professional look. I clicked on the geometric overlays, chose the rectangle shape, and then changed the color of the shape to navy blue. This created the “frame” for my picture.
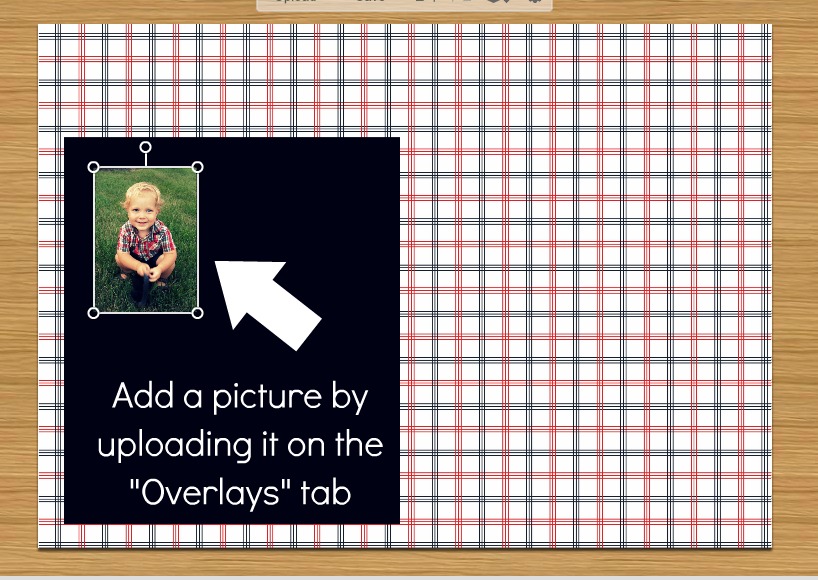
To add my picture, I clicked on the “your own” tab (you can see it in the top left corner on the pic above) and chose the picture I wanted to upload.
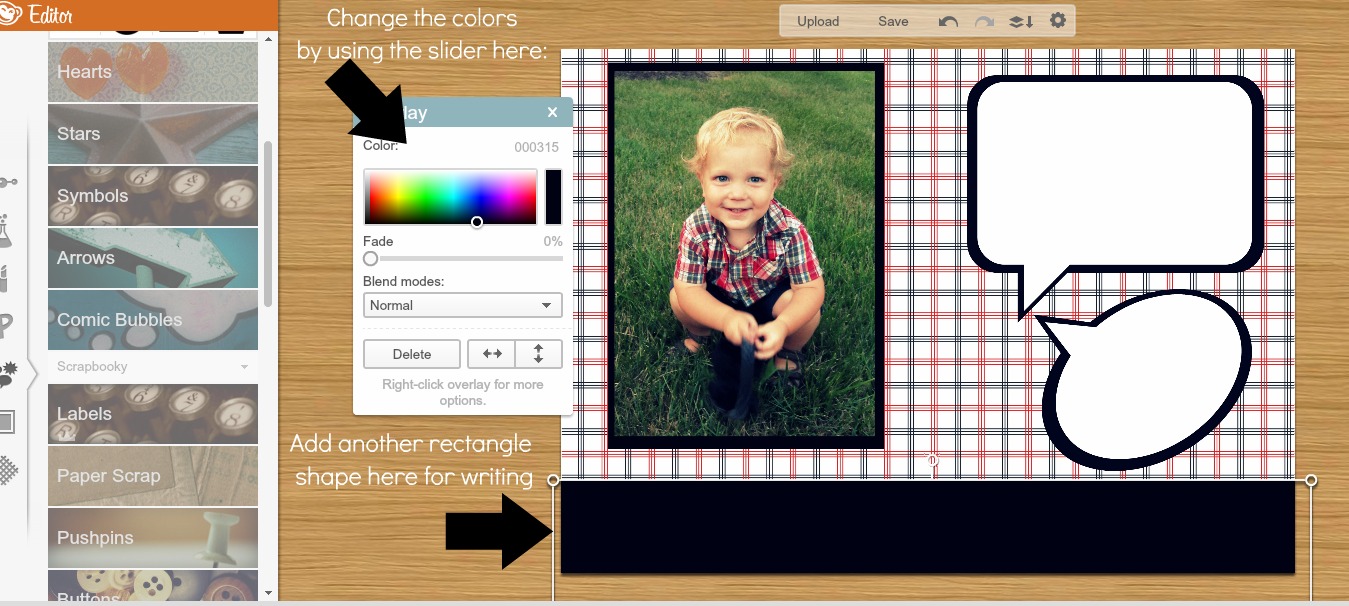
Once I resized my picture to fit the “frame” beneath it, I started messing around with all the fun overlay options they have. I decided to go with comic bubbles for a fun kid element, and layered them again to create depth.

I added a bar across the bottom by choosing the rectangle shape and stretching it out to fit the width of the card:
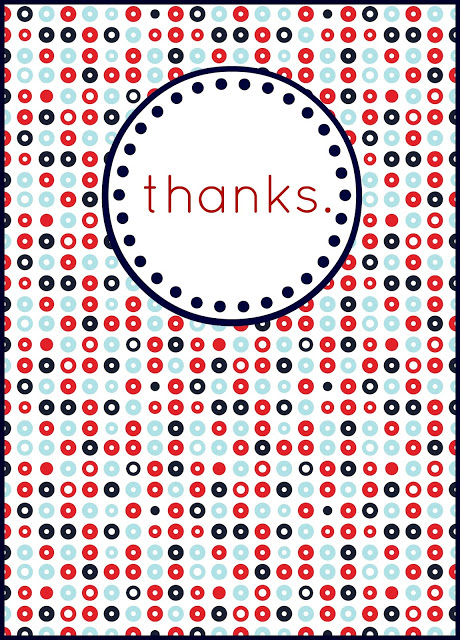
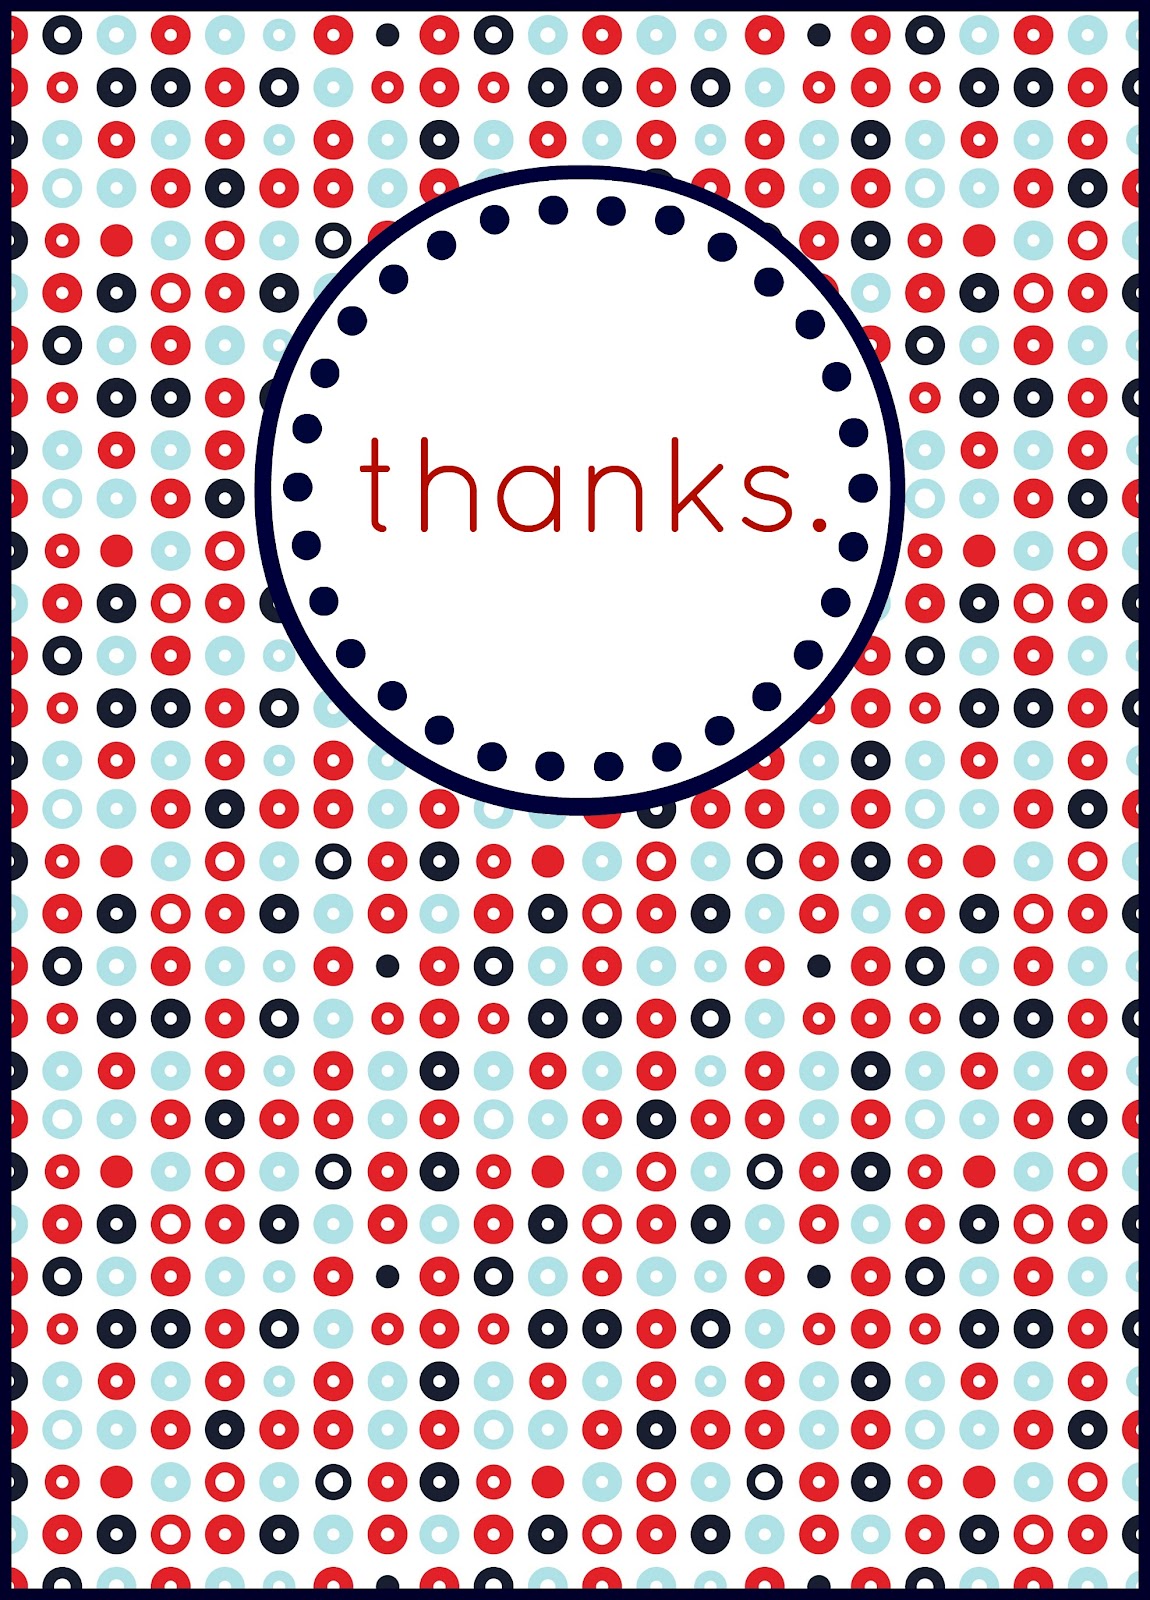
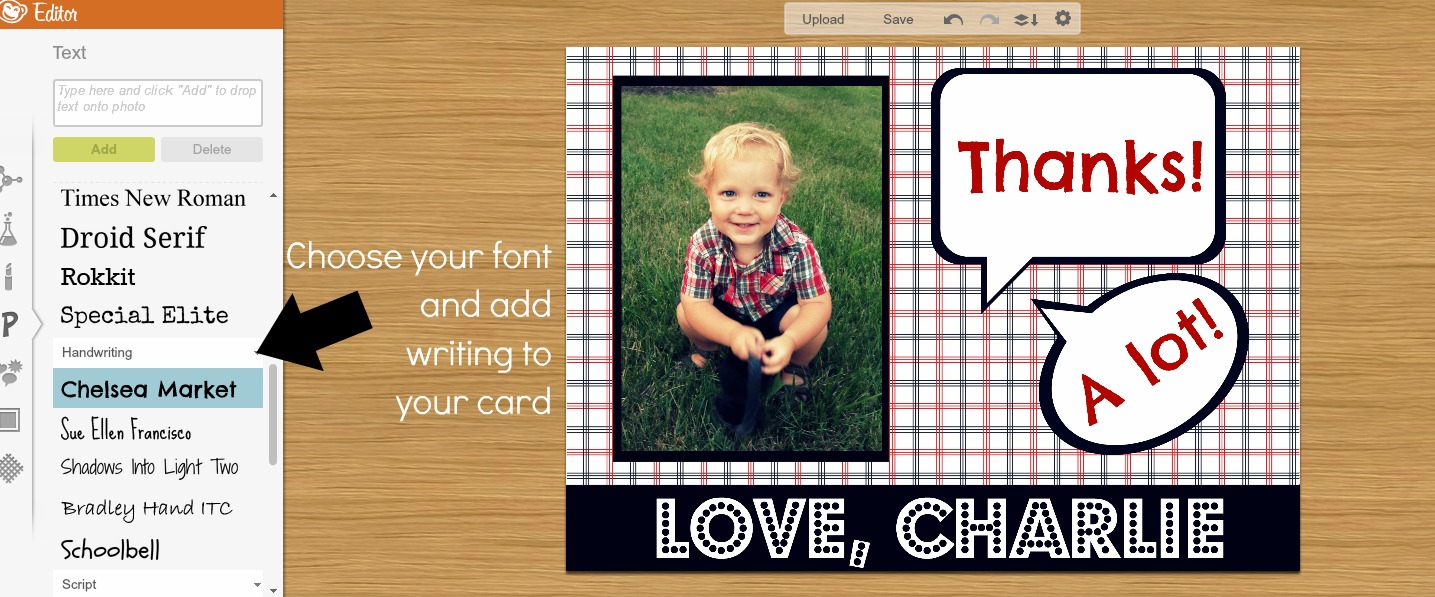
Finally, I added my writing, saved it to my computer, and ta-dah! I’m done!
I’ll probably print these out on heavy card stock, but you could also have them printed at Walmart or Target in a matte finish for better picture quality. It’s so easy to do, and I LOVE that I can make things exactly the way I want them. It makes it so easy to coordinate everything, from the invitations all the way to the thank you cards.
What do YOU do with digital scrapbook paper?


I seriously did not know about the layering in pic monkey. Can’t wait to try out moo and puppy either. Great tut.
Thank you for the tutorial! I had to idea that you can add layers into picmonkey! Now I can do all of the printables for my daughter’s birthday party that is only 2 weeks away.
I am with Tiffany…did not think about using Picmonkey (which I love) to do the layering. I am so going to try this since I have the My Memories scrapbooking kit. Thanks so much for the infor and these great ideas!!!
This is awesome! Can’t wait to try it!
Oh my gosh – I didnt relaize it was so easy! Thanks girls!
Get outta Town! I would have NEVER thought of doing this! See… you ladies are too clever! Great idea- Love how you can use it to create just about anything you wish!! Thank you for sharing this awesome Tutorial!
Awesome tutorial! I love your thank you notes and invite! Super cute! You’re giving me ideas for my daughter’s thank you notes! I love Picmonkey!! Its better version of Picnik! With better fonts and labels and things! There is also another site called ipiccy.com which is fun! It’s sorta like picmonkey but has advance things in it. And I used it because it had collage way before picmonkey did and it rocks! (I used it for my blog header even tho I’m a bad blogger and don’t blog much have 3 girls (4, 2.5 & 10months) I’ve played around with both. My only thing that stumps me is figuring out the sizing for the birthday printables like treat toppers and cupcake toppers and things. You know there is a bunch of FREE scrapbook papers and things online. (I’m cheap and thrifty.) You should check out this blog http://www.sprikspace.com/p/pattern-pieces.html Aimee has a bunch of FREE papers and printables! She rocks! She has dots, gingham, chevron, stripes and so much more! She even can do custom colors for you! There is a bunch more if you search pinterest for free scrapbooking paper or kits. Making invites is so fun! 🙂
hey! Thanks for the tip about the free scrapbook papers!! 🙂
THANK YOU for this tutorial!! I have been wondering for WEEKS how to do this! I knew I could use picmonkey but had NO CLUE where to get the cute backgrounds from (having a slight “Duh moment” right now). This was SO helpful!!!
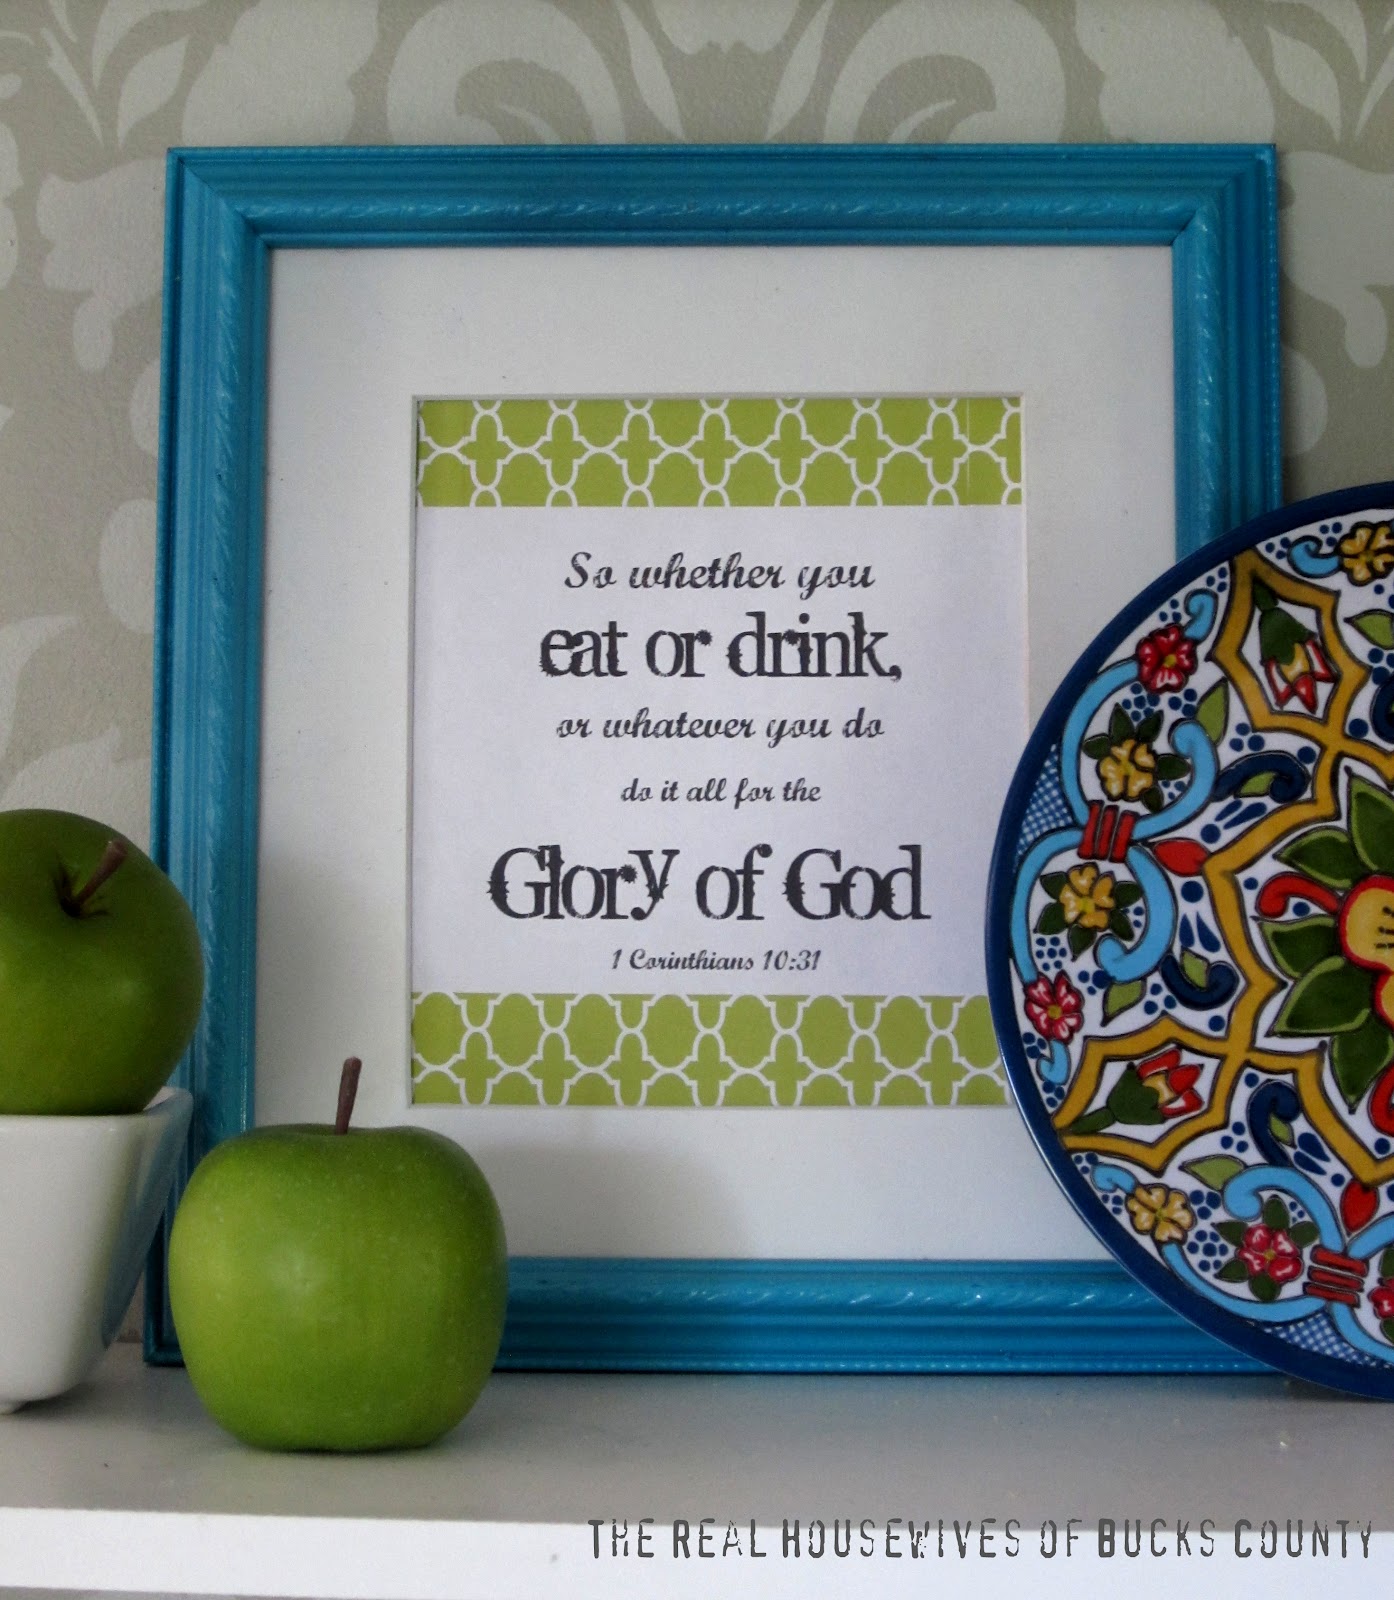
Ok so I discovered you over the weekend. And now not only did I buy a bunch of digital scrapbook paper (it’s on sale AND your RHBC15 code still works!), but I just used it already too. I made a cute little chore chart, framed it in a dollar store frame, and plan to hang it on the fridge so I can see it. Then I can check off my chores with a dry erase marker and not have to reprint each week. Thank you so much for all your inspiration!!!
[…] paper packs-that’s amazing! You can see what we do with our printable scrapbook paper here. Seriously…endless […]
[…] Digital Scrapbook Paper = Endless Possibilities – East Coast … – Anyway, there are a TON of things you can make, and I want to show you, in just a few steps, how I do it! Today, I made two different thank you cards, one with a picture, and one without. […]
[…] https://eastcoastcreativeblog.com/2012/07/digital-scrapbook-paper-endless.html […]
Just made great thank you cards with your directions!
I LOVE this! I create Digital Paper and I’ve been looking for a great link to share to spread the word about the amazing uses of digital paper!! Thanks so much! etsy.com/shop/mecute
🙂