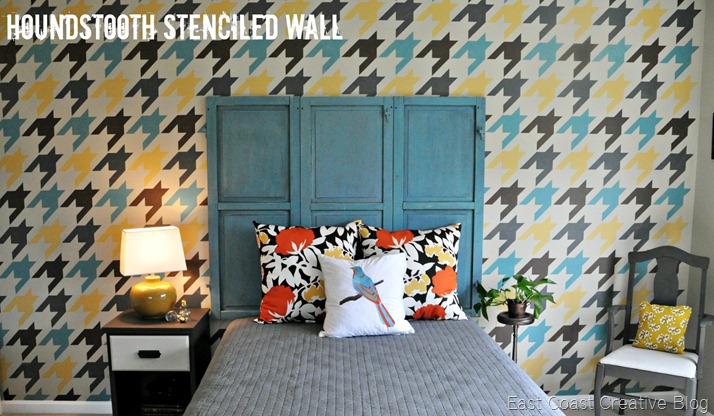

Thank you all for your awesome response to our SuperFab Room Redesign! We were thrilled with how it all turned out, (and thankfully, so were the homeowners!), but we realize that the houndstooth stencil from Royal Design Studio totally steals the show! Our favorite thing about this wall is the modern color scheme paired with the very classic houndstooth pattern. However, it’s one thing to tackle an entire accent wall with a stencil, but it’s another whole thing to do it with multiple colors! There’s quite a saga behind this wall, and we learned some really helpful things about how to stencil well that we thought we’d pass along to you. When you DIY, it’s all about learning as you go, right?


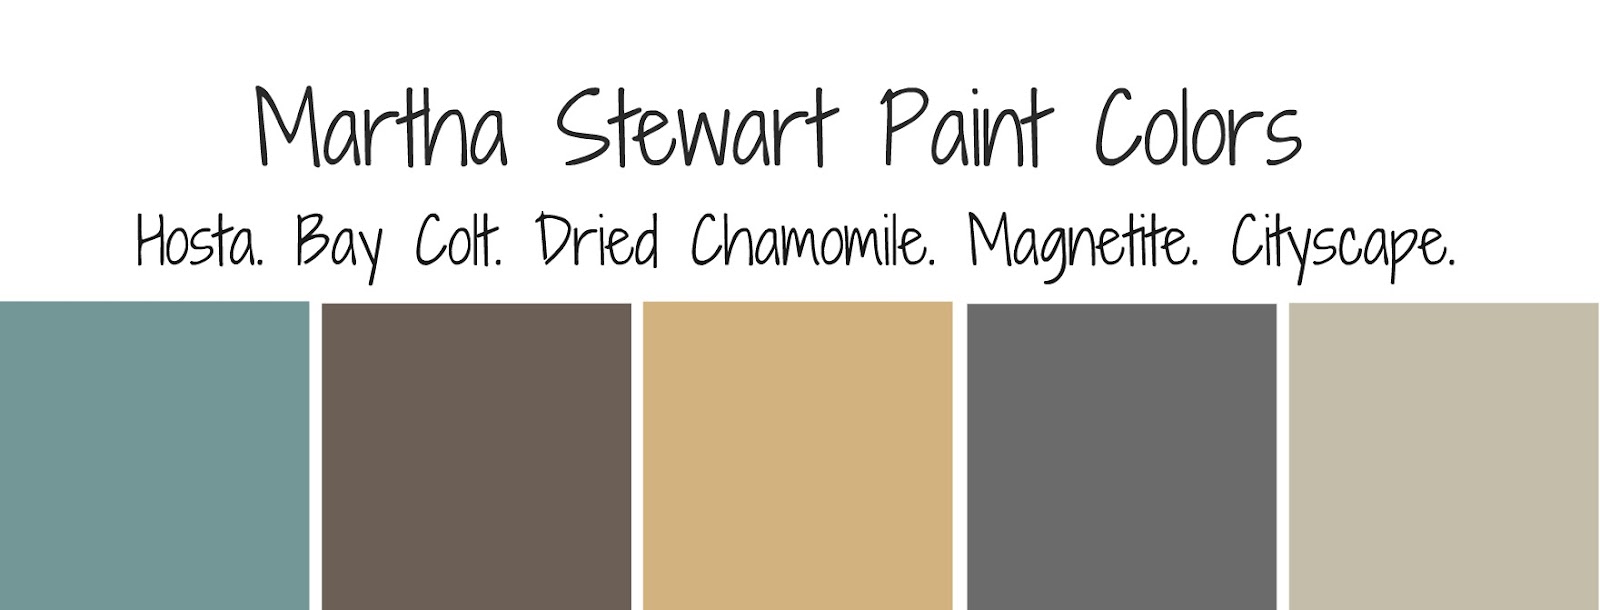
But first, let’s talk about these gorgeous colors. When Monica and I met up at Home Depot, these paint colors literally jumped out at us and we picked them within five minutes of getting there. Gotta love when that happens. Of course, no one does it better than Martha Stewart, and these colors are all from her paint line. So without further ado, here are the beauties by name:

Now, back to the saga. We planned this stenciling project like any other; chose the order of the colors, picked our starting point, leveled the stencil and got to work. The only problem is that we did NOT have the right supplies. We started with only two brushes (for 4 paint colors!) and four jars of paint samples, which, unbeknownst to us, contain no binding agents so they don’t work for stenciling. Each individual “tooth” took three coats of paint! And after four hours (no joke!) this is how much we had finished:
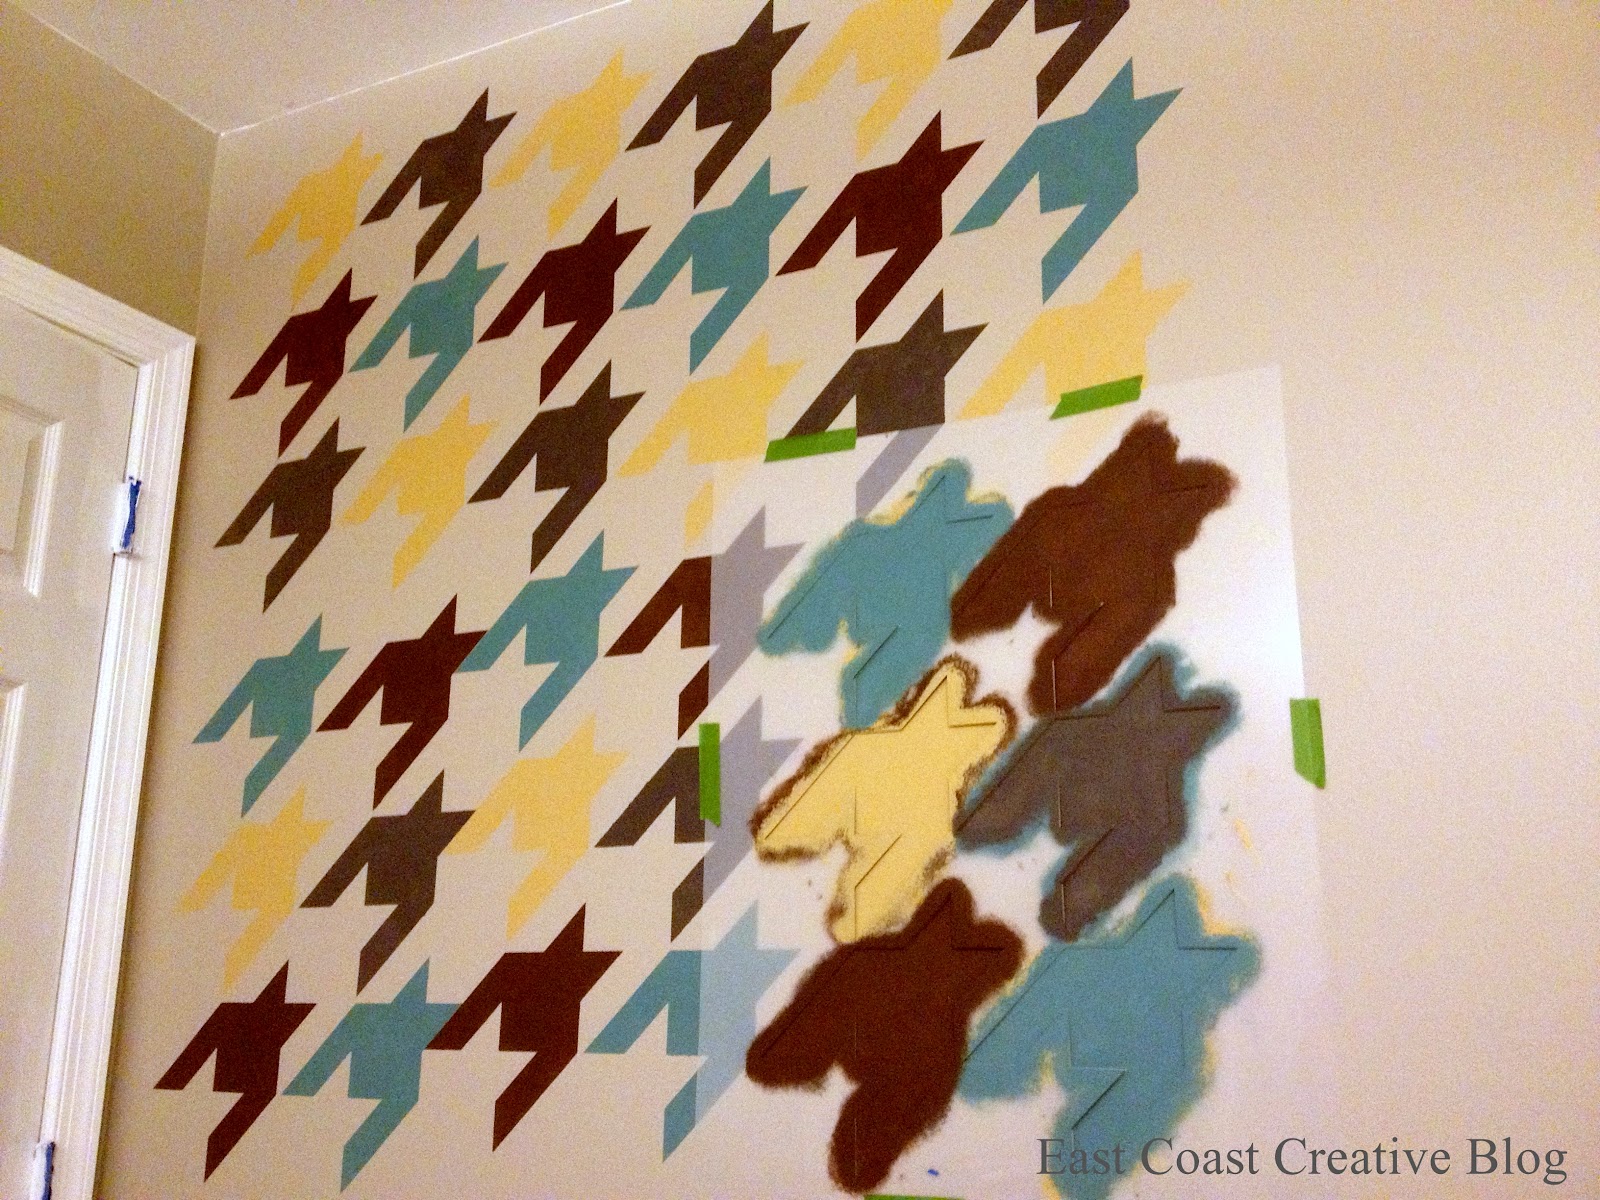
(Sorry, bad phone photo!)
Ugh! So frustrating! We took a break to kick ourselves for starting this project, and then reevaluated our situation. We estimated at least another 8 hours of work, which scared us silly. We are all about DIYing as much as possible, but we can also recognize when we are in over our heads, so we called in the big guns to help us out.
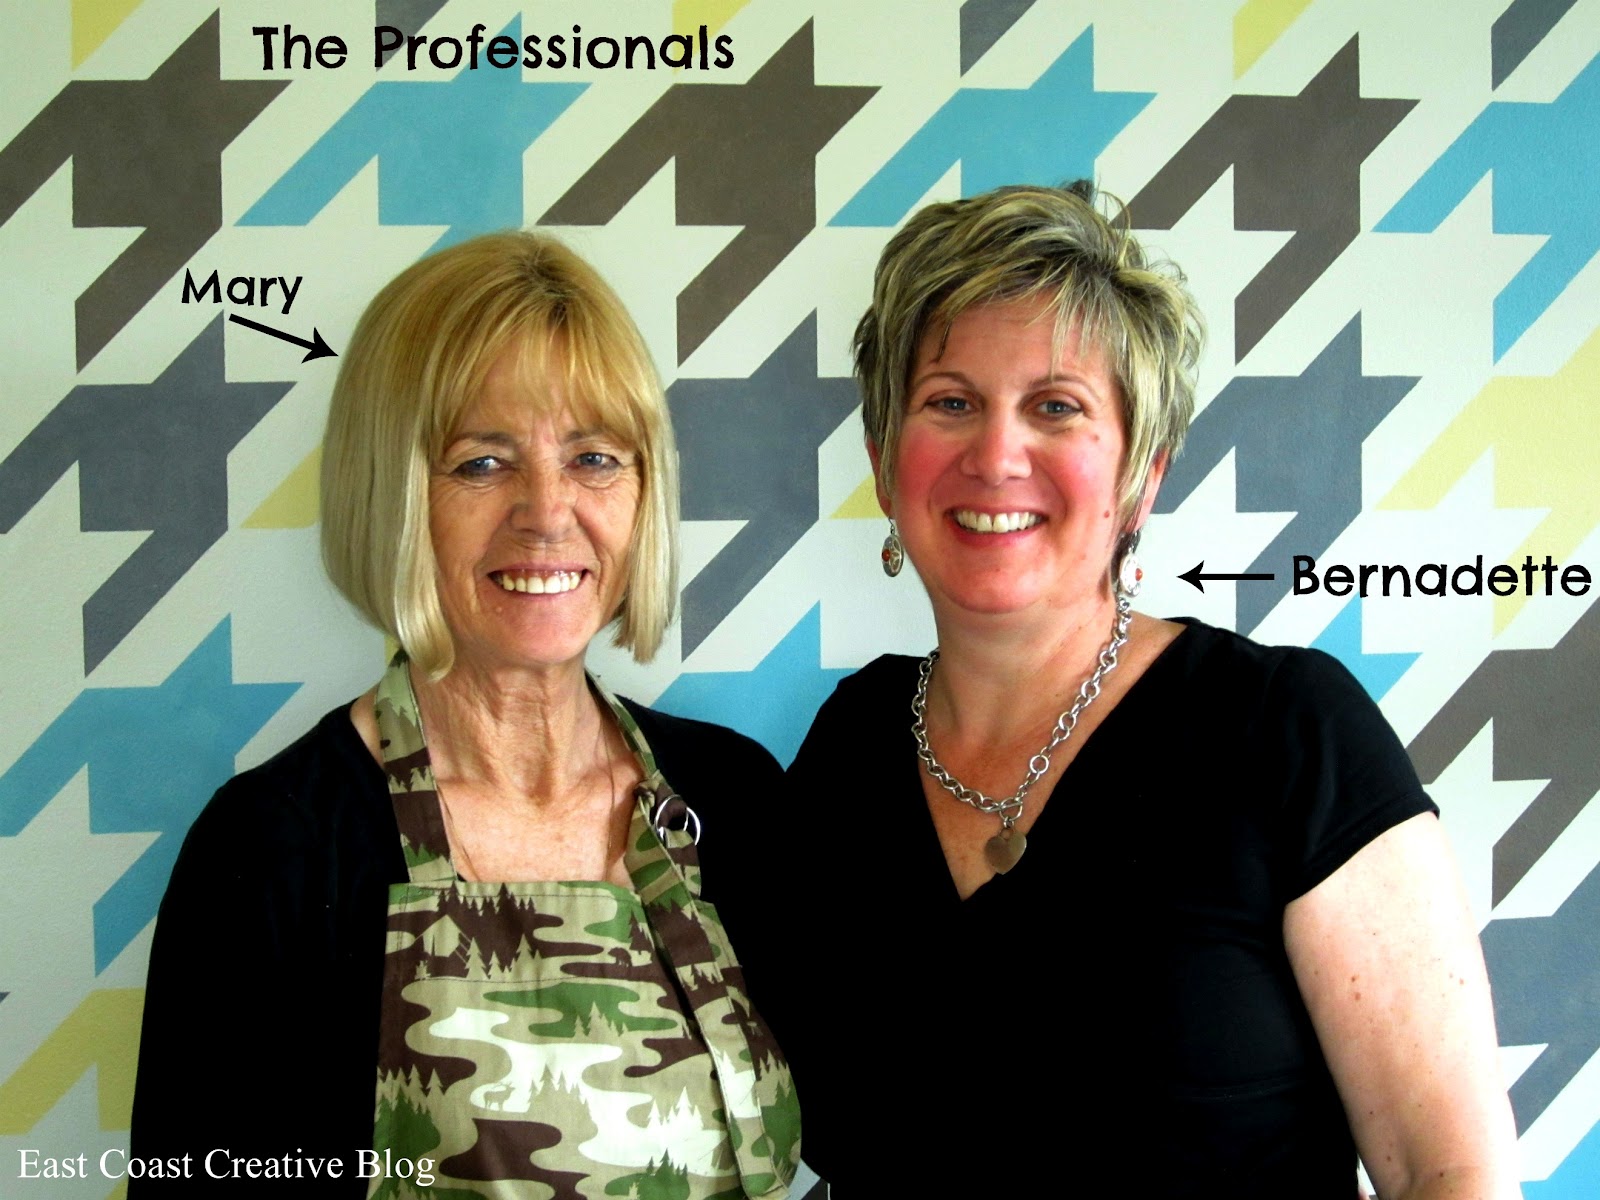
We had the good fortune of meeting Bernadette of The Faux Pro, Inc. through this blog, and boy, were we happy we did! Bernie specializes in stenciling (she’s friends with Melanie from RDS), faux finishes of every kind and is truly a talent! Her work has been featured on HGTV and has an amazing portfolio of work on her site. She was generous enough to come help us out, and brought her assistant, Mary along, too. They let me tag along and watch what they do, and gave us loads of tips for making the process go smoother. And today we get to share those with you. Woohoo!
1. Gather the Right Supplies:
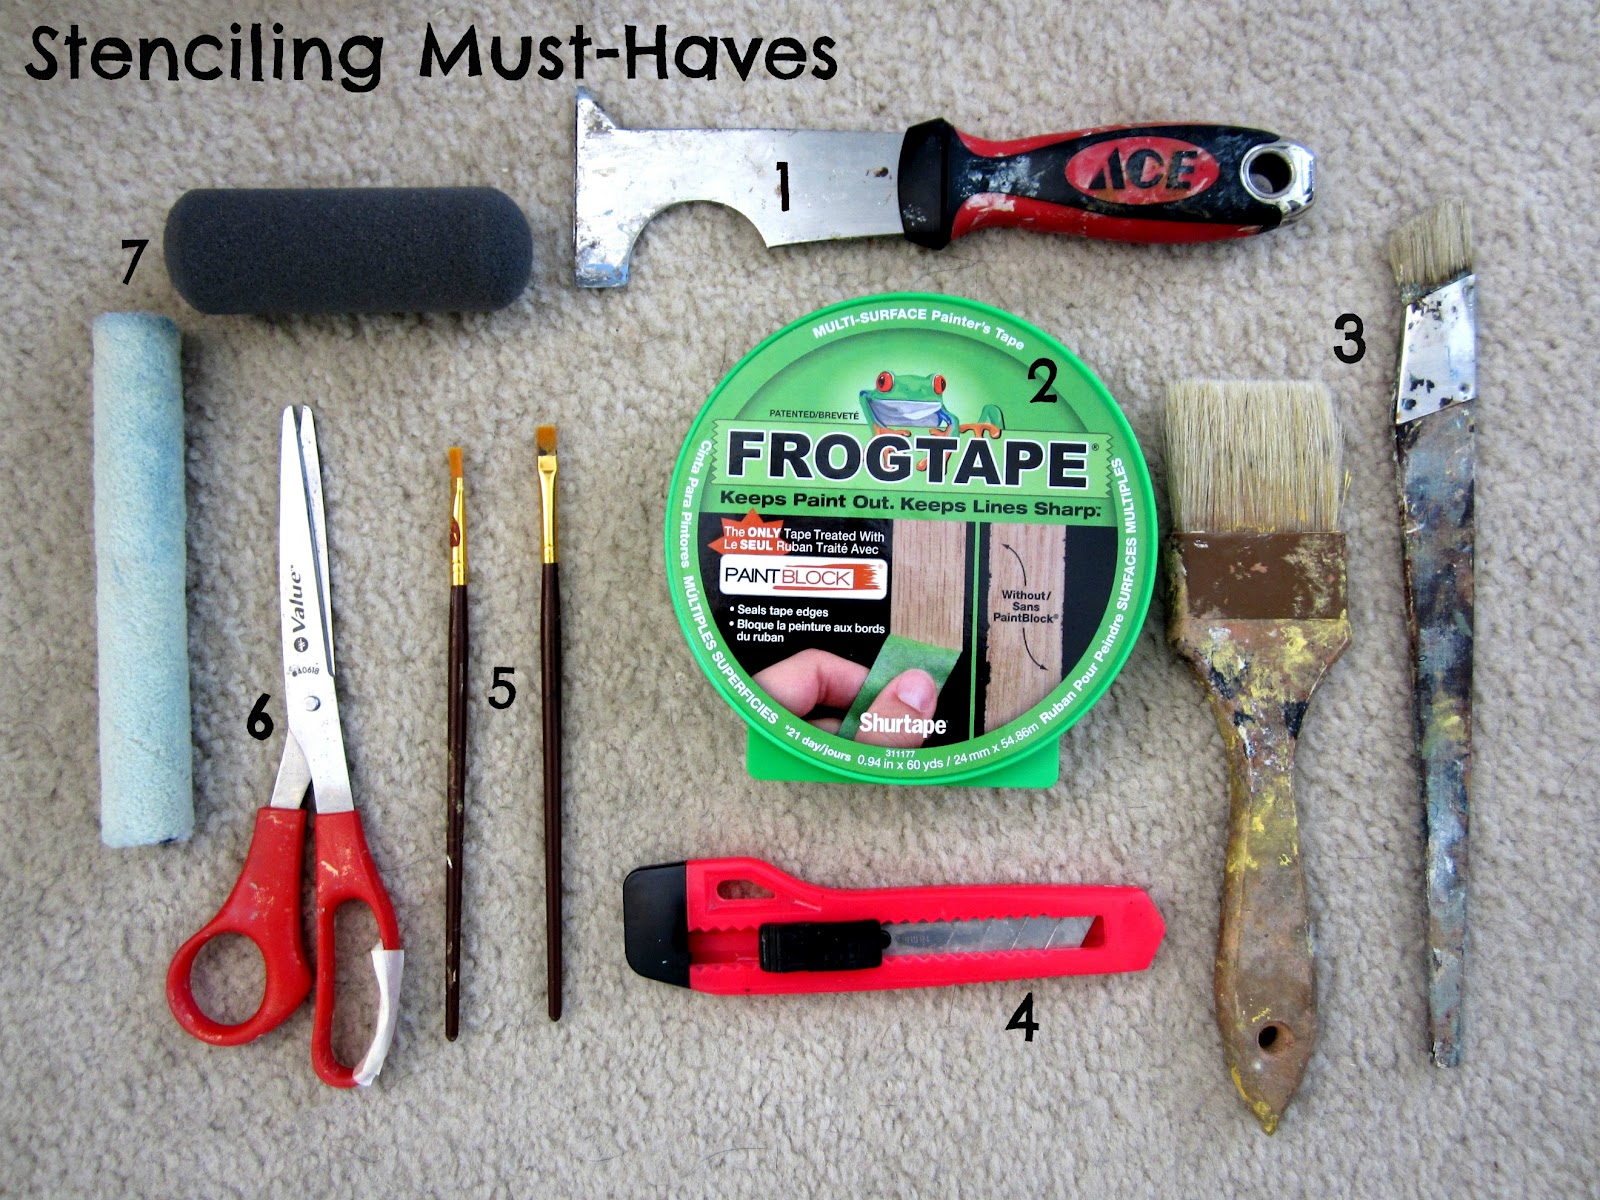

1- Five in One Tool: Comes in handy for all sorts of jobs like opening paint cans, cleaning rollers etc.
2- Frog Tape: Bernie swears by Frog Tape because it doesn’t pull the paint off the walls.
3- Paint brushes, angled brushes, stenciling brushes:
4- Razor:
5- Detail brushes: Mary’s entire job was to follow Bernie and touch up any bleeding. The result is an unbelieveably crisp finish!
6- Scissors: Bernie uses these to cut the stencil as needed along the ceiling and corners, instead of trying to bend the stencil.
7- Foam Rollers: Most of the time, Bernie uses a roller to stencil, especially because Mary can touch up any bleeds.
8- Spray Adhesive (not pictured): this is a must! We learned this the hard way.
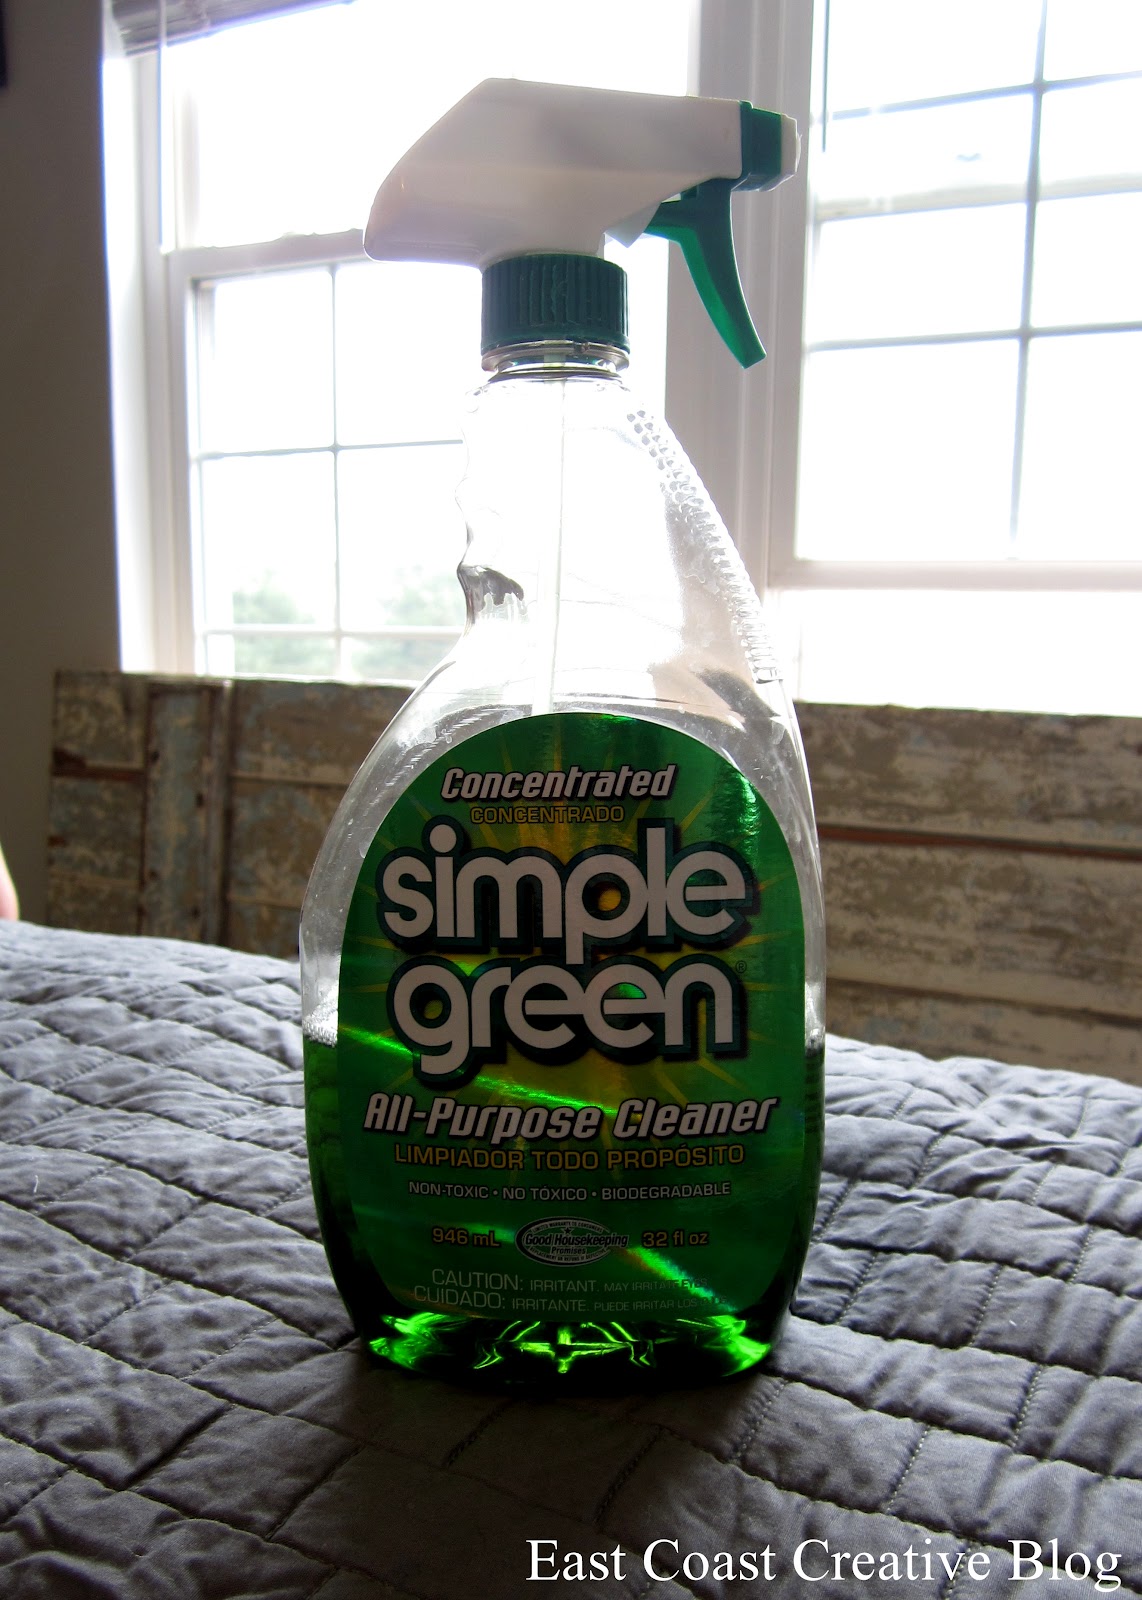
9- Simple Green: This cleaner is the best for keeping your stencil like new so that you can use it over and over again, but she uses it for absolutely everything!
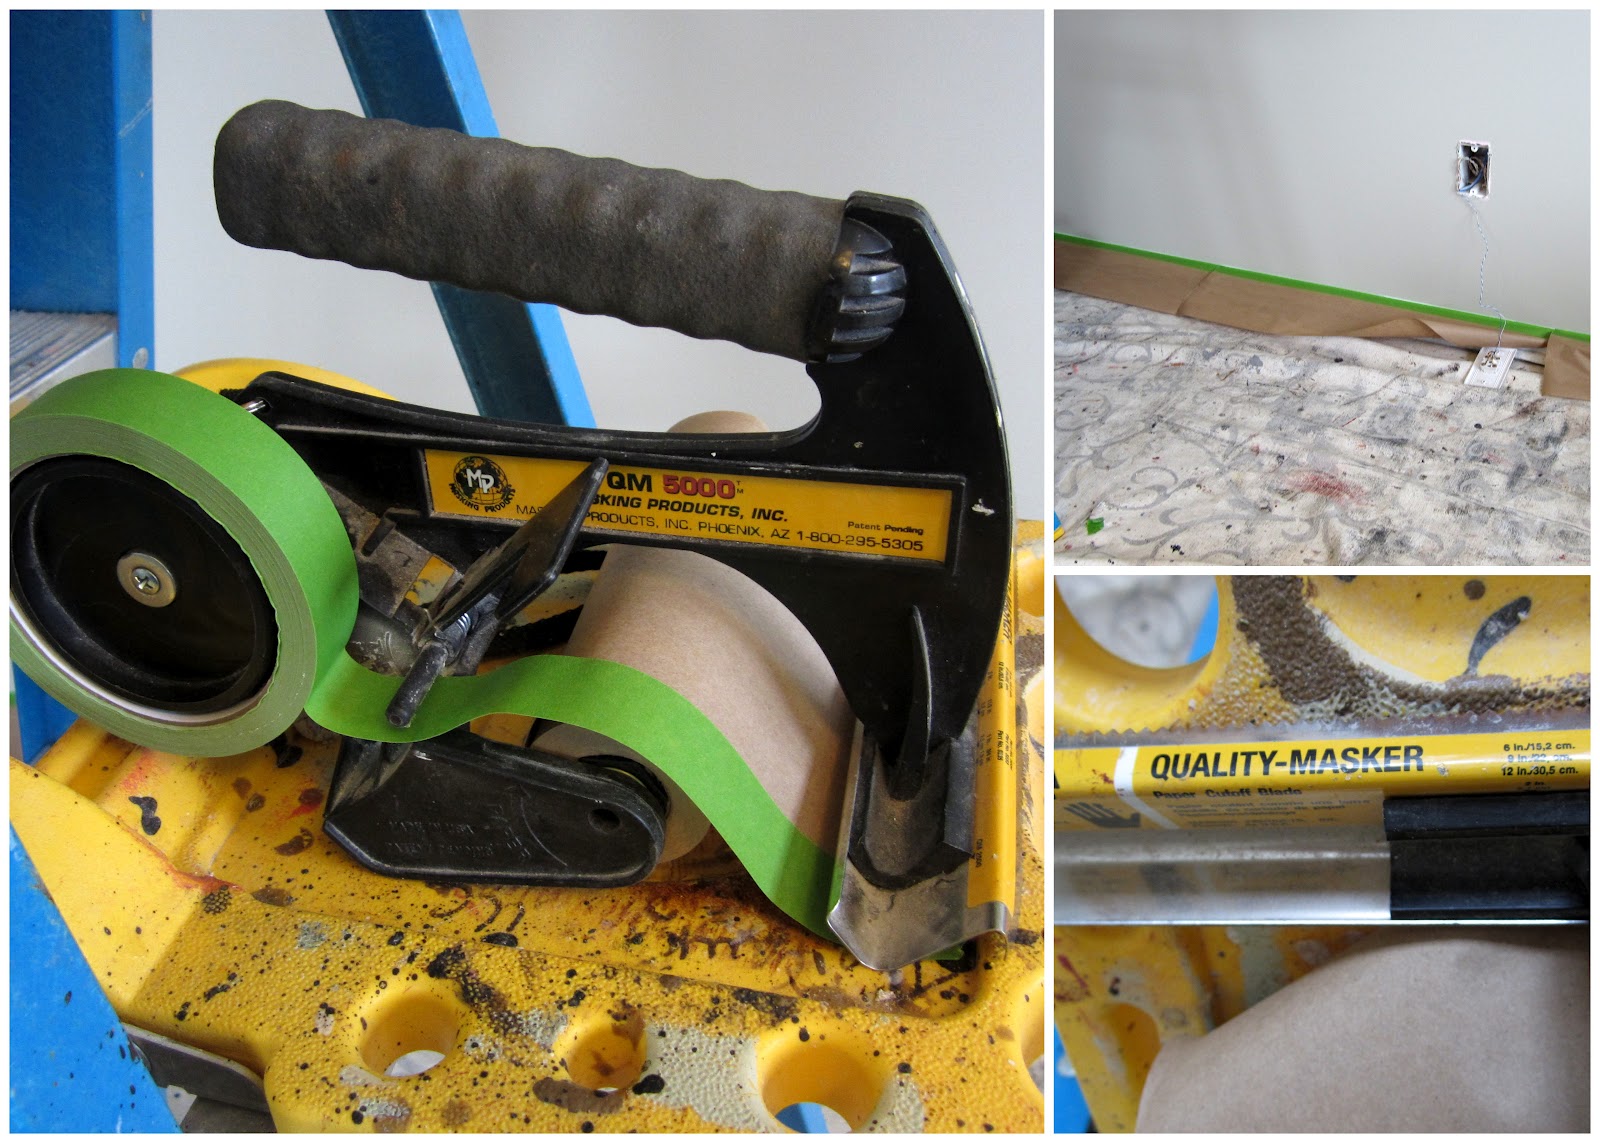
10- The Quality Masker: I have never seen anything like this, but it works magic! You attach the tape, along with brown paper to the masker and run it along the baseboard or ceiling. As you roll it out, the tape adheres to the brown paper creating a barrier. It takes literally half the time as taping out the edges by hand. You can find them at any paint store.
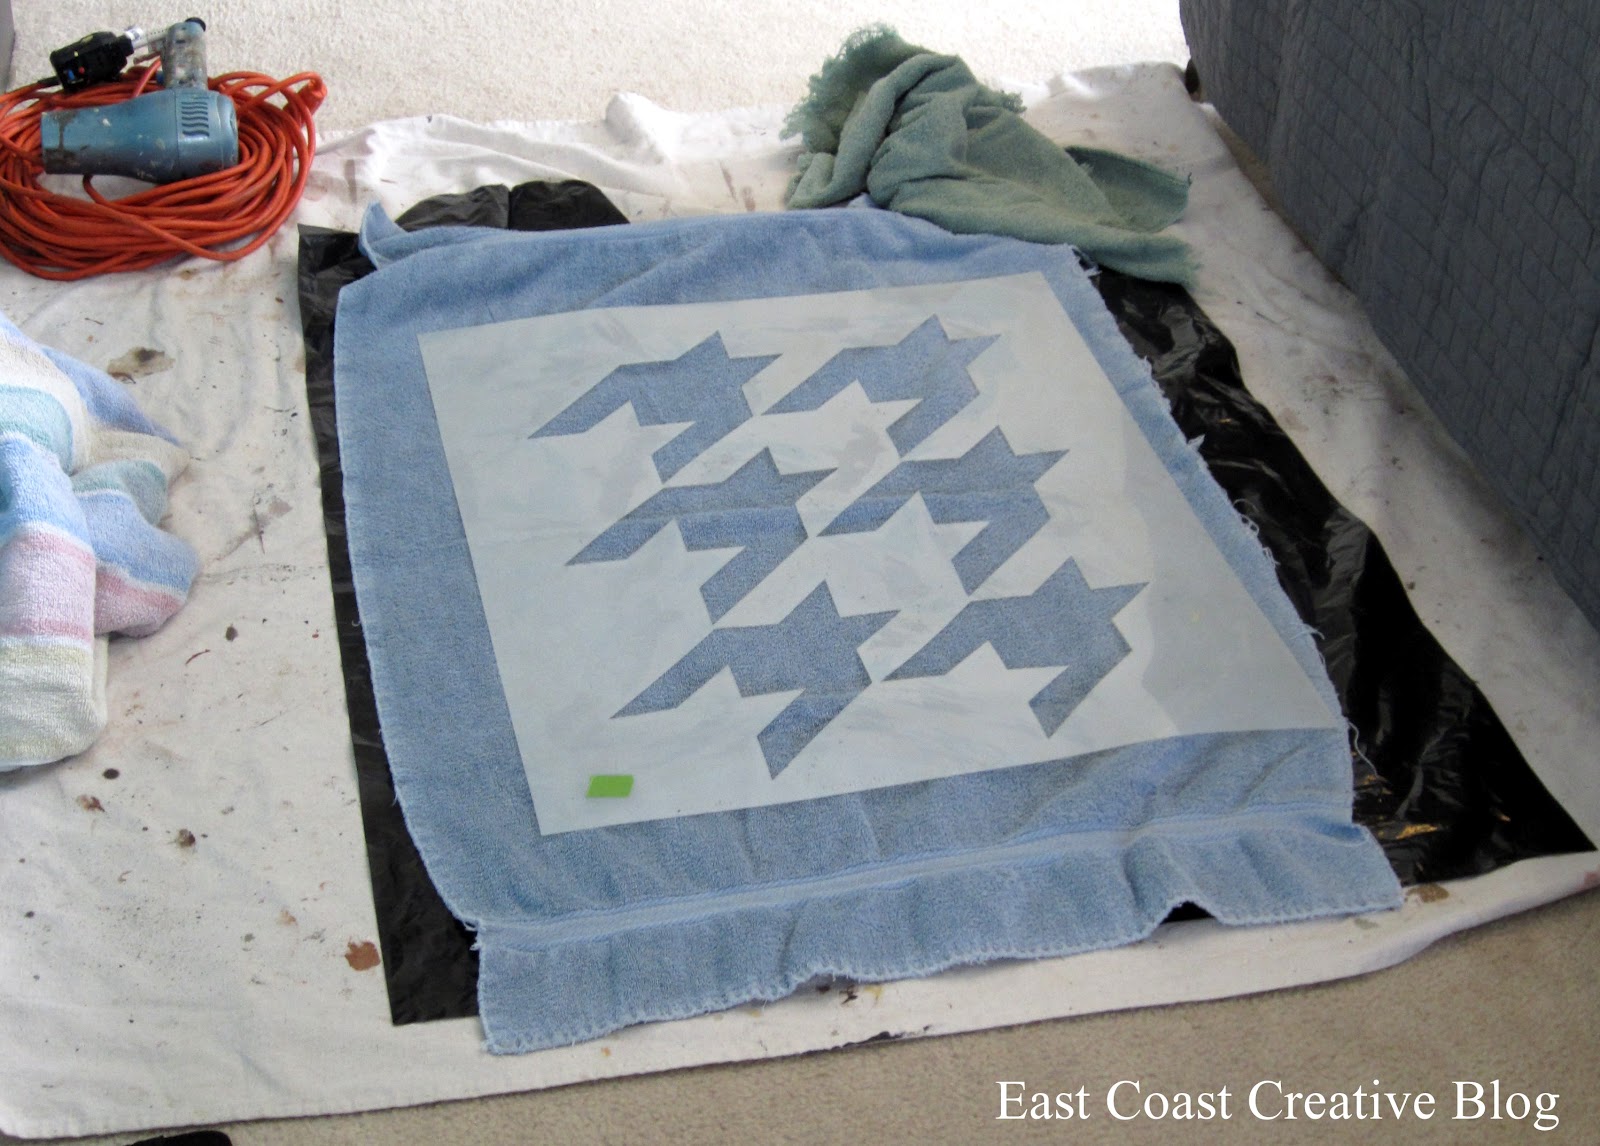
2. Set-up a Stenciling Station
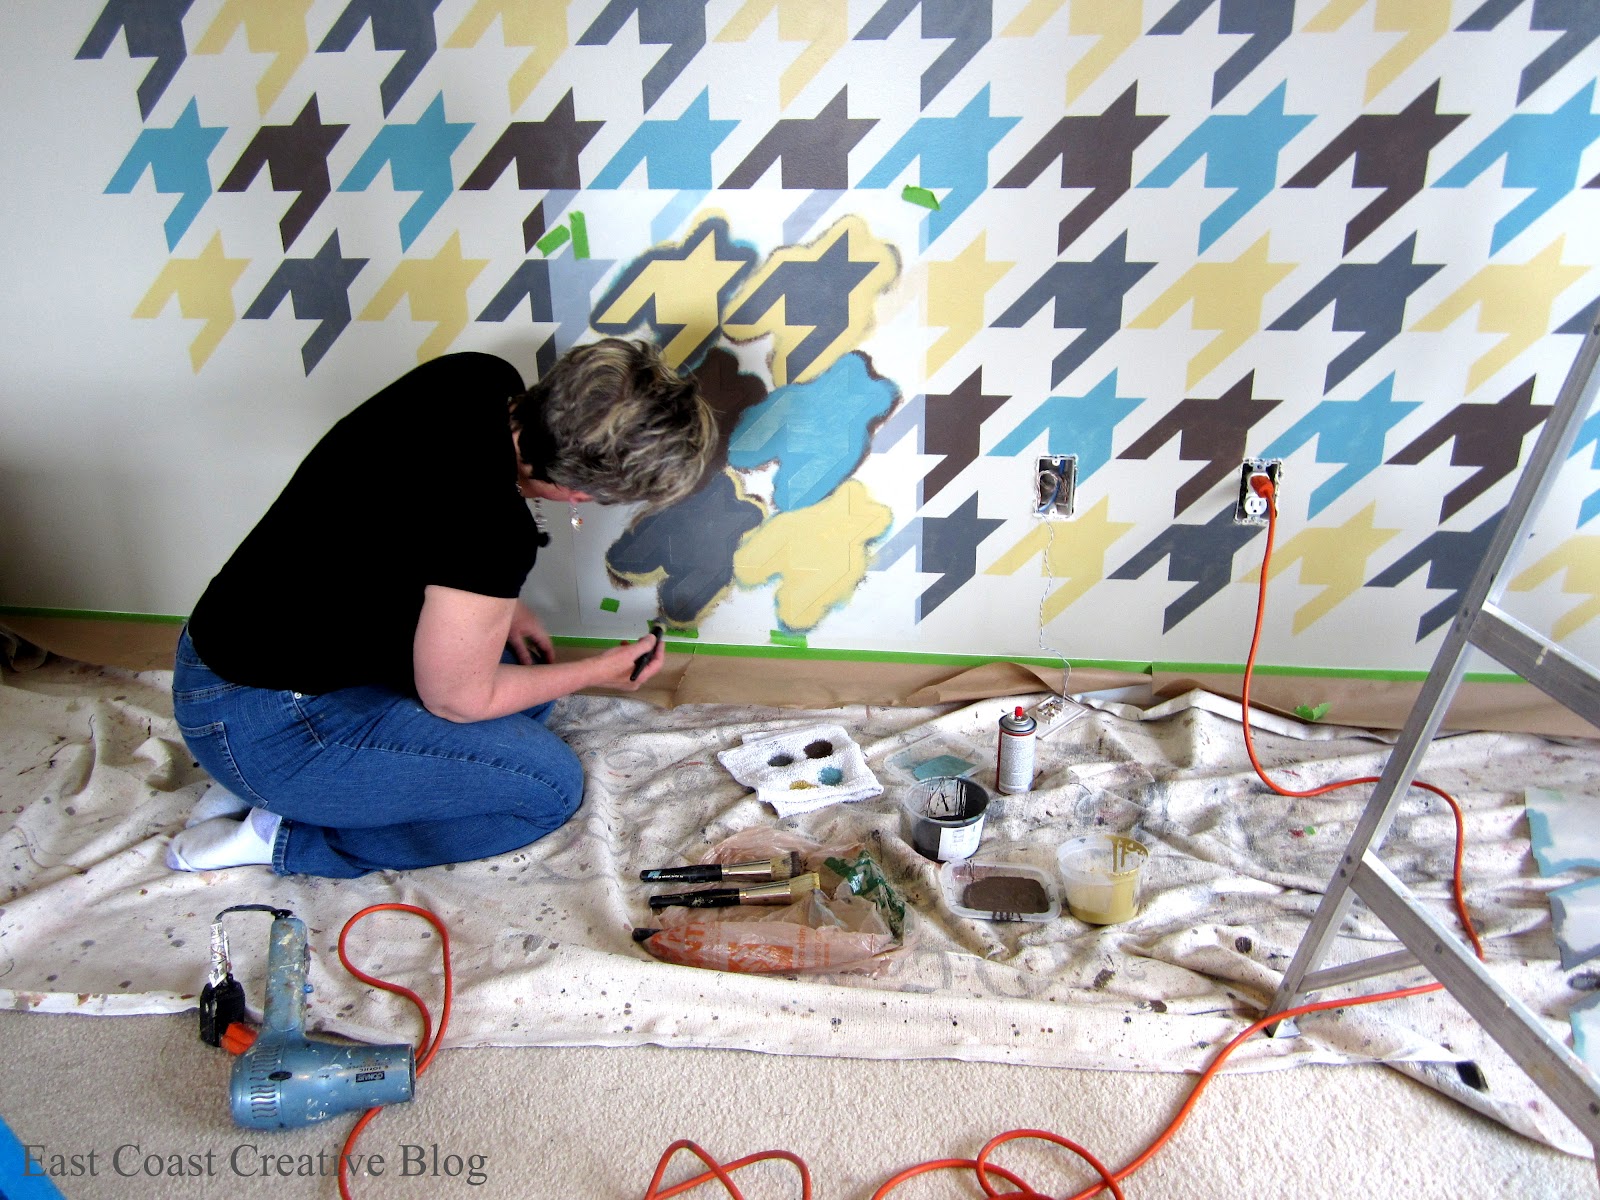
Before ever starting, Bernie finds a place to set up her work station. She lays out a drop cloth, covers it with a trash bag, then a towel and then the stencil. In between every set, she wipes the stencil clean and dries it with the towel. This ensures that you don’t get paint on the carpet, but also that no paint remains on the stencil and gets on the wall. She keeps a hair dryer close by, if she wants to hurry the process along.
3. Use the Right Method
If you’re using a stenciling brush, make sure to blot it on something very absorbant, like paper towels or cardboard. Here’s the most important tip I learned that day: Brush from the outside of the stencil in towards the center. Basically, brushing away from the edge lessens the likelihood of bleeding, which saves you tons of time!
Hopefully, this helps you out a bit, like it did for us. A big thank you to Bernie and Mary for pitching in with our project. If you have a project in mind, we totally recommend that you contact them!
The end result of this saga is an amazing focal wall that makes us so proud!
Have you ever gotten in too deep with a project? Do share!


Bernadette is such a talent and am so pleased to see her here and read the great tips! Loved the end result!
“unbeknownst” Luv this word!
I absolutely adore houndstooth (don’t believe me? It’s all over my blog)! What A great wall. These are some very helpful tips. I have had trouble in the past with stencils so this will be great to know in the future!
Wow, that’s amazing! I love the pattern and I love the colors. It looks incredible!
Trying to make this work now and it looks like crap. Come to my house and save me.
Awesome! Do you need to wait for each section to dry to add more to the pattern? Or can you just go from one to the next? How long should one wait?
Love this! So bold and fun. What did you use the spray adhesive for though?
I hope you don’t mind that I included a photo and link in a post I did on stencils.(I’m new to blogging and unfamiliar with linking etiquette). Thanks for the inspiration!
Genevieve http://turnedtodesign.blogspot.com/
[…] new to stenciling, but want to give it a try, make sure you check out our post all about how to stencil, which includes everything you need to make the job go smoothly. Picking the right colors is key, […]
[…] because it took me a loooong time to get clean lines without it. (We have an awesome tutorial on stenciling must-haves if you need help with […]
[…] is a fabulous idea for dressing up a feature wall with a classic Houndstooth stencil pattern with a modern feel. Jess and Monica from East Coast Creative blog took on the project of updating a boring guest room […]
[…] Redesign! Update: Welcome YHL Readers! For the Stencilled Wall Tutorial and Paint colors click HERE To see the room with and without accessories click HERE For the Shutter Headboard Tutorial click […]
[…] Modern Houndstooth Stenciled Wall – East Coast Creative […]
[…] feature wall with a classic Houndstooth stencil pattern with a modern feel. Jess and Monica from East Coast Creative blog took on the project of updating a boring guest room using a colorful wall stencil treatment […]