

Hey Guys! This post is part of The Weekender Makeover Series. A DIY Makeover web series in partnership with Lowe’s Home Improvement. You can watch Season 1 + 2 on your streaming devices or by subscribing to Lowe’s YouTube channel.

Meet Kacie + Josh Johnson. This adorable couple recently bought their first home just outside of Charlotte, NC. They’re both passionate educators, Josh teaches middle school and Kacie works for Teach for America. From the first minute we walked into their home, we knew it was going to be a FUN weekend!

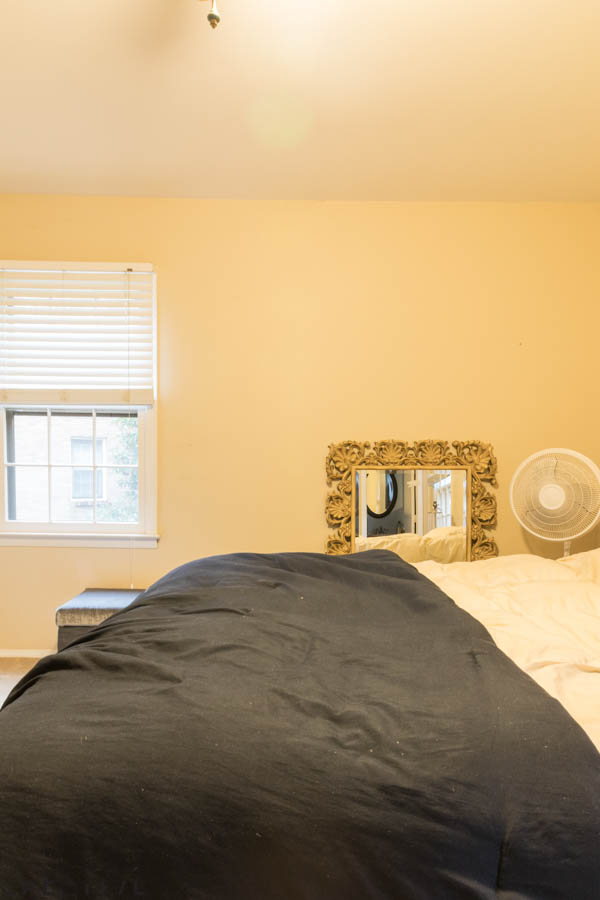
When I first walked into their home, I’ll admit, I was a little confused… everything looked really good– styled, painted, accessorized, nothing like the bedroom photos I was sent before the weekend. I started actually wondering if we’d made a mistake and these weren’t the homeowners we thought we were working with.
There was an awkward internal situation going on, but I just kept smiling and playing it cool. After intros were made I asked if they’d show me the bedroom we were going to be working on– guys, it was like experiencing something from the twilight zone… their master bedroom felt like it was in a completely different house!
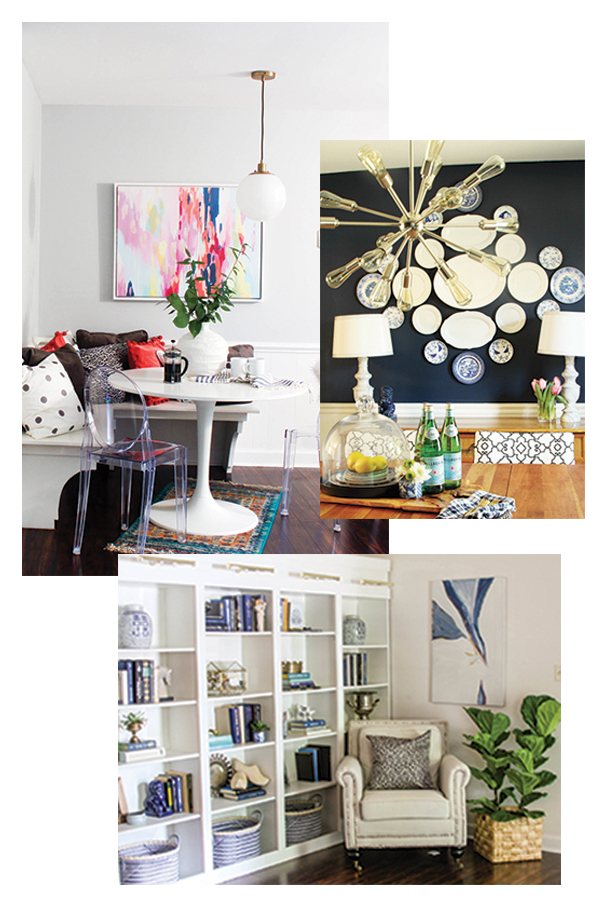
I was relieved (because I had a makeover to do!) and also 100% determined to make this an epic makeover that would really complete their home. After chatting more with Kacie + Josh, I realized, like many couples they hadn’t prioritized a space for just the two of them. They love to entertain, so they’d focused all their DIY efforts on the first floor and guest room. They’d done an amazing job- those pics above are really their house (see why I was legit confused at first), but they were both kinda paralyzed when it came to the bedroom… hehe not like that, duh!– Style wise. I think it’s actually a common problem, I know our master was at the bottom of the list, so I was excited for that to be the episode theme for this Weekender Makeover!

Kacie + Josh only had a few requests style-wise. They love the color blue and have a bit of it in each room in their home, so they wanted that to continue . Kacie’s grandmother had given her some blue and white china, and that kicked off a big collection and color love affair. They also wanted a bit of an eclectic feel, to them that meant that not everything would be match-matchy (thank goodness!) and lastly they wanted to take some risks (mwahaha, my specialty!) Here’s the design mood board I created for the makeover.
 I wanted clean, light, bright, textured, soft, and a bit of bold. Shibori fabric was my inspiration starting point. I’d been dying to mirror the look of shibori in a unique way and had a pretty cool project up my sleeve! Texture was going to be key – think macrame, wood, plants, weavings… all that good stuff!
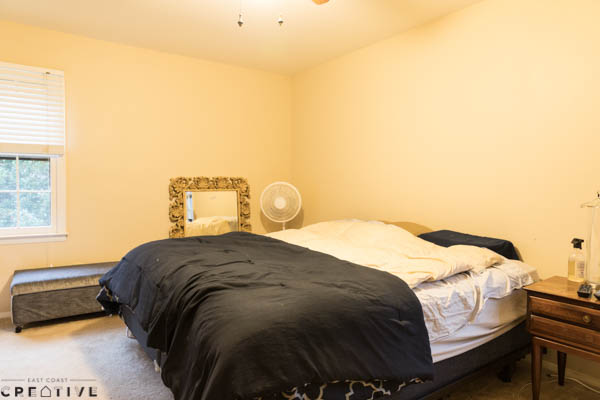
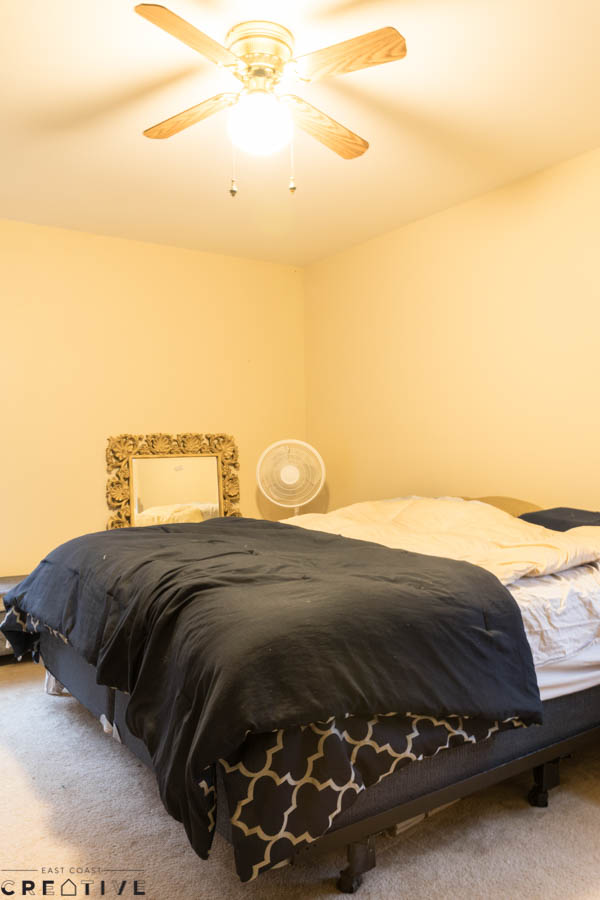
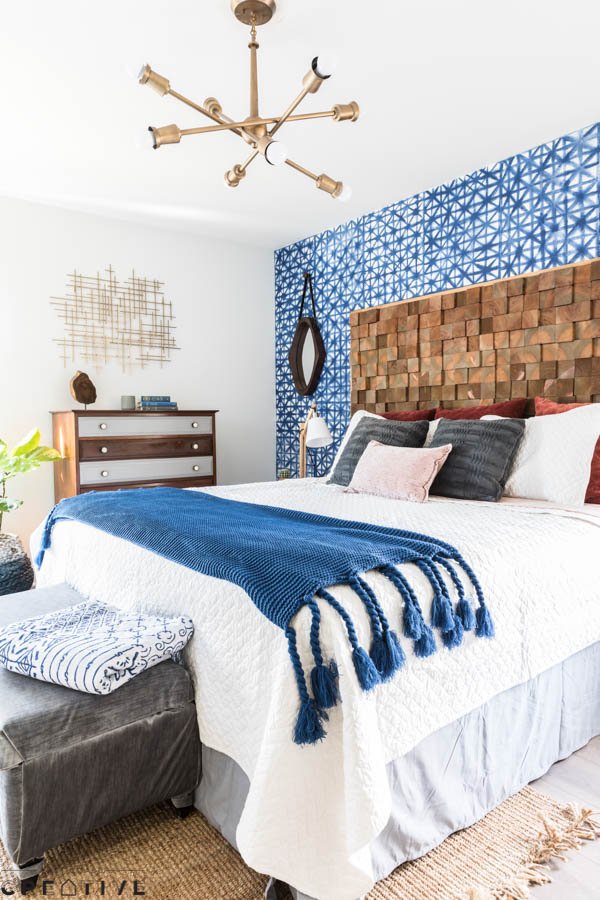
This before and after is pretty epic. Gone are the yellow-beige walls and carpet, replaced with crisp white, beautiful flooring and loads of personality.
Check it out!
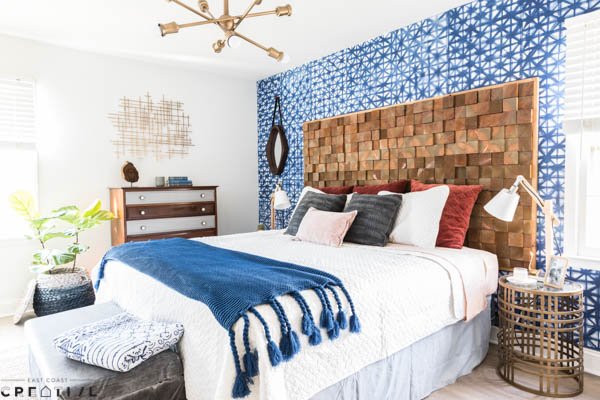
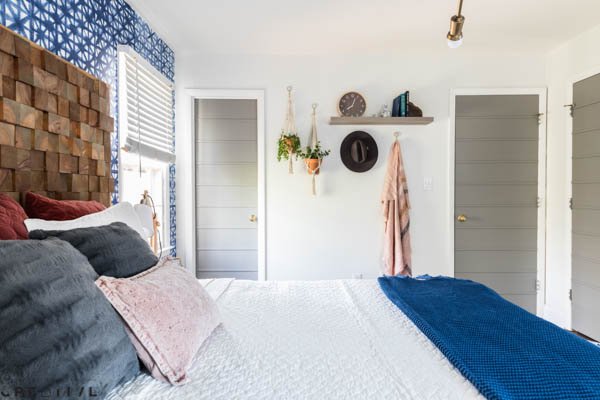

I just love seeing how much 5 main projects can change a space… I know I say that every episode, but by golly I mean it, so I will continue to say it. Here are the FIVE that changed this bedroom…

It’s always exciting surprising homeowners with my 5 projects and letting Kacie + Josh know I was going to rip out their old carpet was so much fun. They were really surprised that we were going to tackle a larger scale project in just a weekend. Their carpet wasn’t the worst ever, but it wasn’t doing the room any favors and color-wise made the space feel heavy.
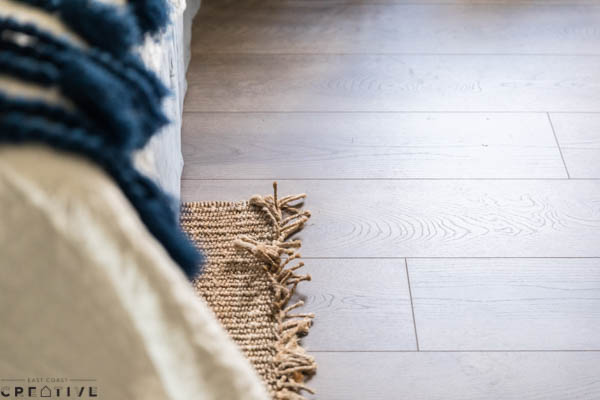
We ripped up the carpet and replaced it with Pergo London Oak Laminate Flooring. This is a newer Lowe’s product and I was drawn to the extra wide planks, color tone, and actual texture. Some laminate flooring just looks like it has wood grain, but this Pergo flooring actually has texture to it – it feels like real wood, just less expensive, more durable, and easier to install. Sounds like a winner to me.
This is definitely a Weekender friendly project- you don’t need any special tools– our only power tool was a chop saw- we used this Kobalt Compound Miter Saw. Total time to install a bedroom this size would be about 2 .5 hours.

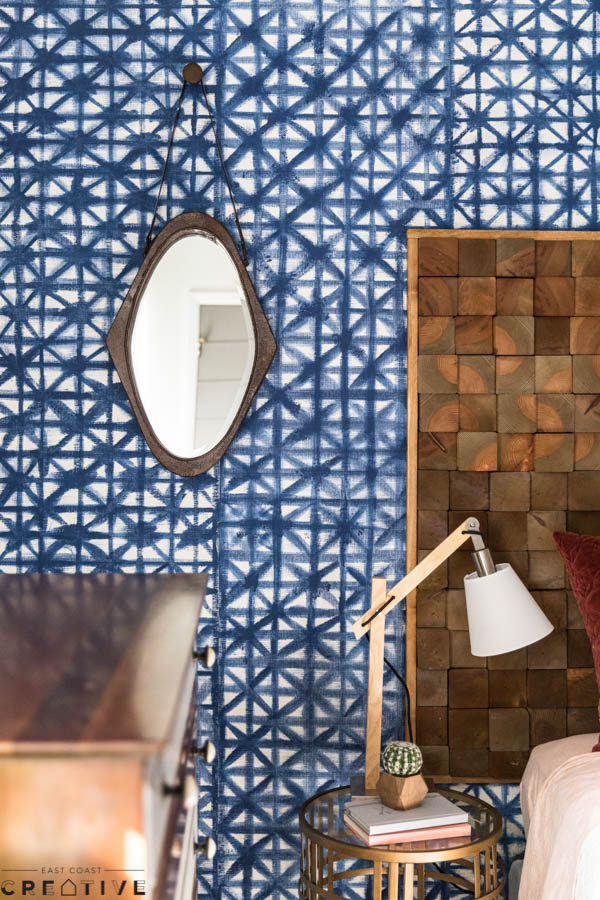
Oh Shibori, how I love you. If you’re new to shibori, let me give you the 411. Shibori is a Japanese term for methods of dyeing fabric by binding, folding, twisting, and compressing. I was first introduced to shibori back in the day during my high school art classes. I loved art class and took all the courses I could! Then, when I spent a summer over in Japan I got to see tons of amazing examples of shibori IRL! Sidetone: my daughter hates it so much when I use “teen only” abbreviations like IRL: “in real life” so I feel compelled to do it even more so.
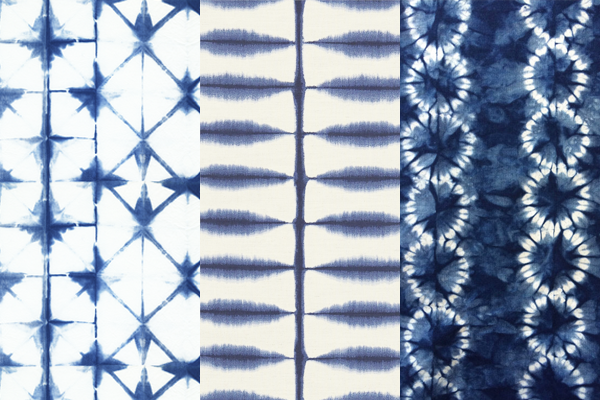
So, I’ve seen shibori making a bit of a move in the design world. It’s popping up on pillows, throws, curtains etc, but I wanted wallpaper and I wanted a DIY hack for it! I knew that this Graham & Brown textured, paintable wallpaper would be the perfect backdrop and I tried out a few different techniques and methods in the studio. The winner, winner chicken shibori dinner (ha, sounds like a legit meal) was free hand painting + a spray bottle. Check out the episode to see how we did it, but basically we sprayed the paper, painted, and sprayed some more. It’s a simple project and saved us some serious cash, because all the shibori wallpaper I found was beaucoup bucks!


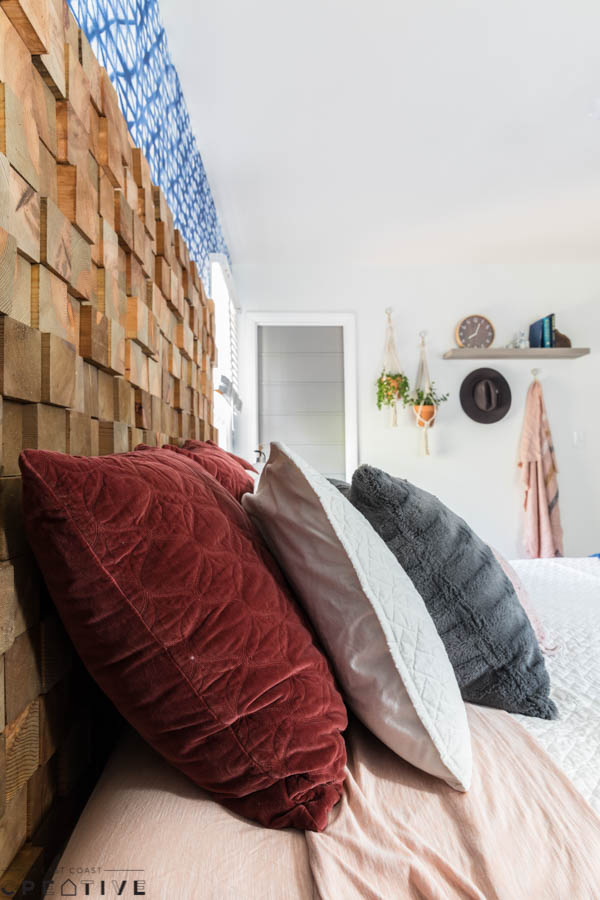
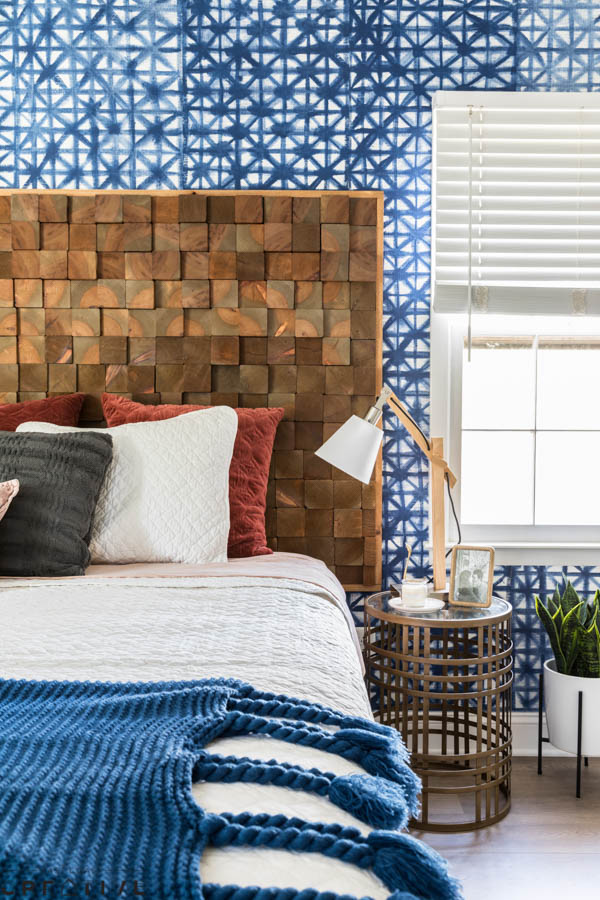
I love when a project turns out cooler in real life than it looked in my head. This wood slice headboard did exactly that. I think it was the scale of it. Seeing it king sized, up on the wall was pretty epic. This project was super simple, but I won’t lie, it took a bit more time than I’d expected. We needed about 1 million wood post slices and cutting them took a solid chunk of time. The trick to staining the wood fast was to dip them in a bucket of stain, that was way faster than brushing each one individually. Also, we learned a lesson about allowing wood to dry out. I’d purchased most of the posts at Lowe’s about a month before this makeover. Once we found out Kacie + Josh had a king sized bed, we needed to grab a few more the week of the makeover. Well… the week old ones still hadn’t fully dried out, so there was a wet spot on the slices where it was resisting stain. Ugh. We made it work, but I’d recommend allowing your wood to dry at home for a good 30 days before trying this project. Live and learn- it’s all part of being a DIYer.
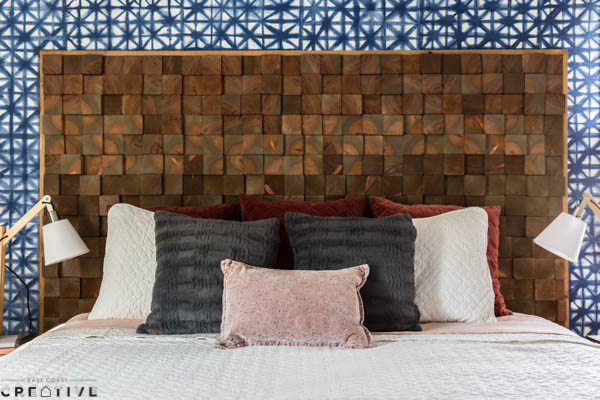
It might have taken us a while, and taught me a few lessons, but this headboard is baller! I love how it looks up against the shibori wallpaper and all the yummy texture it brings to the room. Kacie + Josh loved it too, so it was a major win all around!

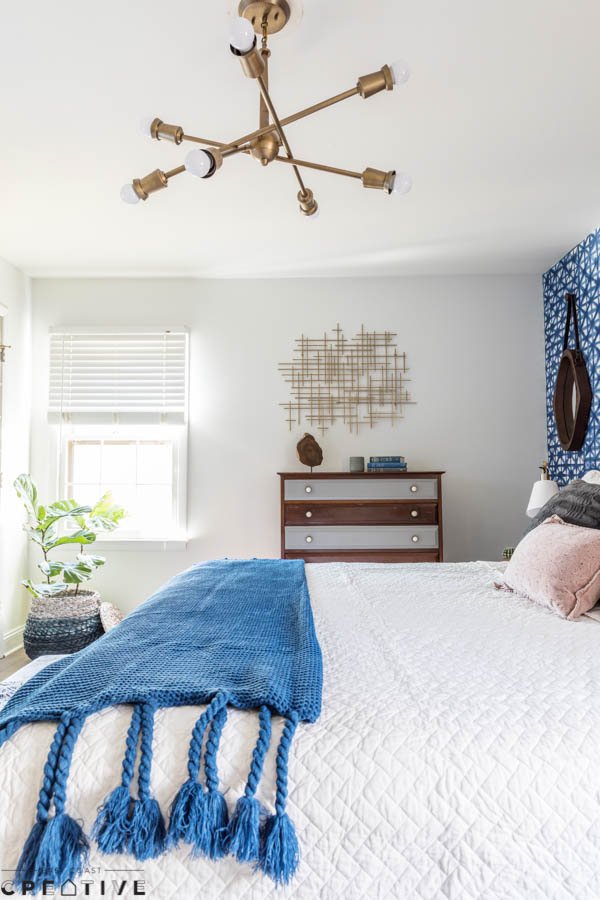
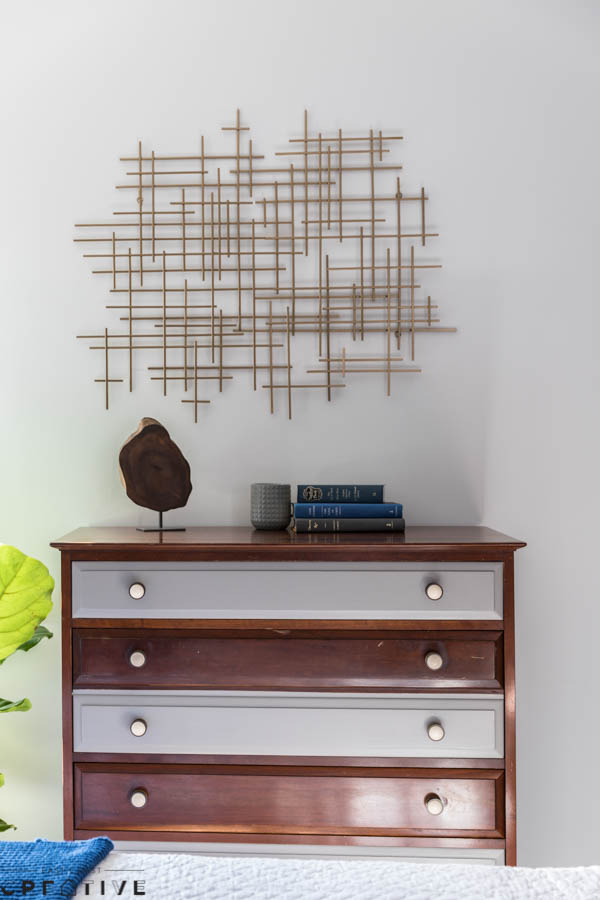
Kacie had been given this dresser from a close family friend and although it wasn’t working for her as is, she wanted to see if we could make some magic with it. I explained to her that the piece had really great lines to it. When I’m thrifting for vintage furniture, that’s about the only thing I care about. The lines of the piece– oh and if it smells like dead people. I can only deal with a tiny bit of dead person smell, some pieces I just have to pass up on, because… well… dead people. Cat smell is bad too. So okay, I look for 3 things.
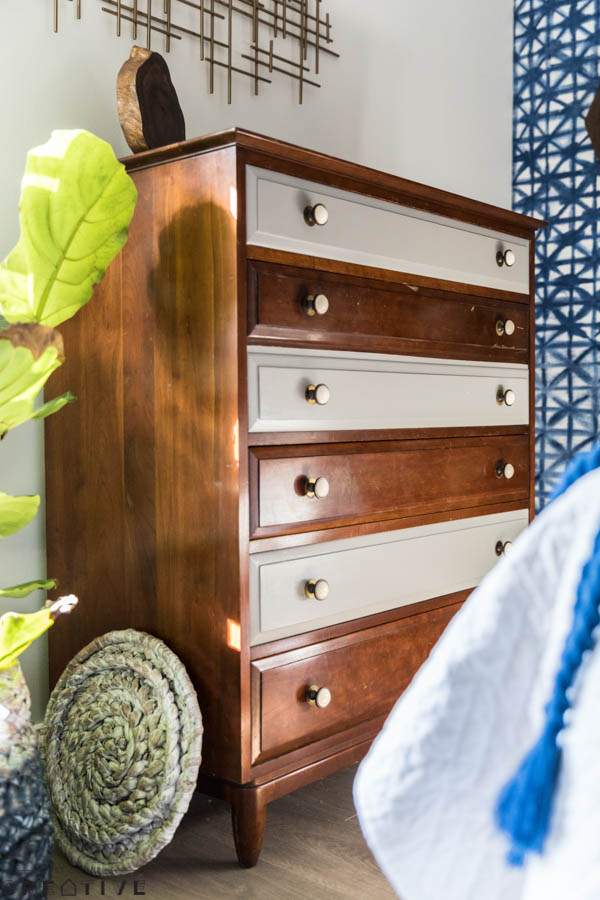
For this piece, and most furniture upcycles we need 3 things. Sandpaper, Paint, and Hardware. They’re the trifecta of a good upcycle. We decided to paint every other drawer with HGTV HOME by Sherwin-Williams Hammered Zinc, and swap out the hardware for these Hickory Hand Polished Cabinet Knobs. The old hardware was actually pretty cool, but we needed just a tiny bit more cool factor to make this piece work in the room. I like how we enhanced the piece, but it didn’t fully lose it’s identity, it just works better now for Kacie + Josh’s style.

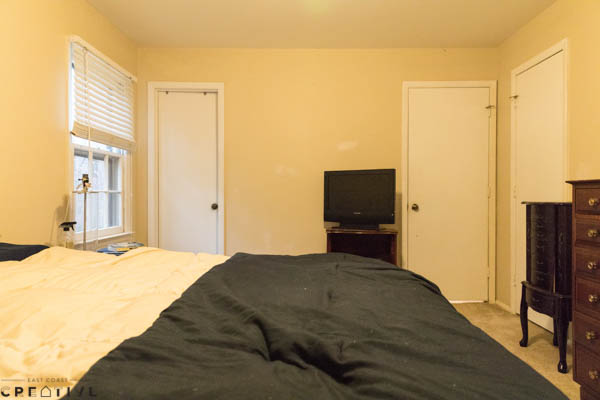
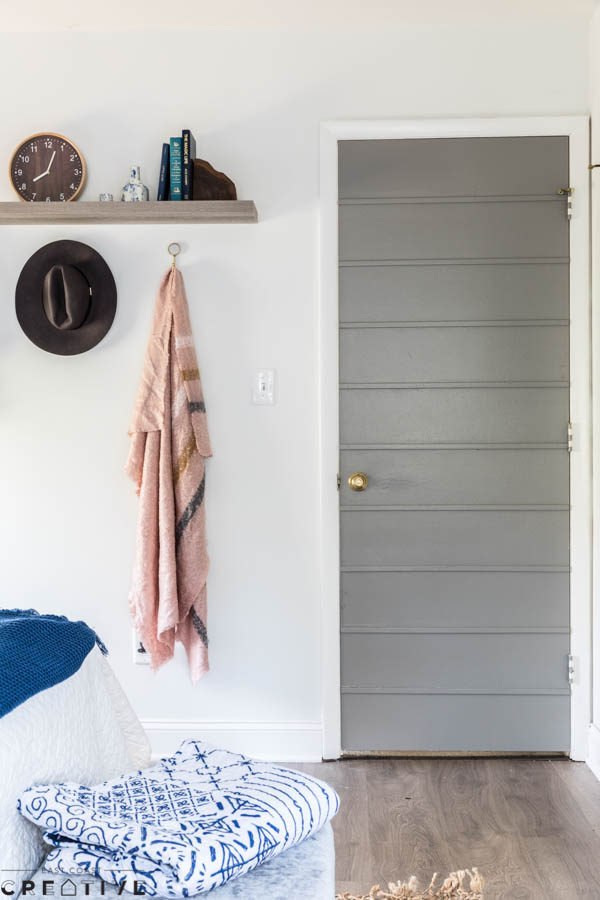
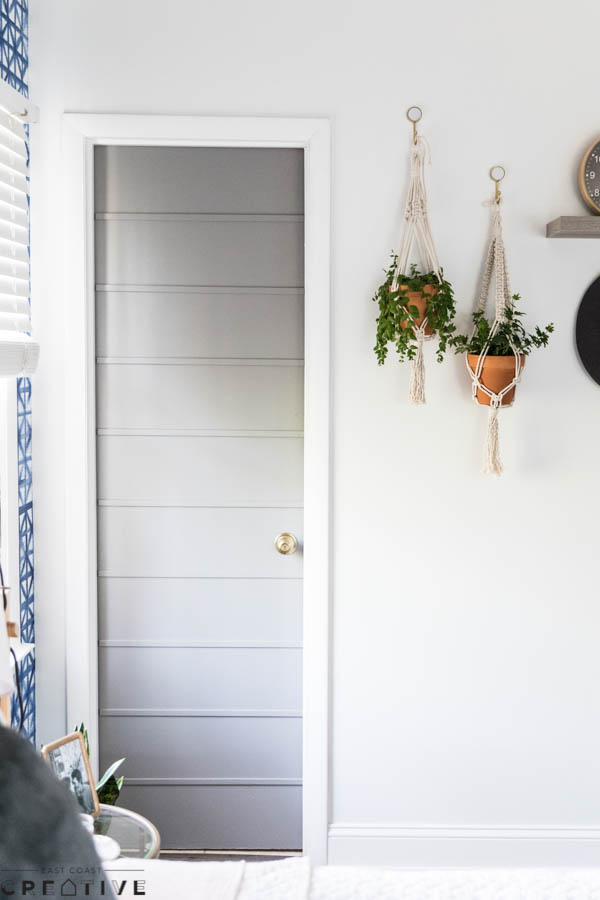
Last, but not least was my secret project. I’ve gotten into a habit of working on one project solo and not letting the homeowners know what I’m up to. It’s pretty fun. Kacie had mentioned that she’s seen me do all kinds of hollow core door hacks (like this one, and this one) and I couldn’t just leave the girl with 4 plain, sad looking doors. There are a lot of doors in this room, especially considering the size of the space– It’s like door central! I needed something cool and quick, and inexpensive Bead Window and Door Casing Molding has become my BFF.
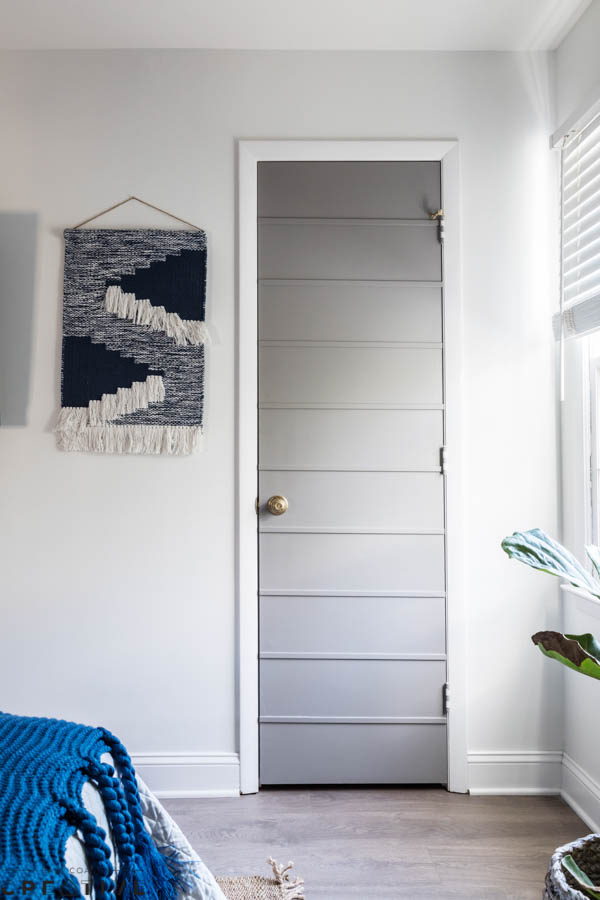
All I did was attach horizontal strips of molding onto the door (being sure to use both wood glue and nails since the door is hollow- that’s kind of essential) and then painting it with the same HGTV Home by Sherwin Williams Hammered Zinc that I’d used on the dresser. The impact such a simple project had on these doors is really mind blowing. Before they were just meh doors, kinds of putting a damper on the space and after, they might have been one of my favorite features in the room. Everyone that walked in to see the finished product commented on my sexy hollow core doors. Yay!
 5 projects transform the space, but there are lots of pieces that play very important supporting roles in the makeover. Use the slider below to see all the products. You can click on any one to be brought to the source.
[print_responsive_thumbnail_slider id=”18″]
A few favorites from this room…
1. InnerSpace Luxury Barrel Side Table
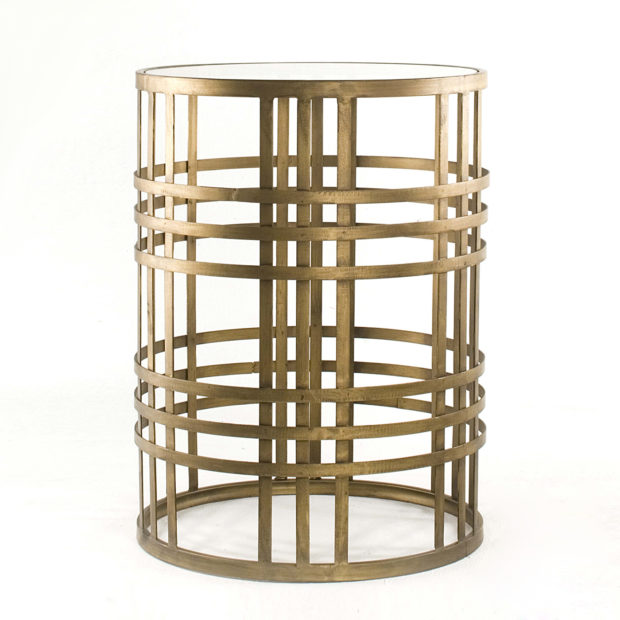
I love the shape and modern lines of these, but how the brass still helps them feel classic!
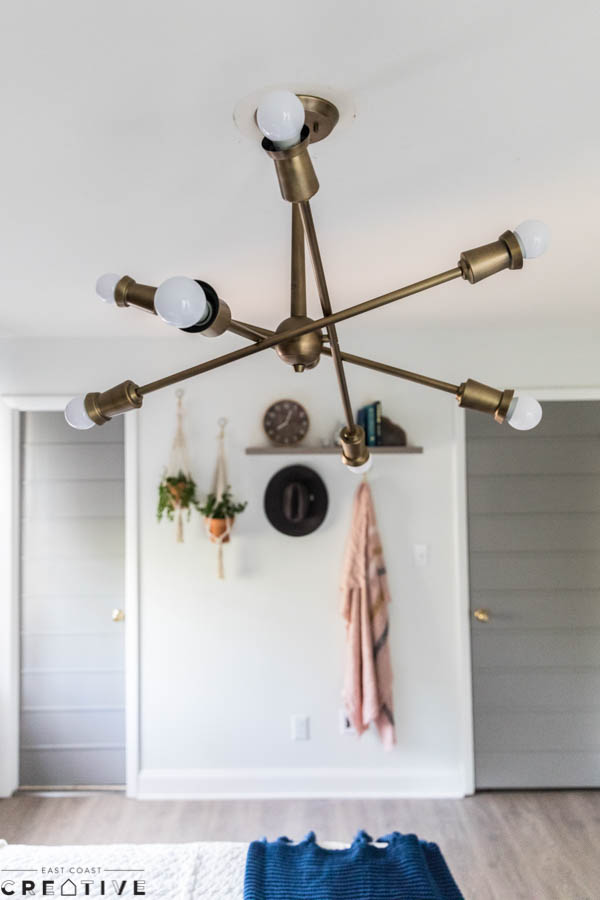
2. Kichler Brass Industrial Chandelier
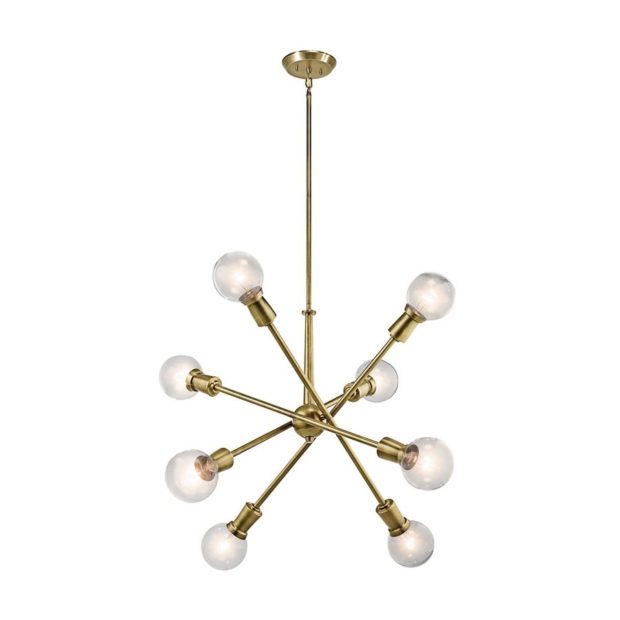
One cool thing about this Kichler Brass Chandelier is the color tone of it. The matte finish really sealed the deal for me.
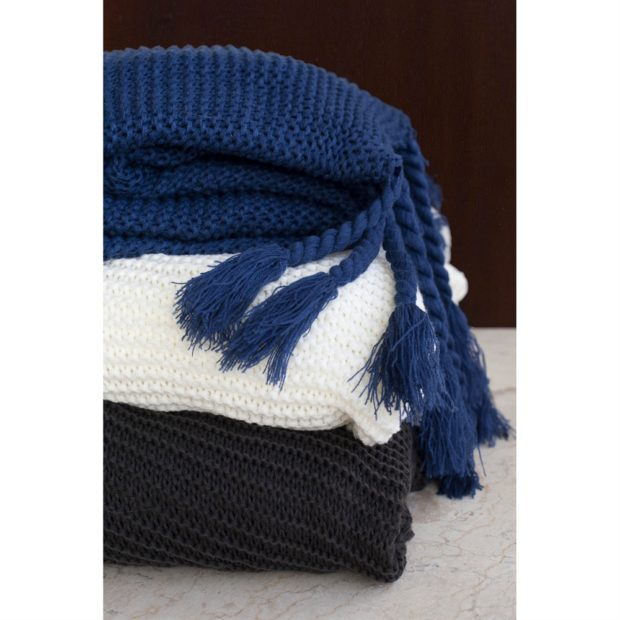
Texture, texture, texture… oh and tassels!
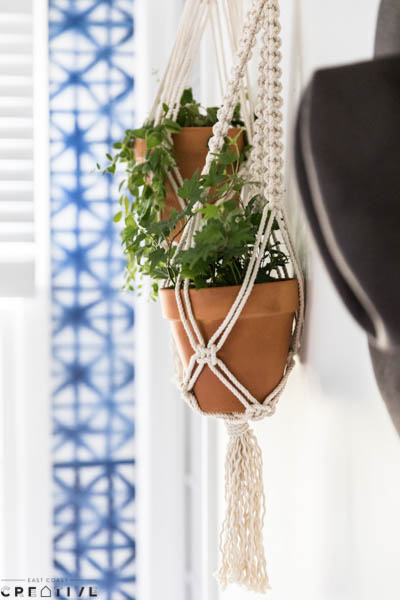
My amazingly talented friend Maggie hand made these planters for me. Maggie owns a vintage furniture rental company and the girl has one of the best eyes for style and design of anyone I know. Check out her work here!

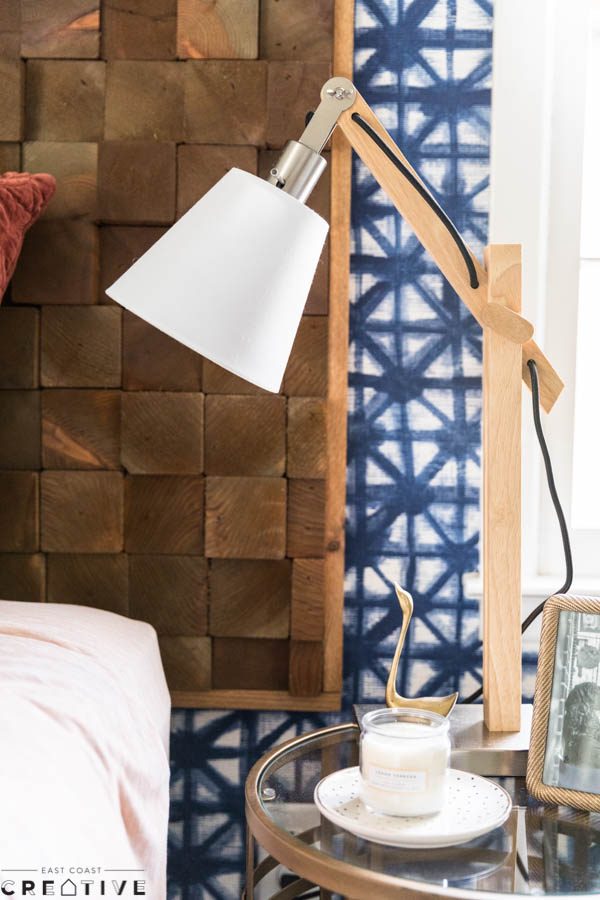
These lamps are super cool! If I had more than just a weekend, I might have used some Rub n Buff on the silver to make it gold, but there’s only so much you can do in two days and the silver finish worked just dandy!
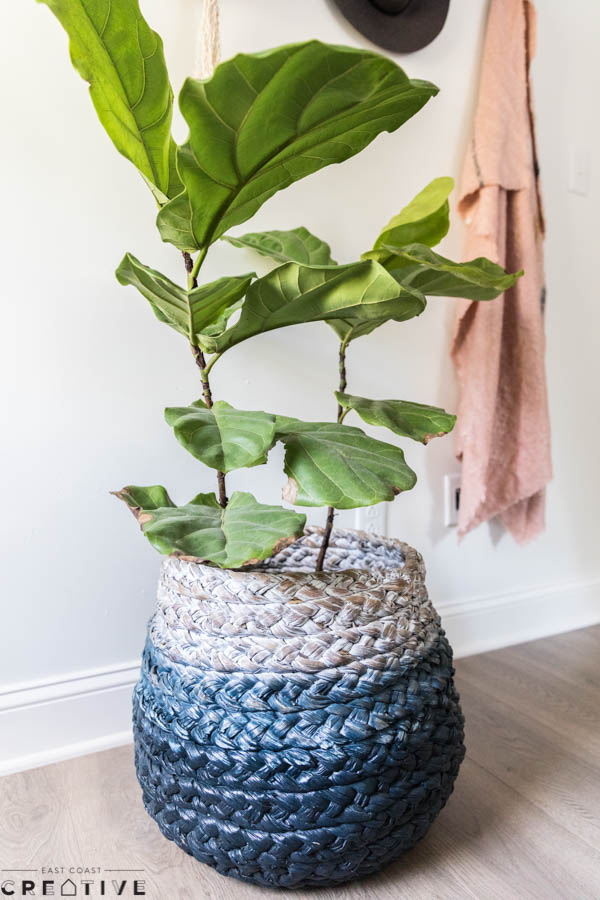
6. IMAX Worldwide Woven Water Hyacinth Basket
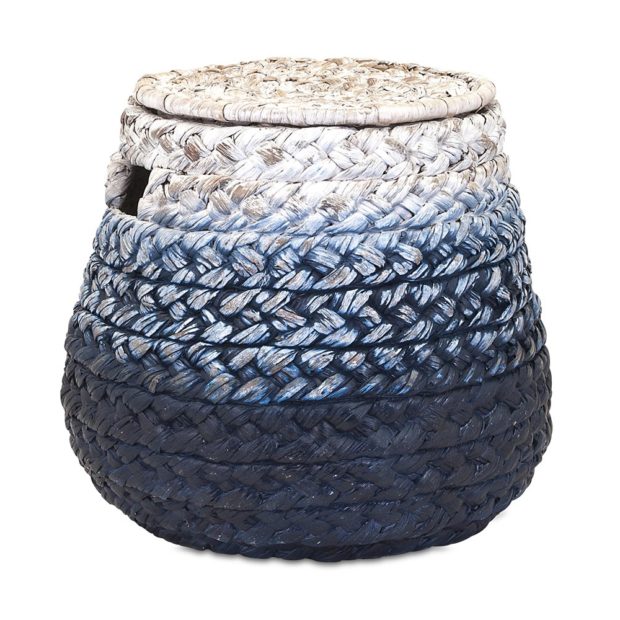
Baskets aren’t just for blankets anymore– they also double as great planters, and Kacie’s Fiddle Fig Leaf now has a new home in this super stylish new room!
This Weekender makeover was a huge success. Kacie + Josh loved the finished product and said that their house finally feels finished and that they were so glad to have a space that’s just for them. There’s literally nothing more rewarding in my work than a makeover that really impacts someone’s day to day life and I have a feeling this makeover will do just that for this adorable couple!
-Mon
Don’t miss a single Weekender Episode of Season 2- You can watch all Season 1 + 2 Episodes right HERE!


The comments +