
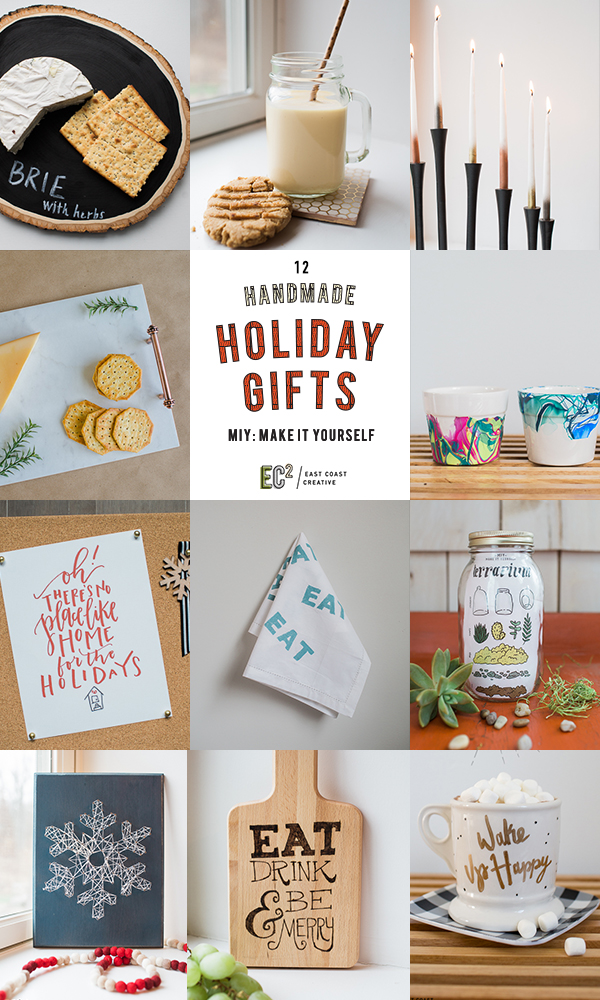
Hi Guys! Today is a super fun day for East Coast Creative! I’m sharing 12 Make-It-Yourself Holiday Gift Ideas with Kelly Ripa and Michael Strahan on Live! with Kelly & Michael. Hopefully, you can watch the segment (9am EST), but even if you can’t, this is your lucky day… I’m sharing all 12 project tutorials so that you can give some fabulous handmade gifts that your friends and family will love! You can check out the other 11 projects HERE, but let’s check out these marbled planters…
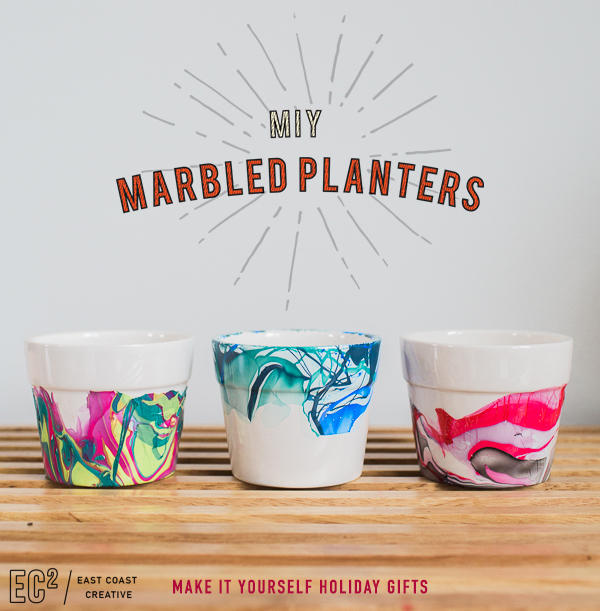
You’ll be buying plants just so you have an excuse to make these marbled planters, and the best part is you probably already have some of these materials in your own home!
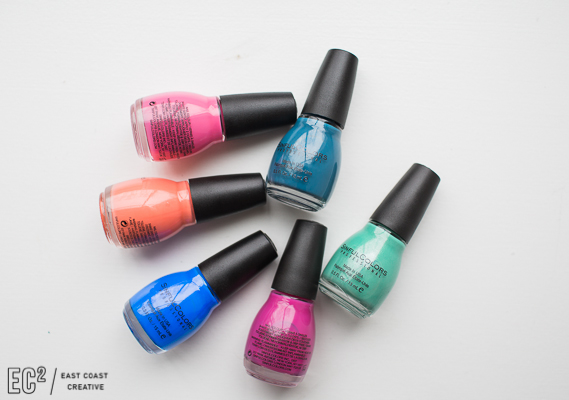
Materials: Plastic Container | Nail Polish | Ceramic Planter or pot |Succulents | Water
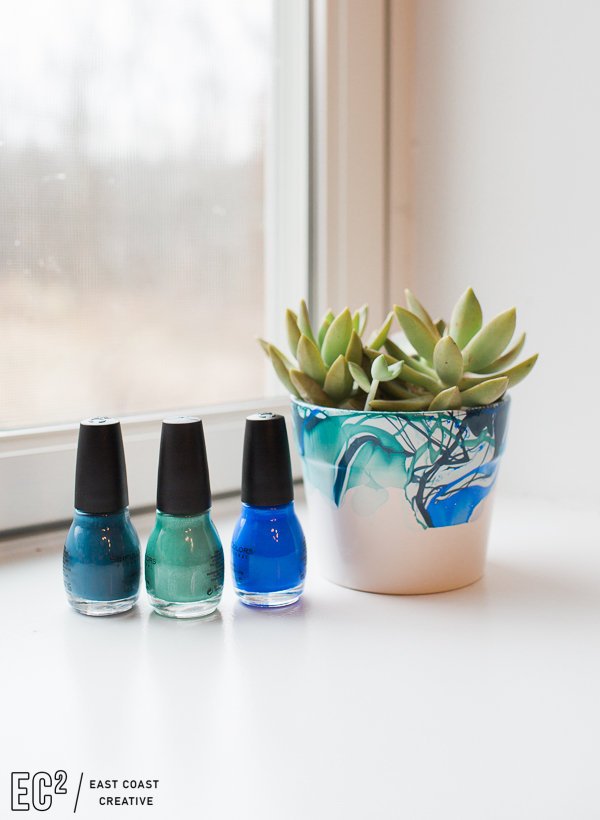
I picked up all of my nail polish at Target and got my ceramic containers at JoAnn Fabrics.
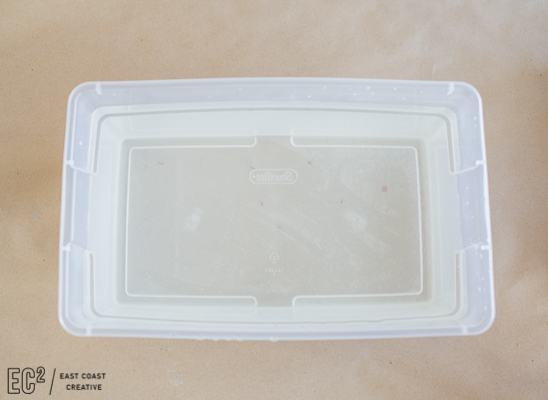
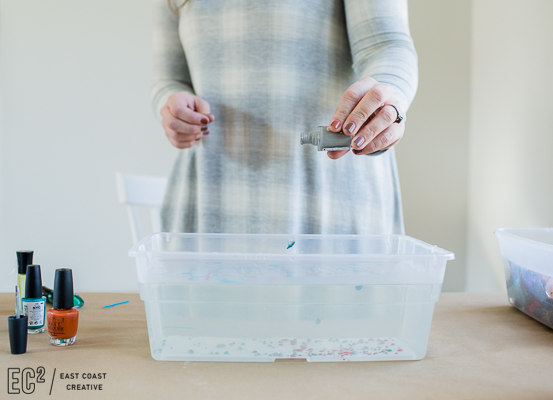
Step 1: Fill a plastic container with water. You should use a container that you don’t mind getting messy. I grabbed a plastic bin in the organization section at JoAnn.
Step 2: Start to pour in your nail polish! Start with a light color and don’t worry if it looks transparent at first. It’s sitting on the water and creating a surface for the rest of the colors.
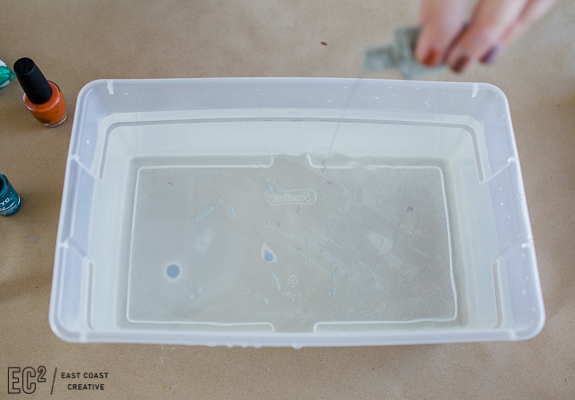
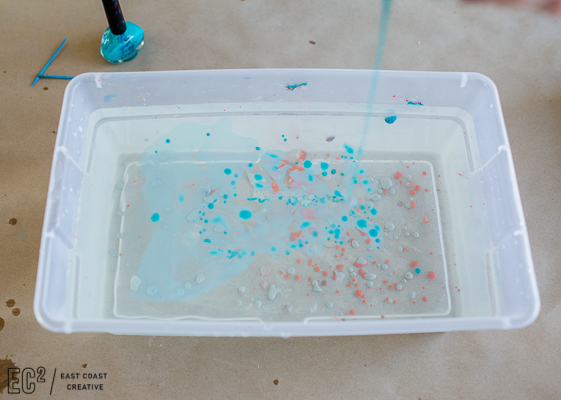
Continue adding different colors
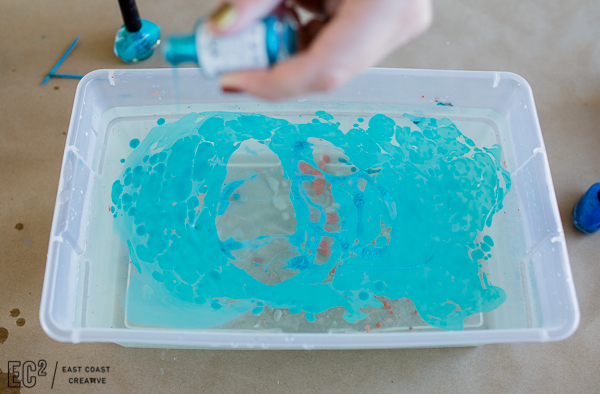
Keep going…
Looking good…
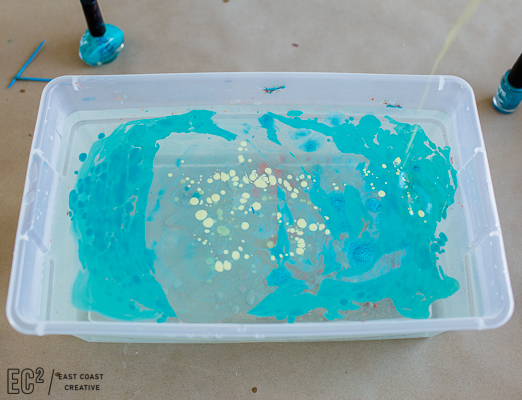
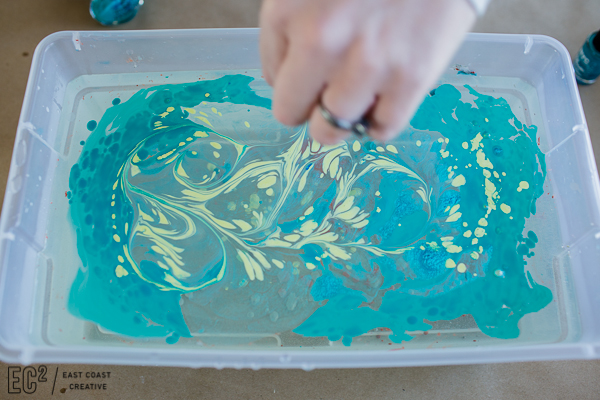
Pour until you have all the colors you want and then use a toothpick to swirl the paint a bit to create a beautiful pattern!
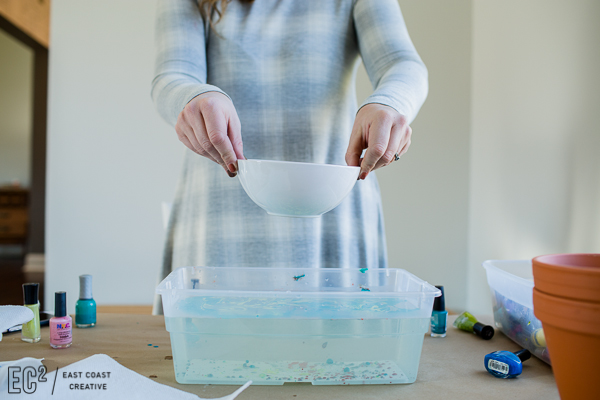
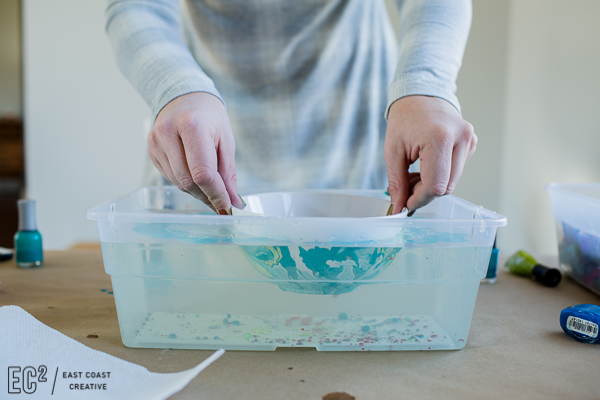
Step 3: Take your planter (or any ceramic container) and place it straight down into the water on top of the nail polish design.
Remove it immediately- and ooh and ahh over the amazing design!
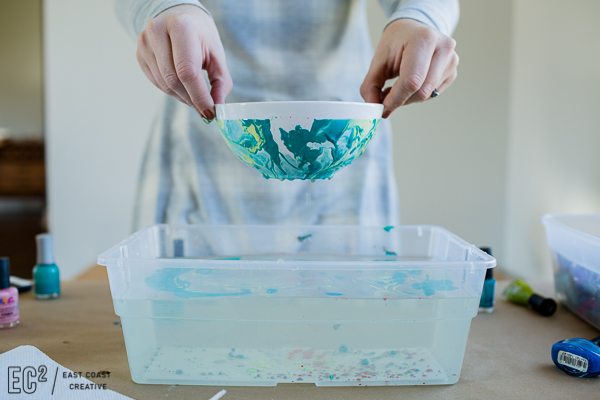
Don’t worry about any small clumps at the bottom you can wipe them off while it dries.
Let your planter dry for about 20 minutes, and then you can add your greenery!
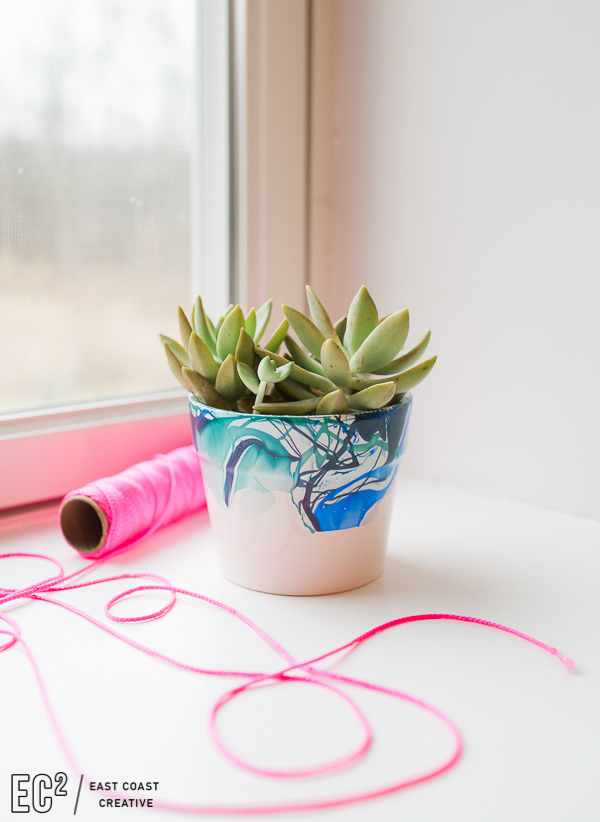
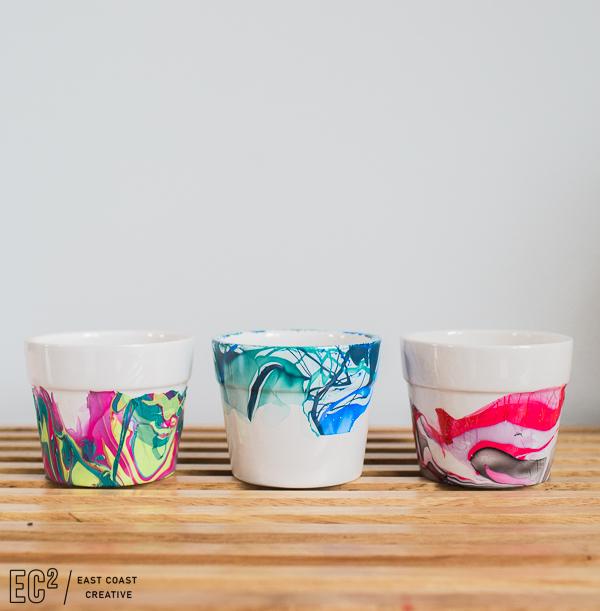
These are the 3 colors I used for this pretty blue-green combo
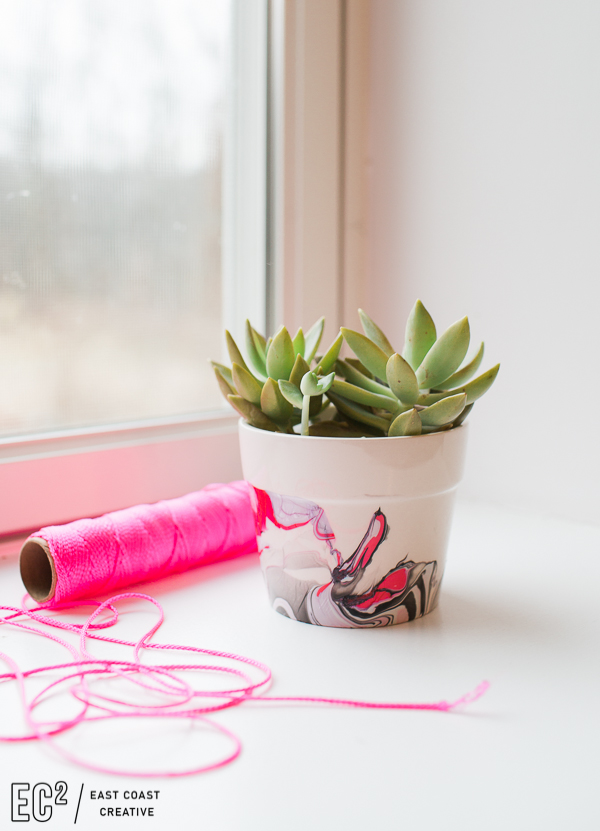
I love this pink, grey, and black combo too!
I also dipped a larger vase to give as a utensil holder. I have a feeling I’ll be marbling everything!!
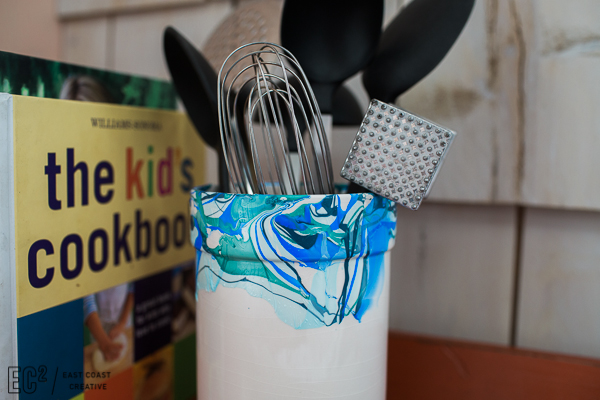
This project only took about 10 minutes, but it definitely looks like I spent hours on it. What a great gift and cool way to add some flair to your basic planter!
Make sure you check out the other 11 Make-It-Yourself gift ideas I’m sharing today!
Click HERE to see them all!
 Happy Holidays Everyone!
-Mon


Hey Monica,
I was wondering if this is safe to put on coffee mugs? Also, is it dishwasher safe?
Hey Chloe-
I recommend this project for non-food items. I am sure there is a food safe sealant that you could coat it with, but I haven’t tried it yet. If you do, let me know how it turns out! Thanks!
I wouldn’t put these in the dishwasher after it dries– this method is more for decoration.
looks amazing. will it work on glass or any other surface?
Yes, glass, planters. I’ve tried a bunch of surfaces and most have worked! 🙂
Do you seal the nail polish with a clear coat of sealant? Does the polish wear off?
I think this is a great idea.
Lynne
Hi Lynne-
You could choose to use a sealant- I’d recommend a spray sealant, but if you’re just using it for an indoor planter etc, I don’t think you’d need to. Thanks for stopping by!
Thanks! Monica!! I’m thinking of gifts and glass plates. I’m going to experiment now…..I’ll let you know.
Since I’m not as perfect as you are at dipping…..can you vaseline the part you don’t want marbelized and wipe it off after it dries???? Hmmmmmm
OK. I tried. The nail polish is sticking to the toothpick. Should the water be warm or cold? It’s the same brand of nail polish so it’s not interacting. At first it worked and swirled but it ceased up.
OK. the water was in a metal cake pan. Do not use metal. Swirl lightly, just the nailpolish and not water. Yay, it worked
Yay Lynne! I’m so glad you tried again and got it to work! Isn’t it such a fun, easy project!!
I didn’t seal the pot at all, I just let the polish dry completely before I used the containers!
This is so easy and gorgeous. I will definitely marble something.