
*This post is part of our Real Design Series collaboration with Lowe’s. It’s all about DIY home projects and ideas that actually work in real life, with a real family… not just ones that look pretty for the camera. I’ve spent the last 2 years doing countless makeovers for other families on TV, but this series is all about the Mangin Family (that’s me) and how we’re working room by room to renovate our own home! Check out all the past series posts here
——————————————————————————————
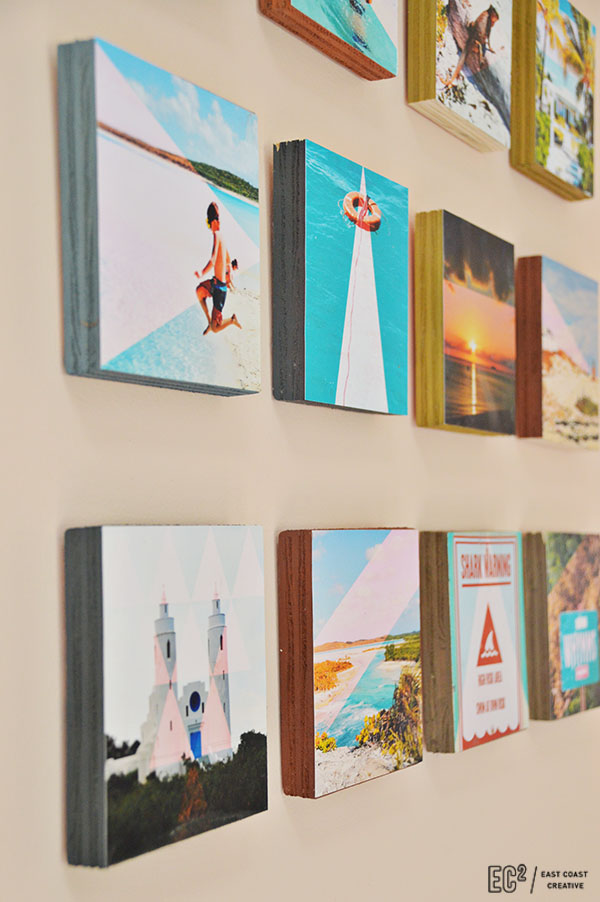
I’m a big fan of actually using my Instagram pictures- I’ve hung them in frames, made a modern “wreath“, and have found the best way to print my IG pics anywhere for super cheap! Overall, I just like getting my pics off my phone and into our home, so today’s DIY Wood Block Instagram Wall Art totally fits the bill!
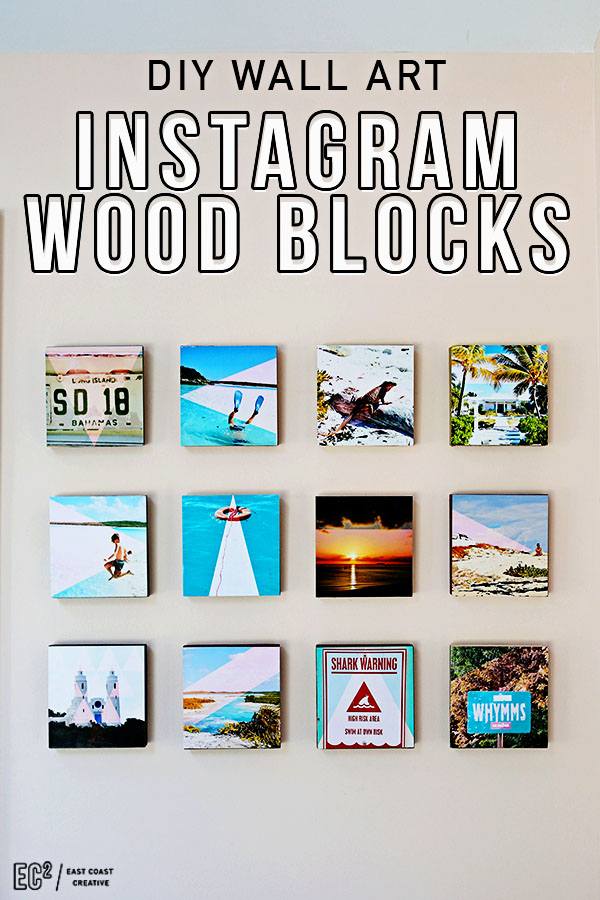
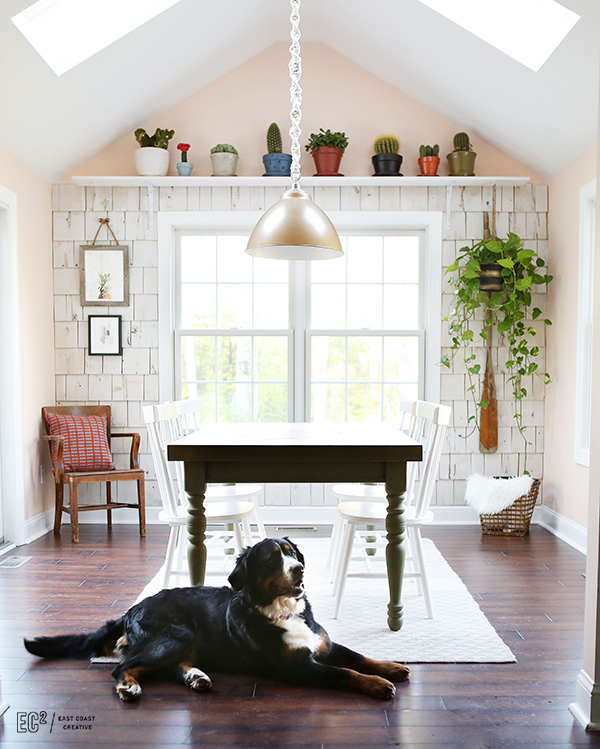
This little gallery of pics from our Bahamas trip hangs in my newly renovated breakfast nook- if you missed the room reveal you can check it out here.

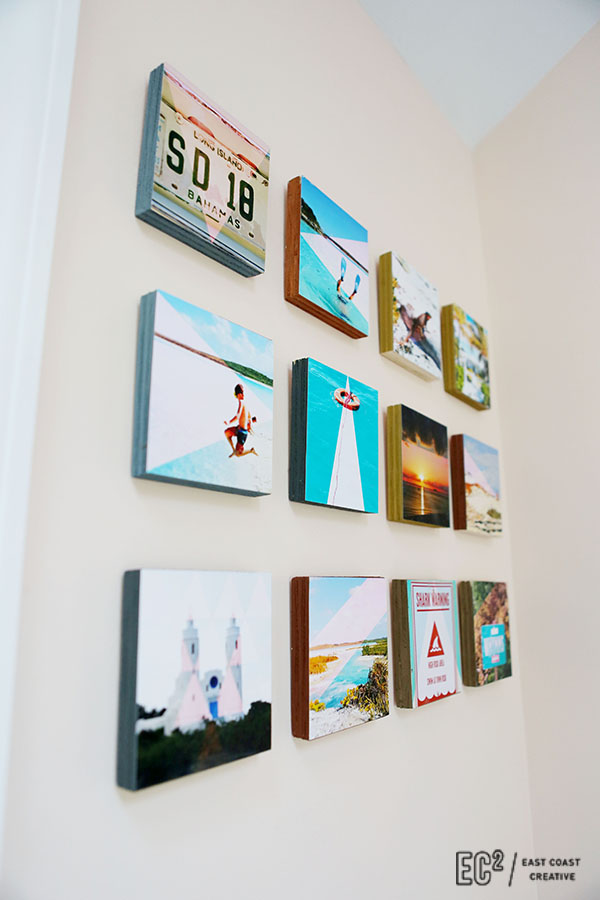
The wood block gallery hangs just above our little “dog command center” in the corner of the room. You can check out the feeding station tutorial here.

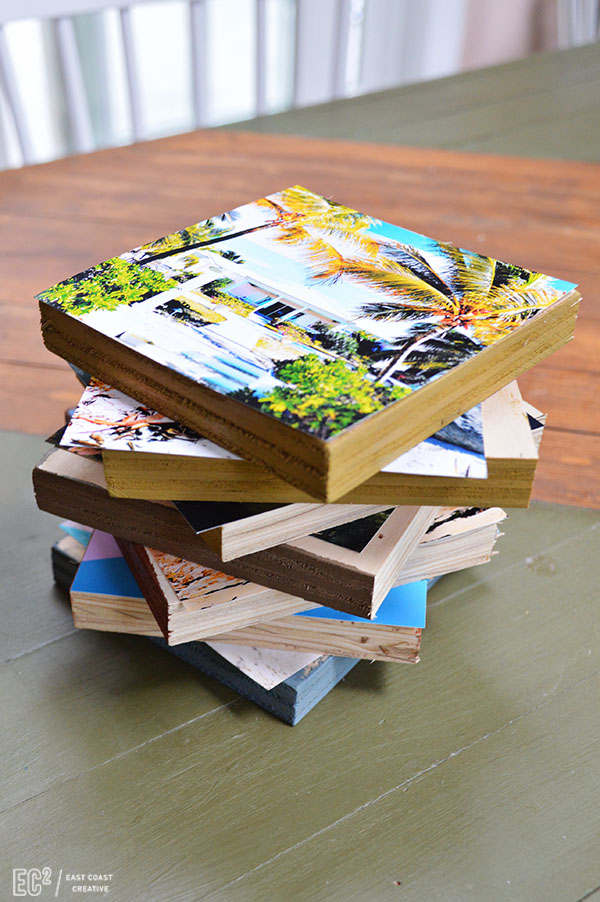
I knew I wanted to use IG pics, and I knew I didn’t want to use frames… and I just happened to have lots and lots of scrap wood from all my recent building projects, so I decided that mounting the pictures on wood would be the perfect, low cost solution!
DIY Wood Block Instagram Wall Art
Materials: 1x6x10 pine boards | Printed IG pics | Sandpaper | Paper Cutter | Chop Saw | E6000 Adhesive | Craft Paint | Brushes | Command Strips
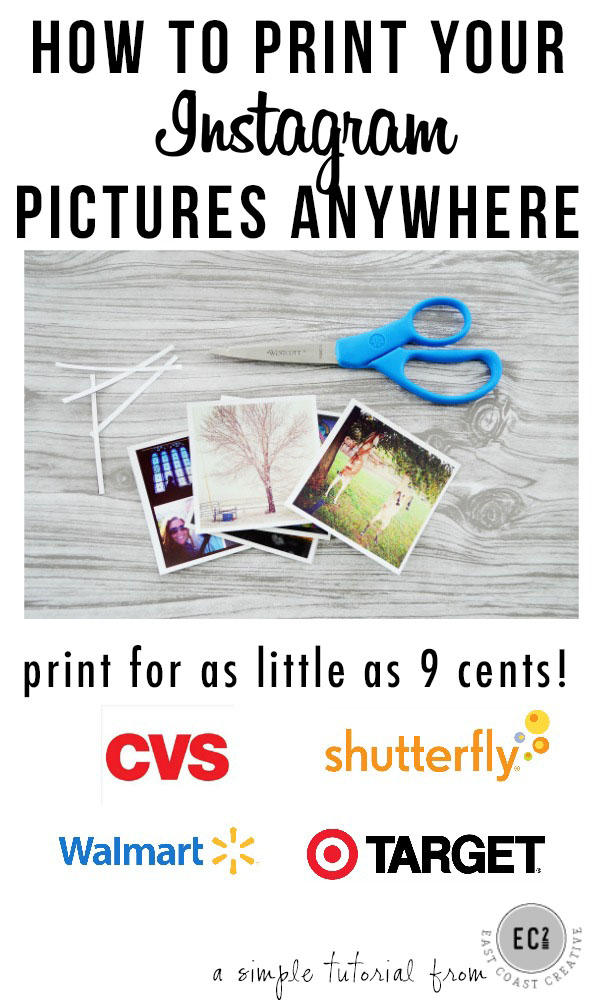
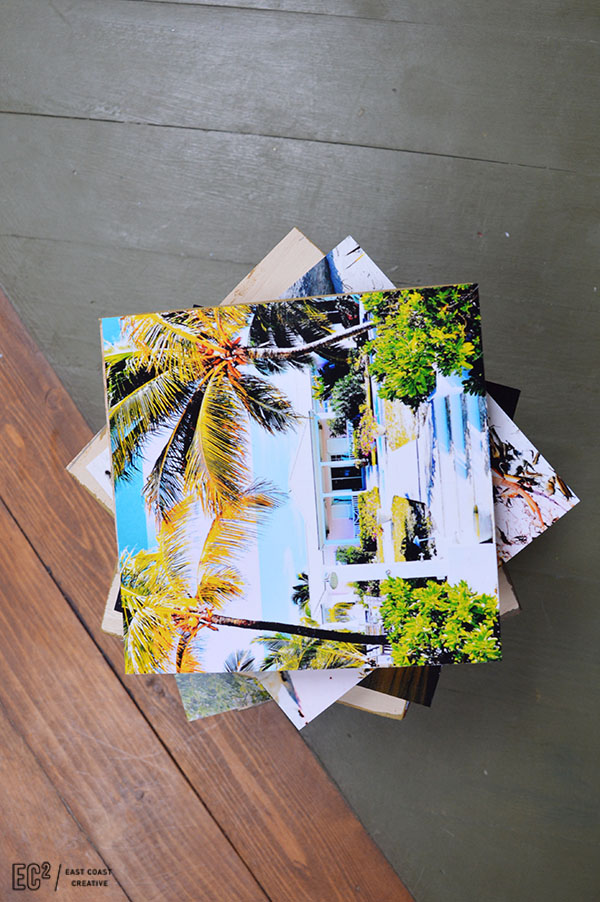
Step 1: Use this tutorial to print some of your Instagram pictures at any store (and really inexpensively I might add)- print as 5x7s. I printed mine at Walmart this time and they turned out really well!
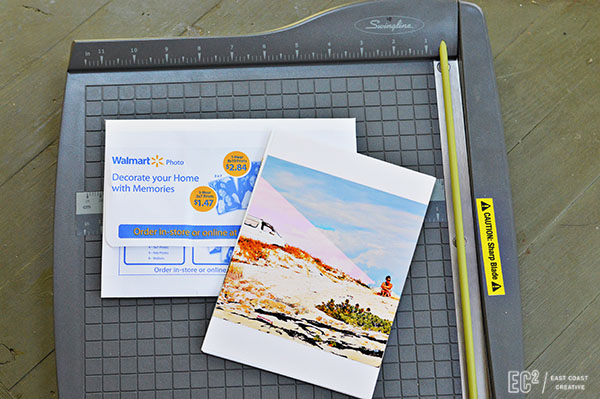
Step 2: Use your paper cutter to remove the white portions of your prints. You’ll see in the printing tutorial that they’ll be printed with excess white around them, just trim them down, and you’ve got yourself 5×5 square IG pics!
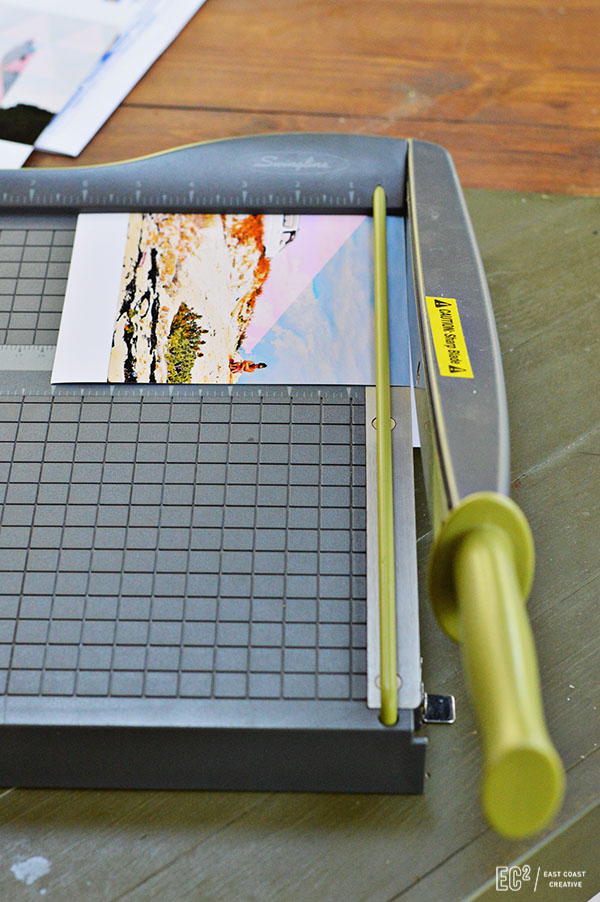
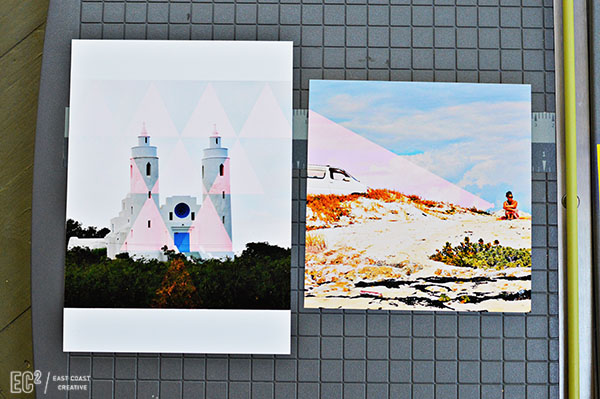
I also played around in Photoshop ahead of time with my pics. I added some graphic shape overlays, just to add a little something to them. I love the pictures as is, but I wanted to also make them a bit more of a graphic feature than just pictures. That part is totally optional.
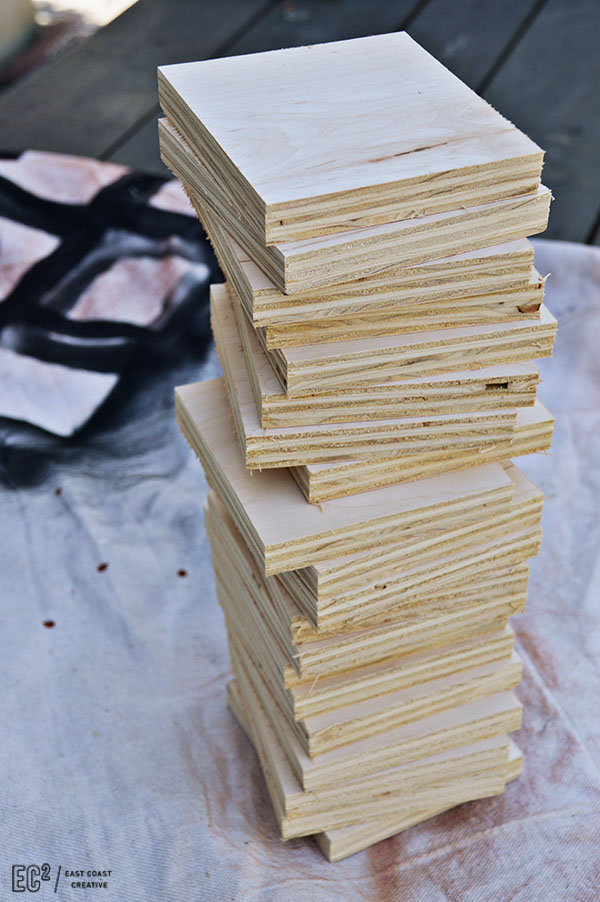
Step 3: Use a chop saw and cut your pine board into approx. 5×5 squares. I say approximately, because I found that just a few of my prints varied in size just a tiny bit. I did have to adjust a few of my wood blocks by trimming them down a smidge with my chop saw. Once they’re all cut, lightly sand the edges to smooth any rough areas.
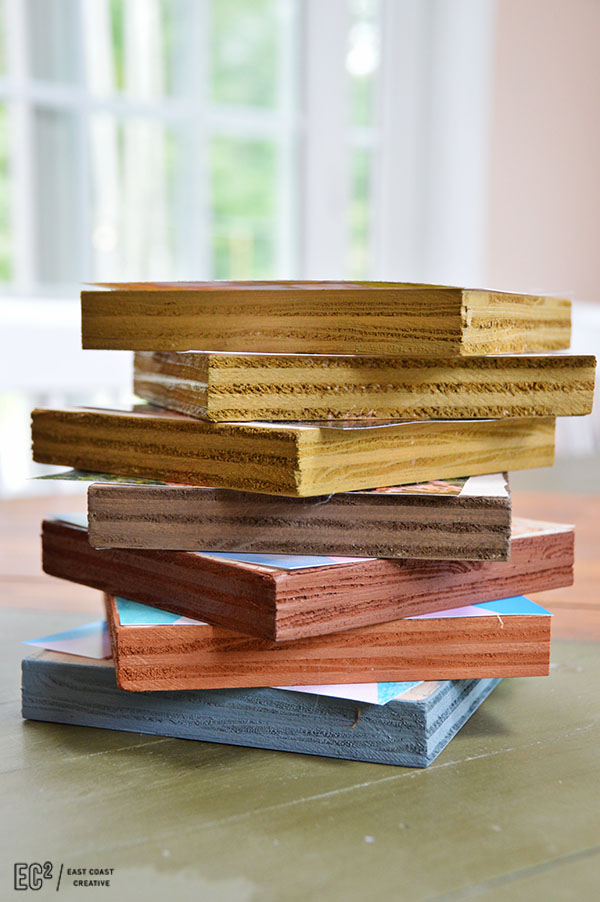
Step 4: Using craft paint or any leftover wall paints you have, paint the edges of each wood block. This is where you can get creative and completely customize this project to fit your space/style. I went with really deep earth tones to balance out all the light pinky/peach.
Step 5: Once your wood blocks are dried, it’s time to attach the photos to the blocks. One of my favorite adhesives is E6000 and it now comes in a spray bottle version which is perfect for this project! Sorry the bottle isn’t in focus, I was doing the whole Vanna White and photographer thing at the same time.
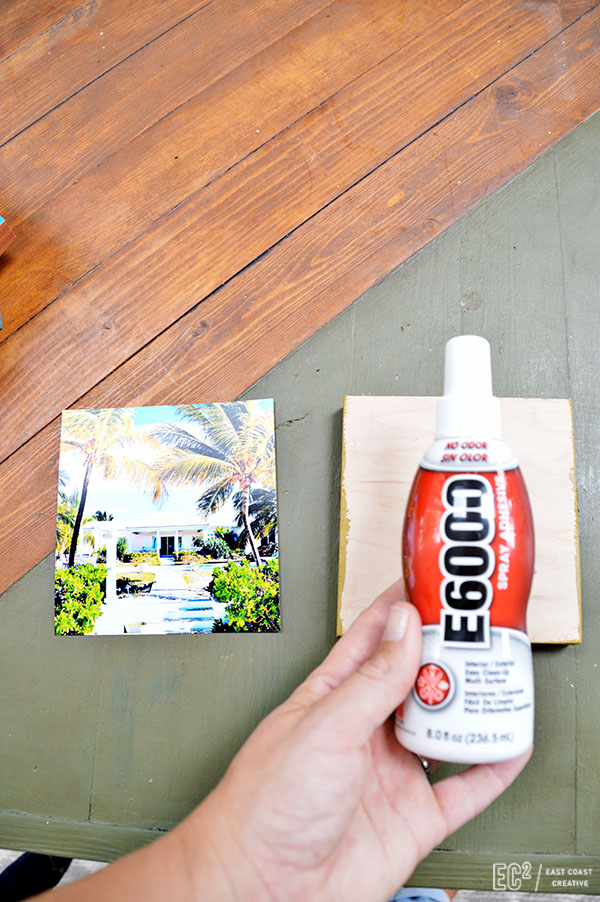
Spray the adhesive onto the face of the wood block and then carefully position your picture on the block. Try not to get the adhesive on your hands or it will end up on the pictures as you’re pressing it down. I actually re-stacked my wood blocks once the pictures were added, to help them adhere. It worked like a charm.
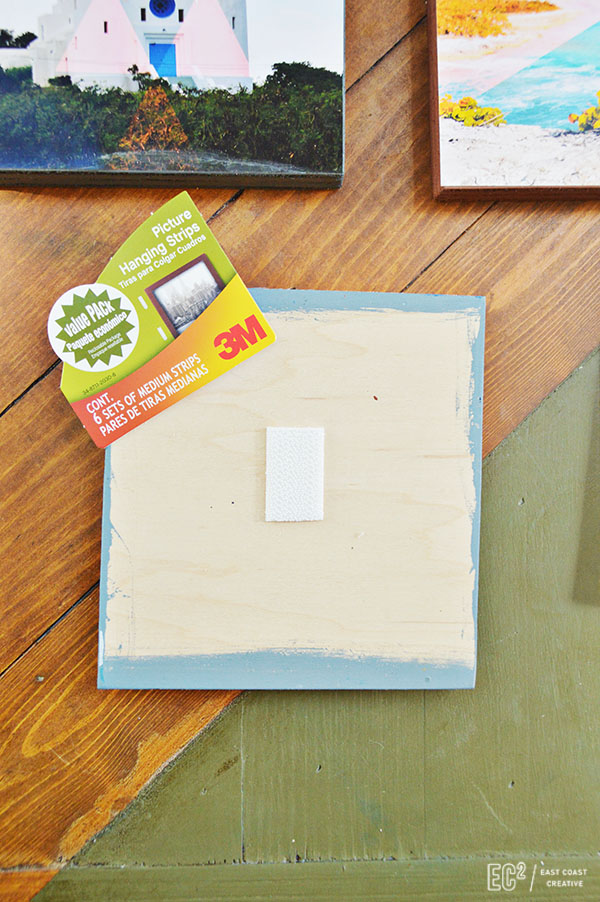
Step 5: Once the glue is fully dry, you can hang your prints. I used 3M Command strips, which I’ve been loving lately. I used them for my LA Nursery makeover last week and they’re just so great to work with! Anyhow, just place the strip on the back of the wood block and pop it on the wall.
I used a level to mark my vertical height, but my little cheater’s trick for horizontal spacing in a tight grid, is to create a little spacer out of paper. I just folded a post it note so it was exactly 2 inches wide and then used that to mark off where the next wood block should go. It’s so much quicker than using a tape measure in between every one.
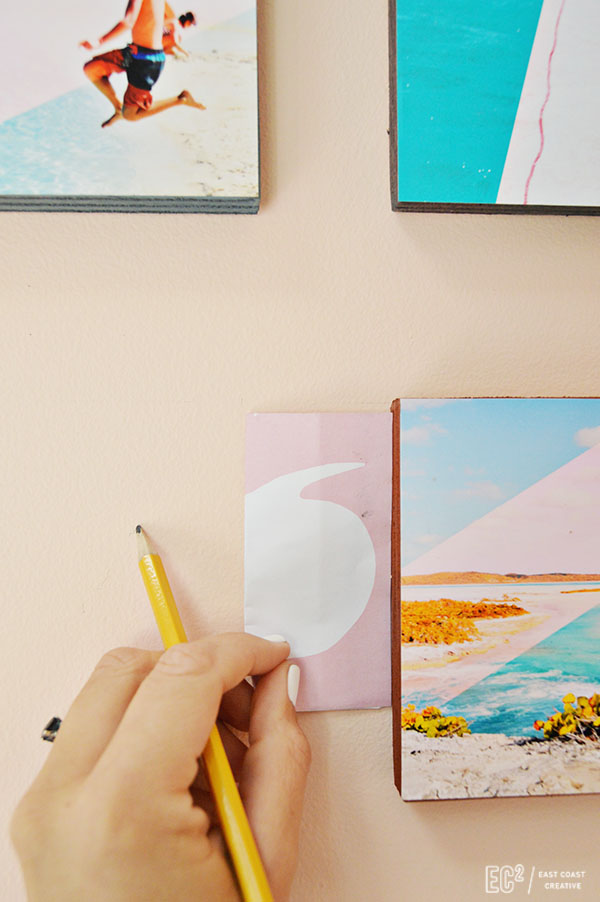
My grid was nice and even and it took me about 5 minutes to hang the entire thing!
My family loves seeing pictures from our trip up on the walls and I’m thrilled that the wood blocks didn’t cost me a penny since I used scrap wood and leftover paint. Now, go and get those IG pics off your phone and onto your walls!
-Mon


They look great, I have so many photos waiting for me to do something with. Are those printed on regular computer paper, or photo paper?
P.S. those aren’t pine boards you used are they, they are plywood?
I love this idea! However, pinning this page doesn’t seem to work, none of the thumbnails or descriptions are useful, which makes me sad as I want to pin it to my house ideas boards!
Hi there, Just wondering if you used matte or glossy printing in these photos? I’m on the fence about it. Would love your input.
I love the look of Matte photos personally. But either would work fine! 🙂
Mon
I printed these in a glossy finish, but it’s really up to you!