
Caitlin from Desert Domicile is back today with a tutorial for DIY pillow covers! We missed seeing her awesome projects during the CWTS months, so we’re really glad she’s back!! It’s kinda obvious that we love a good knockoff project- I mean duh it’s the name of our show… so we fell in love with Caitlin’s knockoff of LEIF’s lattice check pillows! You’re going to love them too!!
Hi East Coast Creative readers!
It’s Caitlin from Desert Domicile and I’m back with another contributor project. Today I’m sharing my DIY lattice check pillow cover knockoff tutorial with you!

This project was inspired by LEIF’s lattice check cushion, which is sadly no longer available:

I started this project by placing a few pieces of paper inside one of IKEA’s Gurli pillow covers to prevent the paint from bleeding through to the other side:

Then I mixed 2 parts of black acrylic paint with 1 parts of fabric medium in an old dip bowl:

I covered our dining room table with a layer of kraft paper and garbage bags before taping down my pillow cover:

I measured the width of the pillow case and divided it by 4. I measured the distance between lines and marked them on the garbage bags. I took a level and lined up each line (top and bottom/side to side) and drew guides to follow:

Then I started painting!

My inner perfectionist had a mini panic attack because things weren’t perfect. They weren’t supposed to be but it was hard to deal with at first!

Painting the fabric became therapeutic after a while though! I did have to remind myself to keep the lines imperfect and not solid which was a little easier said than done haha

After I finished painting the vertical lines, I moved onto the horizontal ones:


After they were completed, it was time to start the diagonal lines:

I started from the left edge:

I made sure to reference an image of the LEIF pillow cover periodically to ensure that my lines were running in the right direction:

When the left side was finished, I started working on the top row and the second to left row:

I painted each diagonal line in each box individually instead of trying to paint one full line.

After everything was painted, I removed the tape that was holding the cover in place. I had planned on painting the edge of the pillow cover gold to mimic LEIF’s pillow’s piping but I decided against that idea. Instead, I went back and extended each line all the way to the edge of the pillow.

Once the paint had dried, I flipped the pillow over, lined up my marks and painted the back side the same way. I waited 24 hours before turning the pillow cover inside out and ironing it to set the paint per the instructions on my fabric medium’s bottle.

The pillows are definitely Monet’s haha They look good from far away but they’re a bit messy once you get up close!

I like them despite their imperfections! 🙂

I ended up making a pair of pillow covers which I plan on adding to our couch.

The total cost of my pillows was $15 for the pair (yours may be more depending on where you shop and the supplies you already have):
- IKEA Gurli pillow covers – 2 at $4 = $8
- Black acrylic paint – $1 at Michael’s
- Fabric medium – $6 at Michael’s
- Pillow inserts – free, already owned
LEIF wanted $88 for one of their pillows when it was available! I know my pillows aren’t exact replica’s of theirs (I should have used watercolors) but you can’t be $15 for two pillows!
Have you ever painted on fabric before?
—————————————————————————————————————-
I love how perfectly imperfect Caitlin’s pillow covers are- and I really mean that! Sometimes as a DIYer it can be so hard to get the imperfection just right- too imperfect and it’s a hot mess- too perfect and it looks stale and not like the original. Caitlin got it perfect on this one!!
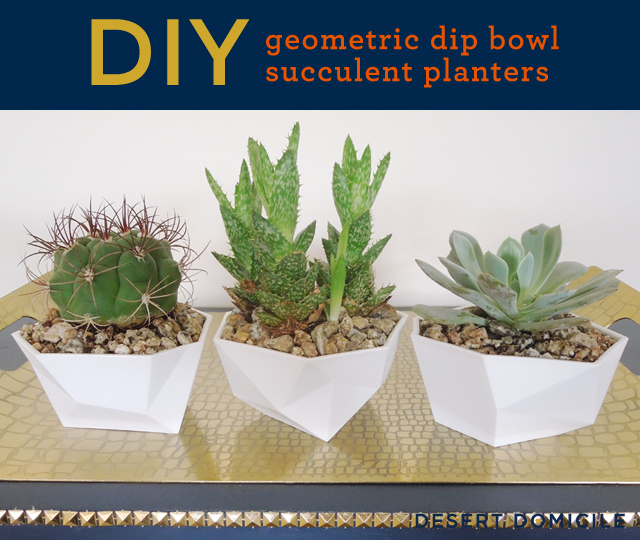
Make sure you also check all of the other awesome projects on Desert Domicile- I’m loving up these succulent planters. You’ll die when you see the price she paid!! #jealous


I think they look great Caitlin 🙂 I like imperfections, plus that pattern is meant to look that way so I think you did great. Isn’t fabric medium awesome stuff?! I used it on the same pillow covers and it worked like a charm 🙂 I really love the shot of your chair with the gallery wall in the background too . xo Kristin
I’m a perfectionist too but in this case I adore the imperfections of your beautiful brush strokes. Perfect for your house.
These are gorgeous Caitlin! I think yours are perfect – love them just as much as the original!
I think they came out awesome– super similar to the original!
These are very cool Caitlin!