

Last week you got to meet one of our new contributors- Caitlin as she shared her DIY conversation heart napkin rings.
This week we’re so stinkin’ thrilled to introduce you to the fabulous Sarah from Offbeat & Inspired!

Sarah is multi-talented, she posts about fab DIY projects AND amazingly good, perfectly styled recipes! I told her that my food blogging is a hot mess! I’m so excited about the variety that she’s going to be bringing here to East Coast Creative! Sarah blogs at Offbeat & Inspired with her gal pal Tiffany- we love a good blogging duo!
Thanks for being here Sarah- we’re so glad to have you!
………………………………………………………………………………………………………..
Hi Everyone! I’m Sarah!

I’m a big fan of garage sale, secondhand and “side of the road” shopping. I love the idea of transforming what many see as junk into a beautiful and functional piece for my home. Even items that appear simple or drab can be remade into a one of a kind piece.

At a garage sale this past fall, I picked up a couple wood TV trays for a dollar each. I was pretty excited about that deal, since most comparable ones I’ve seen in stores run for about $15-$20 each. Plus, I love how these trays provide extra space for food and drinks when I’m entertaining without taking up too much room – and you can’t beat the $2 price tag! (OK, maybe if they were free on the side of the road, but $2 is pretty good!)

I decided to transform the first tray by adding stripes and a flower design using Chalk Paint®, soft wax, painter’s tape and part of a stencil design I had on hand.


I haven’t started working on the second tray yet but I’m excited to redo it with a design to complement this one. I’m thinking I may paint a checkerboard pattern and add some checker pieces, but I’d love to hear your suggestions. How would you upcycle a piece like this?
Upcycled TV Tray
1. I first started by cleaning the dust and dirt off the TV tray. Don’t skimp on this step because you want to be painting the furniture, not the dirt!

2. I then painted on a coat of Chalk Paint® decorative paint by Annie Sloan in Paris Grey. The beauty of this paint is that you don’t have to prime the piece – just slap it right on!
3. After the paint dried, I put pieces of painter’s tape in a stripe pattern on the top of the tray. Then I painted the top with Chalk Paint® in Old White. When I removed the painter’s tape, I was left with white and grey stripes.

4. Using a Royal Design Studio stencil (French Floral Damask) that I had on hand from another project, I stenciled a flower design on the corner of the tray using the Annie Sloan color Versailles.
5. I finished the TV tray off with Clear Soft Wax, brushing the wax on with a paintbrush and then rubbing it off with a clean rag. When using this wax, the idea is to rub it into the wood and paint like you’d rub lotion into your hands. You don’t want to leave a layer of wax on the furniture just like you wouldn’t want to leave a thick layer of lotion on your hands.
6. I gently sanded down a few spots where I wanted a bit more of a distressed look.
7. The next day, I buffed the tray with a soft cloth so that there was a little bit of a sheen finish. If you use soft wax like I did, keep in mind that it takes about 30 days to completely cure. Your furniture can still be used during this time. However, until the wax cures and therefore has its full furniture protecting powers, you’ll just need to be a little more careful about water stains, scratches, etc. The good thing is that if you do have any scratches or stains, just reapply the wax to that area to fix it!

…………………………………………………………………………………………
Thanks Sarah! I love how such a simple project can completely change the look of an item that seemed so outdated at first. The only problem I’d have is that my kids would be asking to eat dinner in front of the TV 24/7!
Sarah has so many great projects, you’ve gotta head over to visit her blog, but here are a few I’m loving this week…
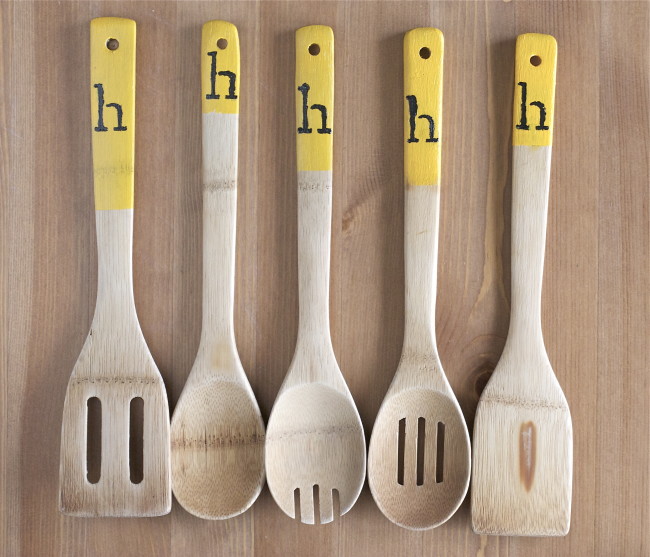
This simple DIY looks like something straight out of Anthro or Urban. I love the addition of the monogram!

And honestly what 100% hooked me on Sarah’s work is her amazing recipes and food styling. This winter chowder looks so perfect for a snow day like we’ve been having SO many of lately! She has loads of great recipes and I’m excited for her to bring some new ones here to EC2.
Thanks for being here Sarah- now go check out her blog guys- also, make sure you check out her soapmaking– is it weird that I think it almost looks good enough to eat??


This is so clever and chic! Just goes to show that a little paint and determination can turn anything from drab to fab! Thanks for sharing 🙂
So true! Glad you loved Sarah’s upcycle, thanks for stopping by the blog today!
I want to turn my tv tray into a photo collage but i don’t know how – any ideas???
[…] This post was originally featured by East Coast Creative. […]
Just a little paint and such a beautiful turnout!
i love your show can you tell me how to make a wall paper butterfly on my kids wall