
Remember a few months ago when I promised a tutorial for my awesome new playroom light? Well, let’s just pretend weeks and weeks haven’t passed and I’m doing it right on time. Okay? Cool Thanks! One of my very favorite things in my home now resides in my kids’ playroom- go figure right?!? I love this Modern DIY Pendant light so much and I love that it took me under an hour to make!
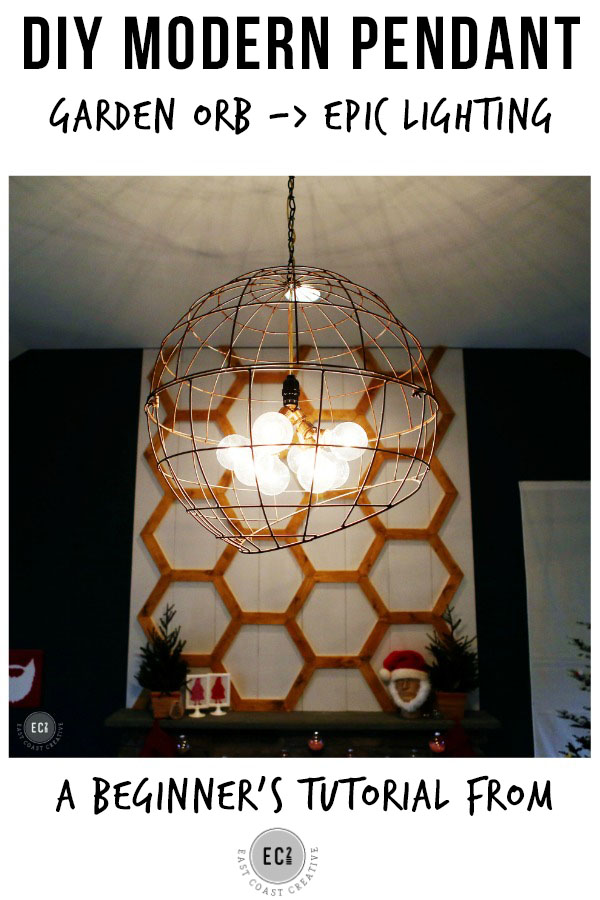
Gaah!! Isn’t it insane? I haven’t liked something this much in a long time (outside of my hubs and kids of course! Gotta add that for safety in case they read my blog!) So now I’ll let you in on how you can create your own Modern Pendant Light that you can fall in love with too!
Disclaimer: I’m not a professional electrician, but we are comfortable working on this type of project in our own home. This tutorial is intended as a general guide, but call a professional electrician if you are unsure of how to do this project on your own. We don’t want anyone burning down their home now do we?!
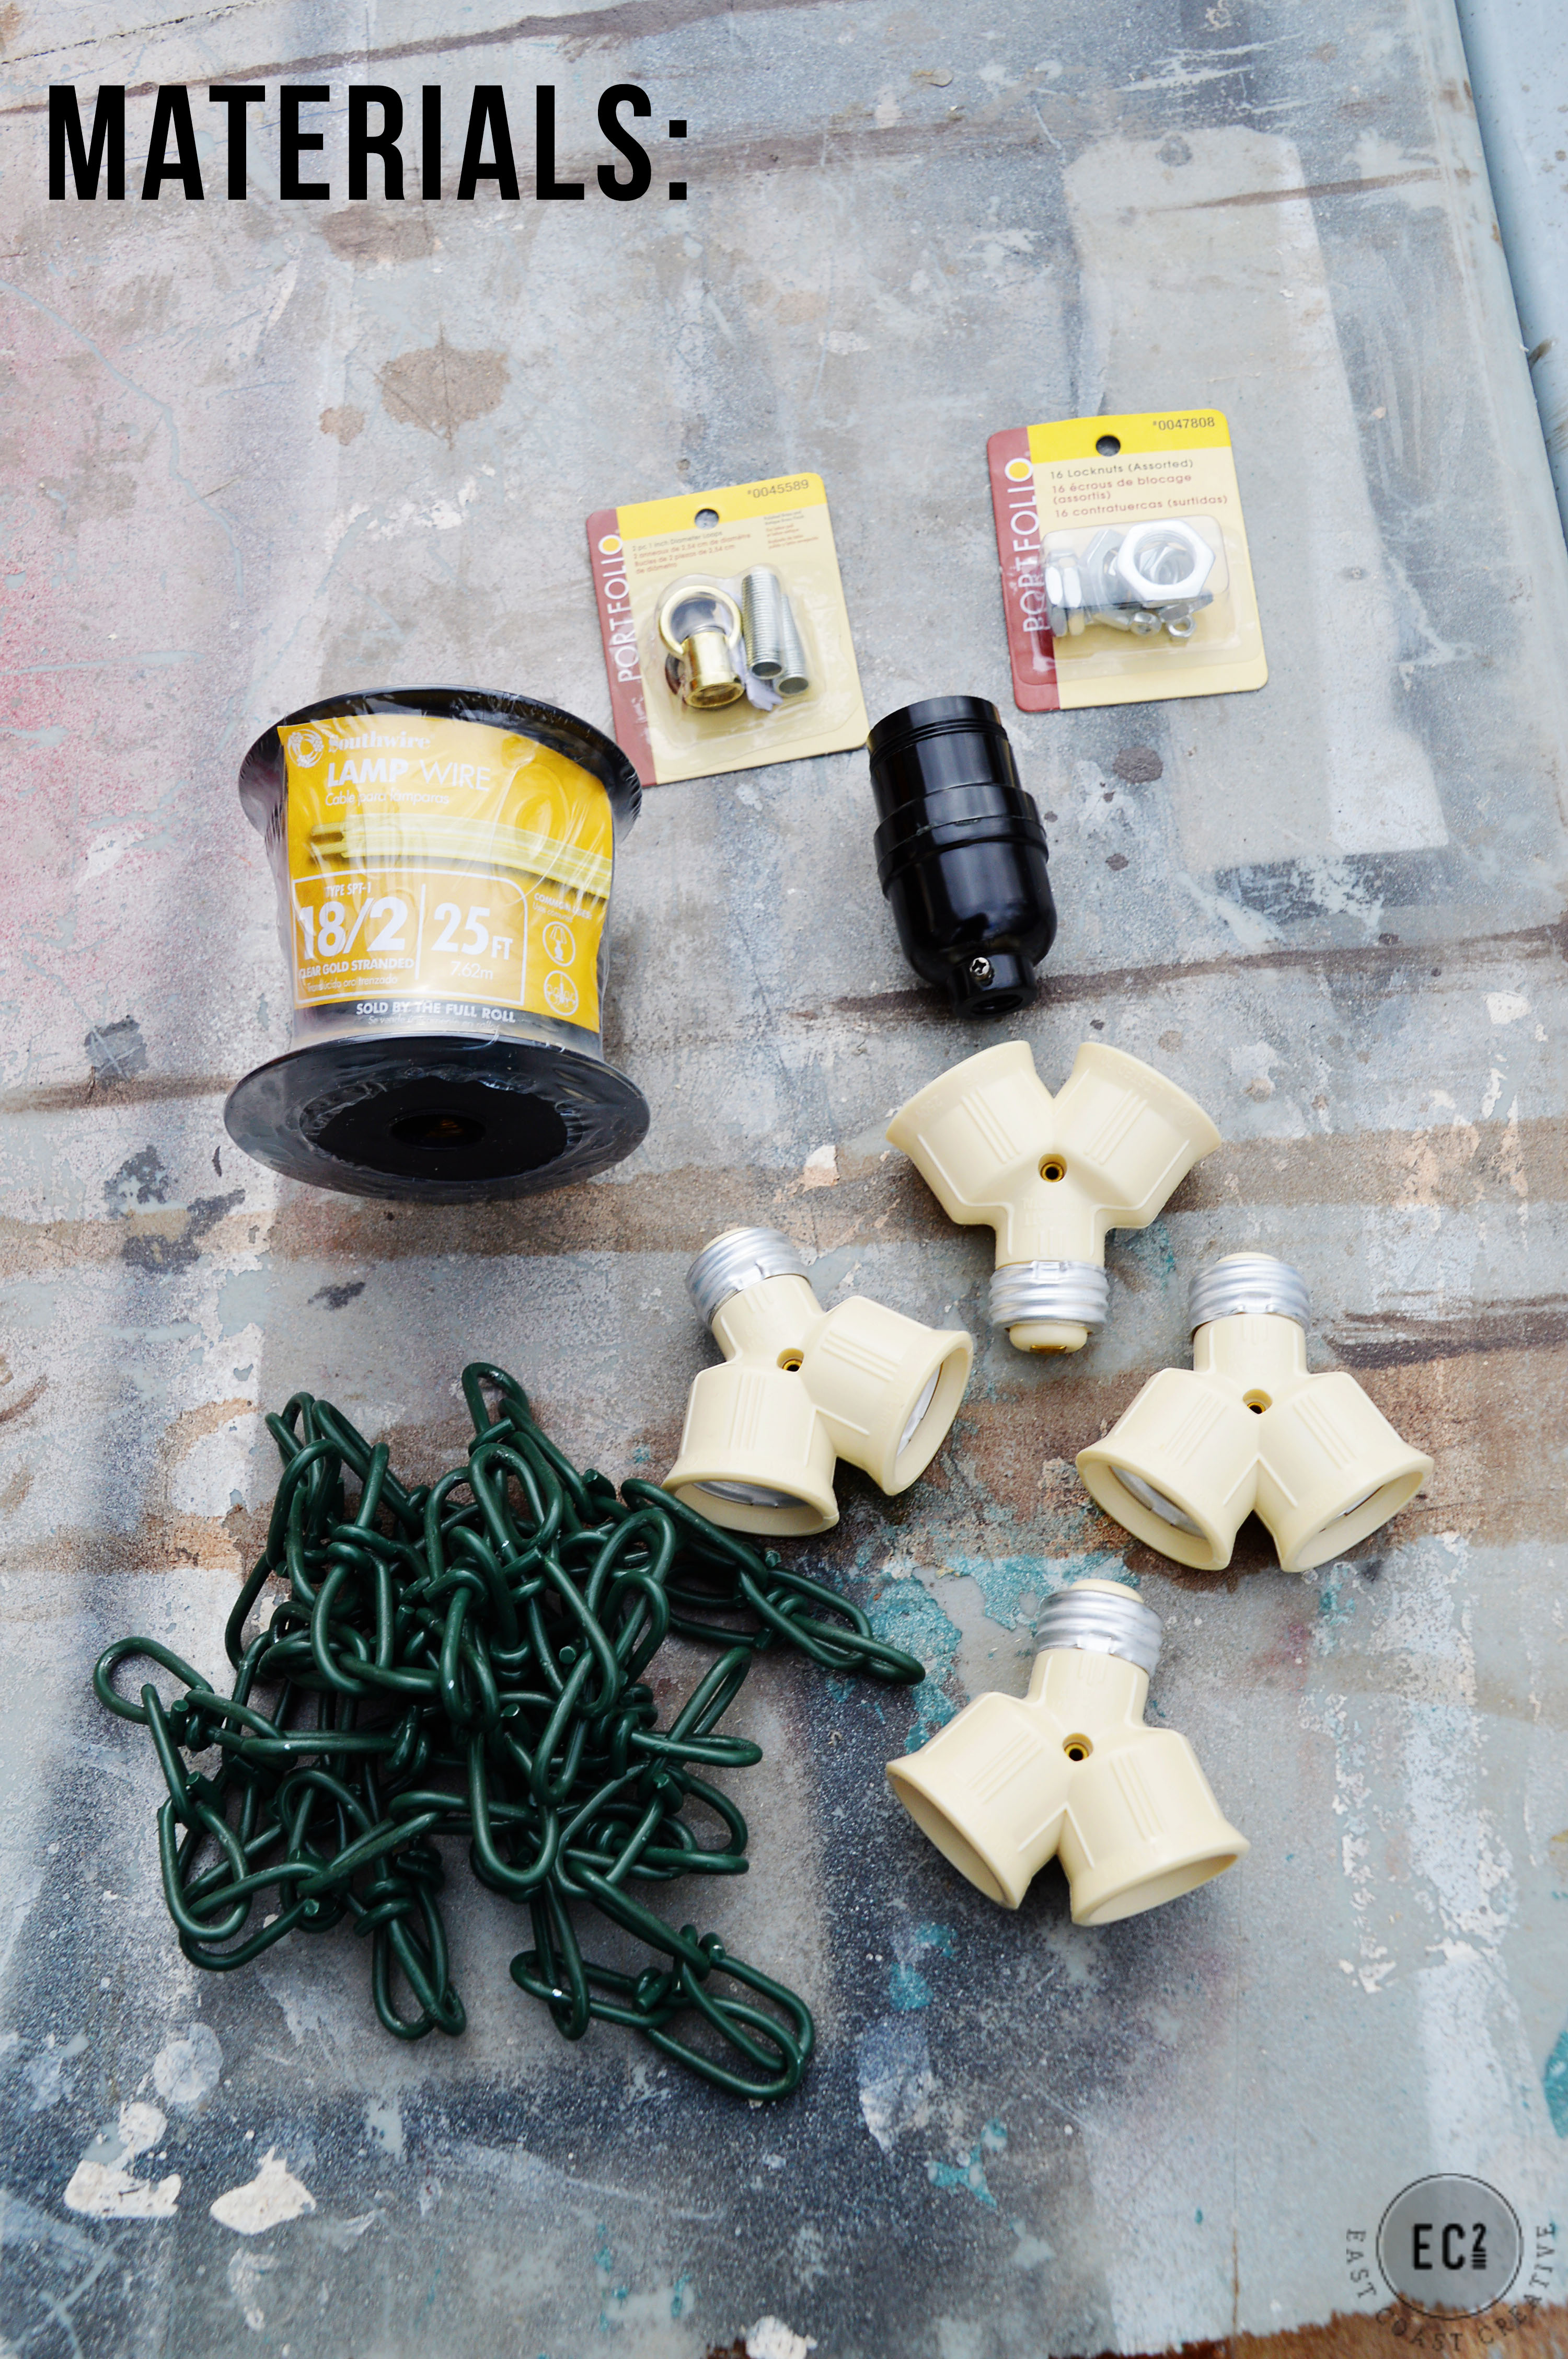
Materials:
18-2 Lamp Cord
Chain
Keyless Socket
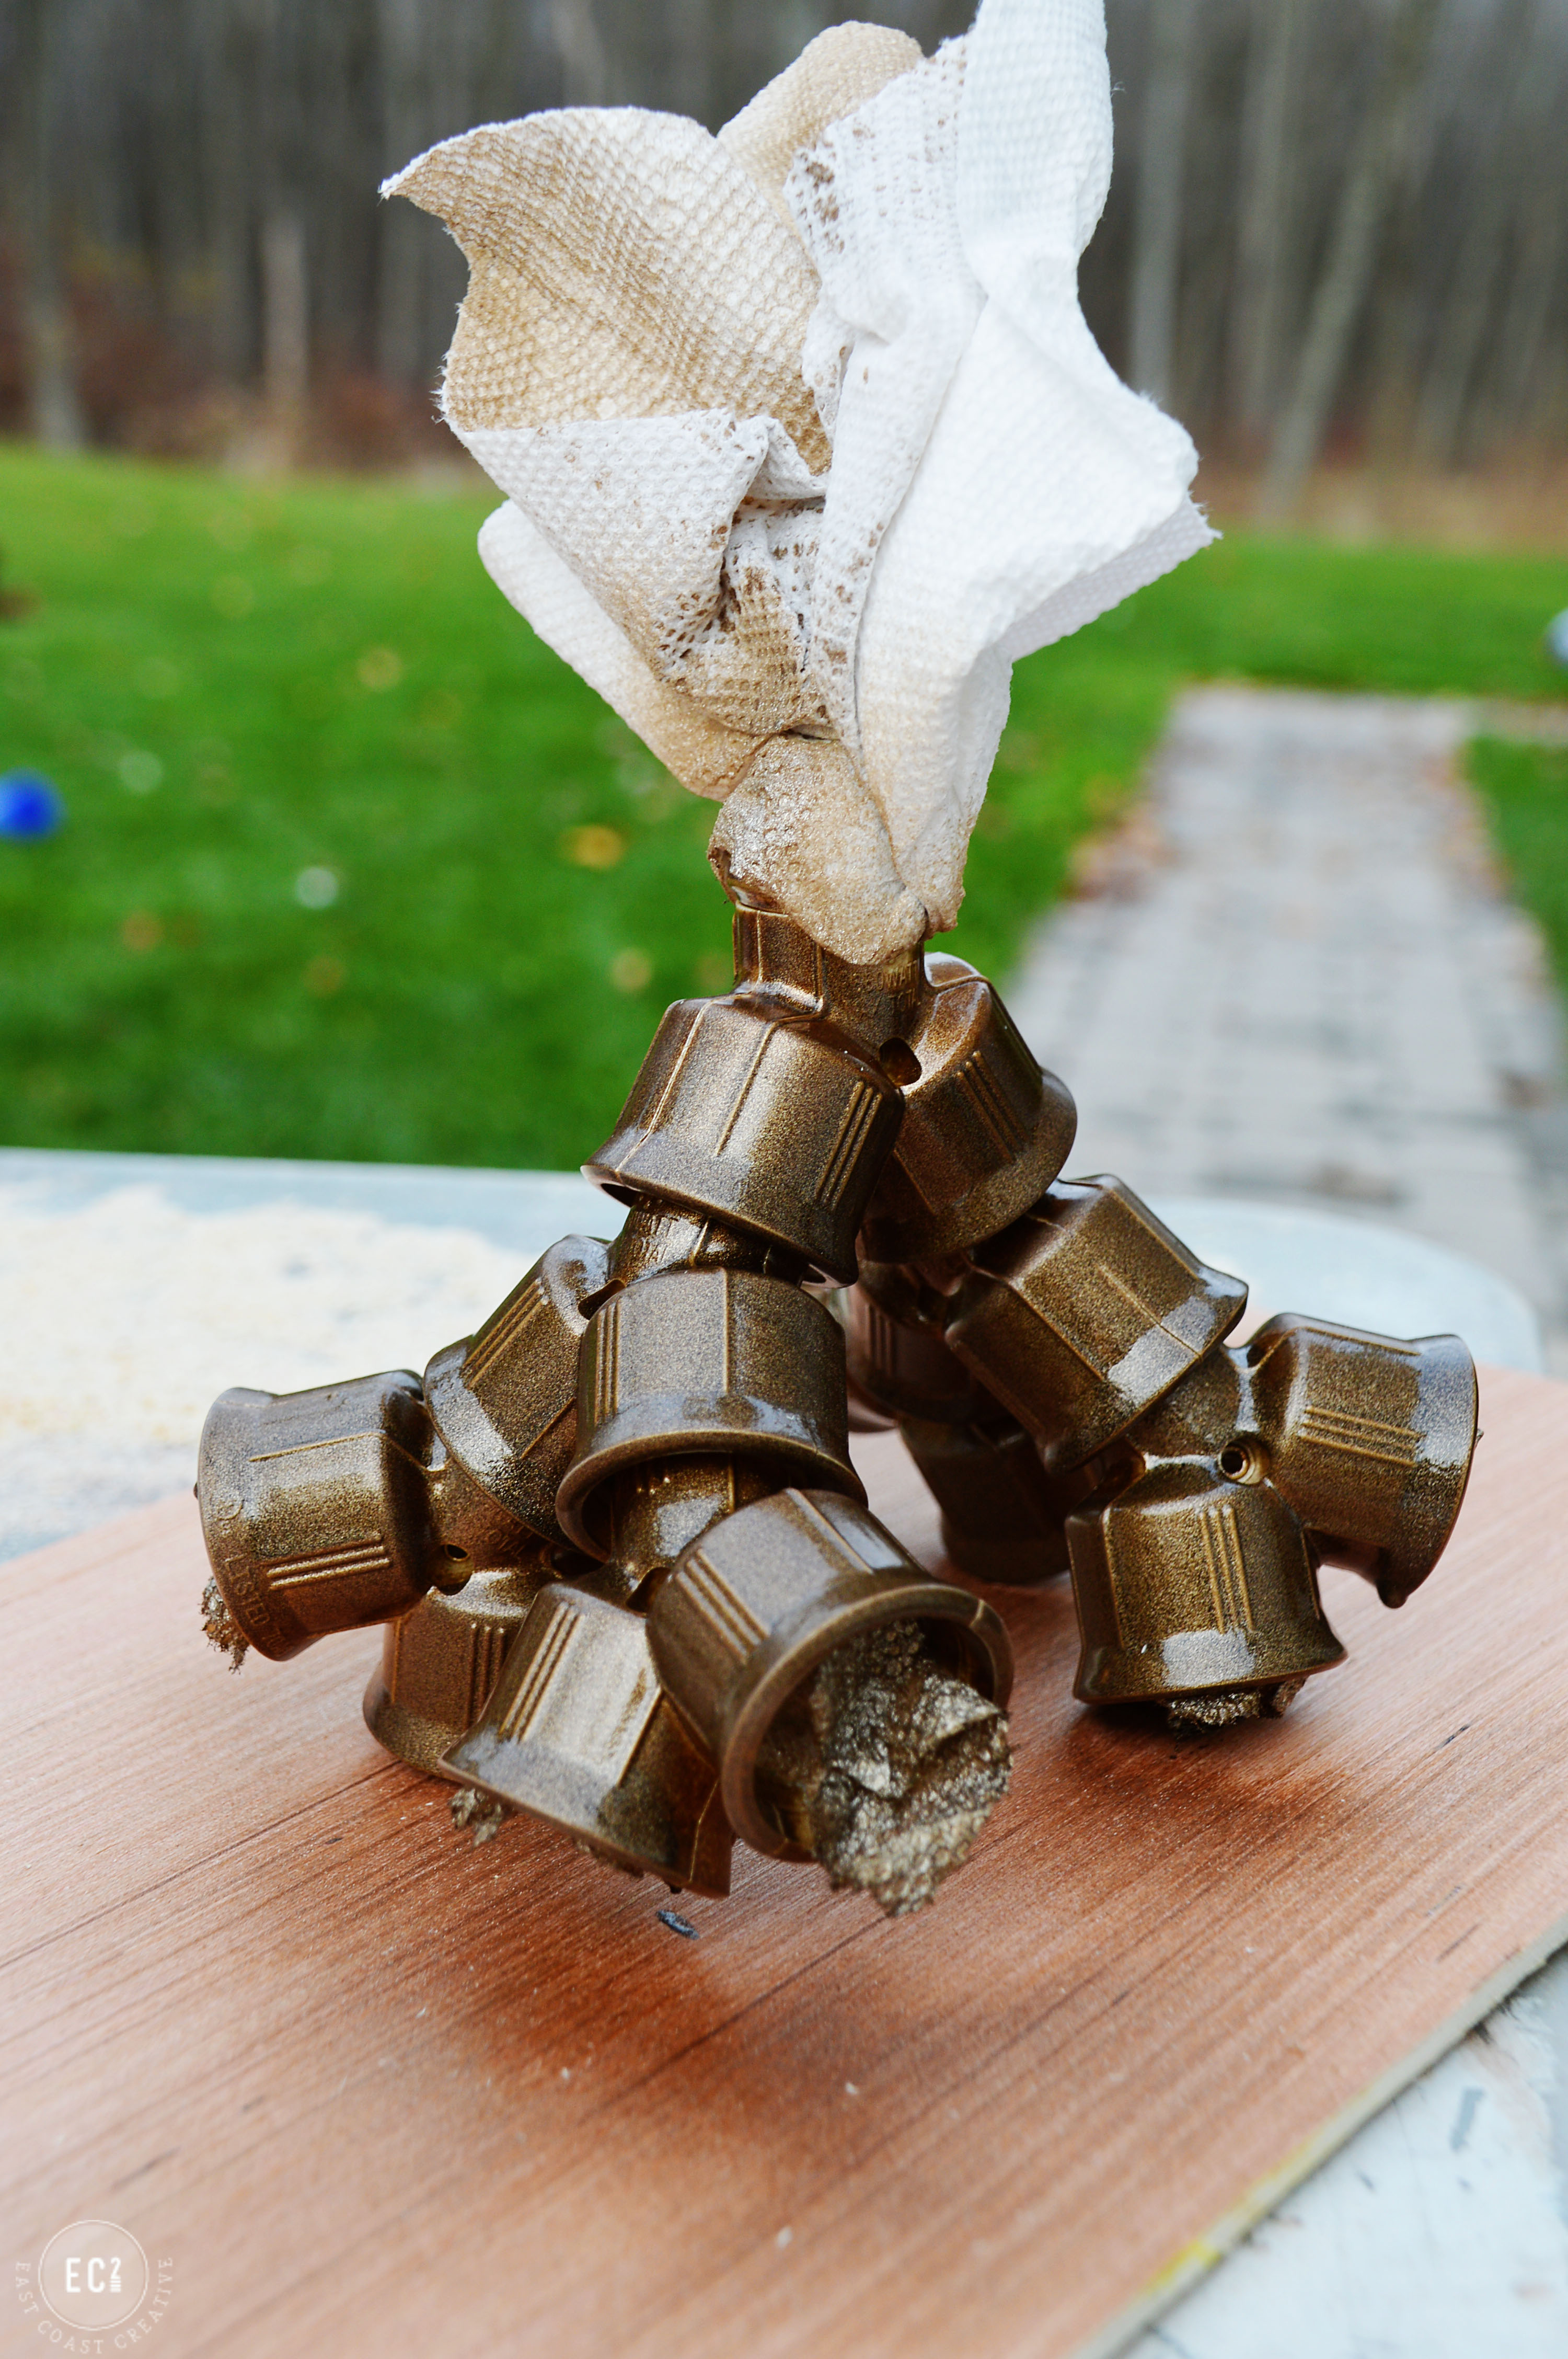
Bulb Splitters (not sure the technical name, but they’re pictured above)
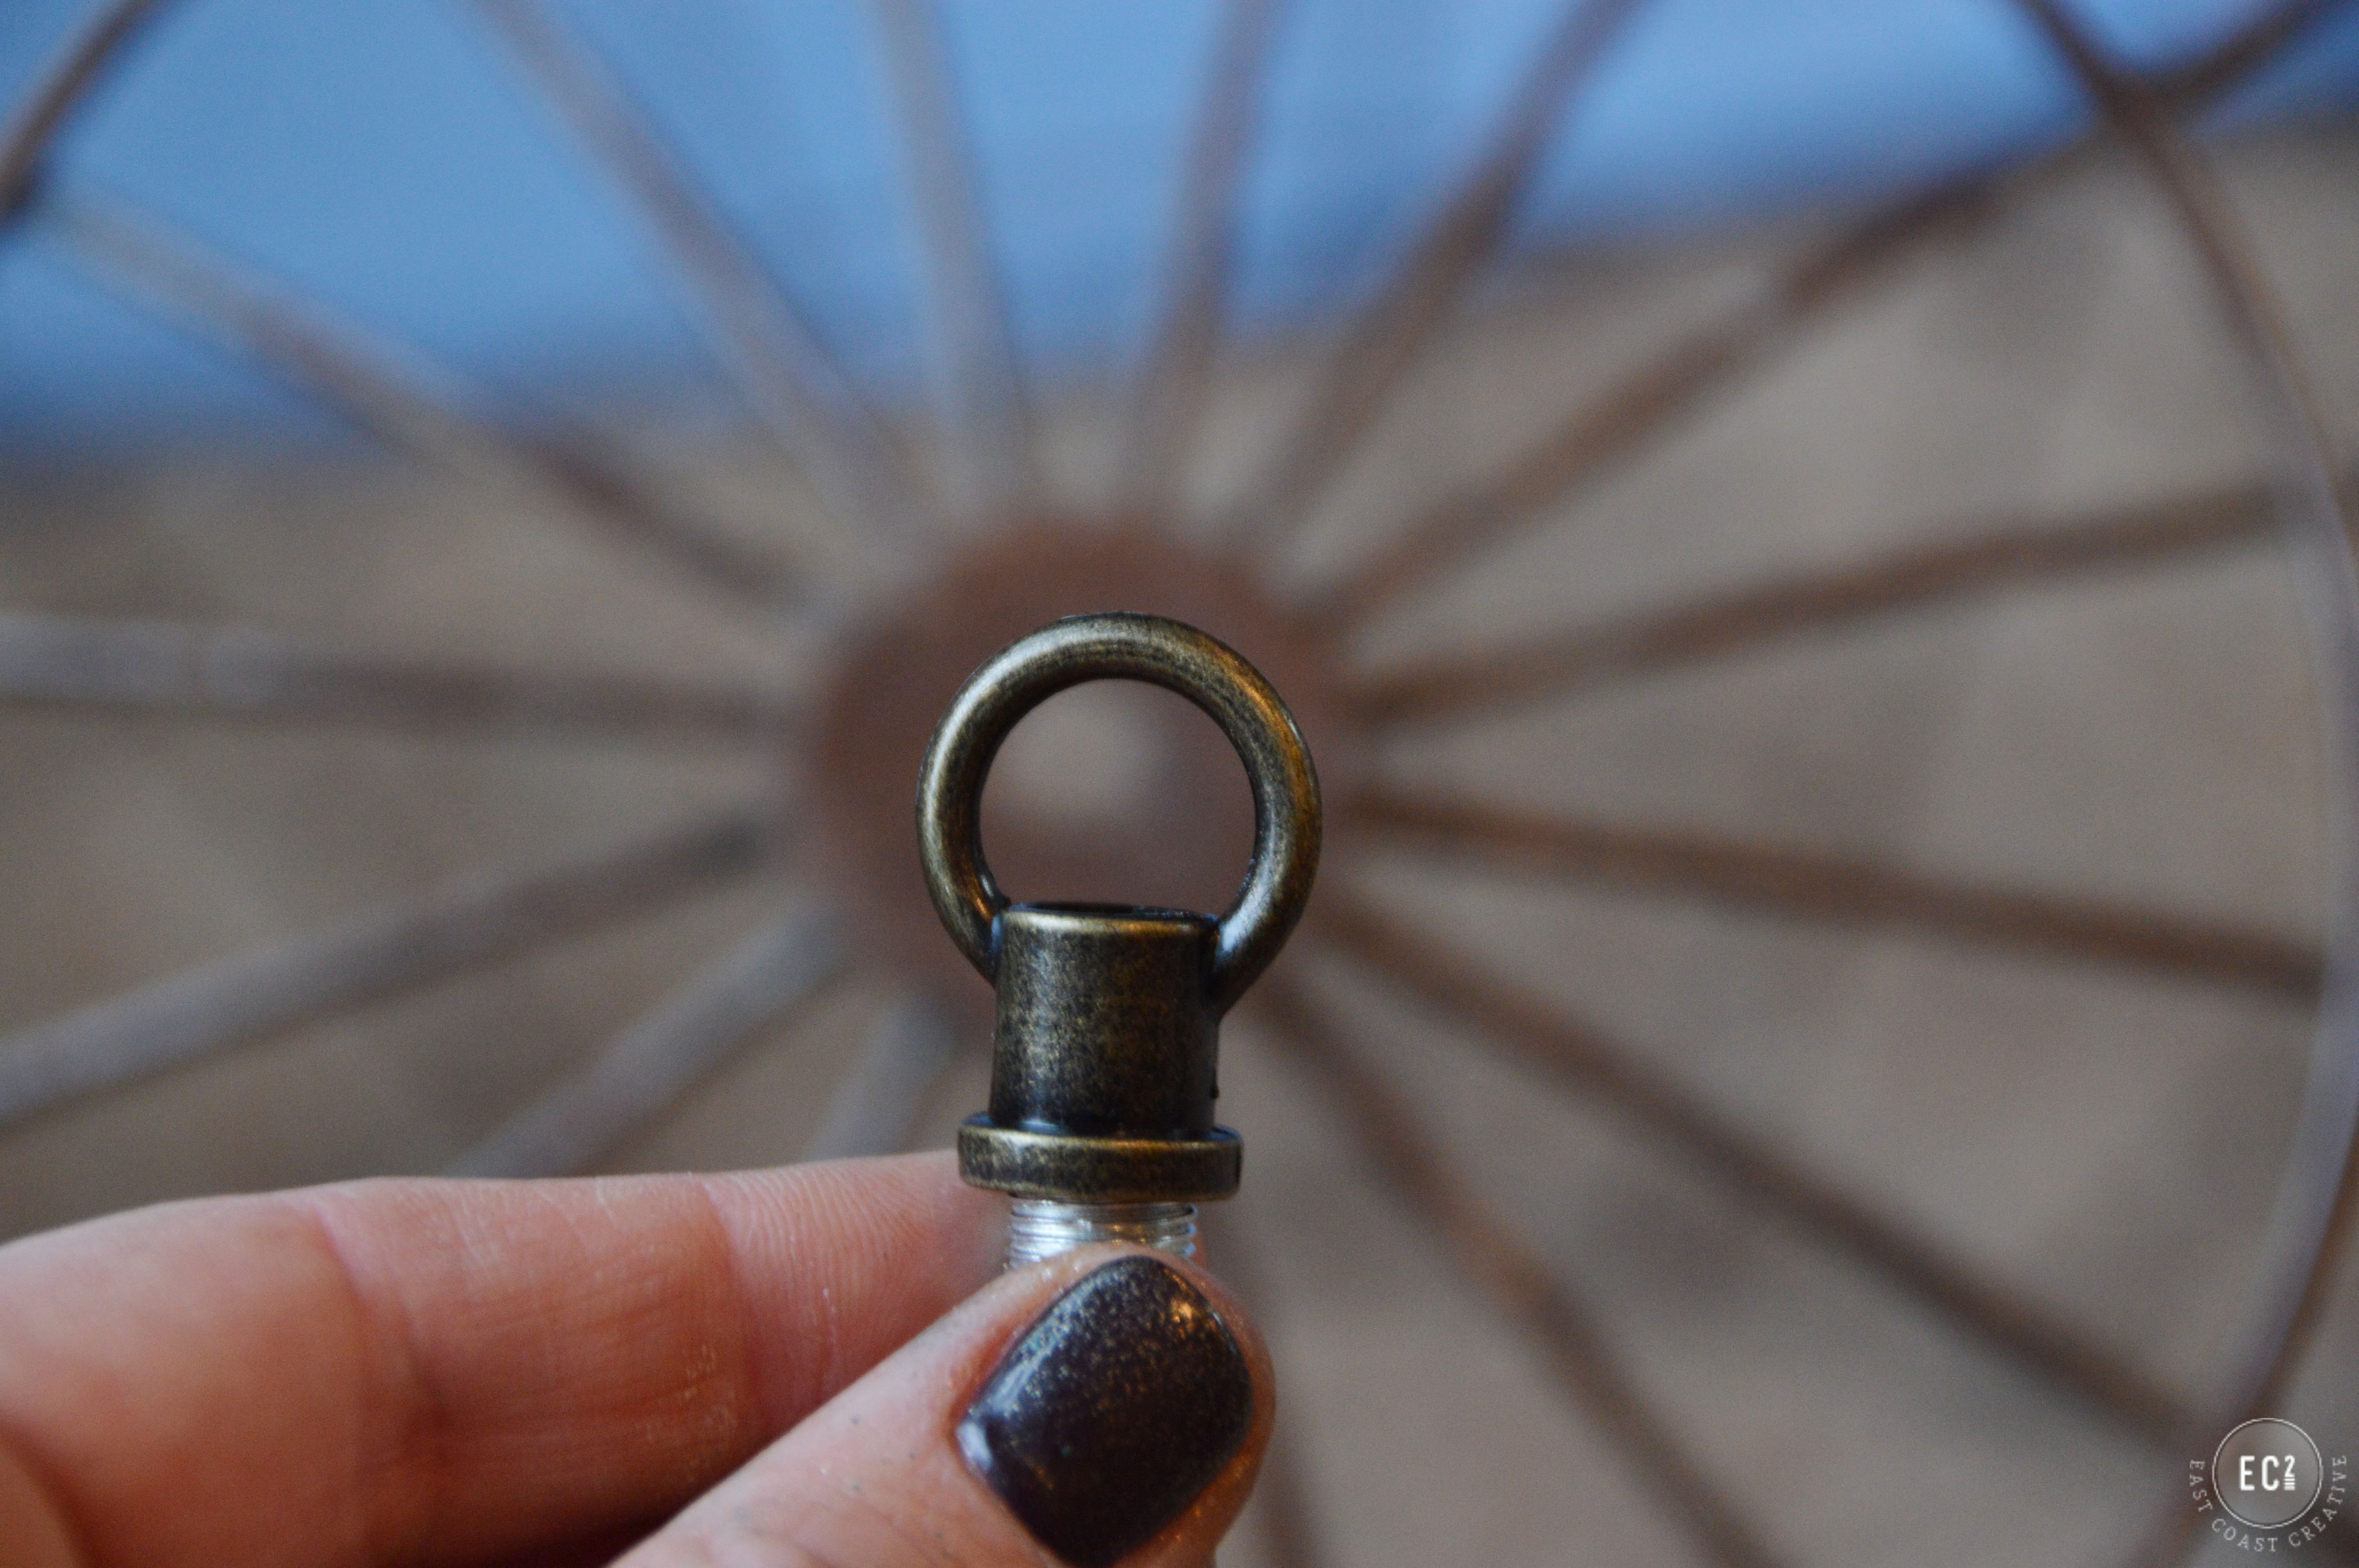
1″ Diameter Female Loops Kit
Assorted Locknuts Kit
Bulbs
Garden Orb
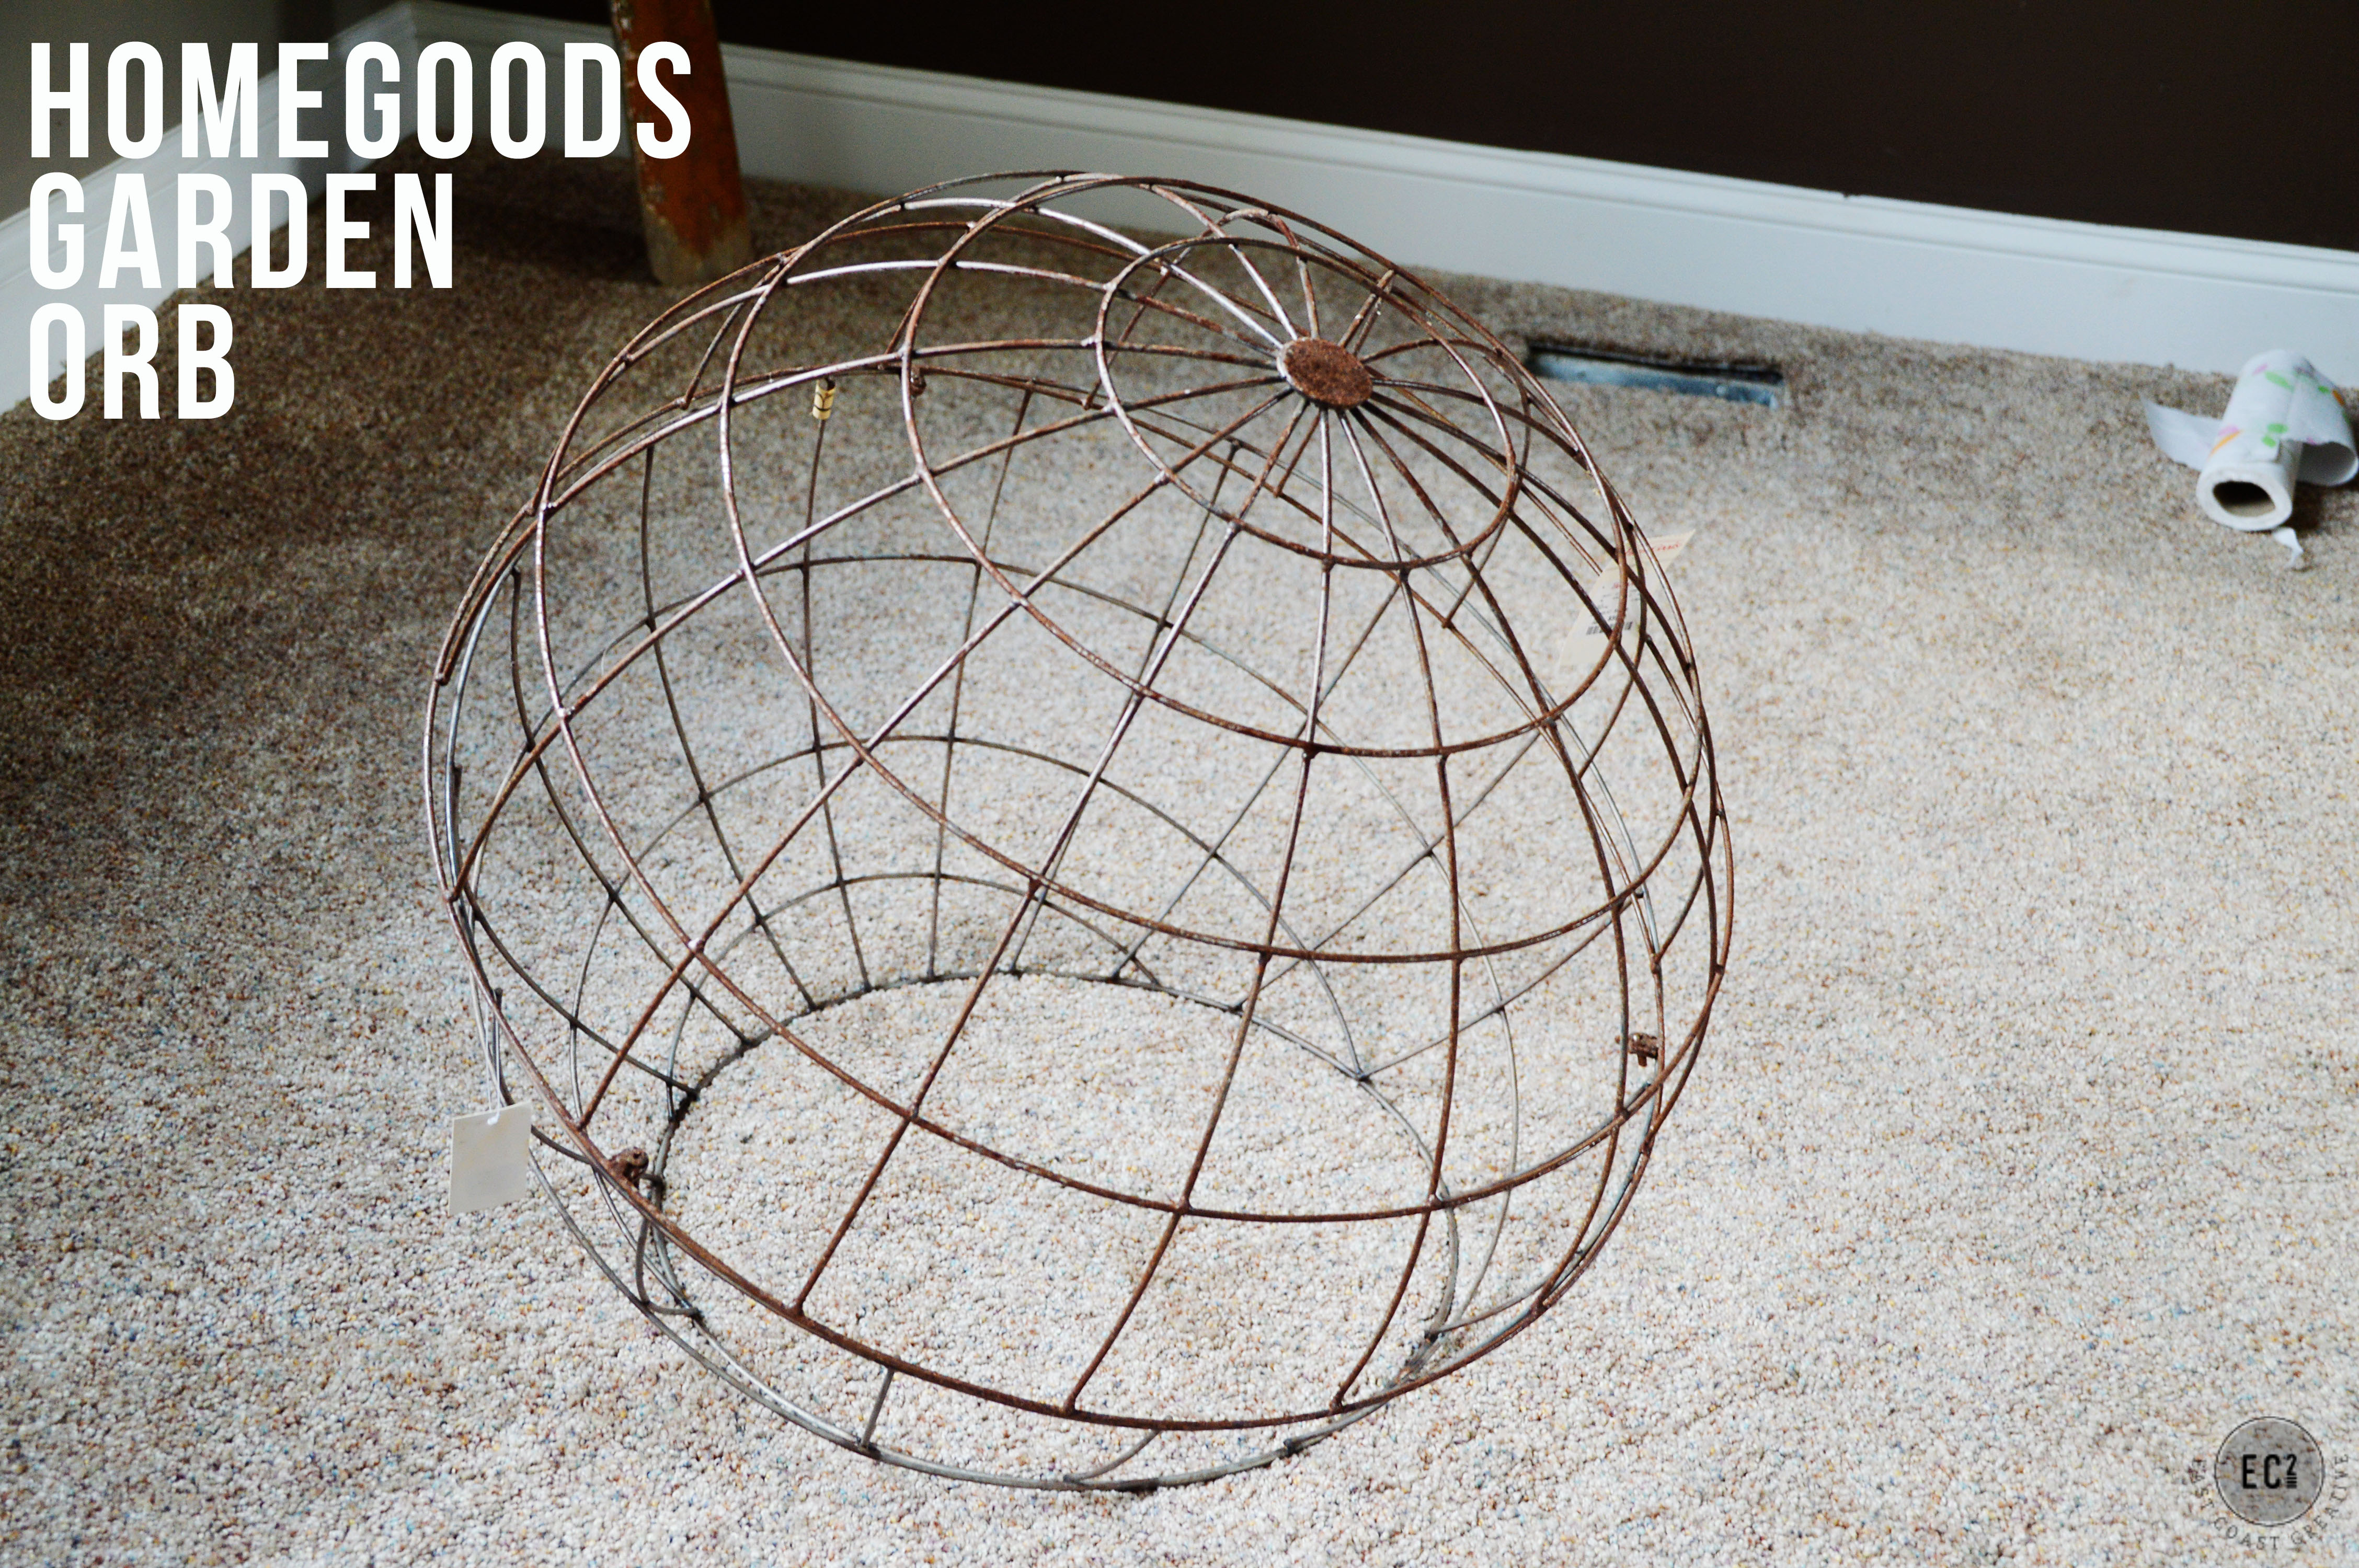
I picked up this garden orb at Homegoods, knowing immediately that it was meant to be a light fixture someday! I let it sit in my garage for over 6 months before I finally had a clear vision for it.
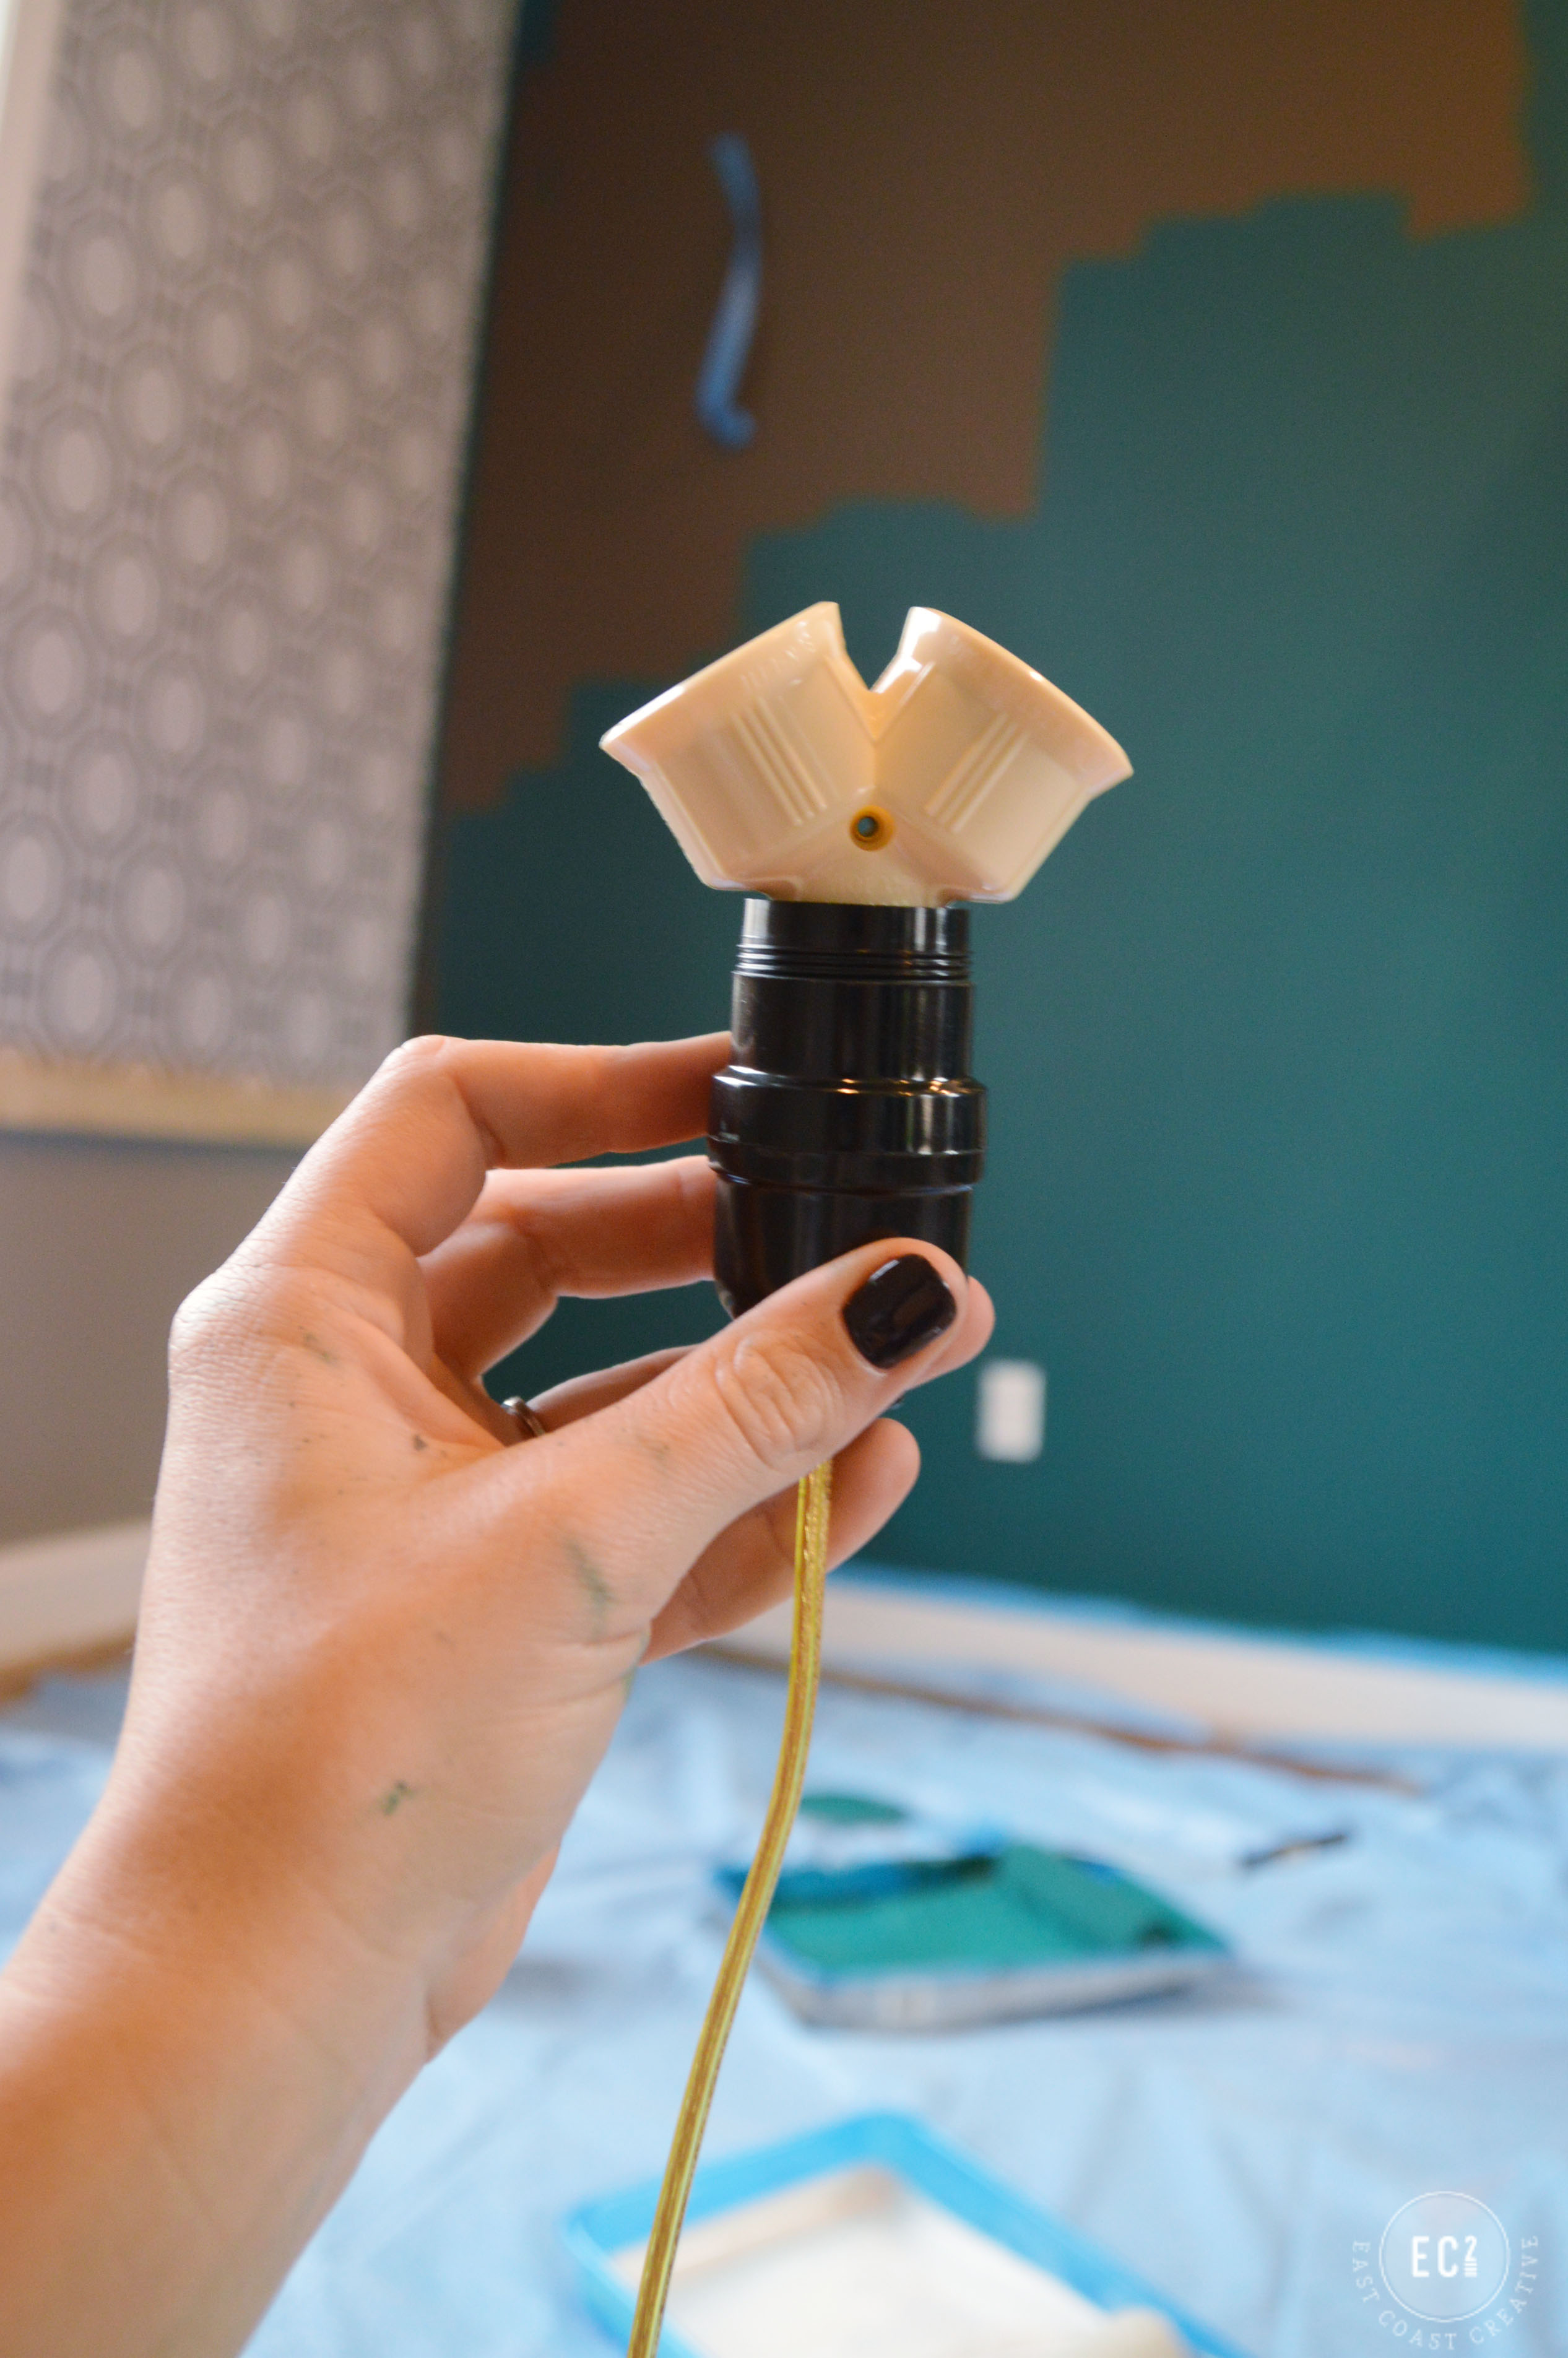
I had to start off by wiring my keyless socket. I unscrewed the bottom covering and what you’ll see is two small screw areas. Split and remove the plastic protective coating on your lamp cord and wrap each screw with one side of the lamp cord wire.
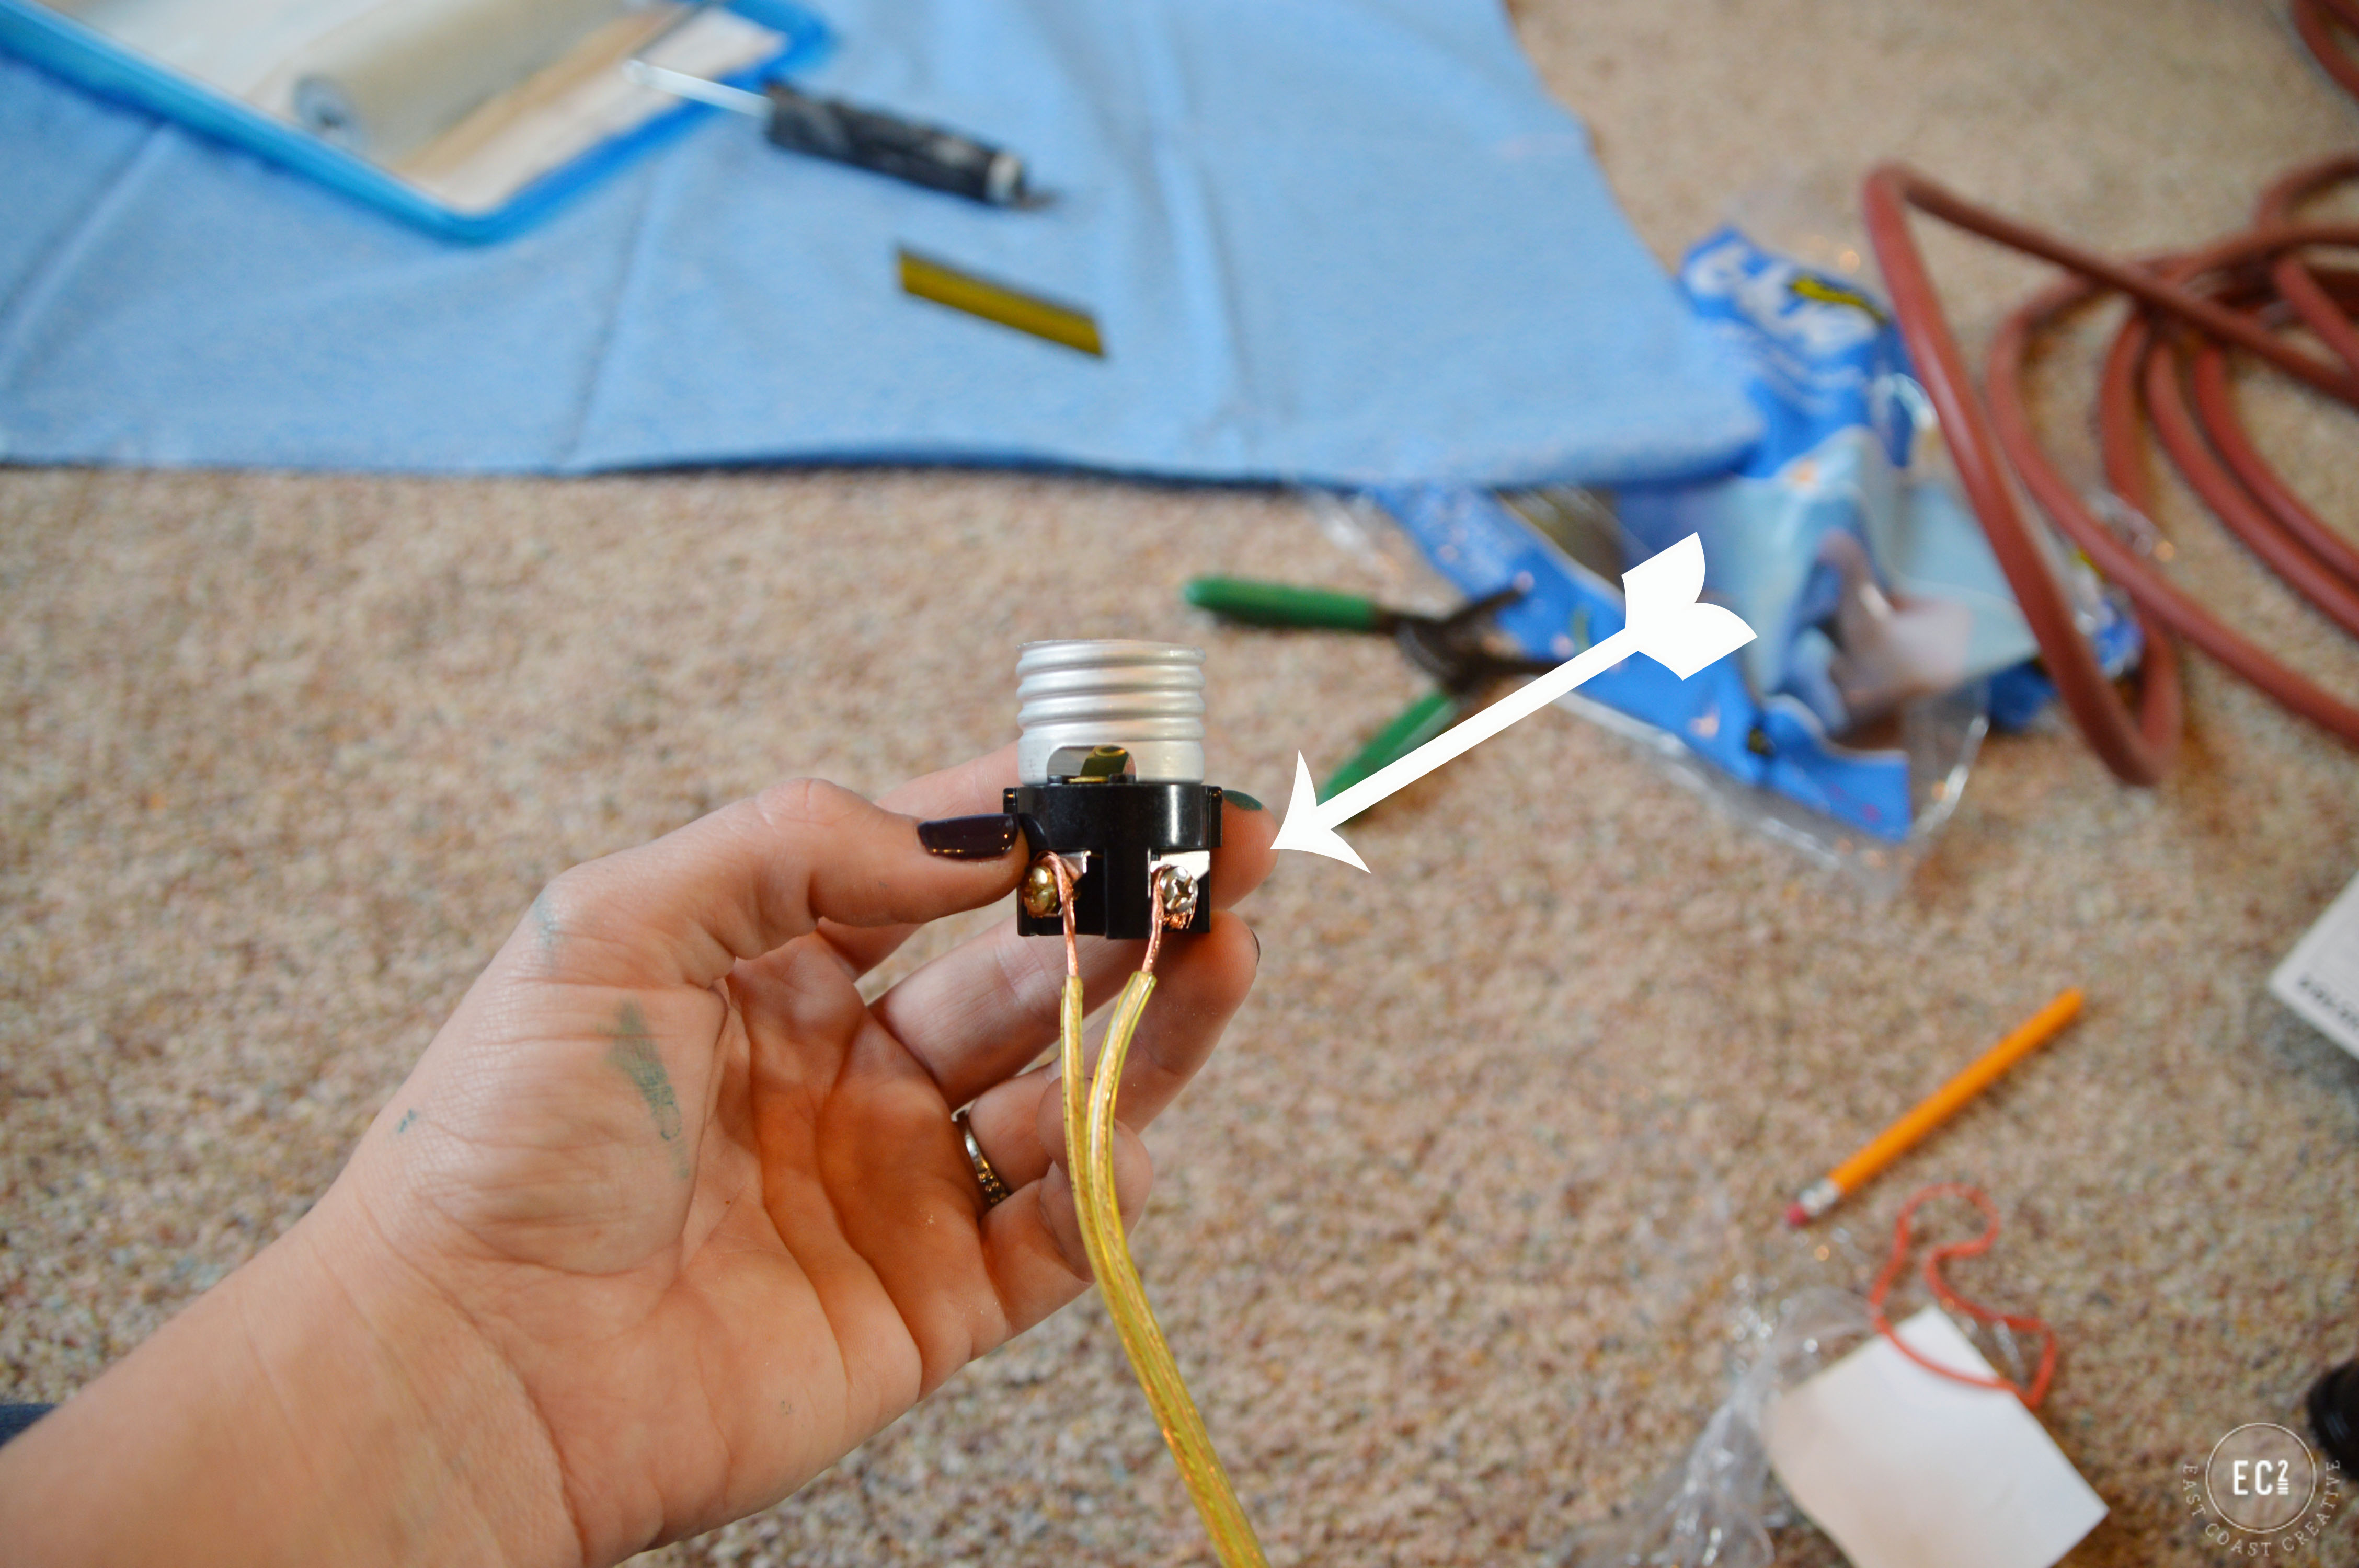
Thread it through the socket cover and re-assemble the socket. I just popped on YouTube and you can watch lots of old fellas wire a socket if you want a better visual! Think lighting-a-la-Bob-Vila. (PS I love that guy!)
Then take one of your bulb splitters- this bad boy …
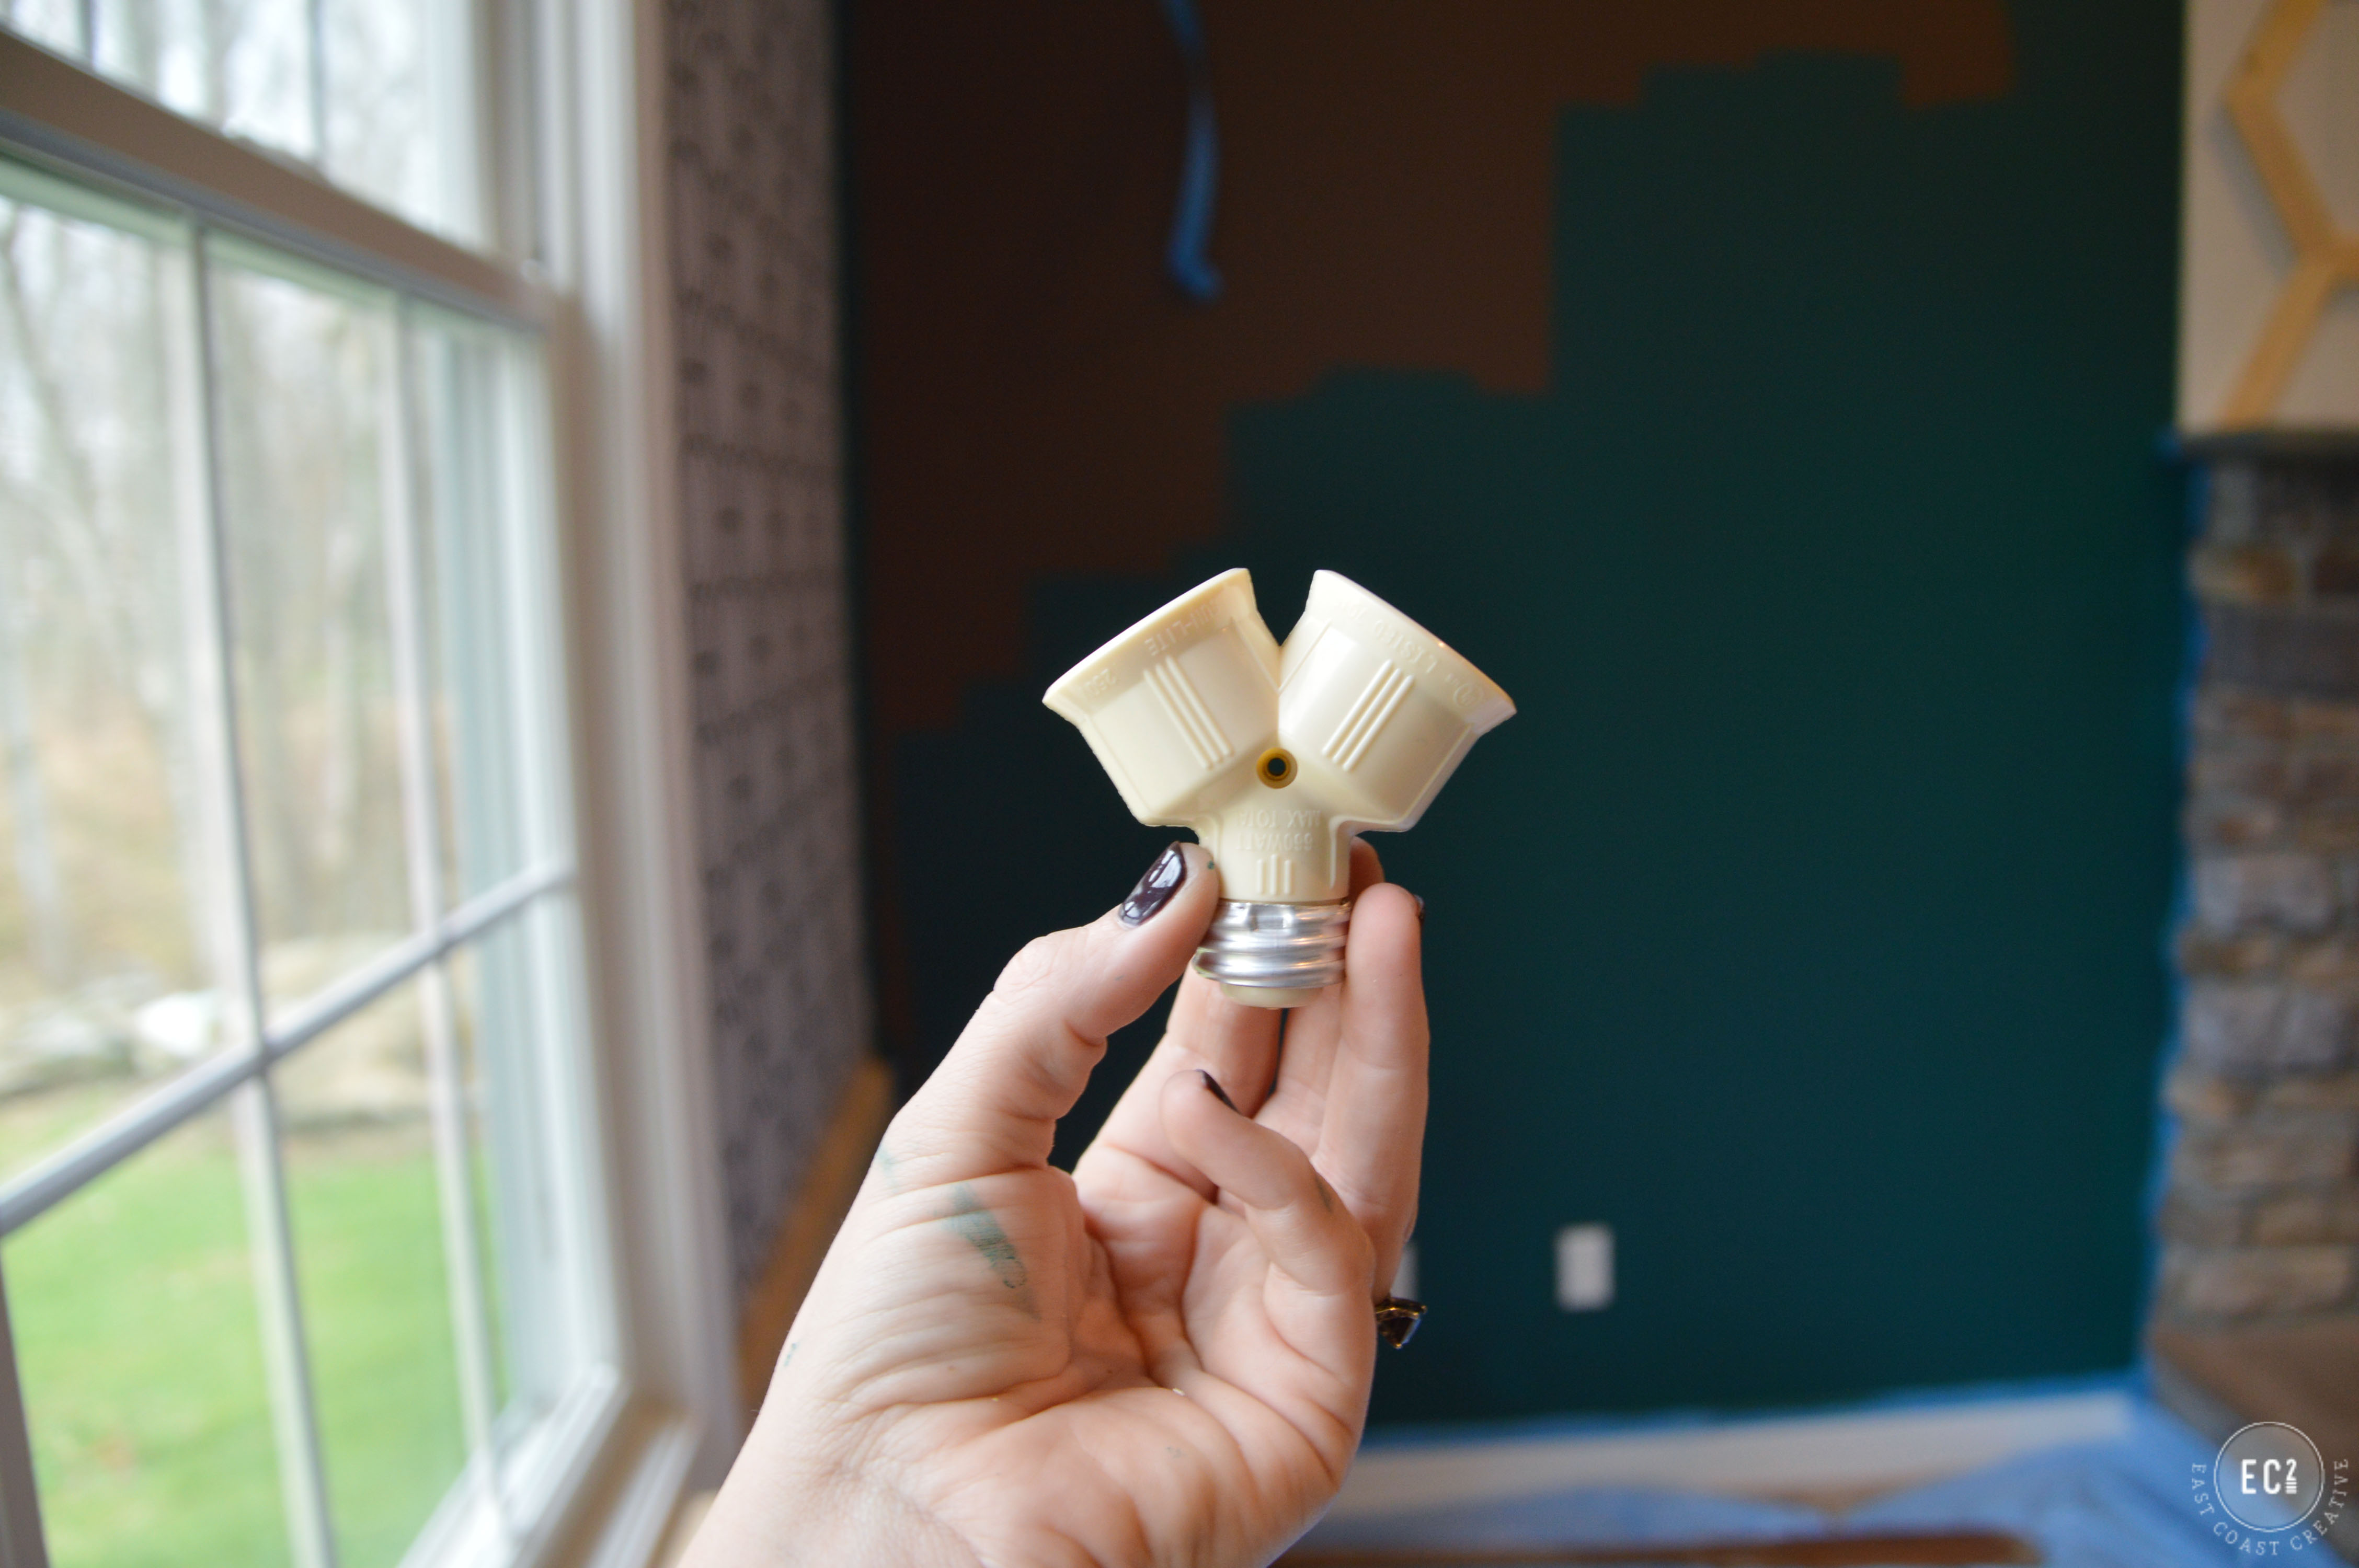
and screw it into the socket you’ve just wired. The hard part is over friends!
I saw these bulb splitters at the store and thought they would look insane in a big grouping, so I bought a whole bunch. I just kept adding them on, branching out as I went along, until I got a look I liked.

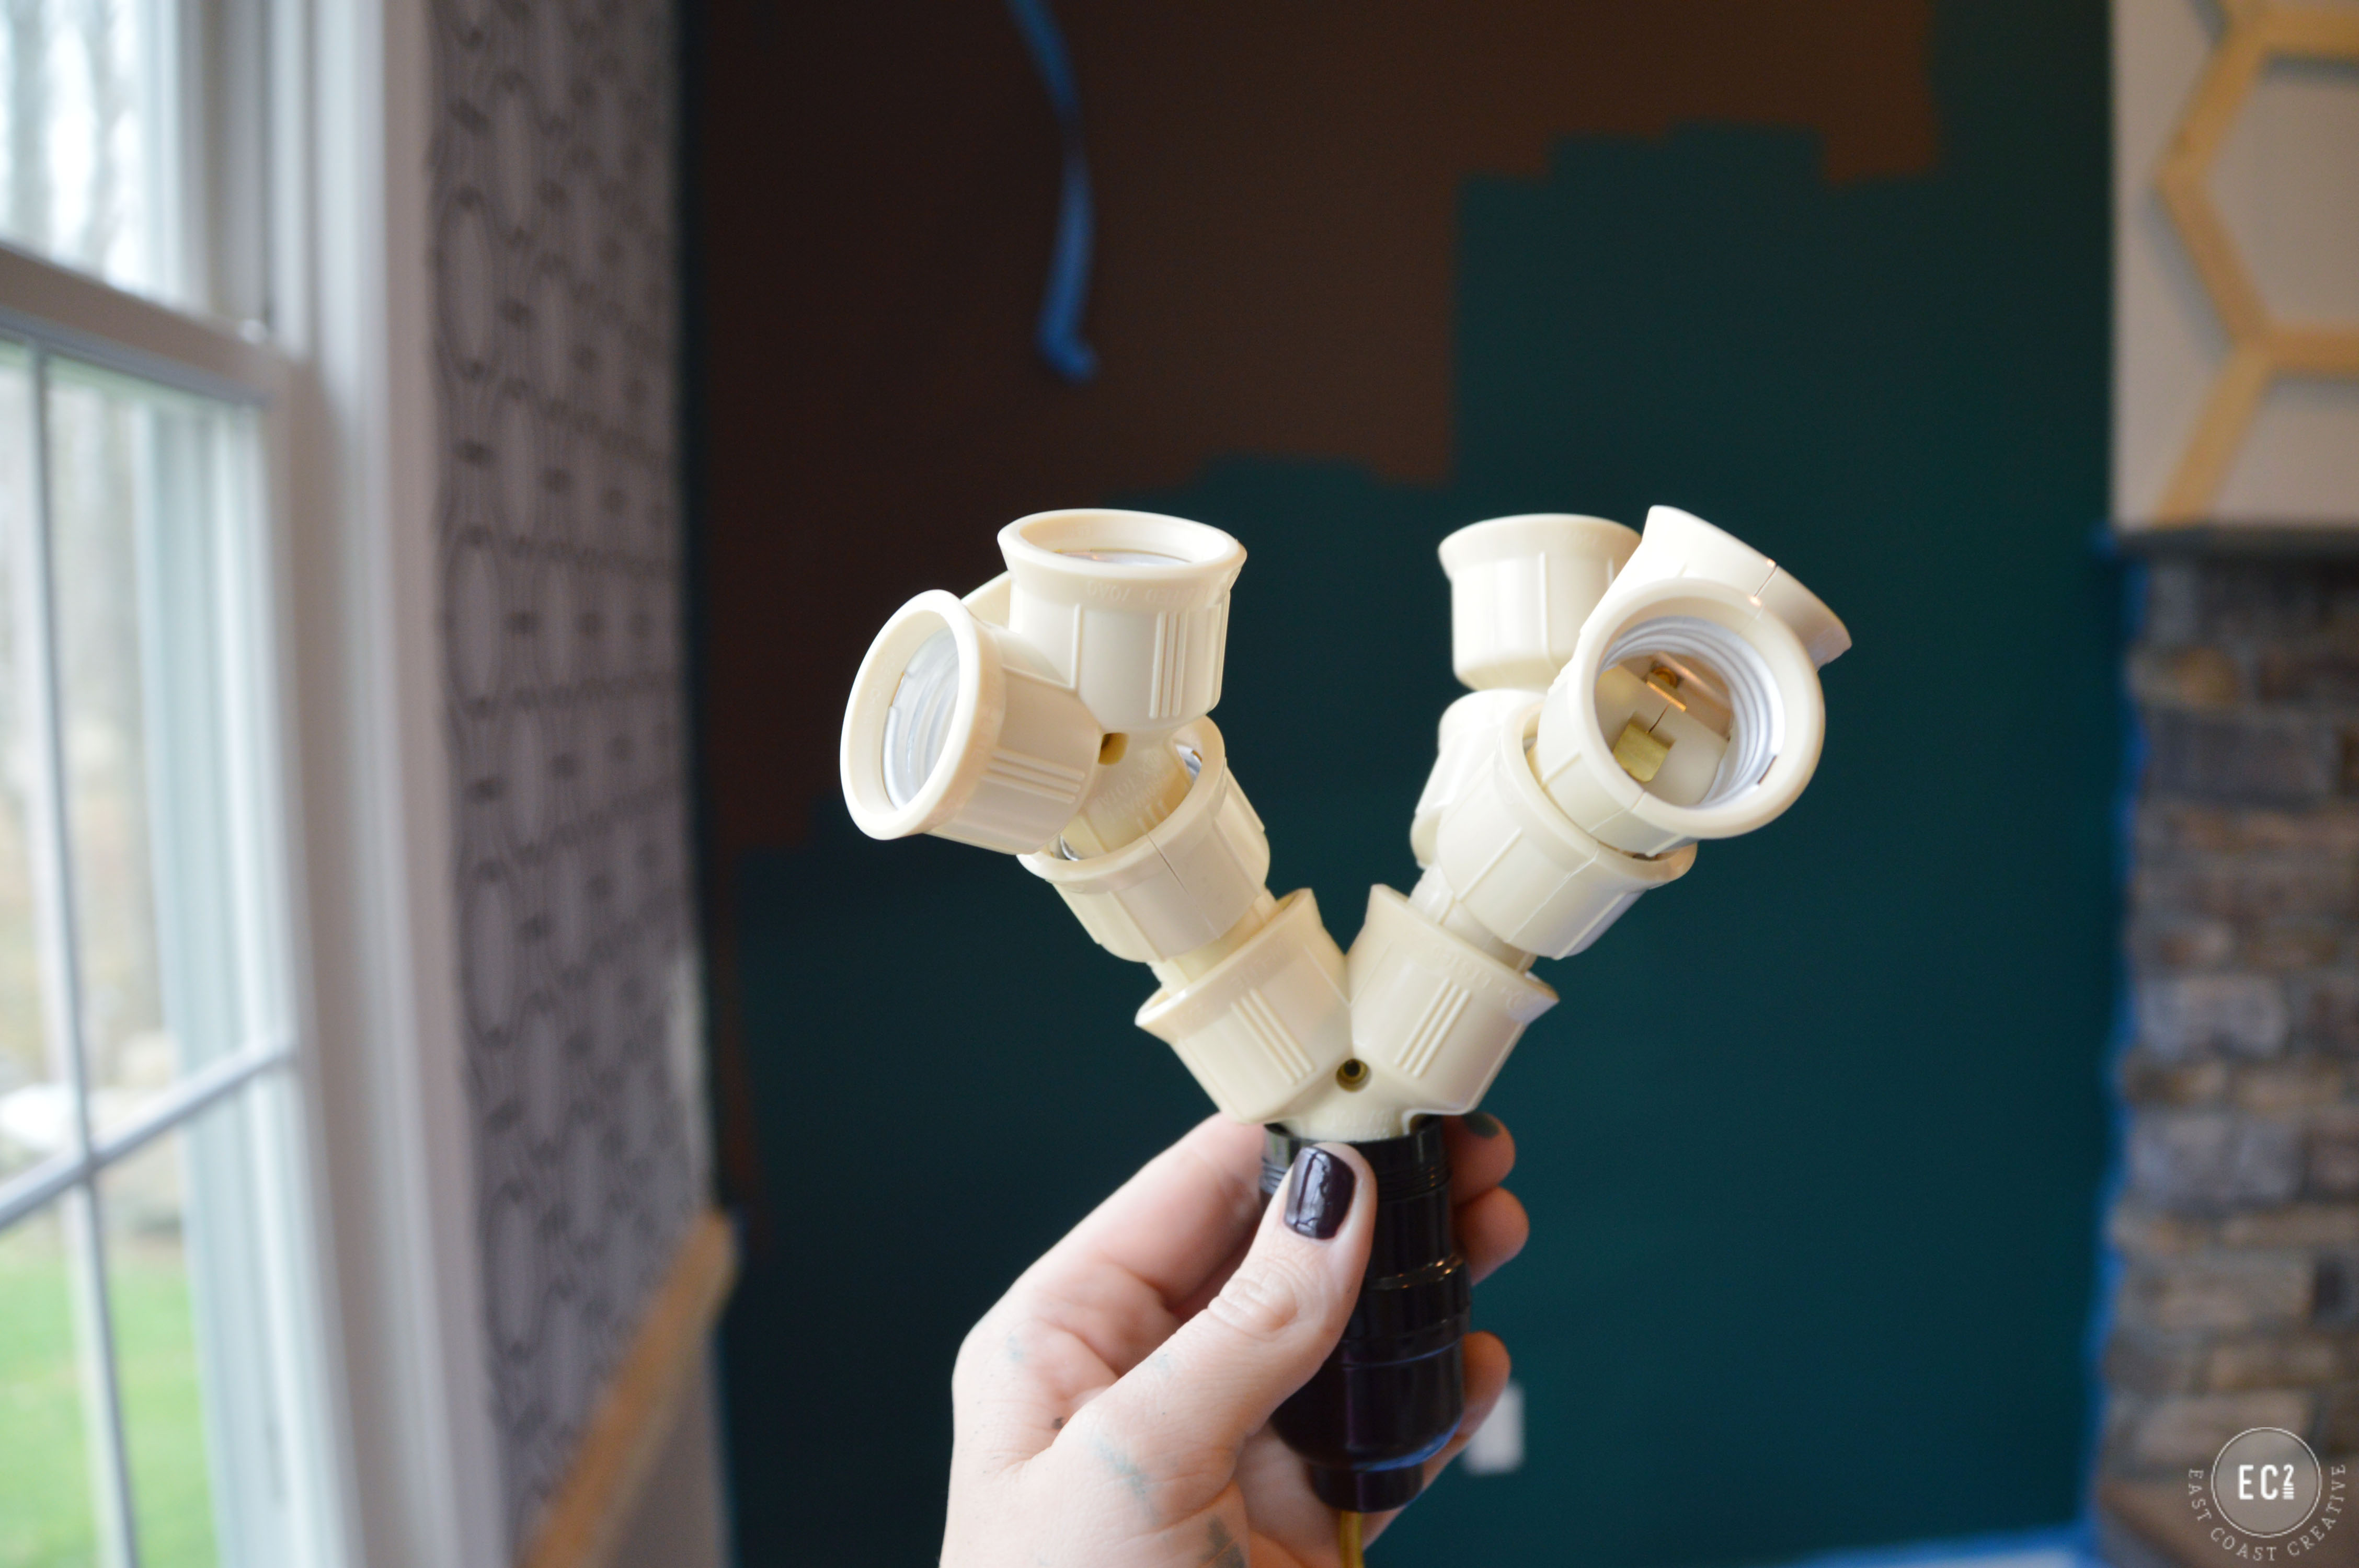
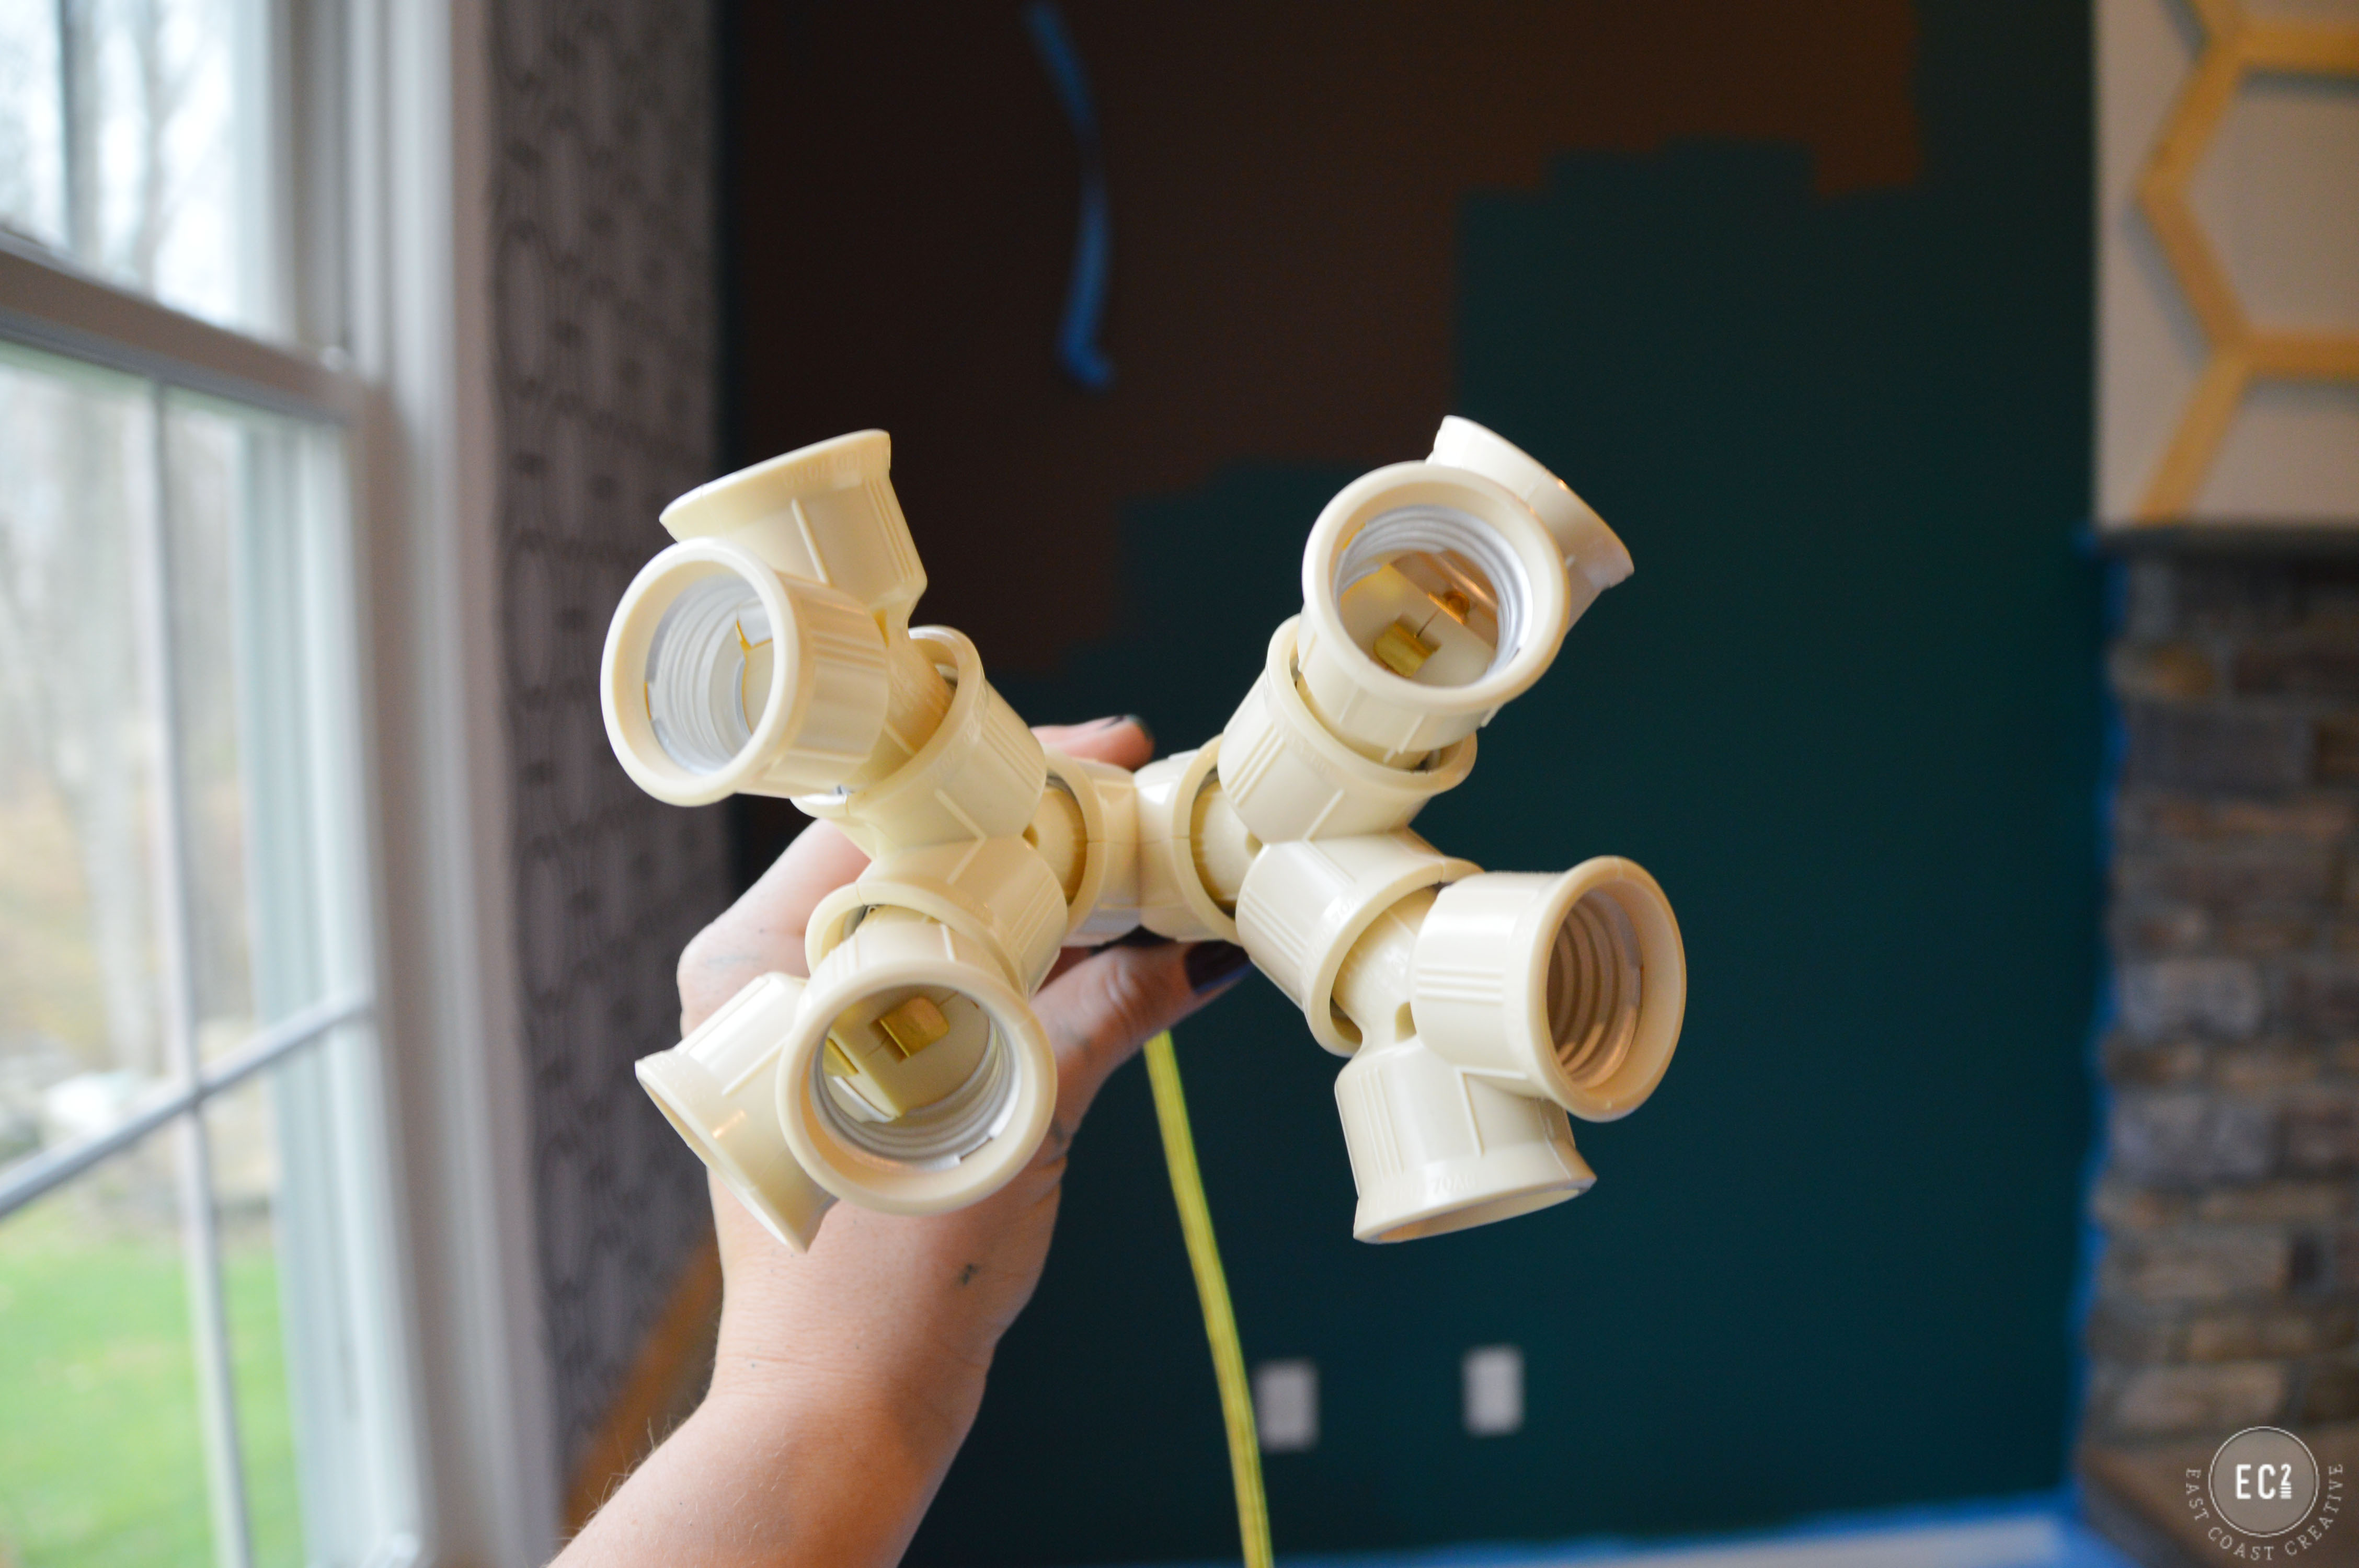
They’re not the most stylish as-is, so once I had my arrangement determined, I kept it all in one piece and took it outside to spray paint. I filled each bulb opening with paper towels, so it wouldn’t get covered in paint.
I used Rustoleum’s Metallic Bronze spray paint. It completely changed the look!
I headed back inside to work on retrofitting my garden orb as a light fixture. I used a drill bit to make a hole in the top of the orb. Sorry for the lack of picture- I needed two hands to drill and hold.

I threaded my loop piece through the hole.
Once my bulb splitters were dry, all I had to do was assemble my light. I grabbed my chain, ran my socket wire up through my loop, weaving it through the chain as I went, and then wired it into the ceiling. We had our builders put a box in the ceiling and just cap it, so we already had electric in the ceiling. We attached the lamp cord wires to the box, added our bulbs and we were in business!
I know I’m keeping the electrical stuff vague, but remember how I didn’t want you to burn your house down… call a pro if you’re unsure of how to install a light- actually ask if you can watch and learn as they work!
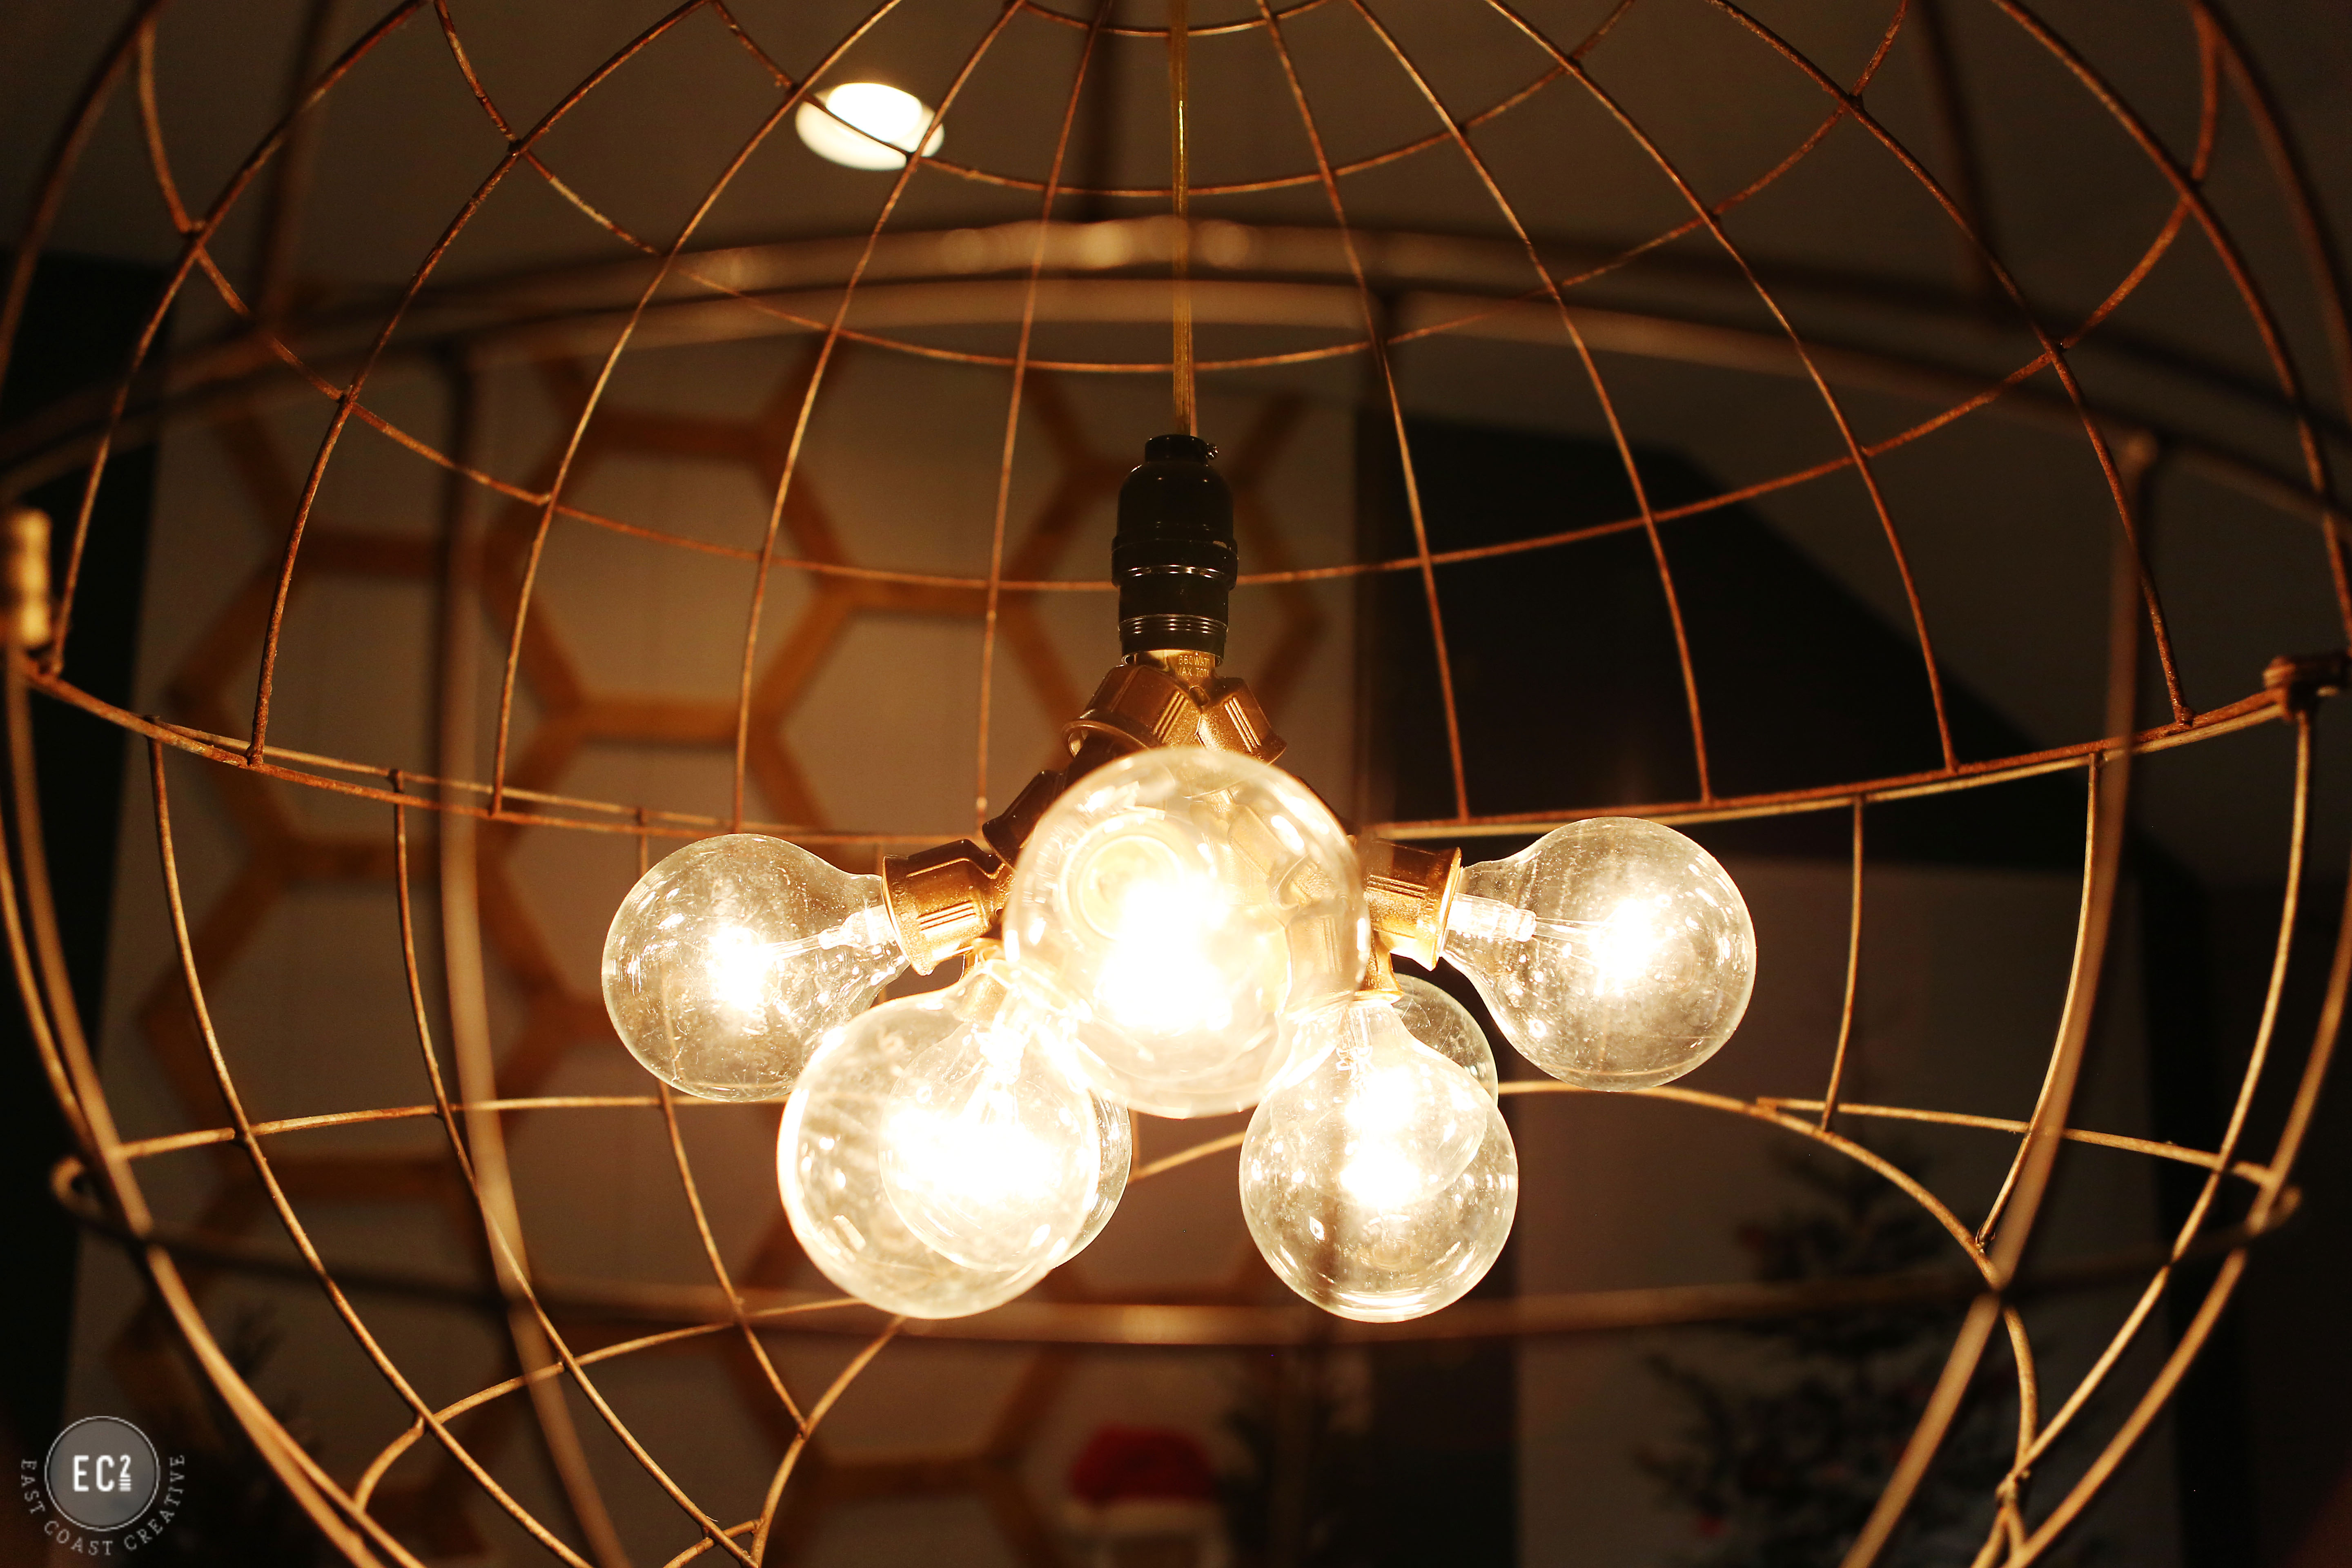
Look at this beauty…

I love the look of the bulb cluster. They cost under $2 each and yet, make this light look completely custom and expensive!

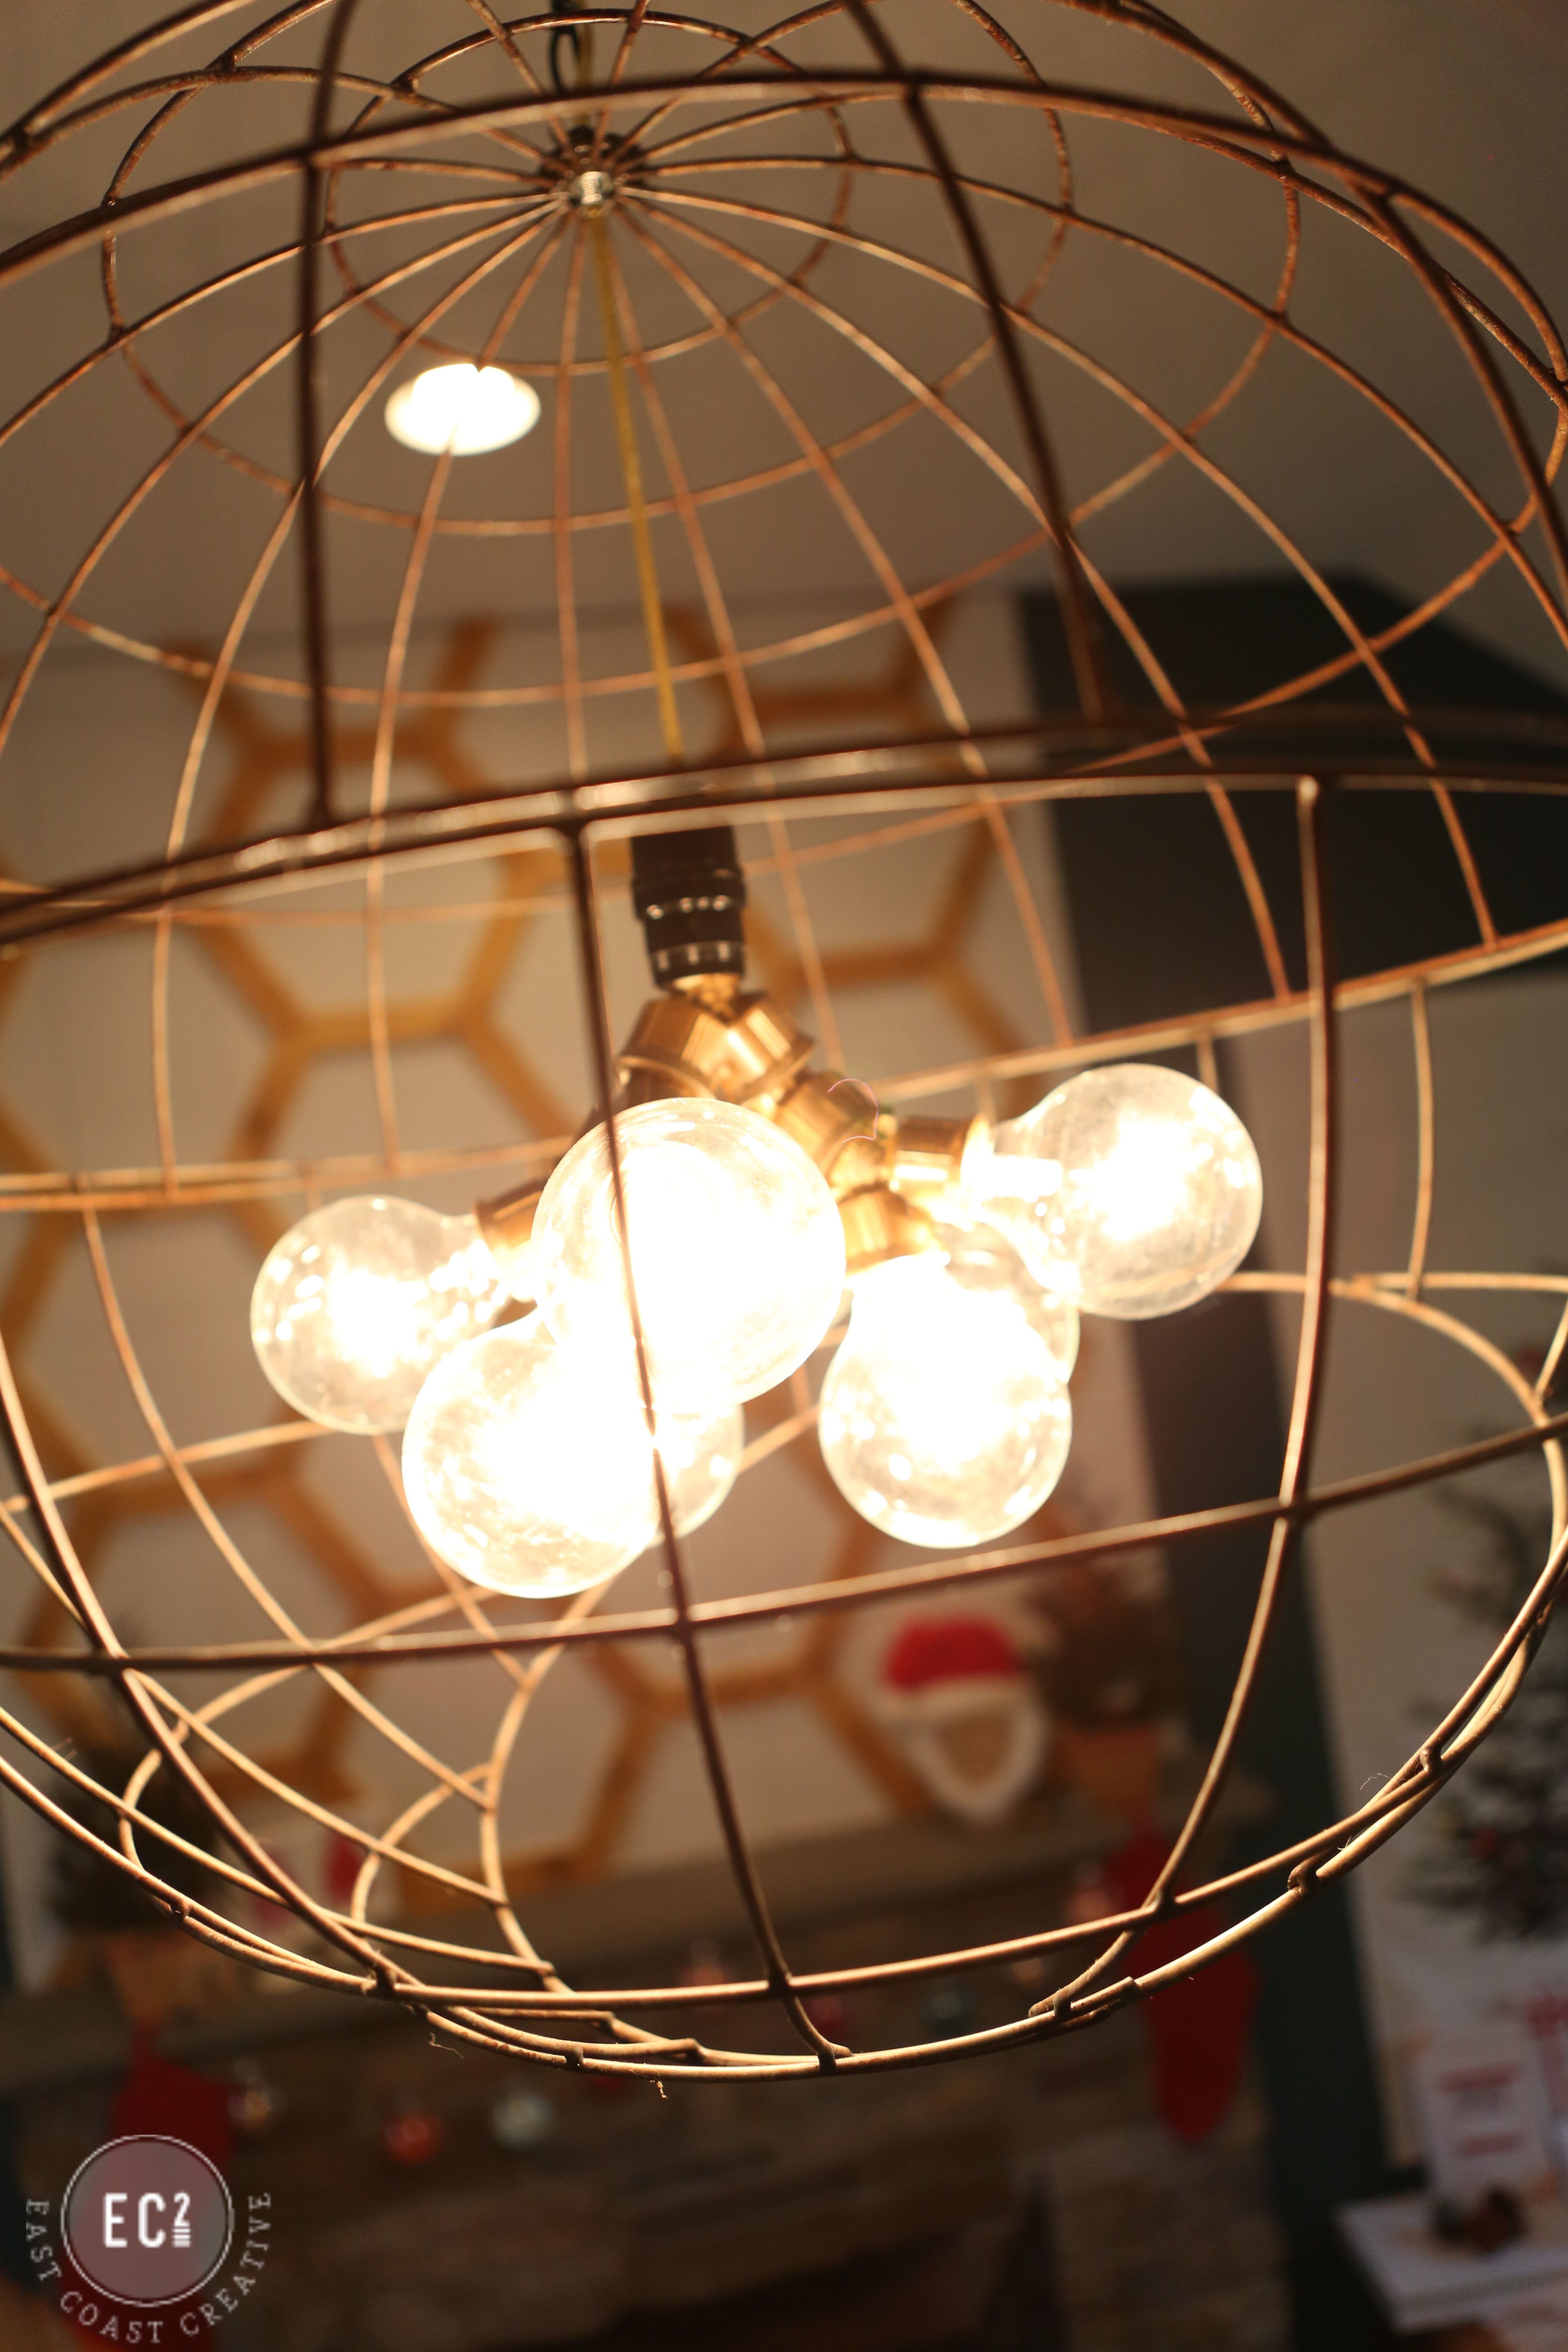
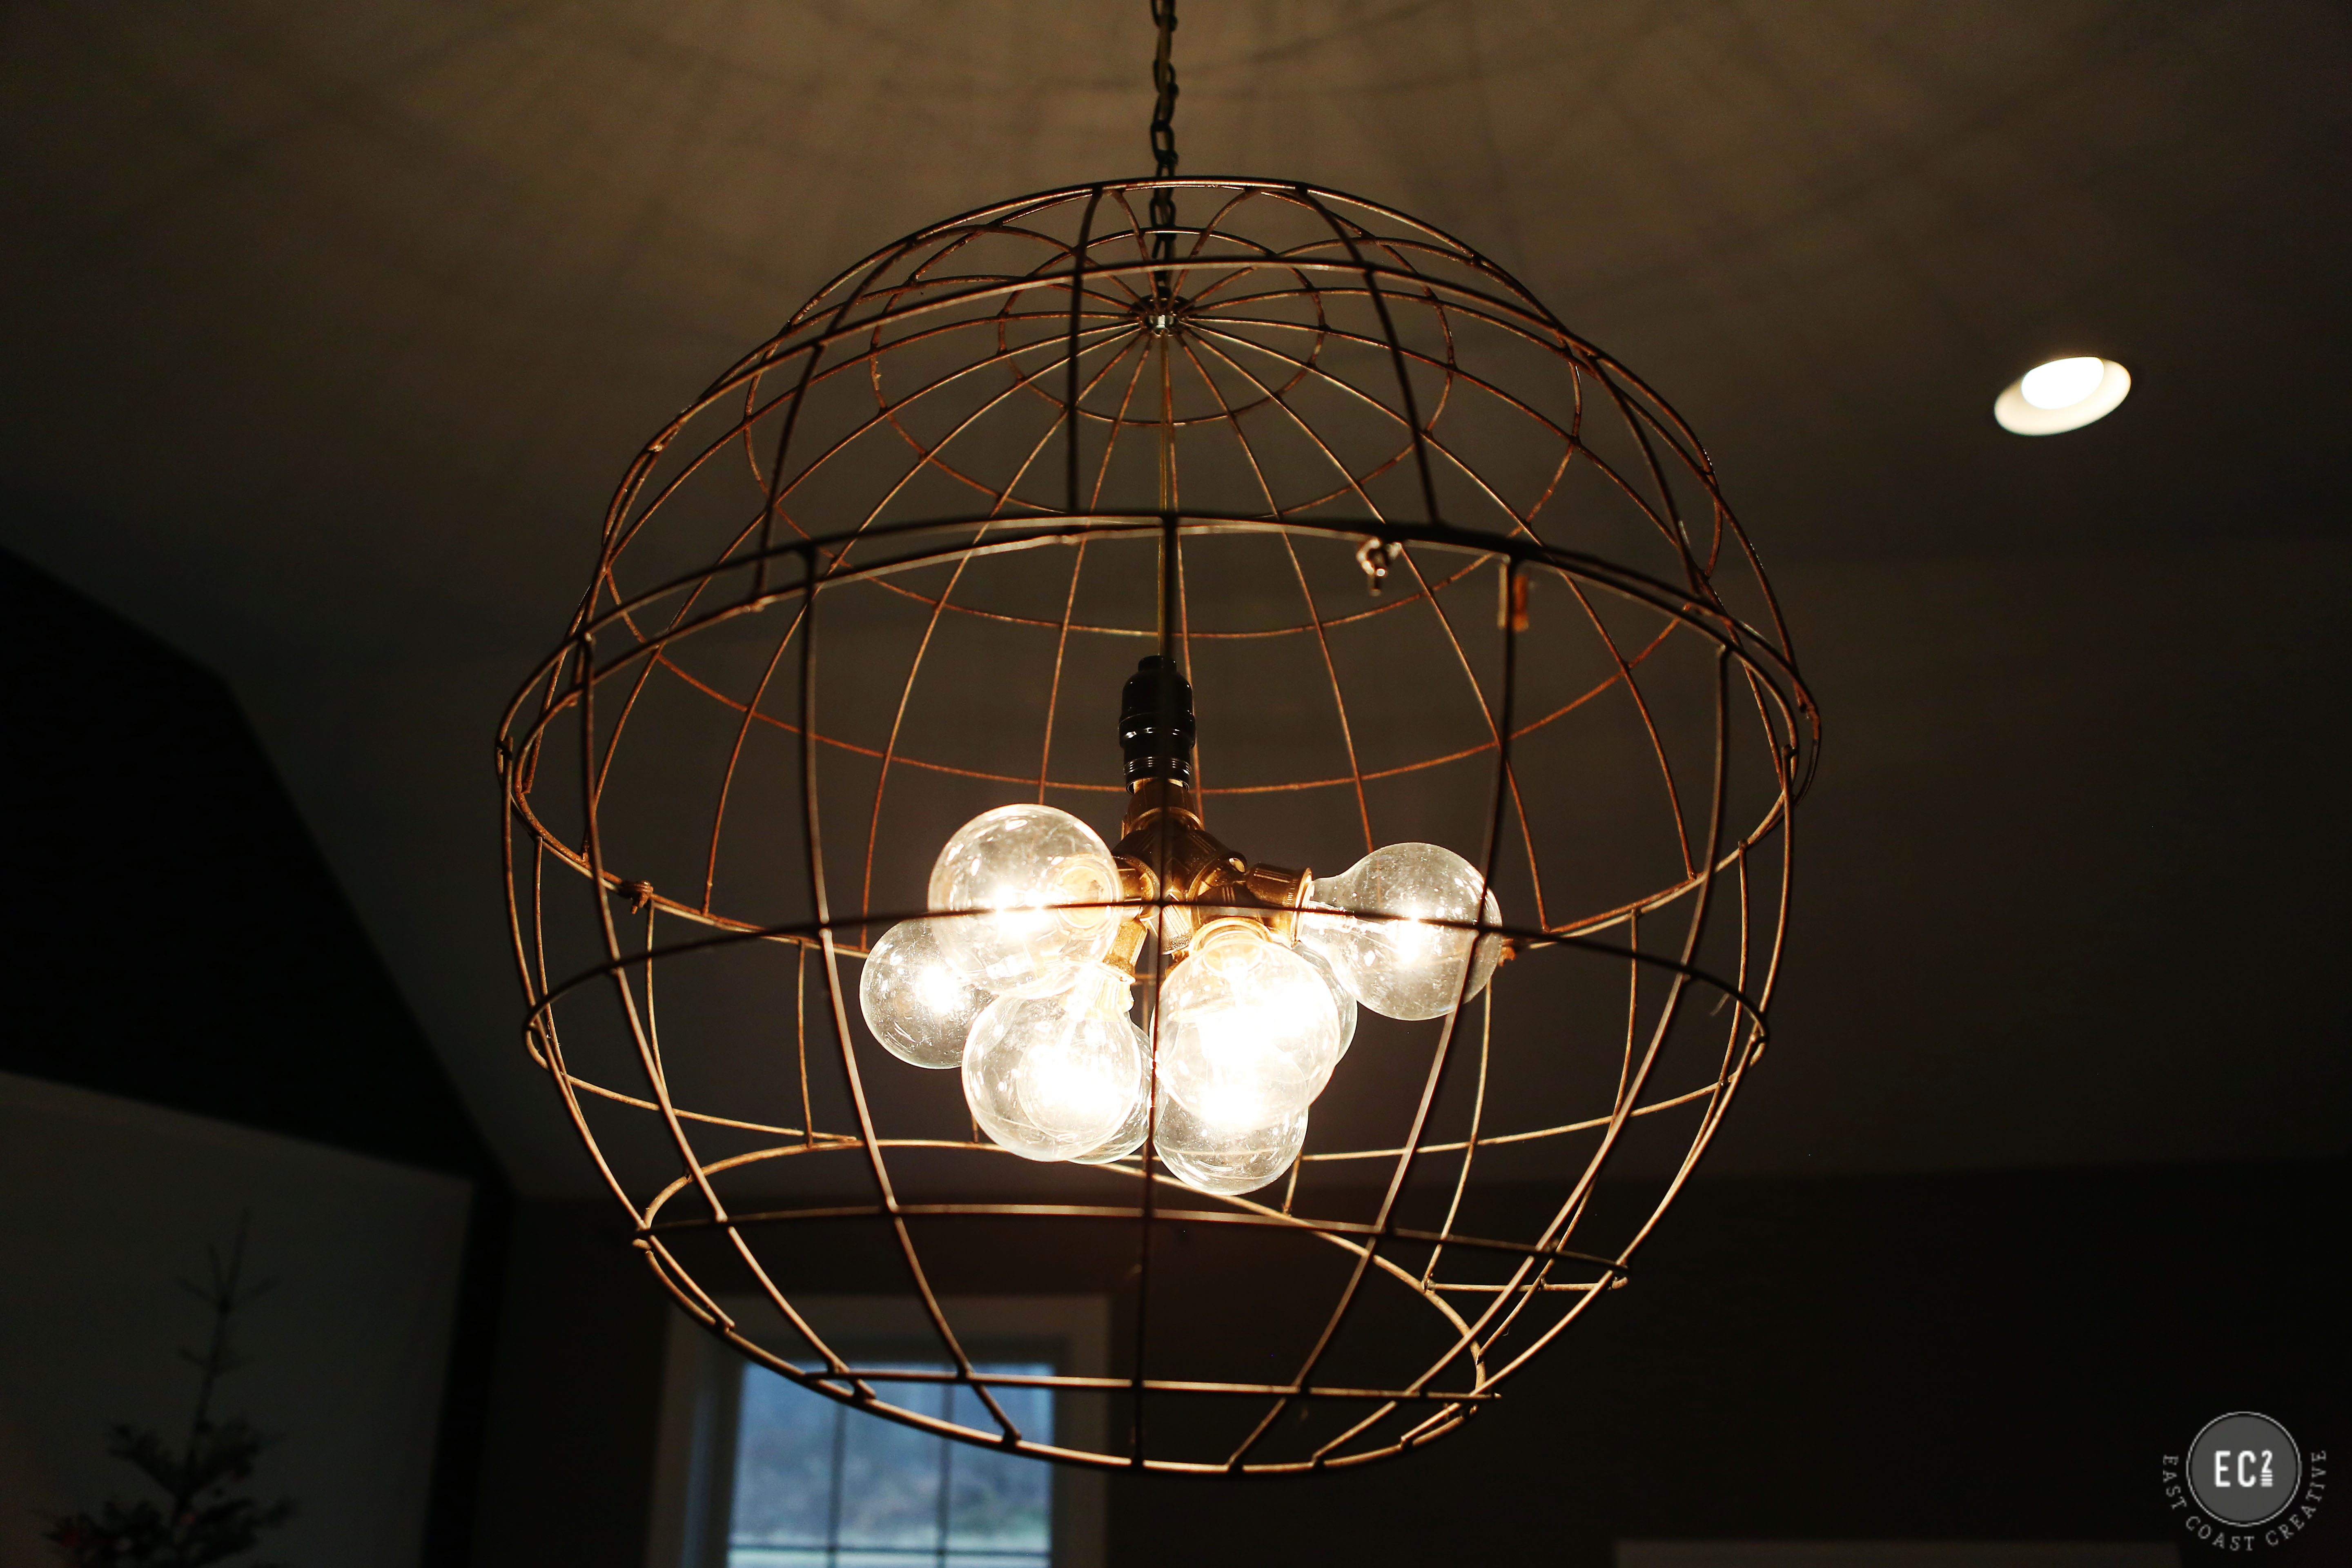
I also love how the metal orb makes an amazingly cool shadow on the ceiling. My kids think that’s the best part!

This project took me about an hour from start to finish and I love that it’s completely unique, funky, and modern! The entire thing cost me less than $40 to make.

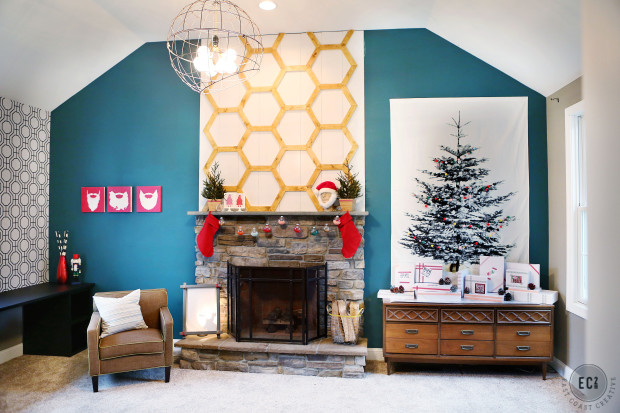
I like that you can actually see just a bit of my DIY Modern Pendant from my front door. This is the view from my foyer, as if you’re just walking in- it’s the angle that feels just about right to me. My house is an endless canvas for projects and ideas I want to try, but for now, this area feels A-OK to me.

So what do you think of this garden orb turned modern light?
Have you tackled any DIY lighting projects?
*** If you missed my playroom all decked out for Christmas- you can check it out HERE. If you want to see how I created the hex fireplace click HERE. And one of these days I’ll get around to decorating the room since my holiday decor is down… just not today.


I love this idea! Looks so good!
Hey Julia! Thanks so much! I really love it and it was so easy! Have an awesome weekend!! 🙂 Mon
Love it!
What kind of bulb are those and do they give off good light?
Hey Gretchen! I just used regular clear bulbs that were big and circular in shape (they’re really bright!) I think it could look neat and more vintage with Edison bulbs too! Good luck!!
I really like your light fixture and I would love to try a project like that. How bright of a light do you use? Since there is no “shade” to cover the light does it hurt your eyes to look at it?
This may sound dumb but what did you do at the ceiling? Is it hard wired in with a cover? I love love love this and have a light project in mind, but I haven’t made the jump yet!
Oh so fantastic! We had our vintage tree basket for an entire year before inspiration struck! And then it took my husband many hours and hundreds of dollars to make it. So kudos to you for keeping it simple. It’s beautiful.
My light can be seen on my blog under the post “Shine a Light.” I love it (and I also love the one he made for over the kitchen island).
Great job as always. Also, we just watched your show from the rustic bedroom redo and it’s one of your best ever.
What a beautiful light. I have just learned that my husband doesn’t actually like my contemporary-meets-industrial style at all. He prefers classic casual, which to me, means 90s Better Home and Gardens. Blehhhhhhh. So while I’d love to copy this in our $250 apartment makeover, I don’t think it’s going to happen!!!!!
Gaaah… so, so gorge!! What I especially love is the cluster of lights – I haven’t seen that done before. Pinning for sure!
This is stupid cool. LOVE it. Pinned!
[…] paint, genius or what…I think so! I also used this same metallic bronze spray paint on my DIY Modern Pendant Light bulb splitter. From a table to a light fixture, Rust-Oleum paint is amazing on everything and […]
[…] Second, we love out of the box designs, especially when it comes to lighting…have you seen my DIY modern pendant light? Christine over at Let’s Get Crafty may not have her husband or friends on board with this […]
[…] a garden ornament that you can buy at the hardware store into a modern sculpture pendant light that will make everyone wonder how did you manage to get such a lovely light fixture. Be sure they […]
[…] the inside bulbs, we used connectors just like I used for my playroom’s modern pendant light. Check out that post to see the simple details on branching out your light […]