
Live edge furniture is becoming more and more popular and there’s no wonder why- it’s gorgeous and finding and using natural beauty in decor is always a good thing! The bummer is that unless you have a perfect piece of wood that some friendly tree just donated to your DIY endeavors it can get really expensive. Take for example, this live edge mirror I found on ebay…

$1400 bucks!!! As my kids would say, “That’s Wackadoodle!” Okay, maybe my kids say it because I do, but whatever…
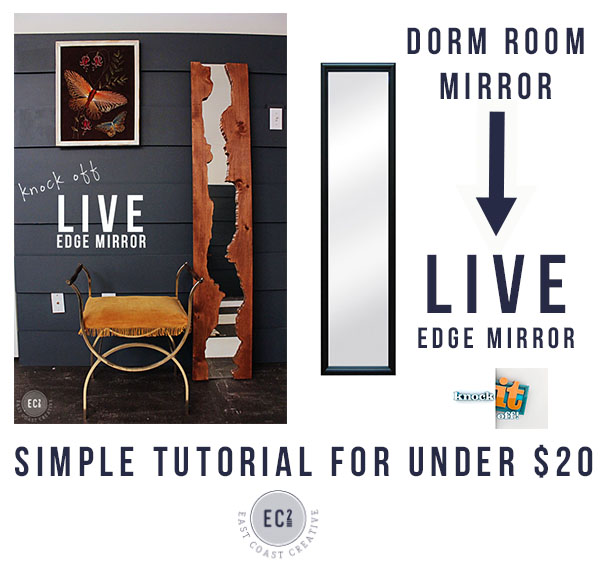
We wanted the look of the live edge, without the insane price tag and without having to go all lumberjack and chop down a tree. Guess what? We knocked off this bad boy with plywood and a dorm mirror and it’s amazing!
Doesn’t that look amazing??? Honestly, I think it’s one of my favorite projects I’ve worked on in the last year. Here’s how you can knock off the look on your own!
Materials:
1″ pine board 10-12 inches wide
jigsaw
mirror adhesive
MDF board
cheapo full length mirror
stain
paint brush
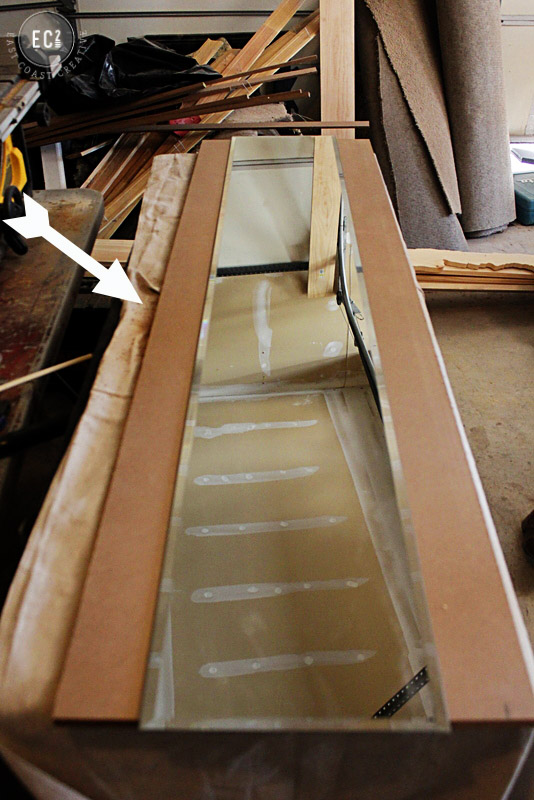
Step 1:
Cut a piece of MDF that is 6 inches wider and exactly the same height as the mirror. Attach the mirror to the center of the piece of MDF using liquid nails. Clamp the piece together (or weigh it down with heavy books) while it dries.
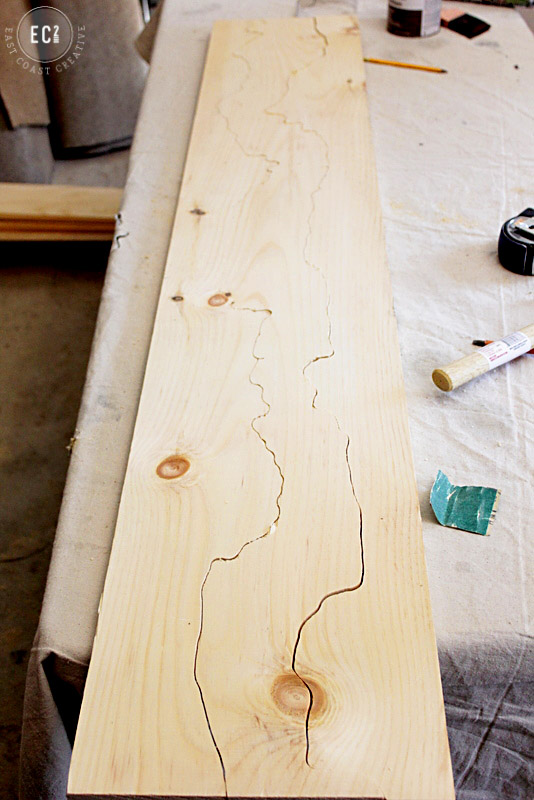
Step 2:
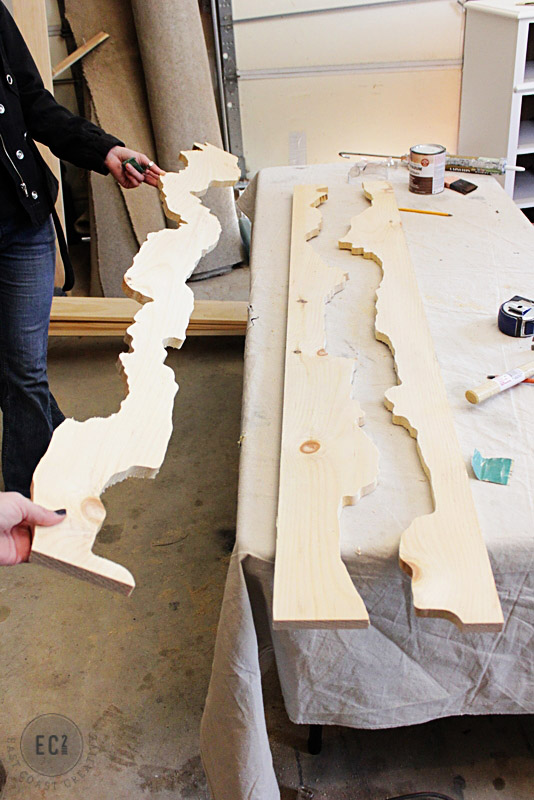
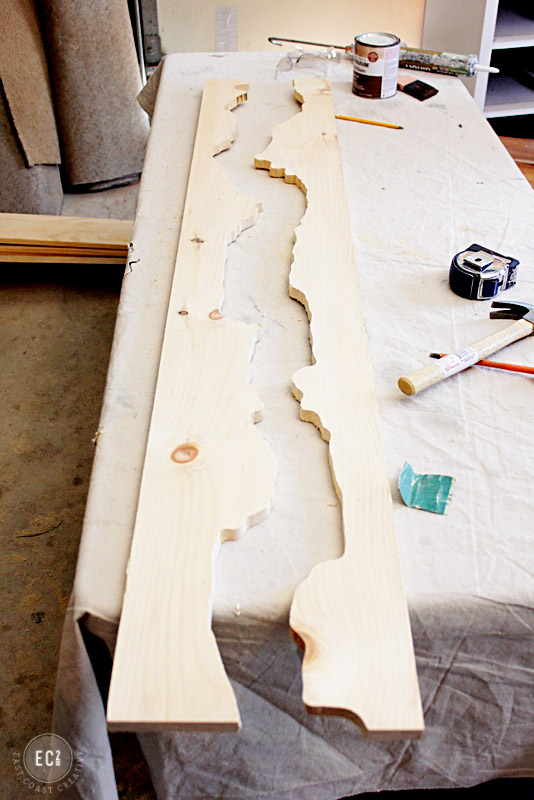
Draw a twisted, curved line on the piece of pine- start with one side, and then draw another right next to it that mimics the first line. This should be imperfect (thank goodness)! We free-handed ours, but if you need inspiration, pull up an image of a live edge online and copy it onto the wood. The effect we’re trying to get is a “river” of mirror between two live edges.
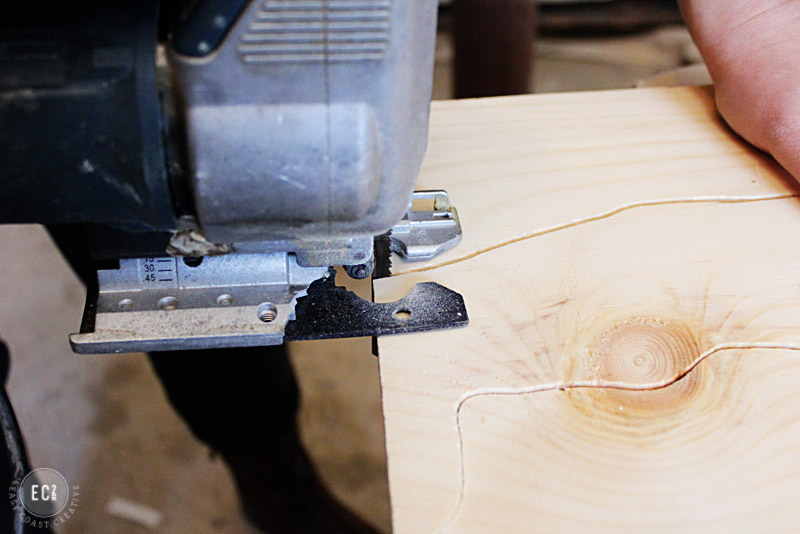
Step 3:
Cut along the line using a jigsaw. This type of saw allows you to easily follow the small details of the line. To make sure I had a jagged edge, I kind of twisted my wrist back and forth from left to right a bit as I cut- picture the motion of turning a door handle back and forth. Once it’s cut get rid of the piece of wood in the middle (or save it for another awesome project!)
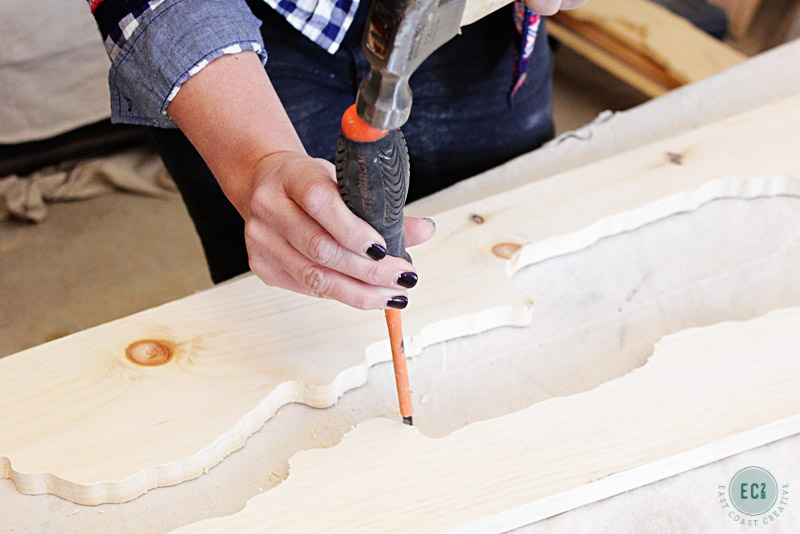
Step 4:
This is optional, but I used a screwdriver and hammer to chip away at any cut areas that just looked a little too perfect. You should really use a chisel for this, but I had a screwdriver handy- it worked all the same.
Step 5:
Stain the wood to your desired color (we used American Walnut), letting it soak in on the edges and knots for an authentic live edge look. Let dry. Attach the cut pieces of wood to the MDF overlap with liquid nails on either side of the mirror. The wood should just cover the edge of the mirror. Clamp and let dry overnight.
The result is this beauty!
It looks completely legit, makes a major statement in a room, and cost about $20-$40 depending on your mirror.
I feel like you’d see this in a West Elm catalog or Anthro store for big bucks.

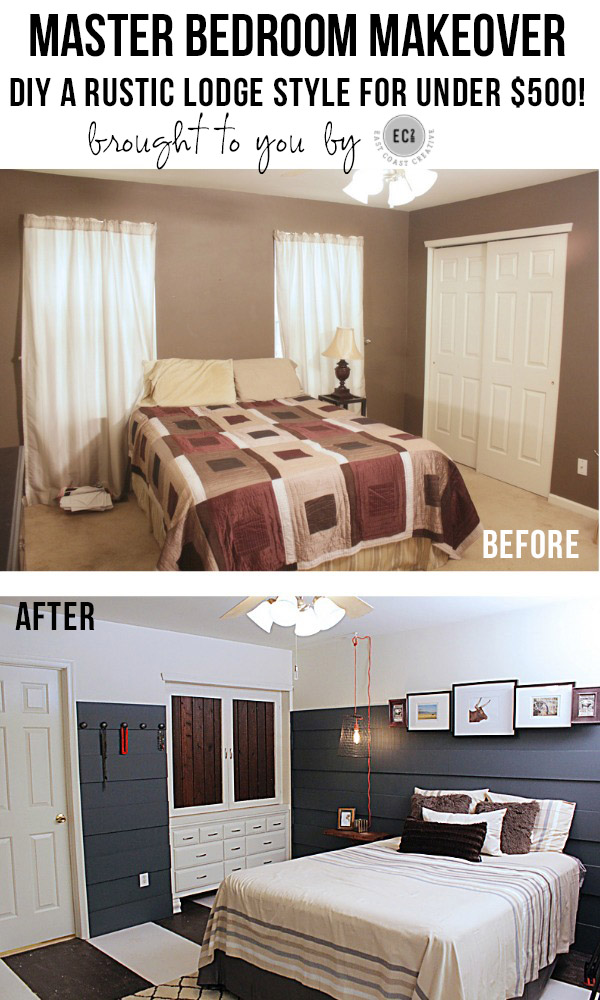
I really love this bedroom makeover we did for “Knock It Off”. I kinda wish it was my bedroom! Jess and I are both really loving the deep paint colors, mixed with lots of white, and natural woods.

If you didn’t watch this episode of KIO, what are you waiting for?
Click HERE to watch the full episode online!
And don’t forget that the countdown is on for Creating with the Stars!


When I saw this on your show I thought it was such a cool idea! Thanks for the tutorial. I had some neat gate type shutters that I wanted to use a cheapo dorm mirror behind but of course the size was all wrong. Had to have pieces cut to fit so it upped the price but I love them. You two come up with some awesome ideas! Come do a room in my house please…..any room you’d like!
Holy crap! That’s AMAZING! I’ve admired live edge mirrors for a while now but their price tags have always been way too high. Definitely adding this DIY to my to-do list! 🙂
Wow! I love, love, live edge live it! Thanks for the inspiration and tutorial. Have a great evening.
This was one of my favorite rooms… as always, an amazing job. I don’t know where you get your ideas from…
I think this is one of my favorite things I’ve ever seen! It’s so creative, easy, and looks so high end. Awesome job!
[…] East Coast Creative […]
[…] Link => https://eastcoastcreativeblog.com/2014/02/diy-live-edge-mirror.html […]
I love this! Were there any issues with the wood slanting? IF the MDF is behind the mirror, and you attach to the mdf, does the depth of the mirror push it at an angle a bit or did you use a spacer? Can’t wait to try!
I am SOOOO obsessed with this. This is on my weekend project list!
i was wondering, also, about the wood slanting. Don’t you need a level surface to attach the wood?
Loved this tutorial and am sharing it on my Blog this upcoming Monday when I discuss LIve Edge Wood. I am Directing my followers to come view your site and get inspired! Thank you for the fantastic tutorial. Happy Blogging! https://interiorsbycandice.wordpress.com
Thanks for sharing Candice, we really loved how this turned out and we’re glad to hear you loved it too!
[…] Live Edge Mirror: If you’ve ever wanted to learn how to use a jigsaw, this is a great project to start with since […]
[…] East Coast Creative […]
Nice job. This does give the look without the price tag. Even the cost of a nice piece of live edge material to make a mirror is costly.
One small suggestion is to angle the blade of the jigsaw a little – 15* or so. It gives a more convincing look to the live edge. Real live edge is not exactly 90*.
If you like live edge there is another way to create the look for small projects such as a coat rack or key rack. Find a piece of wood with large grain running straight. You need to have a bit of an eye for grain. Split off one edge using a large knife or small hatchet. Do this by starting the knife into the wood and then twisting it to split rather than cut the wood. The result is a “natural” edge.
Again, you did a great job.
Hello! You have no idea just how much I am in love with this tutorial. You are soooo creative! I bought all my materials finally and am ready to begin. However, I really like the stain color you chose for your mirror. I would like to get as close to it as possible, would you mind please telling me what shade you used? Thanks for such an awesome post, I look forward to more (:
Hey Megan! Can’t wait to see it! We use a combo of Wheat and Walnut from Rustoleum. We just mixed the two until we had the color we liked! 🙂 Good Luck!
-Mon
Awesome, Just love this! I did some picture frames using the same concept but this mirror is gorgeous. I have the lumber just need to get a mirror.. Thanks.
I like the technique you used! I did a similar mirror but burned the edge of the wood to make the live edge. You can take a look at it here if you are interested! http://www.mauveinteriors.com/portfolio/bytheriver/