
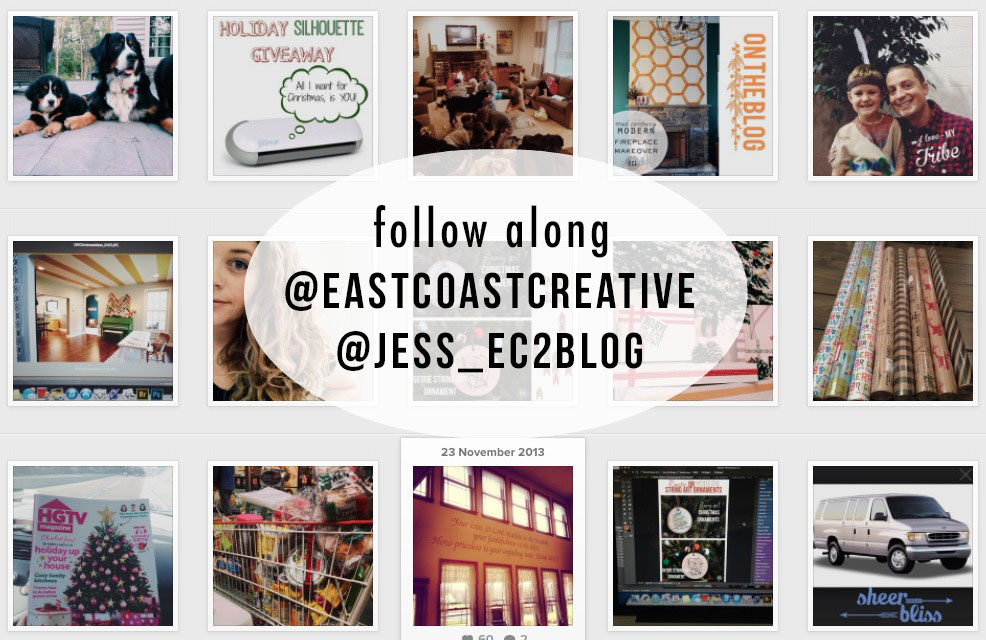
Jess admitted yesterday that she’s obsessed with Instagram pictures, we’ll I’ll admit that I’m the president of the IG addicts’ club. Instagram has completely replaced Facebook for me as far as spending time browsing and catching up on people (aka wasting large amounts of time). I can so quickly get sucked into browsing my feed that sometimes it drives the mister nuts! If you’re not following me (and Jess!) on Instagram, I highly recommend it- I mean, 4 kids, a TV show, puppies galore, and tons of DIY projects… what more could you be looking for right?
I love that there are TONS of options for what to do with my Instagram pics. I’ve printed and framed them and I’ve made a digital photo book, both which I love! The bummer is that printing Instagram pics is so expensive- 25 cents a pop adds up fast! I was determined to find a cheaper way to print them… after some research it hit me… we’re DIYers- I had to be able to DIY this somehow! Now, like most DIY projects- they save you money, but take a little more time. So it’s not a one click process, but once you have your template set up it’s really quick!

How to Print Instagram Pictures Cheaply at Any Store!
Step 1: Upload any picture into PicMonkey. (You could do all of this in Photoshop, but since PicMonkey is free, I’m going with those directions for the masses.) This picture is not the one you’re going to print- we’re just making an IG template here. My kids and nephew are pretty cool though aren’t they? Gotta love a sunset pic.

Step 2:
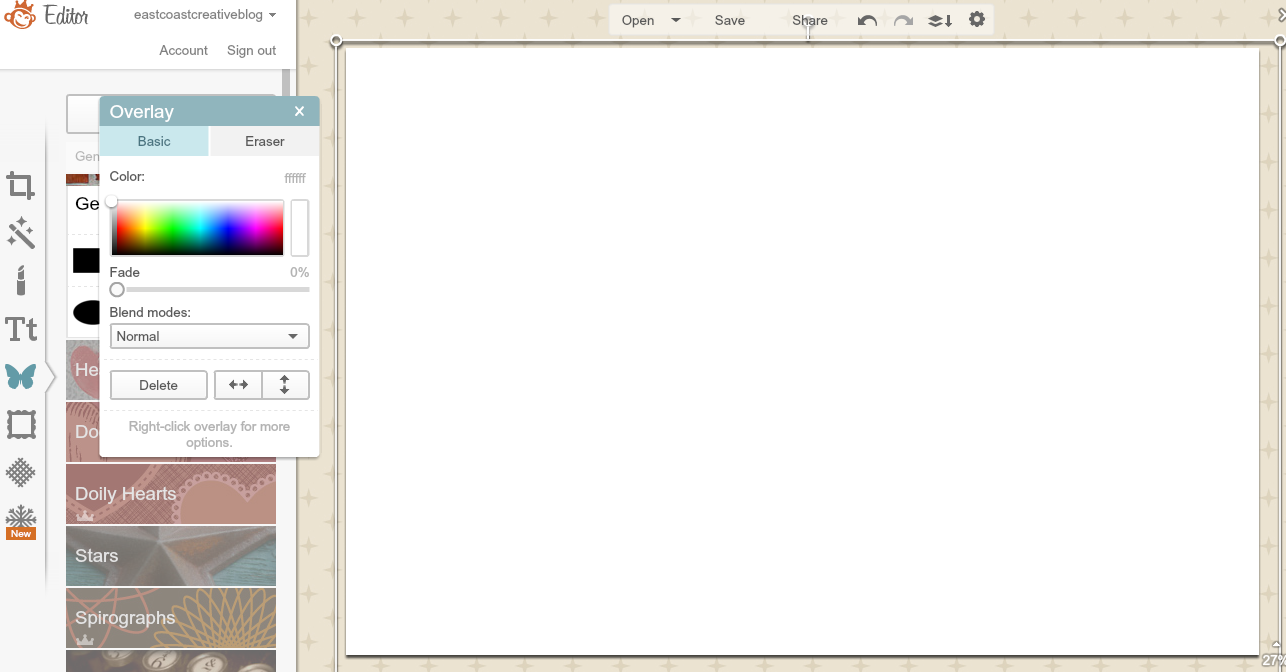
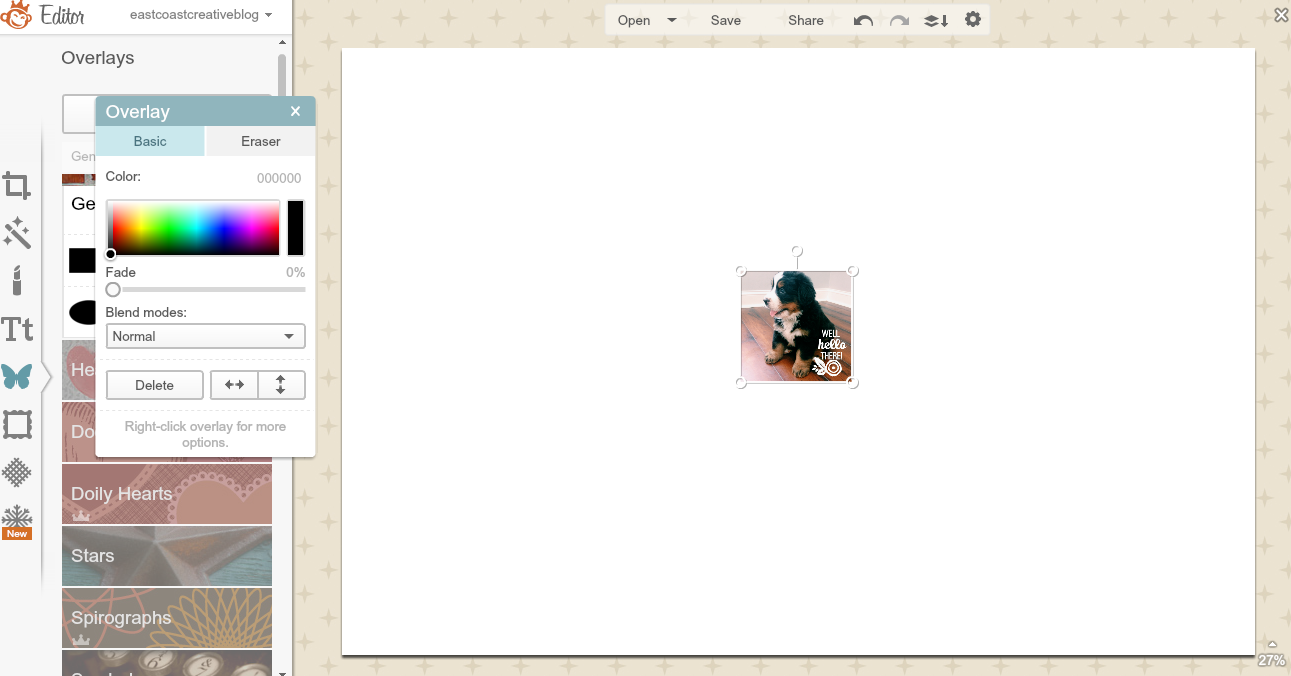
Choose Overlays (The butterfly symbol on the left) and then Geometric. Add a white rectangle shape over your photo.
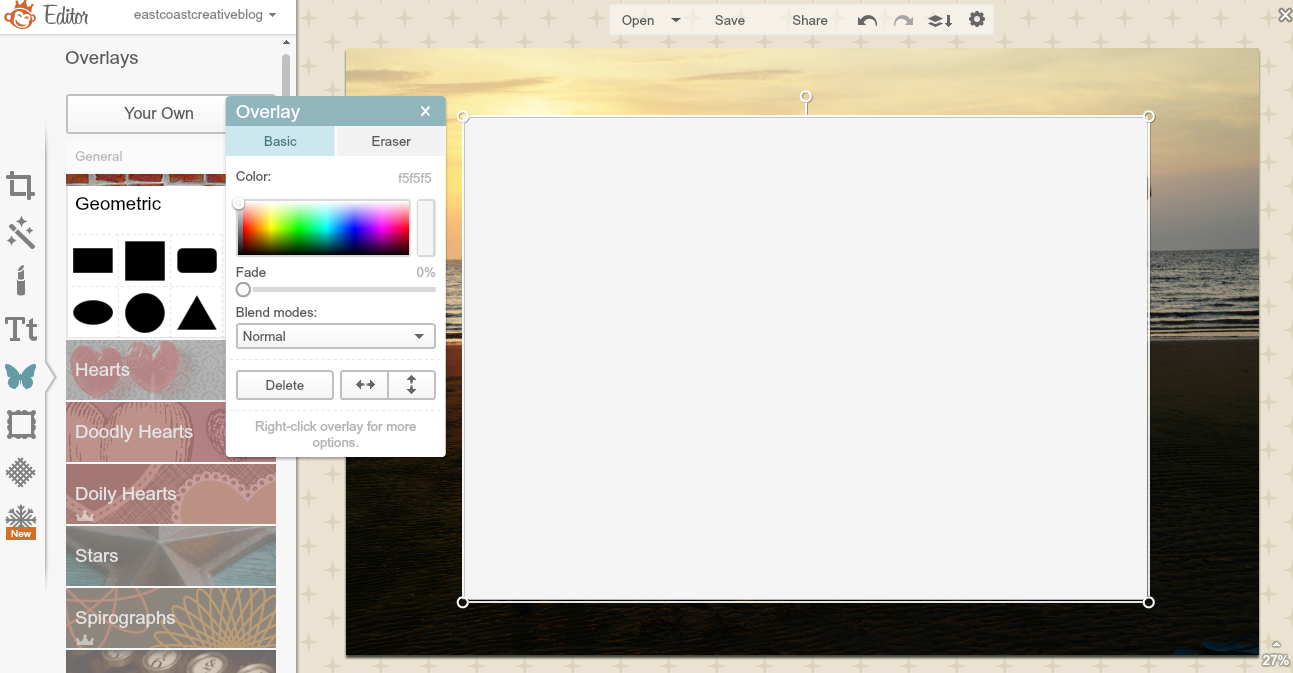
Stretch your white rectangle until it completely covers your photo. Make sure there’s no picture left at the edges.
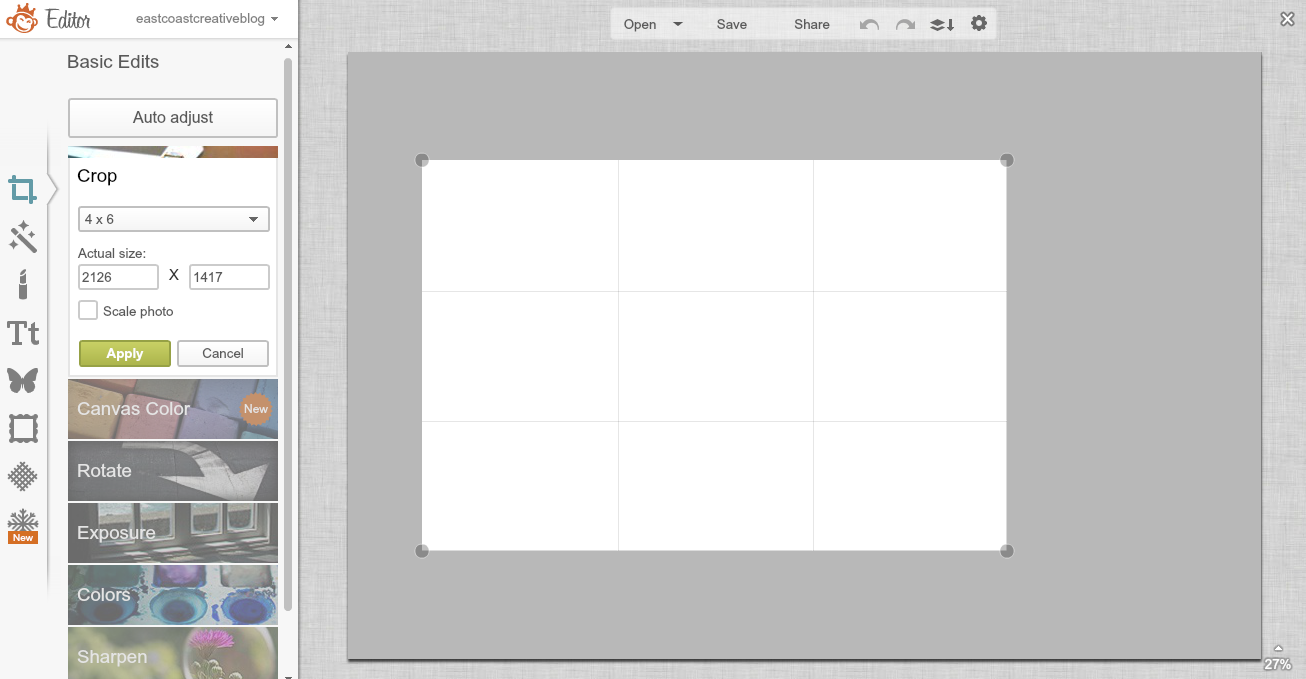
Step 3:
Click on Basic Edits (the little square symbol on the left) then choose Crop. Crop your picture down to 4×6 size.
This will give you a 4×4 IG print. If you want it smaller, choose 3×5, but sometimes 3x5s are more expensive to print. Play around with different sizes if you’d like the process is still the same!
Step 4:
Save your progress. I recommend saving this as IG Template or something like that. This way whenever you want to print some Instagram pictures, you can just open your template.
Step 5:
Now it’s time to add your Instagram pictures- this is the quick, easy part! Not that the other stuff has been quantum physics or anything 🙂 Click on Overlays (butterfly symbol) again. This time choose Your Own from the top of the list on the left. .

A file window will open. Select the Instagram picture you want to print. (Obviously I’m making the assumption you have saved your IG pics onto your computer.) Your picture will show up as a small square.
Step 6:
Resize your image by clicking on the corner and dragging it. You will want it to touch the top and the bottom of your template if you want a borderless print.

And you’ll want to leave a little space around the edge if you like the look of the white bordered prints. Just drag the corner so 3 sides have an equal amount of white showing.

Step 7:
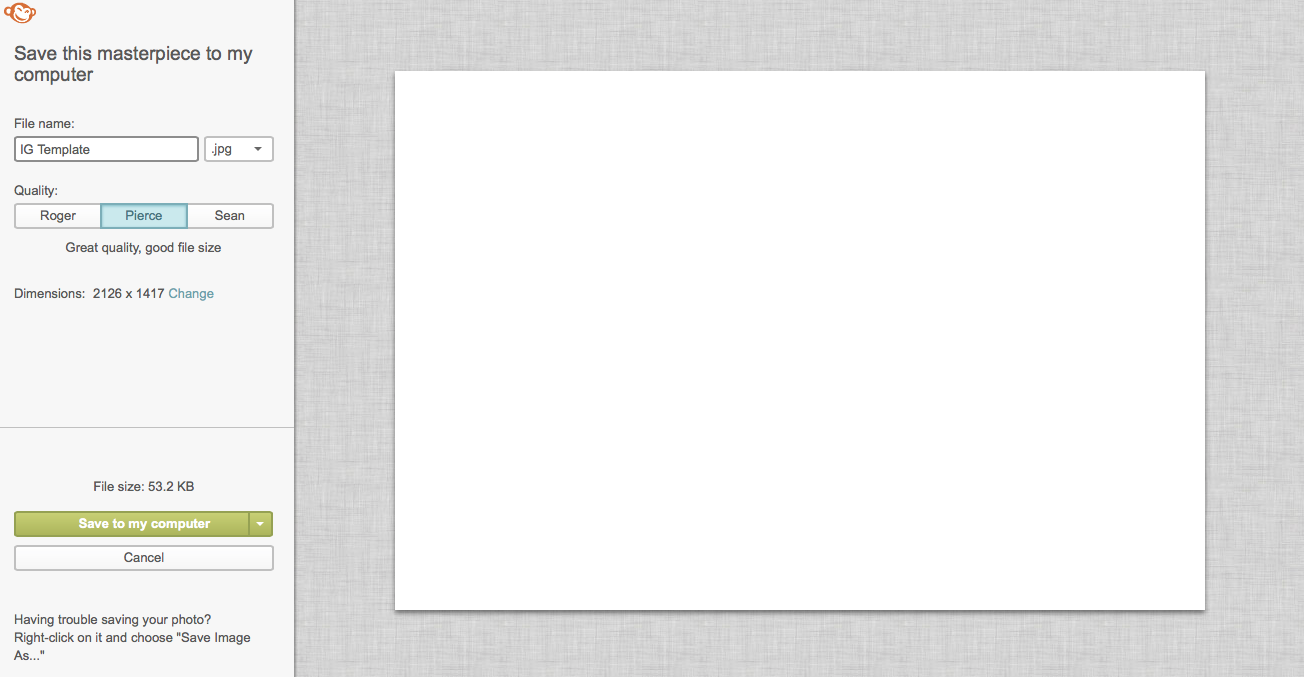
Save Again- this time be sure to rename your file or you’ll lose your blank template. Name it anything you want as long as it’s different than what you named your template.
Step 8:
Once it’s saved, you can just click on the IG pic you just resized and delete it. You’re back to a blank template and you can pop on another picture to print. Repeat the process over and over and just save and rename in between each. It takes me about 10 seconds per picture. Not too shabby.
Step 9:
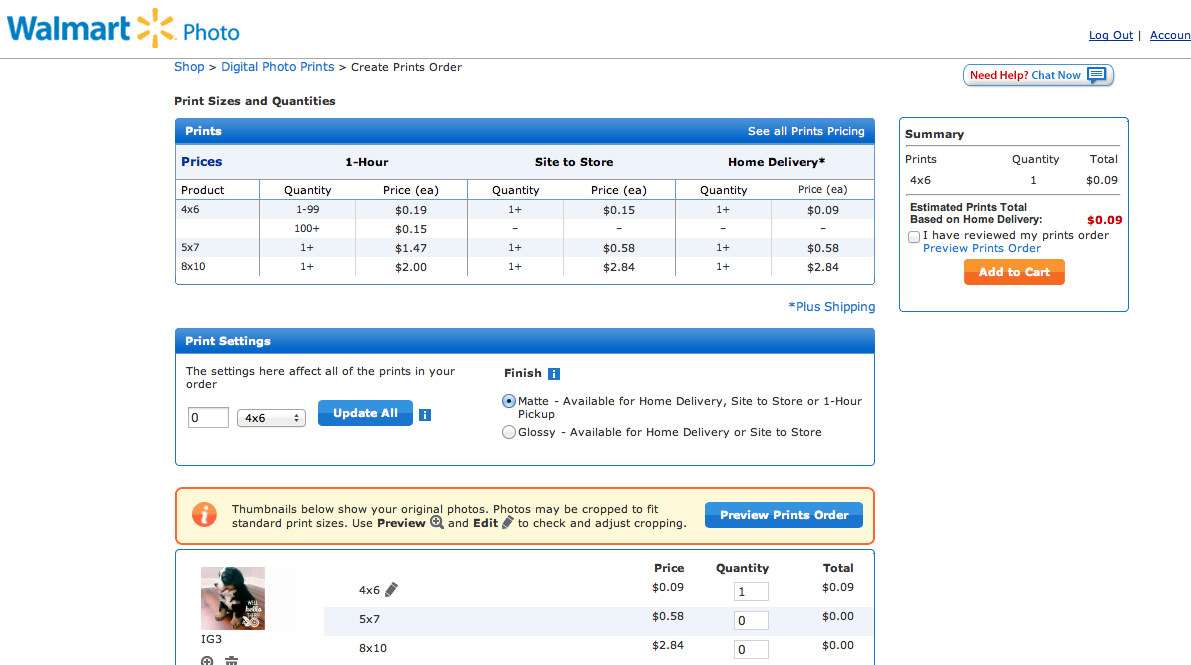
Order your prints. You can order from any print store you’d like. You’re going to be printing it as a 4×6, so every print lab can handle it. Walmart’s quality is only so-so, but they’re crazy cheap. Target, CVS, Walgreens, whatever you like will work.
Step 10:
Once your pictures arrive, they will have extra white space on one side. This is the DIY part. Take scissors or a paper cutter and trim the one side down.

There you have it- DIY Instagram pictures for as little as 9 cents each! Happy Printing!
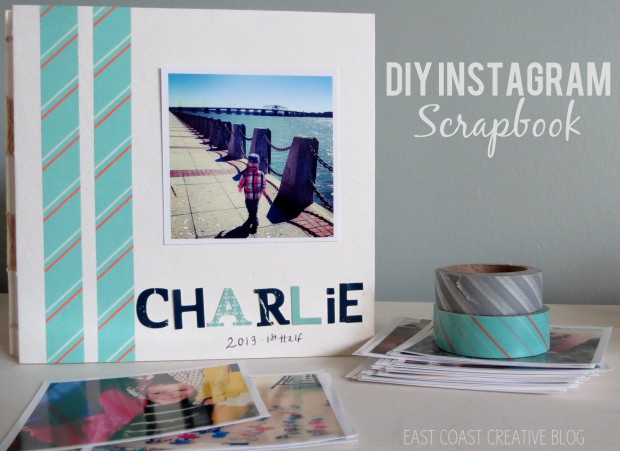
And now that you know how to print your pics on the cheap- check out the cute little scrapbooks that Jess put together with her Instagram Pics. It’s quick, simple, and adorable!
We’d love for you guys to follow us along on Instagram and if you have an account, leave your username in a comment. We’d love to check out your feed too!


This is sooo great! I KNEW there had to be a better way! 🙂 Thanks guys!
Yay! So fun. I am obsessed with IG too! I just ordered a ton of prints and I’m even more hooked upon seeing them in person- so now I have another way to fuel the addiction! 😀
I am an IG addict, too. Shutterfly has collage options for IG photos that I have use twice & love. Not a ton of customization options but at least I finally printed some out! Thanks for this tutorial!(IG @godansker)
Hi Allison,
So glad you found inspiration from my tutorial. Thanks for stopping by our blog, will look for you on IG! 🙂
Thanks so much for this!!! I just used this tutorial and then printed 119 pictures at Walgreens for $17! I’m thrilled to have them printed!
[…] tip: How to Print Your Instagram Pictures Anywhere. This is an awesome tip – especially if you want to make an Instagram […]
So did you order the pictures in matte finish? Not sure which to do 🙂
Hey Linda! Yes I did and they came out great! Good luck!
Thanks!!
Awesome tip, thanks!
my IG is nicolechantelxo 🙂
I just found you ladies and am so excited I did, love this simple tip, thanks for sharing! on Instagram @shanerouqui
Shannon 🙂
been wondering how to do this! thanks! IG: @slcranford
I’m loving this tutorial! Did you hear that Walgreens online recently added the option to select and print photos straight from your Instagram account and they come already cropped? I used it for the first time this week. 🙂 Oh, my username is abbyonthestairs!
That’s awesome about Walgreens, we love our Instagram prints!! Thanks for stopping by Abby! 🙂
[…] tip: How to Print Your Instagram Pictures Anywhere. This is an awesome tip – especially if you want to make an Instagram […]
Loved your tutorial, but when I try to get picmonkey, 20 things come up in the app store, none of them are picmonkey. Any advise? thank you
Hi Cindy-
PicMonkey is actually a website. http://www.picmonky.com so you don’t need the app store. Hope that helps!
I just found this post on Pinterest. Thanks so much for the tutorial. You can find me at @alyfromuk2us
So glad you found us and enjoyed the tutorial. Happy printing!
[…] CLICK HERE FOR TUTORIAL […]
I love this! I want to print my travel pics now 🙂