
We love having the opportunity to try out all kinds of DIY products, so when I was asked to try out Krylon Looking Glass® paint I was really excited to give it a whirl! I’m part of a small posse of bloggers sharing their projects today and tomorrow, so if you’re coming from 36th Avenue– welcome and thanks for stopping by!
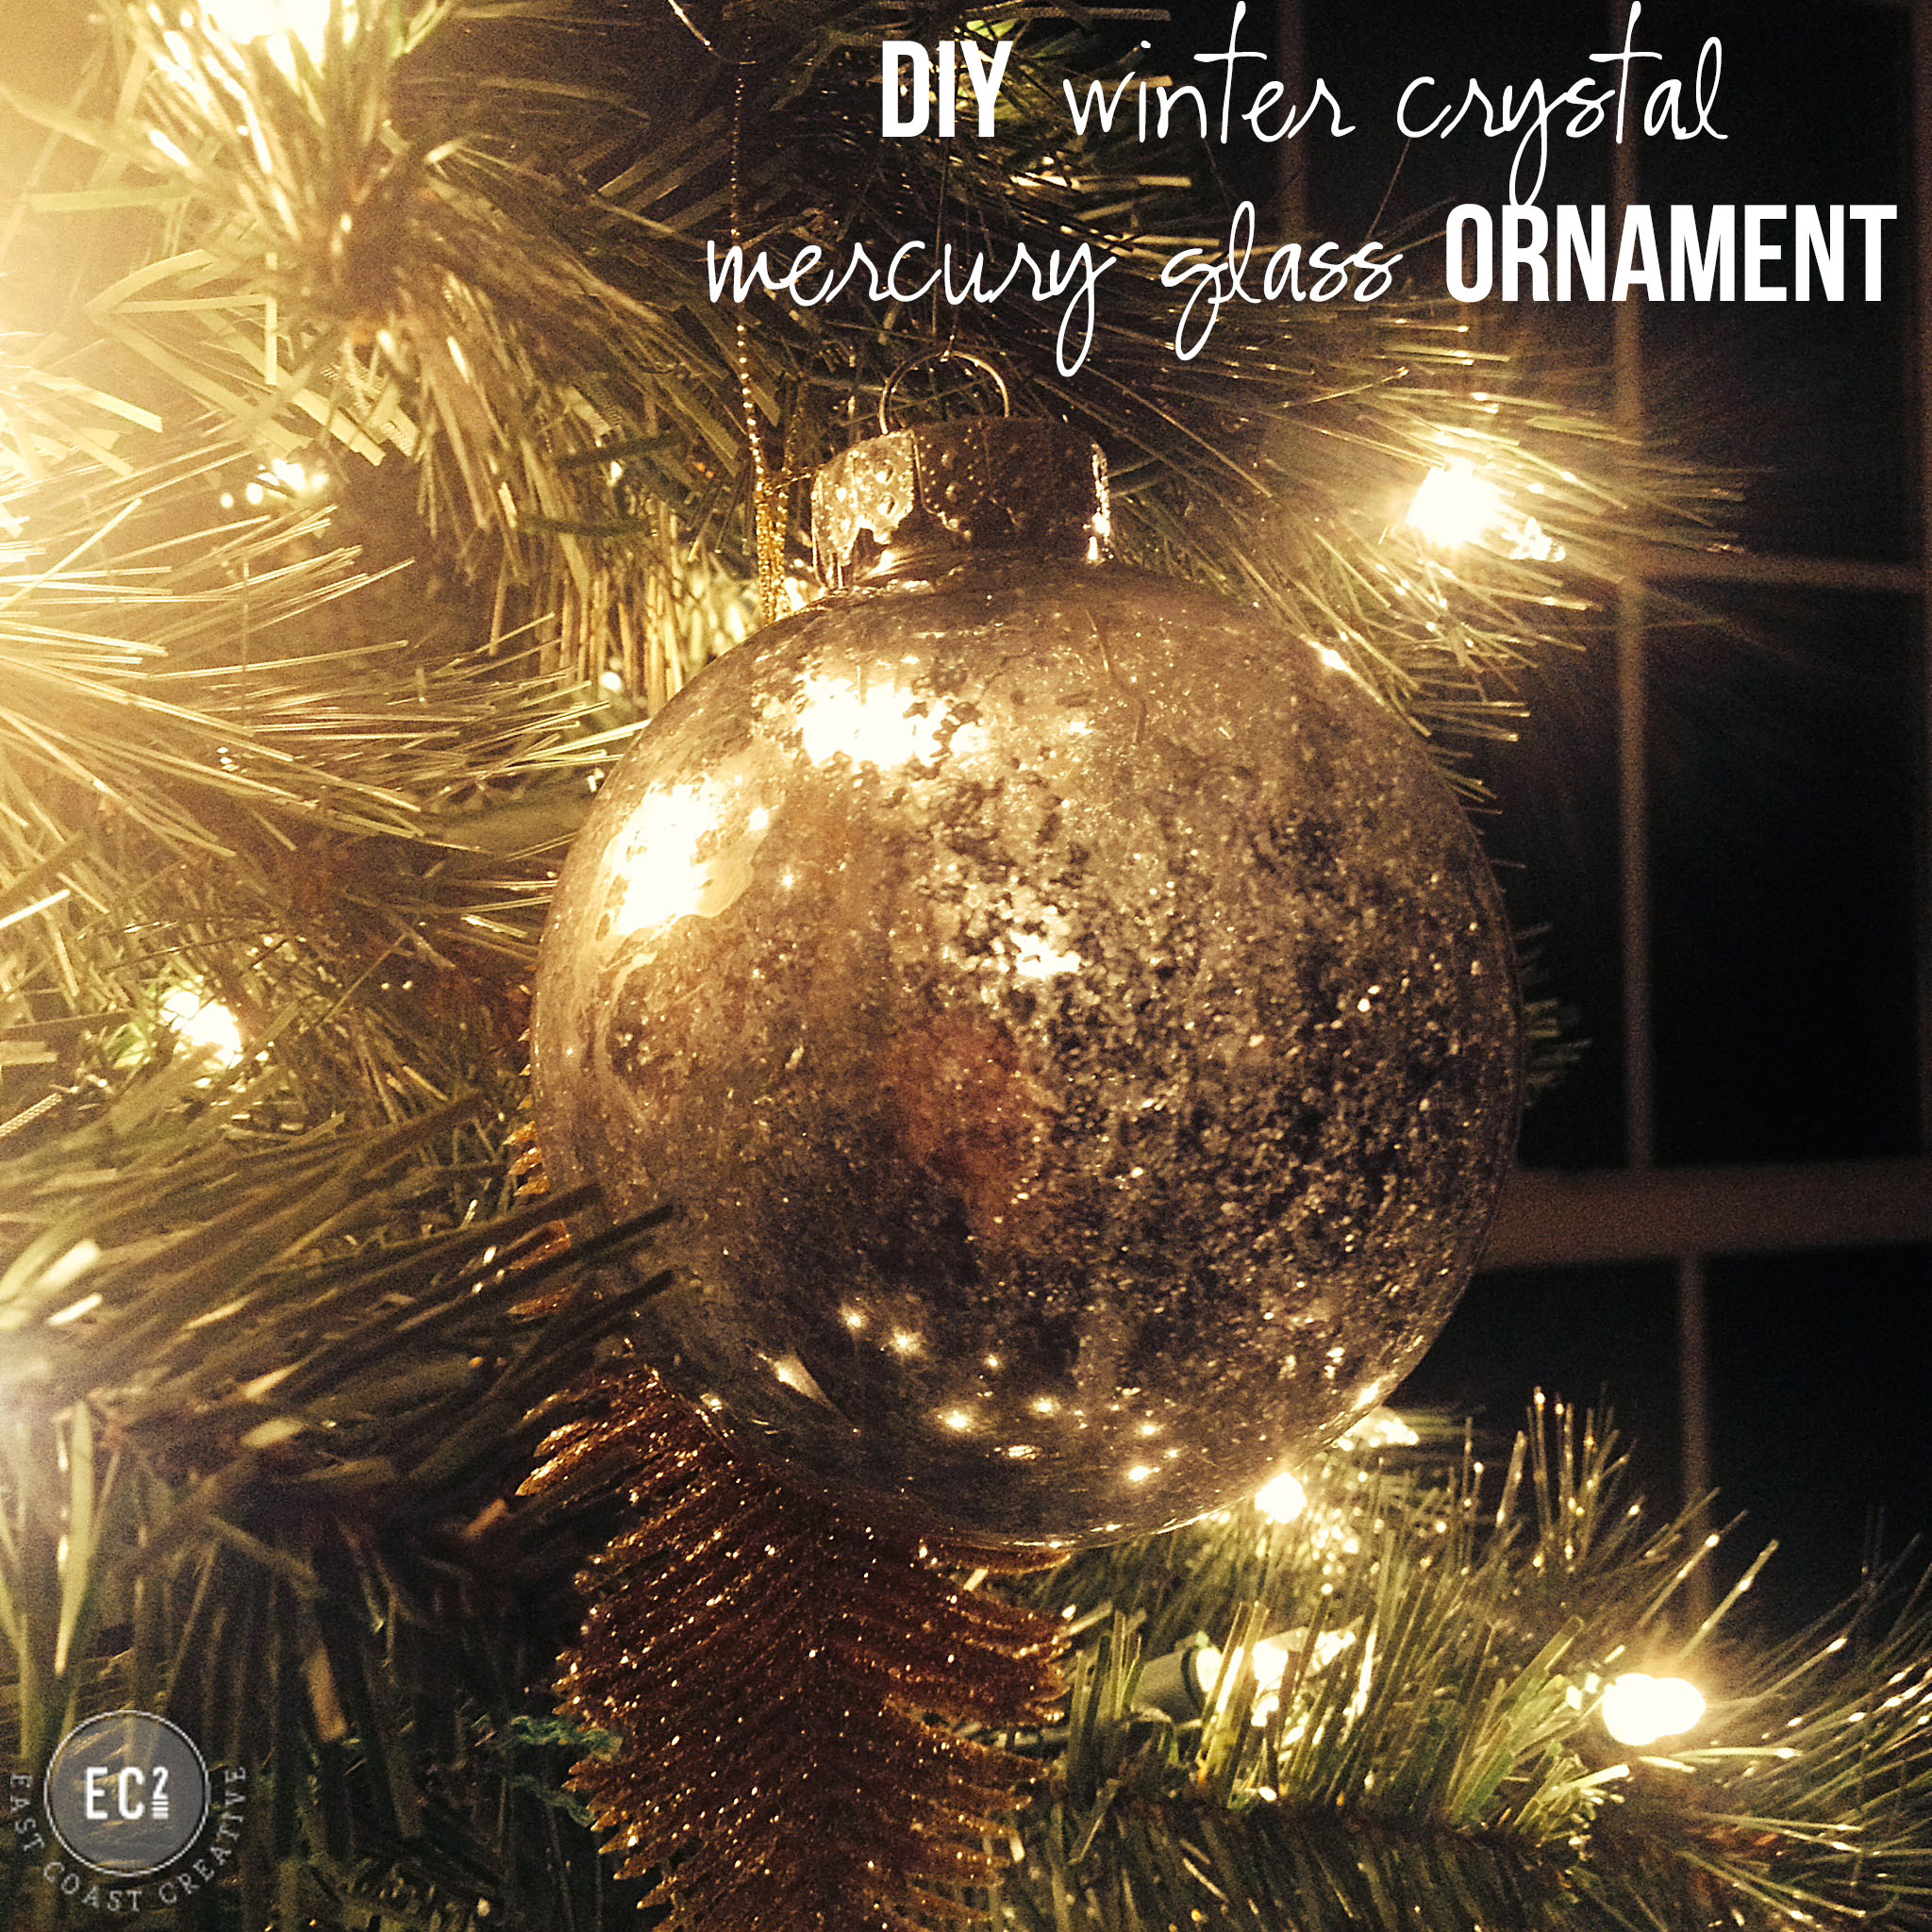
Hopefully you saw my Christmas Home Tour on Monday- if not, check it out. We have a real tree all decked out in the family room, we have our fabric tree in the kids’ playroom, and I have a fake tree in the piano room, but sadly it had been sitting 1/2 decorated all week. I have two sizes of lights on it, and some really fun gold, leaf shaped ornaments, but nothing else. I really wanted to add some ornament balls, but couldn’t find the right color. So, after noticing I had a bunch of clear plastic ornaments left over from our Christmas episode of Knock It Off, I decided to try my hand at a version of mercury glass ornaments.
The whole idea behind Looking Glass® paint is that it takes a clear glass or plastic surface and makes it look reflective like a mirror.
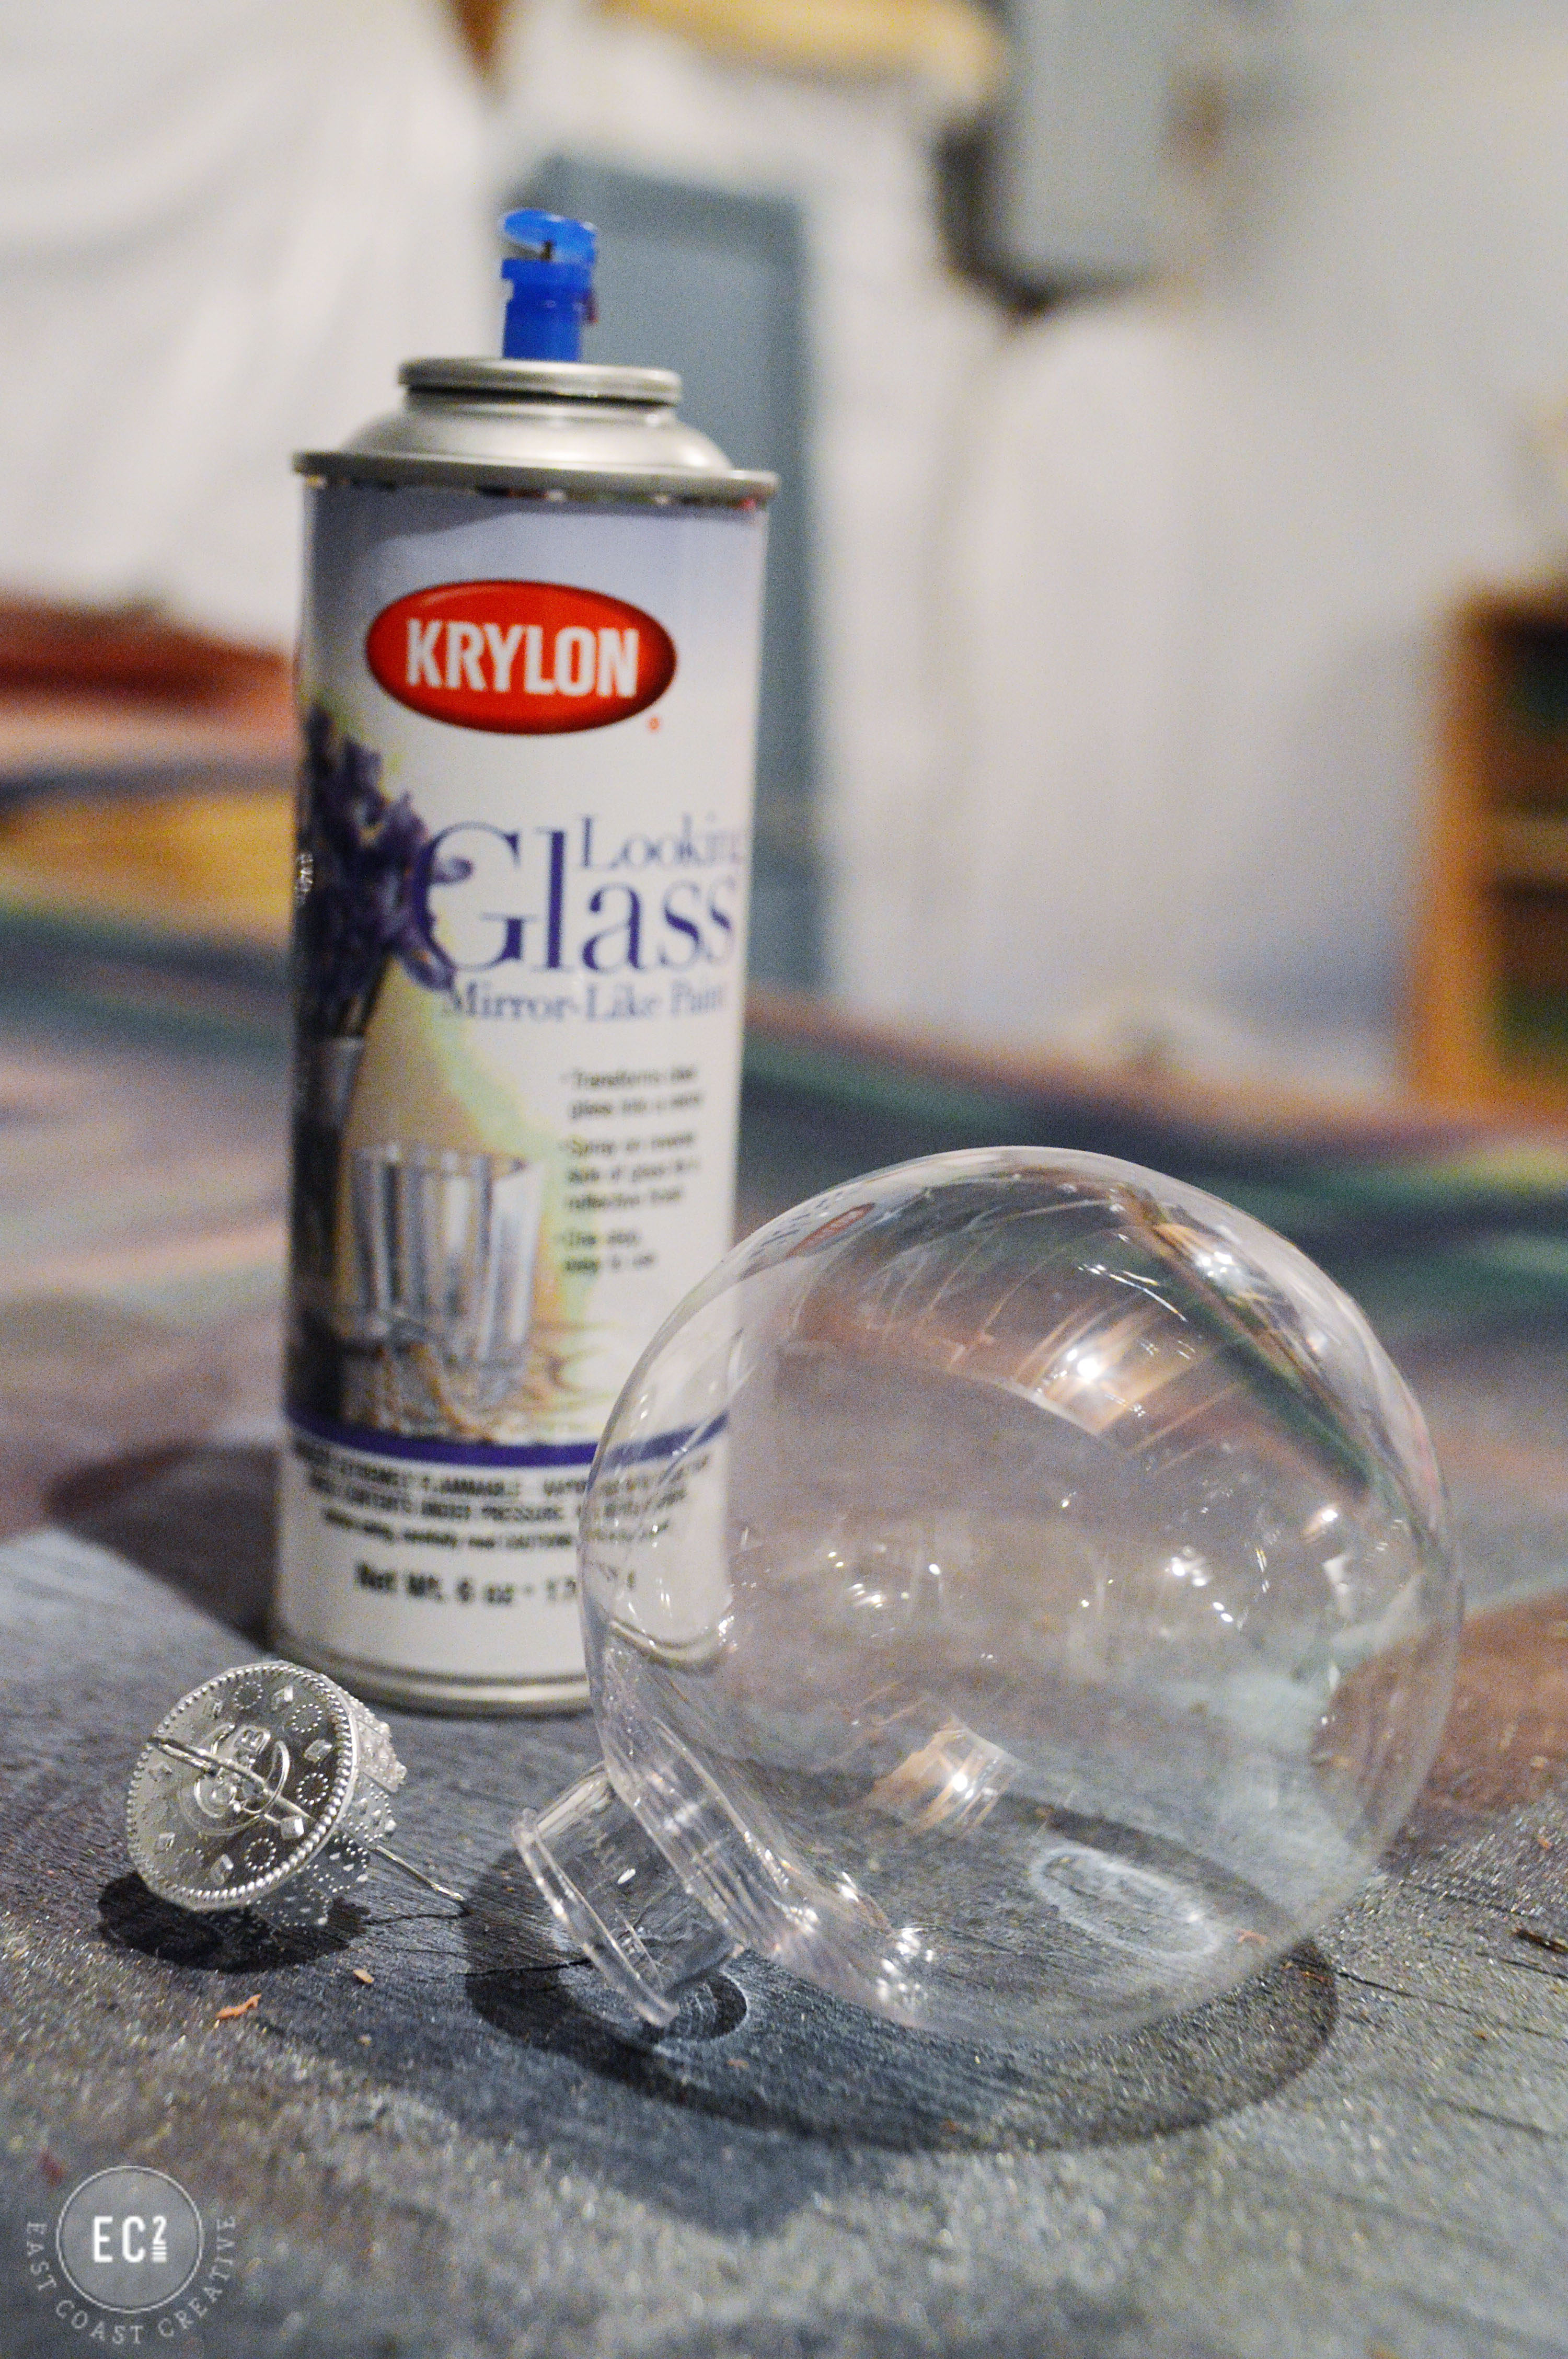
One thing to know is that Looking Glass® paint gives the metallic look on the opposite side that you spray. So, if you’re doing a vase, you’d actually spray the inside, not the outside. But, for my project, I actually did one coat on the outside first. Confused yet? Lol. I wanted to get one thin coat on the outside before I went onto my next step.

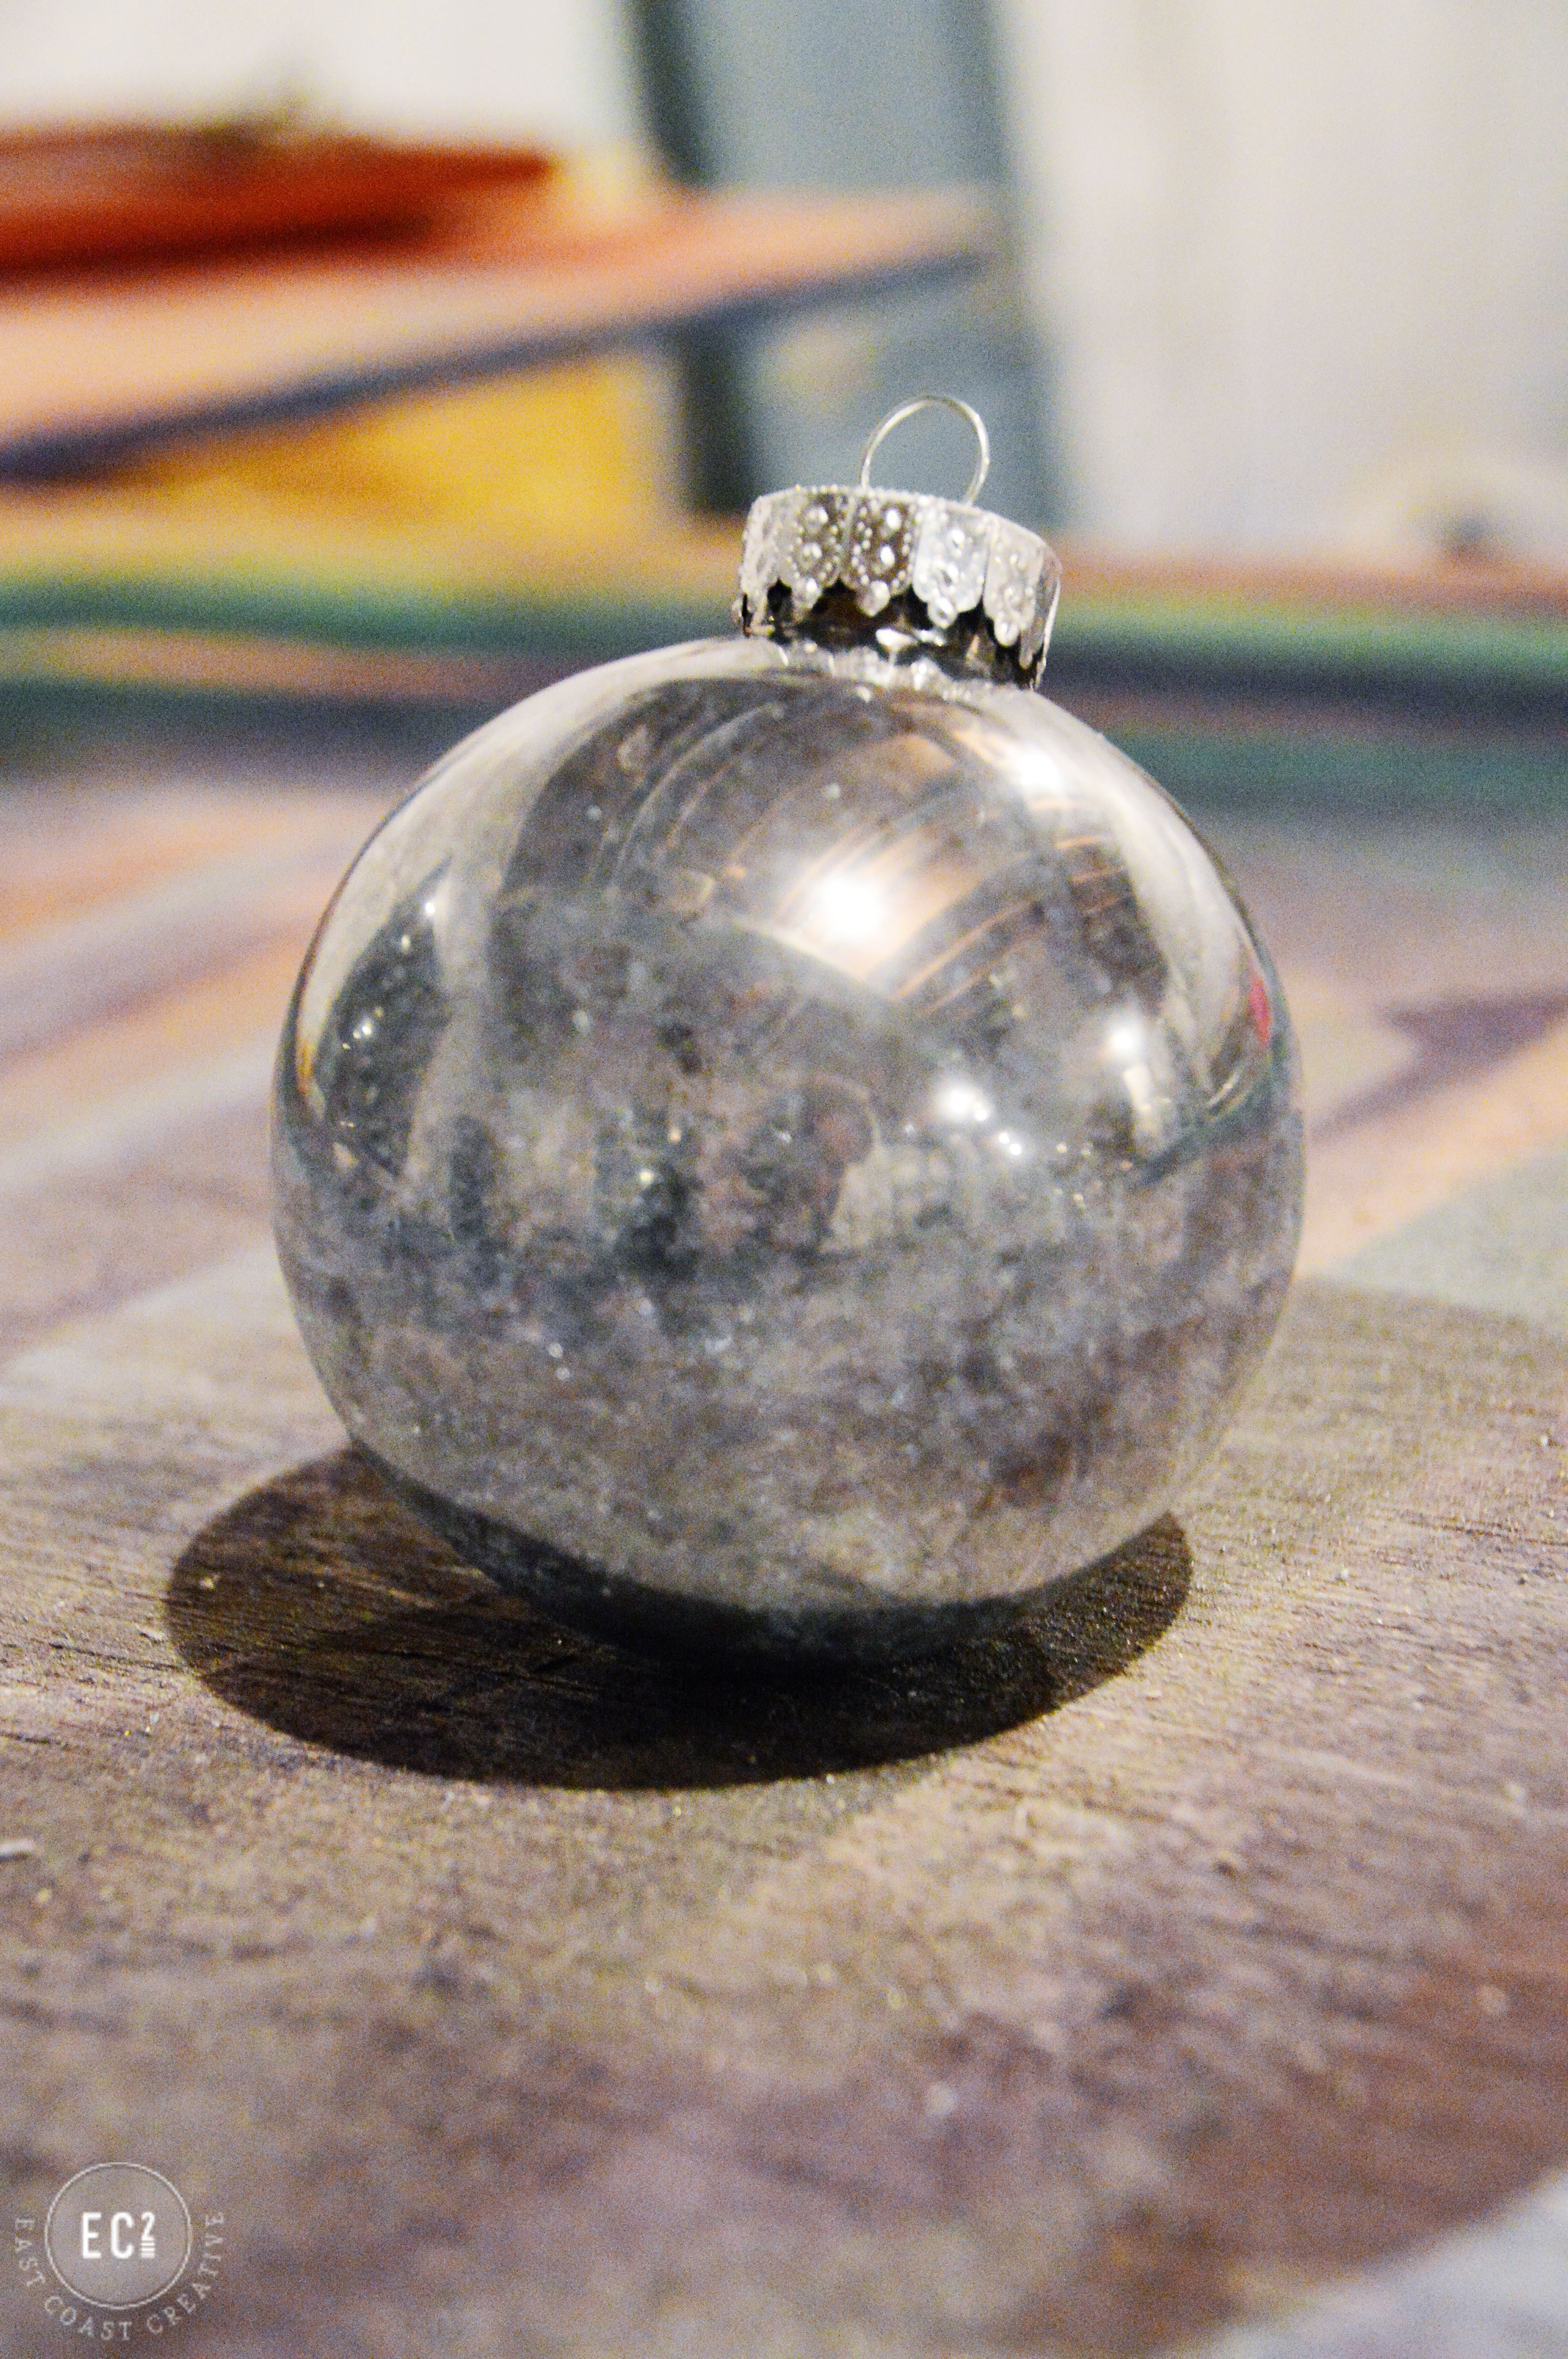
I really wanted not just a mercury glass look, but also a bit of a winter snow effect (I’m in love with the little snow dustings we’ve been getting each night!) So, I half-filled my ornament with epsom salt. Did you know epsom salt is a perfect snow look-alike for decorating!

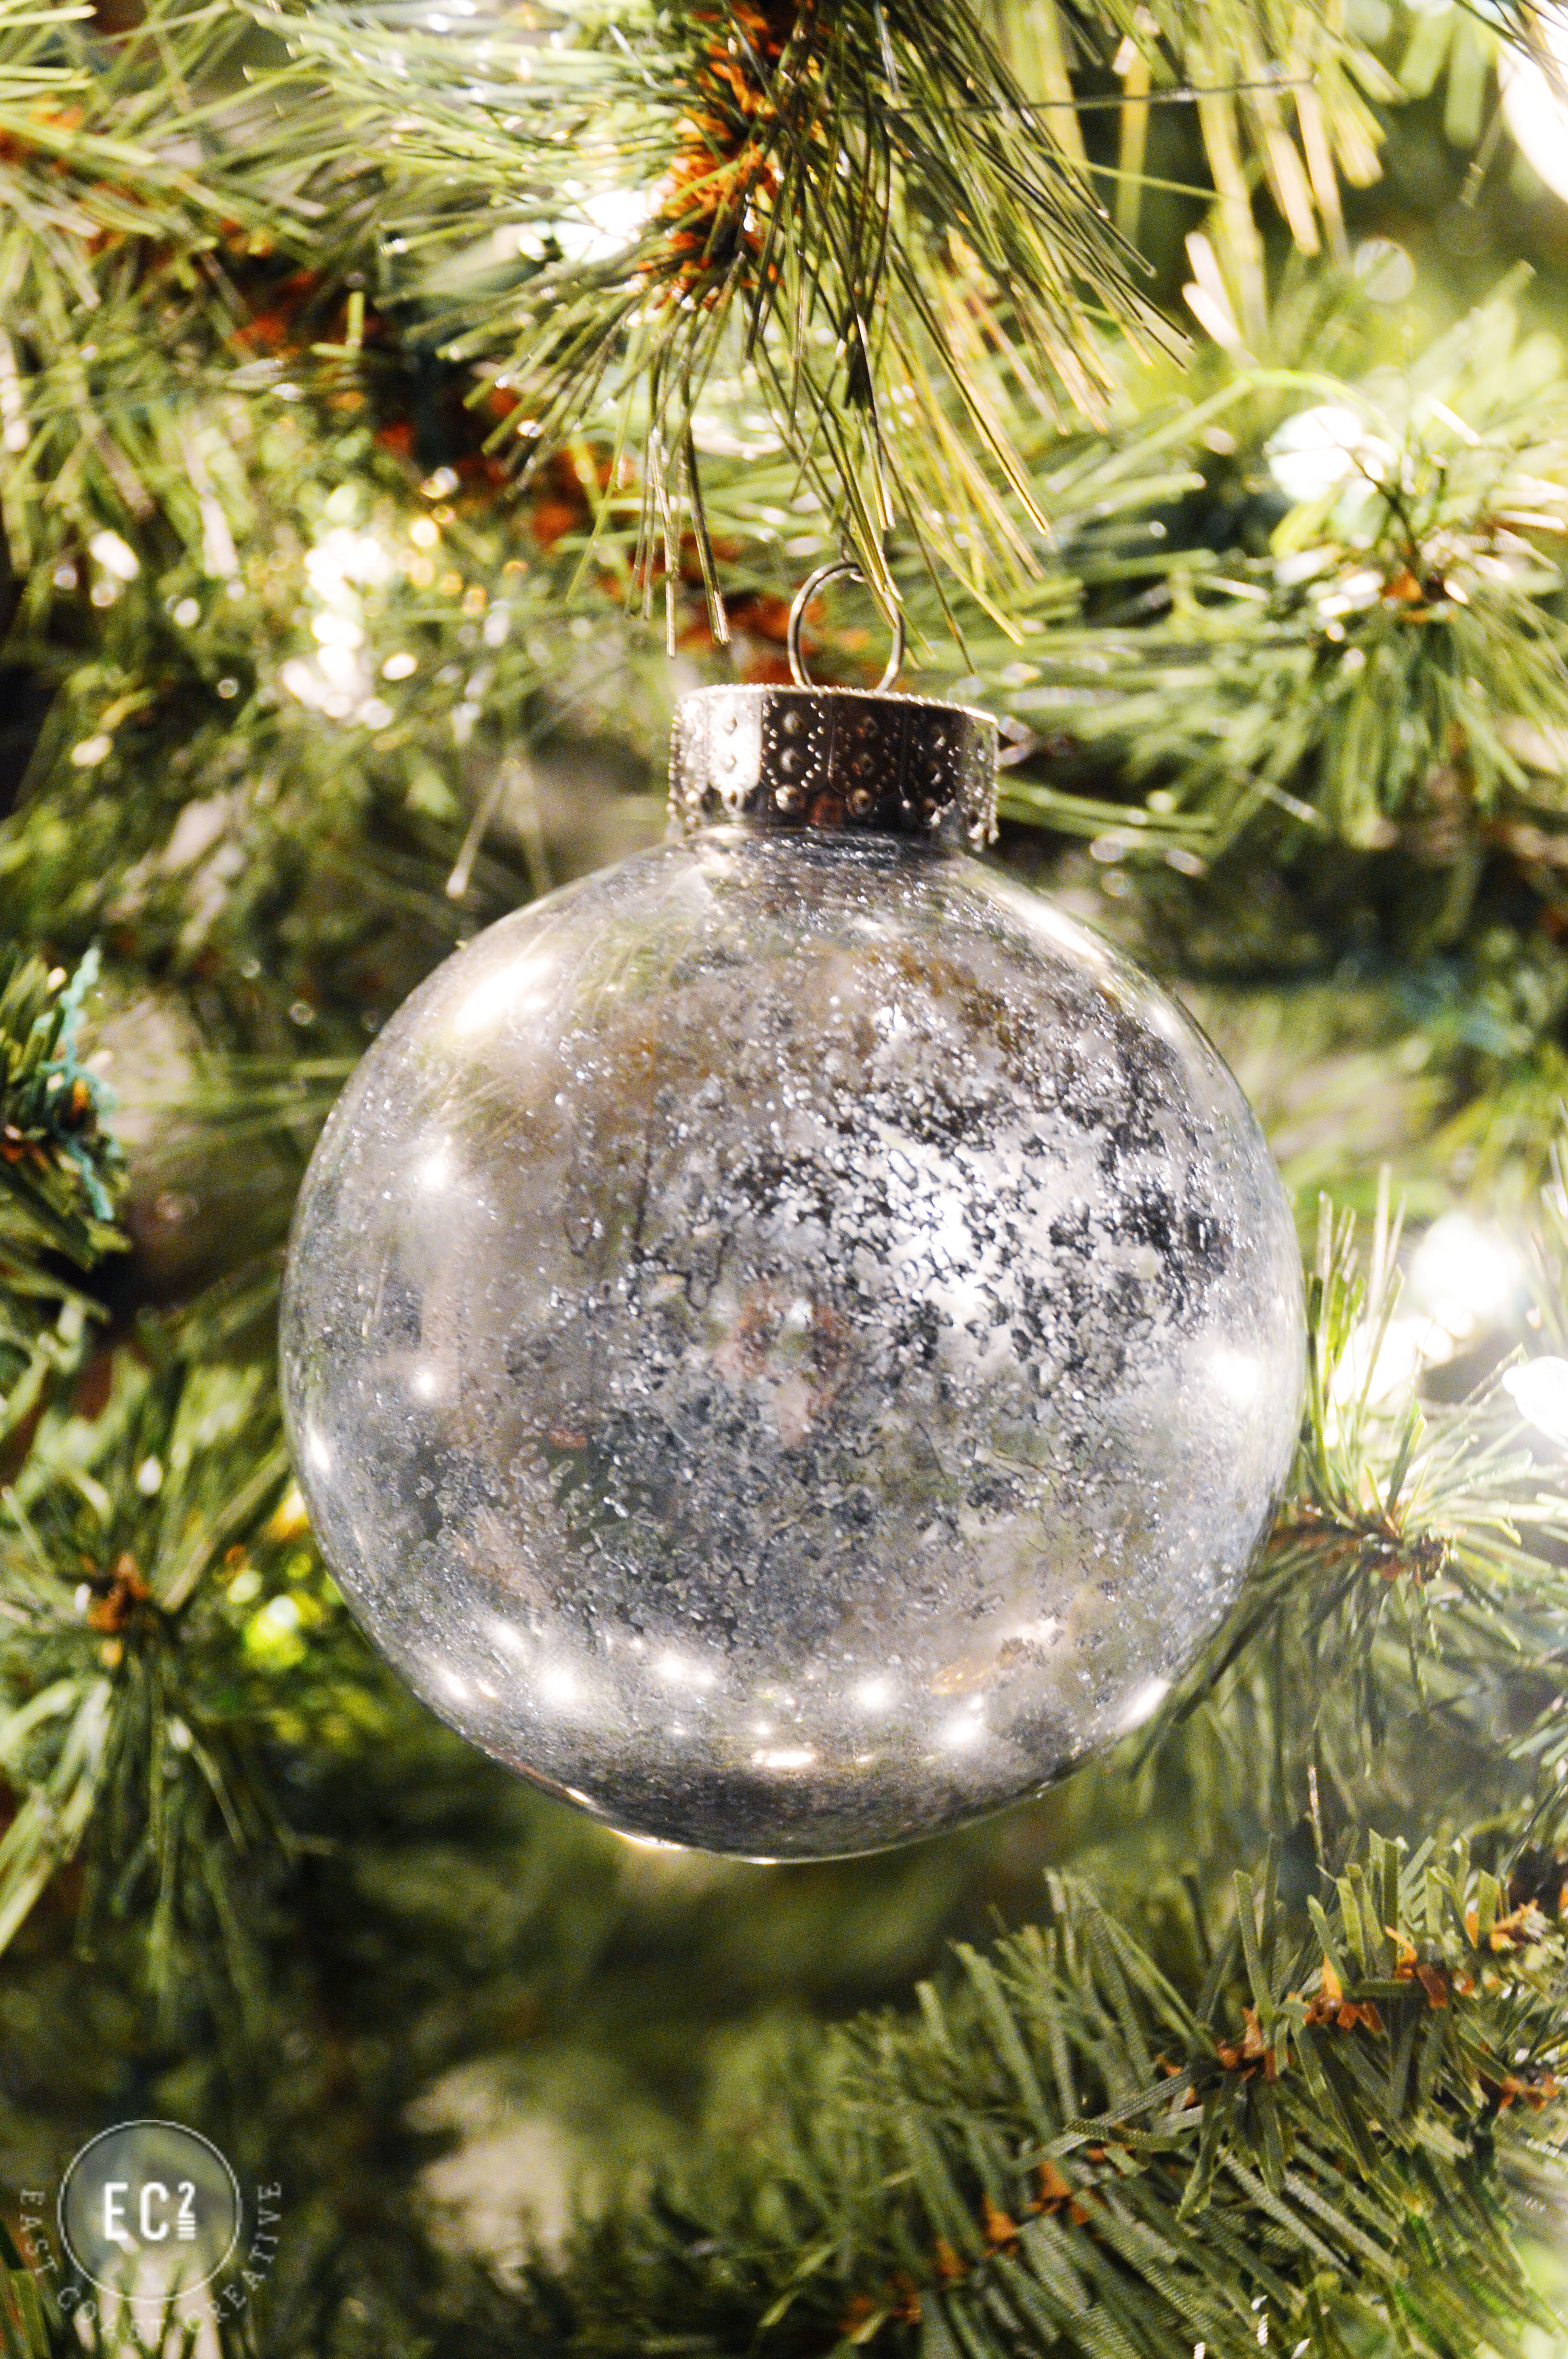
Then, I sprayed more Looking Glass® paint on the inside of the ornament and swooshed it all around. The salt became metallic grey, and the sides of the ornament started to become awesomely reflective! The salt gave the look of crystal and snow- it worked like a charm!
You can get clear ornaments so inexpensively and I was amazed at how high-end the Looking Glass® paint made them look! They look like ornaments from Pottery Barn or Z Gallery but they took me about 5 minutes to make!
I’m excited to try out the rest of the paint on some other projects after the holidays! I think I’m done DIYing until after Christmas! Phew, with the home tour and our Knock It Off episodes it’s been DIY Central around here lately!
Now that you’ve seen my project, head over to Lil Luna to see what she came up with!
Happy Weekend Friends! Thanks so much for coming by today!
*This is a sponsored post on behalf of Krylon®, but as always the creativity and opinions are 100% ours!


Okay, so what am I doing wrong… The one time I tried to spray the inside of something that little with the Krylon, the spray was so strong that it came flying back out at me and was hardly a nice light coat on the inside… more like a harsh spray from 2″. How did you manage to do this?
hey Charlotte,
I think since the opening to the ball is so small, there wasn’t much space to come back out towards me. As far as a nice light coat- Having the epsom salt in there was helpful because I swirled the ornament around and it moved the paint all over. I just shook it until it had the look I wanted. It took about 1 minute per ornament. So maybe the salt was key? Hope that helps! Merry Christmas!
Yep! Makes perfect sense! Now to gather some plutonium so I can hop into my DeLorean and finish the Mirrored glass Christmas ornaments I had lined up for the 2012 tree! Thanks for the salt intel. 🙂
I love using the Krylon looking glass paint, but I’ve never seen it used like this before. The ornaments look amazing! I love them! I need to try this on some clear ones I have left. Thanks for sharing, and I have to pin this!
Debbie 🙂
These are gorgeous! If you don’t mind, could you please clarify something for me? And I apologize in advance for sounding so stupid! 🙂 OK, so you sprayed the paint into the epsom salt, shook it around and some of the painted salt stuck all around on the inside. Do you have some idea how much paint you sprayed inside? I mean, was it quite a bit, just a little bit or what? I have a can of that paint I bought some time ago and have not yet used it on anything. Plus I have a box of the clear ornaments, just begging me to spray Looking Glass paint into them! I just don’t want to mess them up!
Thank you so much! Really beautiful ornaments! They truly do look very expensive!
[…] DIY Mercury Glass Ornaments at East Coast Creative […]
This is beautiful! And simple! So glad i ran into your blog!
Great idea Monika. Do we get to see the whole tree, or is it not finished yet?
The close-up photos are beautiful.
But where, or where is Jess’s table scape post? Maybe her baby is in a fussy stage…..
;o)
Oops I spelled your name wrong. I have an old friend with this spelling…
This may be a stupid question, but did you leave the salt in the ornament? I can’t tell from the pictures. I love the look it gave the ornaments!
[…] shared my faux mercury glass ornament tutorial, which you can check out here on the […]
[…] This beautiful mercury glass ornament is easy to make. And it is the perfect family project! Get the tutorial via eastcoastcreativeblog […]
So this is years later, but do you think kosher salt would work? I don’t have Epsom on hand and don’t want to go to the store …because I’m lazy haha. Thanks!
Yup! I think it might! Give it a try and let me know how it works out! 🙂 -Monica