
This is a cool post for me because it’s one of the first projects Jess and I have done together for the blog. We’re always helping each other out with DIYs, but today we got together specifically to work on some blog projects. Tomorrow Jess and I planned a “Girls Only Day at the Beach” for our gal pals and we’re super excited to have a kid-free day of relaxing and sun. In honor of that special event, we’re sharing our Striped Shore Frame with you today. We have some exciting news about this project, but you’ll have to just wait and see what we have up our sleeves…
Striped Shore Frame
In the midst of our girl chatting, we totally forgot to take a good BEFORE picture. Ugh… So let me describe it to you. A square piece of barnwood. There, can you picture it? We used a jigsaw to cut a square hole out of the center. I had some super thick painter’s tape and just taped off stripes. Voila, you’re all caught up.
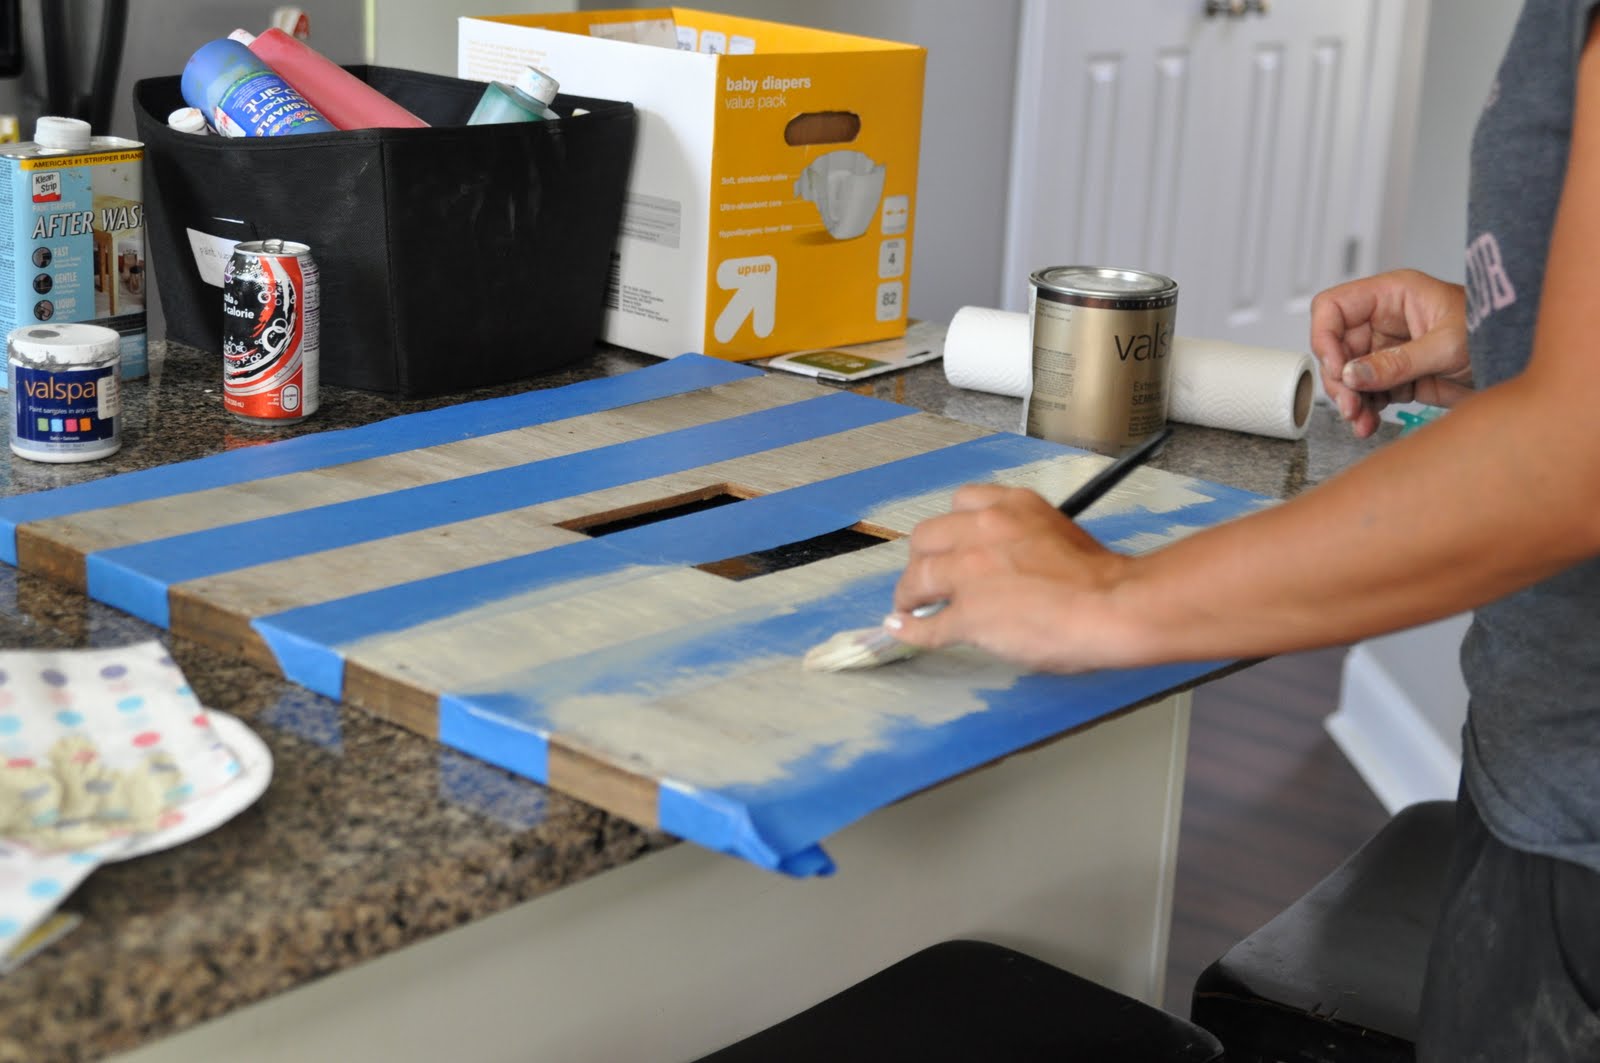
We wanted a whitewashed look, so we took some old paint and added a bunch of water to get the light consistency we wanted.
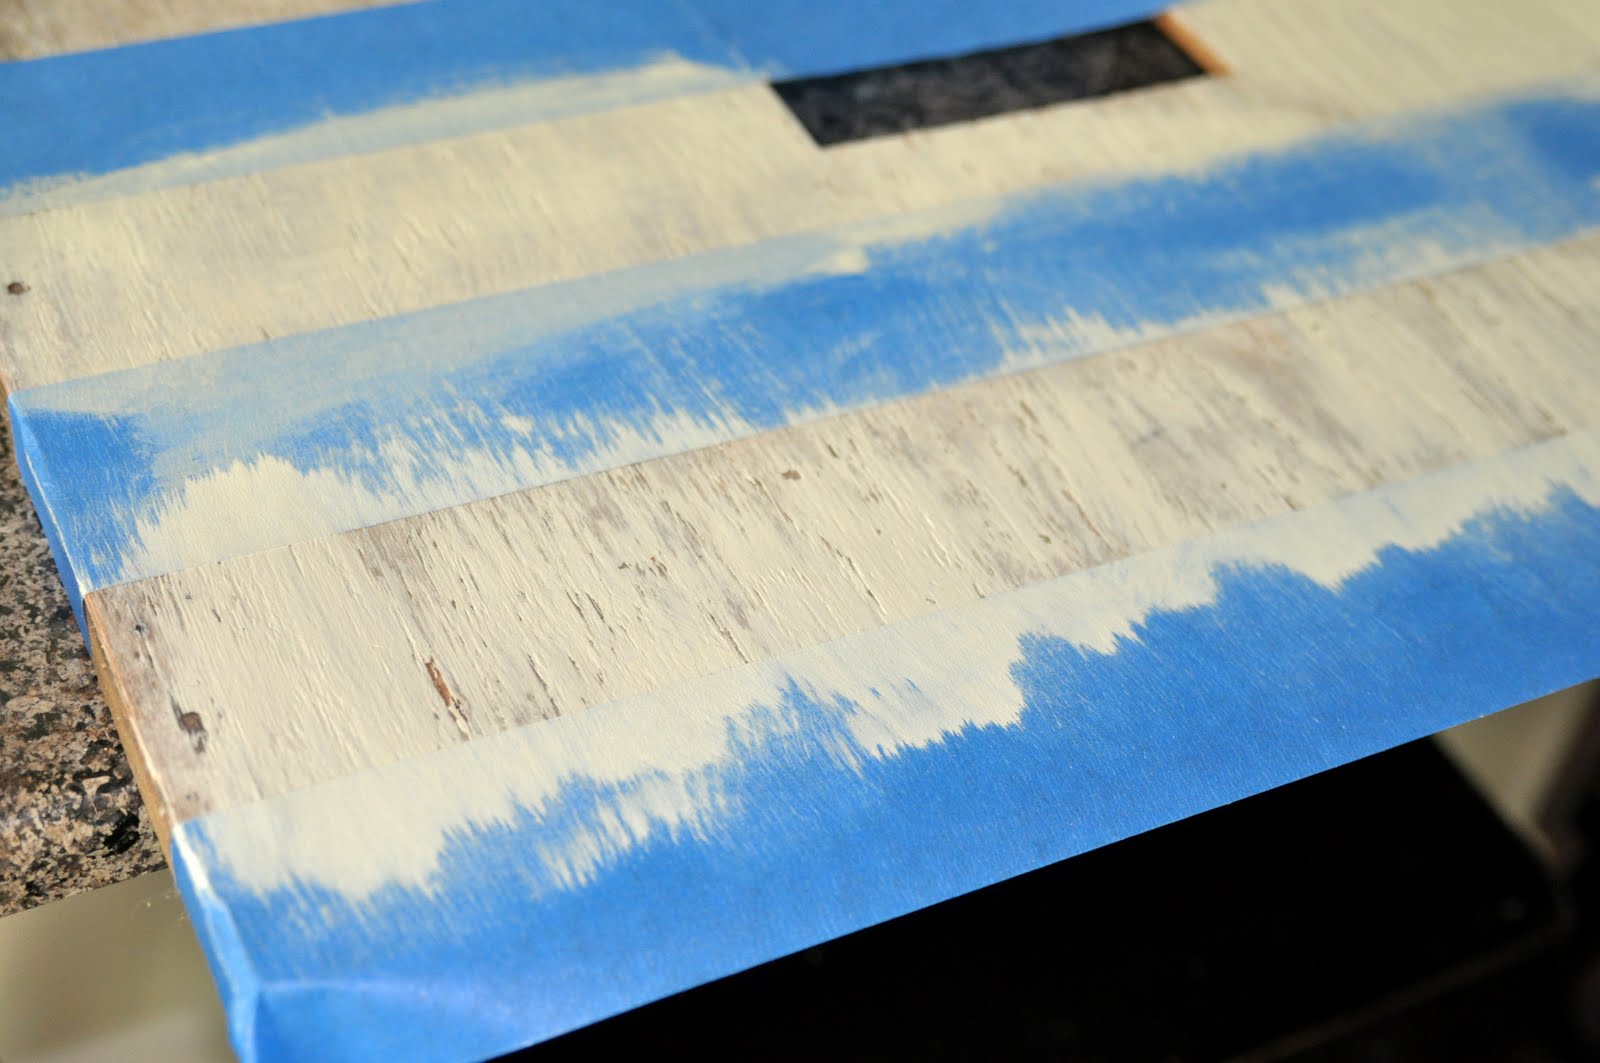
We put the tape on against the grain because we liked how it showed more of the wood texture. Ahh, ok, I lied… I put the tape the wrong way and then convinced Jess it looked great this way so I didn’t have to redo it. Confession complete.
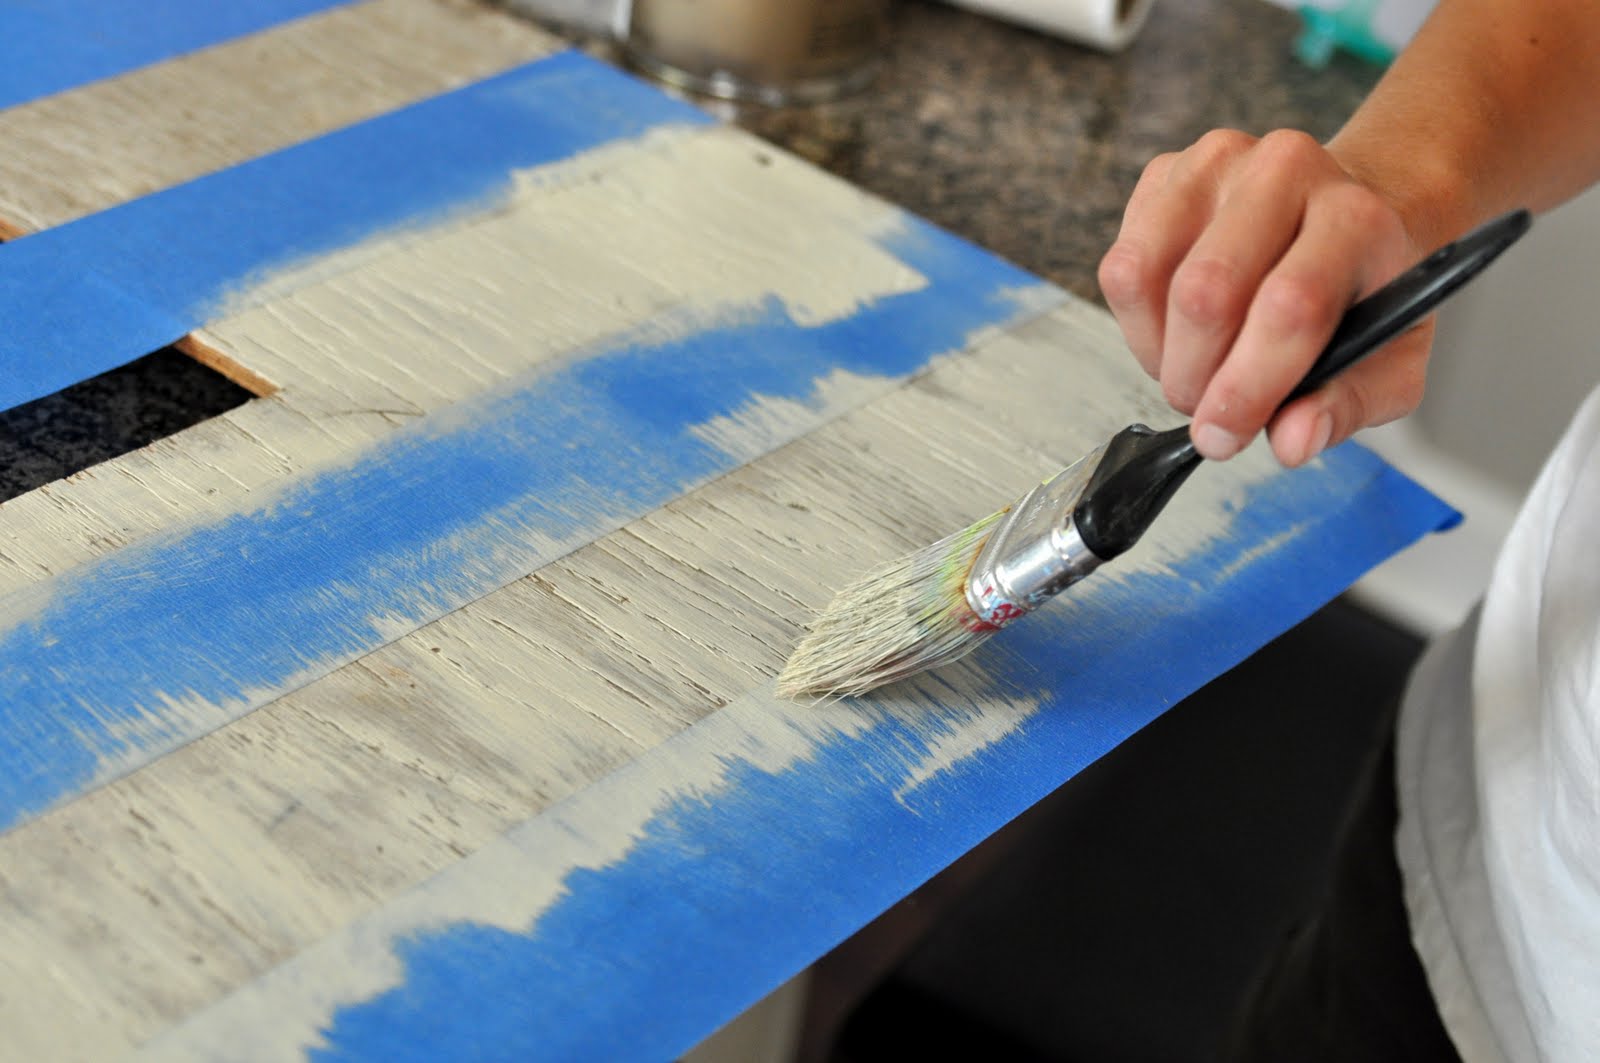
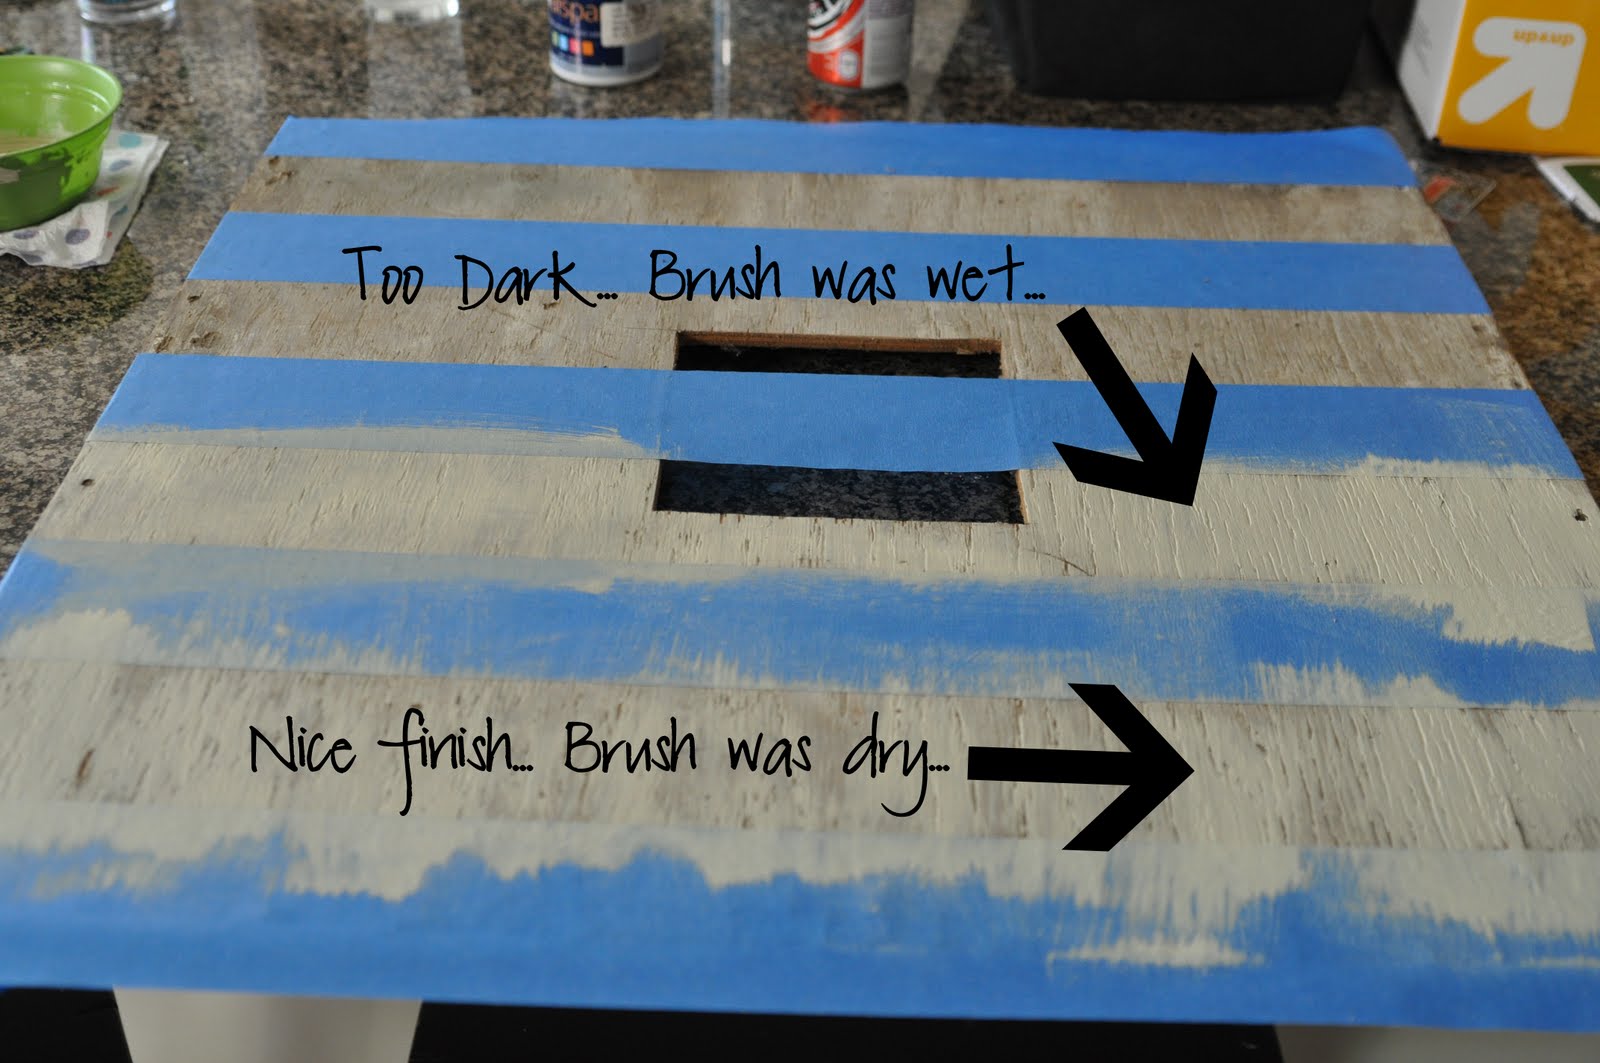
The key is to use a DRY brush… I was a little impulsive and my first stripe was WAY too wet and didn’t have the cool faded look we wanted. I had to do some rubbing and paint removing. You can always add more paint if it’s too light, but it’s a pain to remove paint.
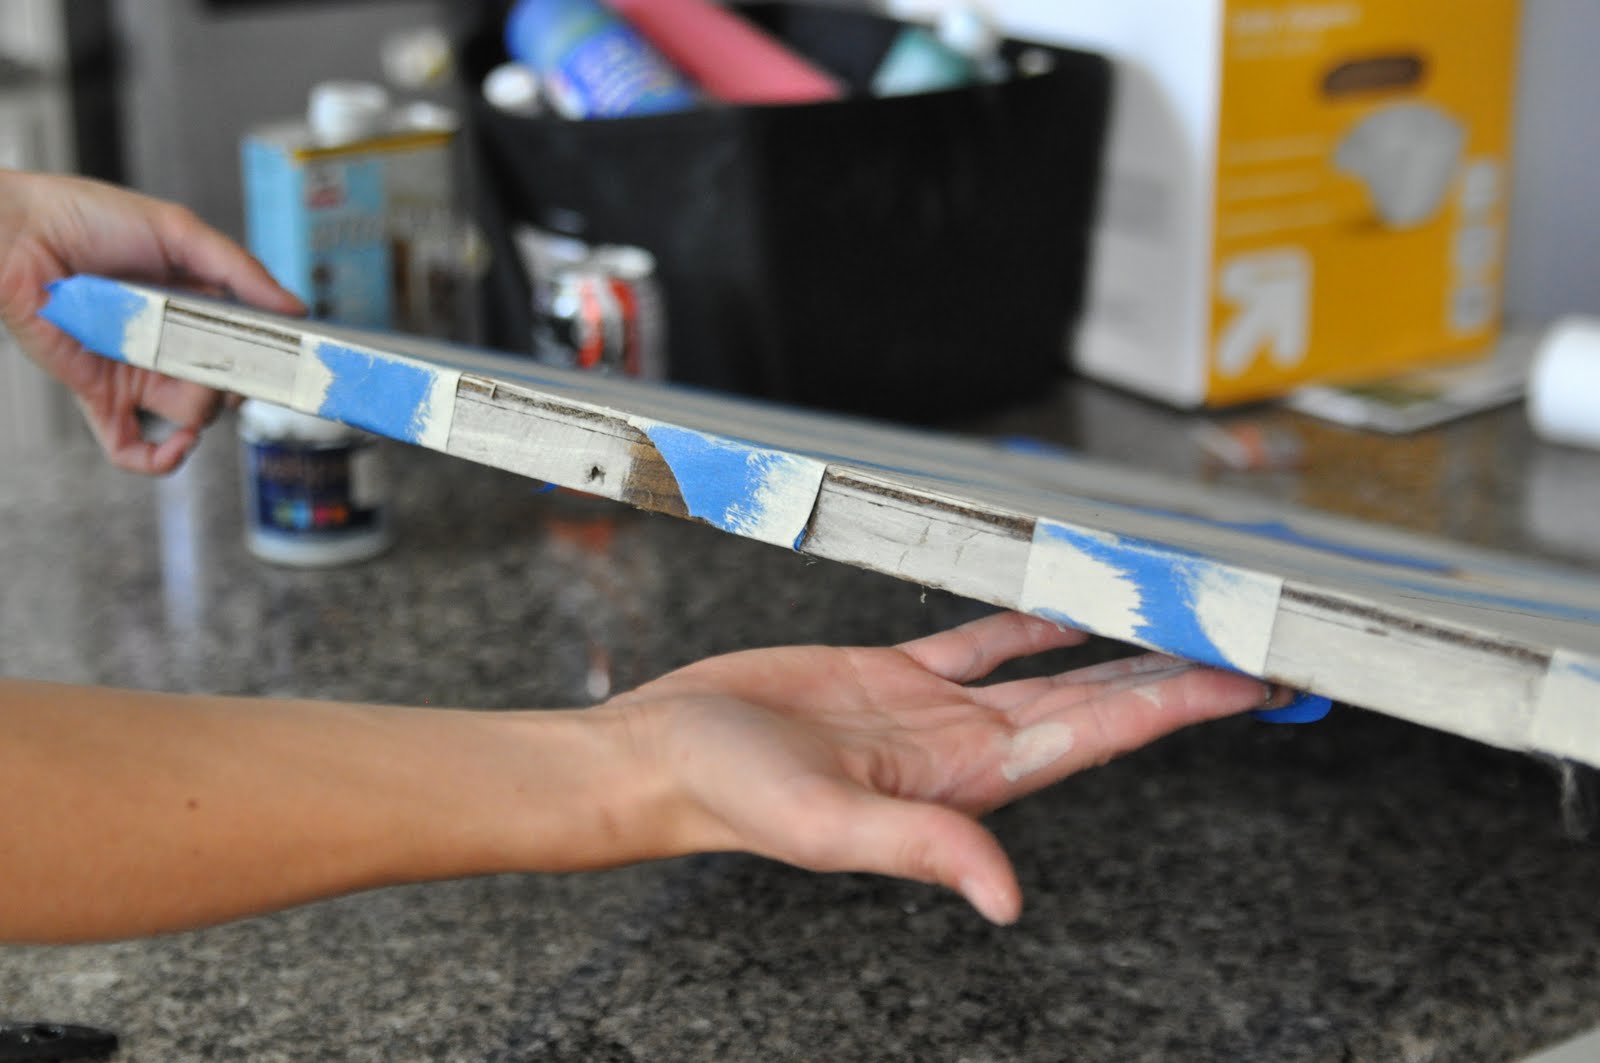
We made sure our stripes wrapped all the way around the edges for a finished look. (Excuse all the junk in the background.)
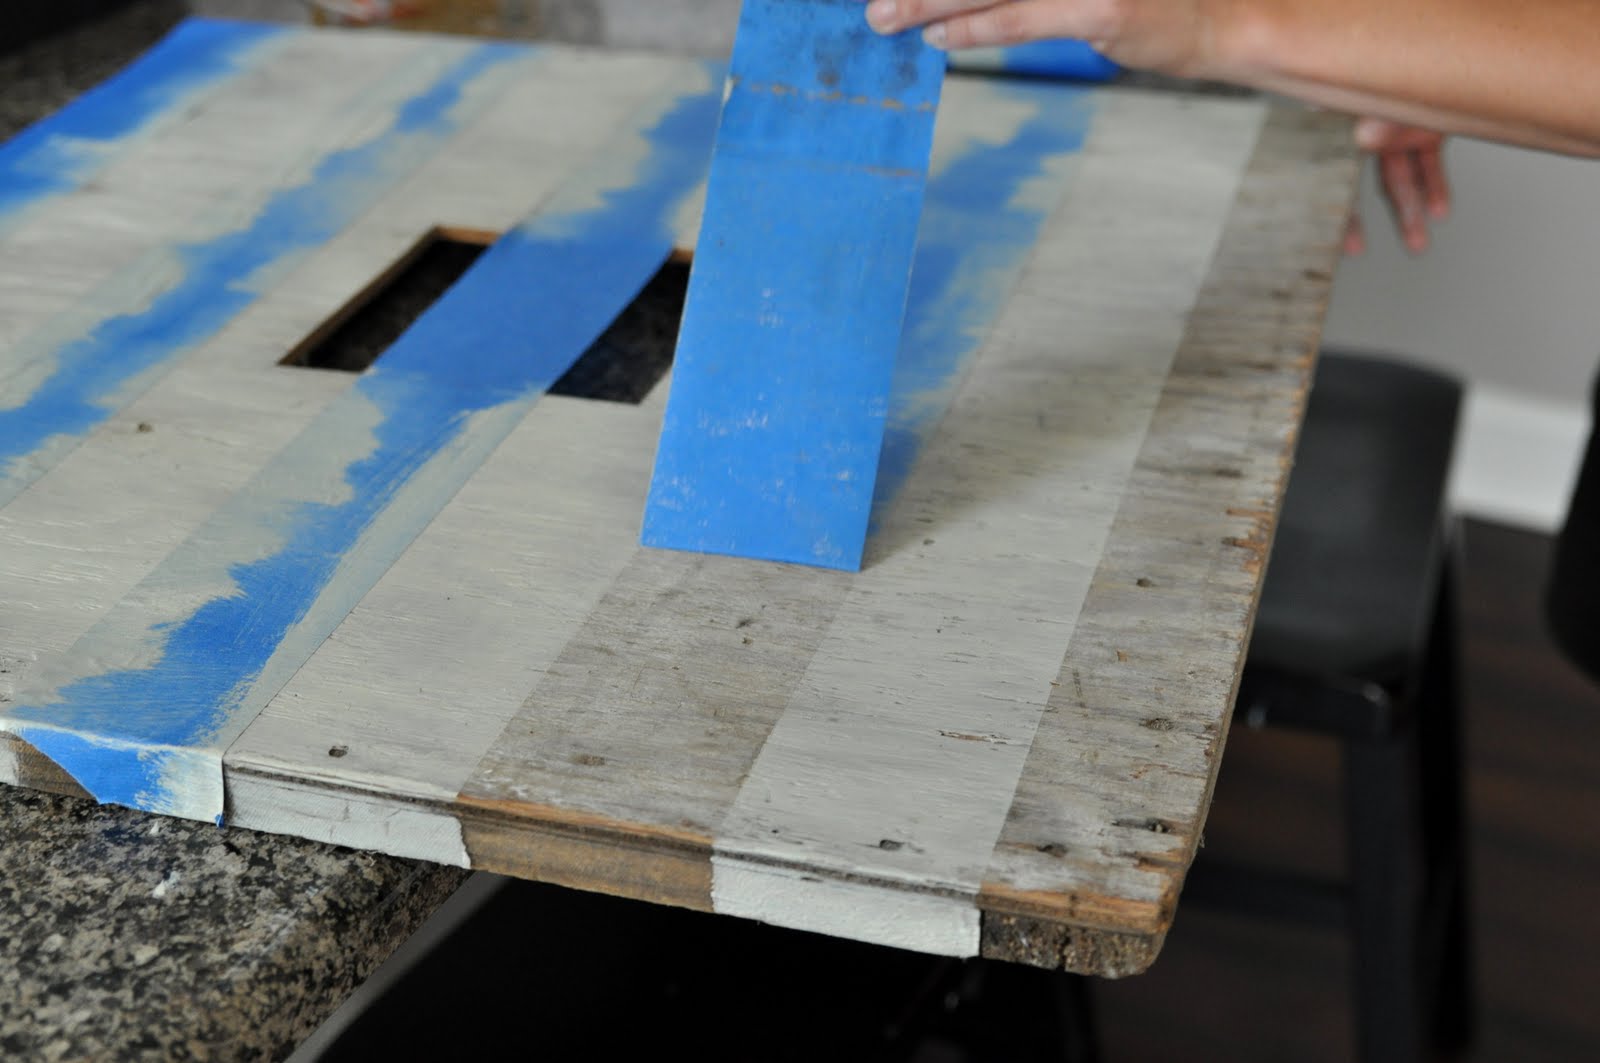
We didn’t let the paint dry very long before removing the tape…. Oooohhh, I love it so much. It was love at first site for sure. I feel like we really nailed it on the whitewash color.
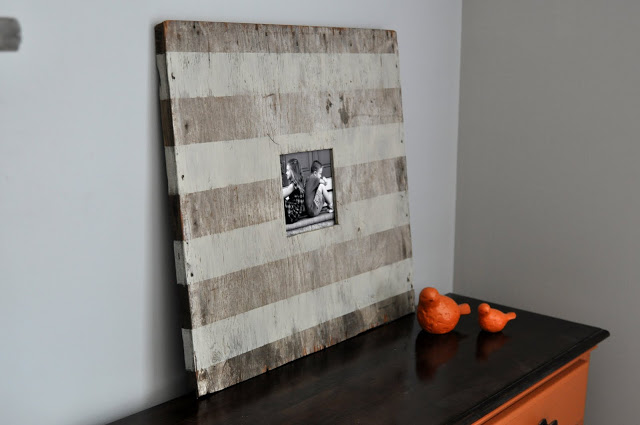
Ta-da!
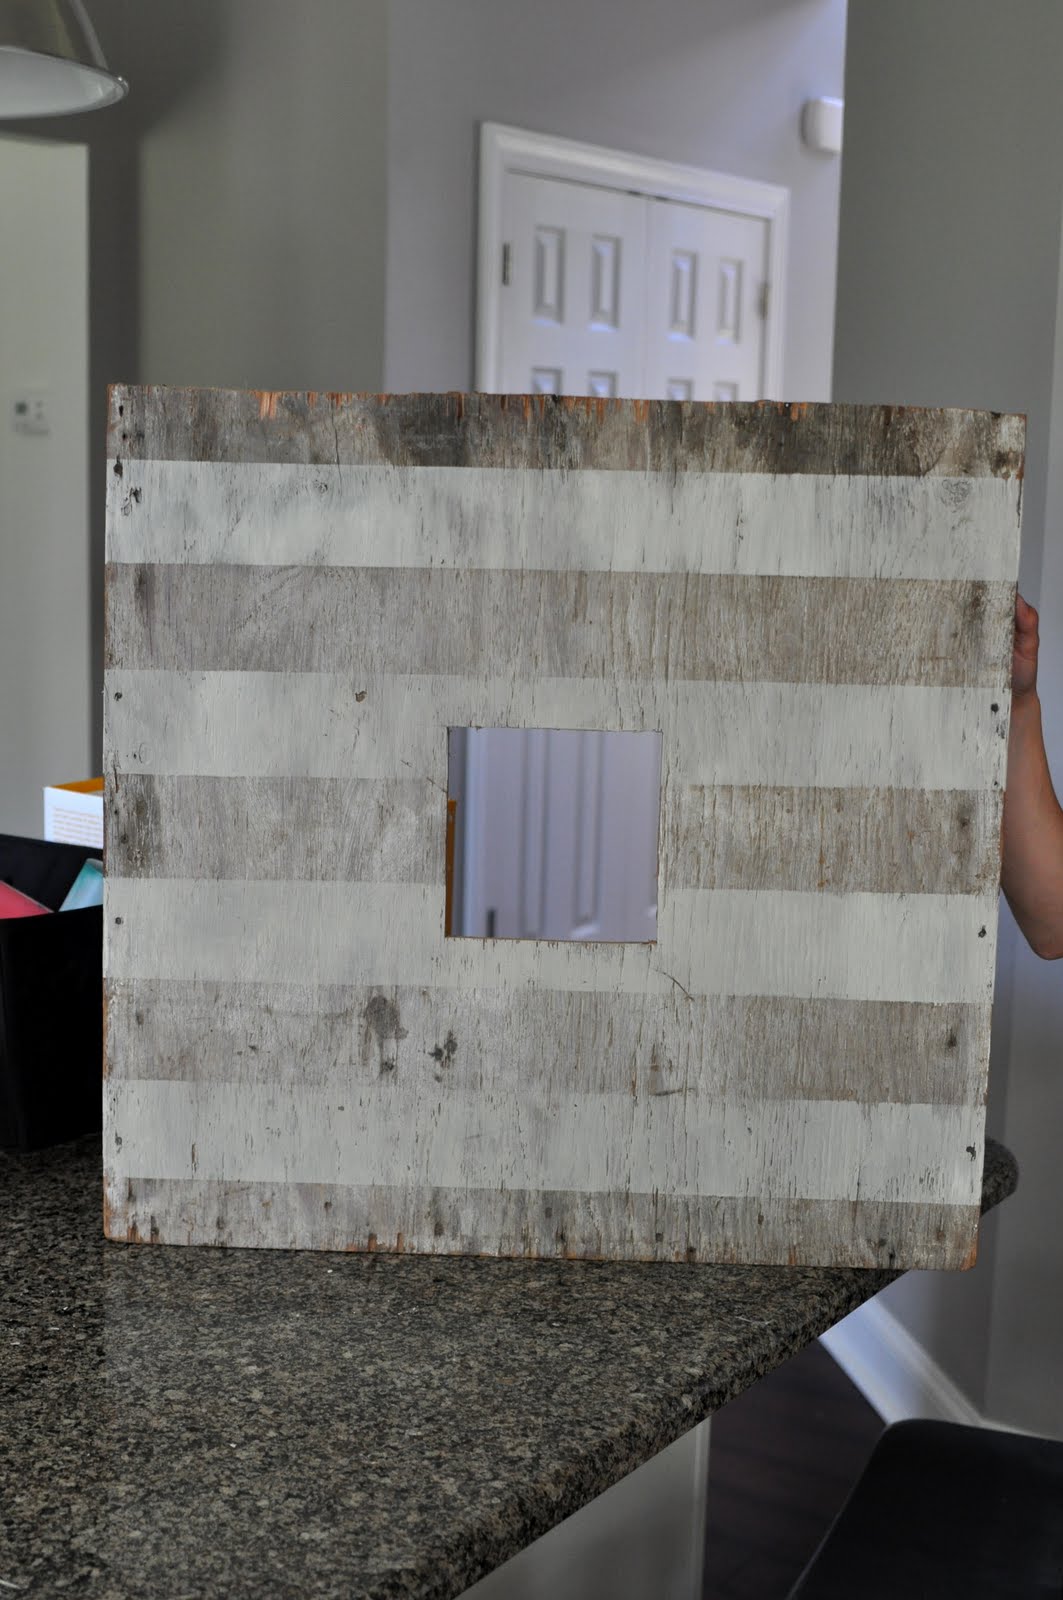
I had this letter M on my mantle and it fit inside perfectly.

I like the three dimensional look it gives.

I also tried it out with a photo and really like that look as well. It’s a super diverse piece because I could use a patterned paper, letter, handwritten word on paper, photos etc…
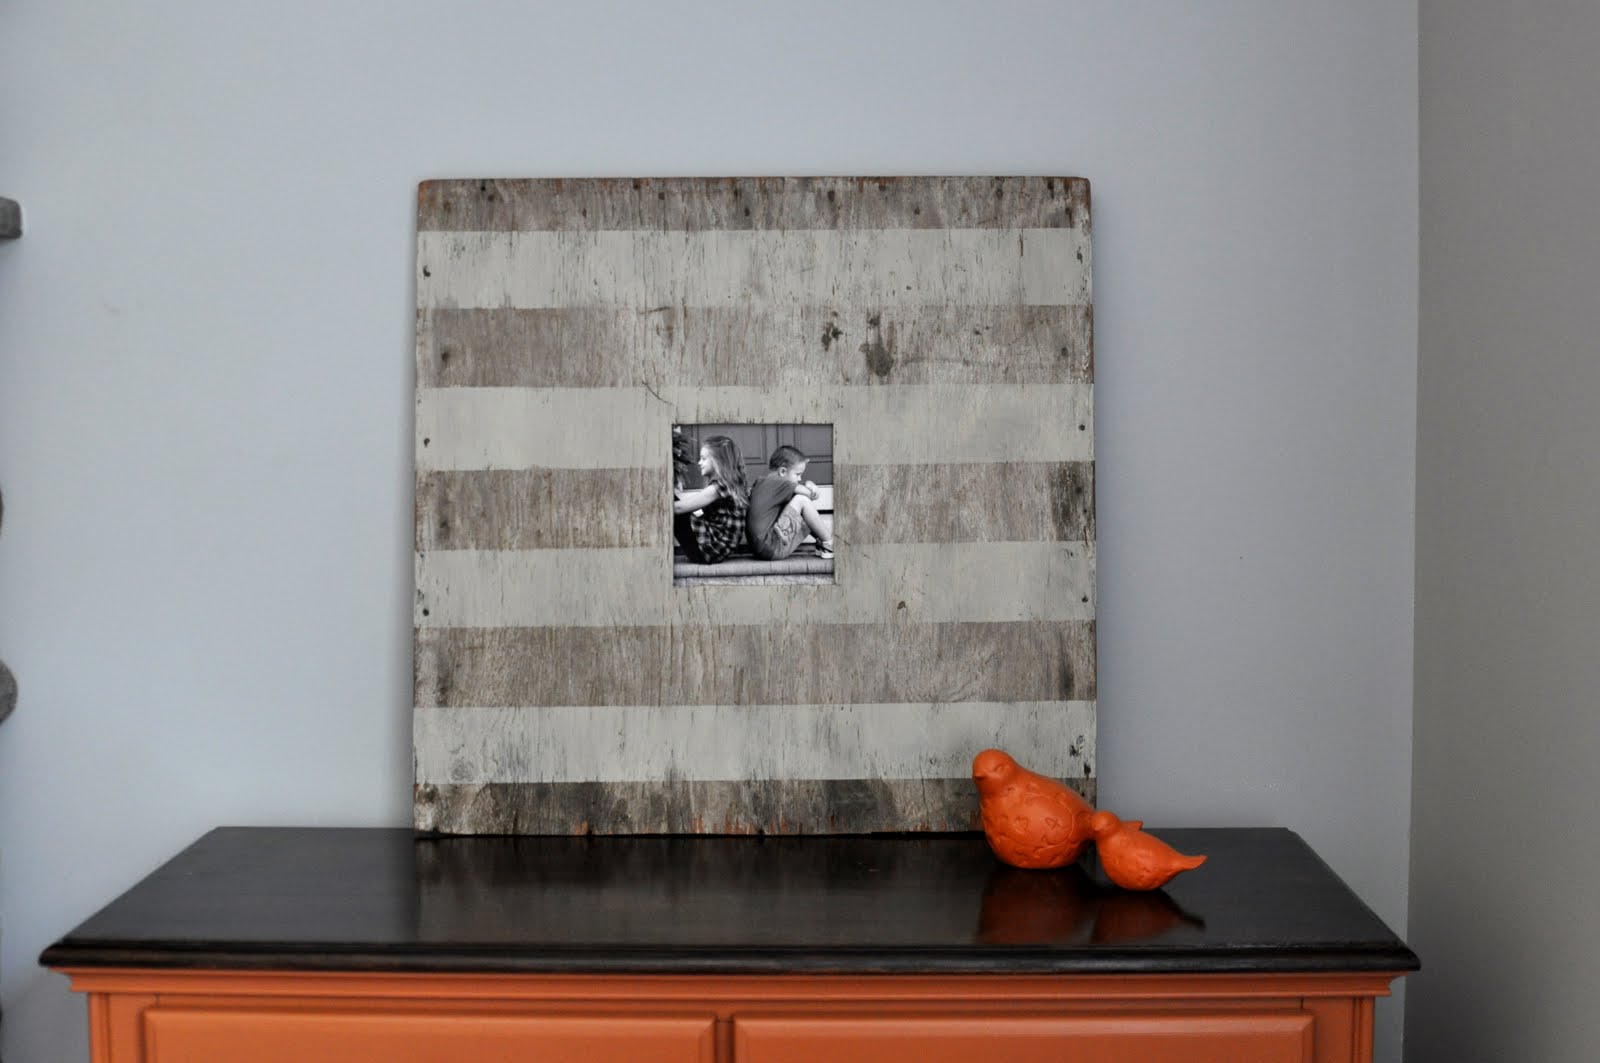
I love how the stripes wrap around the edge.

So what do you think of our little project today? We’re in love with it and are excited to let you in on a little inside info very soon…
Happy Wednesday, we’re headed to the beach!
Linking up to: Tutorials & Tips Tuesdays


i love this! but where can you find wood like that other than at a barn sale? we have nothing like that around here..
Love this idea!!!! Thanks for sharing!