
*I AM PROUD TO BE A 3M-SPONSORED BLOGGER, AND AS PART OF MY RESPONSIBILITIES, I GET THE OPPORTUNITY TO EVALUATE 3M PRODUCTS. OPINIONS ARE MY OWN AND ADDITIONAL PRODUCTS USED IN THE PROJECT WERE SELECTED BY ME. THANKS FOR SUPPORTING THE BRANDS THAT MAKE EC2 POSSIBLE! *
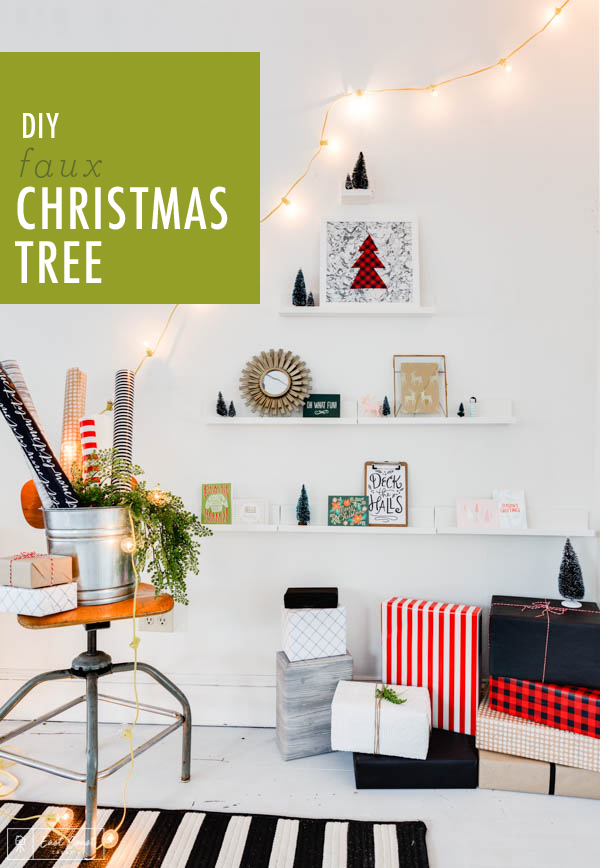
Hey guys! I’ve teamed up with Command™ Brand to bring you some fun DIY projects featuring their line of home and organization products- we’re focusing on those hard-to-tackle small spaces, and how to bring some serious style even when space is at a premium. Christmas trees are a classic holiday tradition for lots of homes, but some spaces are just too small for a bulky tree. No worries– we’ve got a cool, alternative faux tree solution for ya with a trendy floating shelf aesthetic…
No matter how big or small your home is, you should’t have to settle when it comes to holiday cheer! Everyone should be able to have the option of a Christmas tree, so we wanted to figure out an out of the box, space saving alternative– enter Command™ Brand for the win!

Before– booooring!
But, the good news is that all you need to get started is a bit ‘o wall space.
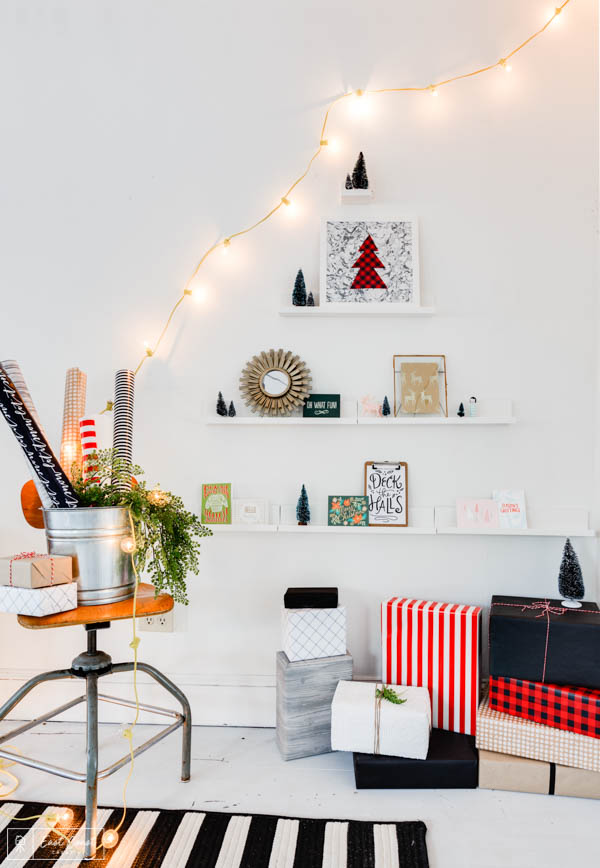
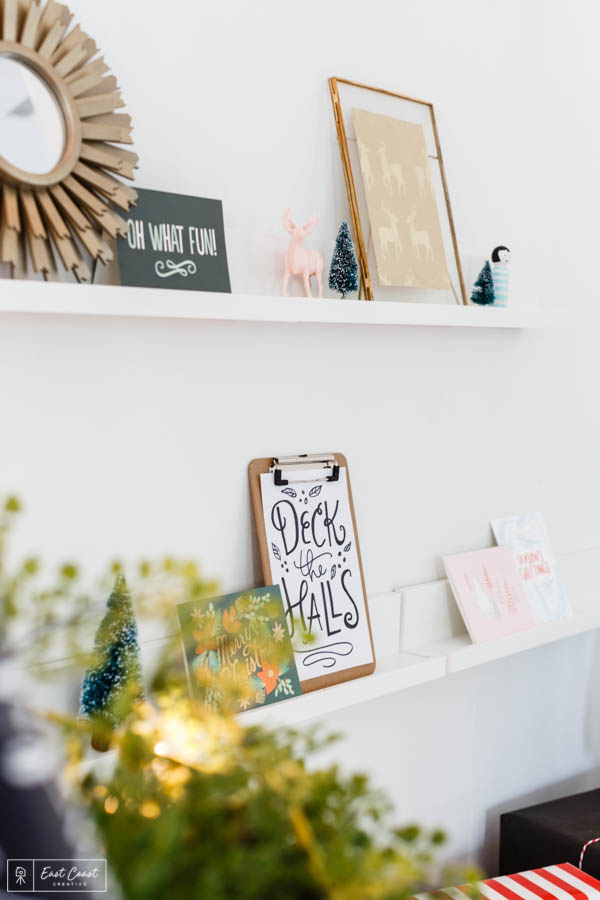
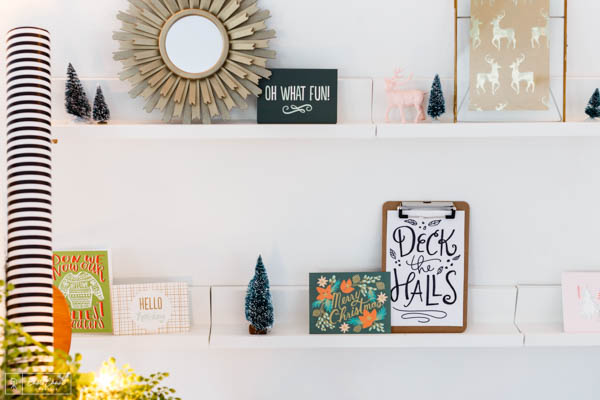
After– oh so festive!
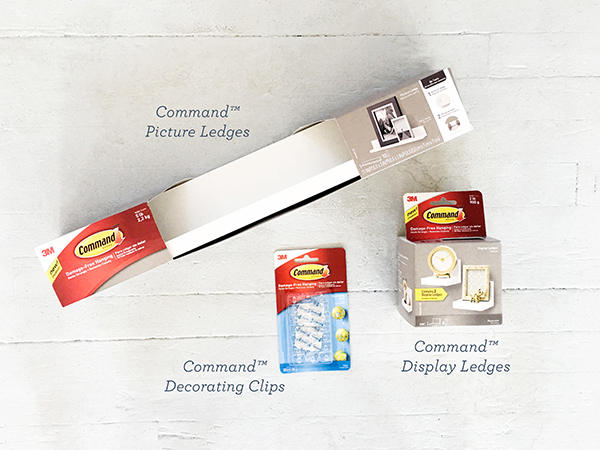
Here’s what you need to make your own…
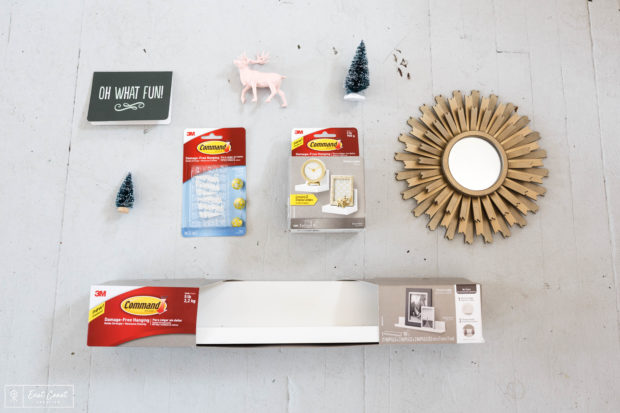
Materials: Command™ Picture Ledges | Command™ Display Ledges | Command™ Clear Decorating Clips | String Lights | Holiday cards & decor items | Picture Frames & artwork
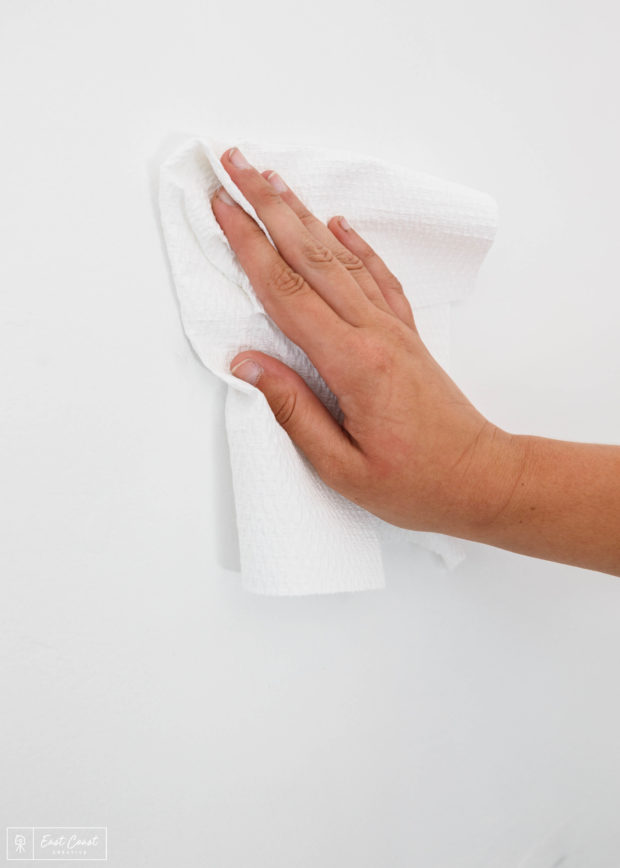
Step 1: Make sure the surface you’ll be applying the Command™ Products on is clean– wipe it down with some rubbing alcohol. Also, make sure you follow the instructions on the back of eachCommand™ Product to ensure proper installation every time.

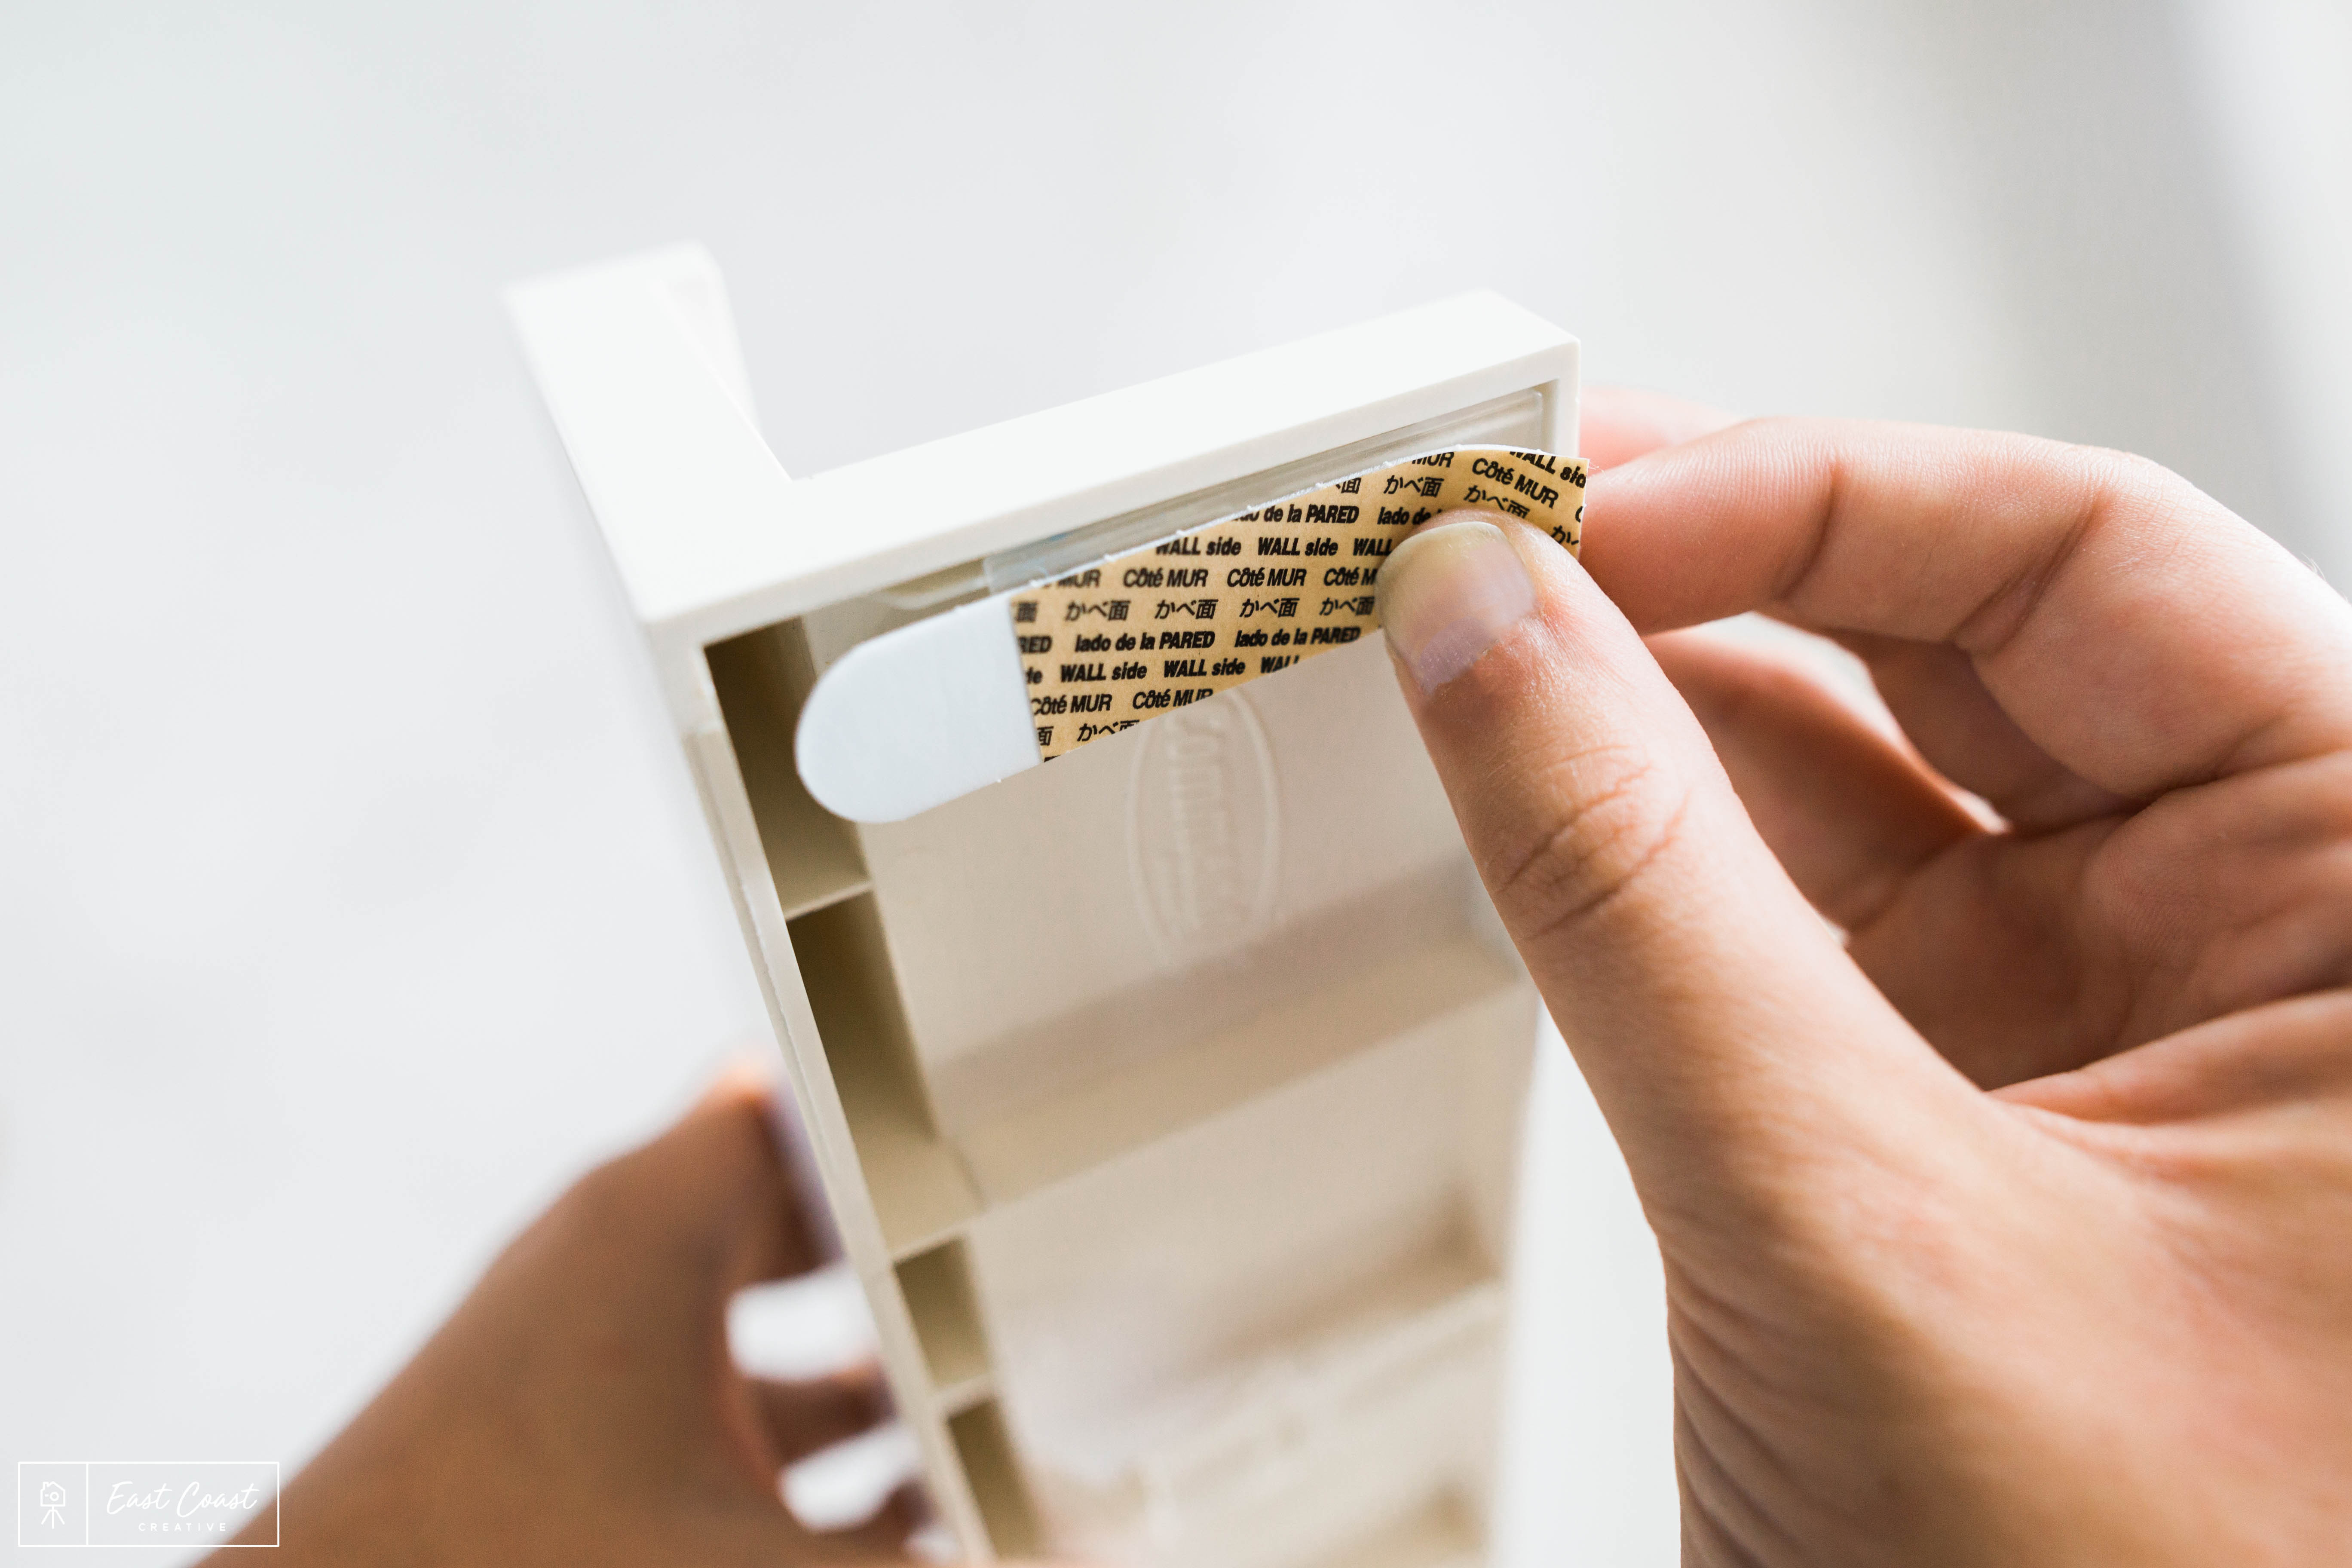
Step 2: Peel back the red liner from each Command™ Strip, then adhere to the back of each Command™ Picture Ledge.
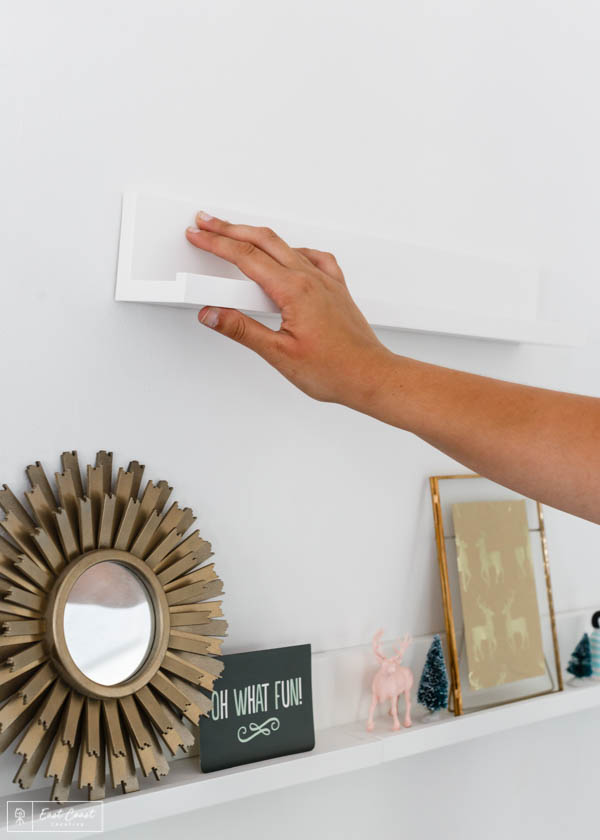
Step 3: Once all of the Command™ Strips are on the Picture Ledge, you can press onto the wall according to package instructions. Remember that you’ve gotta wait 1 hour before you put anything on the ledges to allow the adhesive to build.
Step 4: We used 6 of the Picture Ledges, and 1 Display Ledge to form the shape of a tree. Basically use more ledges towards the bottom and less and less as you go up – the size is really up to you! Also, make sure you use a level when you’re installing the ledges onto the wall, unless you’re into a Charlie Brown style faux tree 🙂
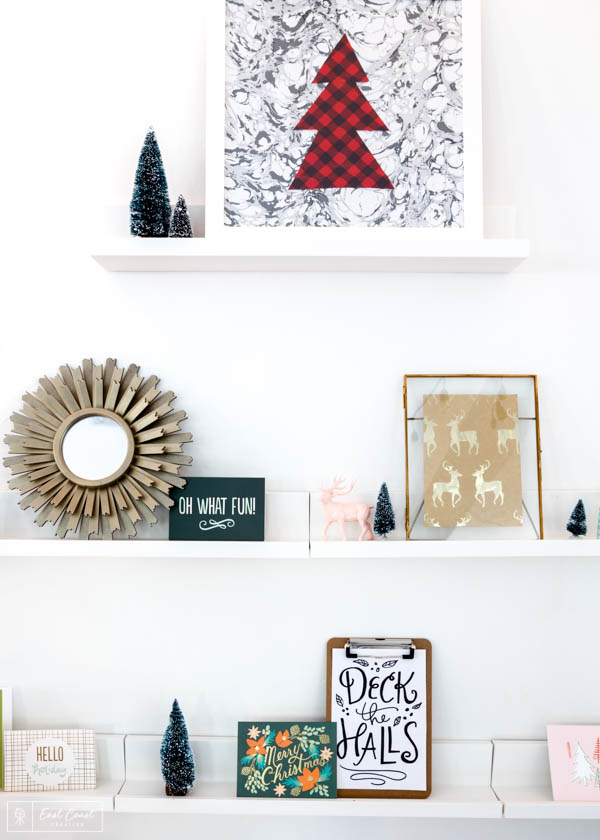
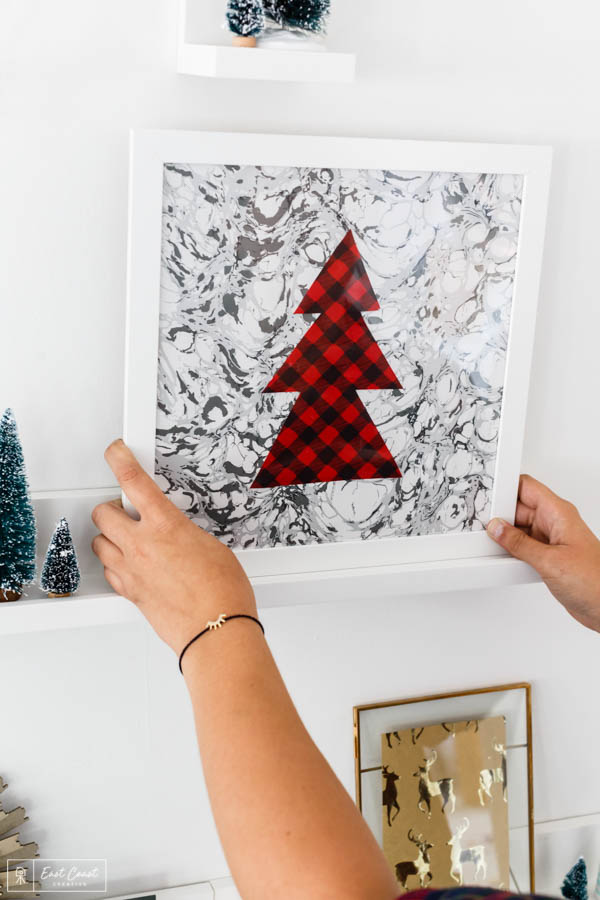
A great way to add some festive holiday cheer to your space is by adding some holiday artwork. We made this tree artwork out of wrapping paper scraps!
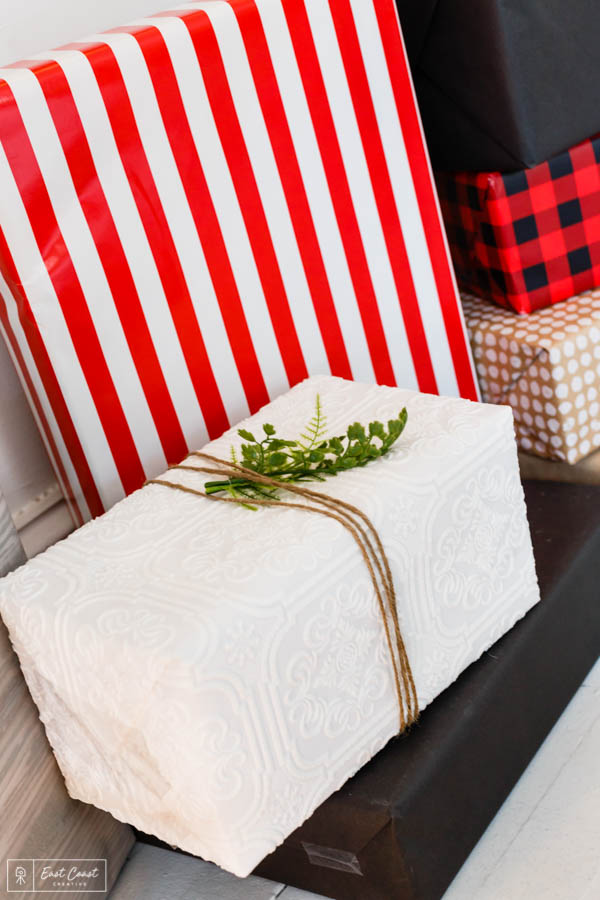
Ok, not gonna lie, prepping this project and wrapping these gifts totally put me in the holiday spirit, and this wallpaper is still one of my favorite ways to wrap gifts!

There you have it– fun floating shelf look created with these Command™ Picture Ledges! Whether you’ve got a tiny space, or huge space, this faux tree alternative is easy and attainable for everyone, and… it’s super cute wall decor! And, once the holidays are over, you can easily remove the ledges and redecorate with them to display all of your new family holiday photos.
Stay tuned for more Command™ Brand DIY projects coming soon, and in the meantime be sure to check them out on Instagram for the latest products and projects!
-Mon


The comments +