

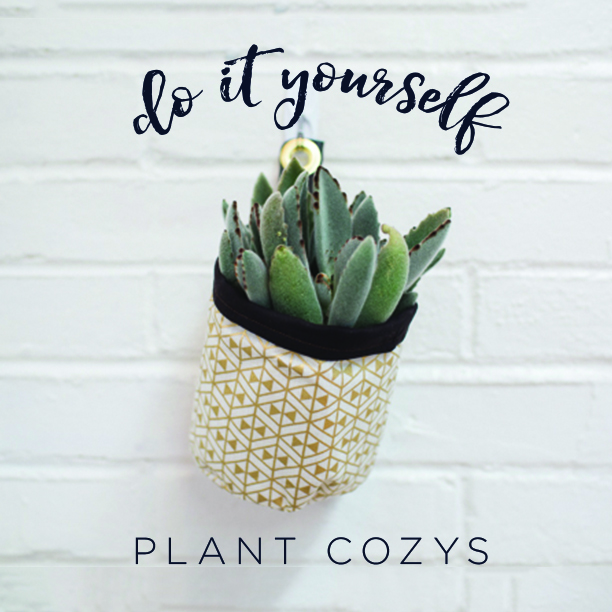
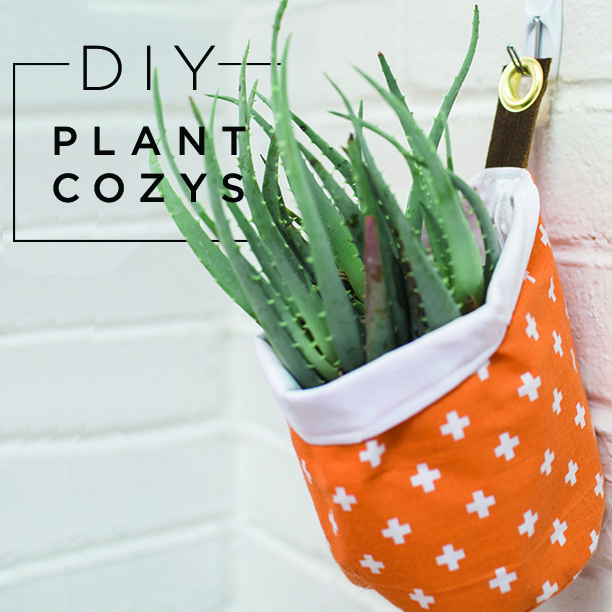
I love decorating with plants! Do I kill them weekly? Yes. Does that stop me from buying them? No. My new favorite way of displaying plants is with fabric plant cozys. Painted pots were all the rage for a long time, but I’m predicting that fabric planters are what’s up now!
I teamed up with JoAnn Fabric and Craft Stores to bring you this video & tutorial – all the fun fabrics and materials I used can be found in store! You watch the full video tutorial below, but make sure you also scroll down through the pics- I want to show off these cuties! Oh, and make sure you download the Free PDF Pattern Template I made- you’ll need that to make your own!
Download the FREE Project Template!

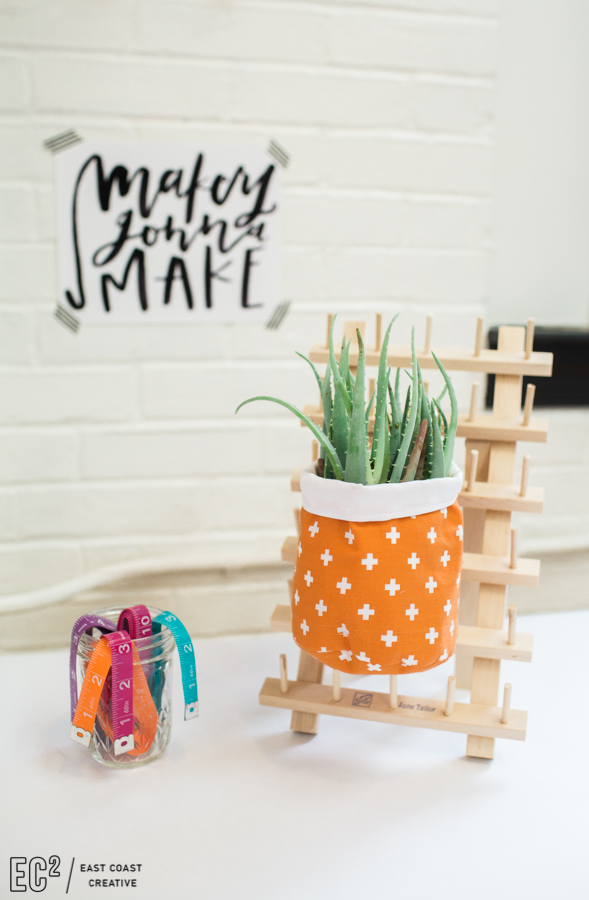
I love that you can hang them on the wall, or use them as you would a traditional planter on a shelf or table.
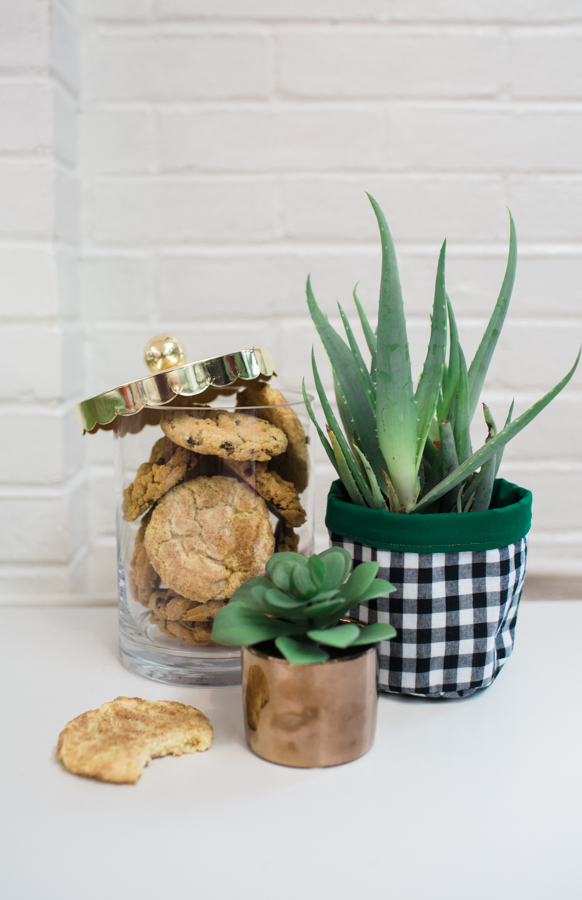
My very favorite thing about this project is how you can mix and match the fabrics to totally fit your style or the current season!
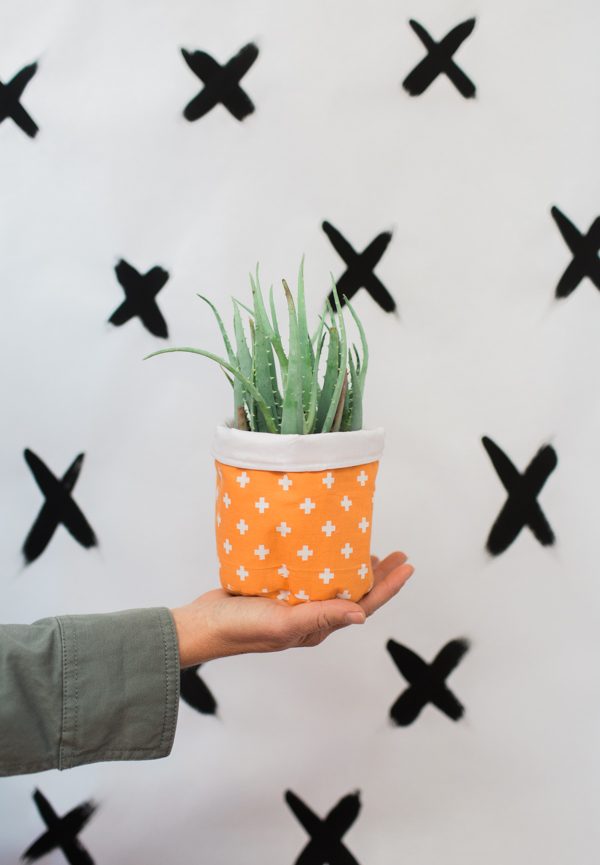
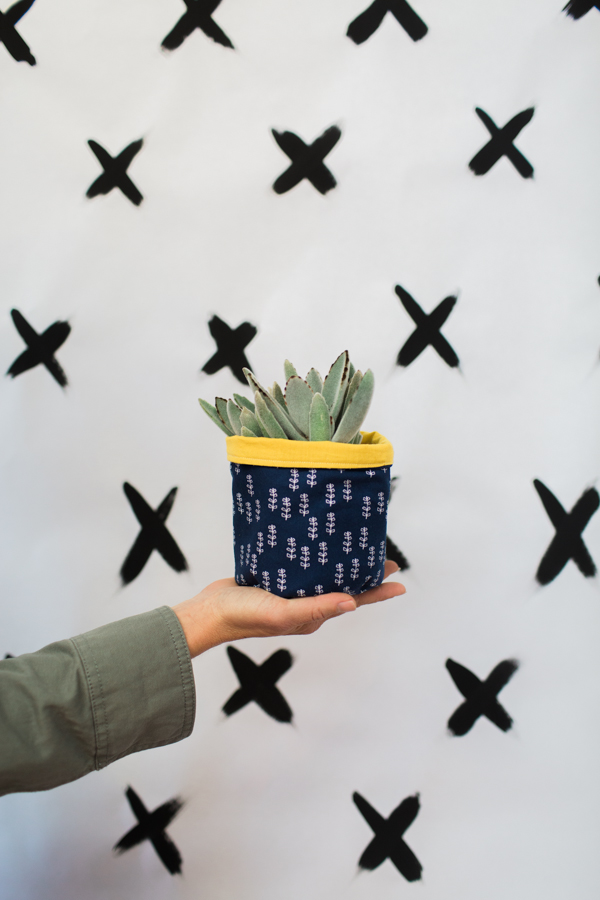
Feeling bright and summery? This fella is for you.
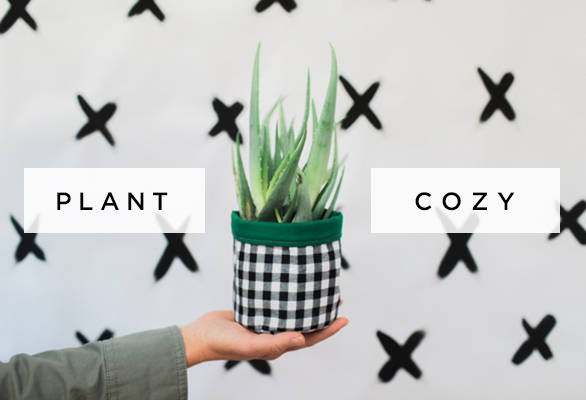
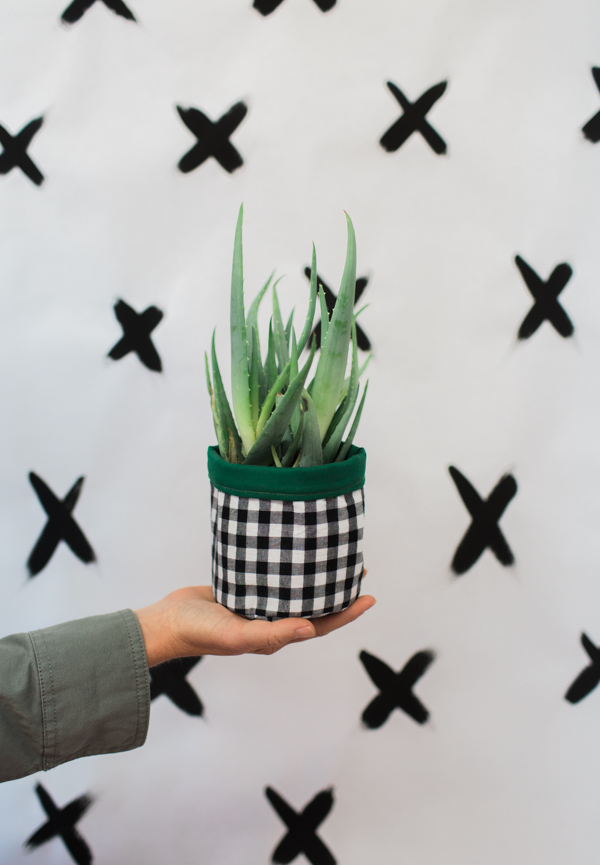
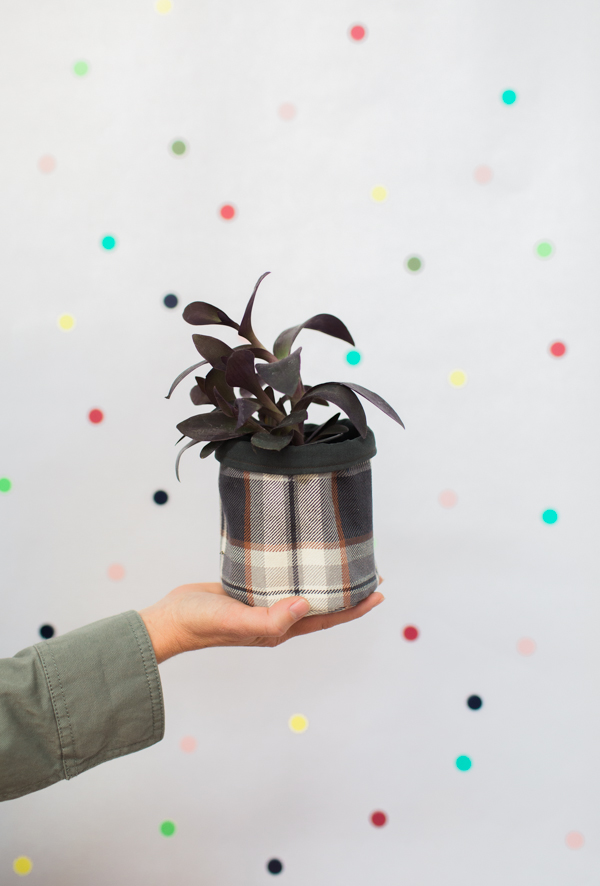
Possibly my current fav… A lil’ Prepster Plant! Buffalo check and Kelly Green are always a good idea!
Navy & Gold with a little hand drawn style detailing
Cozy Fall colors… I am currently burning a macintosh candle because I love fall and can’t wait for it to arrive here on the East Coast!
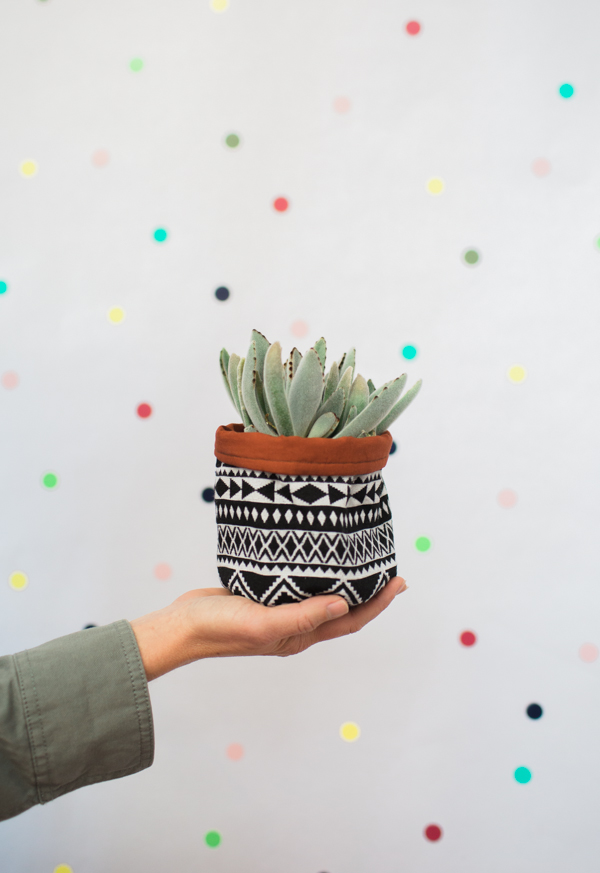
Boho! This is the cozy that all succulents dream of at night… It’s totally #goals
I’m a rookie at sewing… I’ve done it a bunch of times, but am definitely still a beginner, so even if you’re just starting out- you can totally rock this DIY project!
Fabric Plant Cozy Tutorial
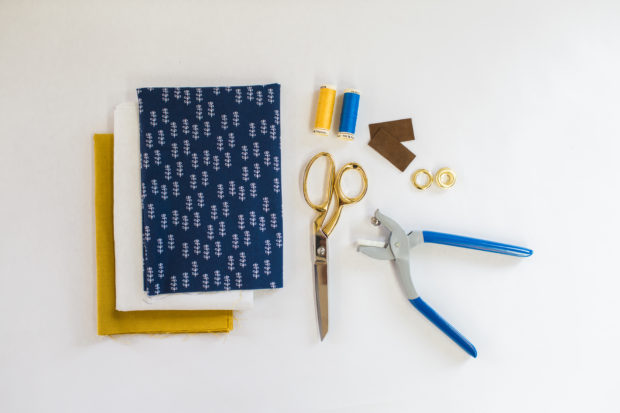
SUPPLIES & TOOLS:
(Should yield 3 plant cozys)
- 1 outer fabric, 1 liner fabric. At least ½ yard of each.
- Pellon 809 decor bond fusible interfacing (½ yard)
- Coordinating thread for both outer & inner fabrics.
- Scrap leather (a 1” by 2” piece per cozy)
- Printed PDF template (provided)
- Download the FREE Project Template!
- Cutting mat (at least 18″ long)
- Rotary cutter
- Clear ruler (found in quilting section) mine is 8″ x 14″
- Grommet Kit with tool (¾” or 7/16” work well)
- Scissors
- Straight pins
- Iron & pressing surface
DIRECTIONS:
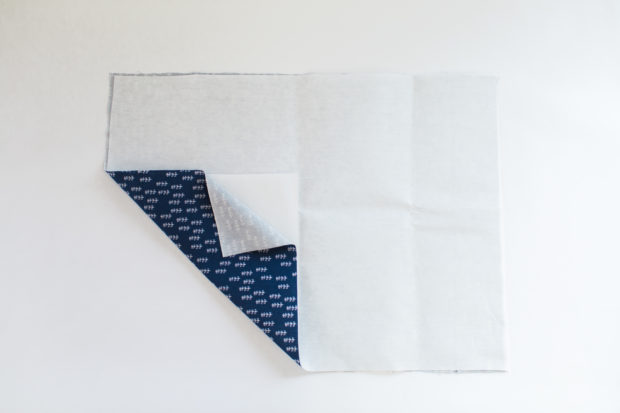
- Start with the interfacing and outer fabric (the one you chose as the outside of your planter). Set your liner fabric aside for now.
2. Fuse the interfacing to your outer fabric by applying the shiny side of interfacing to the back of your outer fabric.
3.Apply a warm iron to adhere the interfacing to the back of the fabric. Do not let the iron touch the shiny side of the interfacing. It will stick and ruin your iron.
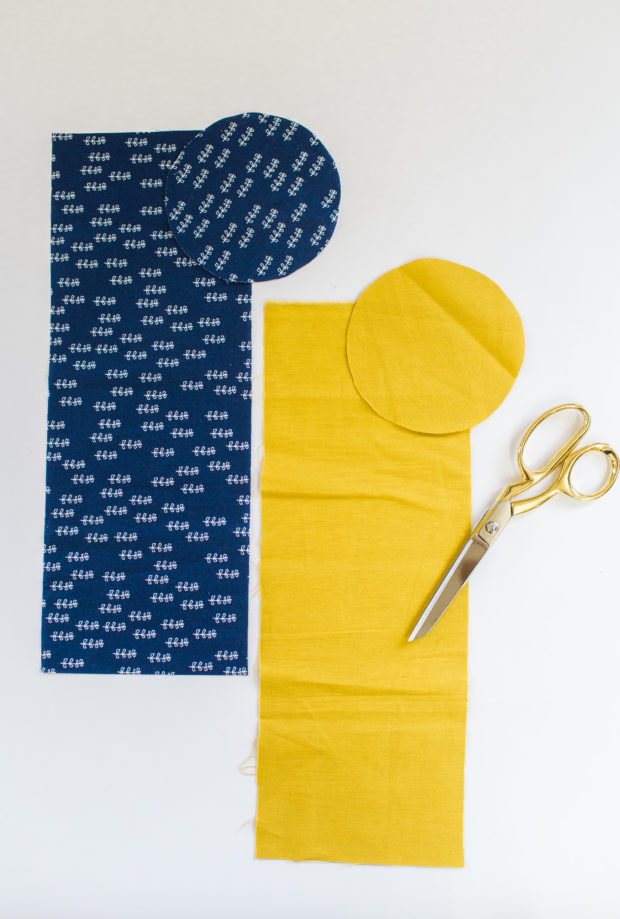
4.Print your project template. There will be a circle and a rectangle.
Download the FREE Project Template!
5.On your cutting mat, lay down your liner fabric, then place the firm interfaced outer fabric directly on top of the liner.
6. Use your template to cut out your pattern. Set your liner shapes aside.
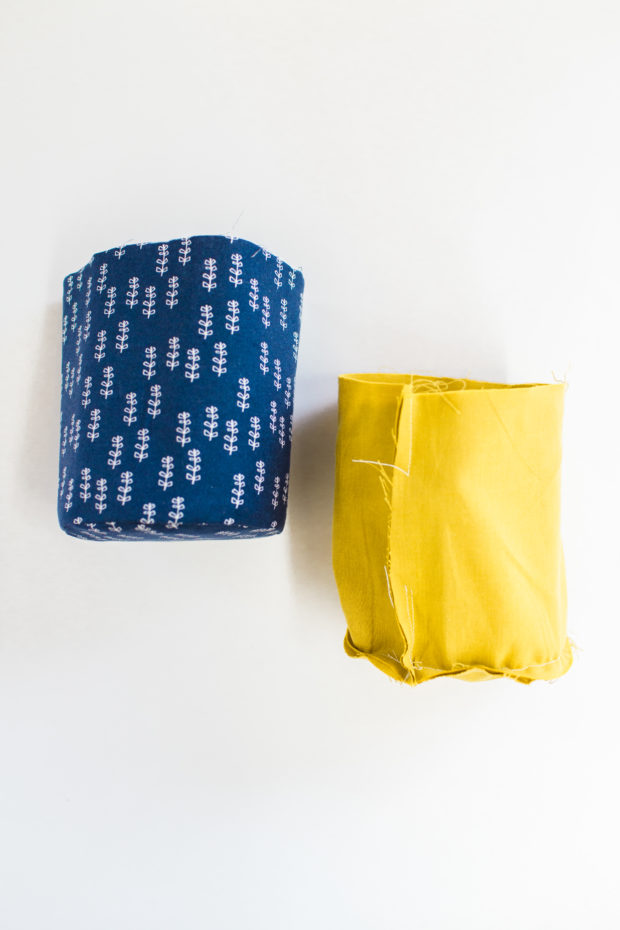
7. Sew your outer fabric circle to the long end of the outer fabric rectangle in a round, then stitch your cylinder closed as shown.
8. Repeat this process with your liner circle and rectangle. When you stitch your cylinder closed on the liner, be sure to leave a small opening so you can turn it out.
9. You will now have two cylinders, one outer and one liner. Set aside.
10. Grab your leather. Using your clear ruler, cut a 1” by 2” leather tab.
11. Set grommet in the end of the leather tab according to instructions on grommet kit.
12. Fit the outer cylinder into the liner cylinder “right” sides together, lining up the side seams.

13. Slip your grommeted leather strap between the two cylinders at the seam and pin or clip. Grommet will be inside at this point and hidden while you stitch all the way around the top. Be sure to backstitch a few times over the leather tab to strengthen the stitch.
14. Turn everything right side out through the hole you left in the side stitch of the liner. Stitch liner closed if desired.
15. Press around the top of the planter being careful to not touch the leather with the iron.
16. Topstitch around the top of the plant cozy.
17. Drop in a potted plant, hang on a nail or hook and enjoy!
So, what do you guys think?? Are fabric plant cozys the NEW plant trend?? I think so! Let me know what you think of these cuties and if you make your own, tag me on IG @EastCoastCreative and use #handmadewithJoann to share!
-Mon
*This is a sponsored project with Joann Fabrics & Craft Stores. All opinions are 100% my own!*


The comments +