

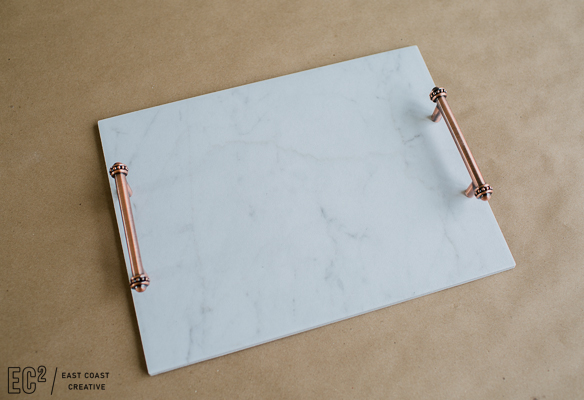
I love the Marble trends that are popping up all over the internet, and a serving tray is a great and simple way to use this luxe-looking material in an inexpensive way. This entire tray was under $10!
Here’s what you’ll need to make this serving tray:
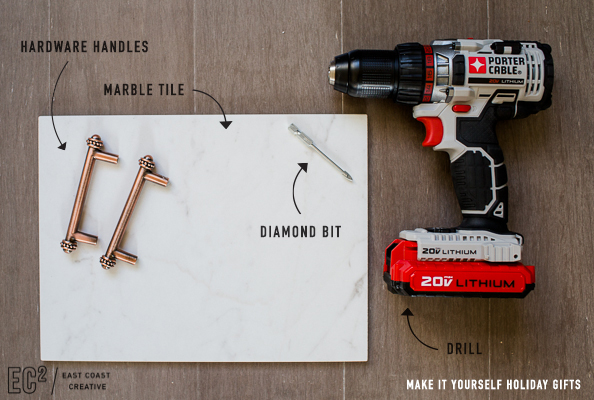
Materials: Hardware Handles | Marble Tile | Felt | Diamond Bit | Screws | Screwdriver | Drill
I picked up all of my materials at Lowe’s and JoAnn Fabrics– two of my go-to stores!
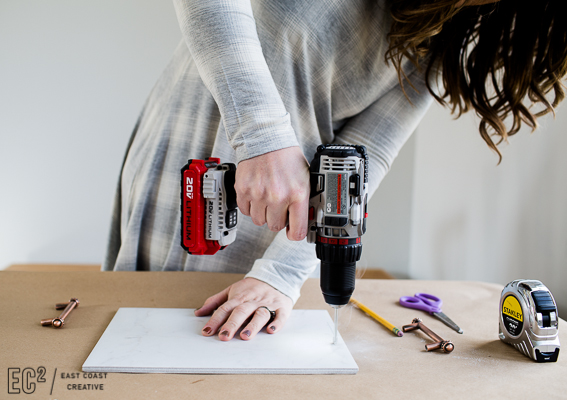
Step 1: Using a pencil, mark where you will drill the holes to later attach your hardware handles. Use the hardware as your guide to determine spacing and placement.

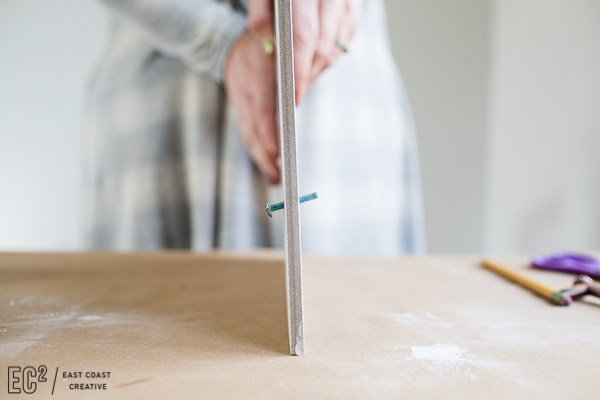
Step 2: Following your pencil marks, use the Diamond drill bit to make two holes in each side of the marble tile. When using a diamond bit, it’s helpful to keep the tile wet. Just splash on a bit of water to help the process go smoothly.
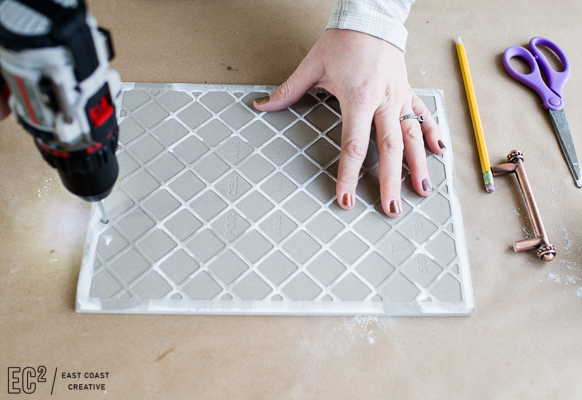
Nope, I didn’t fall asleep… it just looks like it! Ha!

It sometimes help to drill just barely through and then flip the tile and continue from the other side.
Your holes should line up perfectly with your handles.
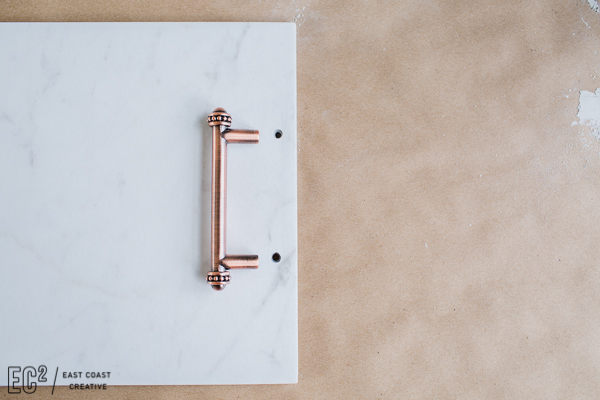
Step 3: Insert the screw into the bottom of the hardware handle from the bottom of the tile.The hole should be big enough for the screw to fit through with the slightest amount of wiggle room.
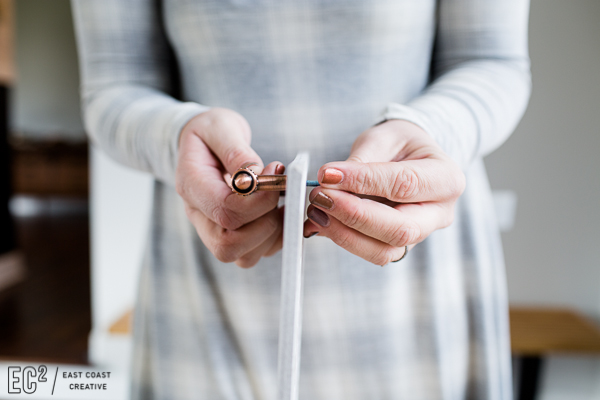
Step 5: Use a screwdriver to tighten the screw and secure the handles into place.

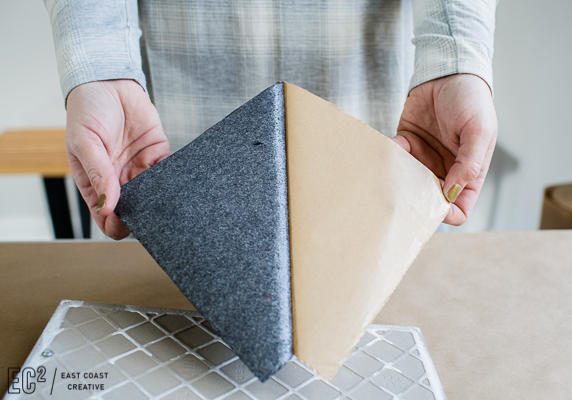
Step 6: Cut a piece of felt to cover the back of the tile. I used an adhesive peel-and-stick felt from JoAnn to help protect home surfaces when the tray is in use.

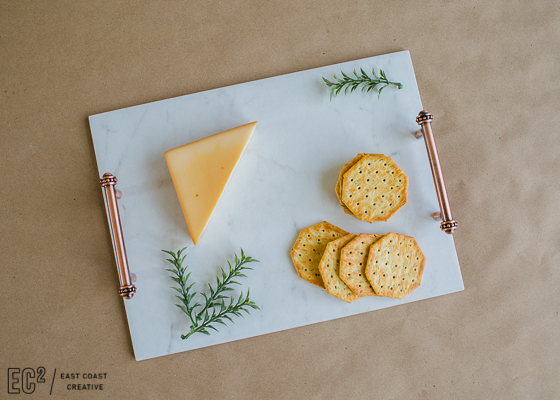
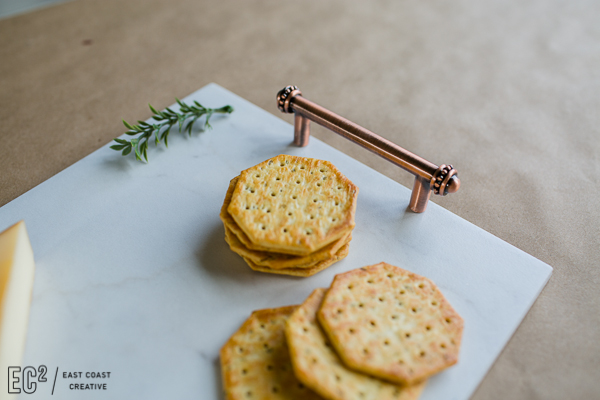
And just like that, it’s finished! You now have an awesome, high-end (low-price) gift for the foodie on your list!
Make sure you check out the other 11 Make-It-Yourself gift ideas I’m sharing today!
Click HERE to see them all!
 Happy Holidays Everyone!
-Mon


The comments +