
*This DIY Modern Farmhouse Table is part of my Real Design Series collaboration with Lowe’s. It’s all about DIY home projects and ideas that actually work in real life, with a real family… not just ones that look pretty for the camera. I’ve spent the last 2 years doing countless makeovers for other families on TV, but this series is all about the Mangin Family (that’s me) and how we’re working room by room to renovate our own home! Check out all the past series posts here *
—————————————————————————–
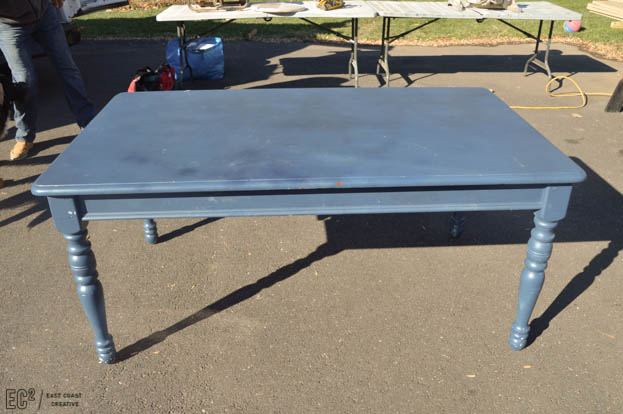
To be honest, when I was thinking through the design plans for my breakfast nook, I sort of assumed I’d need to find/buy a new table. The dressy legs on our existing table didn’t have me overly thrilled and I thought something sleek and new would be fun! Then I remembered… I’m a DIY blogger and my whole gig is working with what you have and getting creative. CRAP! Sometimes, I think I should have gone down the million dollar design path… kidding, kidding!
This table was also the first “real furniture” piece that Eric and I bought for our first house, and yes, we bought it from our sweet little 80 year old neighbor who was moving, but it was over $200 (for the table and 6 chairs) so we thought that it was a big deal! The table was originally stained wood with cream legs, but I’d painted it a few times in the past 12 years; it was nice and solid, but pretty sad looking.
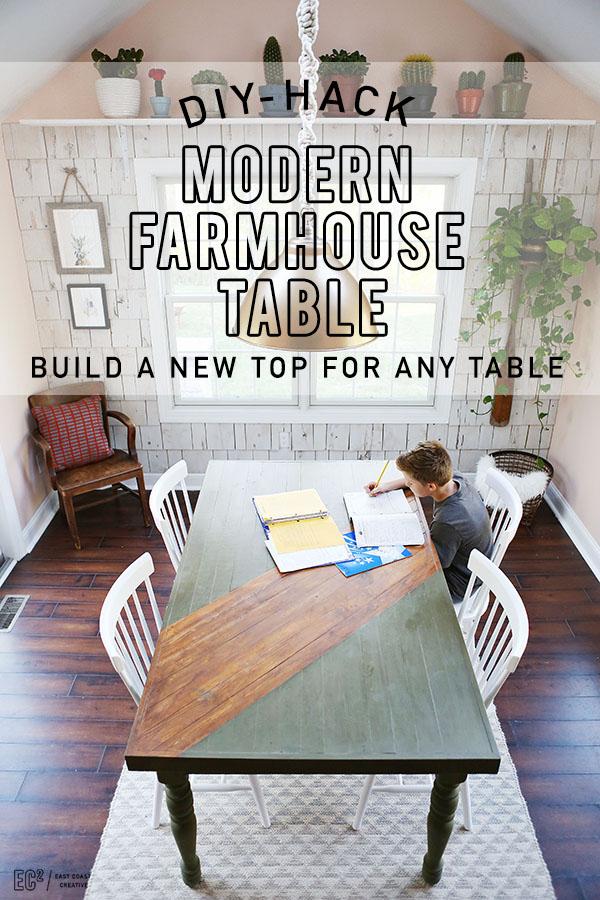
I decided to build a modern farmhouse table top right over my existing table. I’ve built a traditional farmhouse table top before (check out the post here), but this time I wanted to put more of a modern, Monica spin on it.
Here’s what you’ll need to build your new tabletop
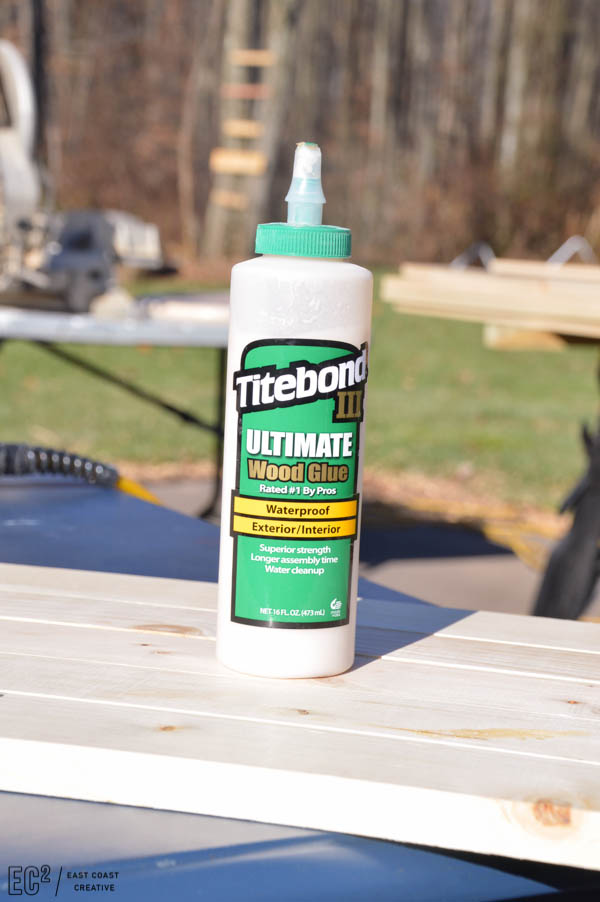
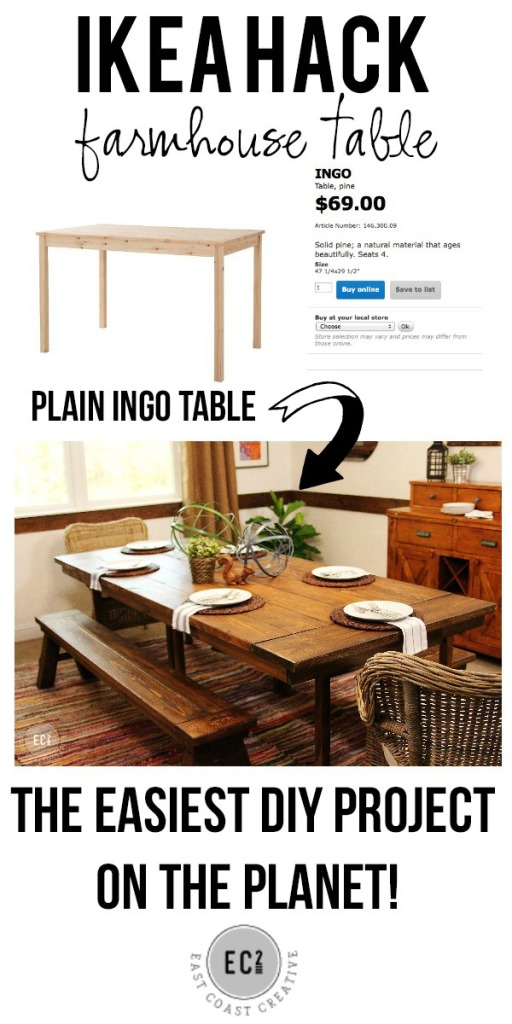
Materials: 1×3 pine boards | wood glue | carpentry square | nail gun | clamps | circular saw | sandpaper | stain | chalk paint | furniture wax | and old table (or this IKEA table would work well too)
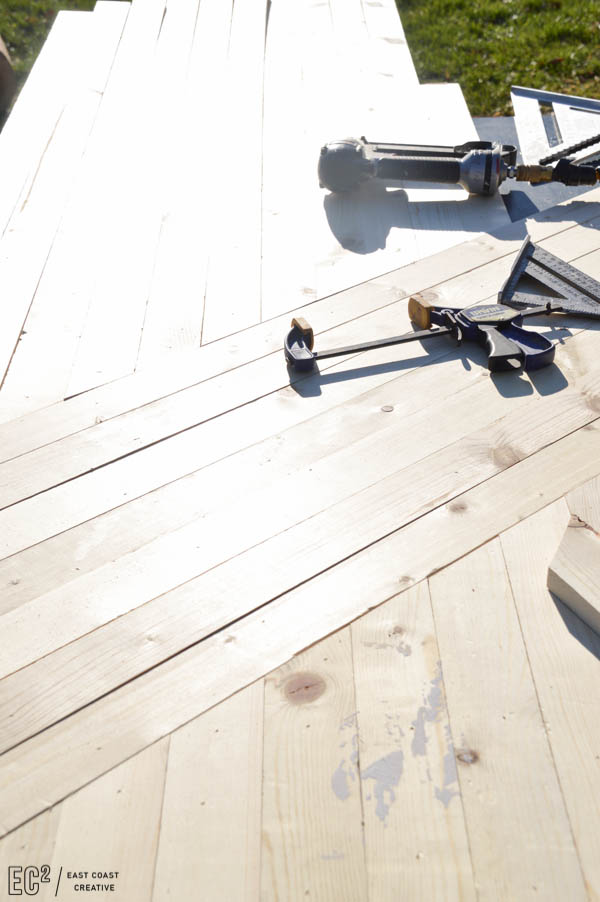
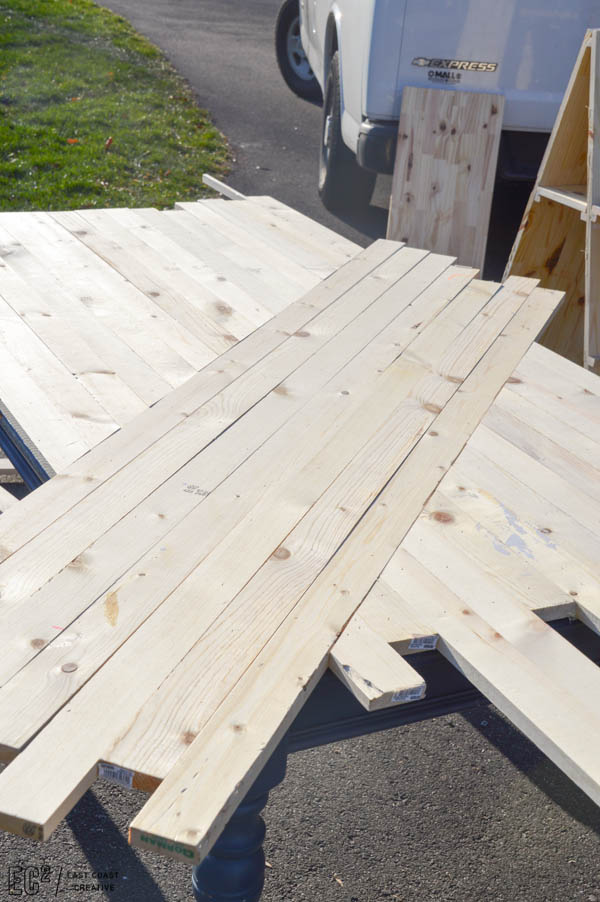
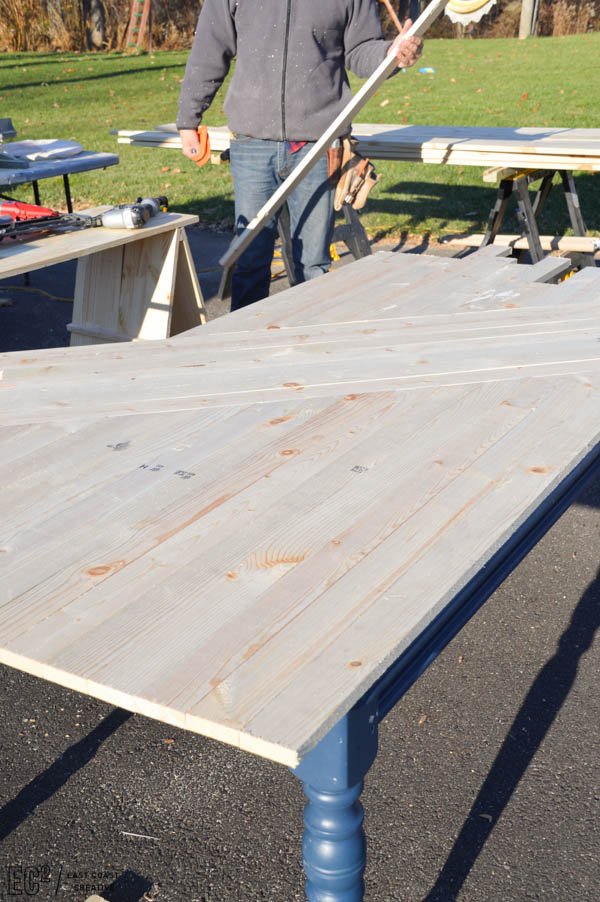
Step 1: Determine your diagonal boards layout first. I didn’t have a specific plan, I just laid out a few boards and played around with the angle until I liked the look of it.
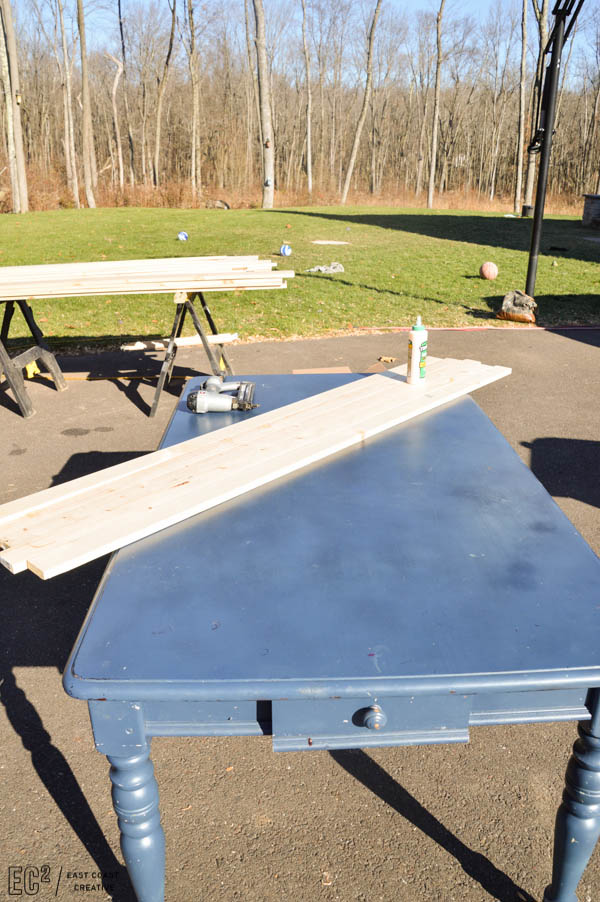
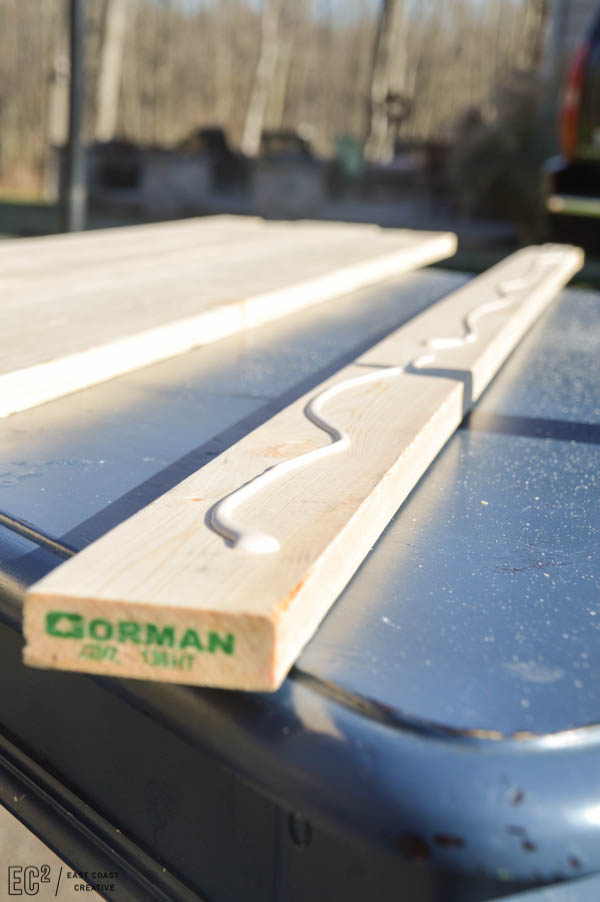
Step 2: Apply wood glue to the back of each board. I’ll admit, sometimes I skip the wood glue, but it’s important on a build like this.
Step 3: Once the boards are glued and placed, use your nail gun to attach them directly onto the existing table. Don’t worry about the length of the boards yet, just allow them to hang over the edge. You’ll trim them all down at the very end.

Step 4: Next, you’ll be applying the vertical boards. Use your square to determine the angle you need to cut each piece at. The angle will be consistent for each vertical piece.
Cut one end of each board at an angle, apply wood glue, and attach the vertical boards with your nail gun. Try to choose the straightest boards possible to prevent gaps. Don’t worry about small imperfections, wood filler and sanding can work wonders!
Step 5: Once all the boards are attached, it’s time to trim the edges. Use an extra board to as a guide to create a straight edge. Clamp the extra board to the table top and cut the excess with your circular saw.

Using a board as a guide will ensure that your cut line remains nice and straight.
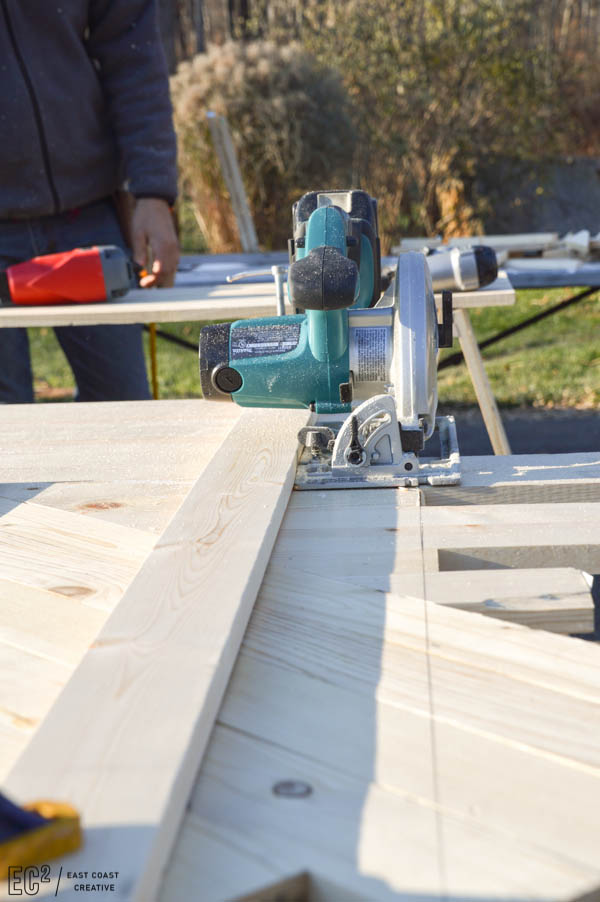
You’ll be left with a straight edge all around the table.
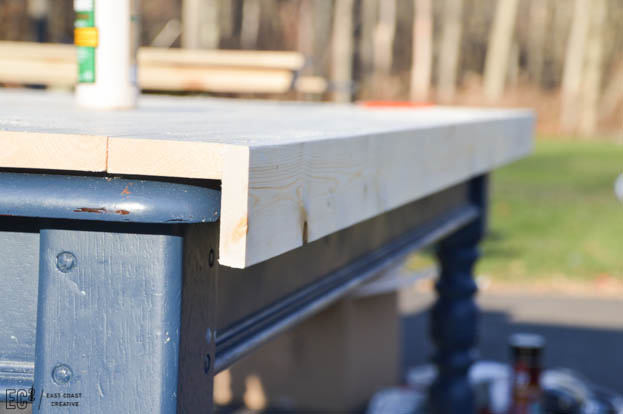
Step 6: The edge might be straight after trimming it down, but it’s not much to look at, so using additional 1x3s attach an apron along all sides. This is the step that magically hides your old table. It looks a little strange at first, but once it’s all painted it will seem more cohesive.
Step 7: Sand your table and use wood filler for any gaps or imperfections that you want to hide. This is our everyday meals table and where my kiddos color and do homework, so I wasn’t too crazy about every little imperfection. I knew my kids would be “adding character” in no time!
Once it was prepped it was time to paint and stain. I really wanted the diagonal section to make a statement, so I decided to stain the diagonals and paint the rest. I used painter’s tape to divide the sections and ensure I had clean, crisp lines.
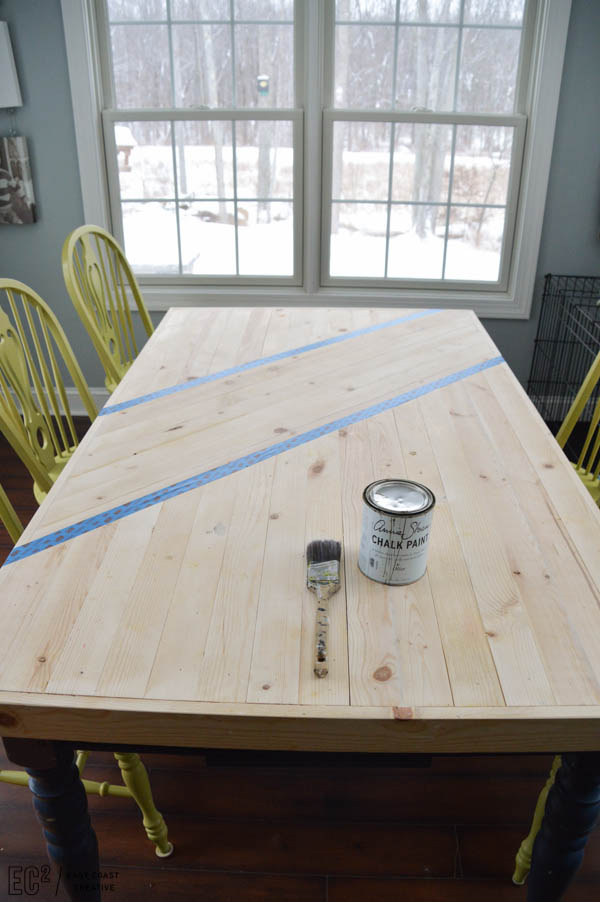
One of my go-to furniture paints is Annie Sloan Chalk Paint. I had this Olive leftover from another project and their quarts seem to be magical… they last forever! I painted my whole table and still have plenty left for another project!

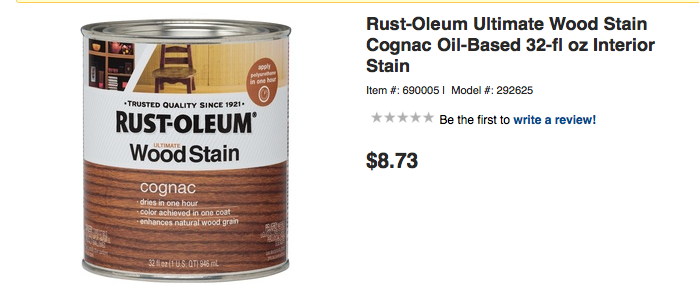
The stain I used was Rust-Oleum’s Cognac, which is quickly becoming a favorite wood tone of mine. It’s warm, but not red and works so well with olive and other deep colors I adore.
Step 8: Once the paint and stain are dry and have had a few days to fully cure, you’ll want to seal your table. I used Annie Sloan furniture wax to seal the piece. This step will protect the table from my 4 little monsters angel children. It also makes your surface water resistant, so spills bead up instead of ruining the paint and stain finishes. I used a coat of clear, then dark wax, then clear.
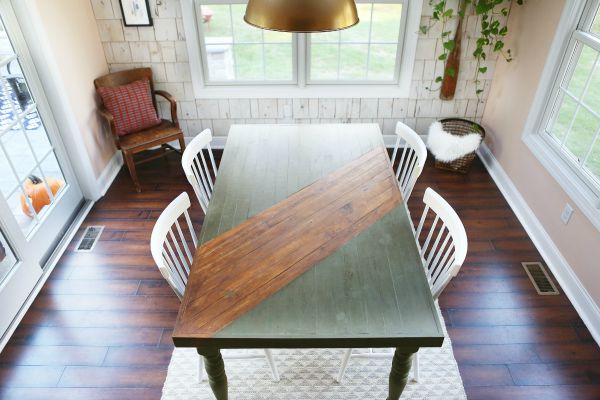
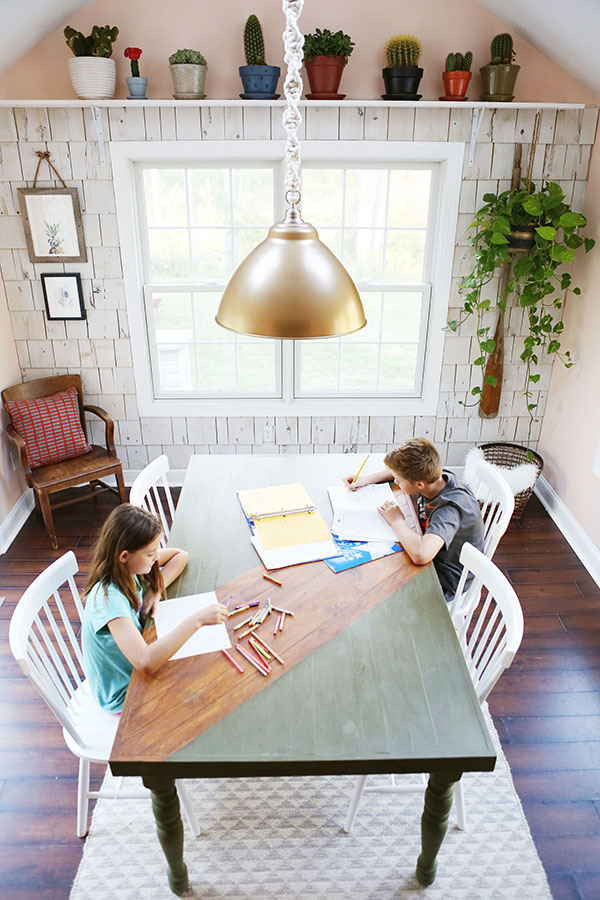
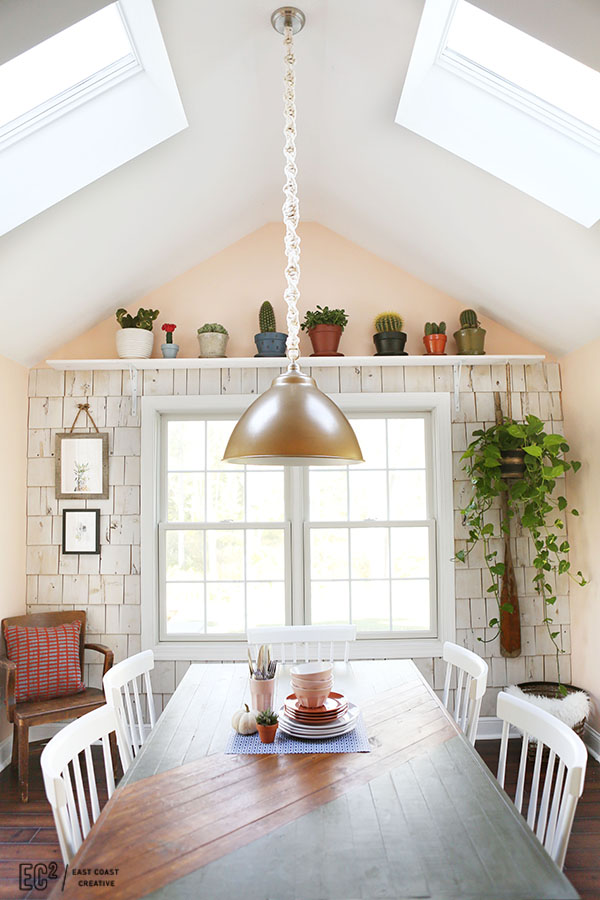
I am in love with my “new” table. The Modern Farmhouse Table Top is exactly the look I was going for in my breakfast nook, and I wouldn’t have been able to buy a table like this anywhere, unless I went for a custom piece and was willing to sell a kidney or other non-essential organ to afford it!
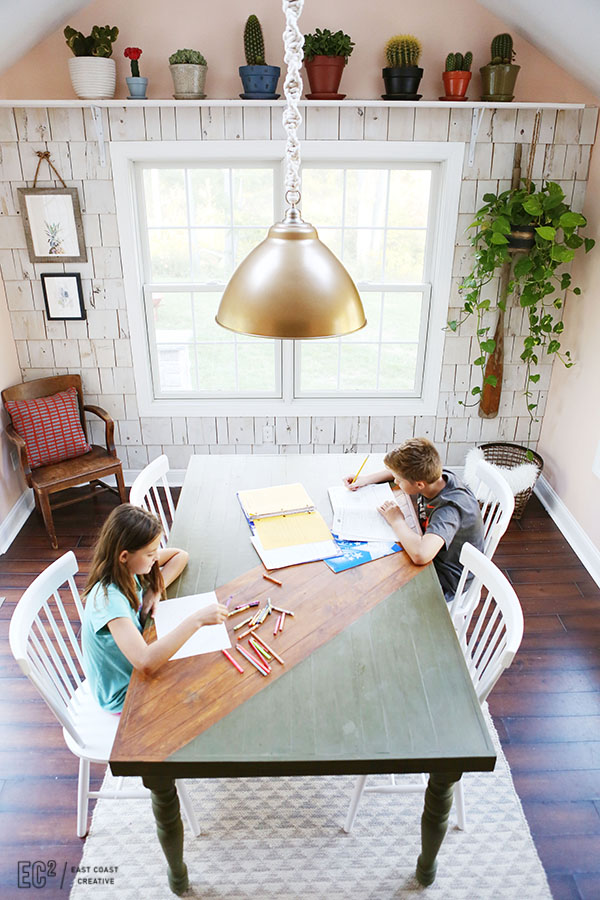
We use this table all the time, I’m actually sitting at it right now typing and have my laptop strategically placed to avoid the leftover jelly someone left from breakfast… There’s a reason this is the Real Life Design series people!
For more info on any of the projects in this room or the entire Real Design Series Post, just click on a slider image below!
[print_responsive_thumbnail_slider id=”4″]
If you’re looking for a DIY farmhouse build, but want a more traditional style, check out the post below. It’s the most popular post on East Coast Creative!
-Mon
IKEA Hack Farmhouse Table
*This project is a sponsored collaboration with Lowe’s Home Improvement. I was provided materials for this makeover, but all ideas and opinions are 100% my own! Thanks for supporting companies that make East Coast Creative possible!*


Looks great, Monica!!! When are you coming to DE to do my dull, boring bedroom?
🙂
Love! I’m not in that color wheelhouse but the possibilities of what I could do just blew my mind. What an inspiration! Thanks!
Great project! I am thinking of gluing some boards to an existing table without using screws and I was wondering how your table held up since the build. Thank you so much!